test
Learn how to navigate between SOP documentation, job management platforms, and customer billing forms during workflow testing.
This guide demonstrates how to navigate and test a standard operating procedure (SOP) workflow across multiple connected platforms. Completing this ensures that your data entry processes and job management integrations are functioning correctly.
This process applies to QA testers and operations staff responsible for verifying system workflows. It is typically used during the initial setup or troubleshooting phases of a new data entry pipeline.
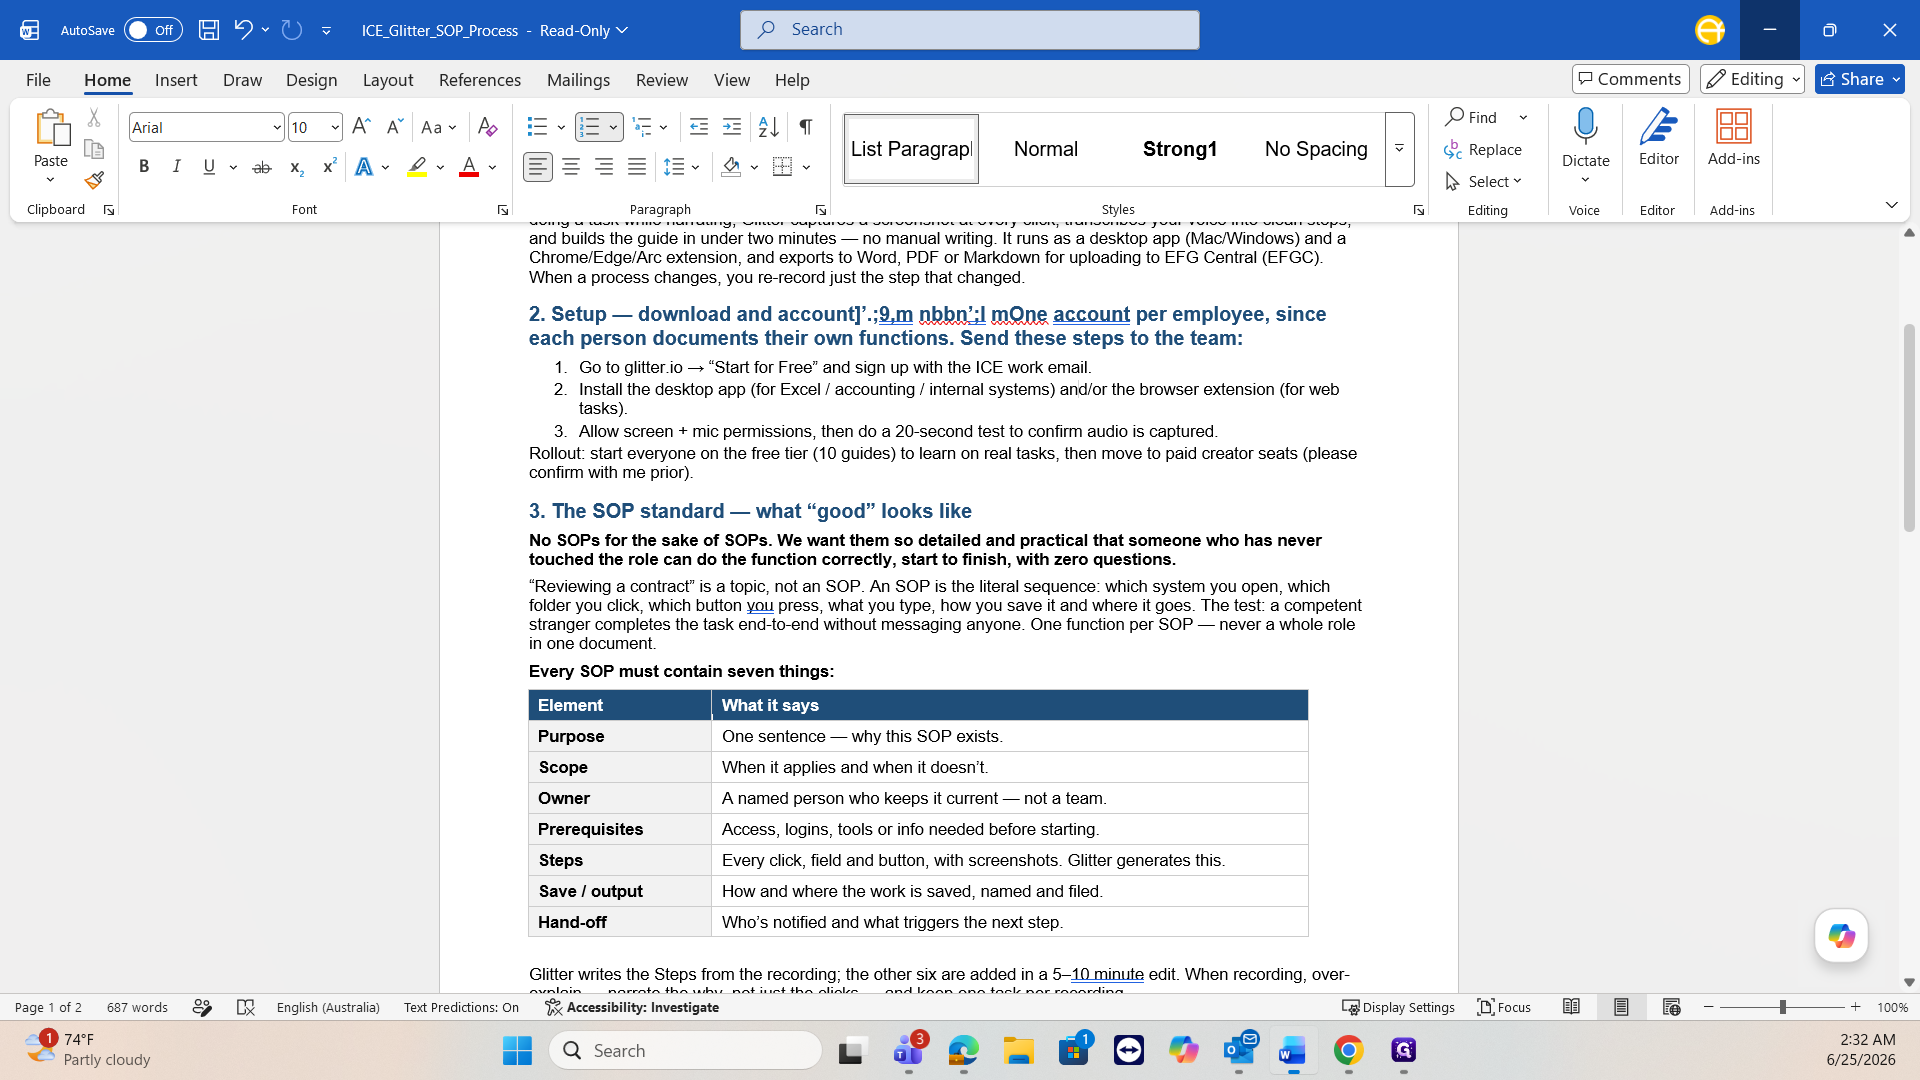
Start by reviewing the foundational Standard Operating Procedure (SOP) document to understand the workflow requirements.
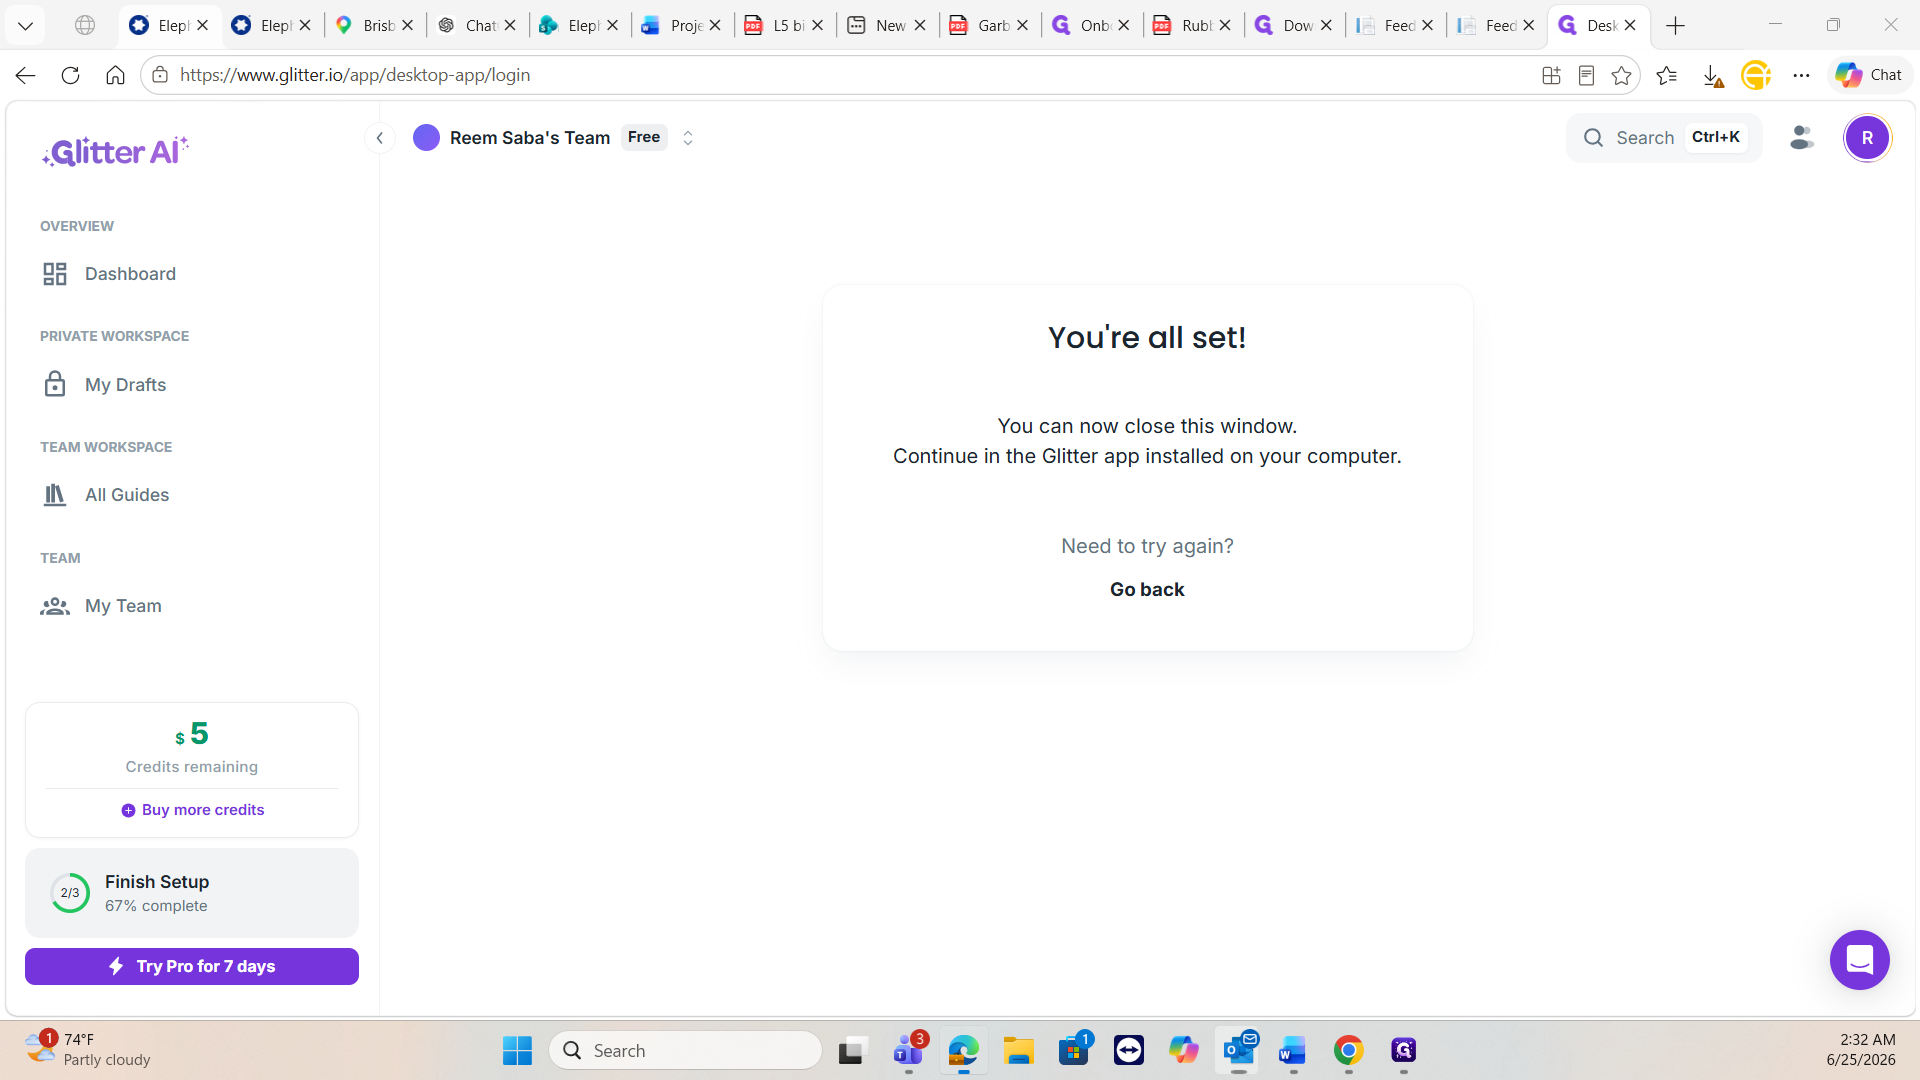
Next, authenticate your session to ensure your desktop application is successfully connected.
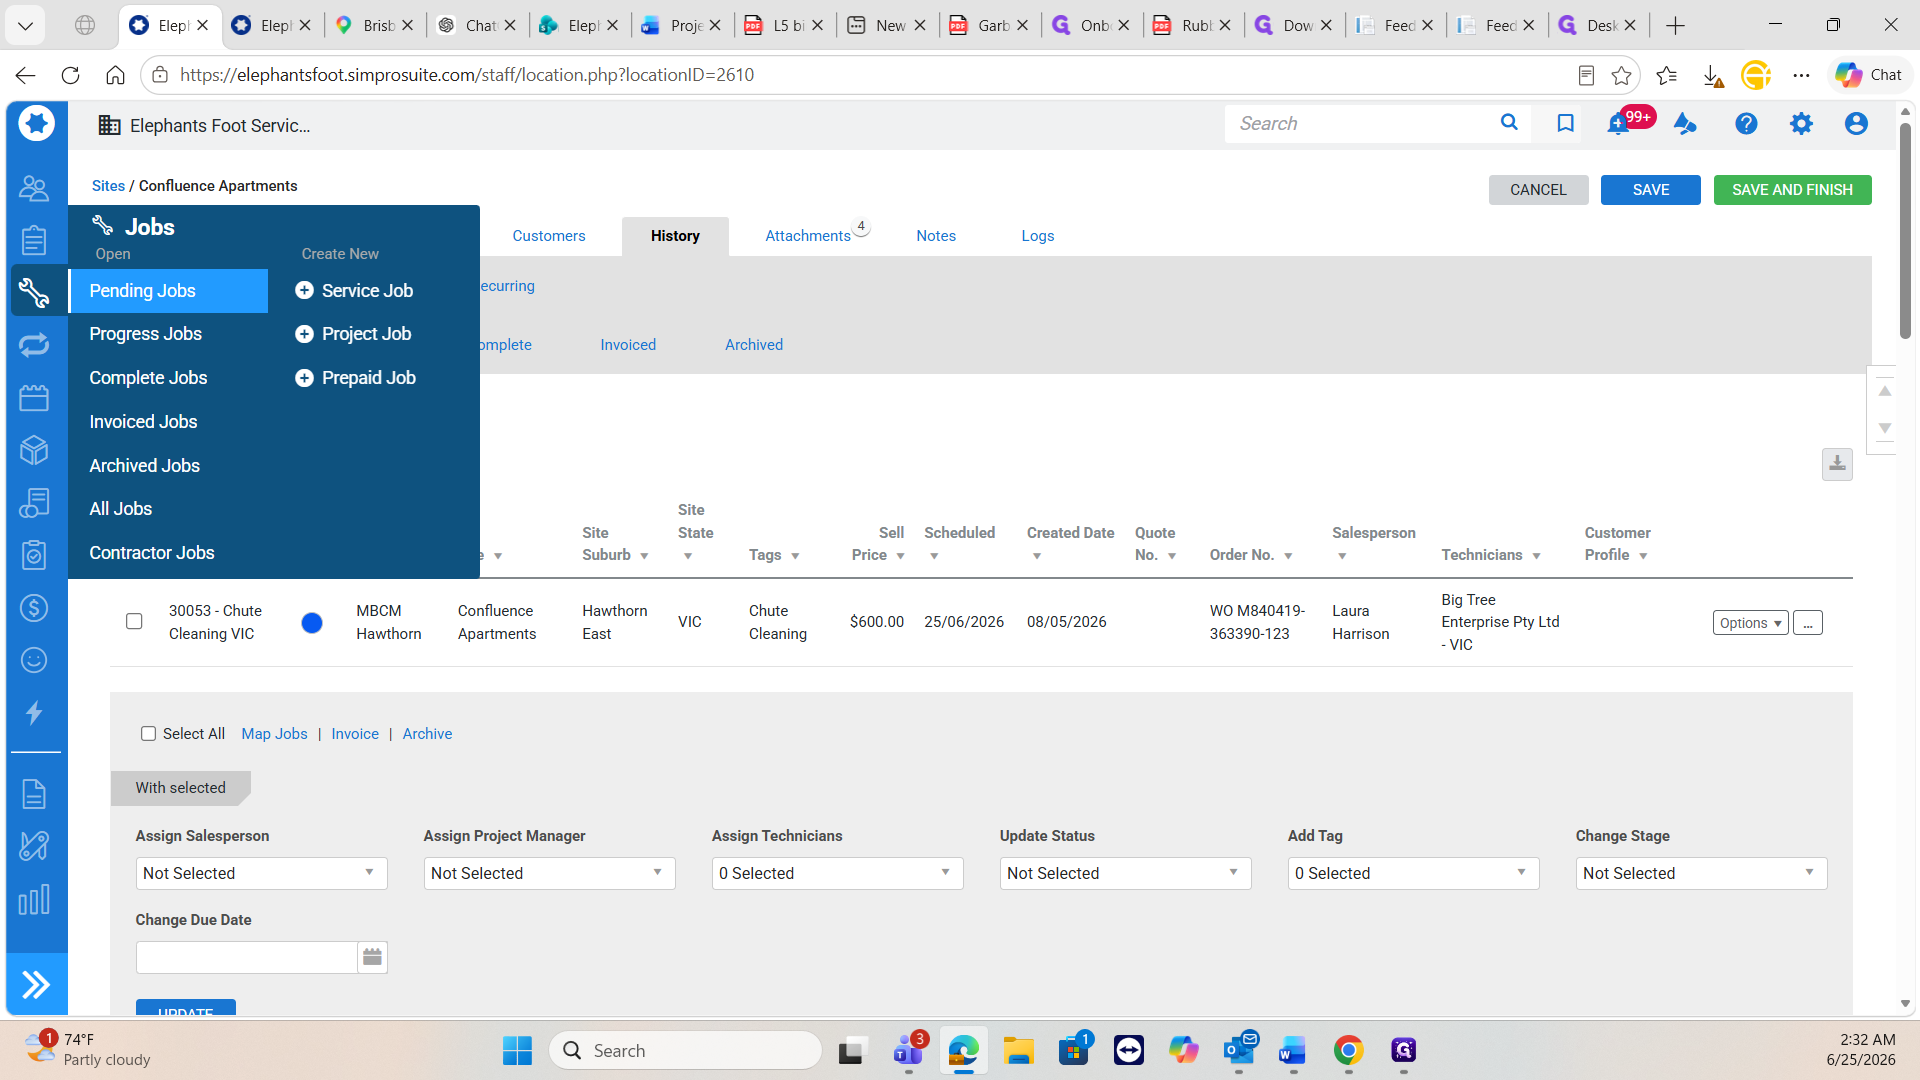
Once authenticated, access your business management platform to locate the jobs requiring processing.
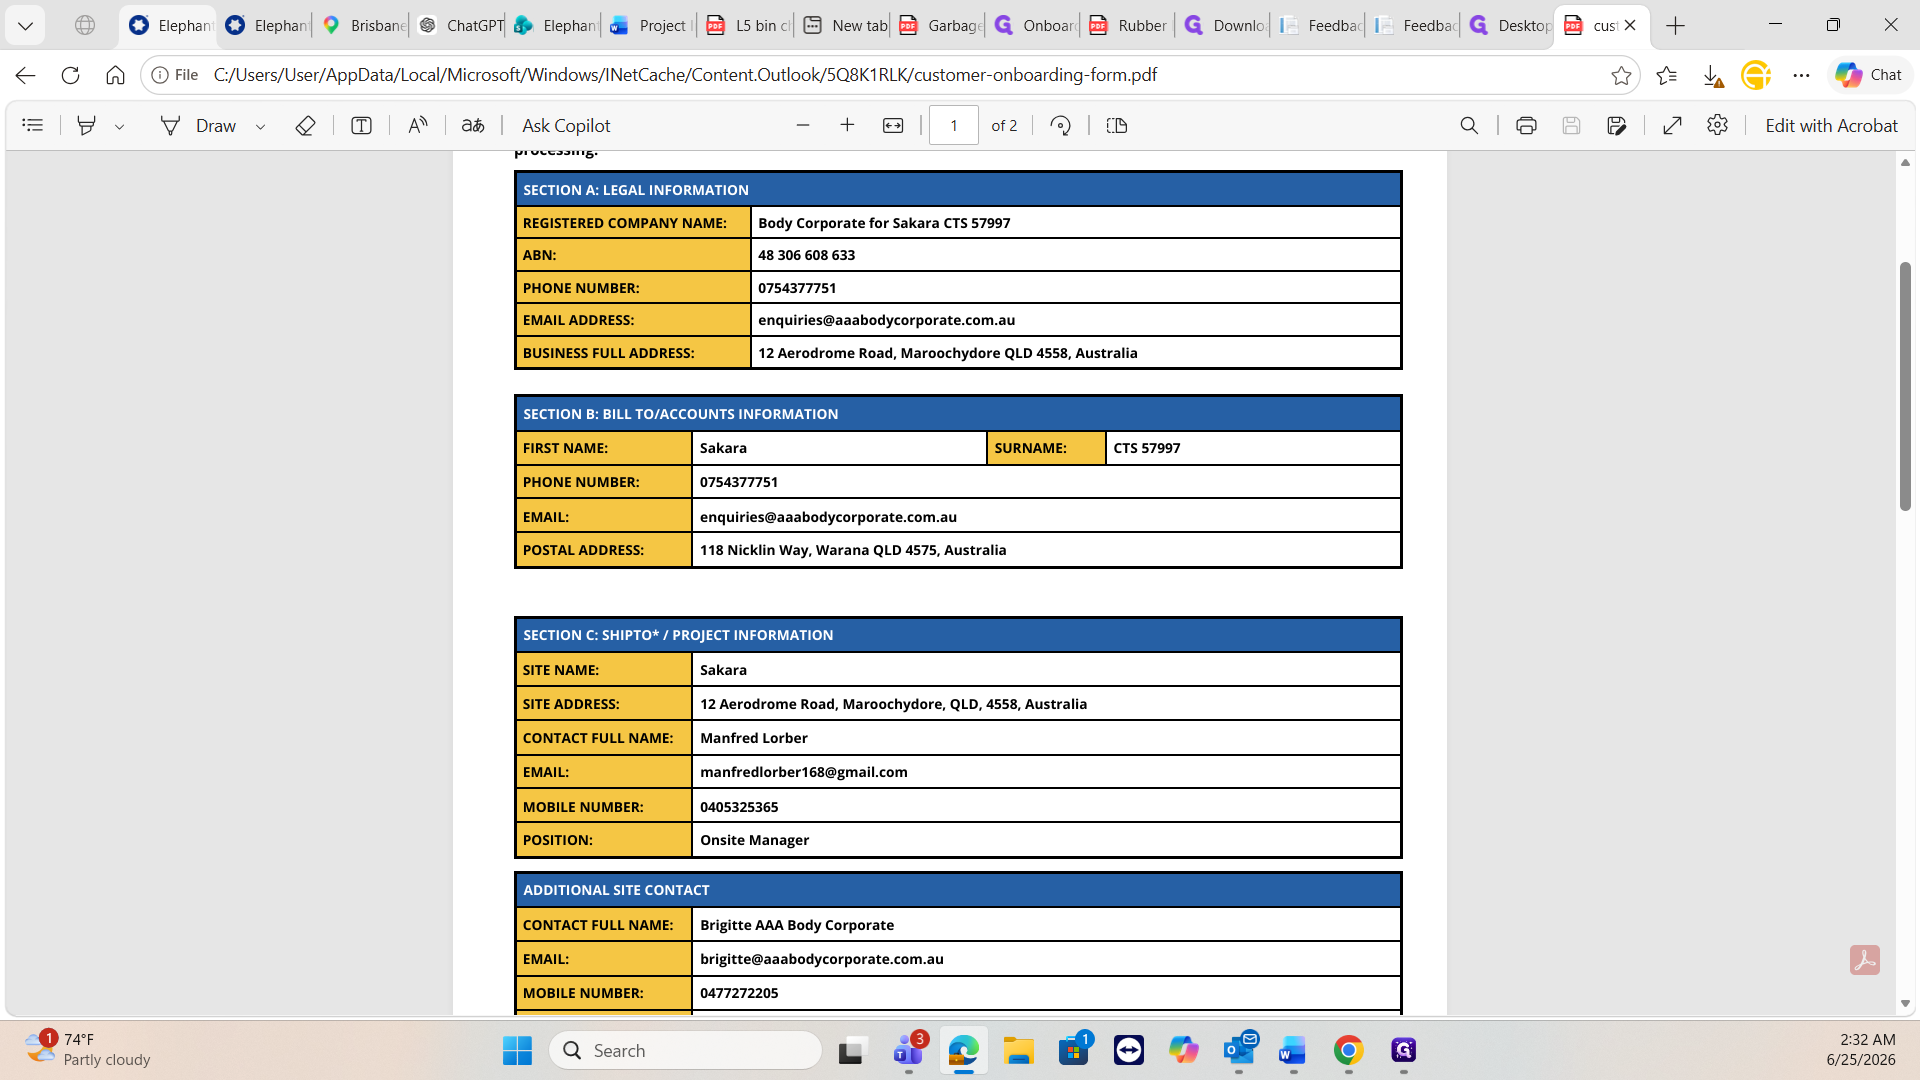
Finally, verify the customer data within the official PDF form.