
Understanding and Creating an Application Source Report
This article provides a comprehensive guide on how to create an application source report, explaining the importance of source information in recruitment workflows and how to effectively filter and interpret this data.
In this guide, we'll learn how to effectively generate a comprehensive application source report using iCIMS - Onboard Admin. Understanding the intricacies of source reporting is crucial for gaining insights into recruitment workflows and application sources. By focusing on the hierarchical structure of source information, we can delve into the details of source, source channel, source name, source origin, and source portal.
Filtering for Data
When initiating the report, start by setting filters based on when events occurred rather than specific sources. This approach ensures a holistic view of the data, allowing for a more accurate analysis.
Navigating Source Information
Explore the source workflow tab within iCIMS - Onboard Admin to access vital source details. Differentiate between source, source channel, source name, source origin, and source portal to grasp the diverse aspects of candidate sourcing.
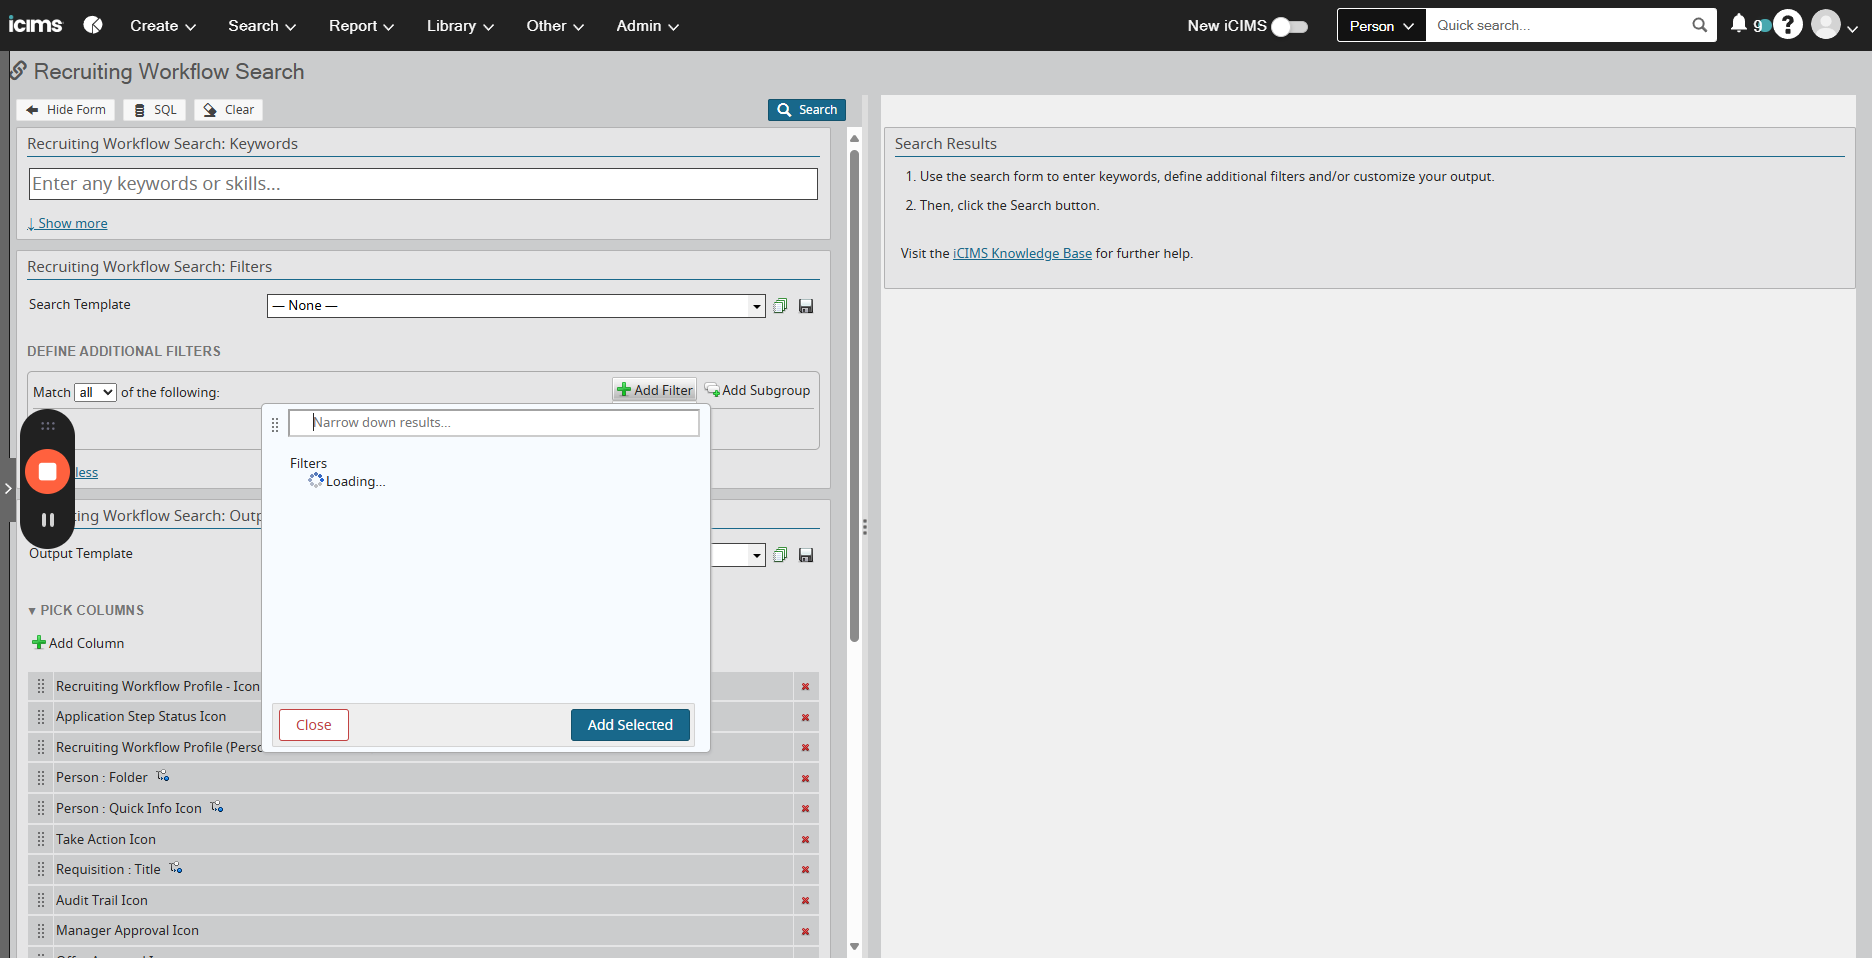
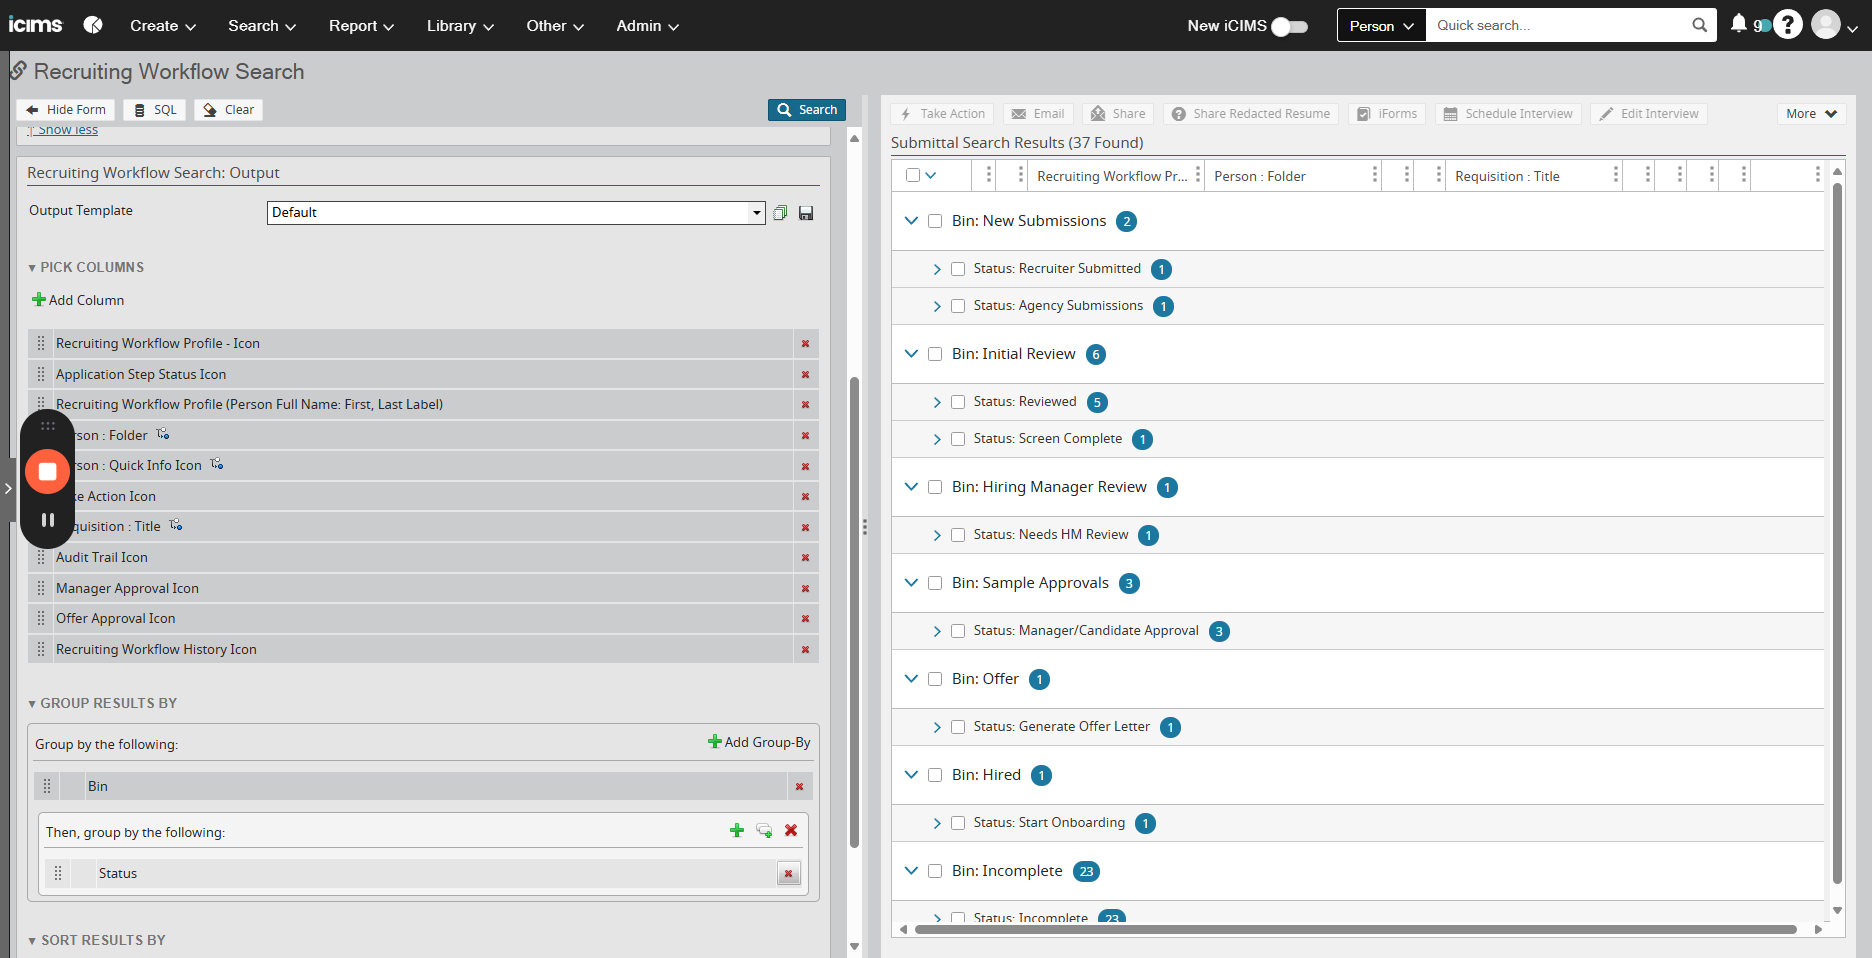
Organizing the Report
Utilize grouping and column features to organize the report effectively. Grouping by source and source name enhances the clarity of the data presentation, providing a structured view of candidate sources.
Interpreting Results
Interpret the results of the source report to identify key insights such as direct traffic (blanks), referral sources, and specific channels like job boards or social media platforms. Understanding the source of hire can offer valuable information on recruitment success.
Let's get started.


The reason for this is that personal information has sources. There are personal sources and application sources. A personal source answers the question of what created the profile or the source of the profile. On the other hand, a recruiting workflow or application source answers the question of which source led the person to apply. It determines which source brought them in. If someone applies two, three, or four times over months or years, their recruiting workflow or application source will be different each time, which is typically what people are interested in. When generating a report, we will begin with the usual filters. Most customers tend to filter based on sources. They want to know things like how many applications we received from Indeed or how many hires came from LinkedIn.
That's not the right way to do it. Source reporting works the other way around. It's backwards. You want to see everything. You actually want to write filters more based on when things happened.
So, we will create an application source report. Let's navigate to the Advanced section to find it. We will select the application date to include in the report. This example is based on a test site.

Normally, I would want to view all applicants for this year or month. However, since my database contains old data, I will choose a different option.


We are working on an old report.


I'm going to ask to see anyone who has been here since 2020 to check if I can get any results.


All right, good. We are seeing results, so we can proceed. This is my version. Choose a better filter in the sandbox. The main question is, what do we want to see? We want to view the source information. How can we achieve that? We are interested in knowing where people originated from.

Which sources did they come from? The source information is arranged in a hierarchical structure here.

So, let's locate our source workflow tab. This is where the source information for the recruit workflow is always found. There are various options available. The key question is, which ones should we select? Source provides the answer to how the individual learned about the job or what brought them here. Source channel, on the other hand, answers which platform or site the person utilized to access this information. For example, which portal was used or whether the person was imported. Source details where the individual came from, such as visiting LinkedIn or Indeed.
I visited Google and similar sites. Source name, also referred to as source specifics, provides the response to the question, "if other, please specify," or any additional information required. Many setups have the source at the top level, such as a job board, with the source name indicating the specific job board, which is quite useful. Source origin and source portal are more recent fields. Source channel is an original field established in the early 2000s, while source origin and source portal were introduced around 2015-2016.
There are newer versions where the source portal is better at identifying which portal somebody came from compared to the source channel. Source origin is like a curated version of the source channel as well. You can use these two instead of the source channel, but they all have some upsides. We will start with the source as the top level, then come back to where we were, and the source name will be the second level.

Now, of course, we want to follow best practices. I have added those group bys, which means I also need to add them as columns.

Just keep that in mind. If you add it as a group by, you need to add it as a column.

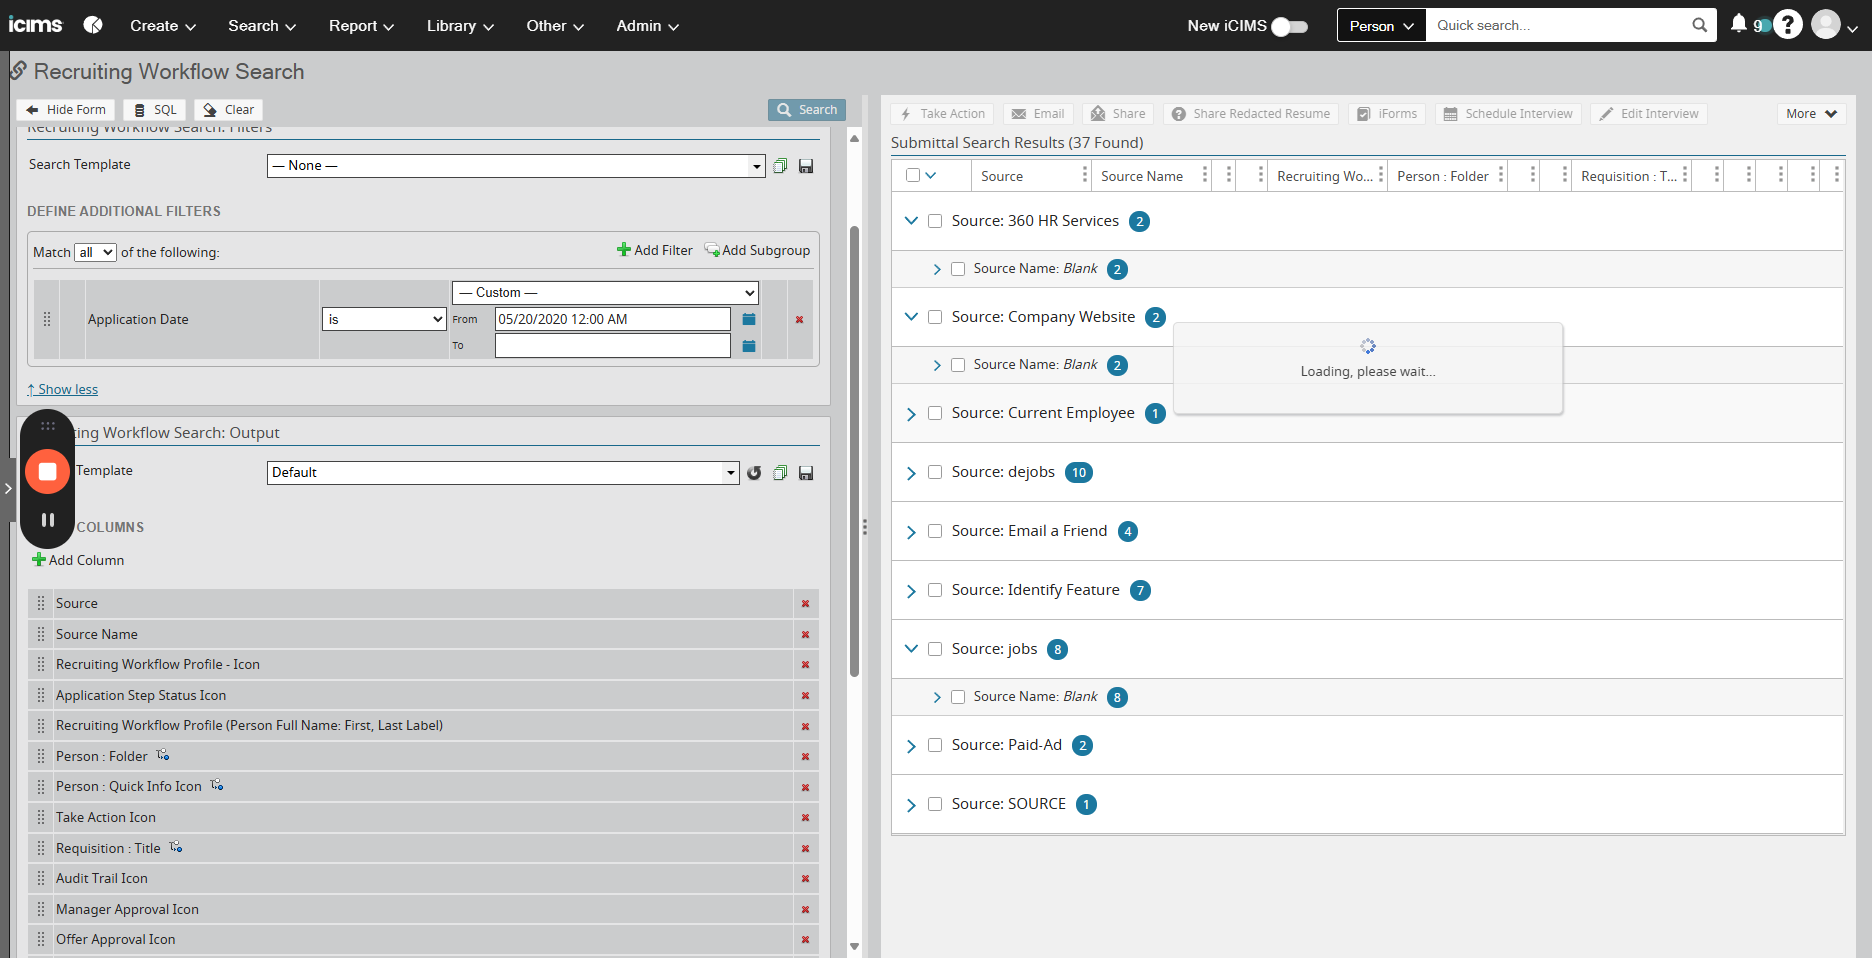
So, we will add the source and source name. I prefer to drag these to the top by clicking the grip buttons. This makes it much easier to view. Now, let's rerun the report to reorganize it based on the source and source name.
Of course, this would look much better in a production environment. However, for training purposes, I prefer not to include customer data. The content may include job ads, the company website, and possibly blanks. Blanks can be a significant concern for customers as they may not understand what they signify. A blank indicates direct traffic, meaning there is no referral source.
They were not referred. They did not come from another website. Websites are very good at identifying. You know, we got this person here. So the website can be, and most of the time, is the referrer, right? If somebody goes from Indeed to an ISIMs link, Indeed is the referrer. They put it in the URL, and we should see Indeed or job board Indeed or something like that.

We can open these up to see what the source names are.

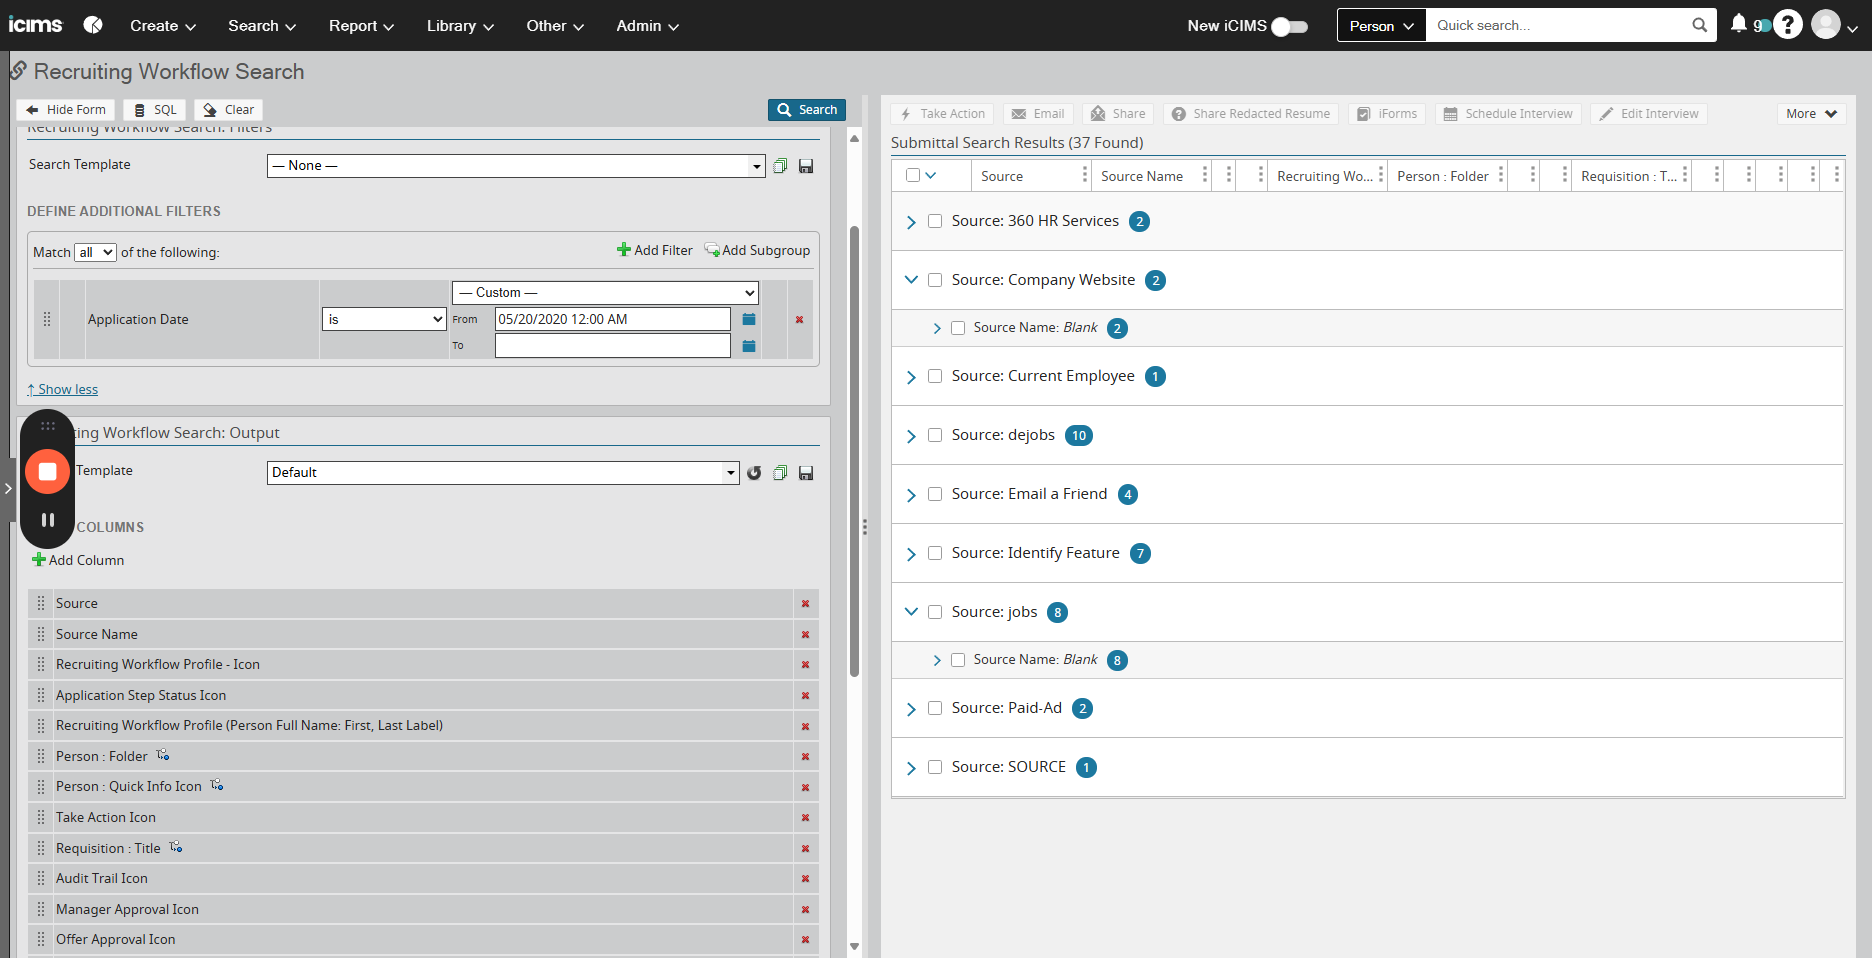
No source name is needed for jobs, which makes sense.
Let's check if we have any here.


Most of these are blank because the dataset is not great.


Sorry, I don't have anything here.

A bit disappointing. Okay, I don't see it. Here is an example of a paid ad featuring two individuals. The ad mentions "Facebook rewarding careers," part of an email campaign from Facebook. More detailed information is available.
Commonly, you would see job boards like Indeed and LinkedIn on a customer site. That's typically what you would observe. If you prefer to track the source of hire instead of the application date, you can do that.


So instead, we would use some of our recruiting workflow statistics to identify individuals who transitioned to hired within a specific timeframe. For example, if we want to view the source report for individuals who were last hired this year.


I might actually have data here. I'm going to select this one.


And we can simply rerun it.

All right, I haven't hired anyone.


We had to go a long time ago.


Let's redo 2020. There we go. So, we have three people. They don't actually, we have one person with a blank source.


Again, that just means there was no referral. So we don't know where this person came from. Johnny Tsunami was definitely a test.

That's quite amusing.
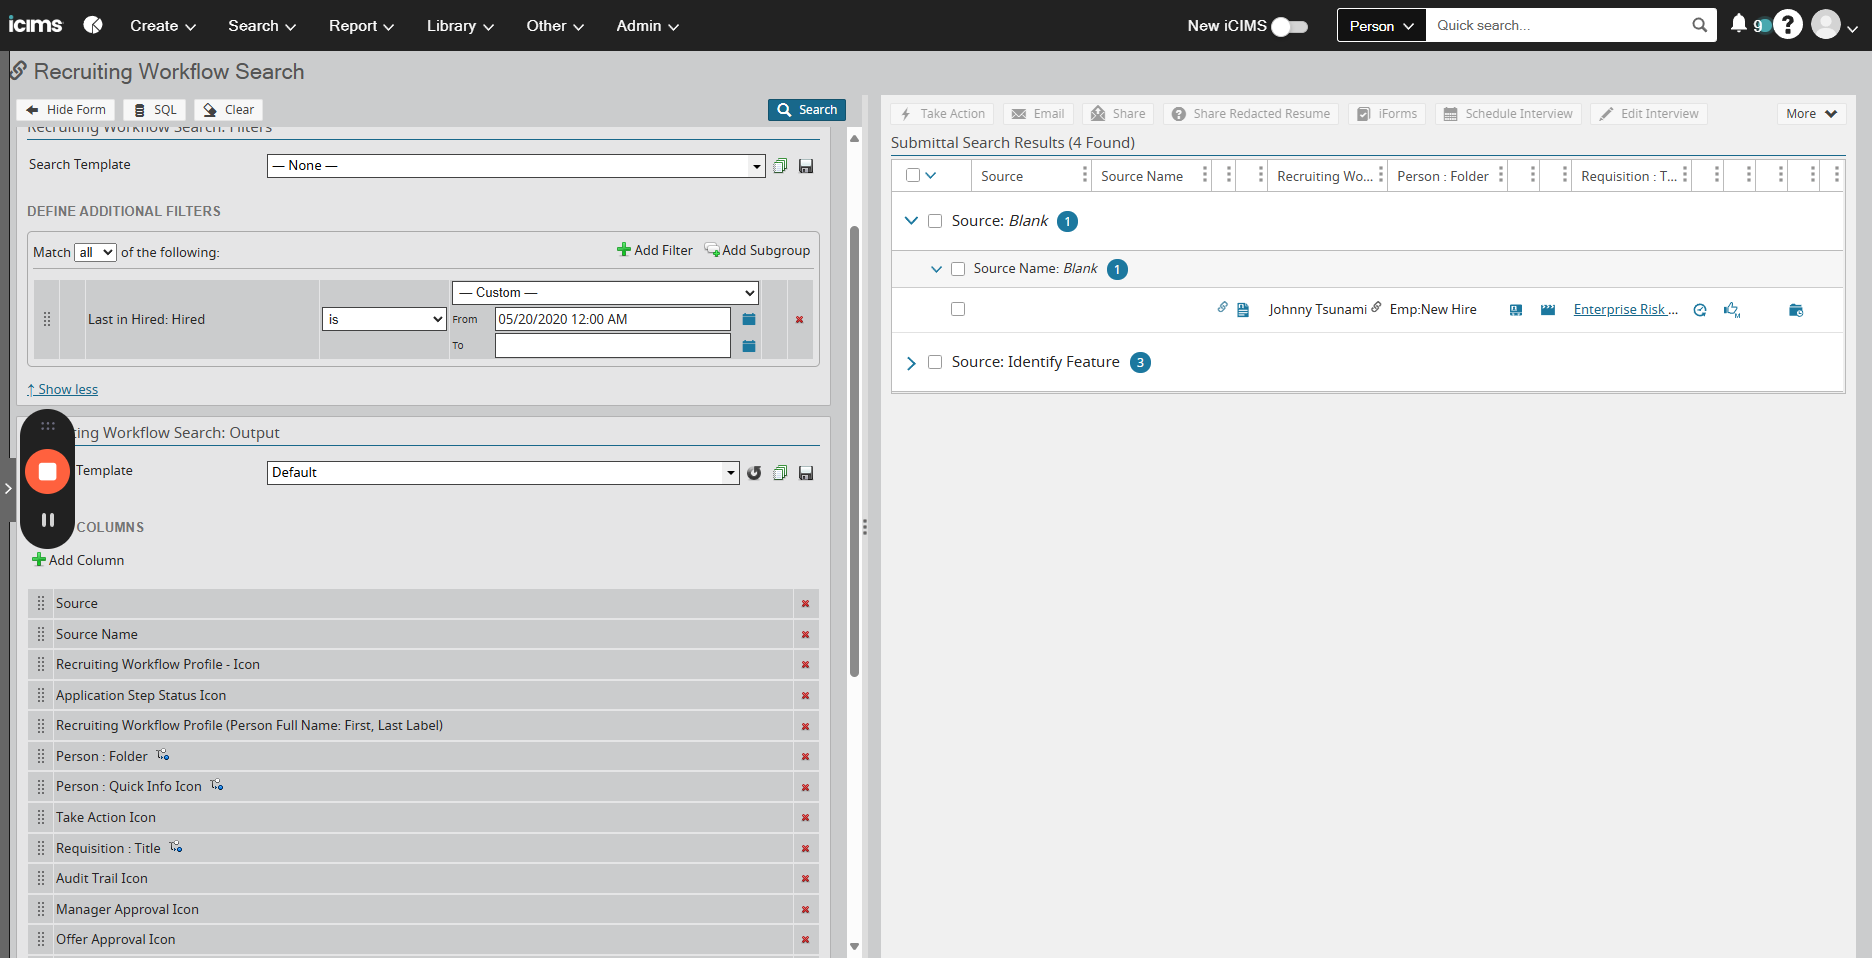
We have three people who originated from the identify feature. "Identify feature" is not a suitable label for someone who is manually sourced, which is more appropriate.


Three people were manually added to these jobs to track the source of hire. This was a test to run a source report using Glitter to evaluate its functionality. We hope the results are promising.