Understanding Light Key: A Guide to Sanctuary and Platform Lighting Layout
Learn about the overhead view of sanctuary and platform lighting in Light Key, including the positions and functions of wall lights, house lights, cove lights, spotlights, and moving lights. Discover how each lighting element is controlled for optimal worship service ambiance.
By Chris Copeland
In this guide, we'll learn how to understand and control the different lights in your sanctuary using Light Key. You will see how each light is positioned and how groups of lights are managed together, such as wall lights, house lights, cove lights, spotlights, and moving lights. This overview will help you identify each light's function and prepare you to control them during a service.
Let's get started
1
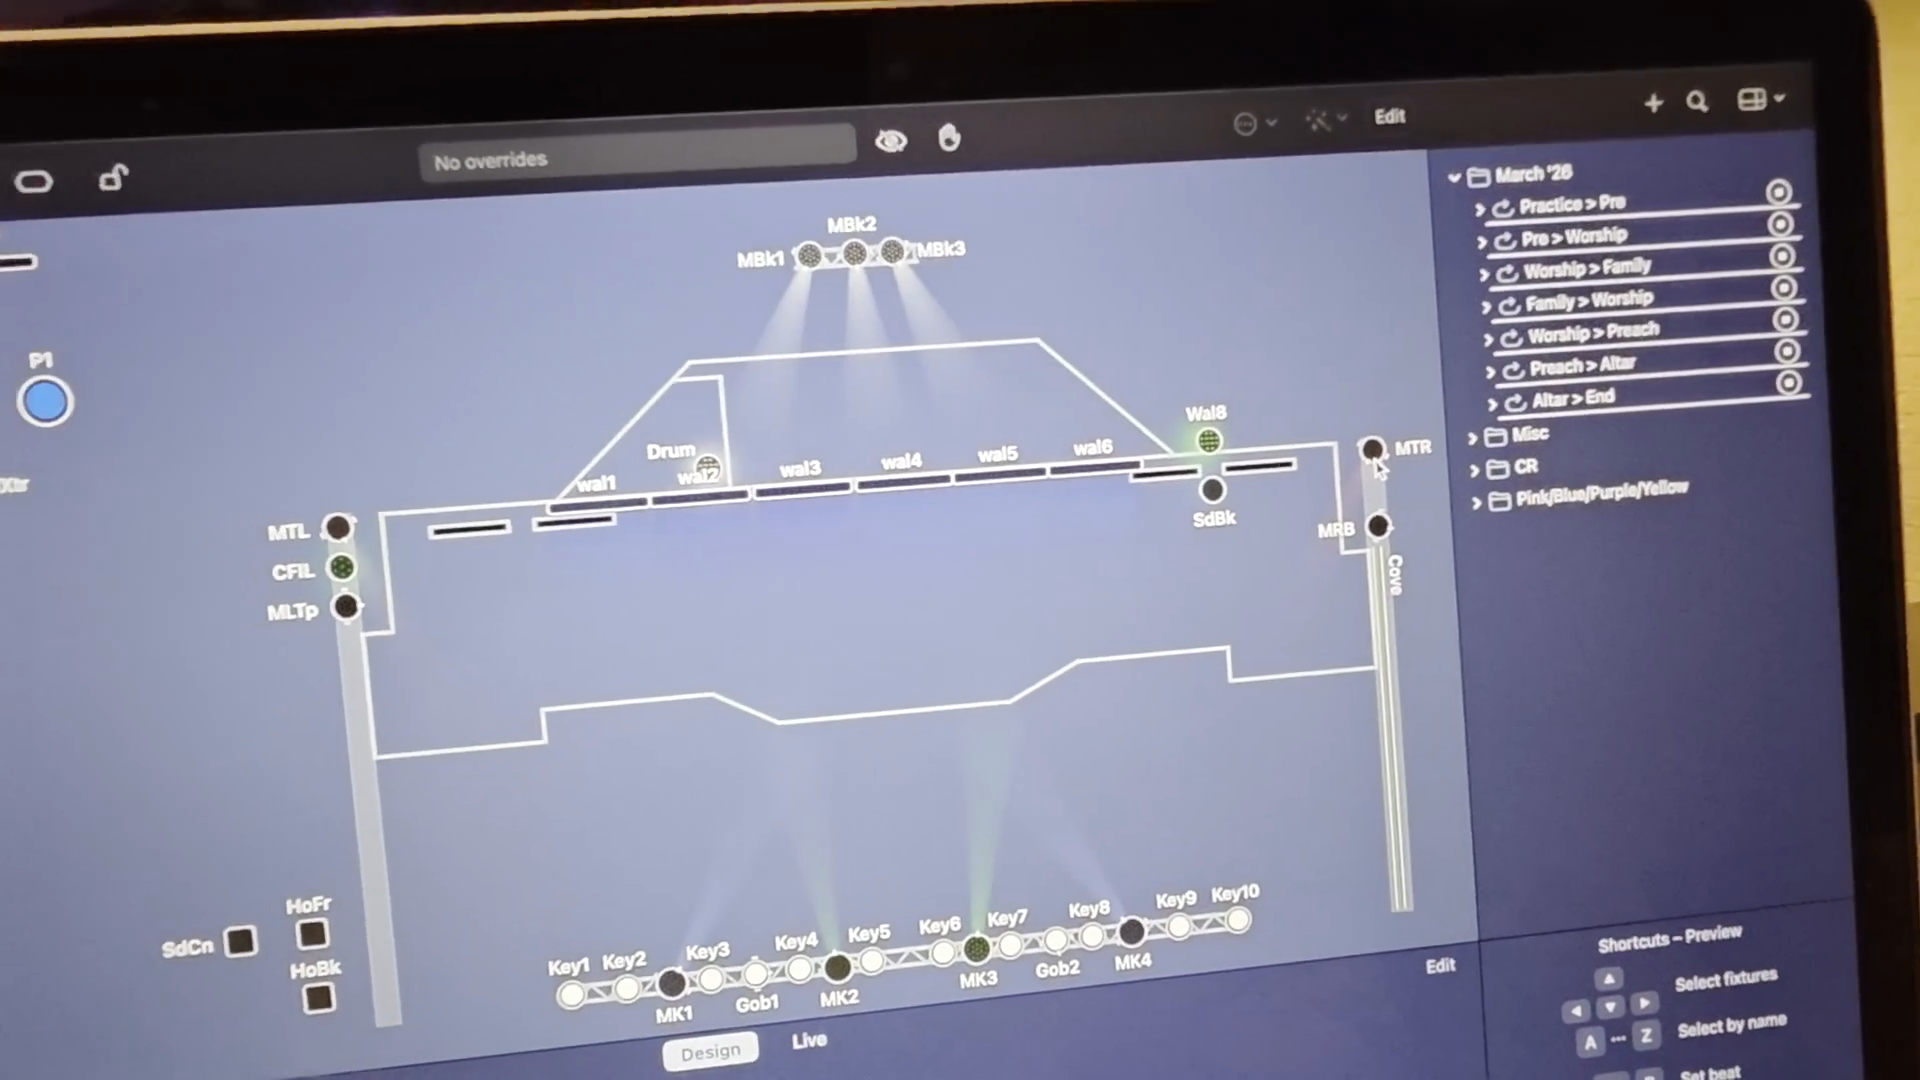
Understand that the main view is an overhead diagram of the stage and platform.
2
Note that the light icons on the diagram represent the relative positions of the physical lights.
3
Be aware that the two lights labeled 'Wall8' are controlled together as a single unit.
4
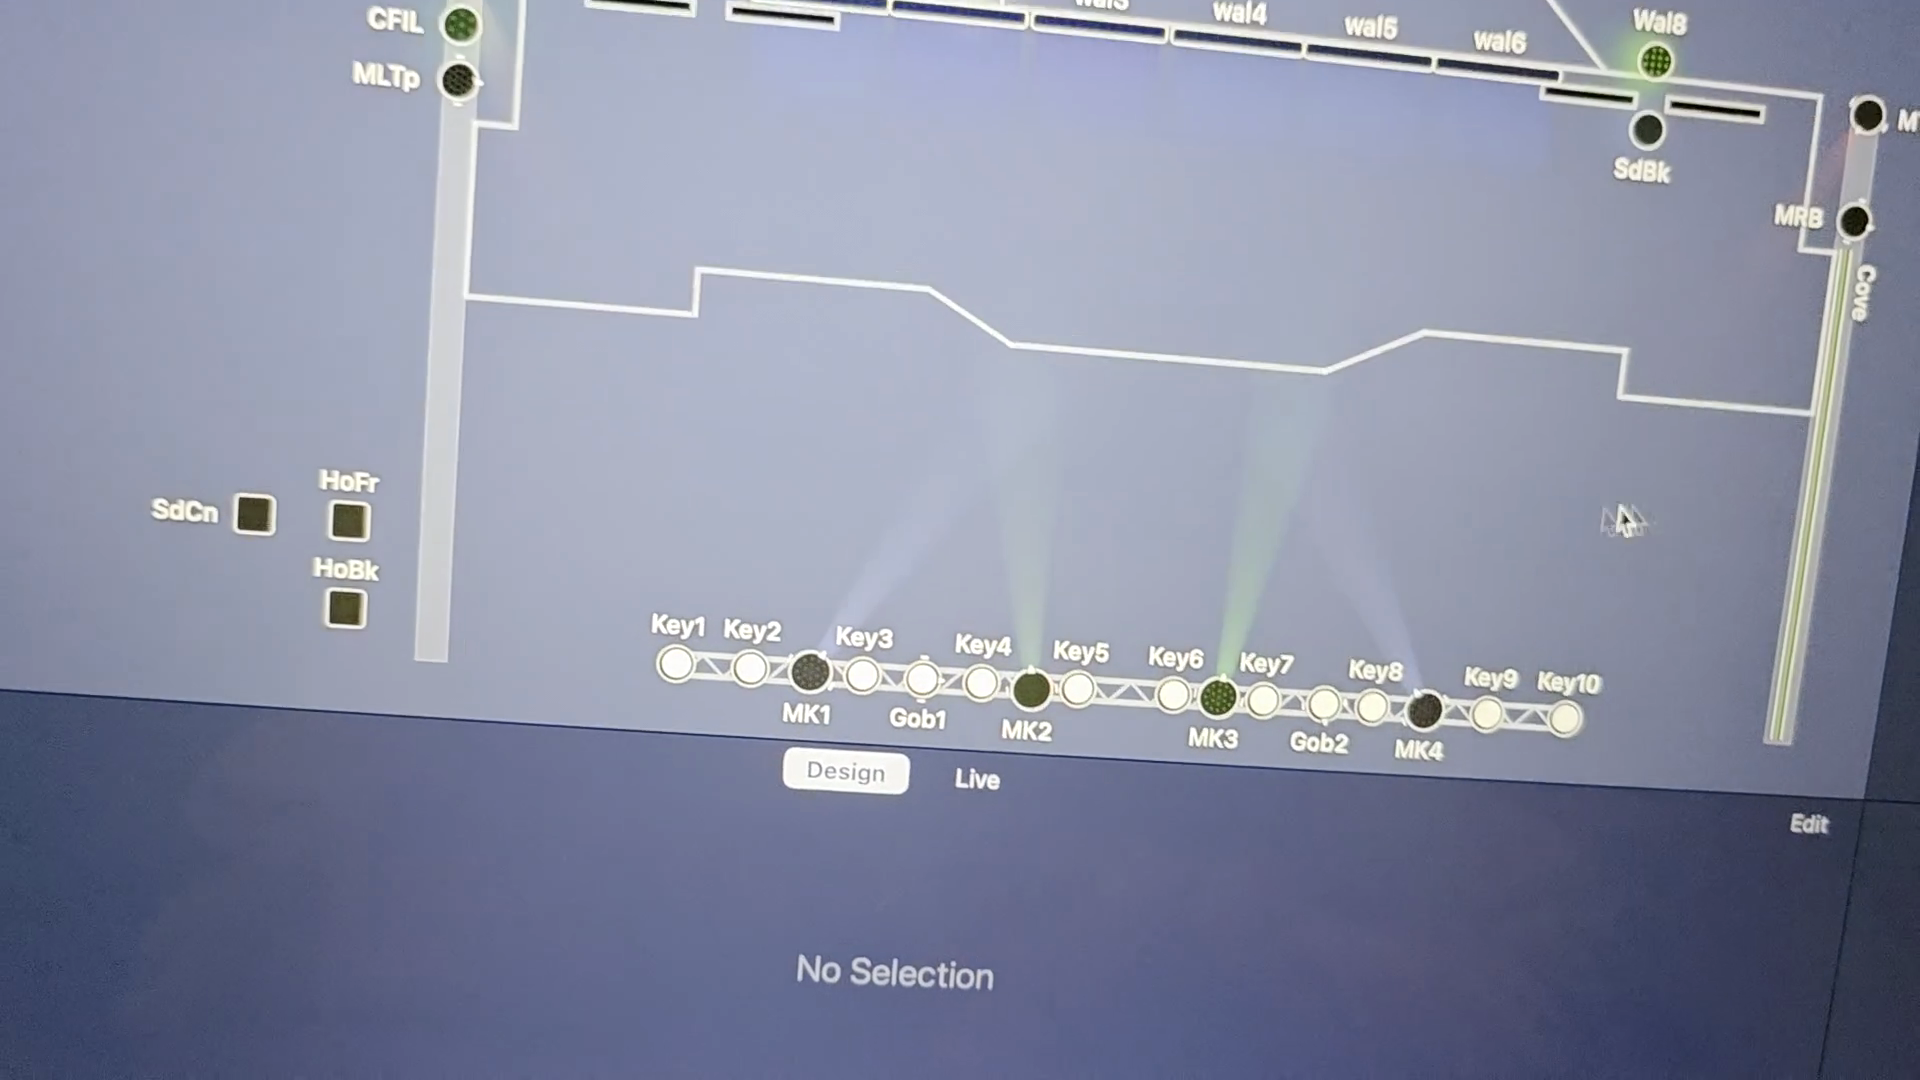
Note that the 'Side Back' lights on each side of the stage are also paired and operate together.
C fill is the same.
5
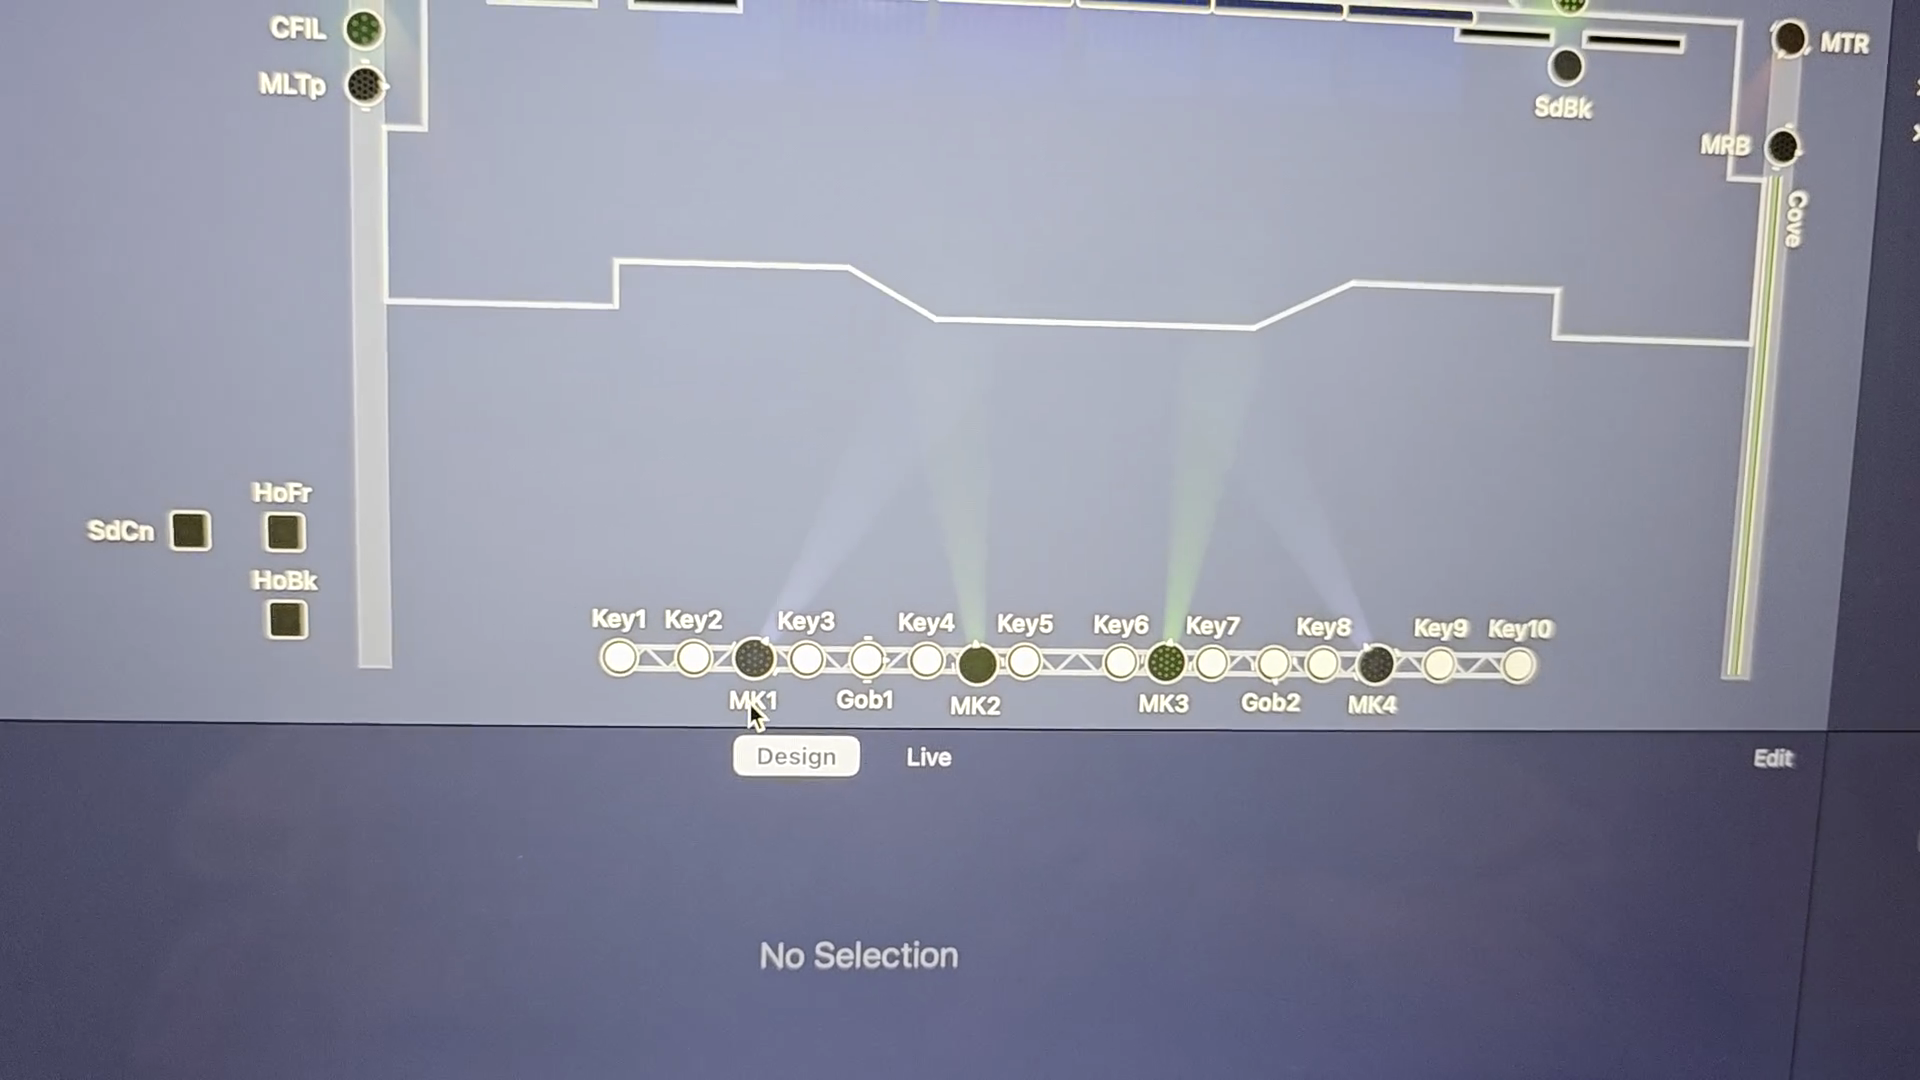
Identify 'House Front' (HsFr) as controlling the first two tracks of house lights.
6
Identify 'House Back' (HsBk) as controlling the last two tracks of house lights.
7
Identify the cove lights control, which manages the lights shining up onto the ceiling.
8
Locate the key lights, which function as the spotlights.
9
Identify the MKs, which are the moving lights.
10
Identify the backlights, labeled as MBk1, MBk2, and MBk3, at the top of the stage diagram.
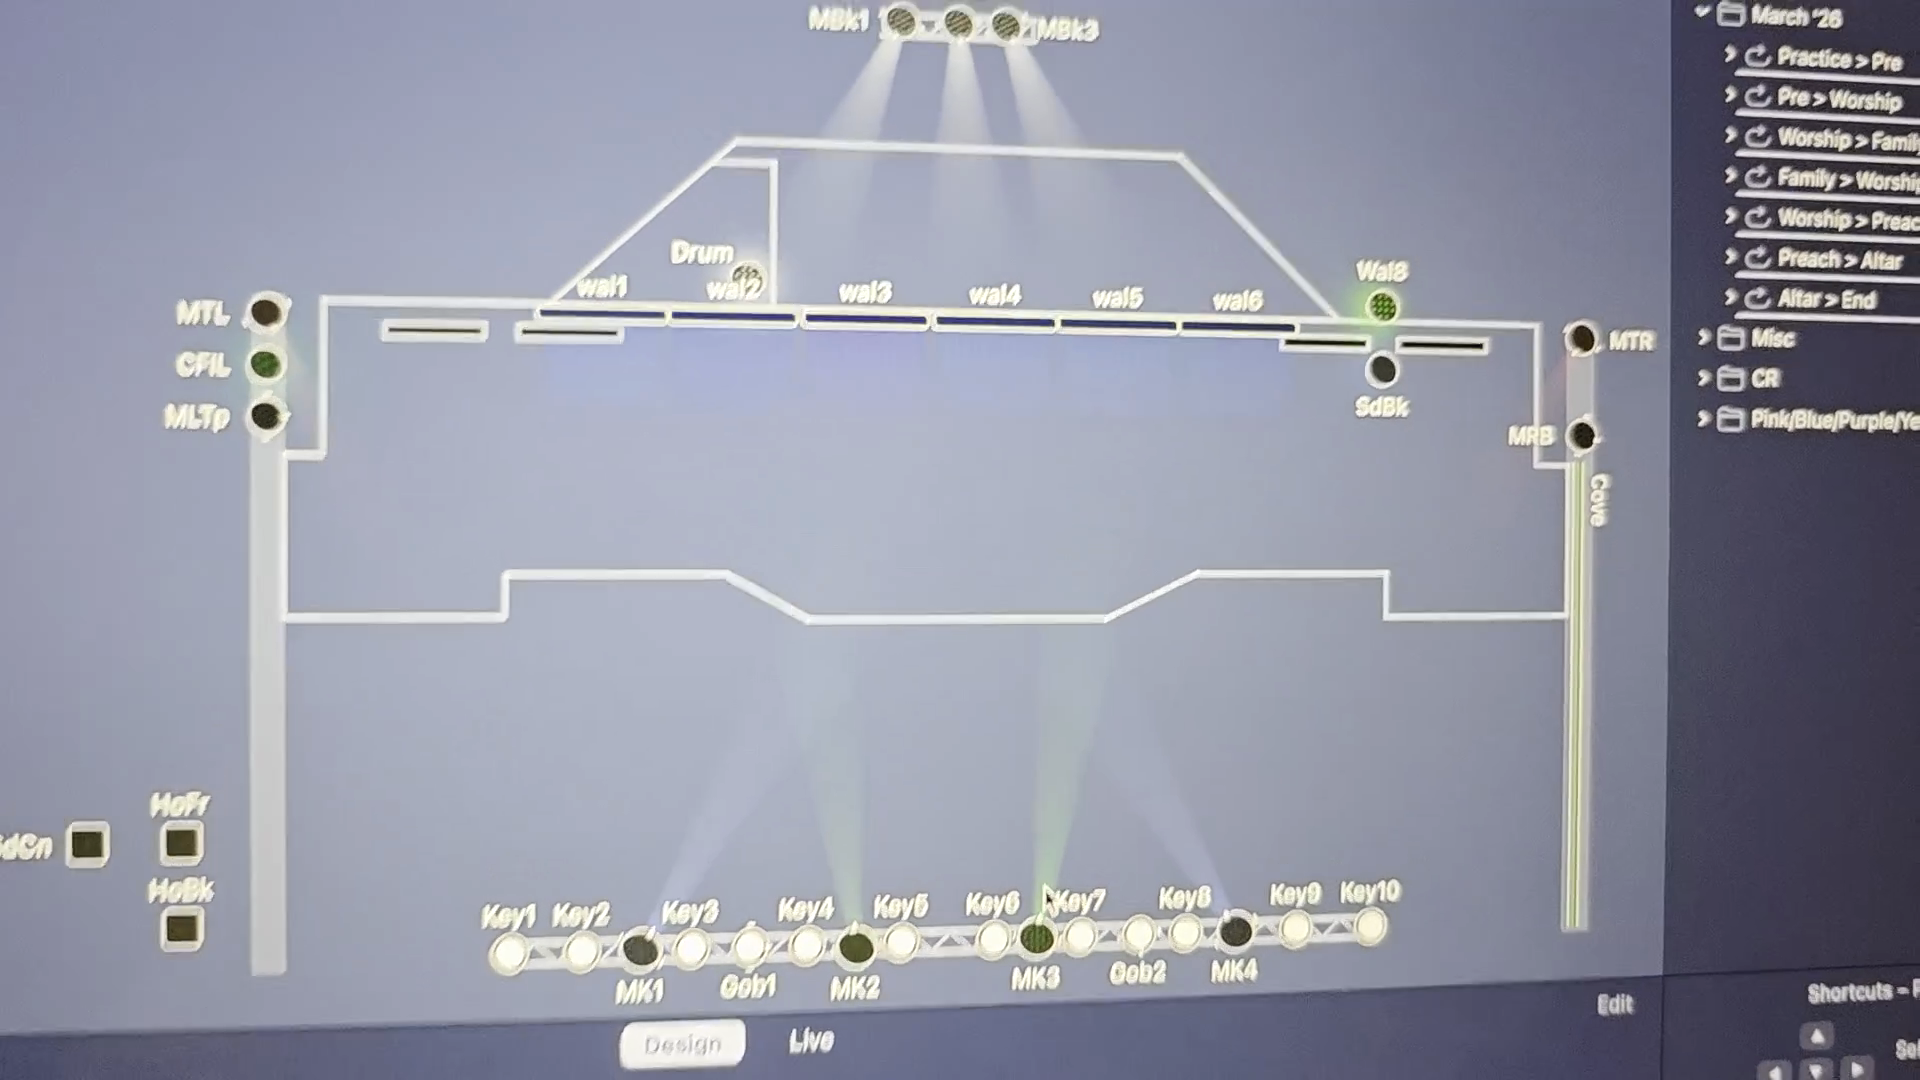
These are the same type of lights as the Mk's, and they provide backlight.
11
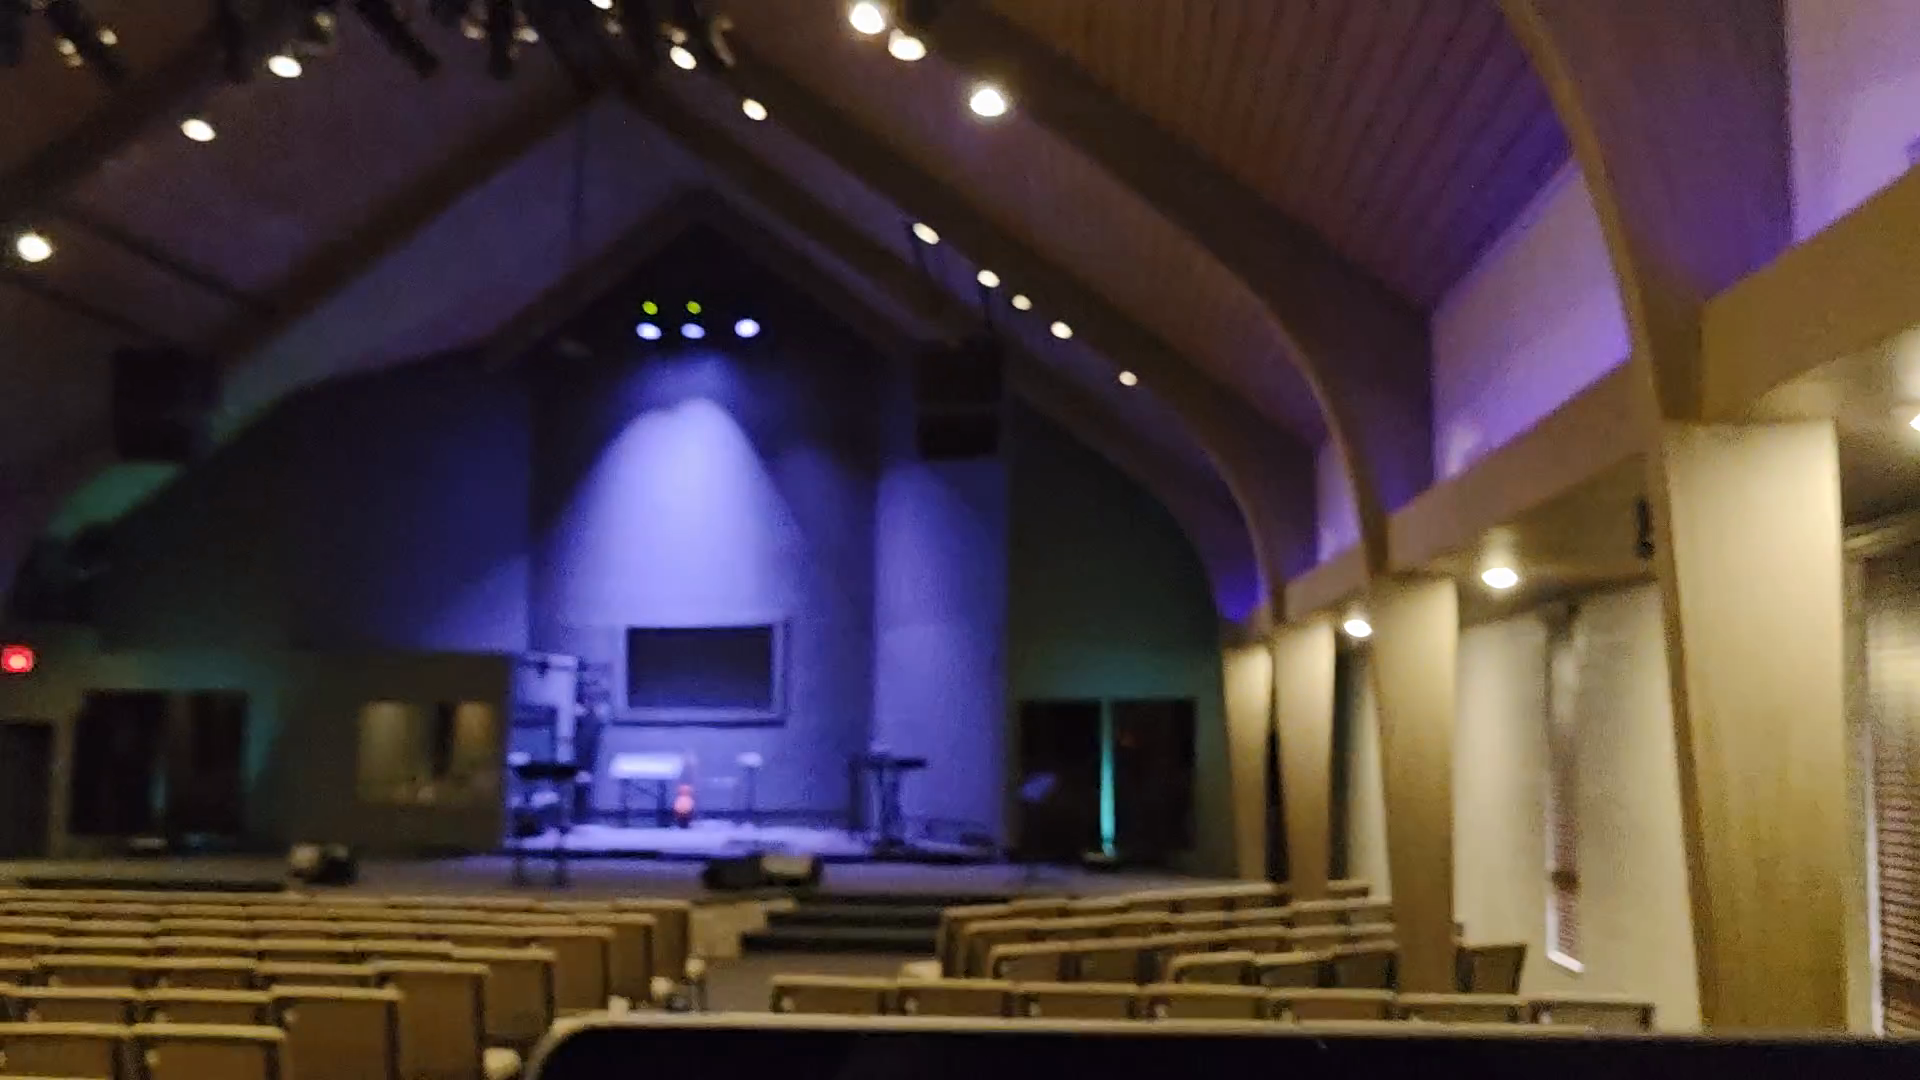
Locate the corresponding physical backlight fixtures on the ceiling above the stage.
12
Identify the lights used for ceiling illumination, labeled MTR (right) and MTL (left), on the sides of the stage diagram. Currently, we use MTR and MTL to shine onto the ceiling during a service.