** PA: Navigating the Connecteam Time Clock on Mobile: A Step-by-Step Guide for Users to Manage Shifts, Breaks, and Timesheets
Explore the user views in the mobile Connecteam Time Clock, including how to start shifts, clock in, track unpaid breaks, and manage timesheet entries.
In this guide, we’ll explore how to navigate the Connecteam Time Clock on the mobile app, focusing on user tasks such as starting shifts, managing breaks, and tracking timesheets. Understanding these mobile features is essential for efficient time tracking and accurate shift management, whether you're on the go or working from a remote location.
Let's get started
Display Your Login Screen
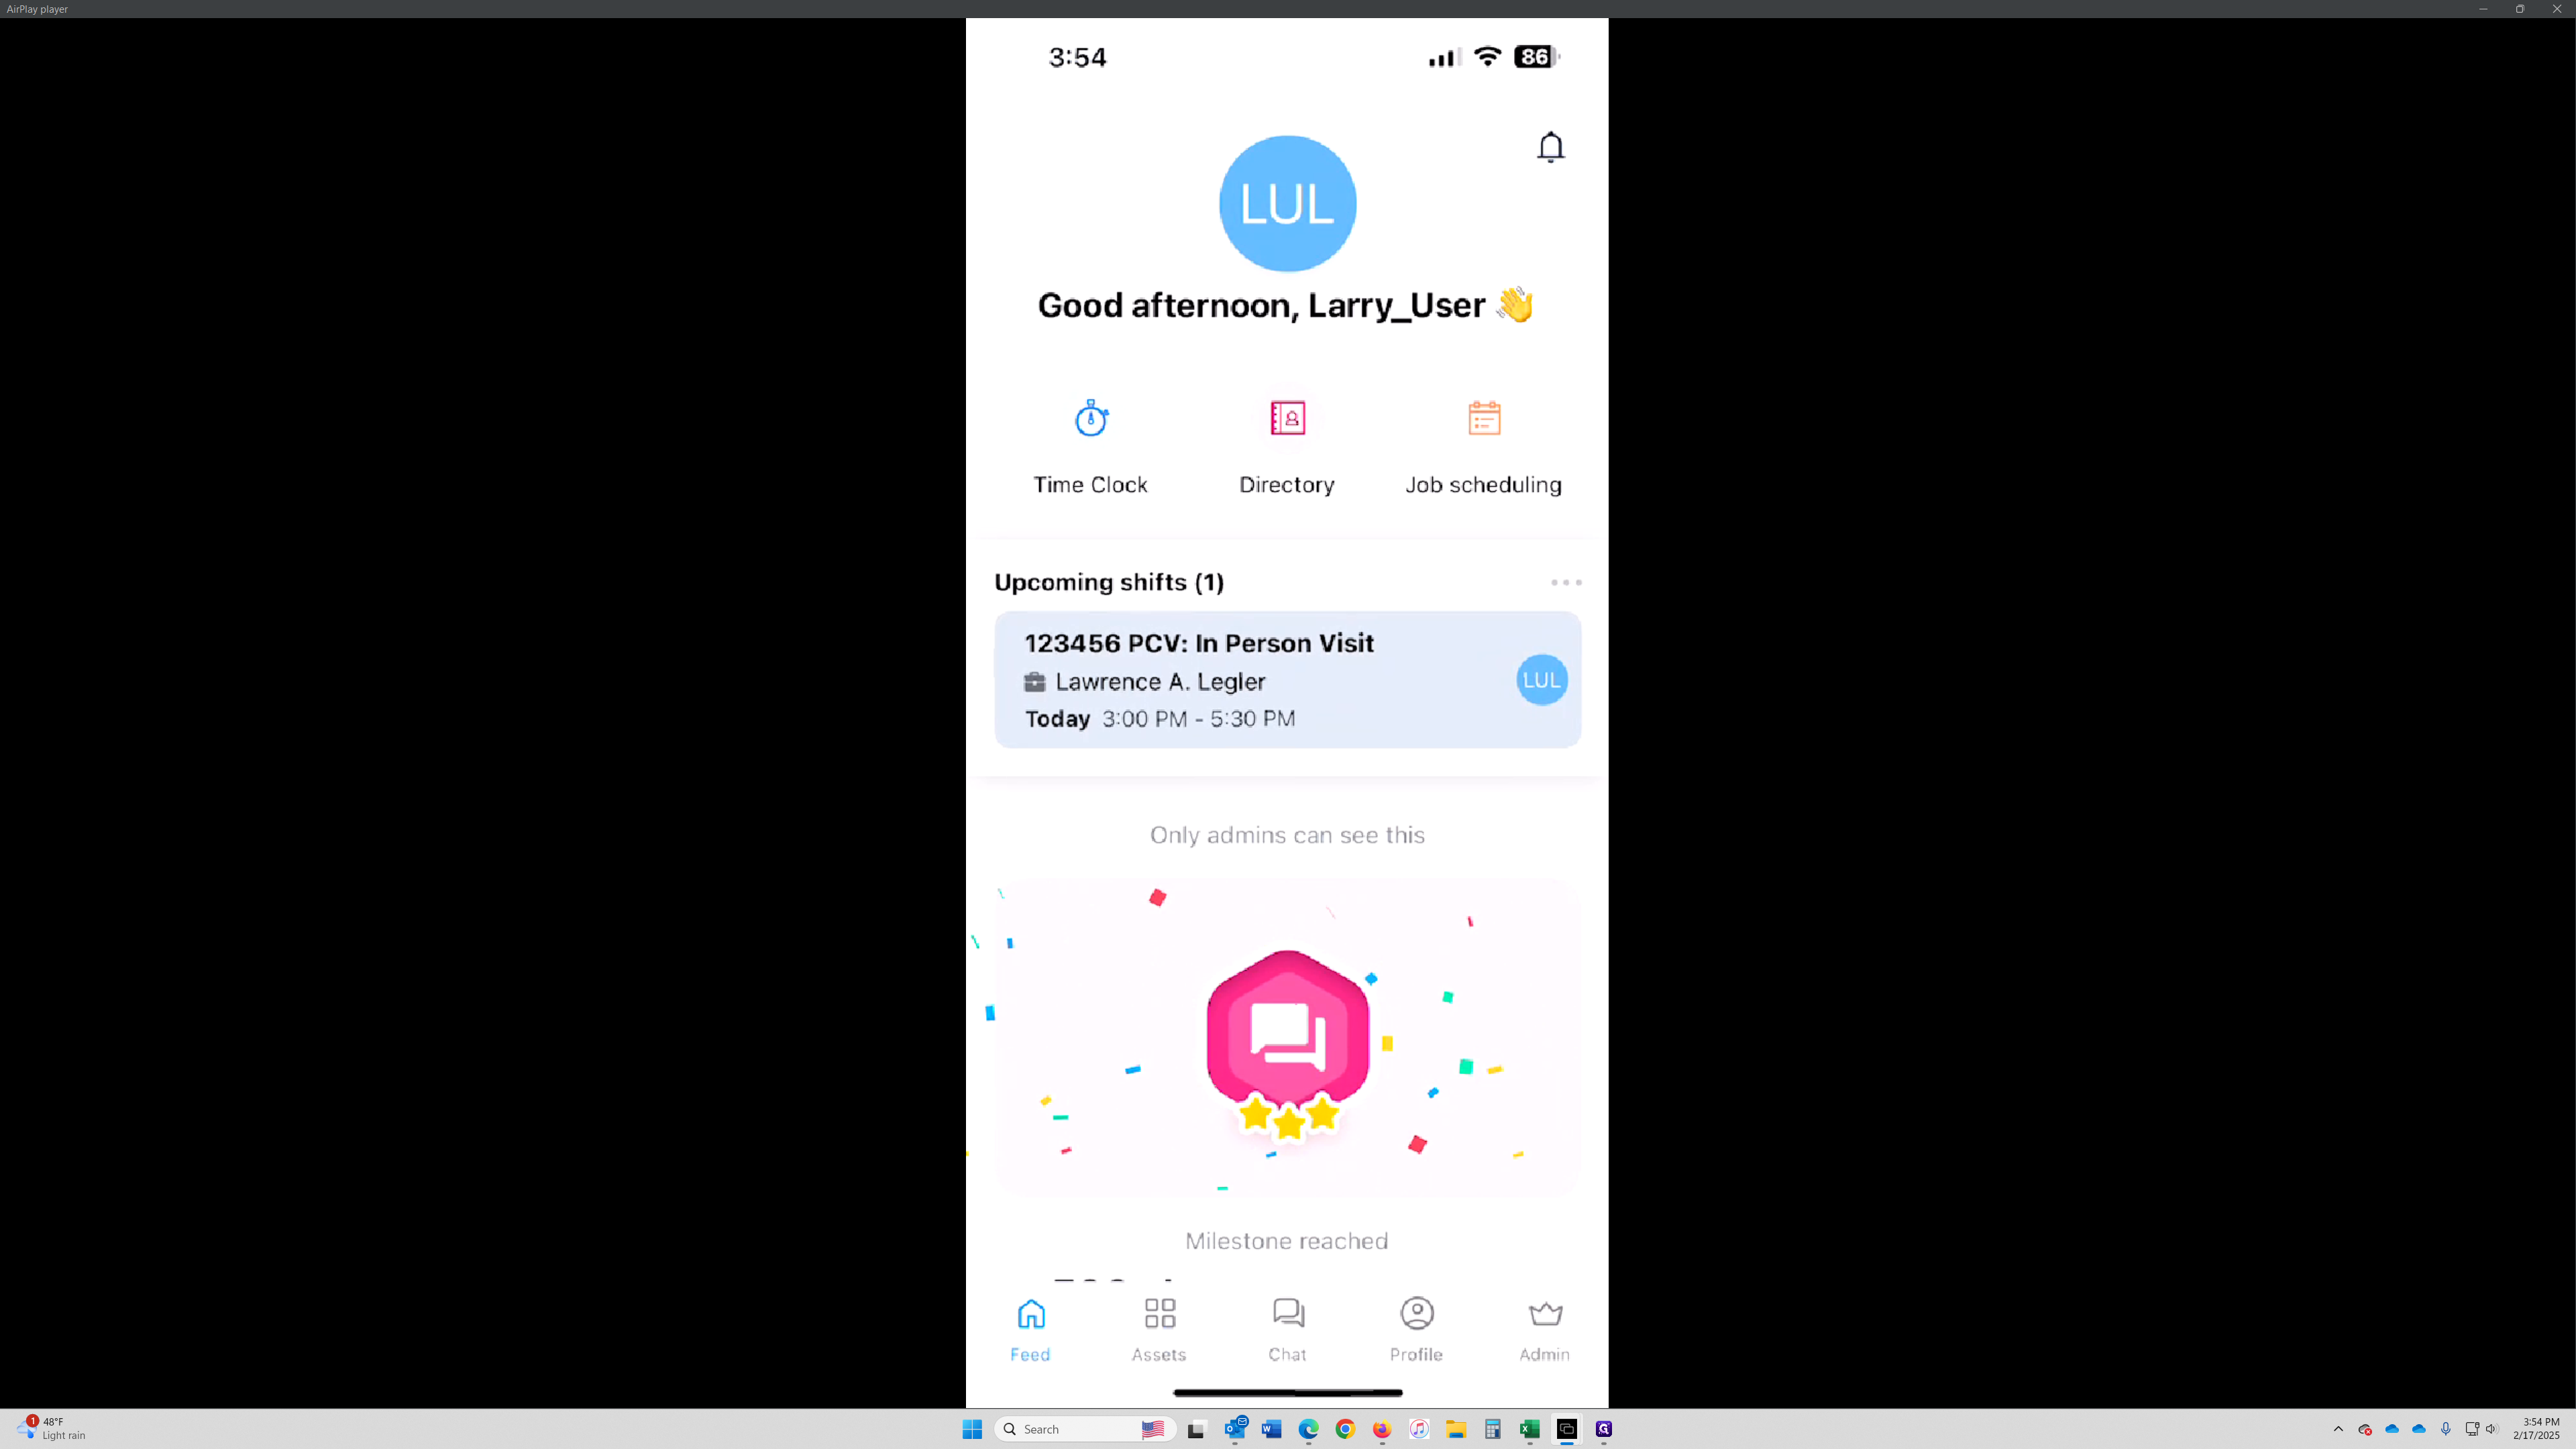
To begin, open the Connecteam app on your mobile device and tap on the feed to display your login screen.
Access Your Upcoming Shift
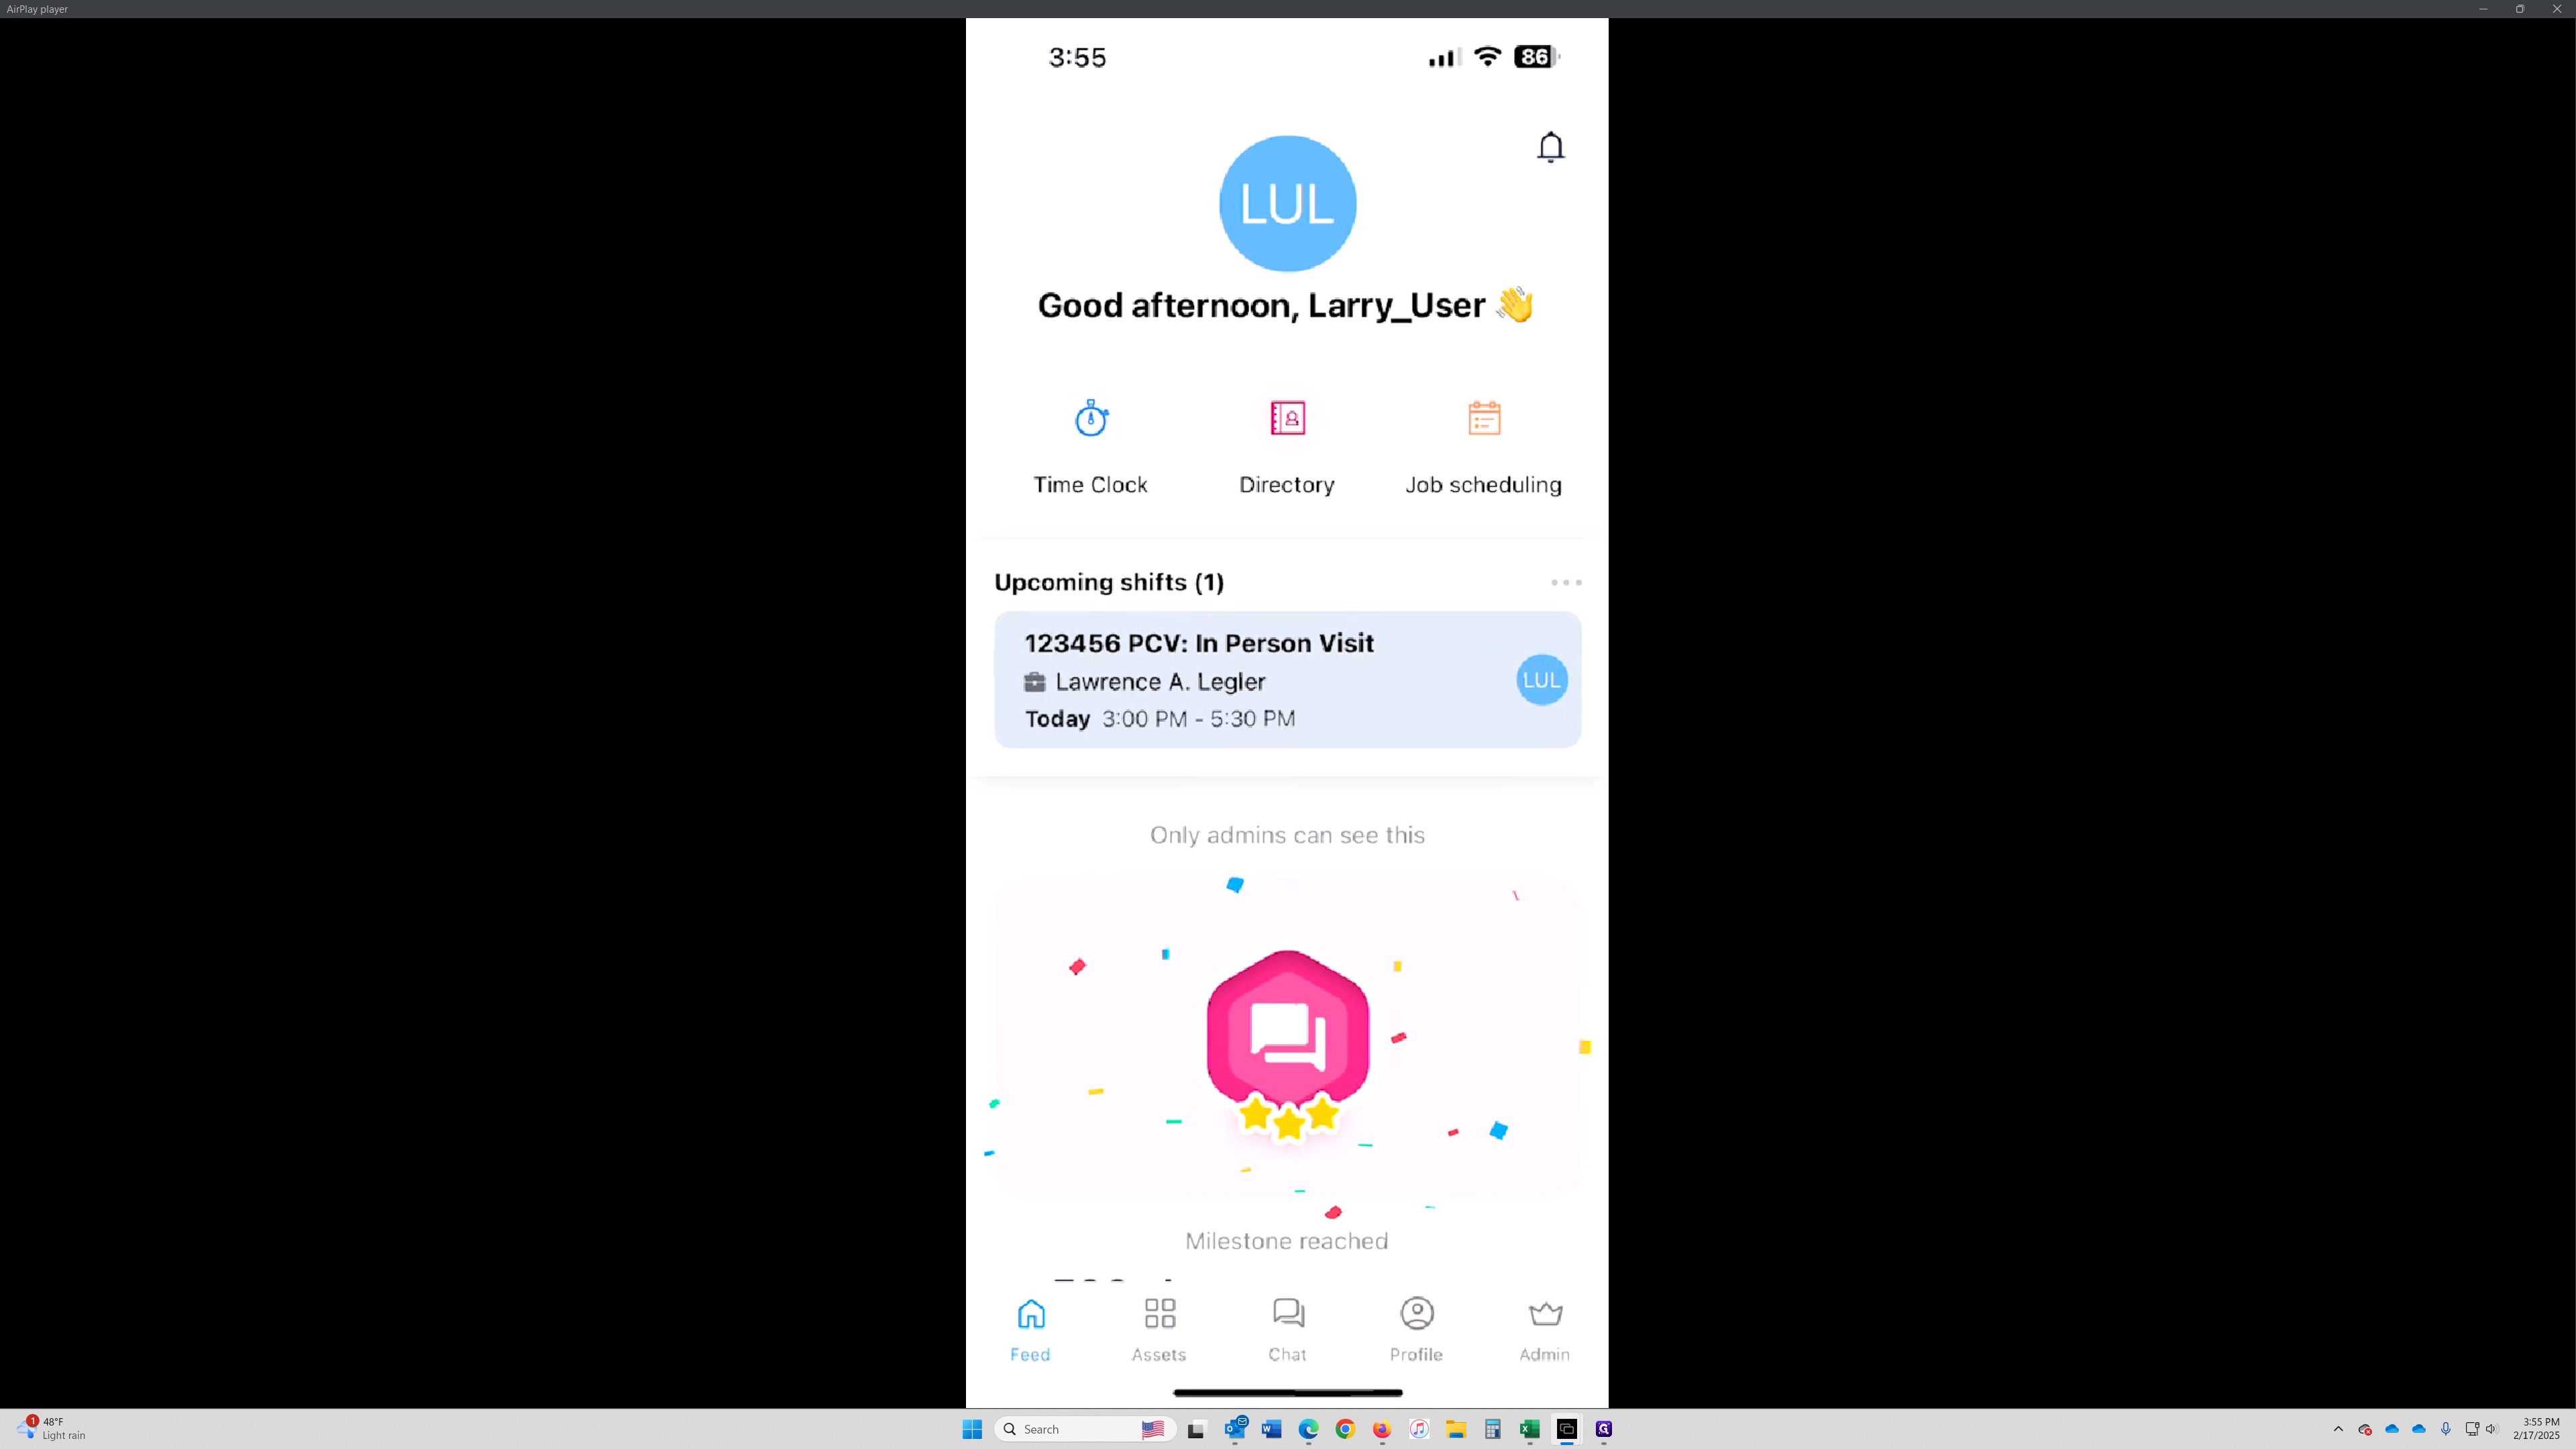
Once logged in on your mobile app, access your upcoming shift by tapping on it from the schedule screen.
Open the Time Clock
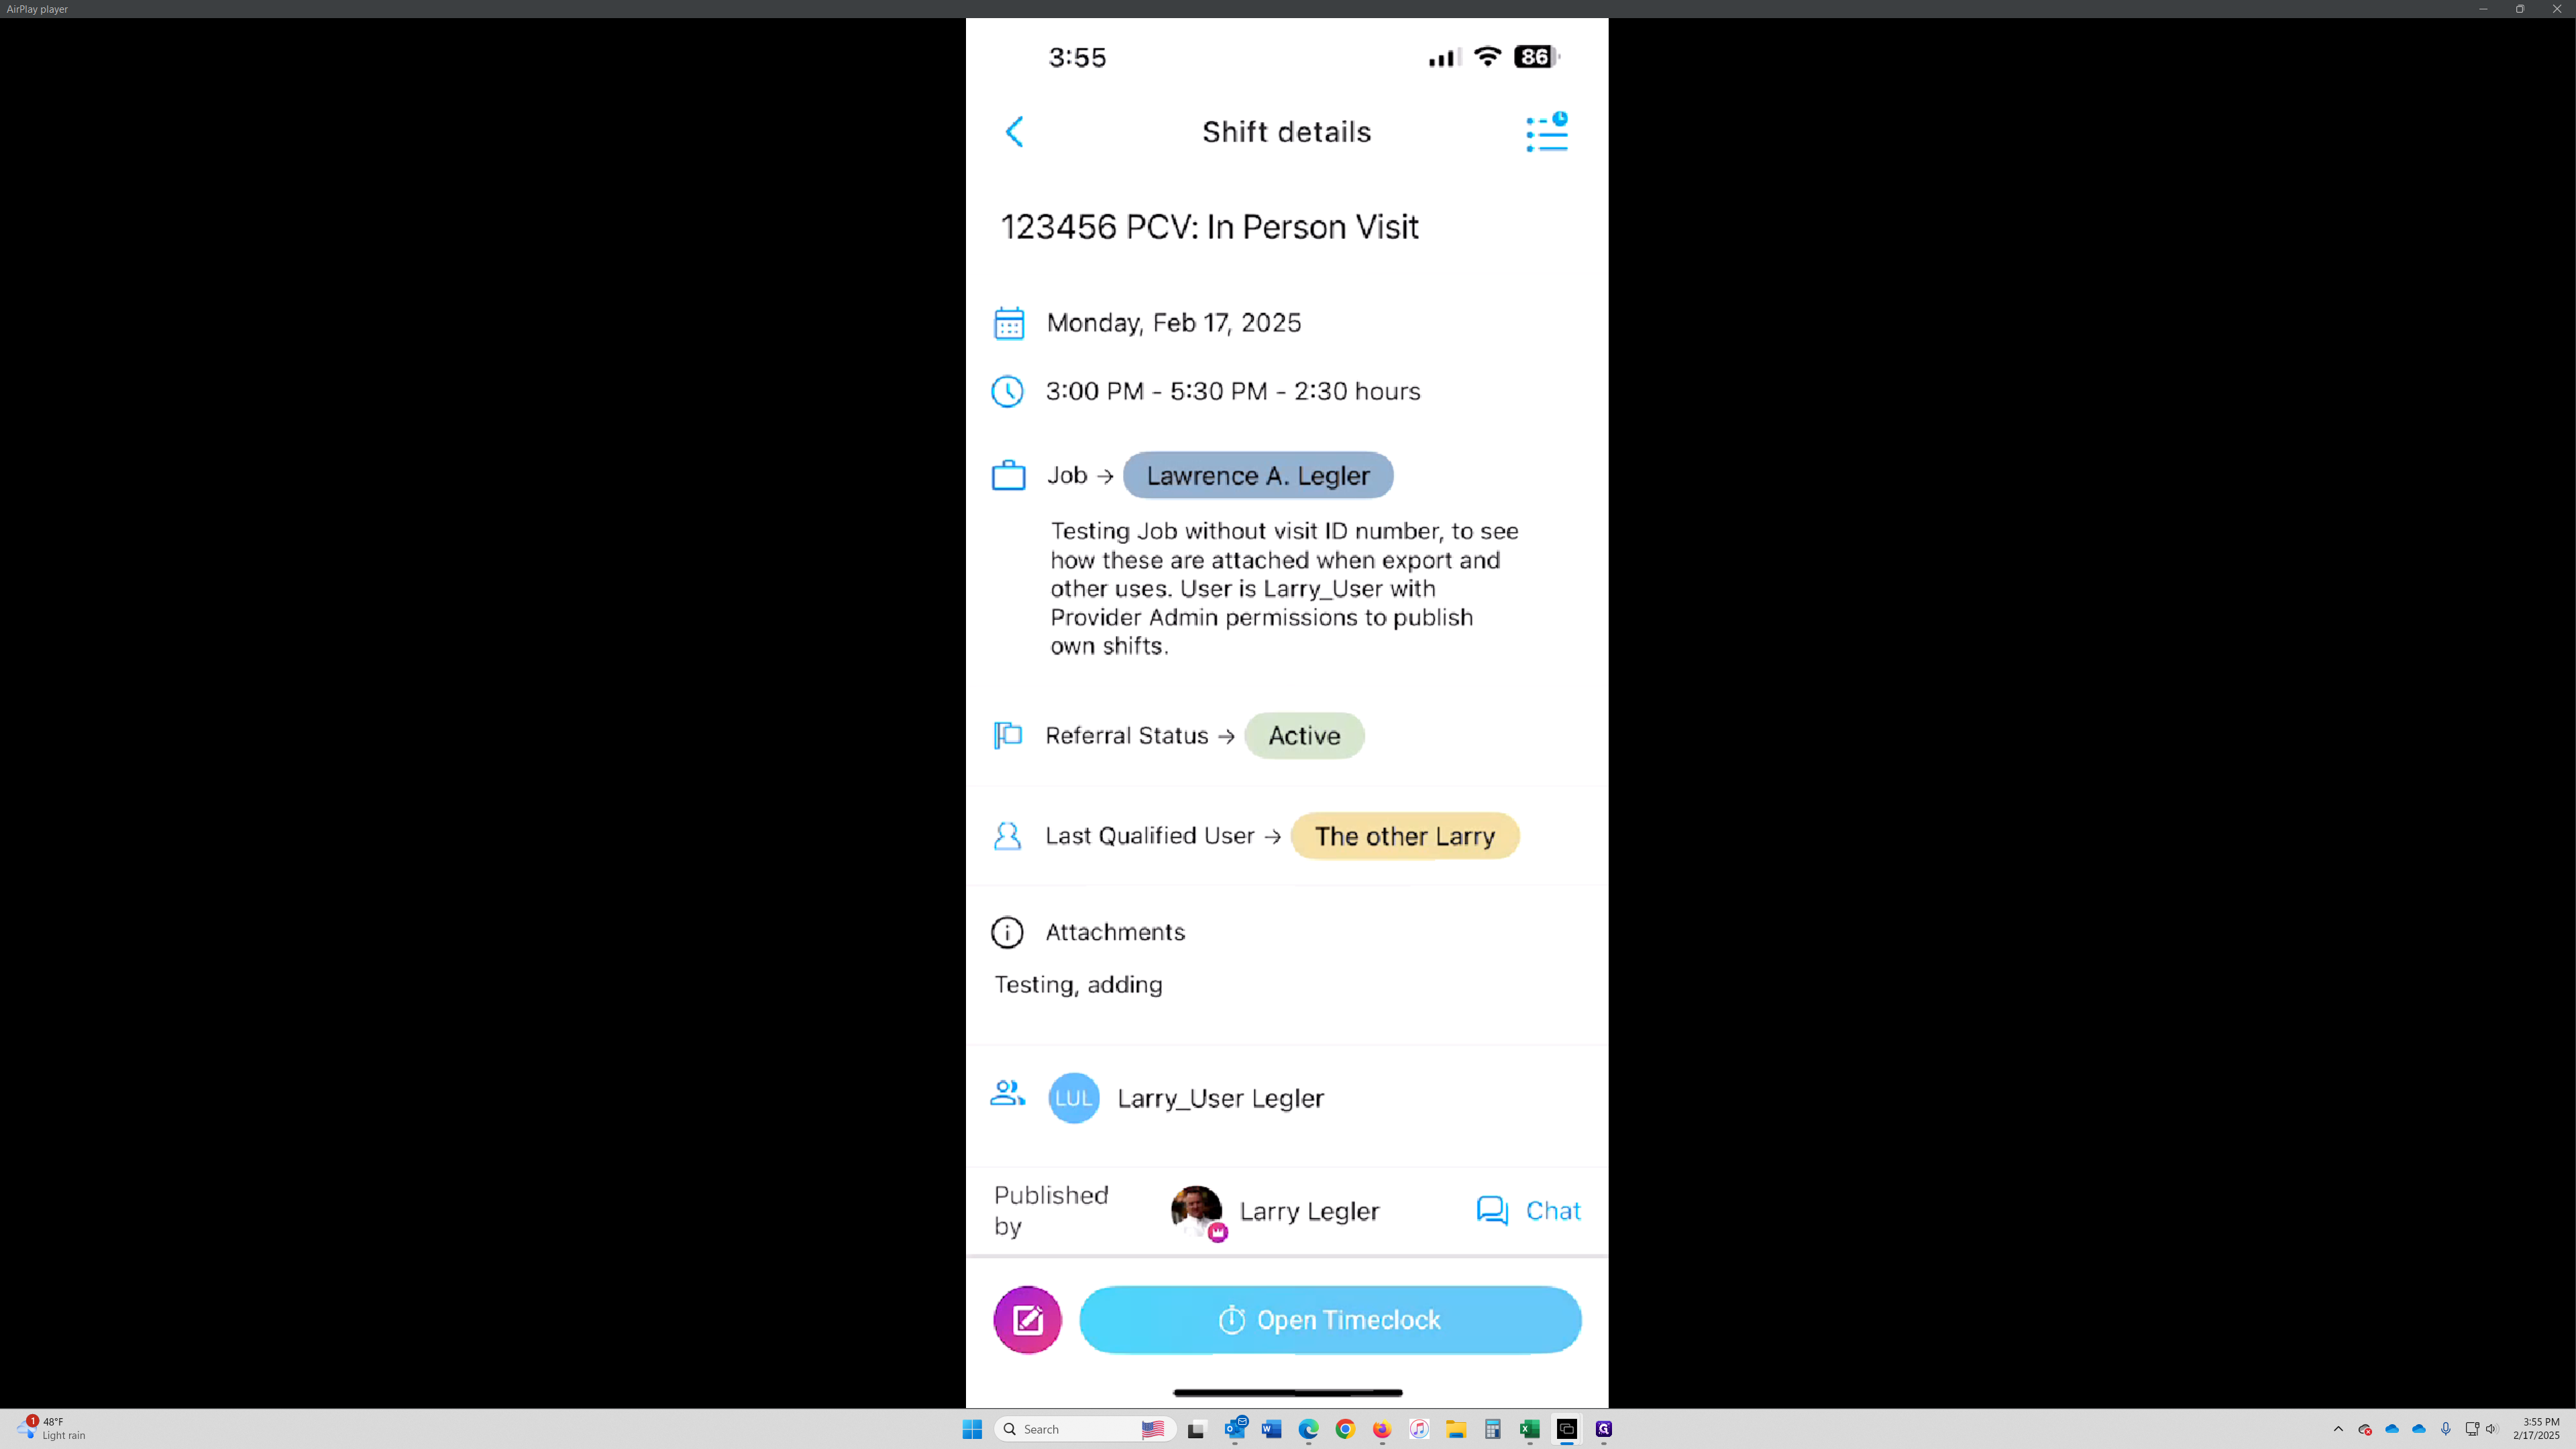
Click on the ' Open Timeclock' button at the bottom of your mobile screen to access the time clock options.
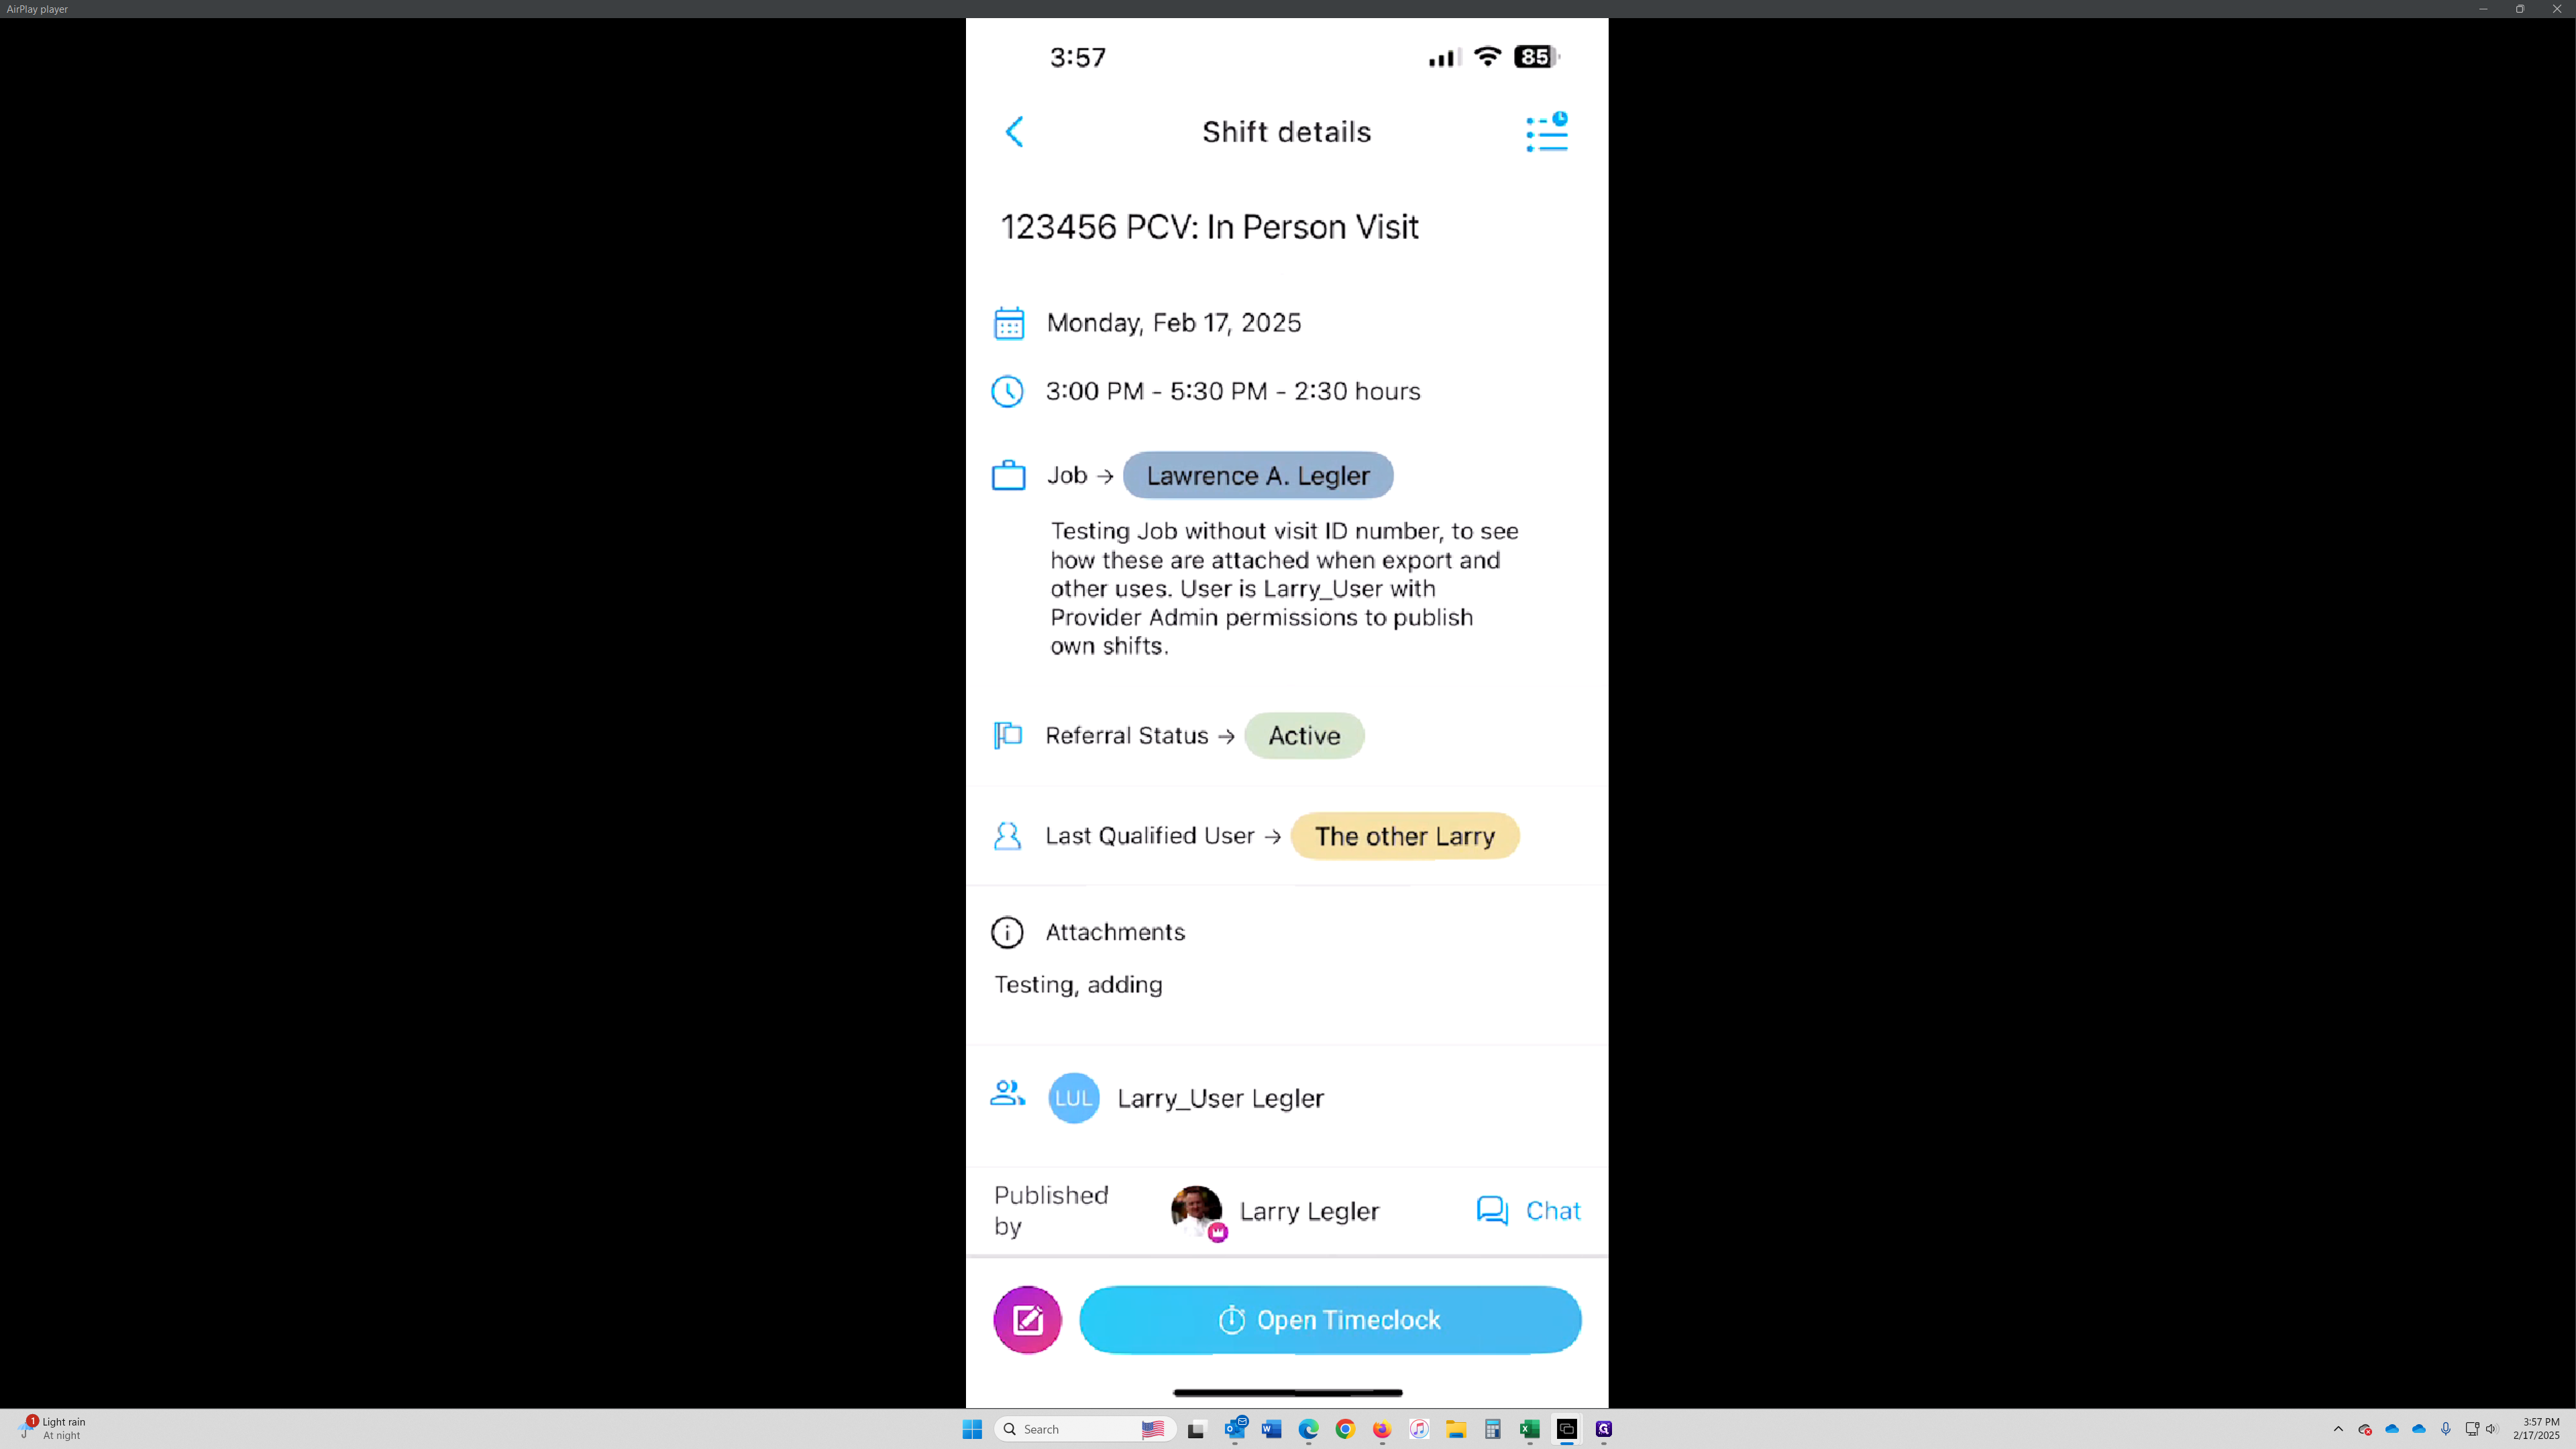
View Full Shift Details
If you need more information about your shift, you can click back to view the full shift details.
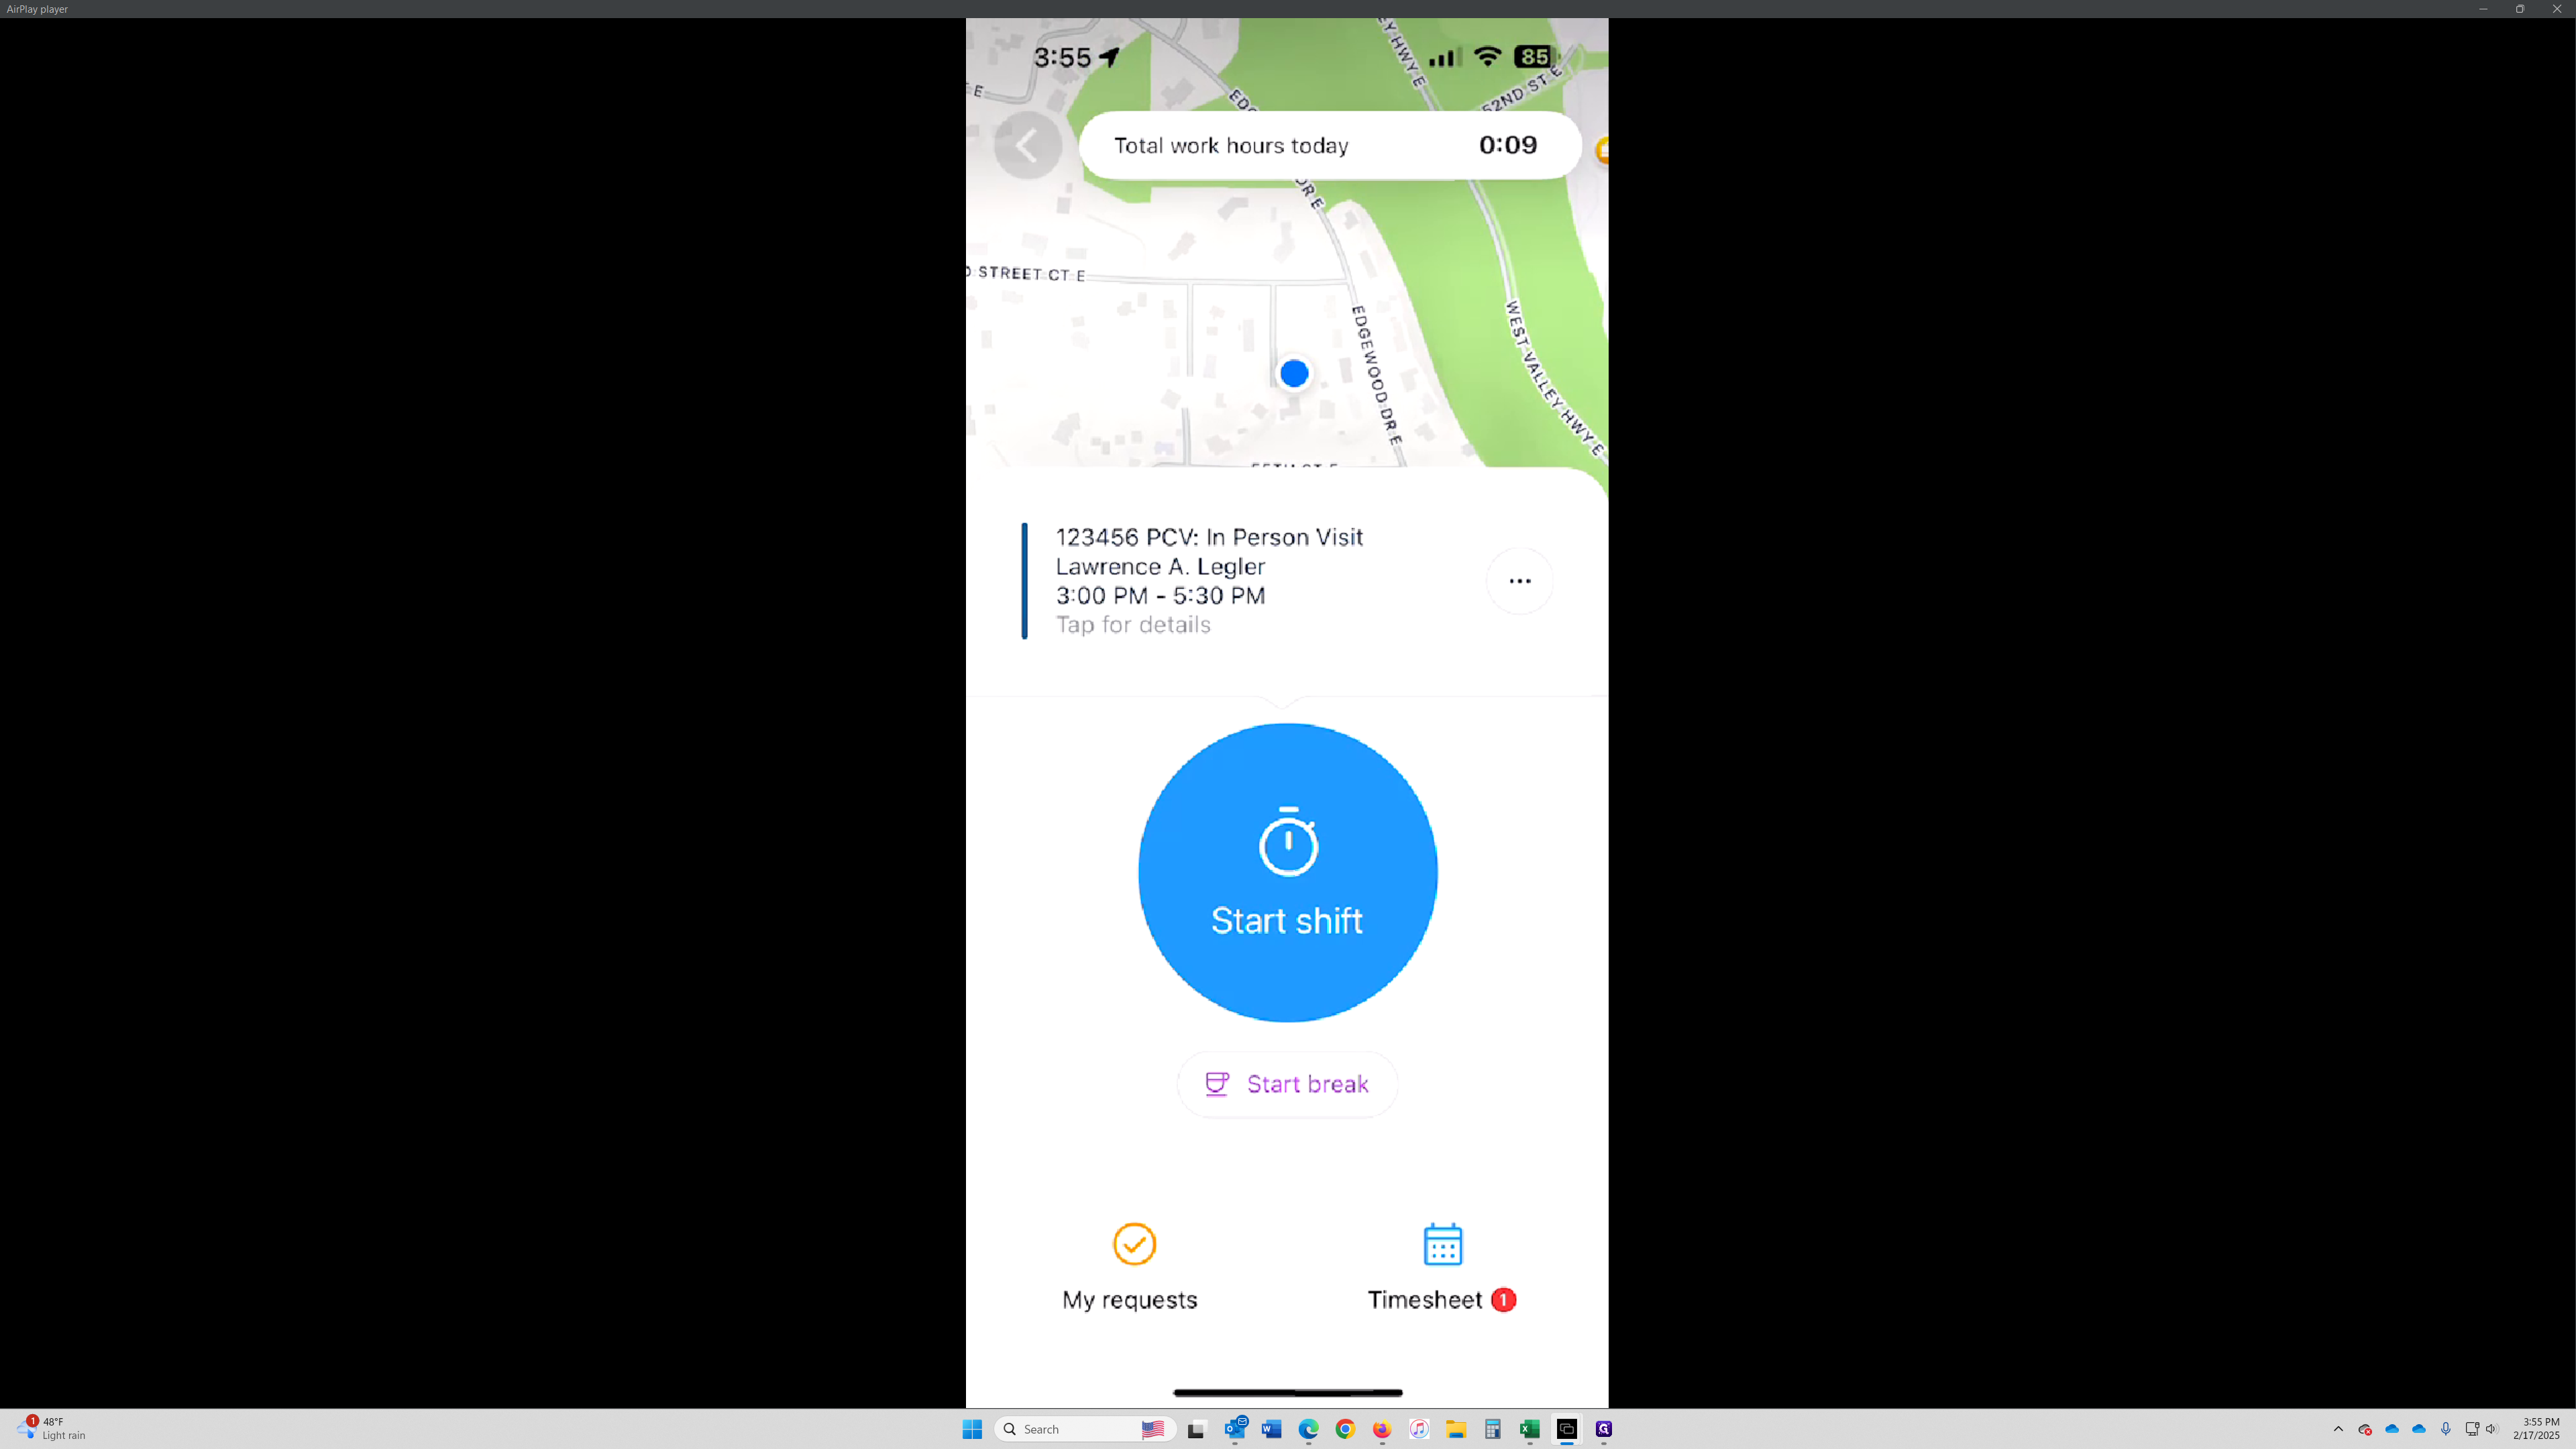
Find the Referral Visit ID#
To gather the Visit ID# for later, check the 'Shift Title' of the current shift, where you'll find the Referral Visit ID # listed. In this case, the ID is in the shift title: "123456 PCV: In-Person Visit."
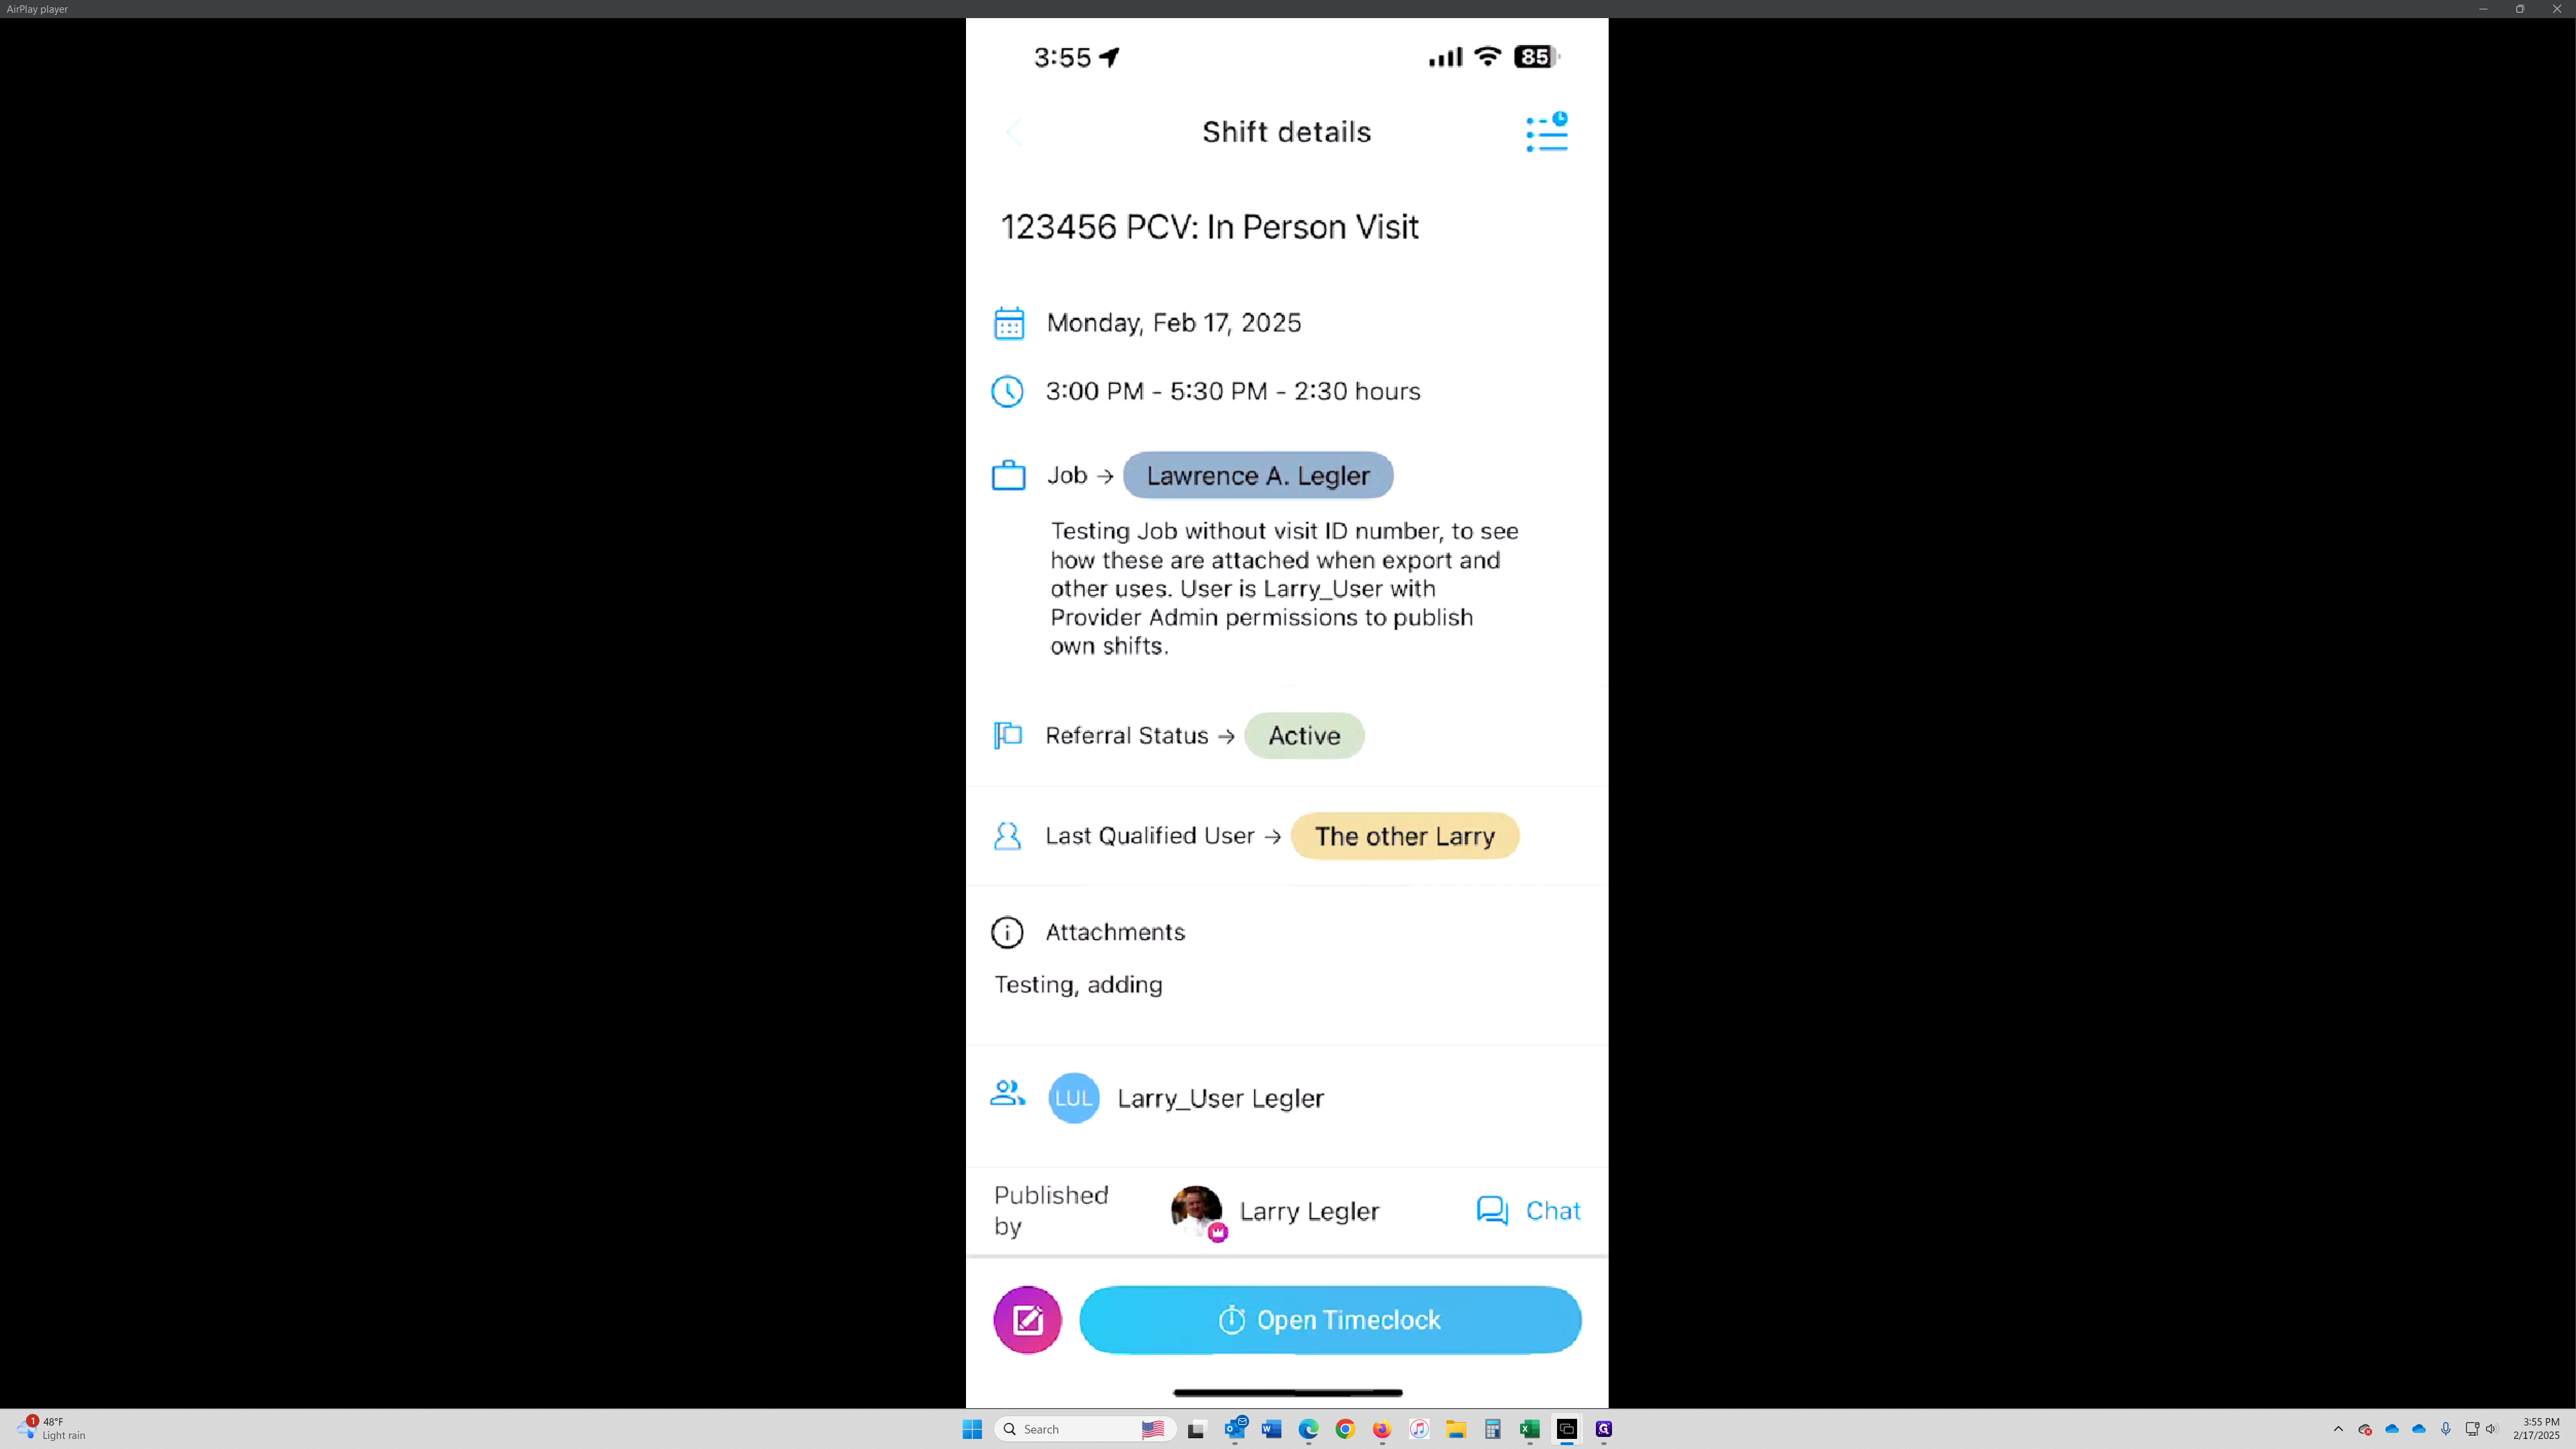
Access the Time Clock
Now, click the "Time Clock" button to access options for clocking into your shift.
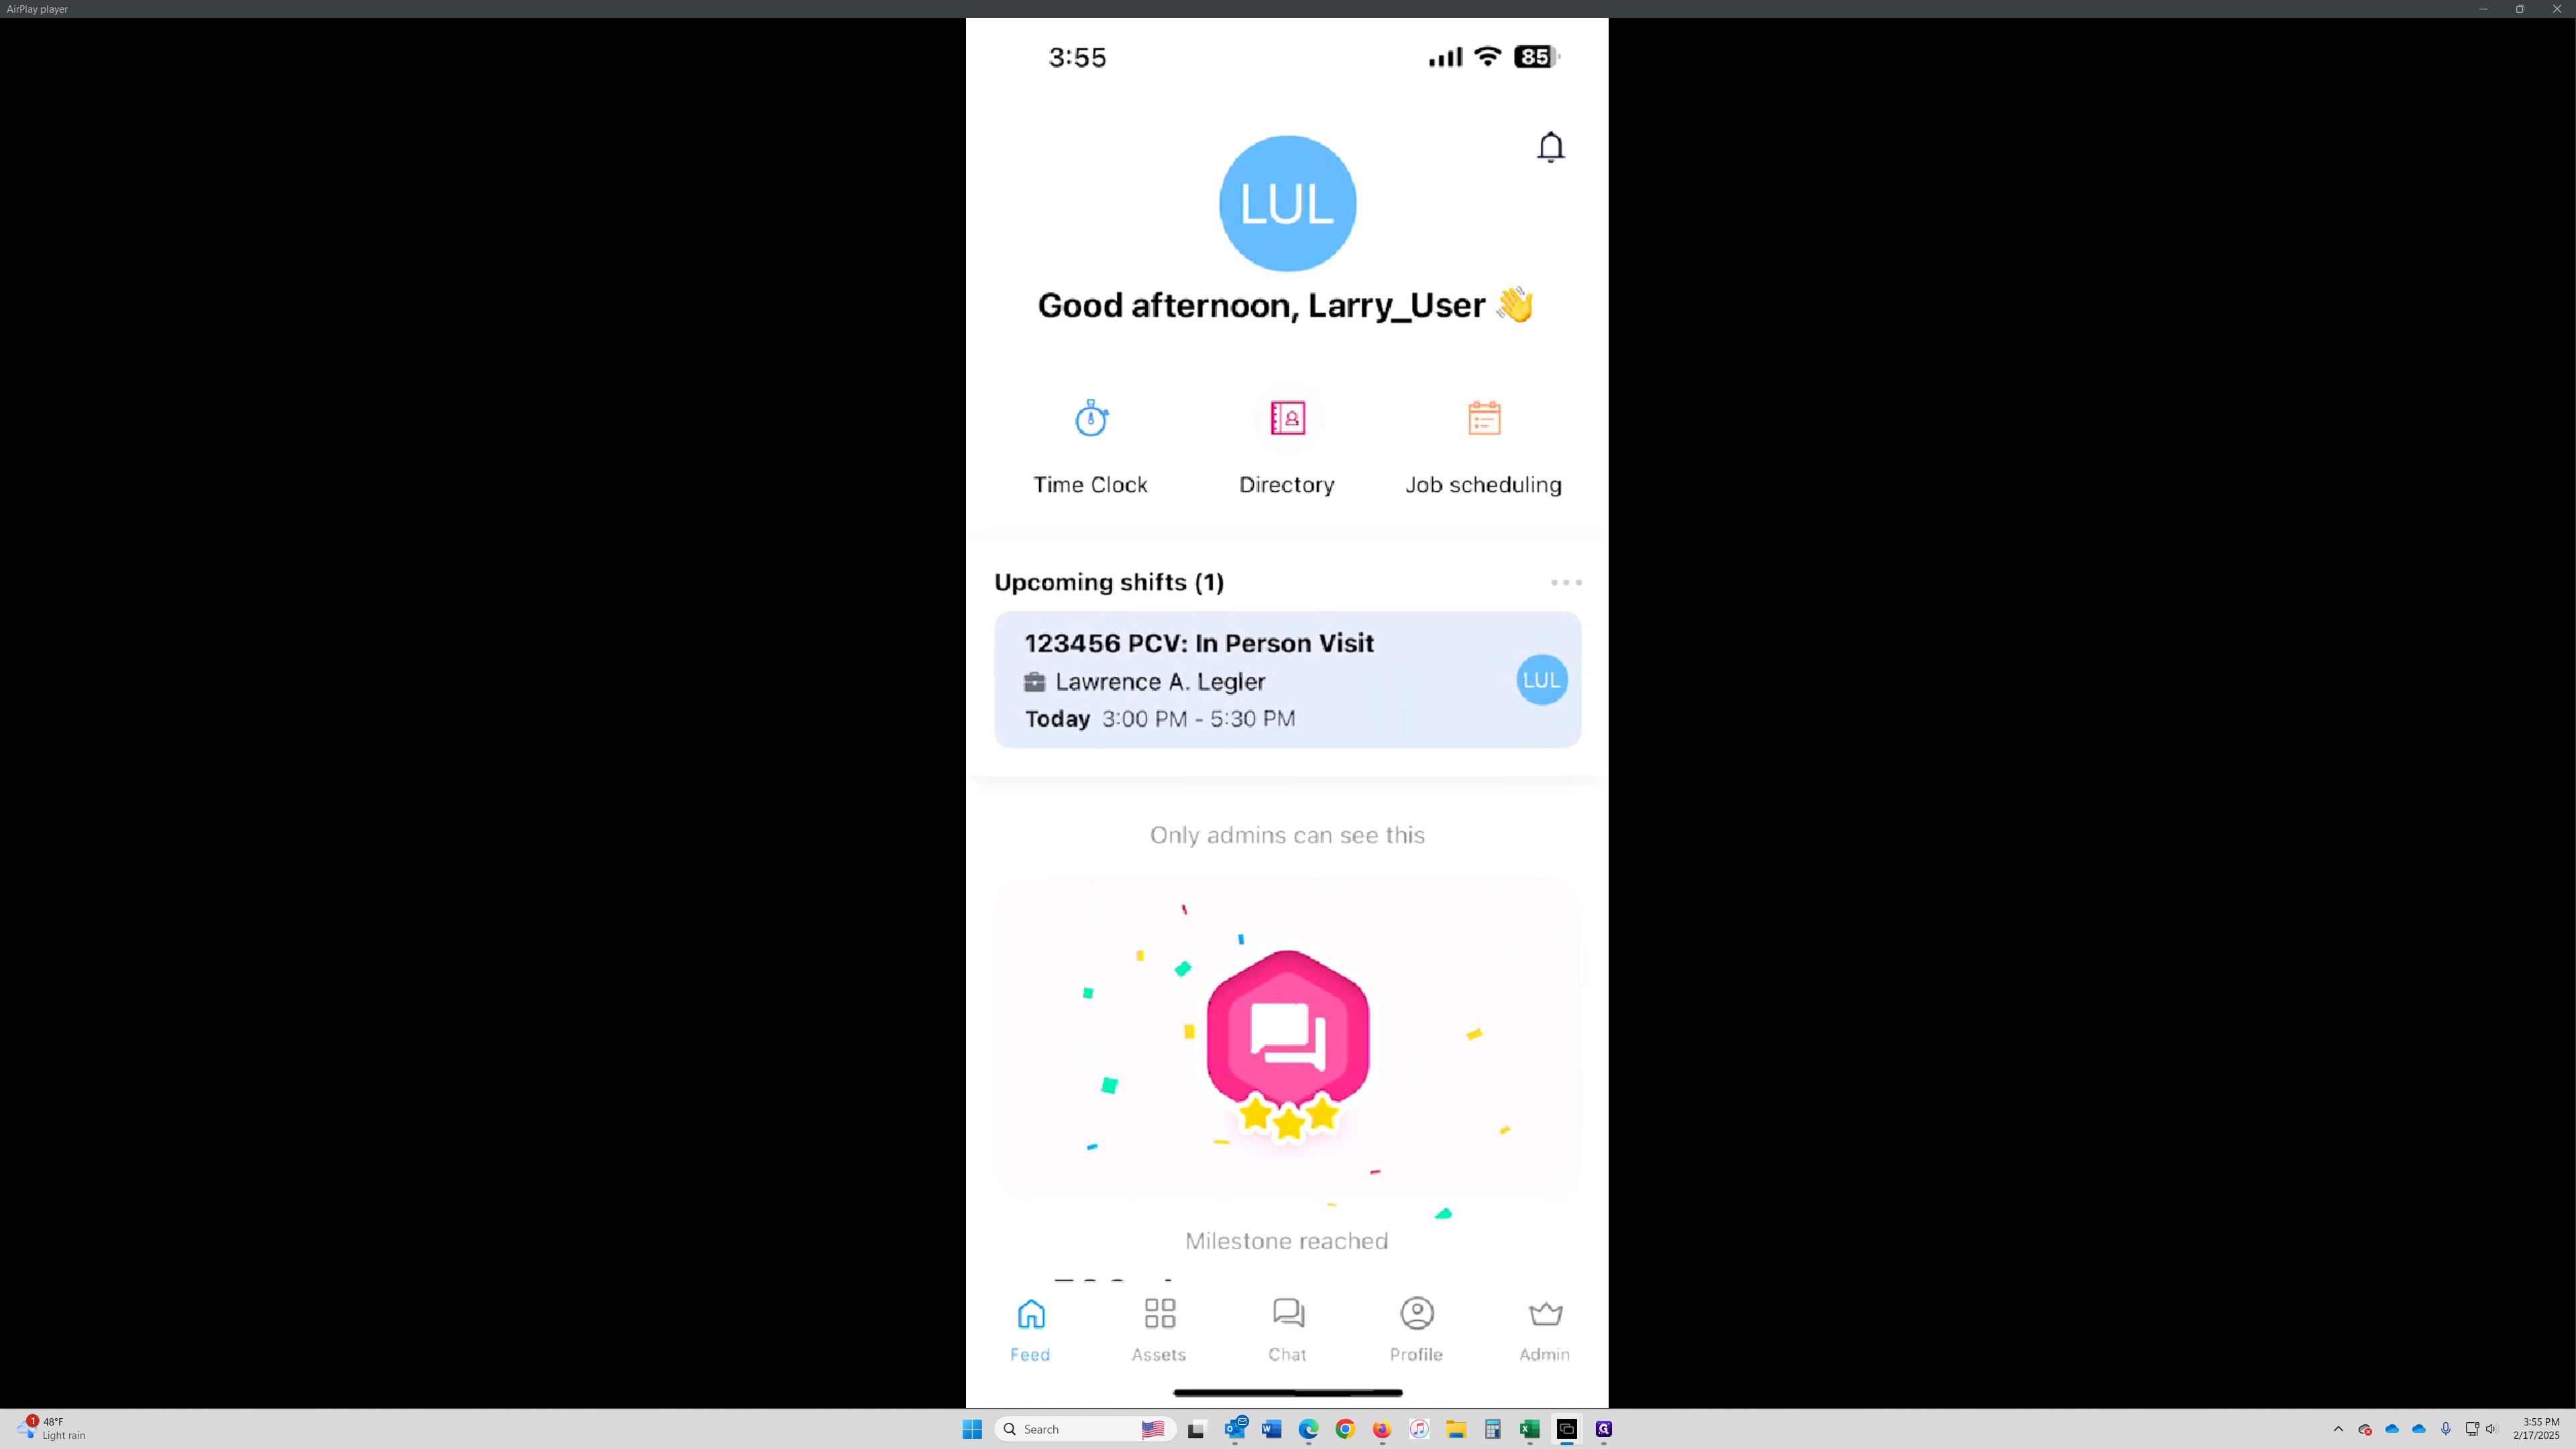
Clock In Without a Shift
Alternatively, you can click the three ellipses (…) next to "Clocking occurs without a shift." This allows you to select a job and clock in manually.
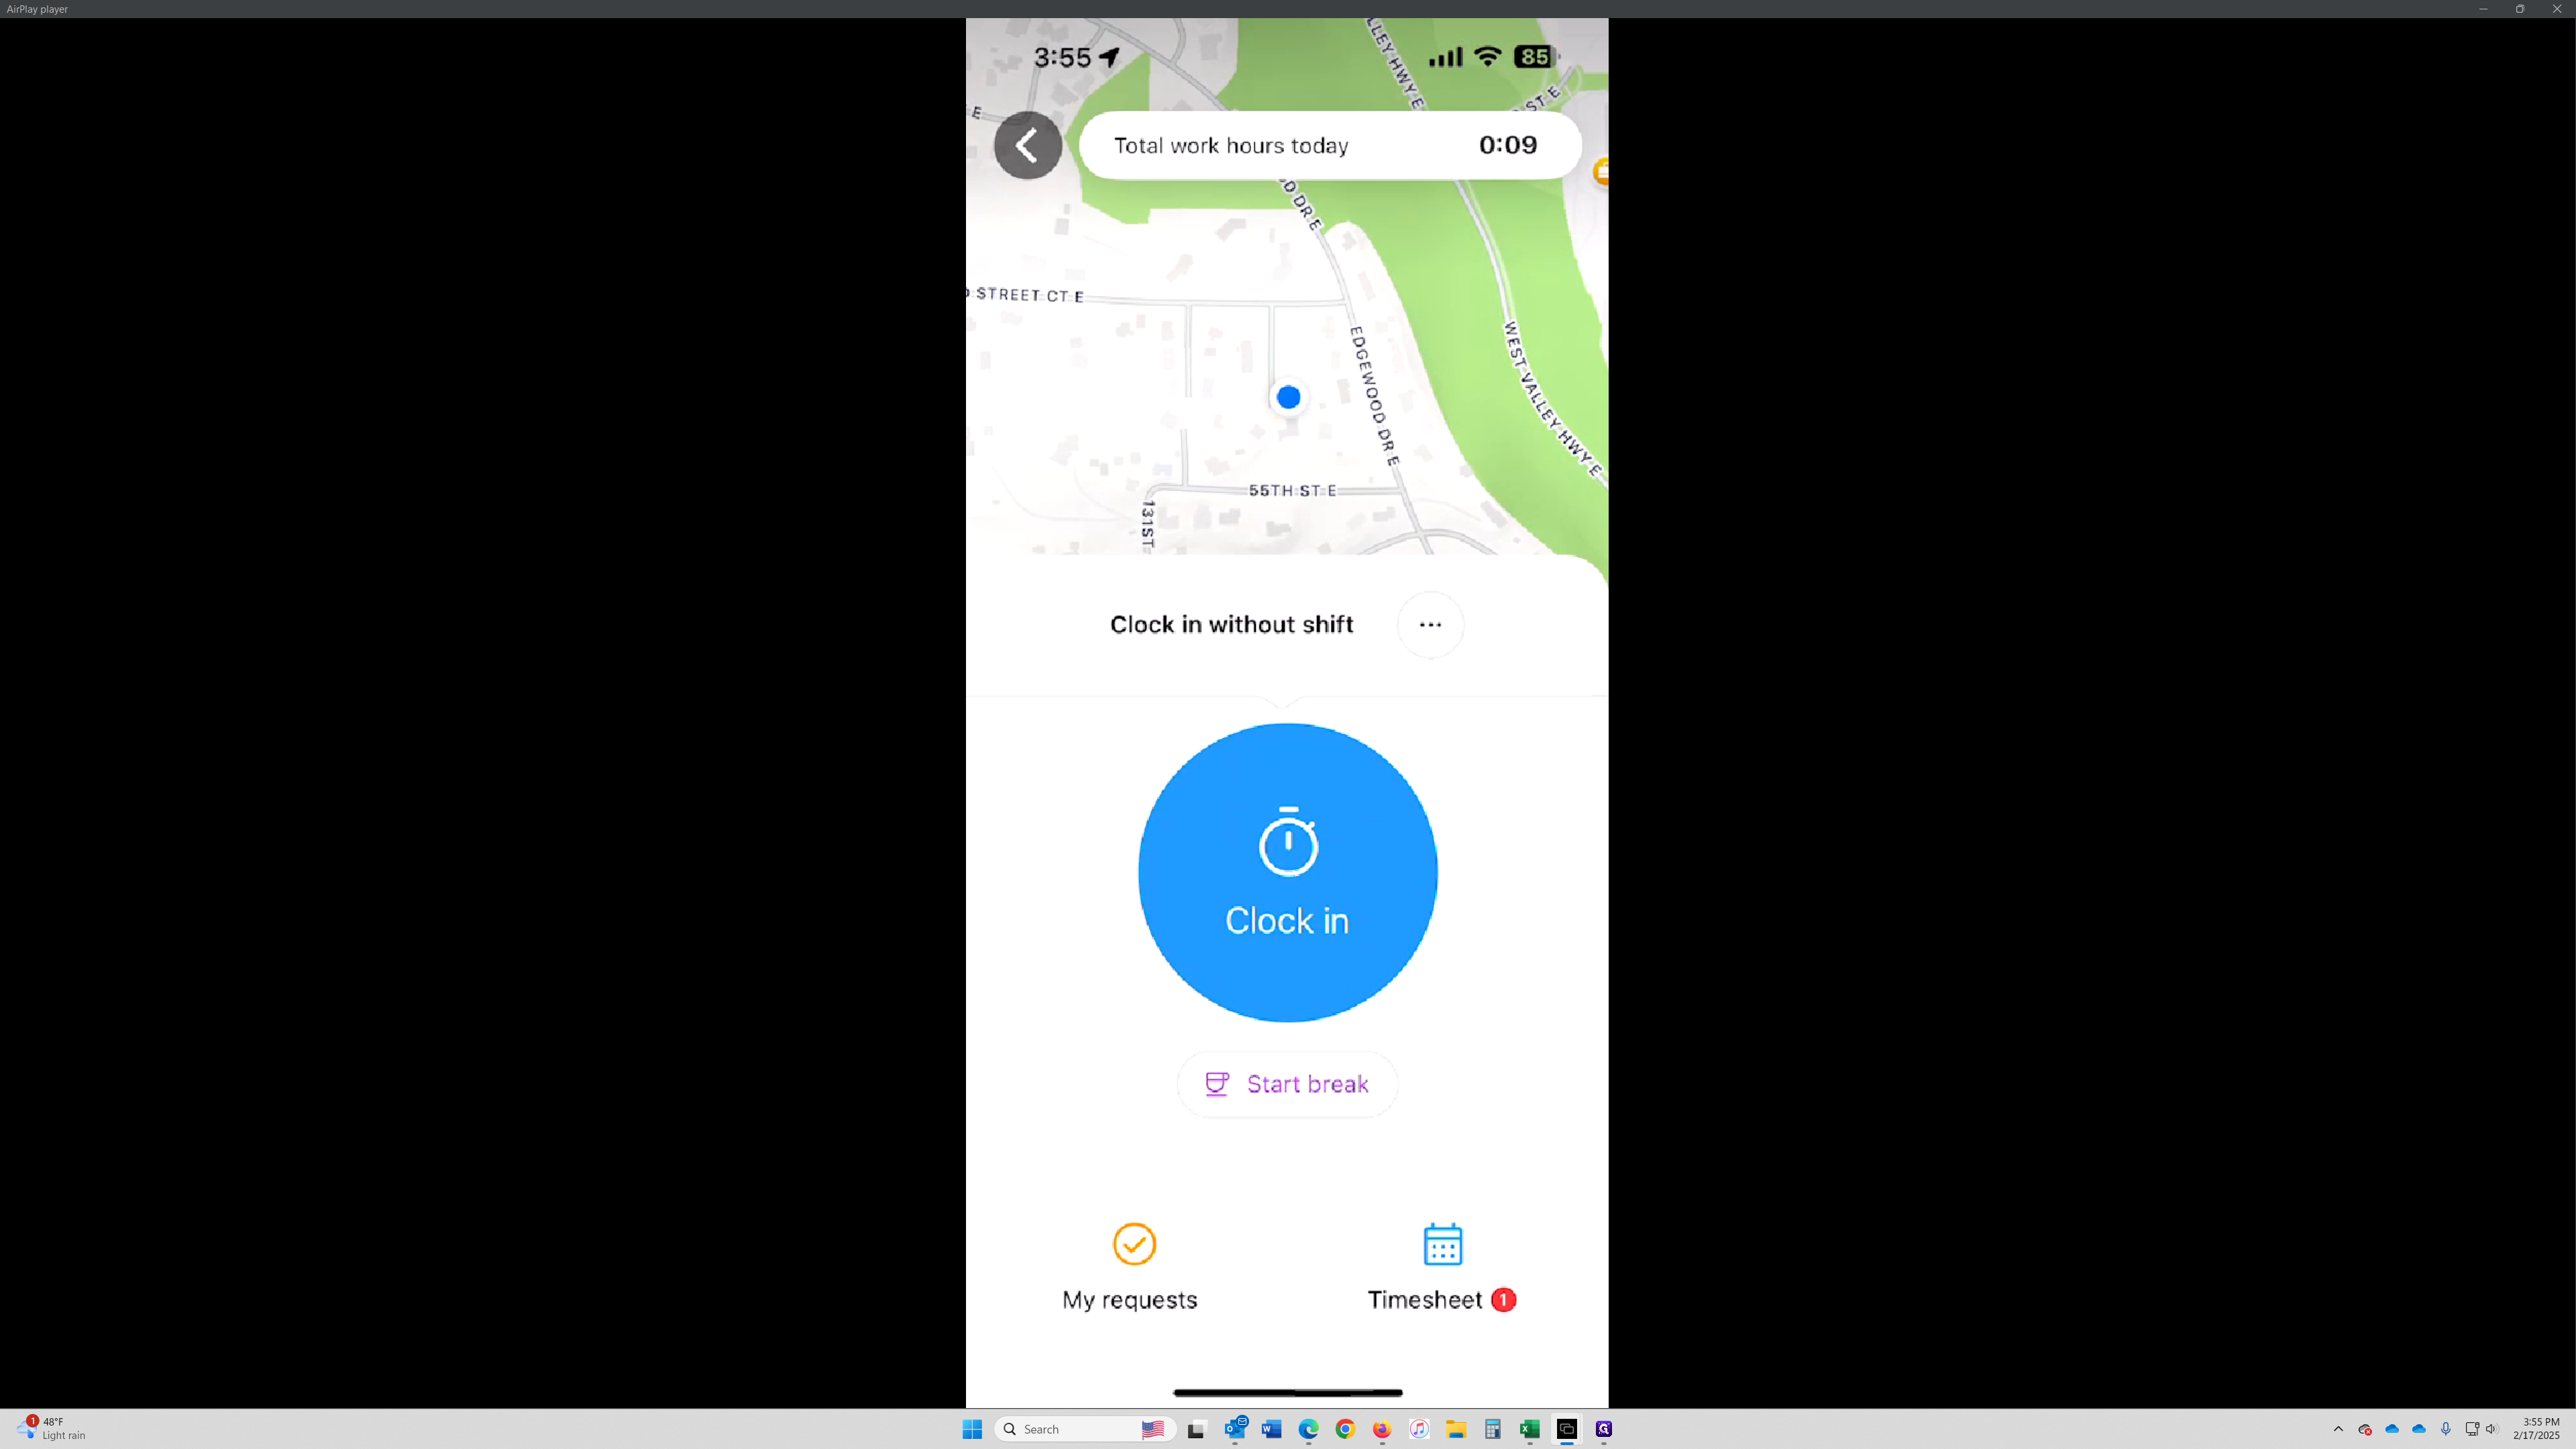
Select Your Shift
You can select the shift listed on your schedule for today. For example, if the current time is 3:55 PM and your shift is scheduled from 3:00 PM to 5:30 PM, you're eligible to select this shift. In order to show you the next way, I am going to click Cancel to return to the previous screen.
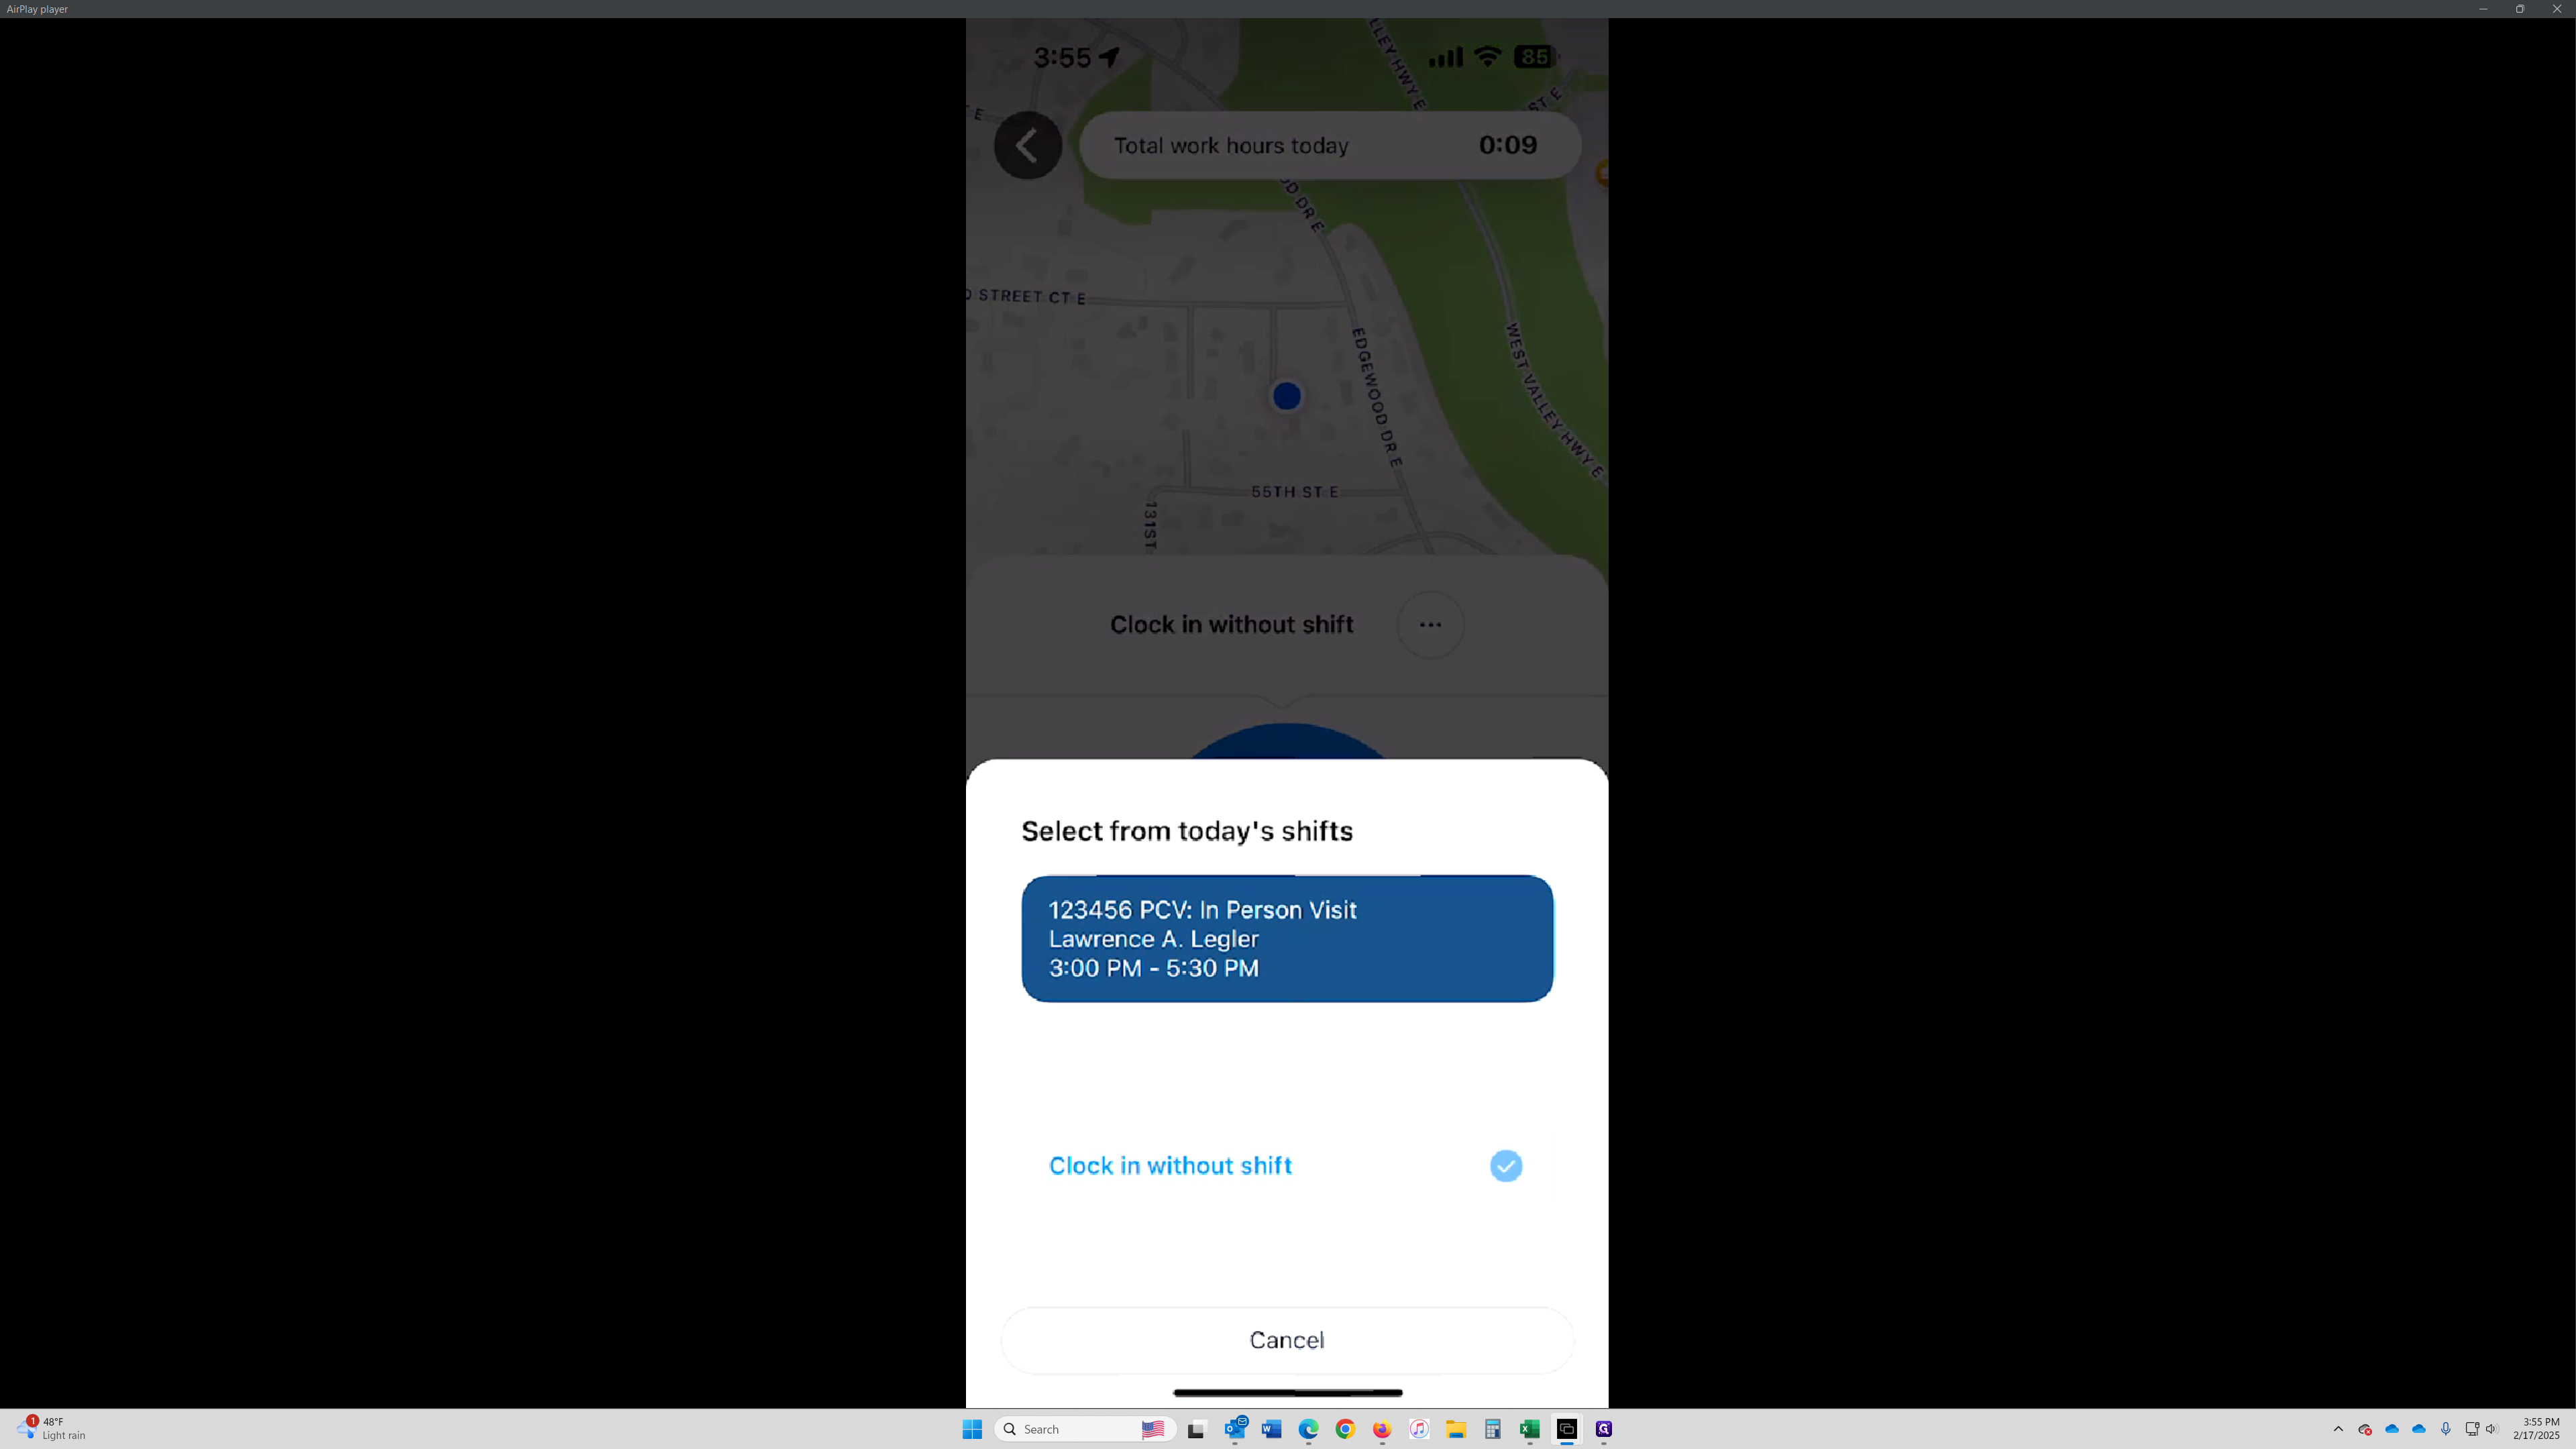
Second Method - Clock In from Job List
Another way to clock in is by selecting "Clock In" and then choosing the job from the list.
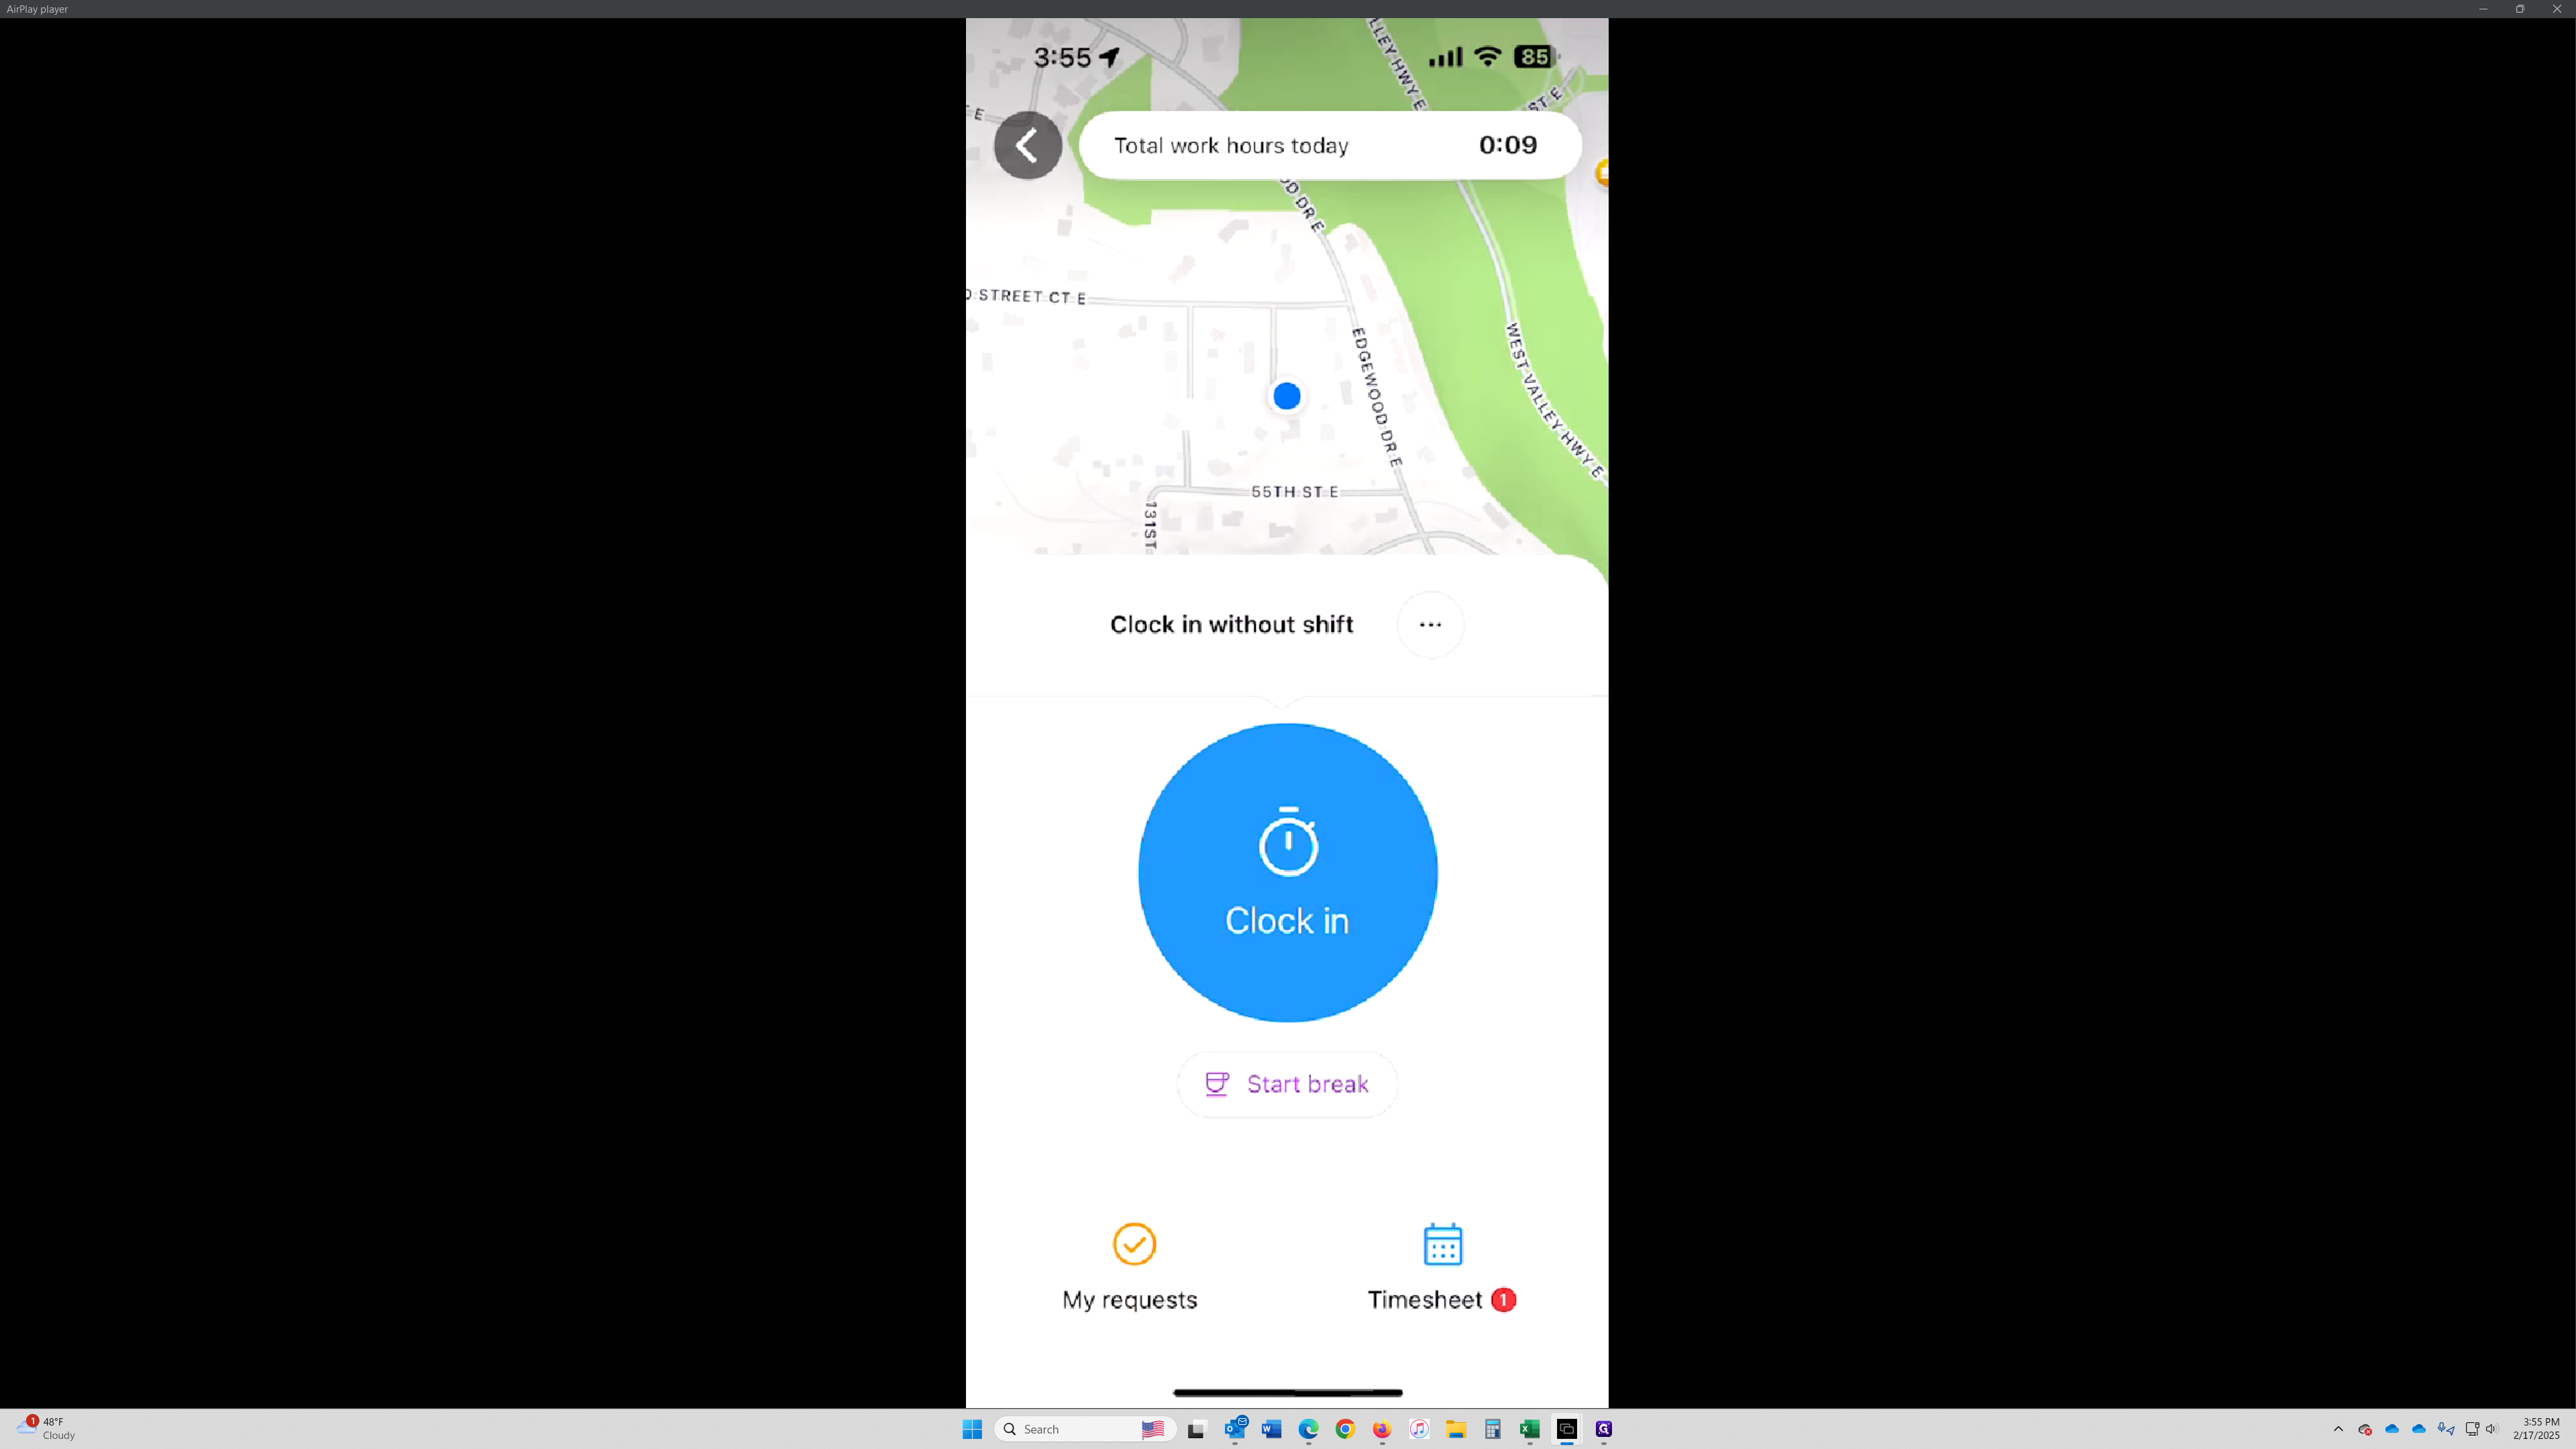
Alternative Method to Clock In
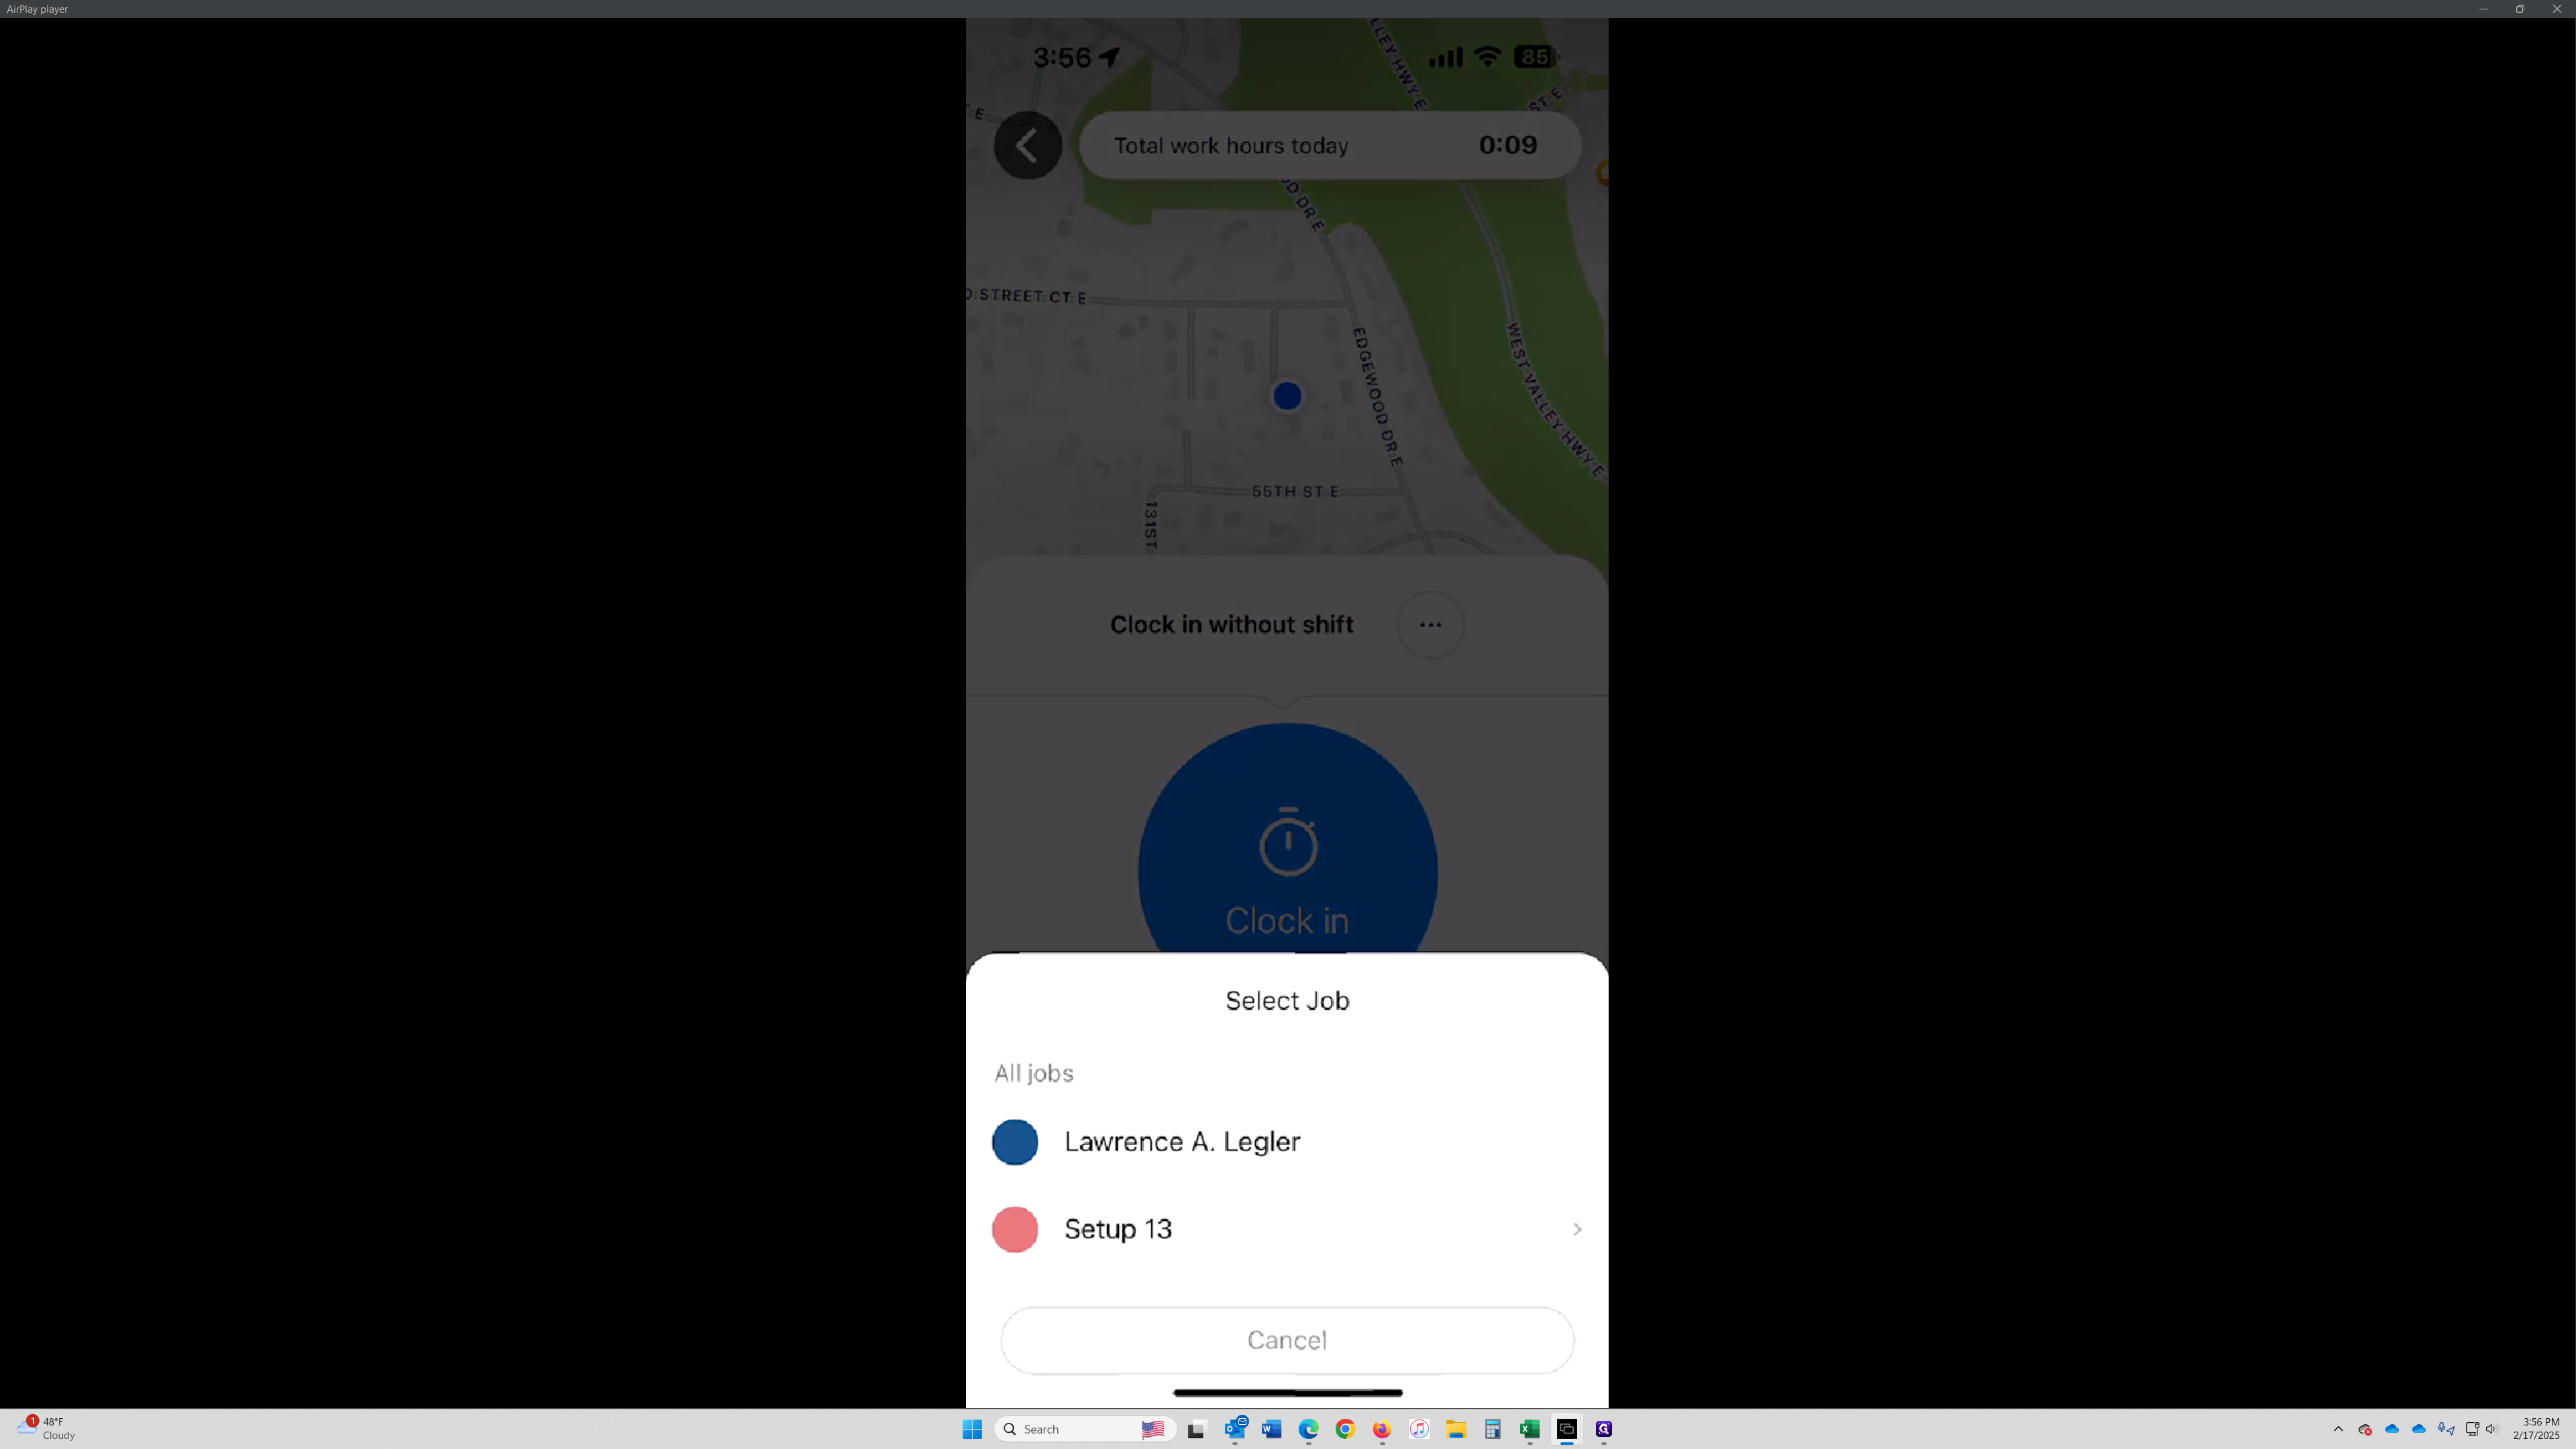
This method allows you to select from all jobs you're qualified to work with on the time clock. The job "Lawrence A. Legler" is the same one shown in the previous screenshot, but with fewer details. This is the job linked to the shift in the earlier example.
If for any reason the first method isn't available—such as if the scheduled shift has passed—this second method allows you to clock in and track your time.
Click Cancel to return to the previous screen and show you the third way to clock into the same job.
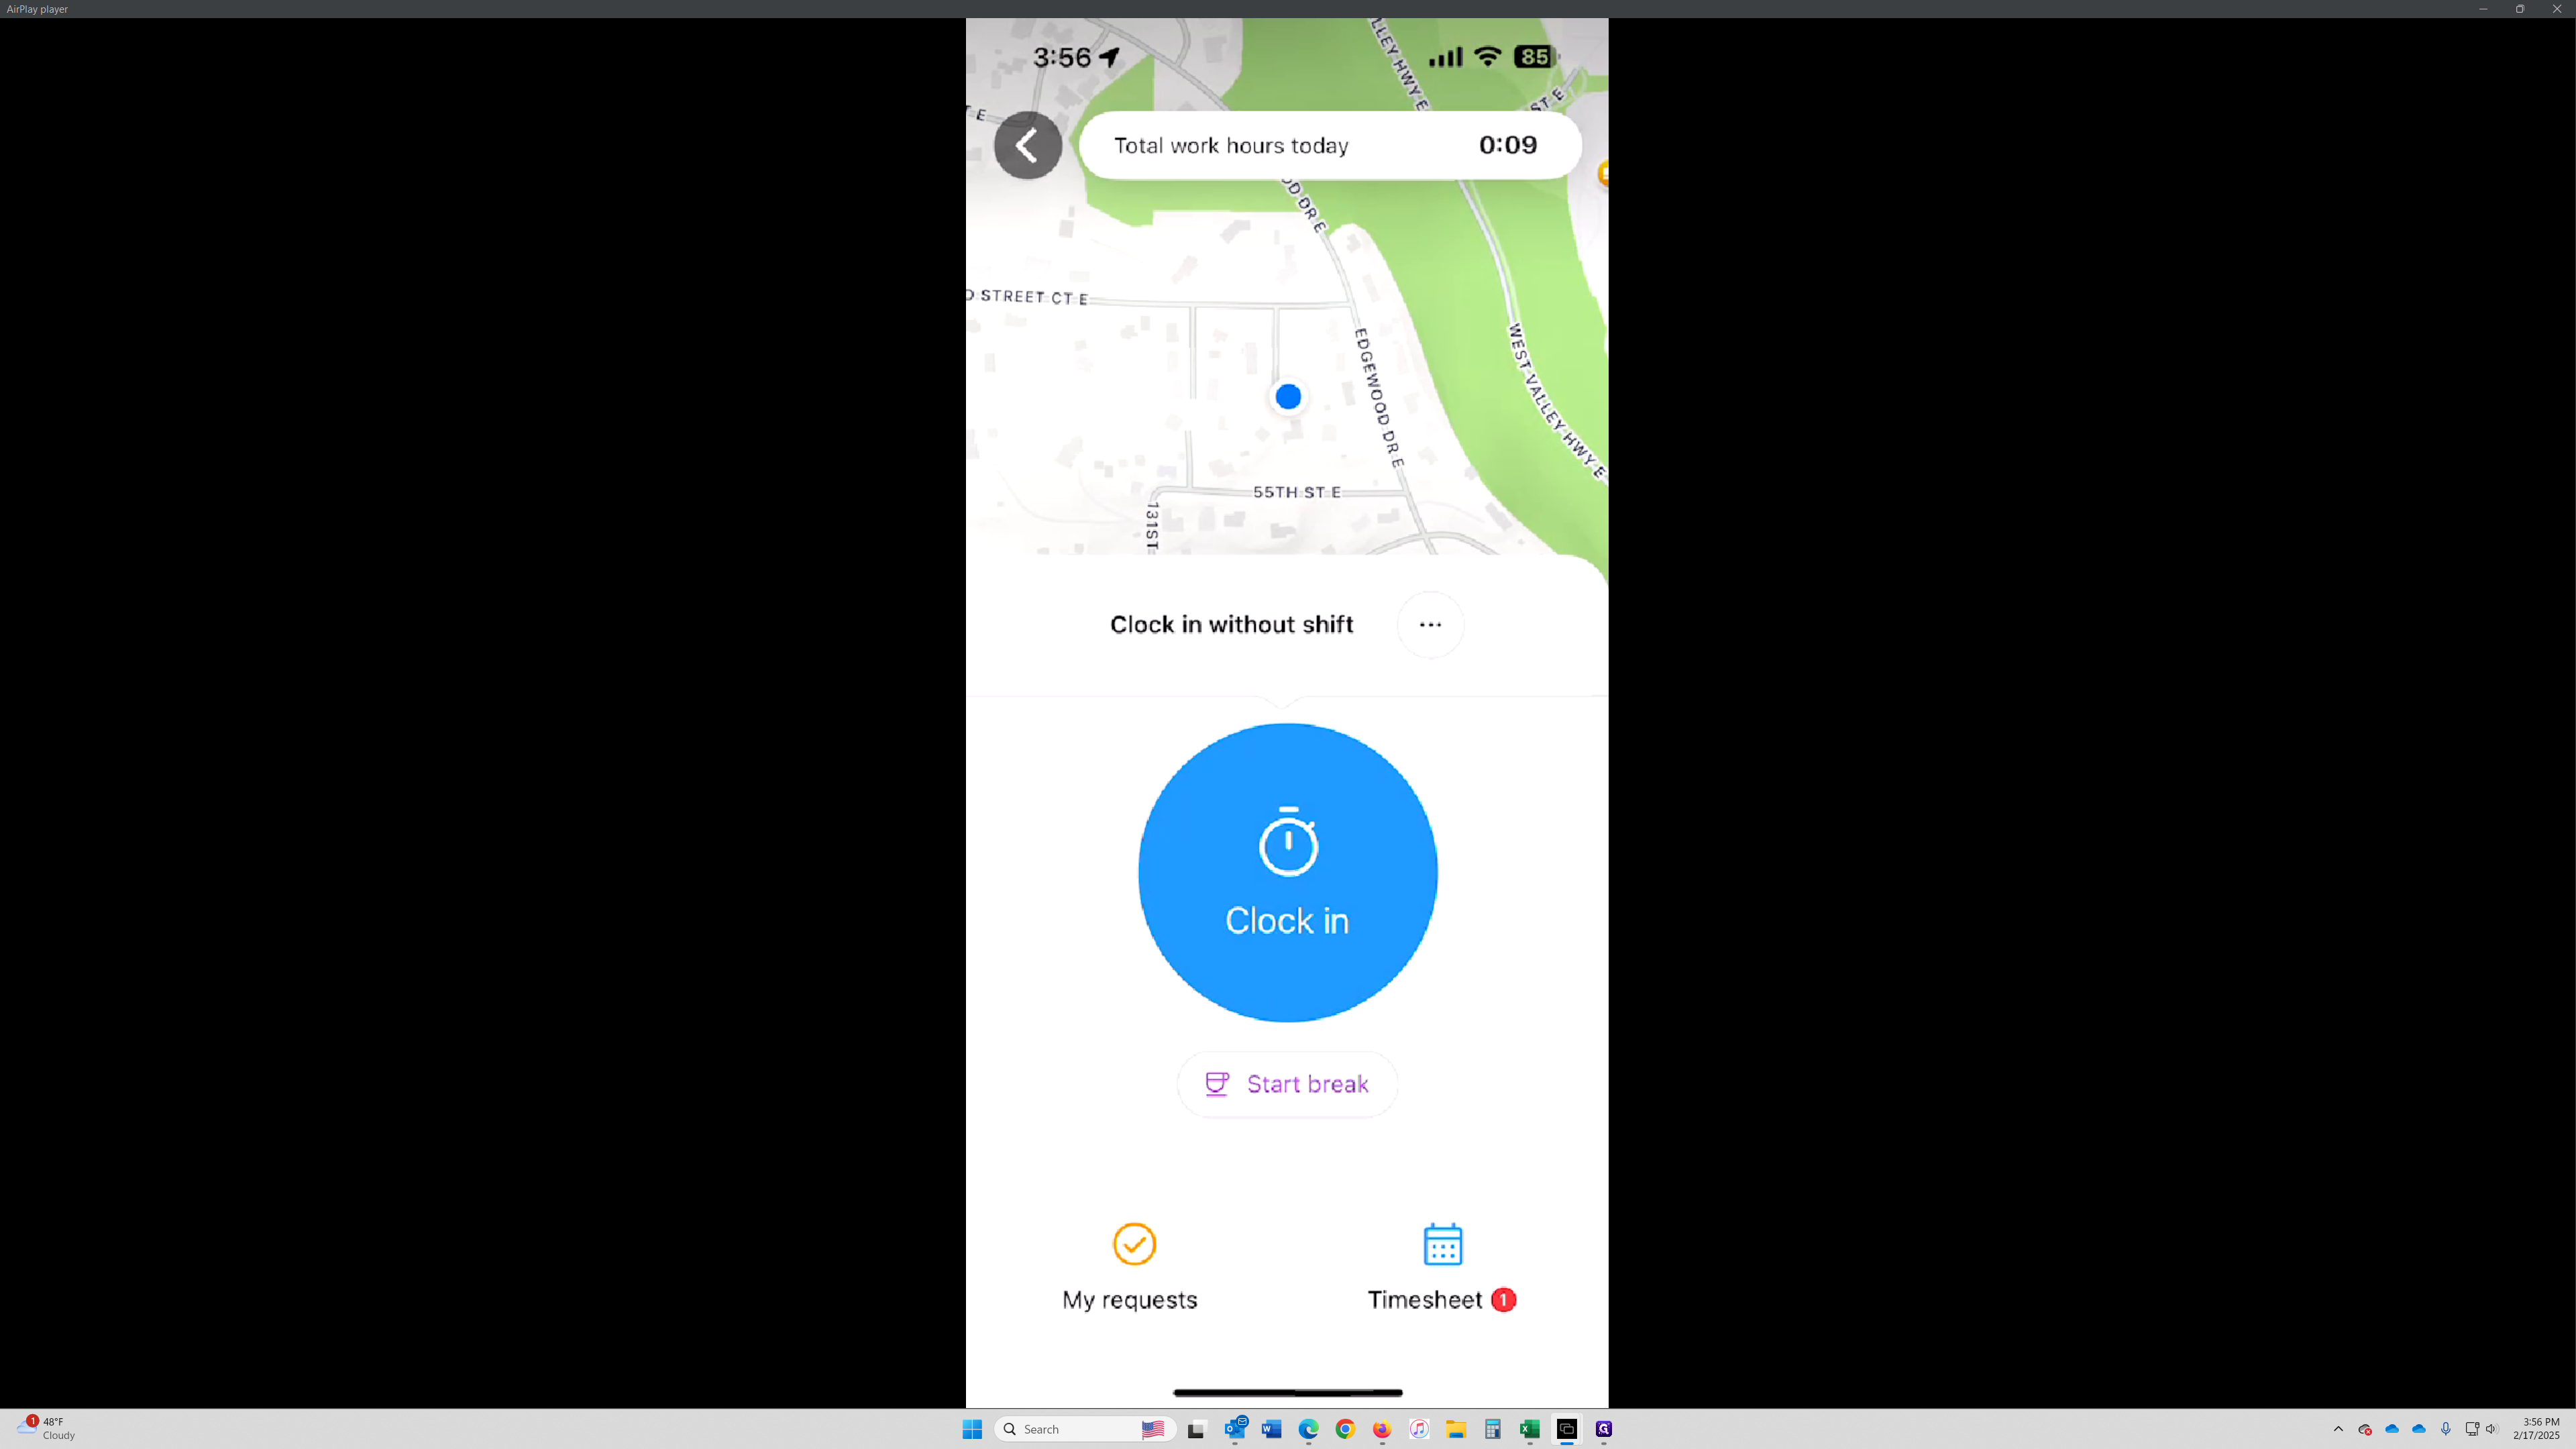
Navigate Back to the Previous Screen
Click the arrow to go back.
Access Job Scheduling Menu
The third way to clock in is through the "Job Scheduling" menu
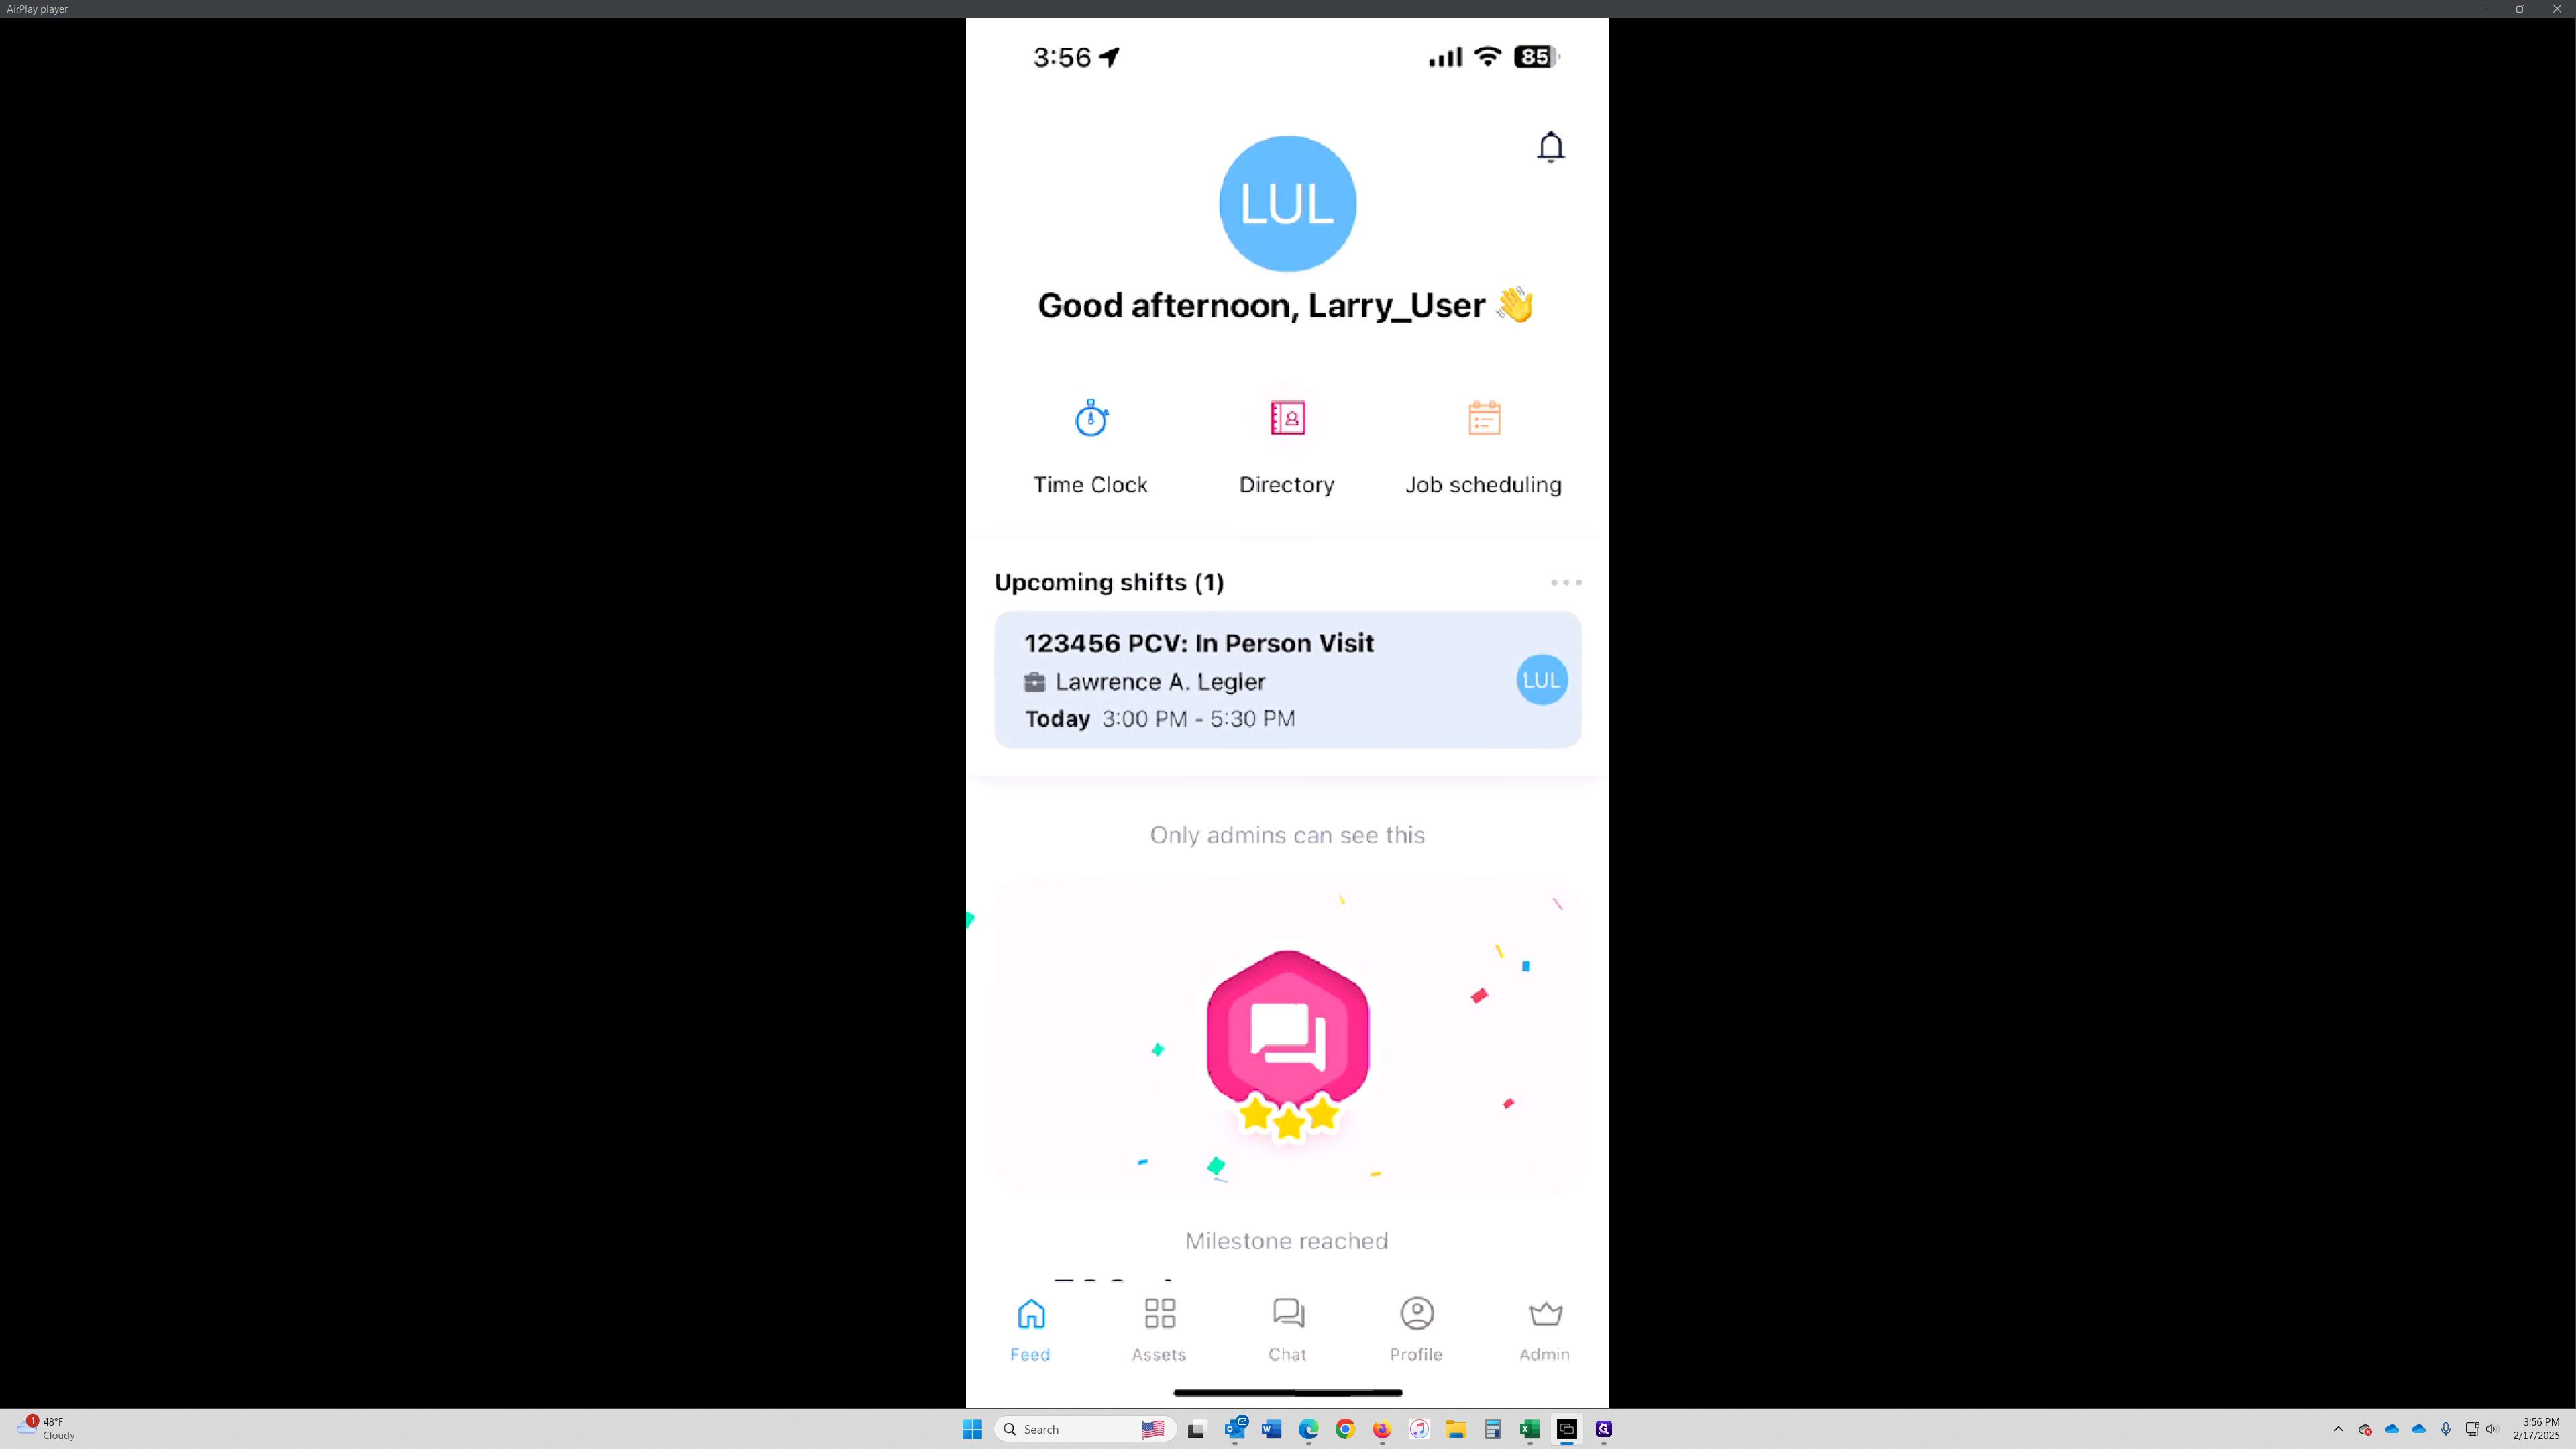
Select the Scheduled Shift
You’ll now see the same visit scheduled as the first procedure. Select your shift.
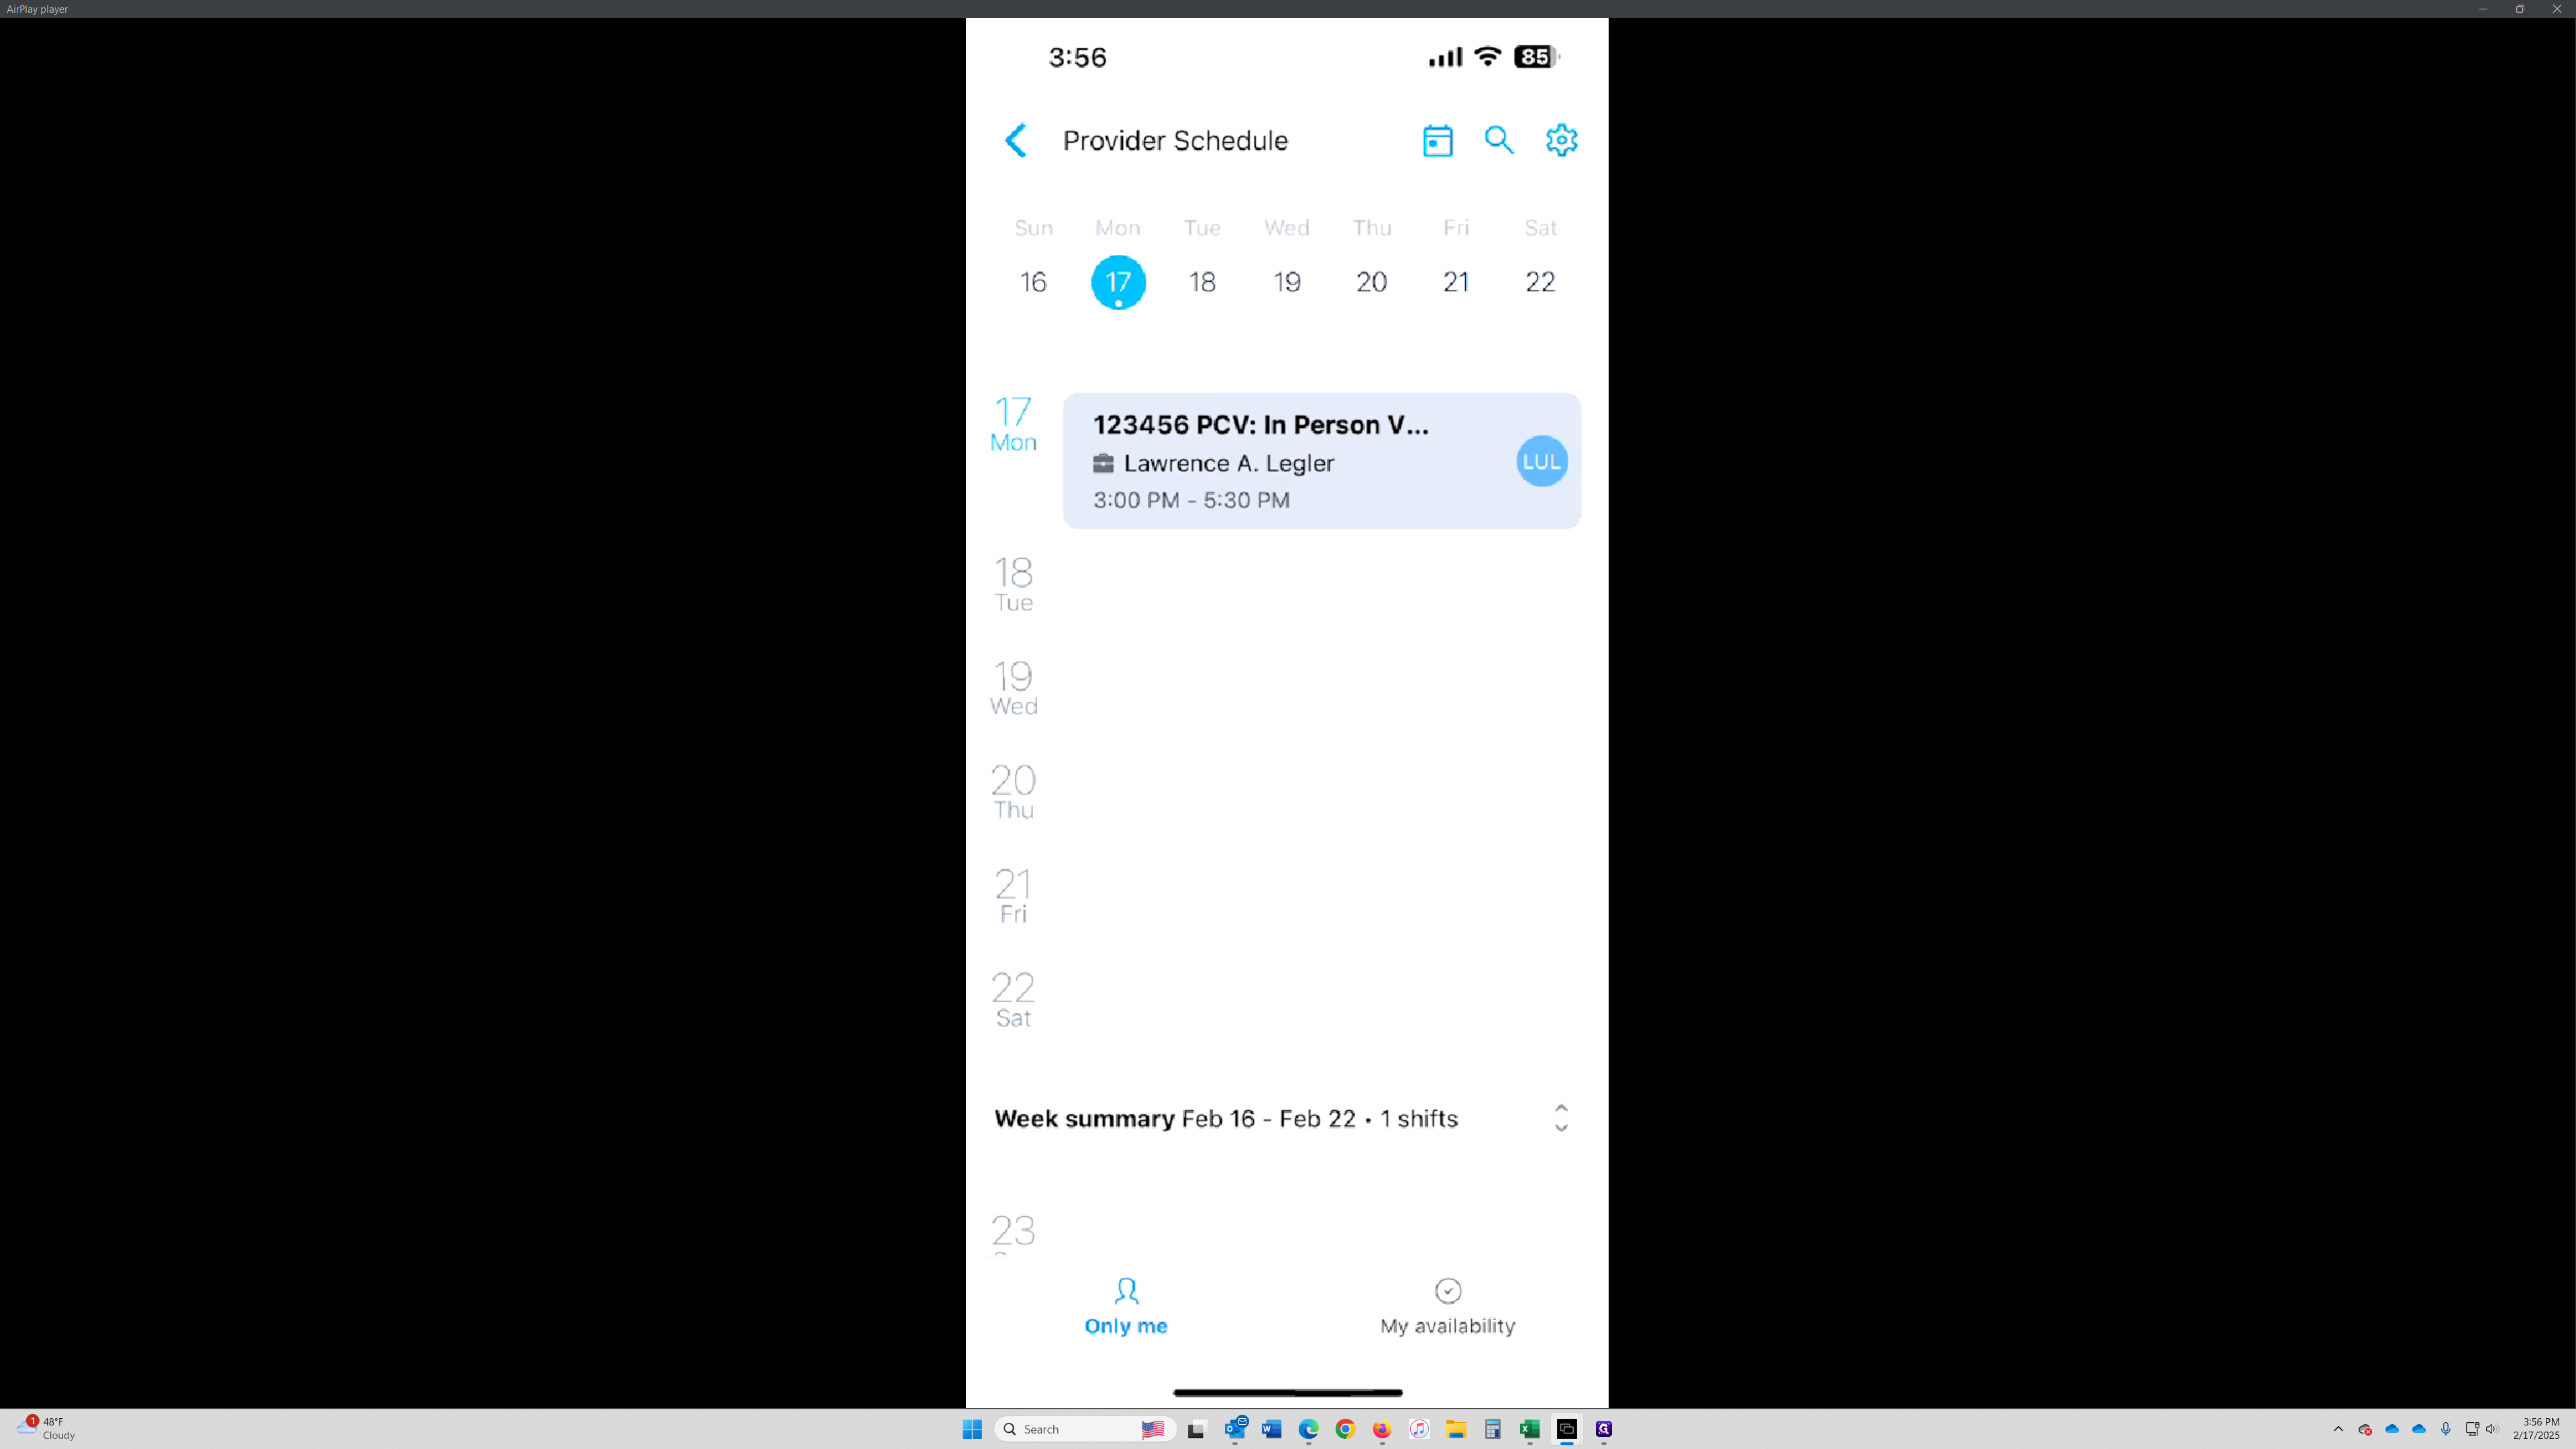
Open Timeclock for Shift
Click "Open Timeclock" to open the time clock for your shift.
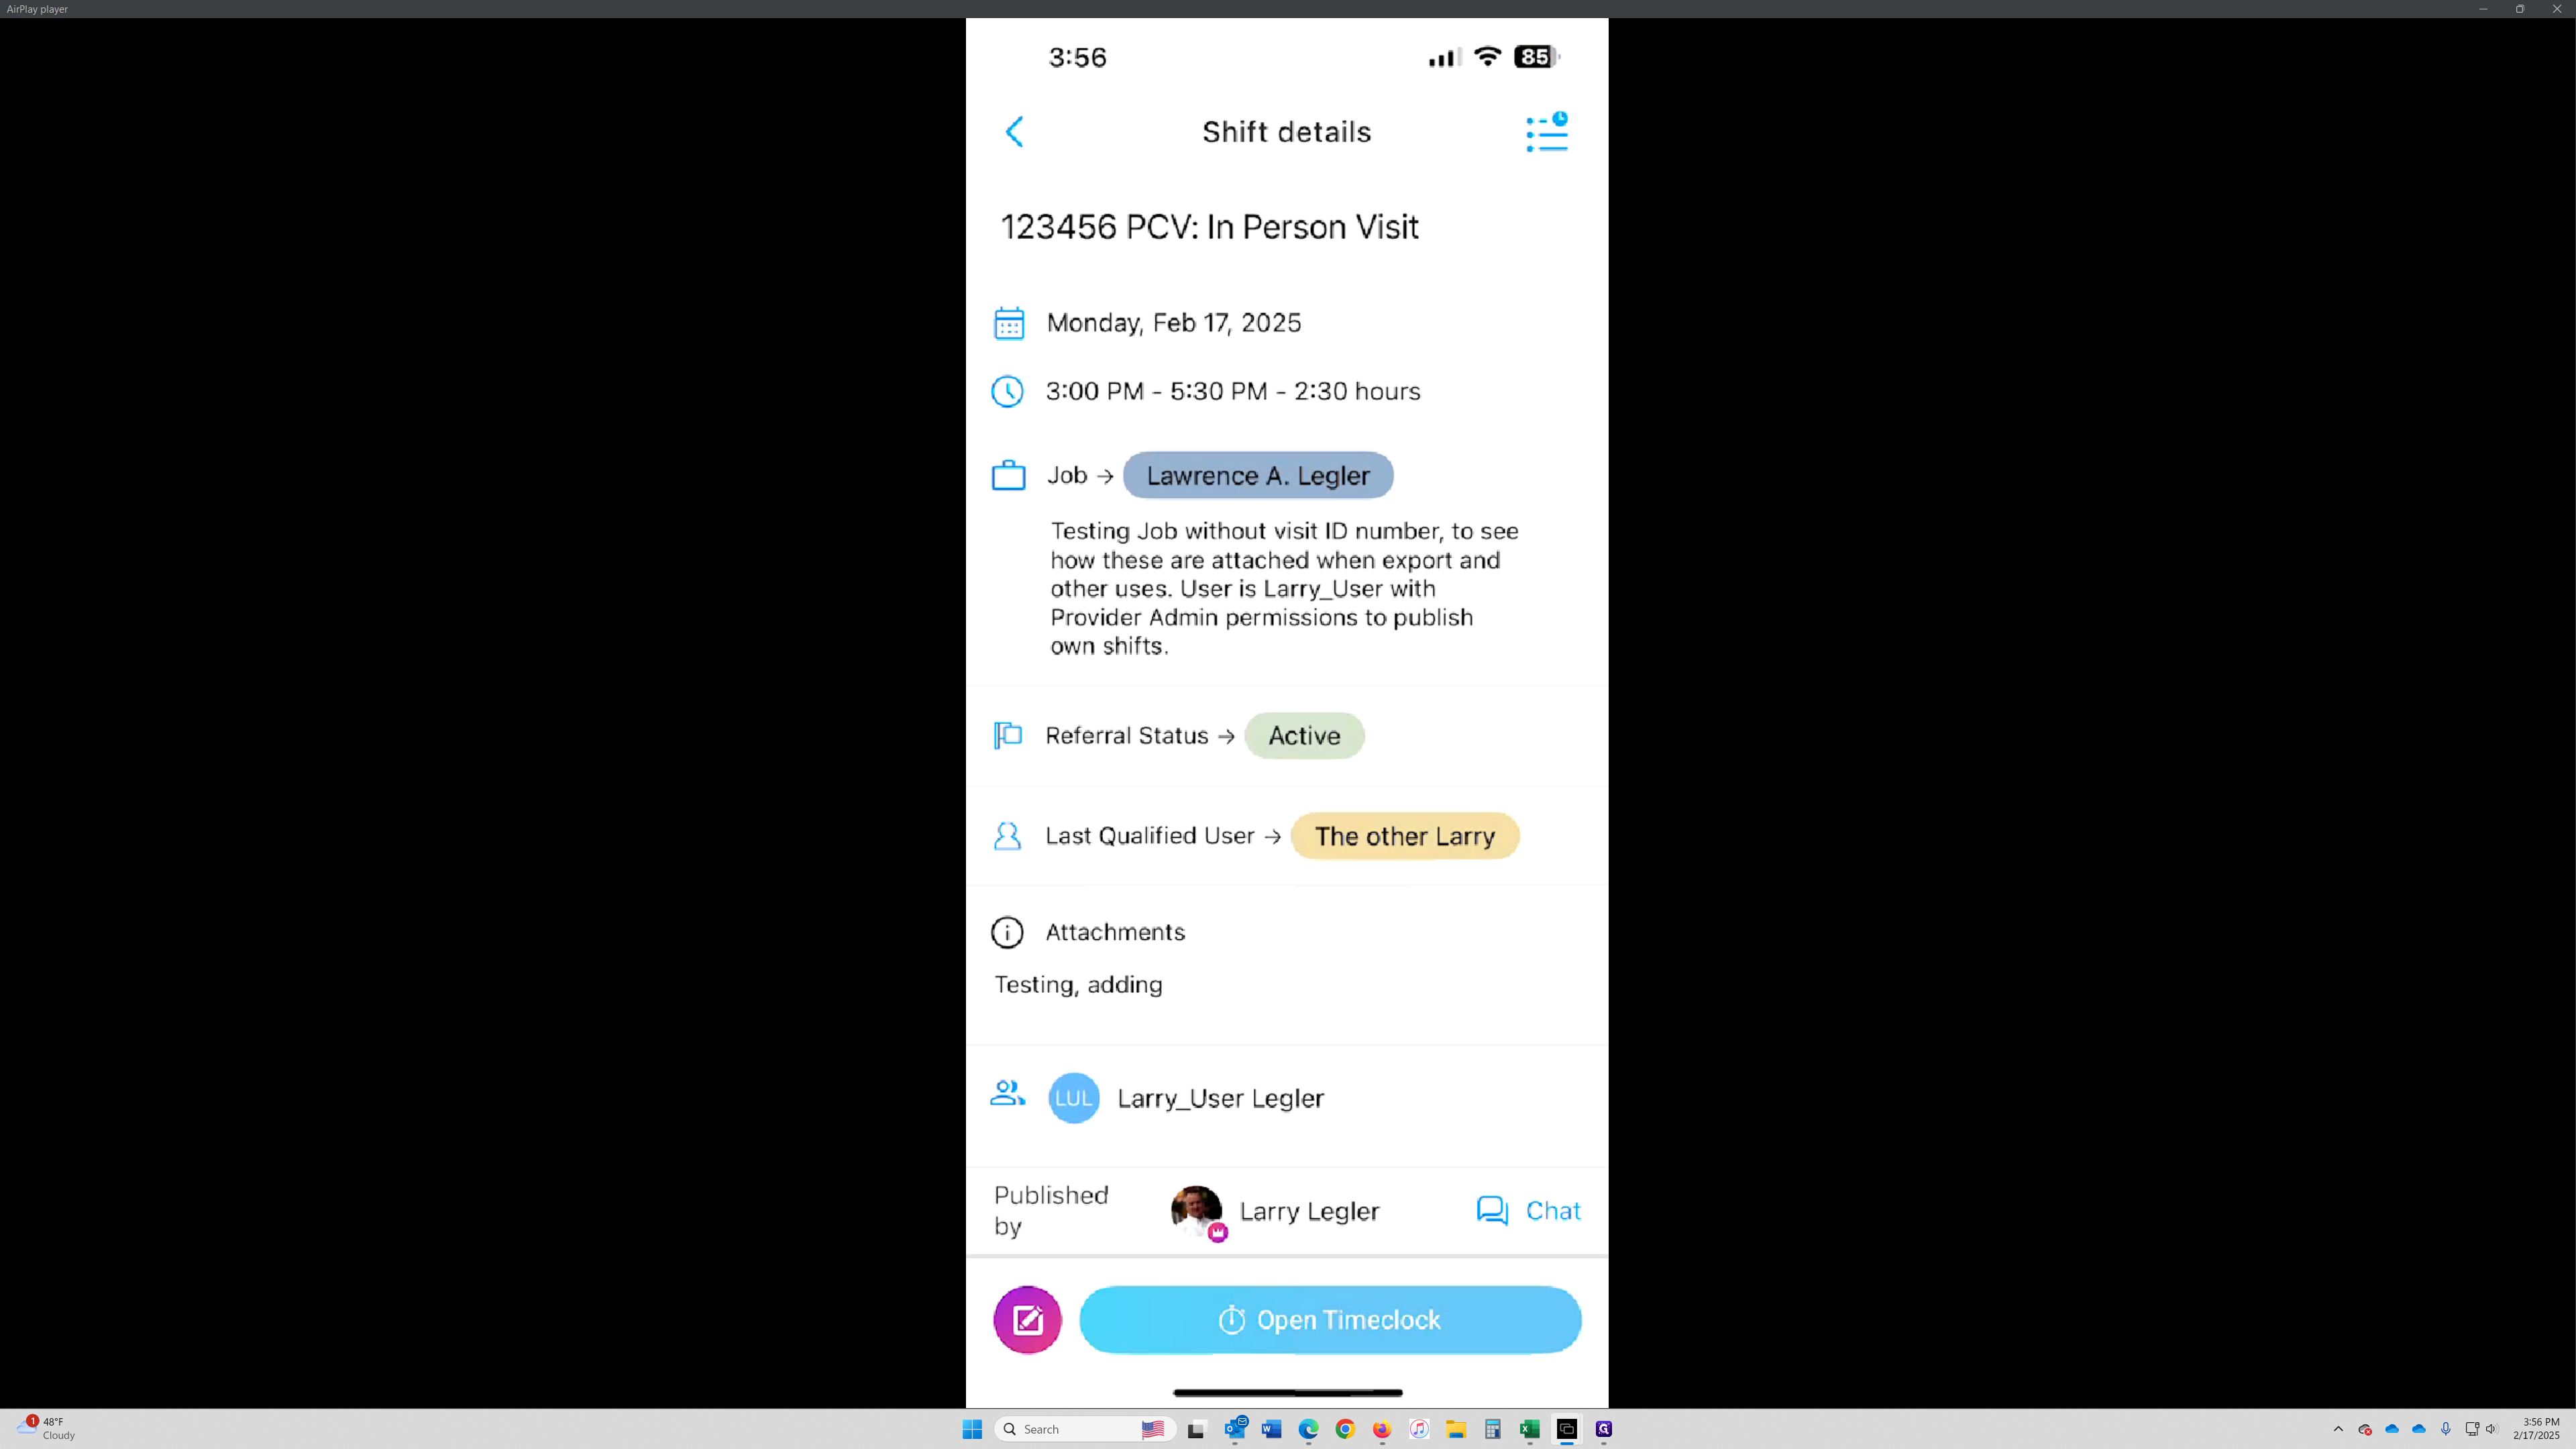
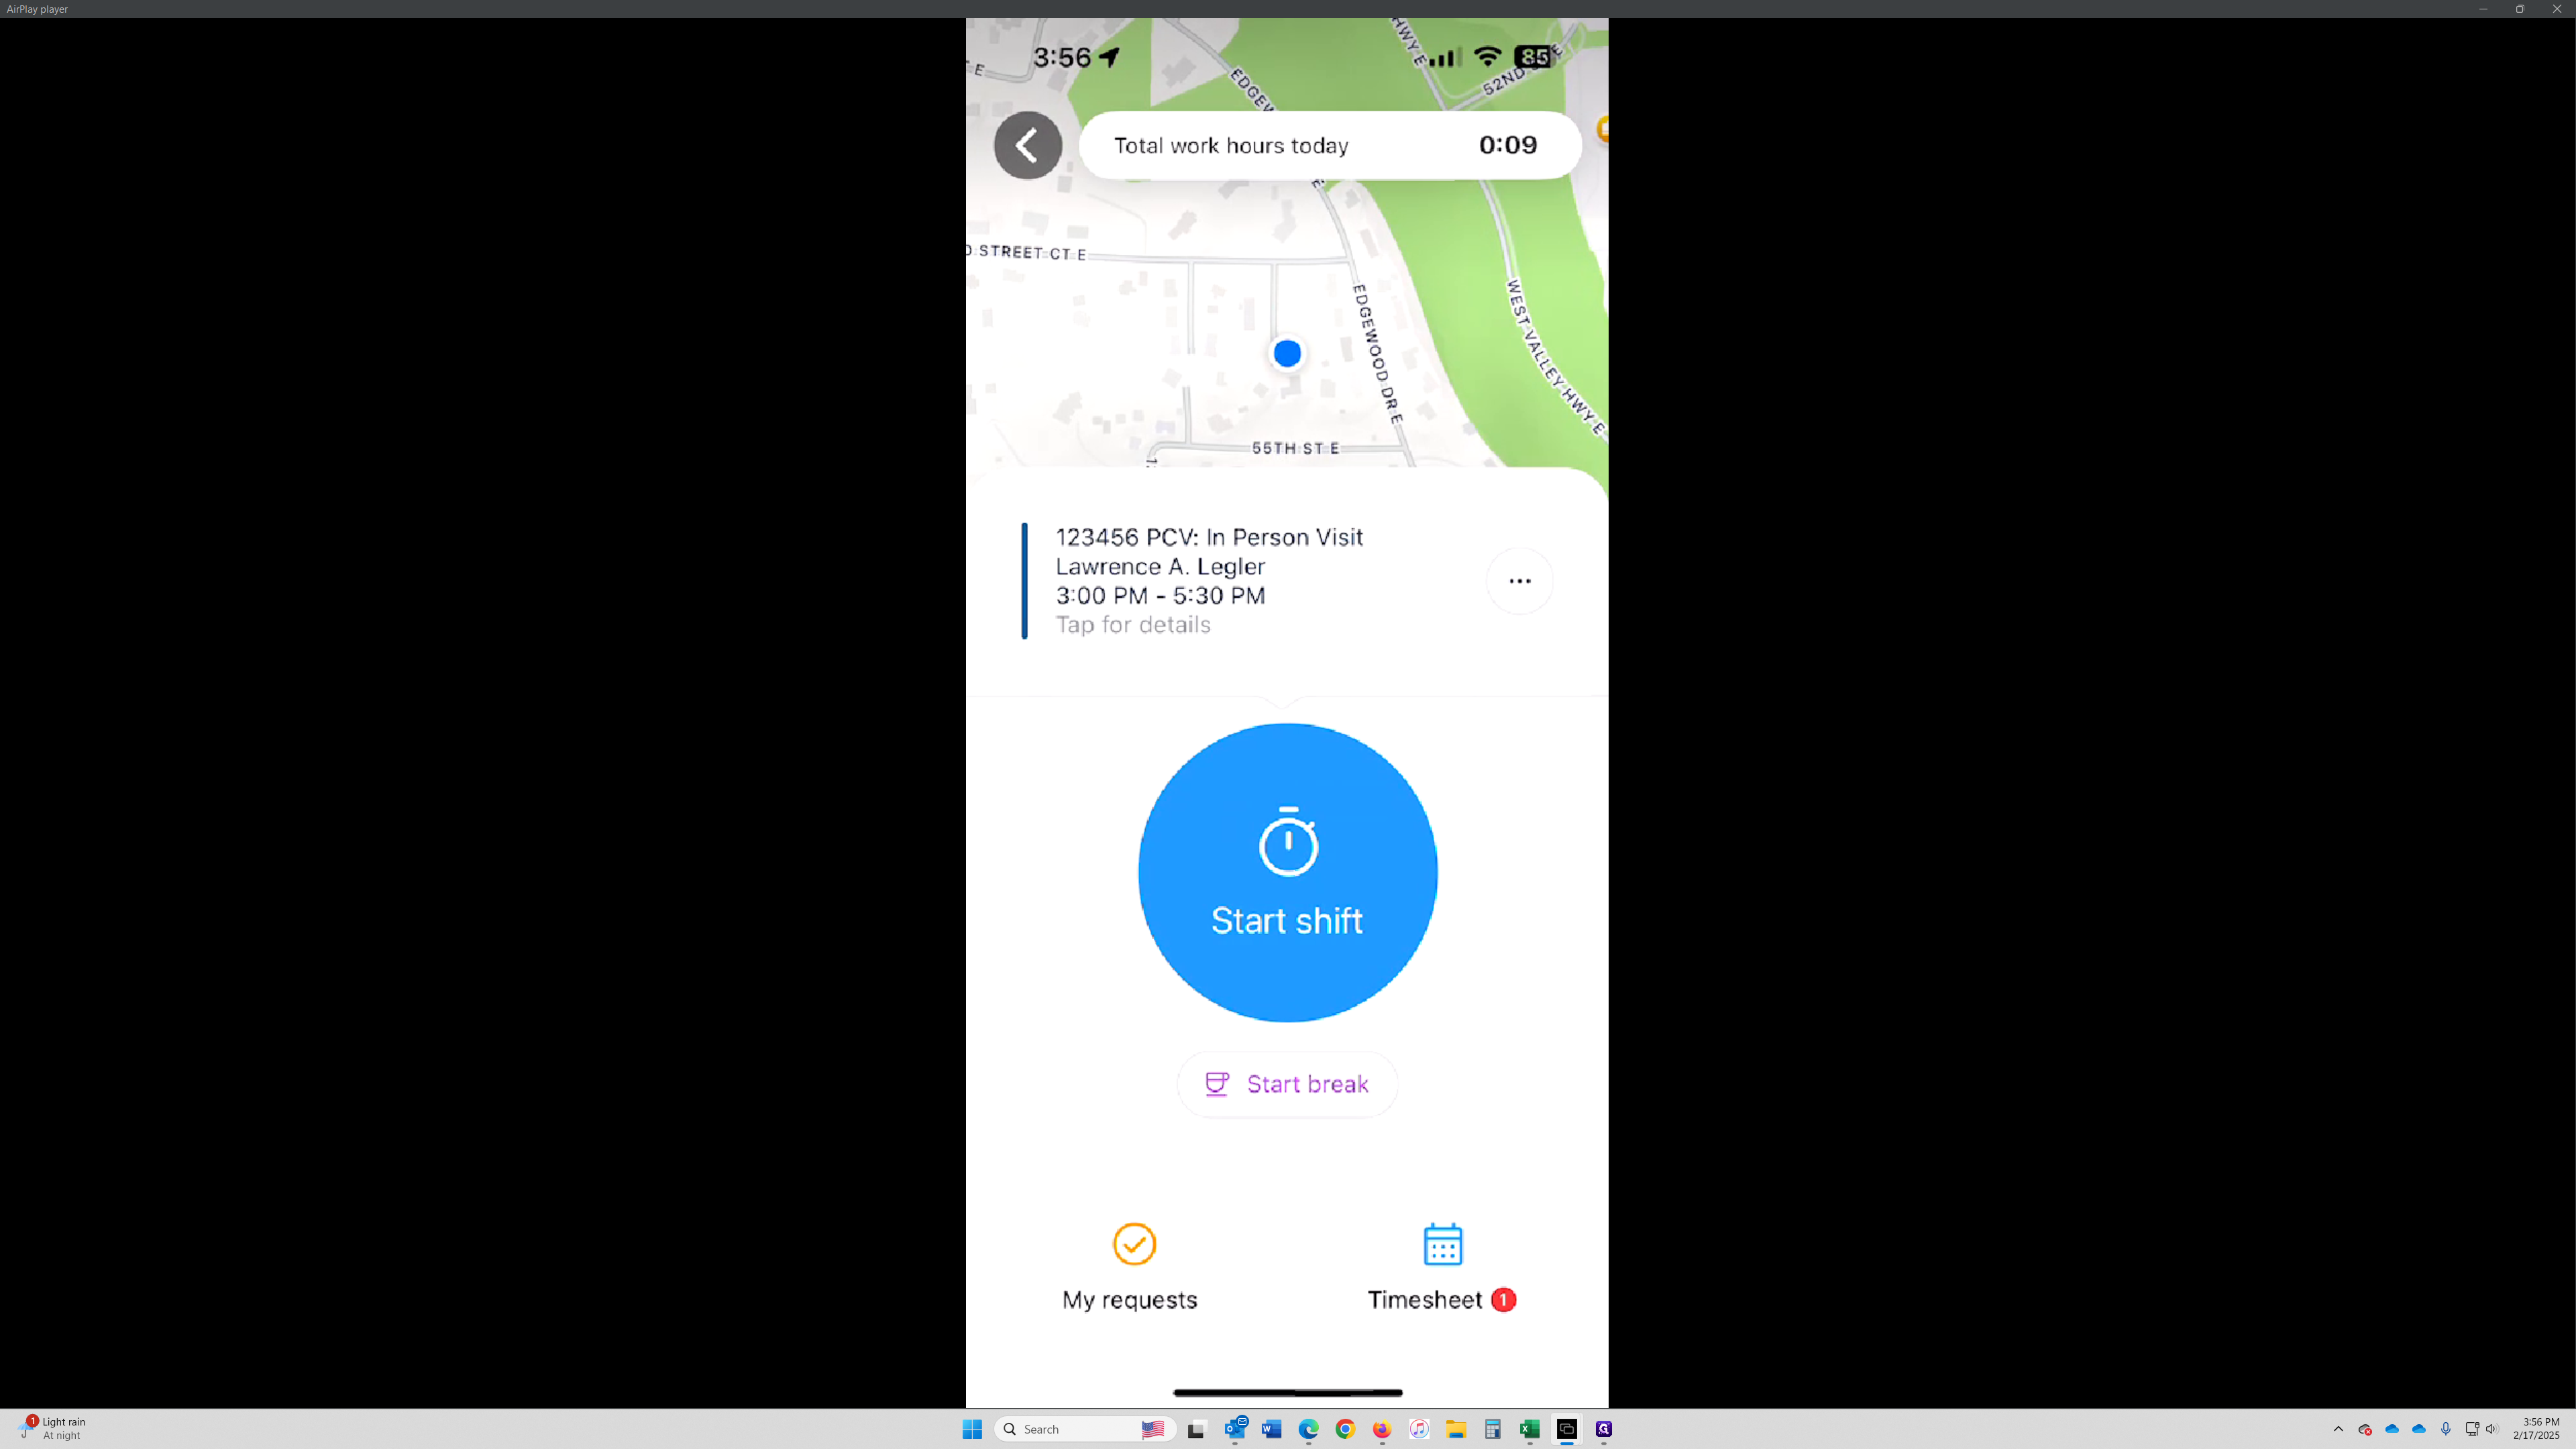
Start Your Shift
Click "Start Shift" to begin the time clock for this shift.
Time Clock Started
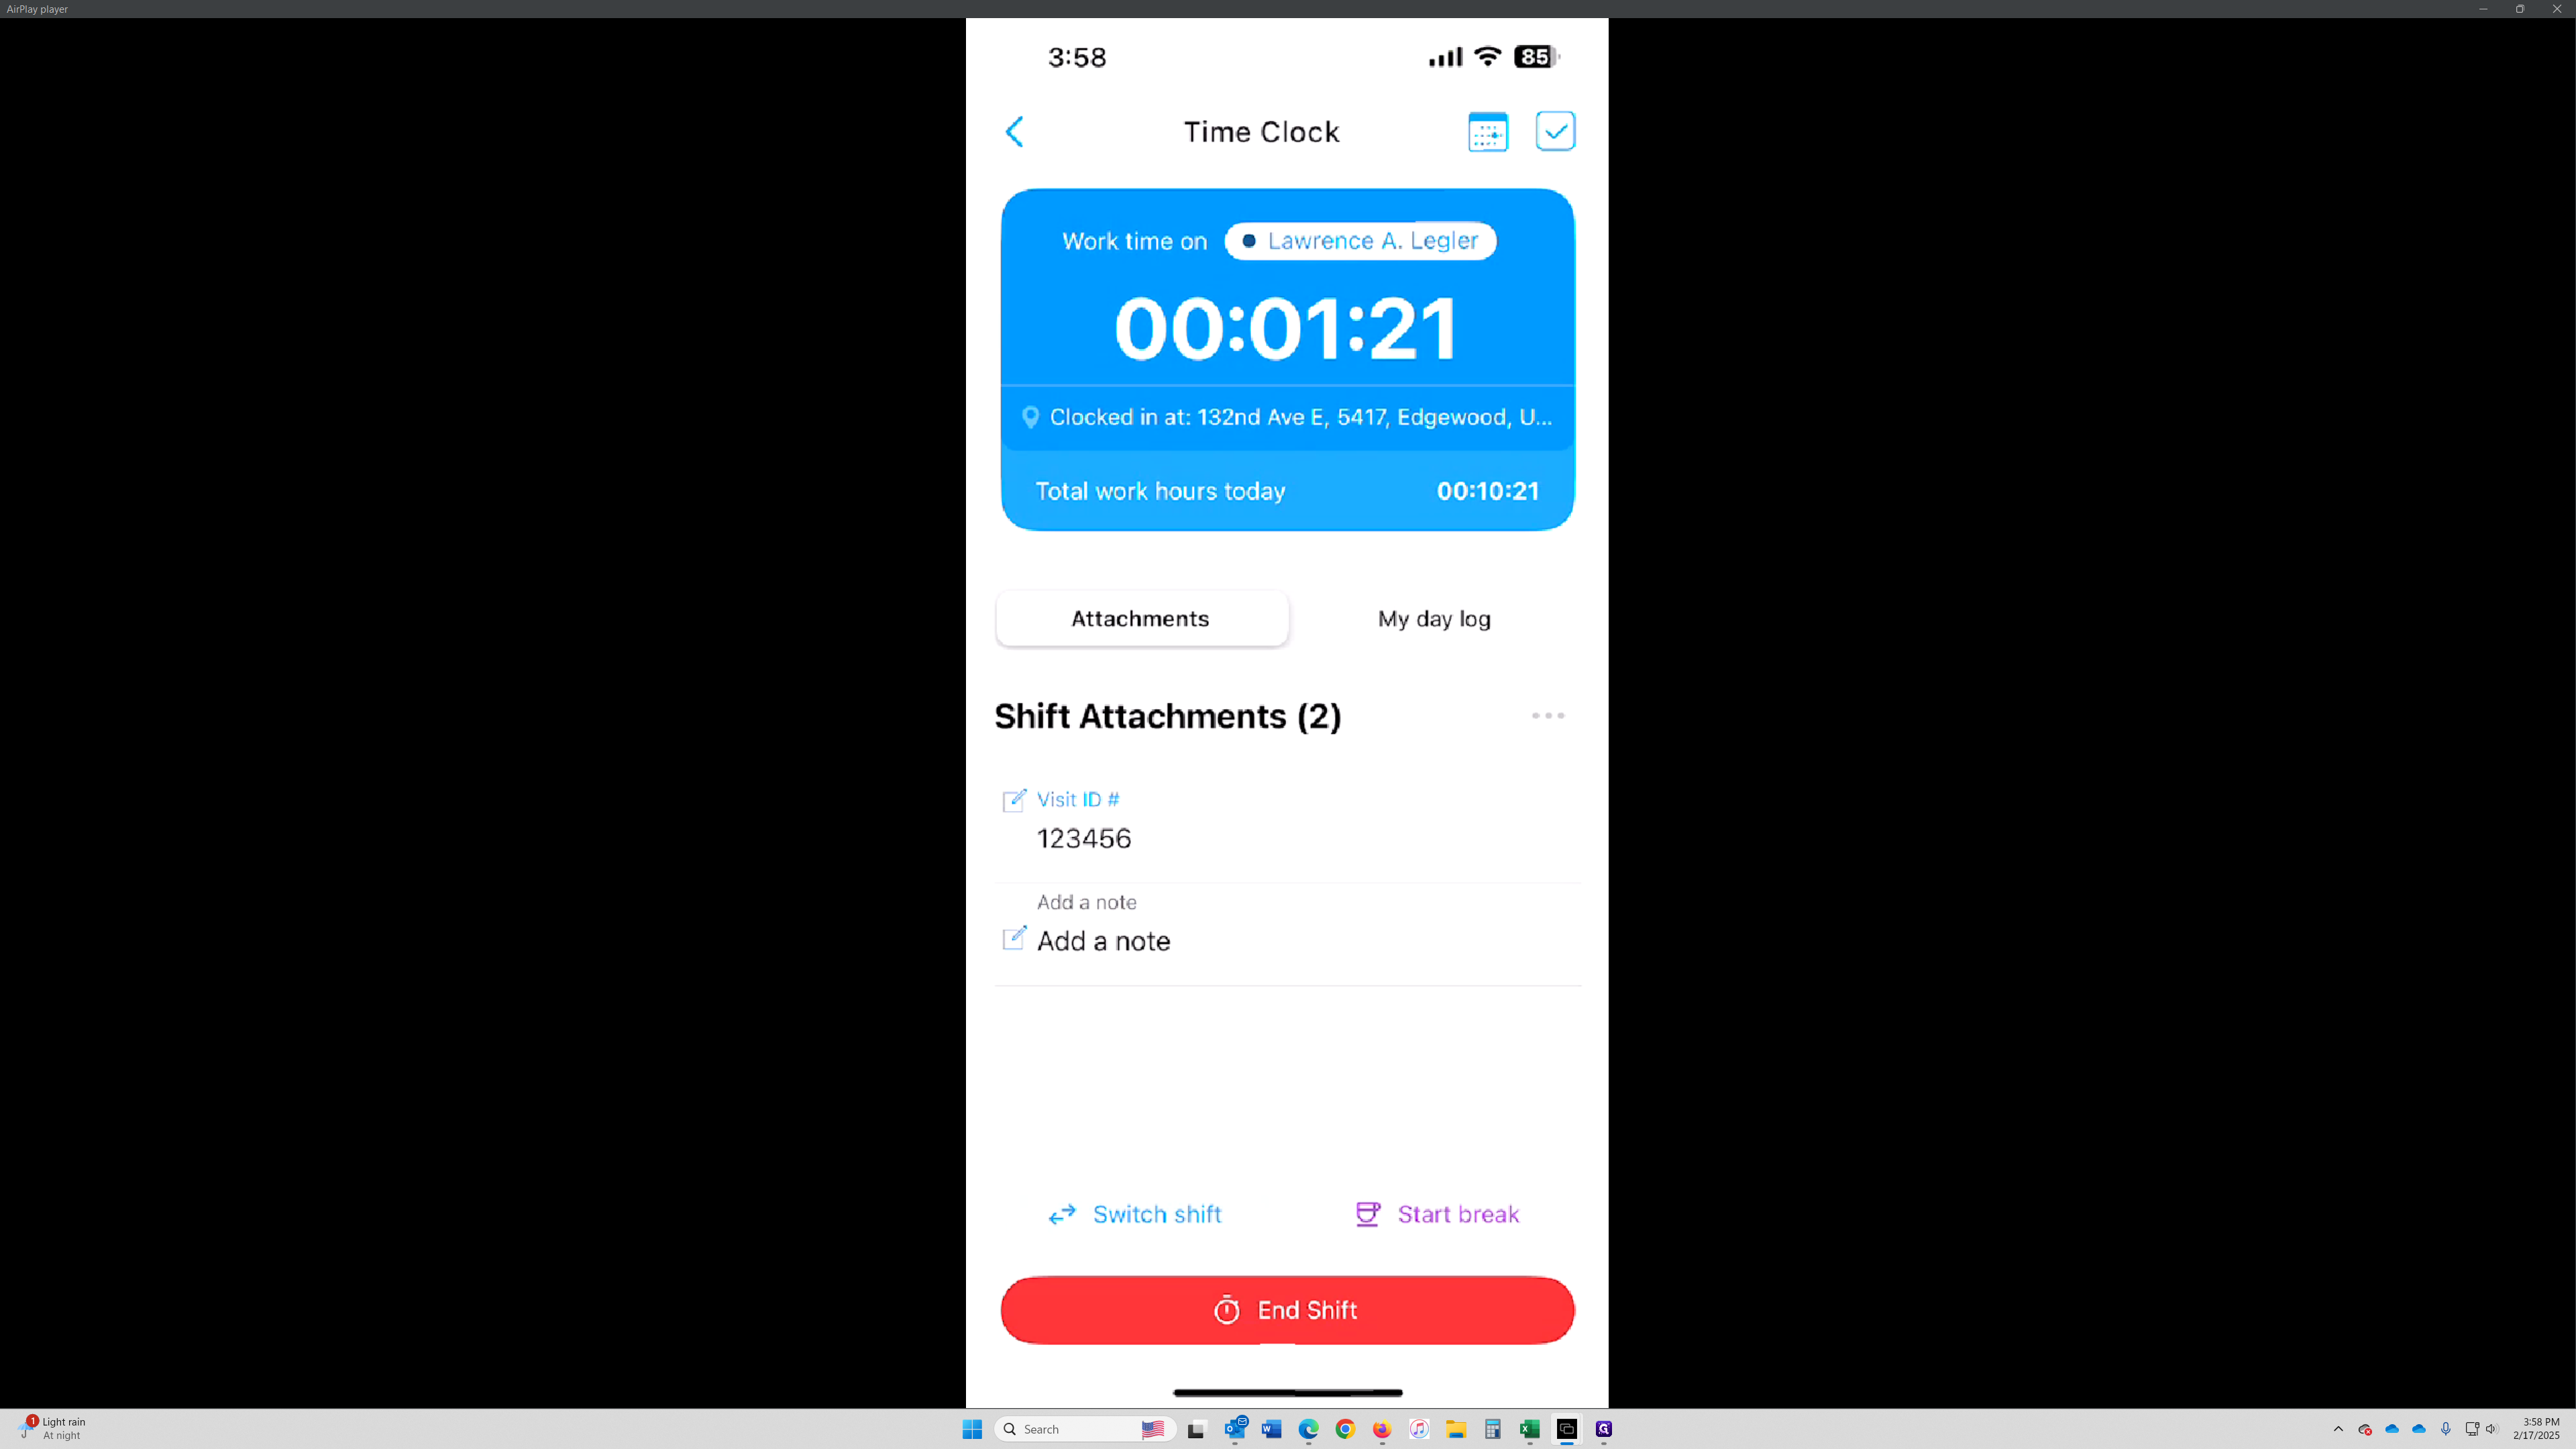
The time clock is now active for your shift. Once started, the Visit ID # from your Shift Title should be noted for later reference when stopping the time clock.
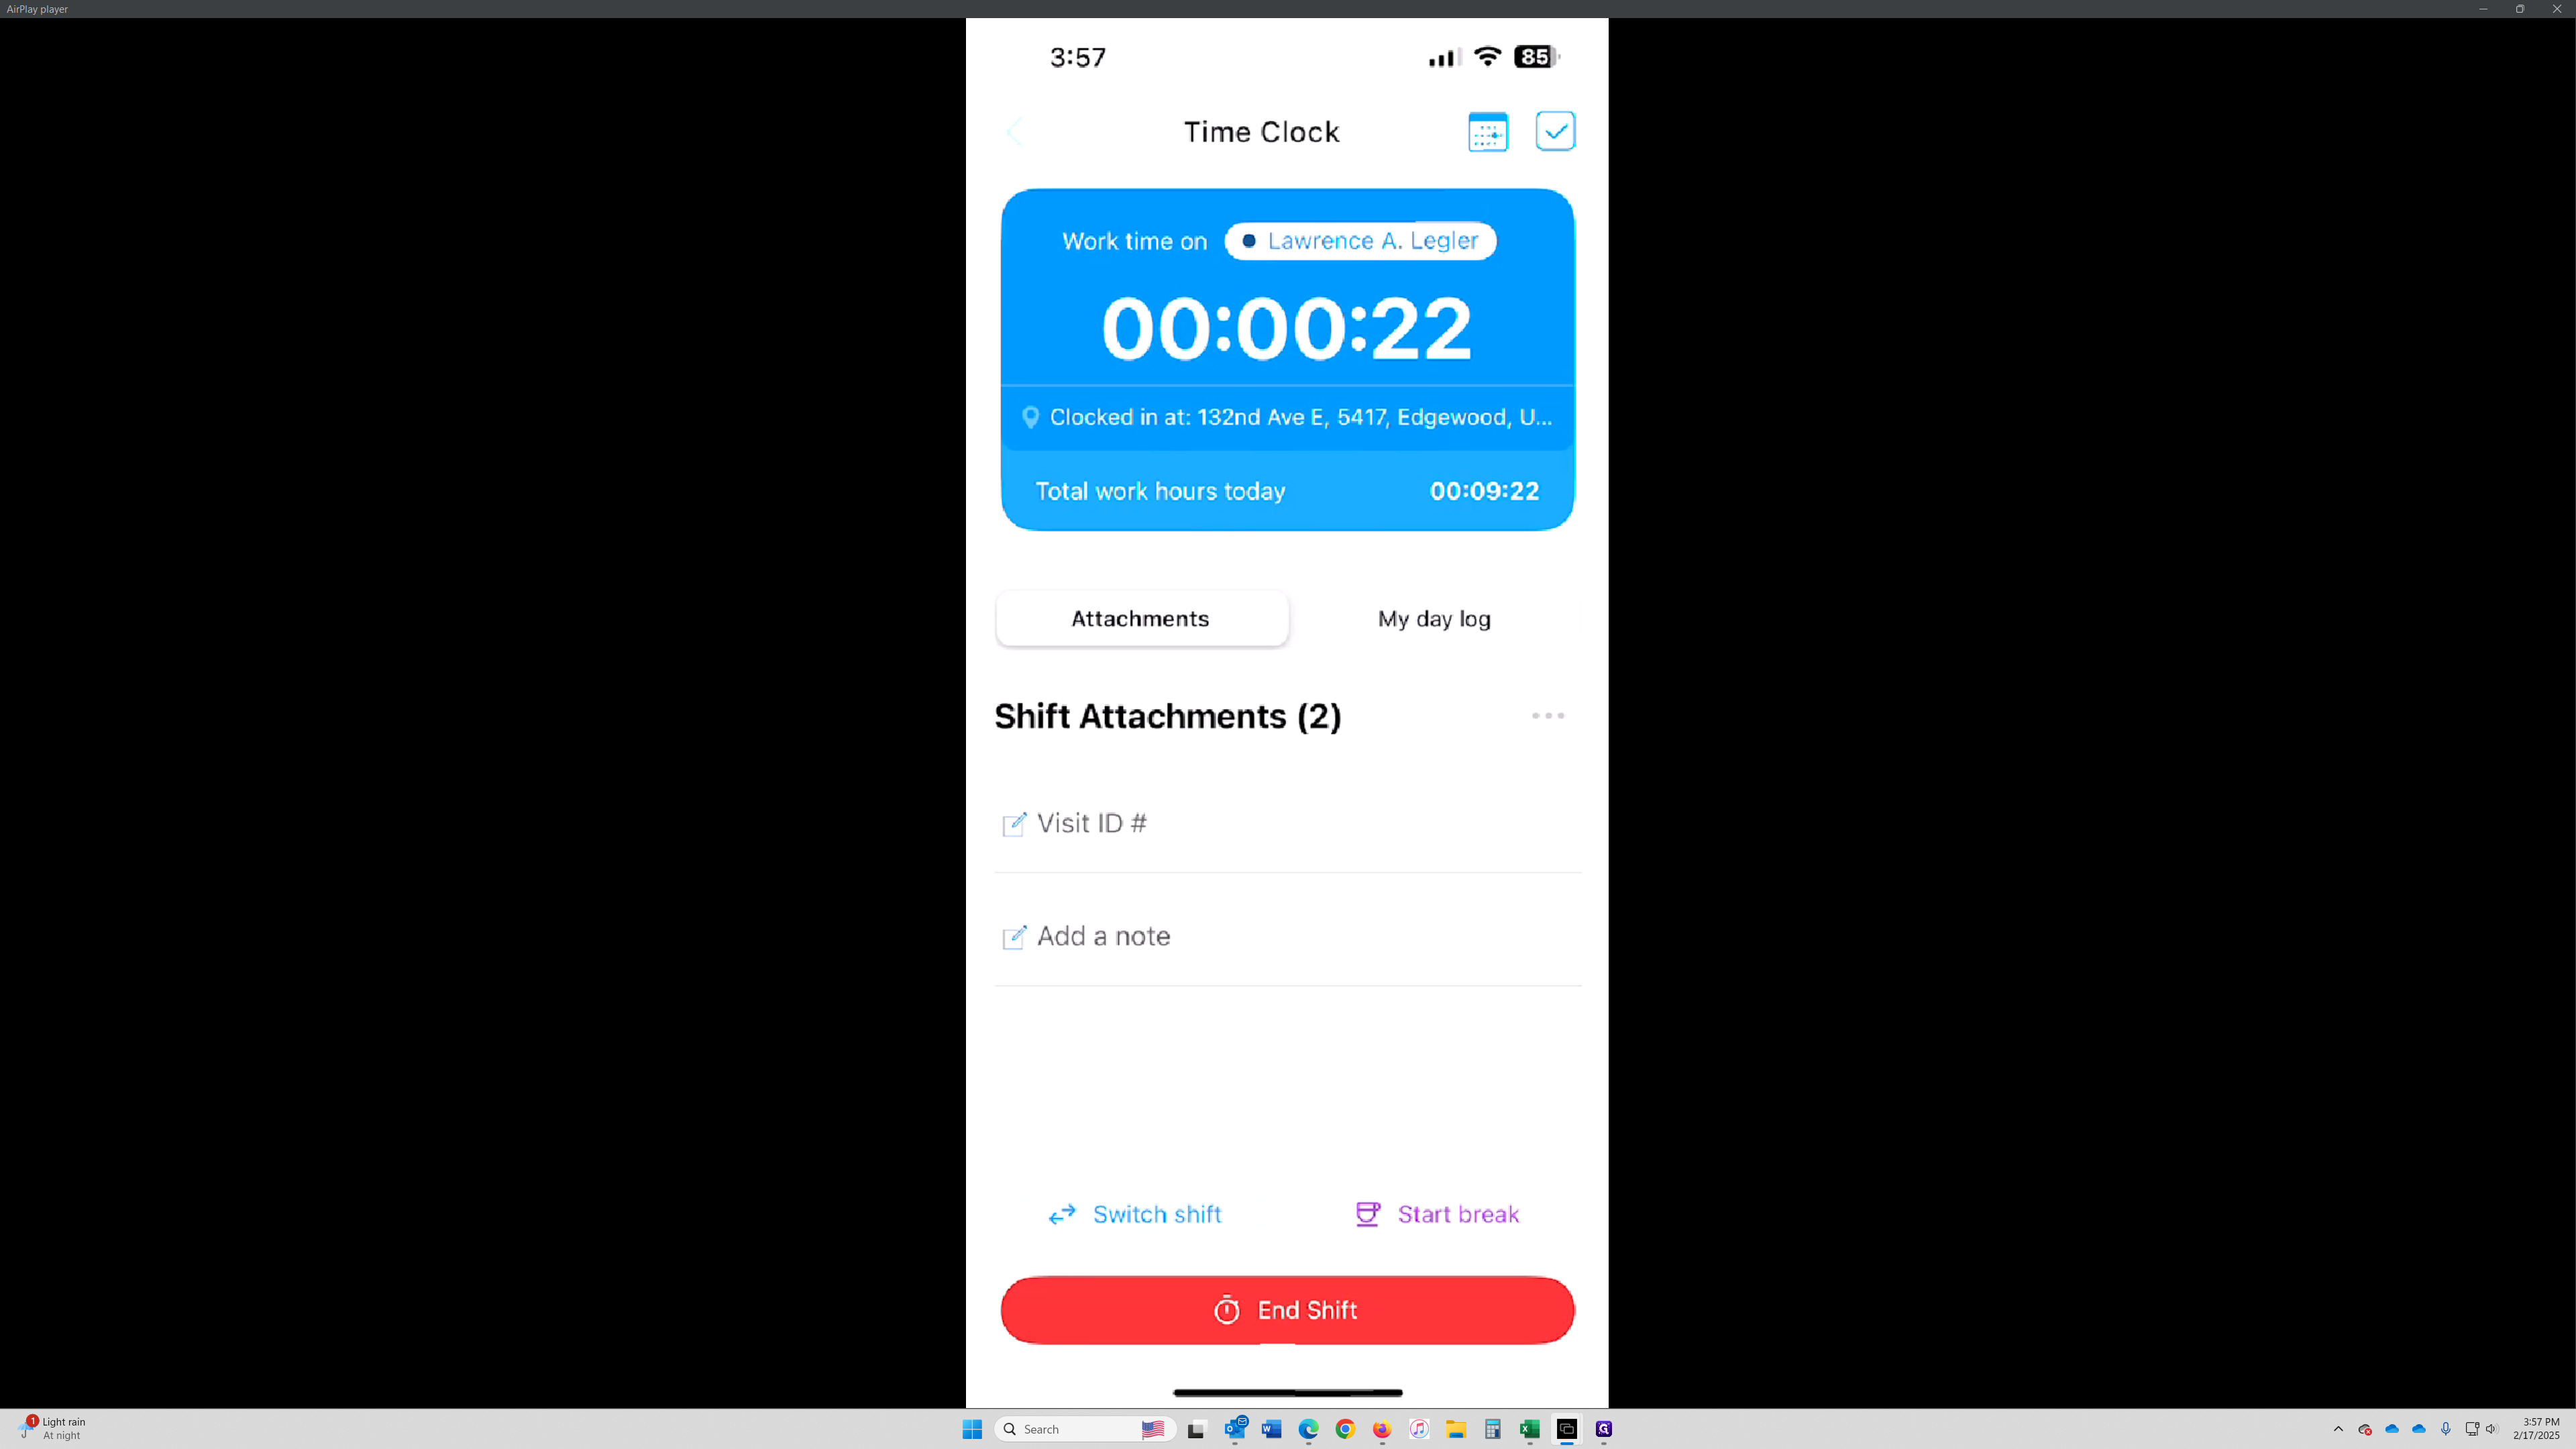
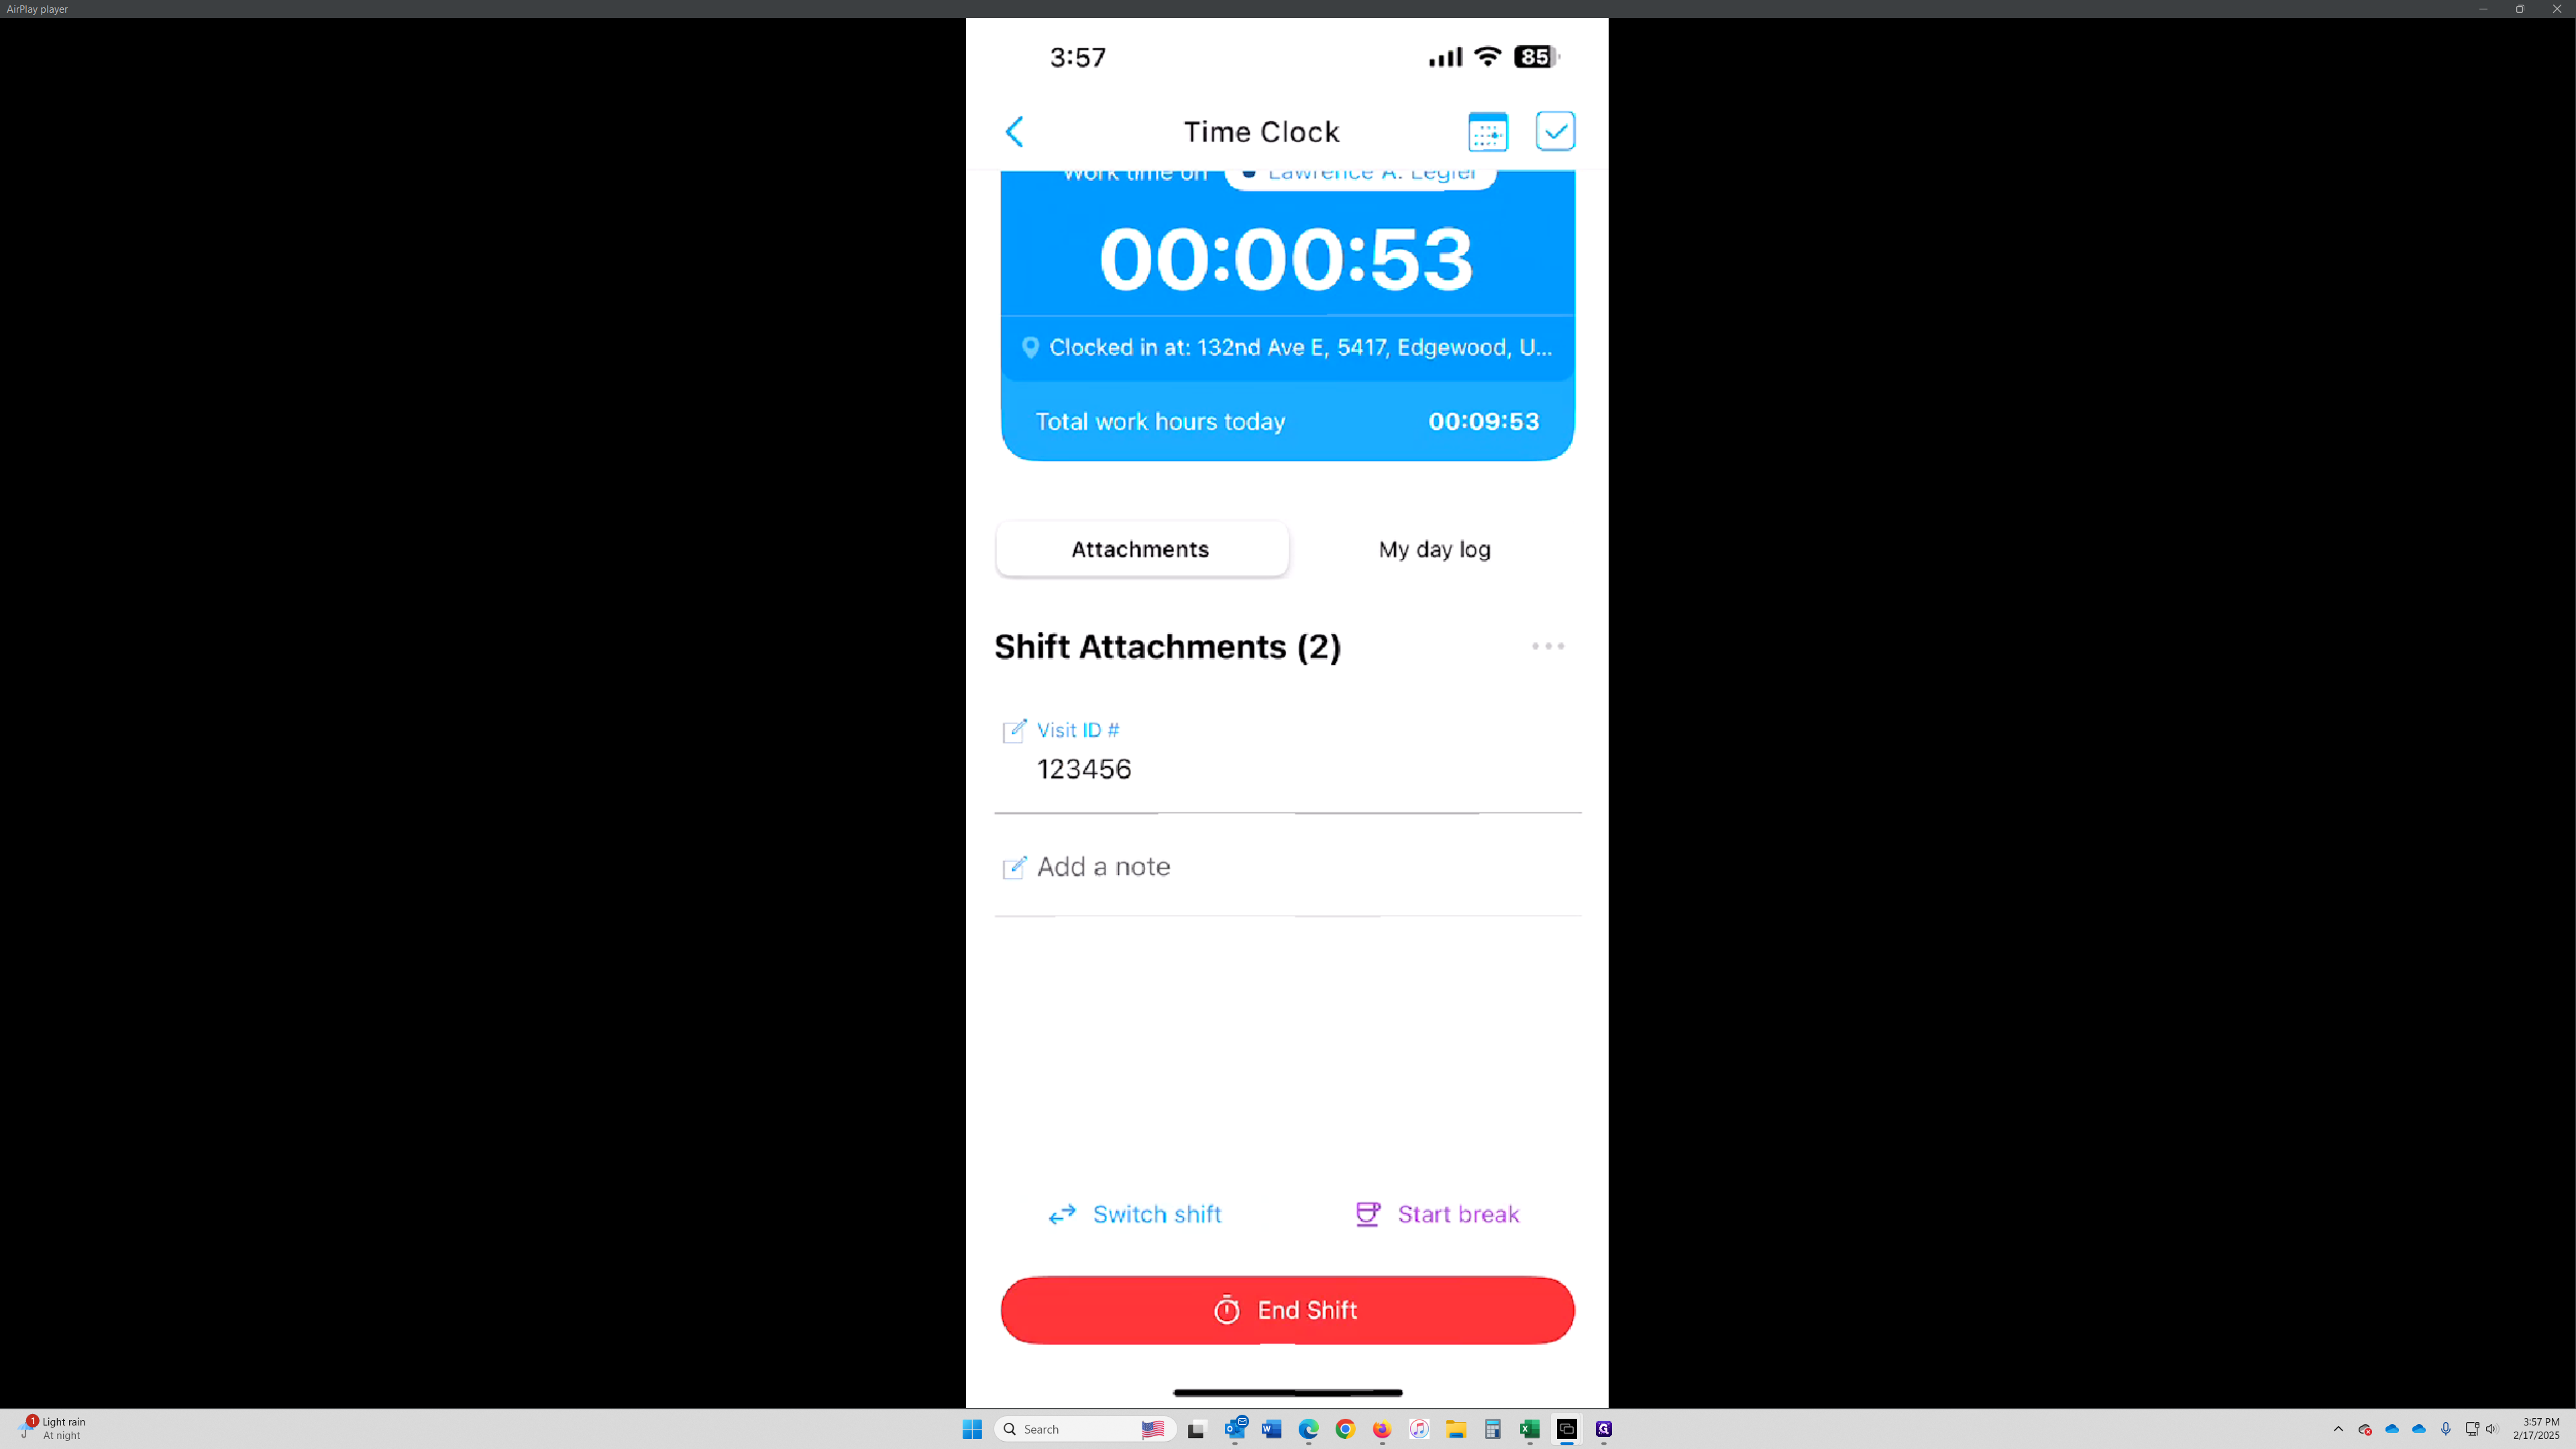
Record Visit ID#
This is the Visit ID #, located within your Shift Title. Be sure to note it for the next step when stopping your time clock.
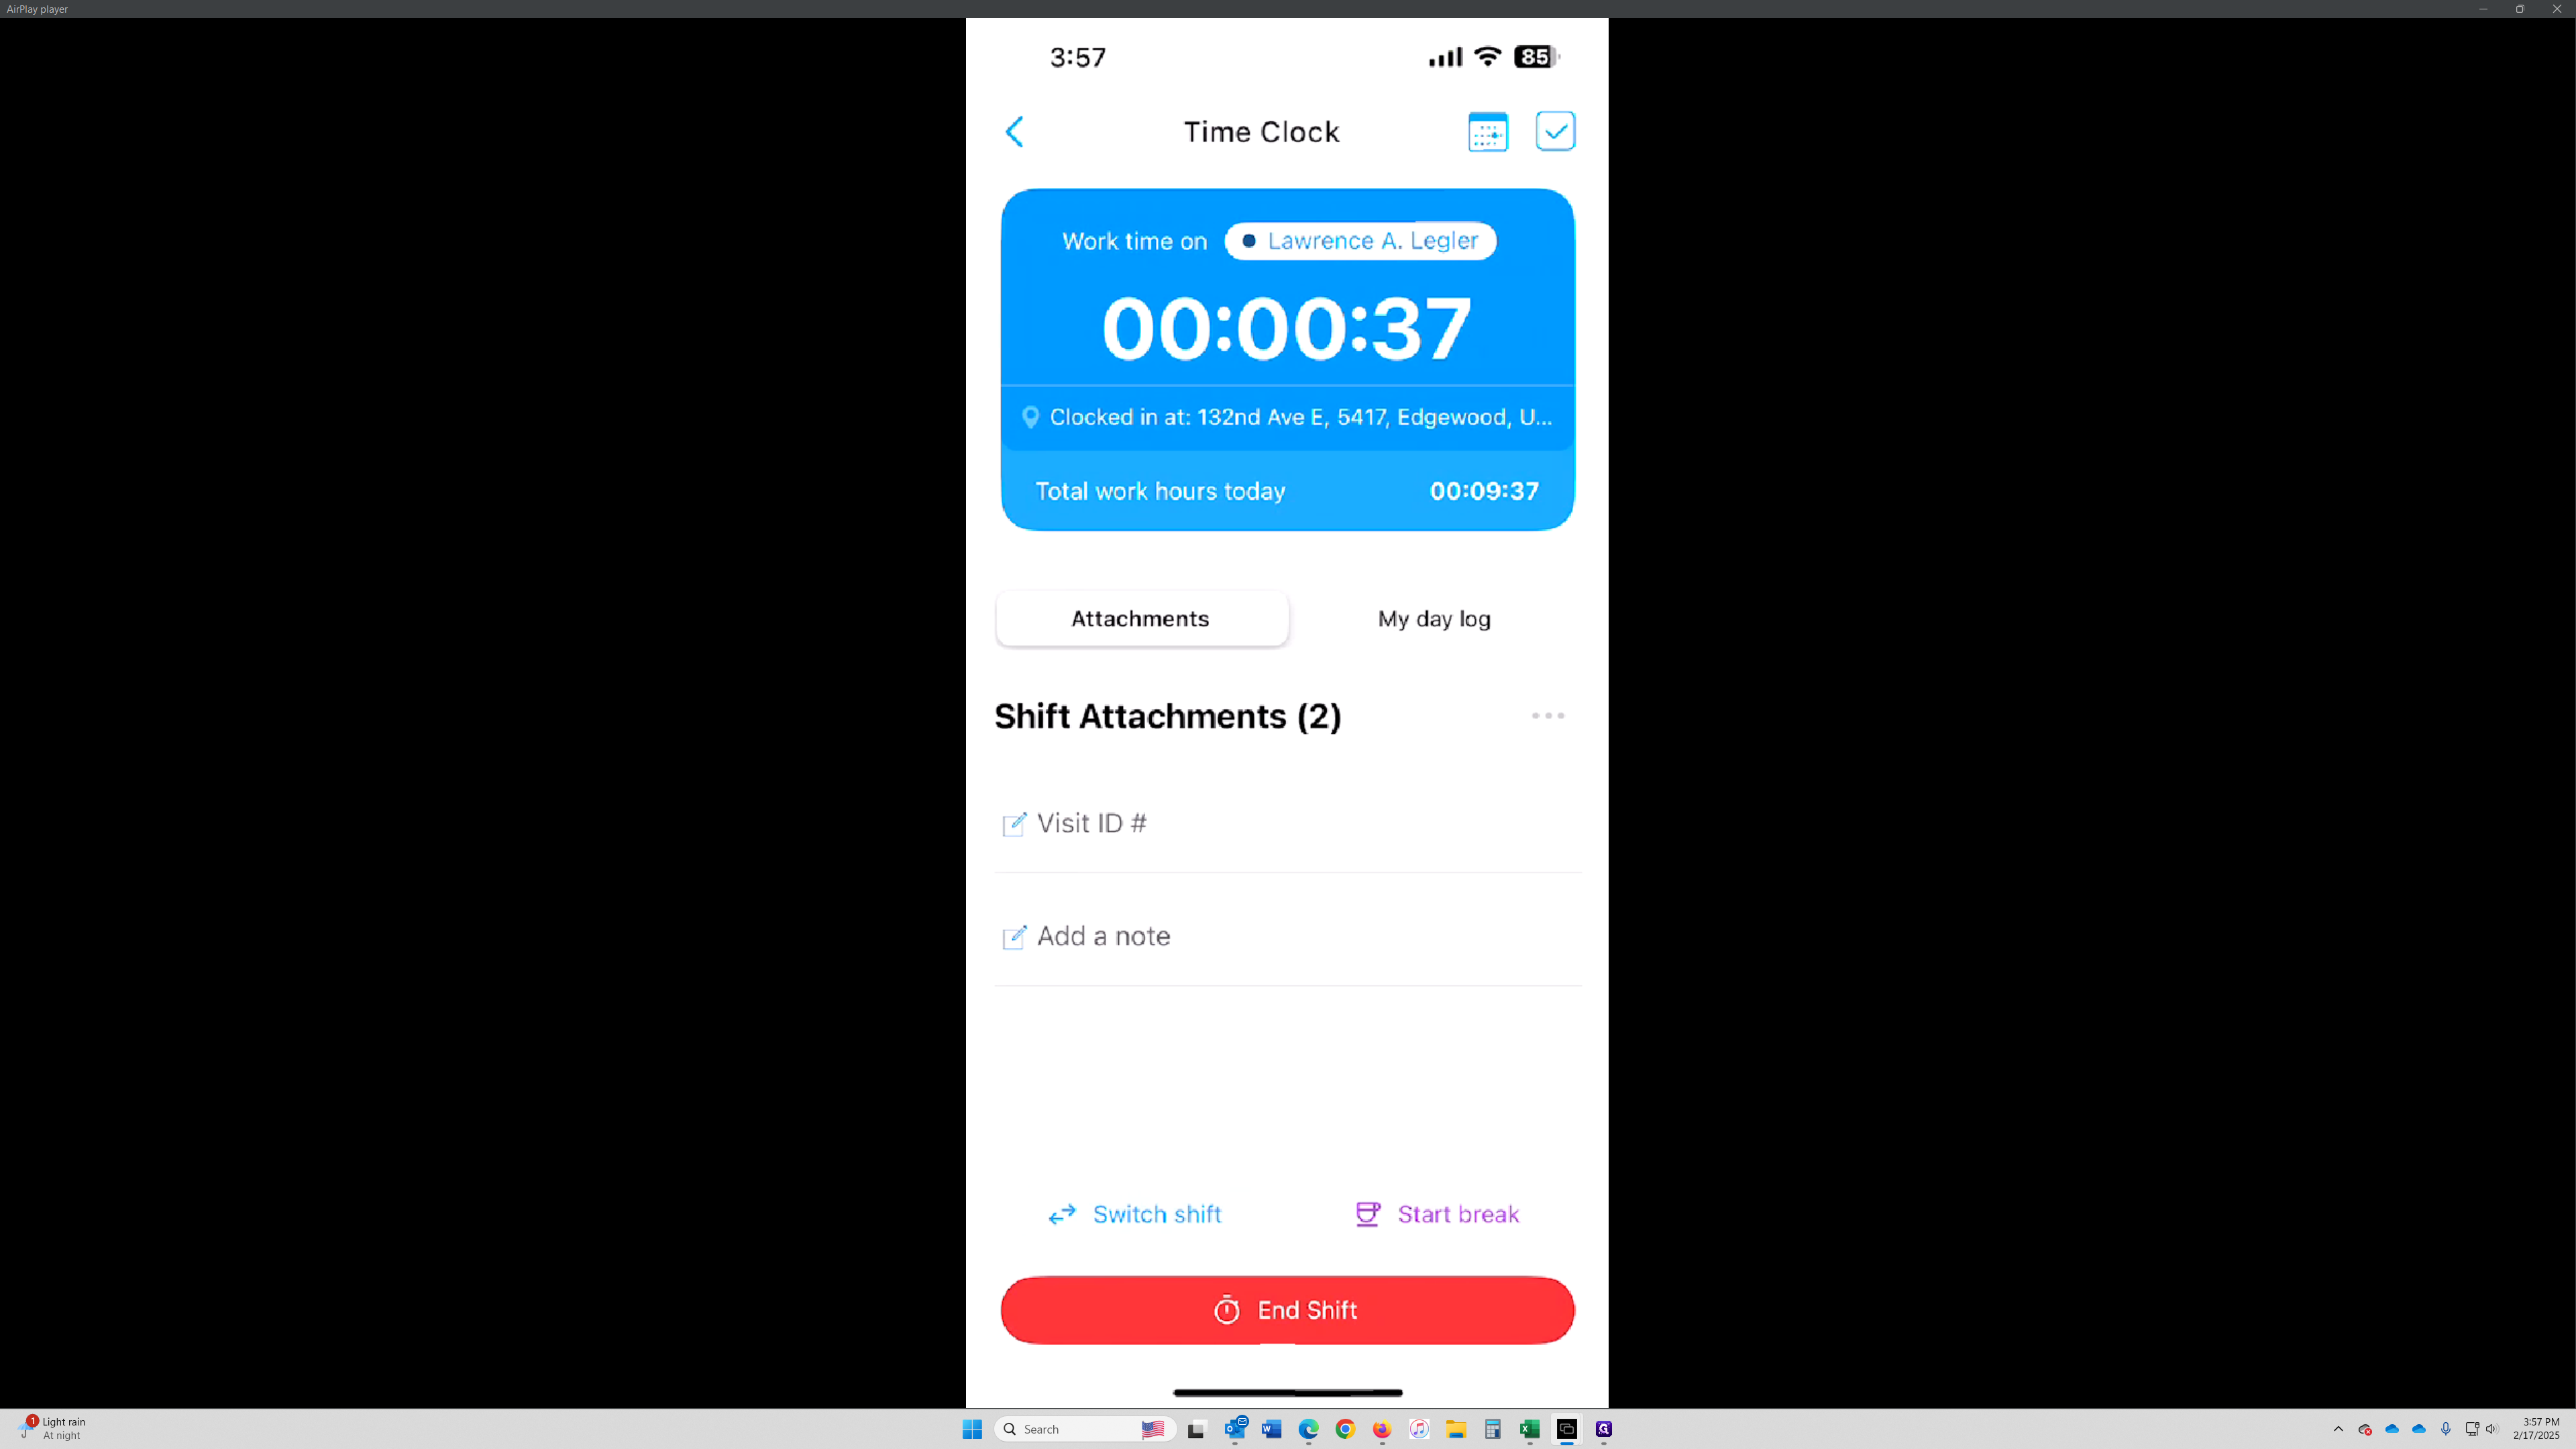
Add a Note for the Shift
Click on "✓ Add a note" to add a notation about this shift if necessary.
Start Break
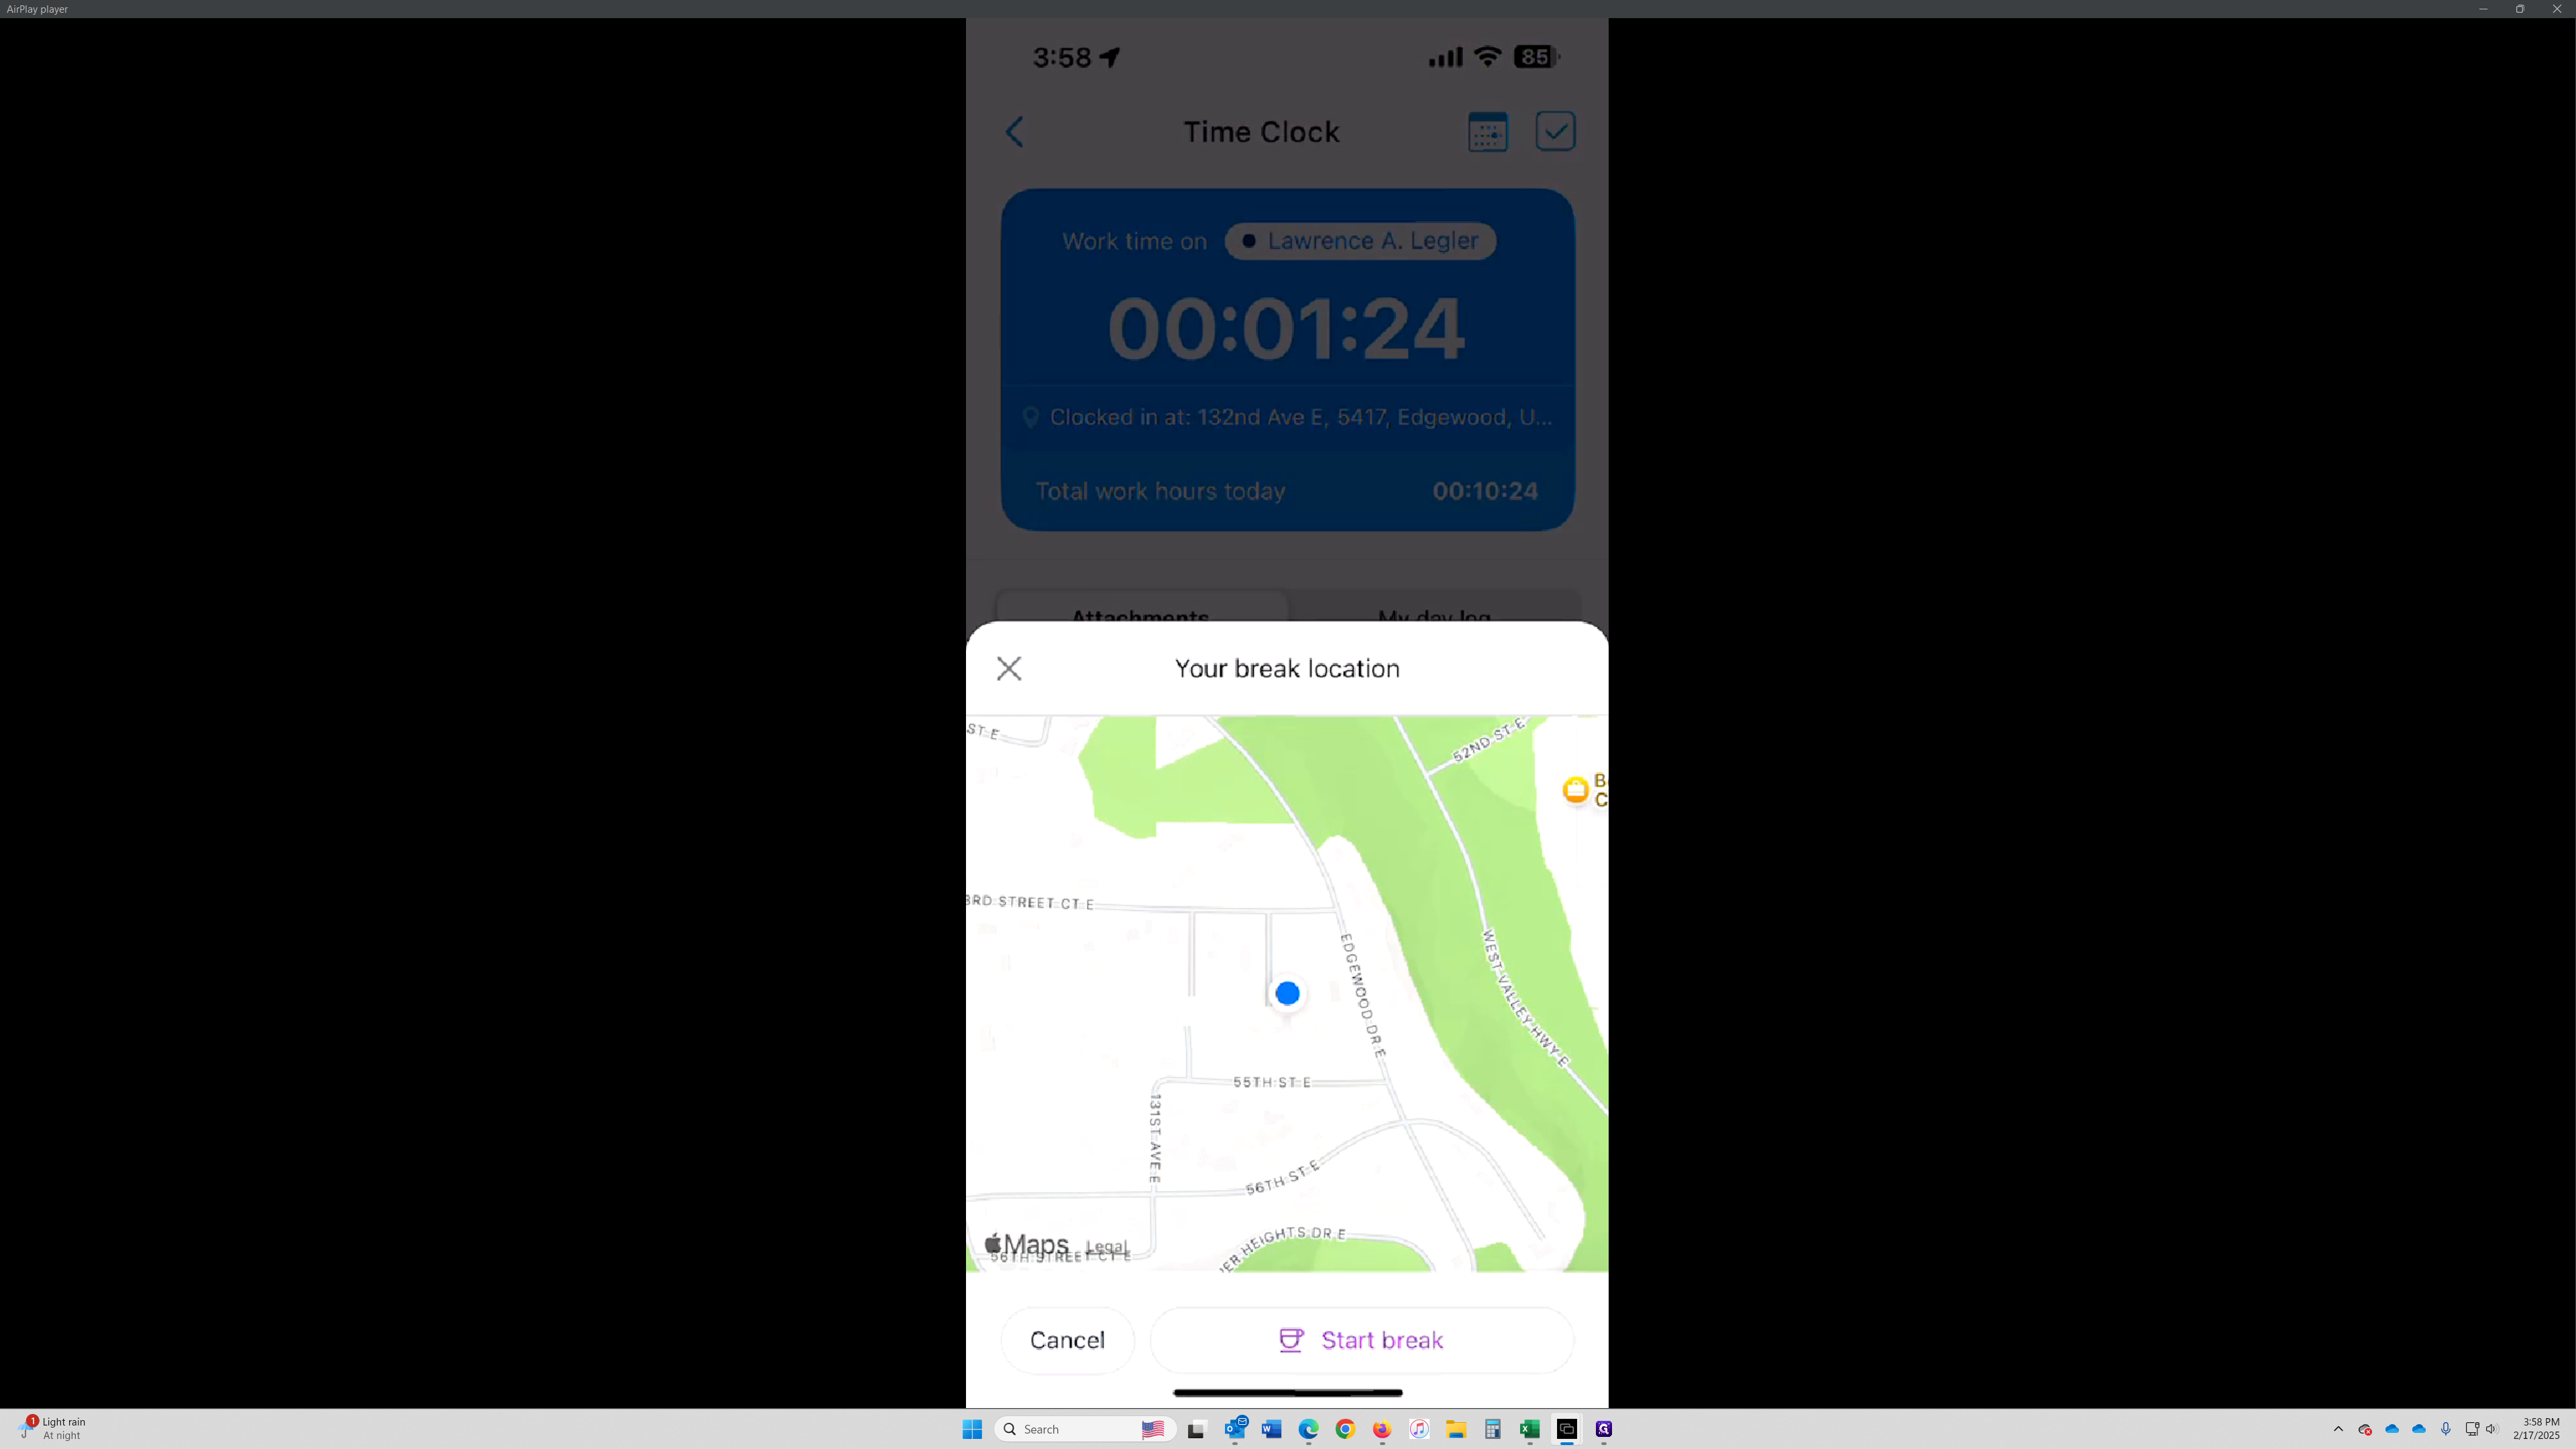
Click on "Start Break" if you need to document an "Unpaid Travel Break." this will open the following screen and have to hit the start button then.
Document Breaks
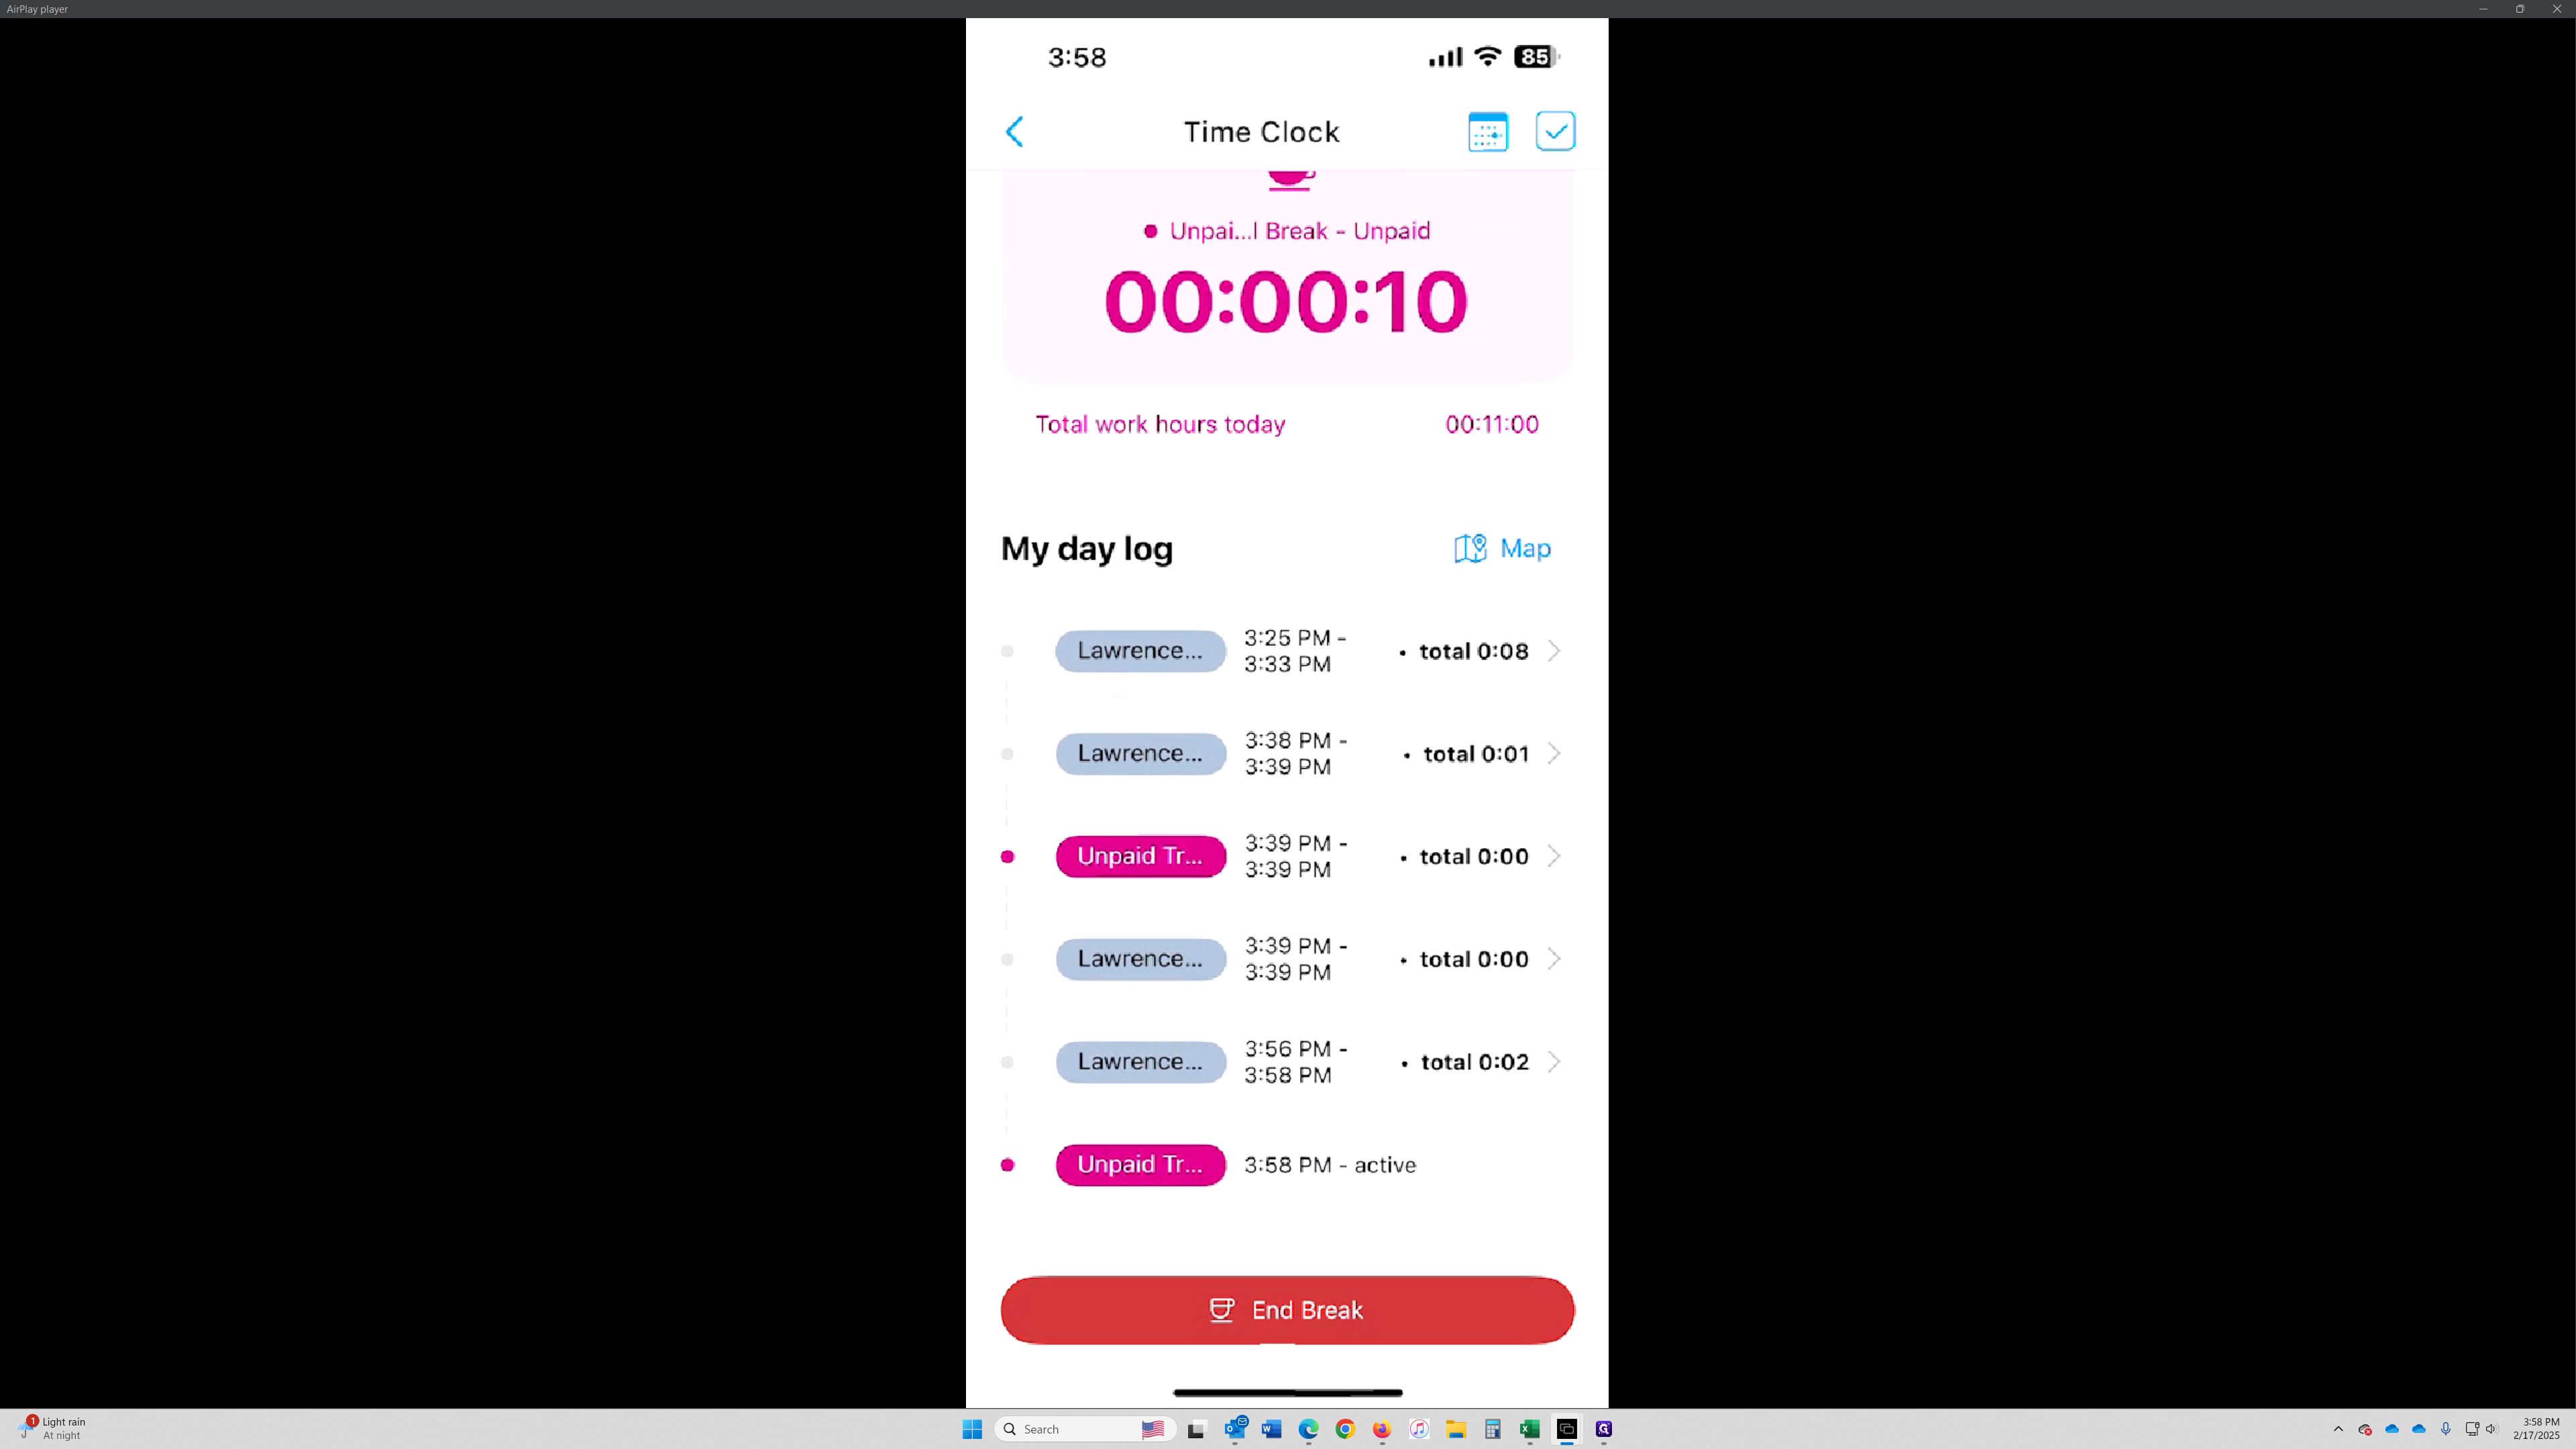
When you finish your break, click "End Break" to return to work.
Return to Job
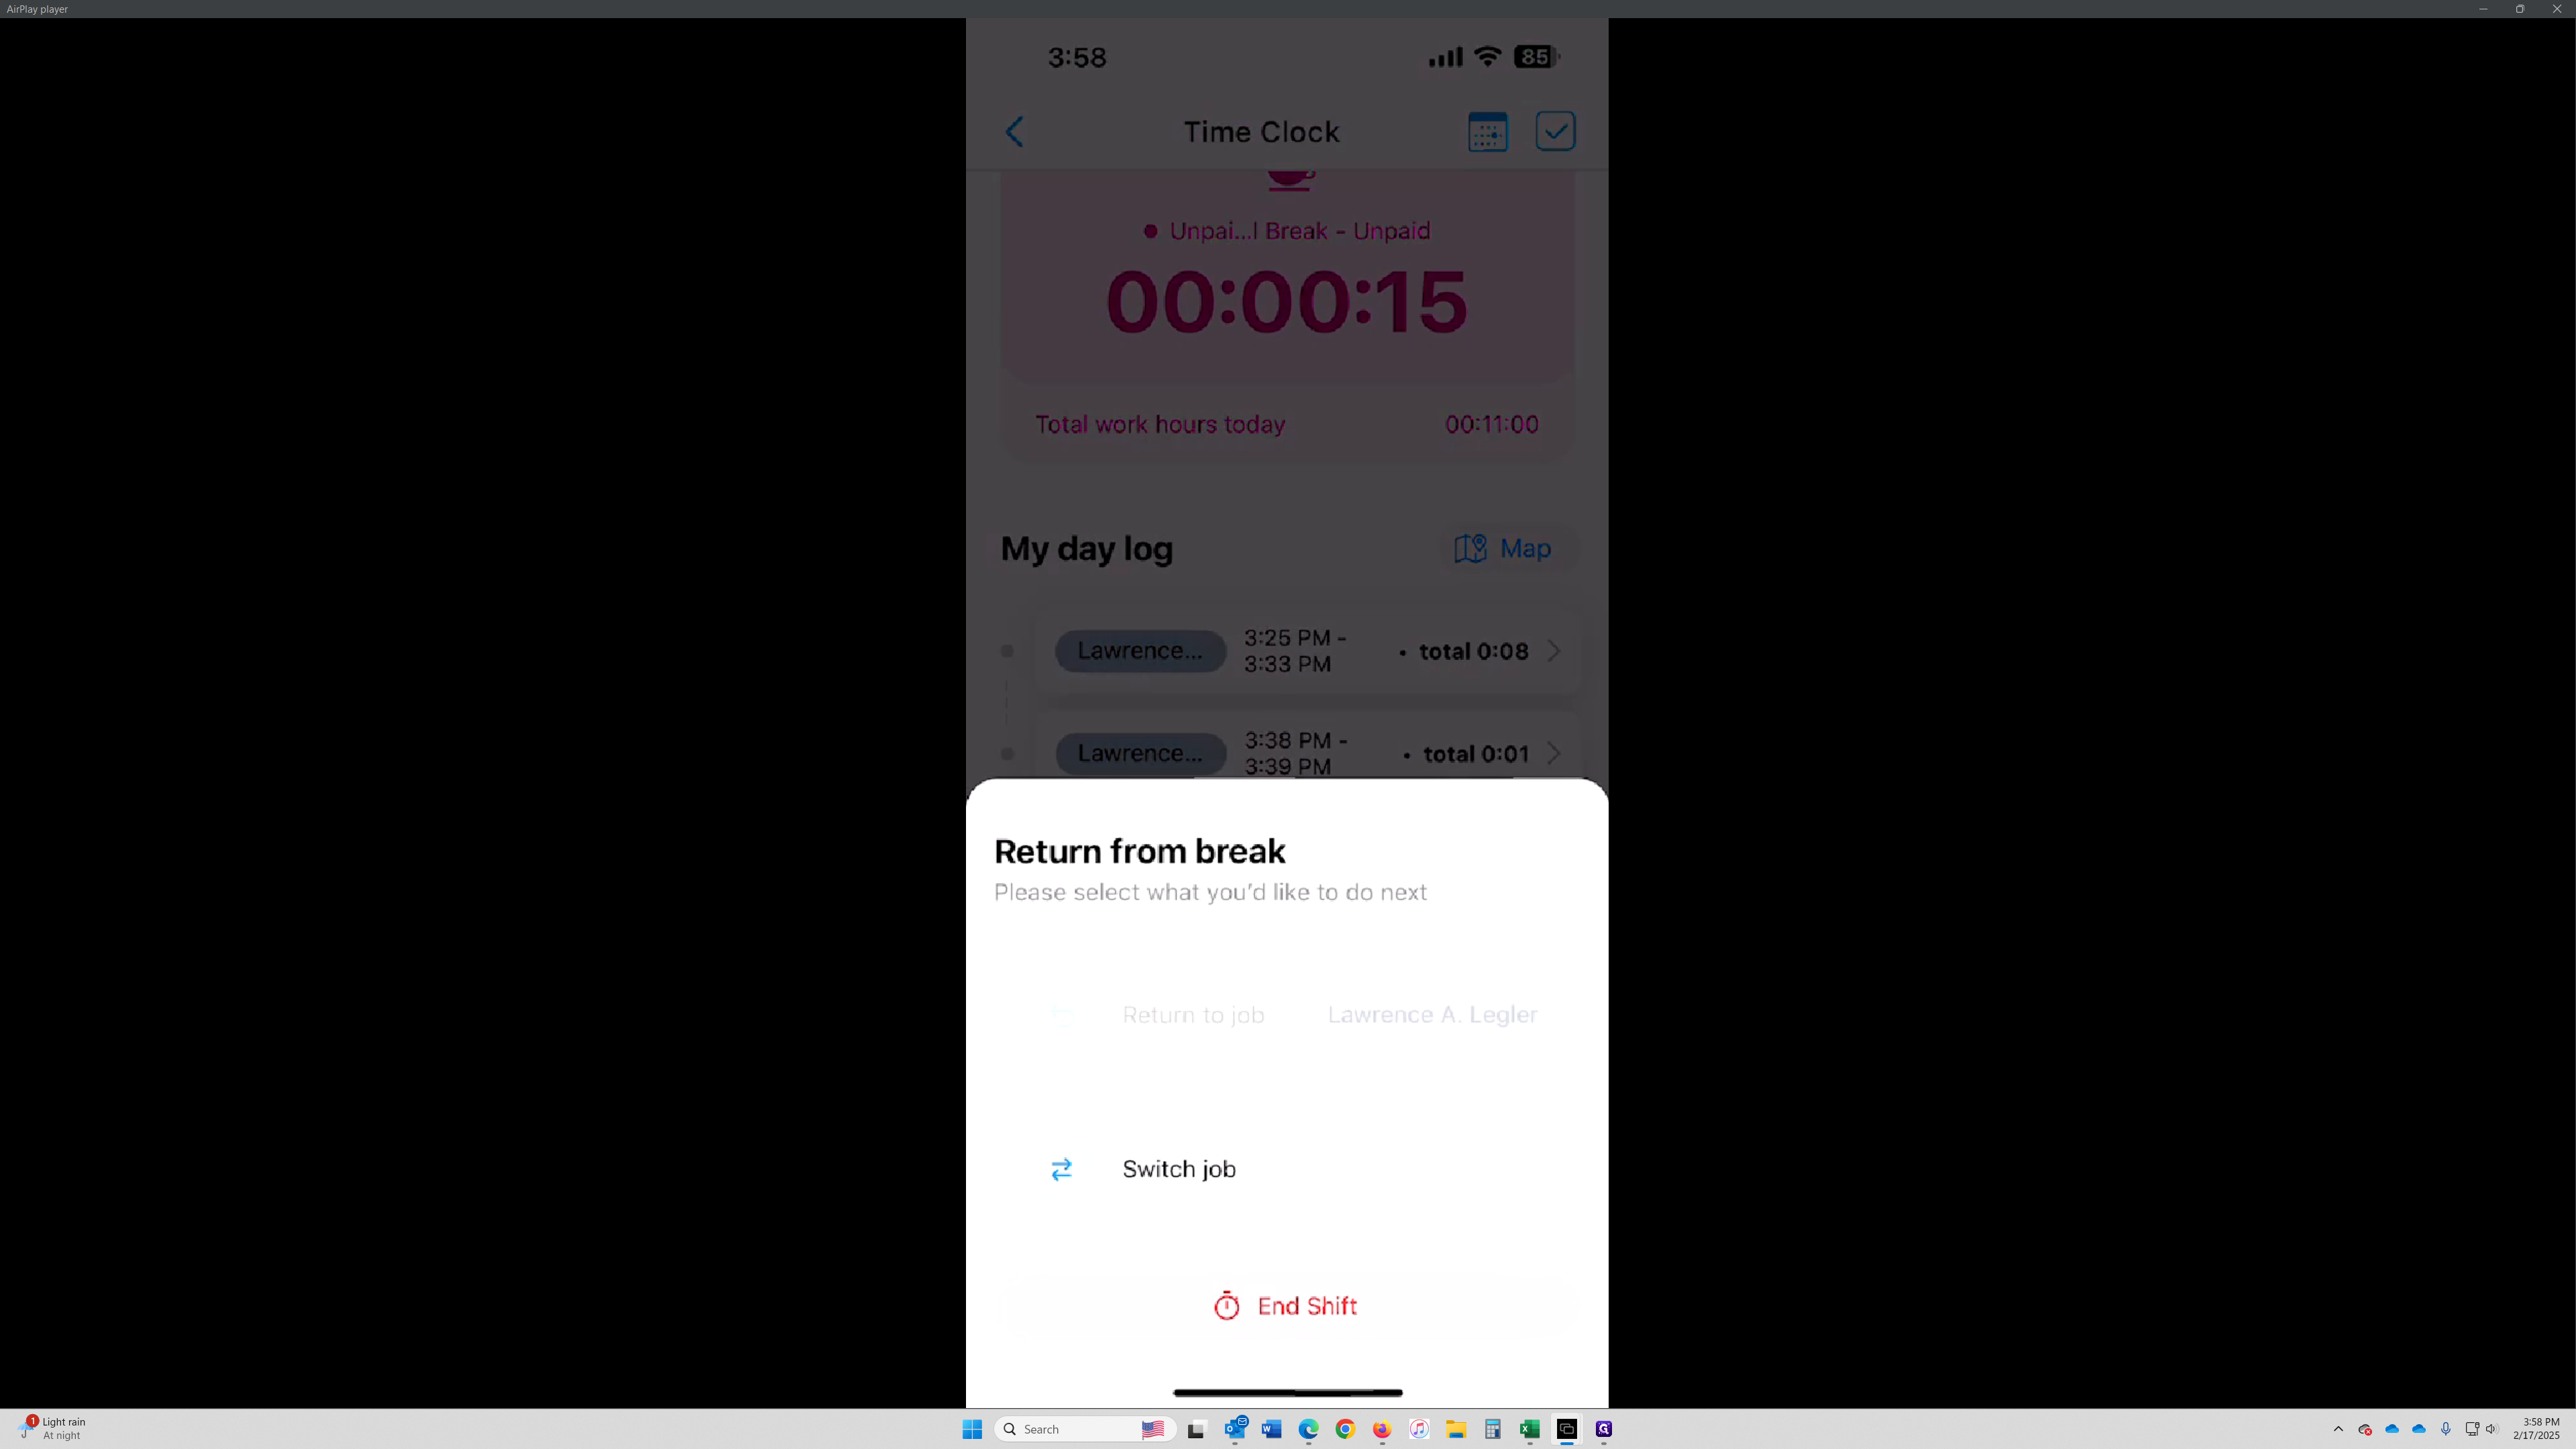
After ending your break, click your shift title to return to the job.
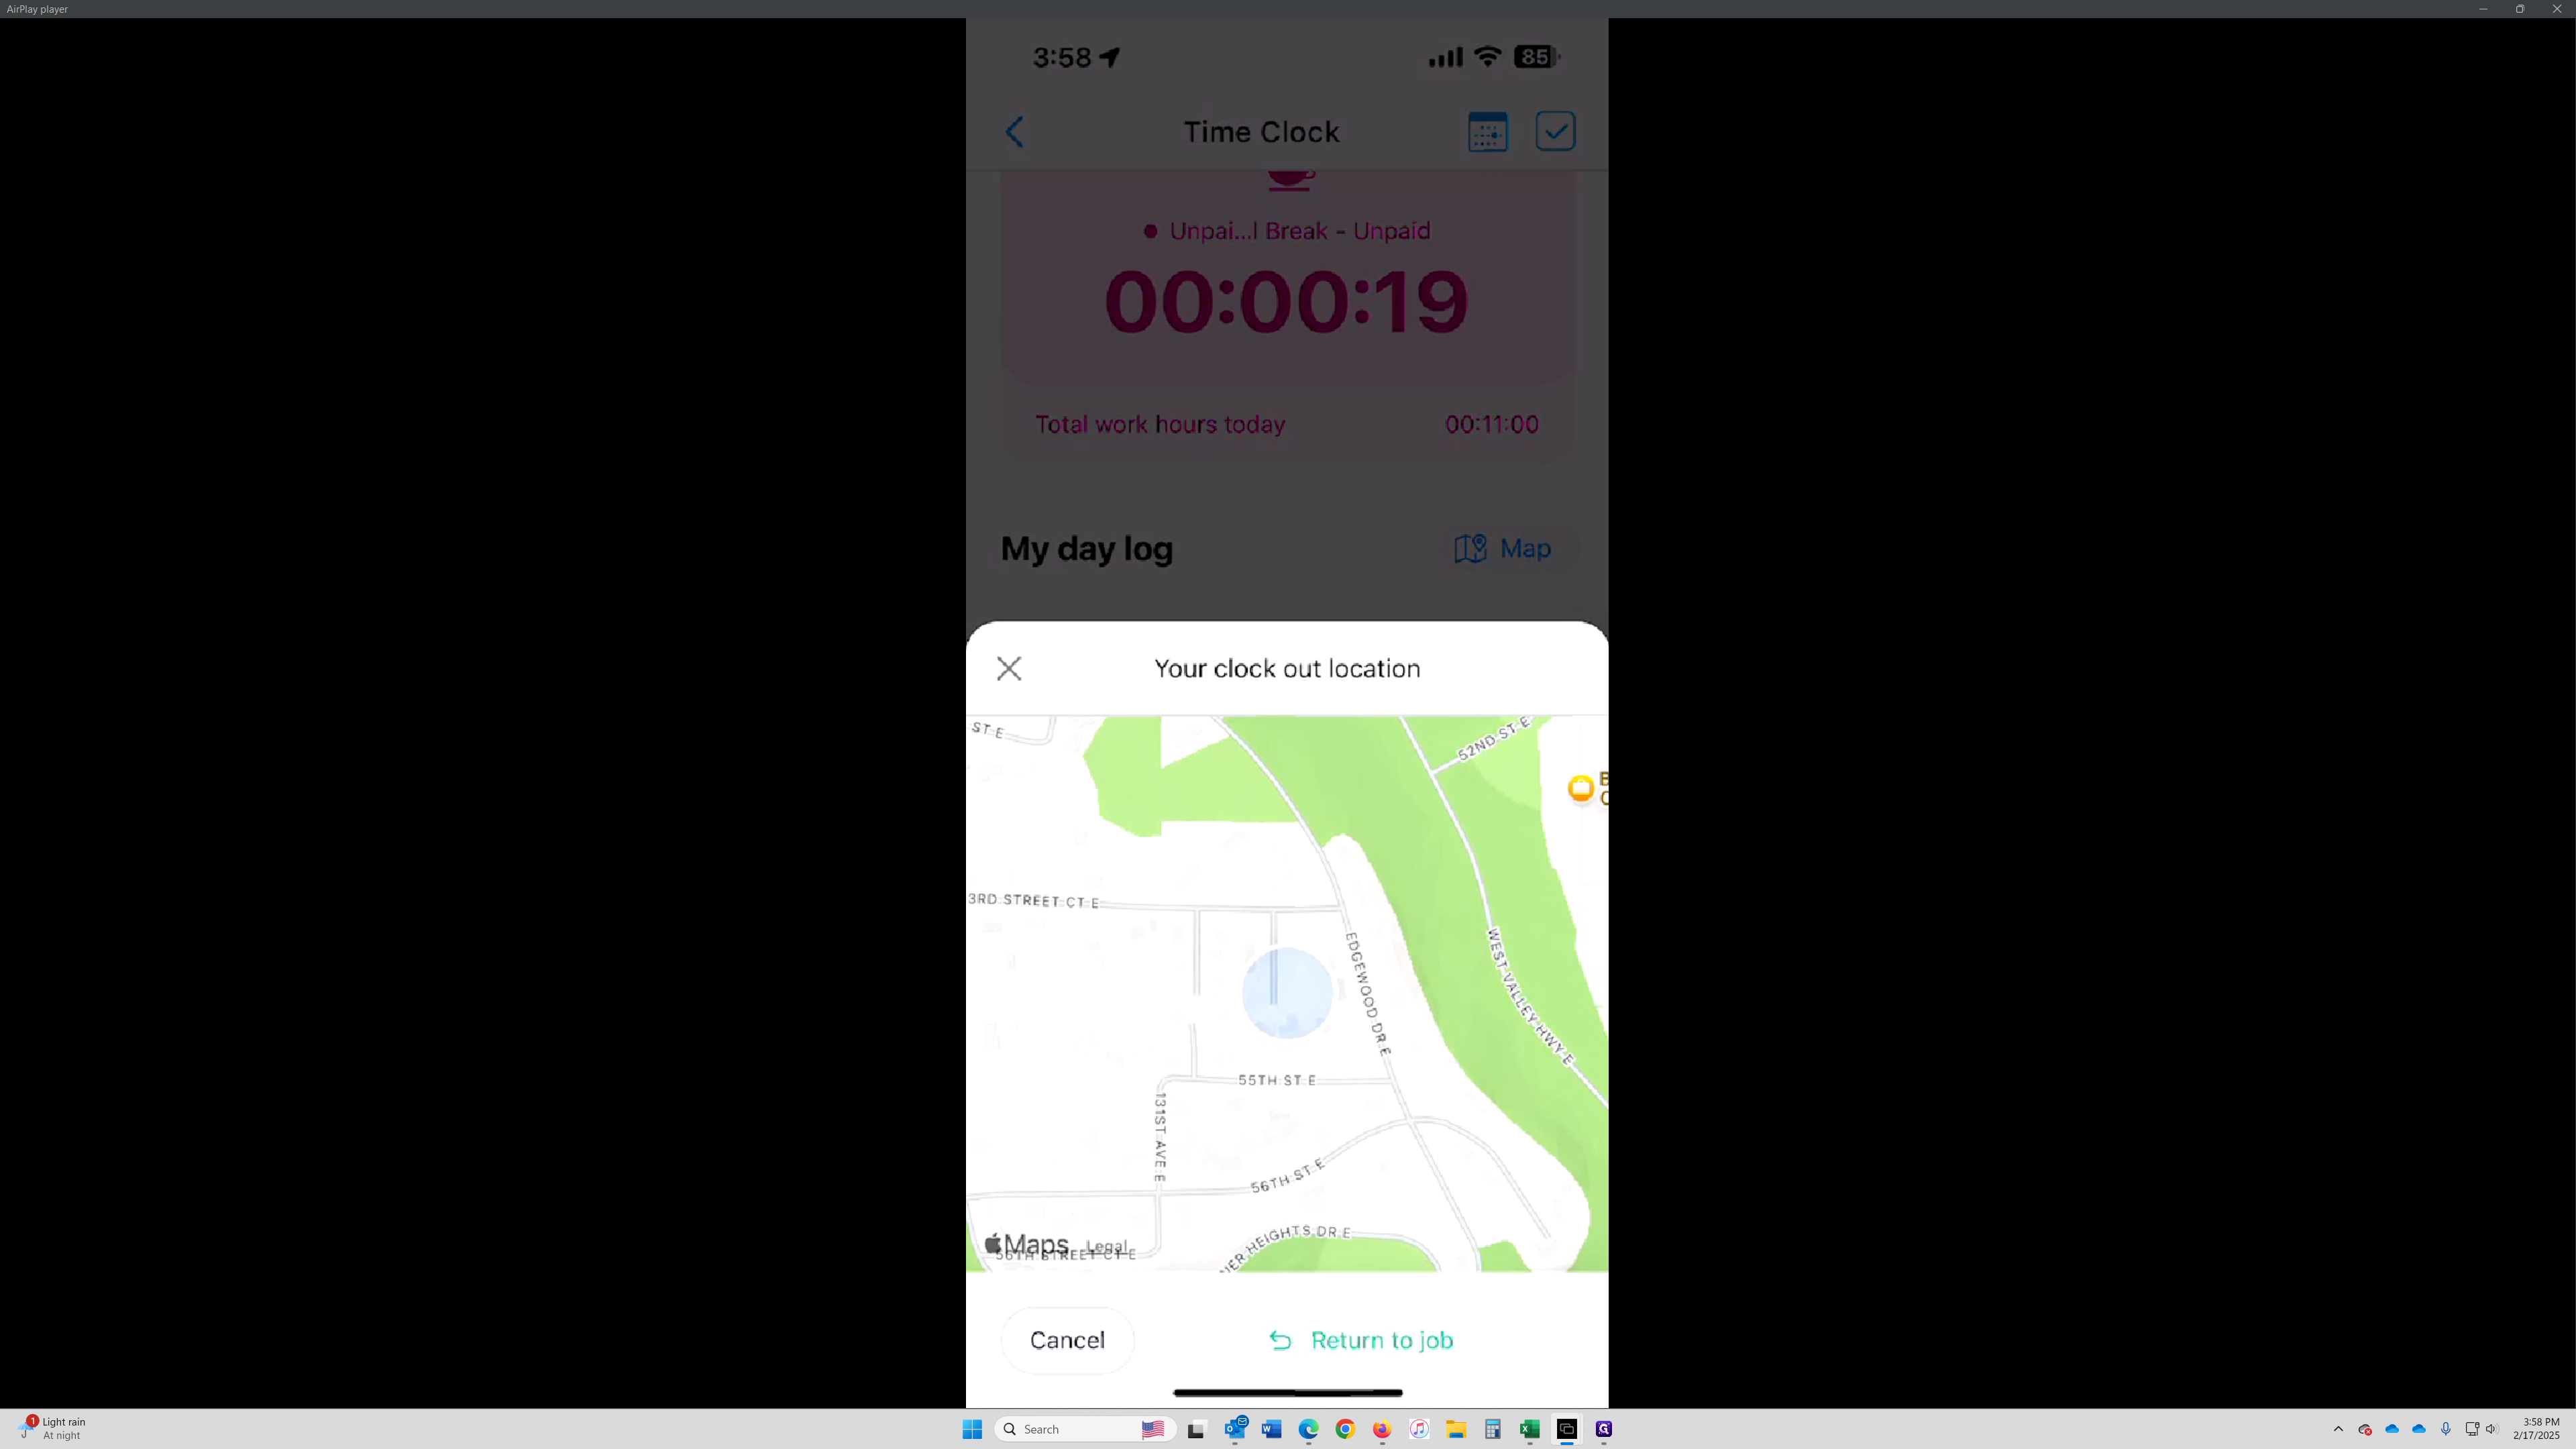
End Shift
Once you've finished your shift and returned home, click "End Shift" to stop the time clock.
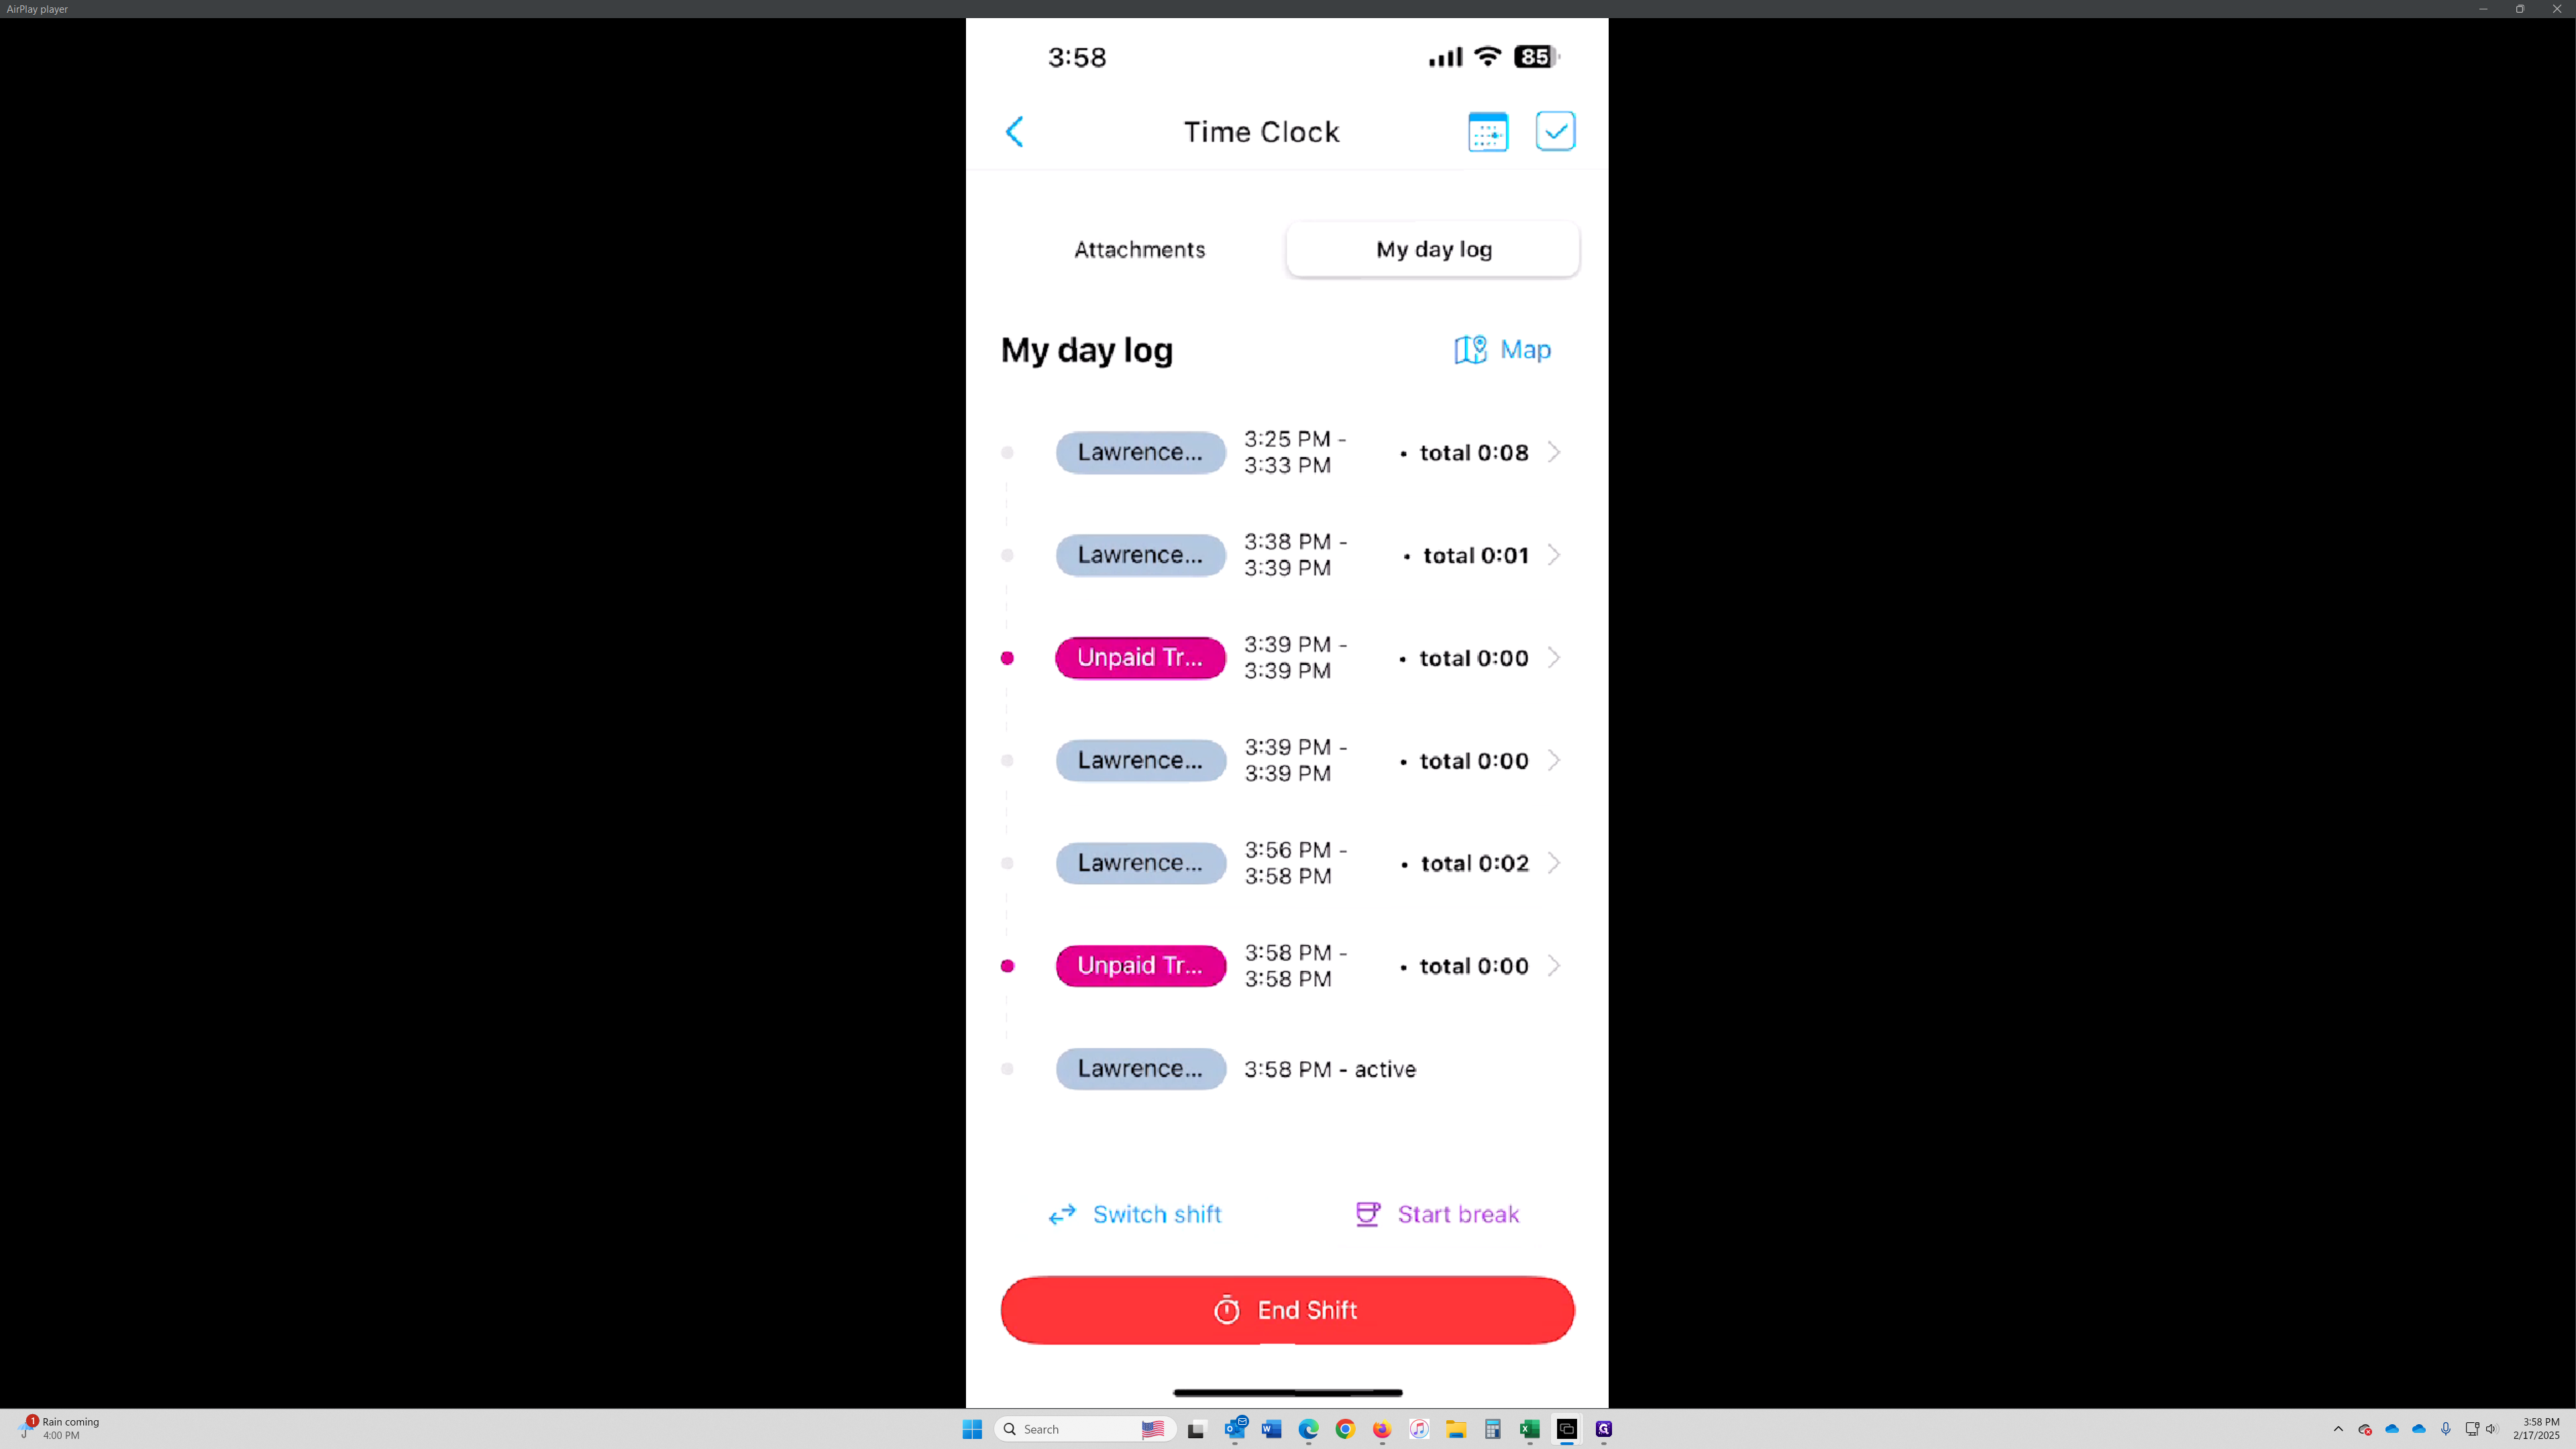
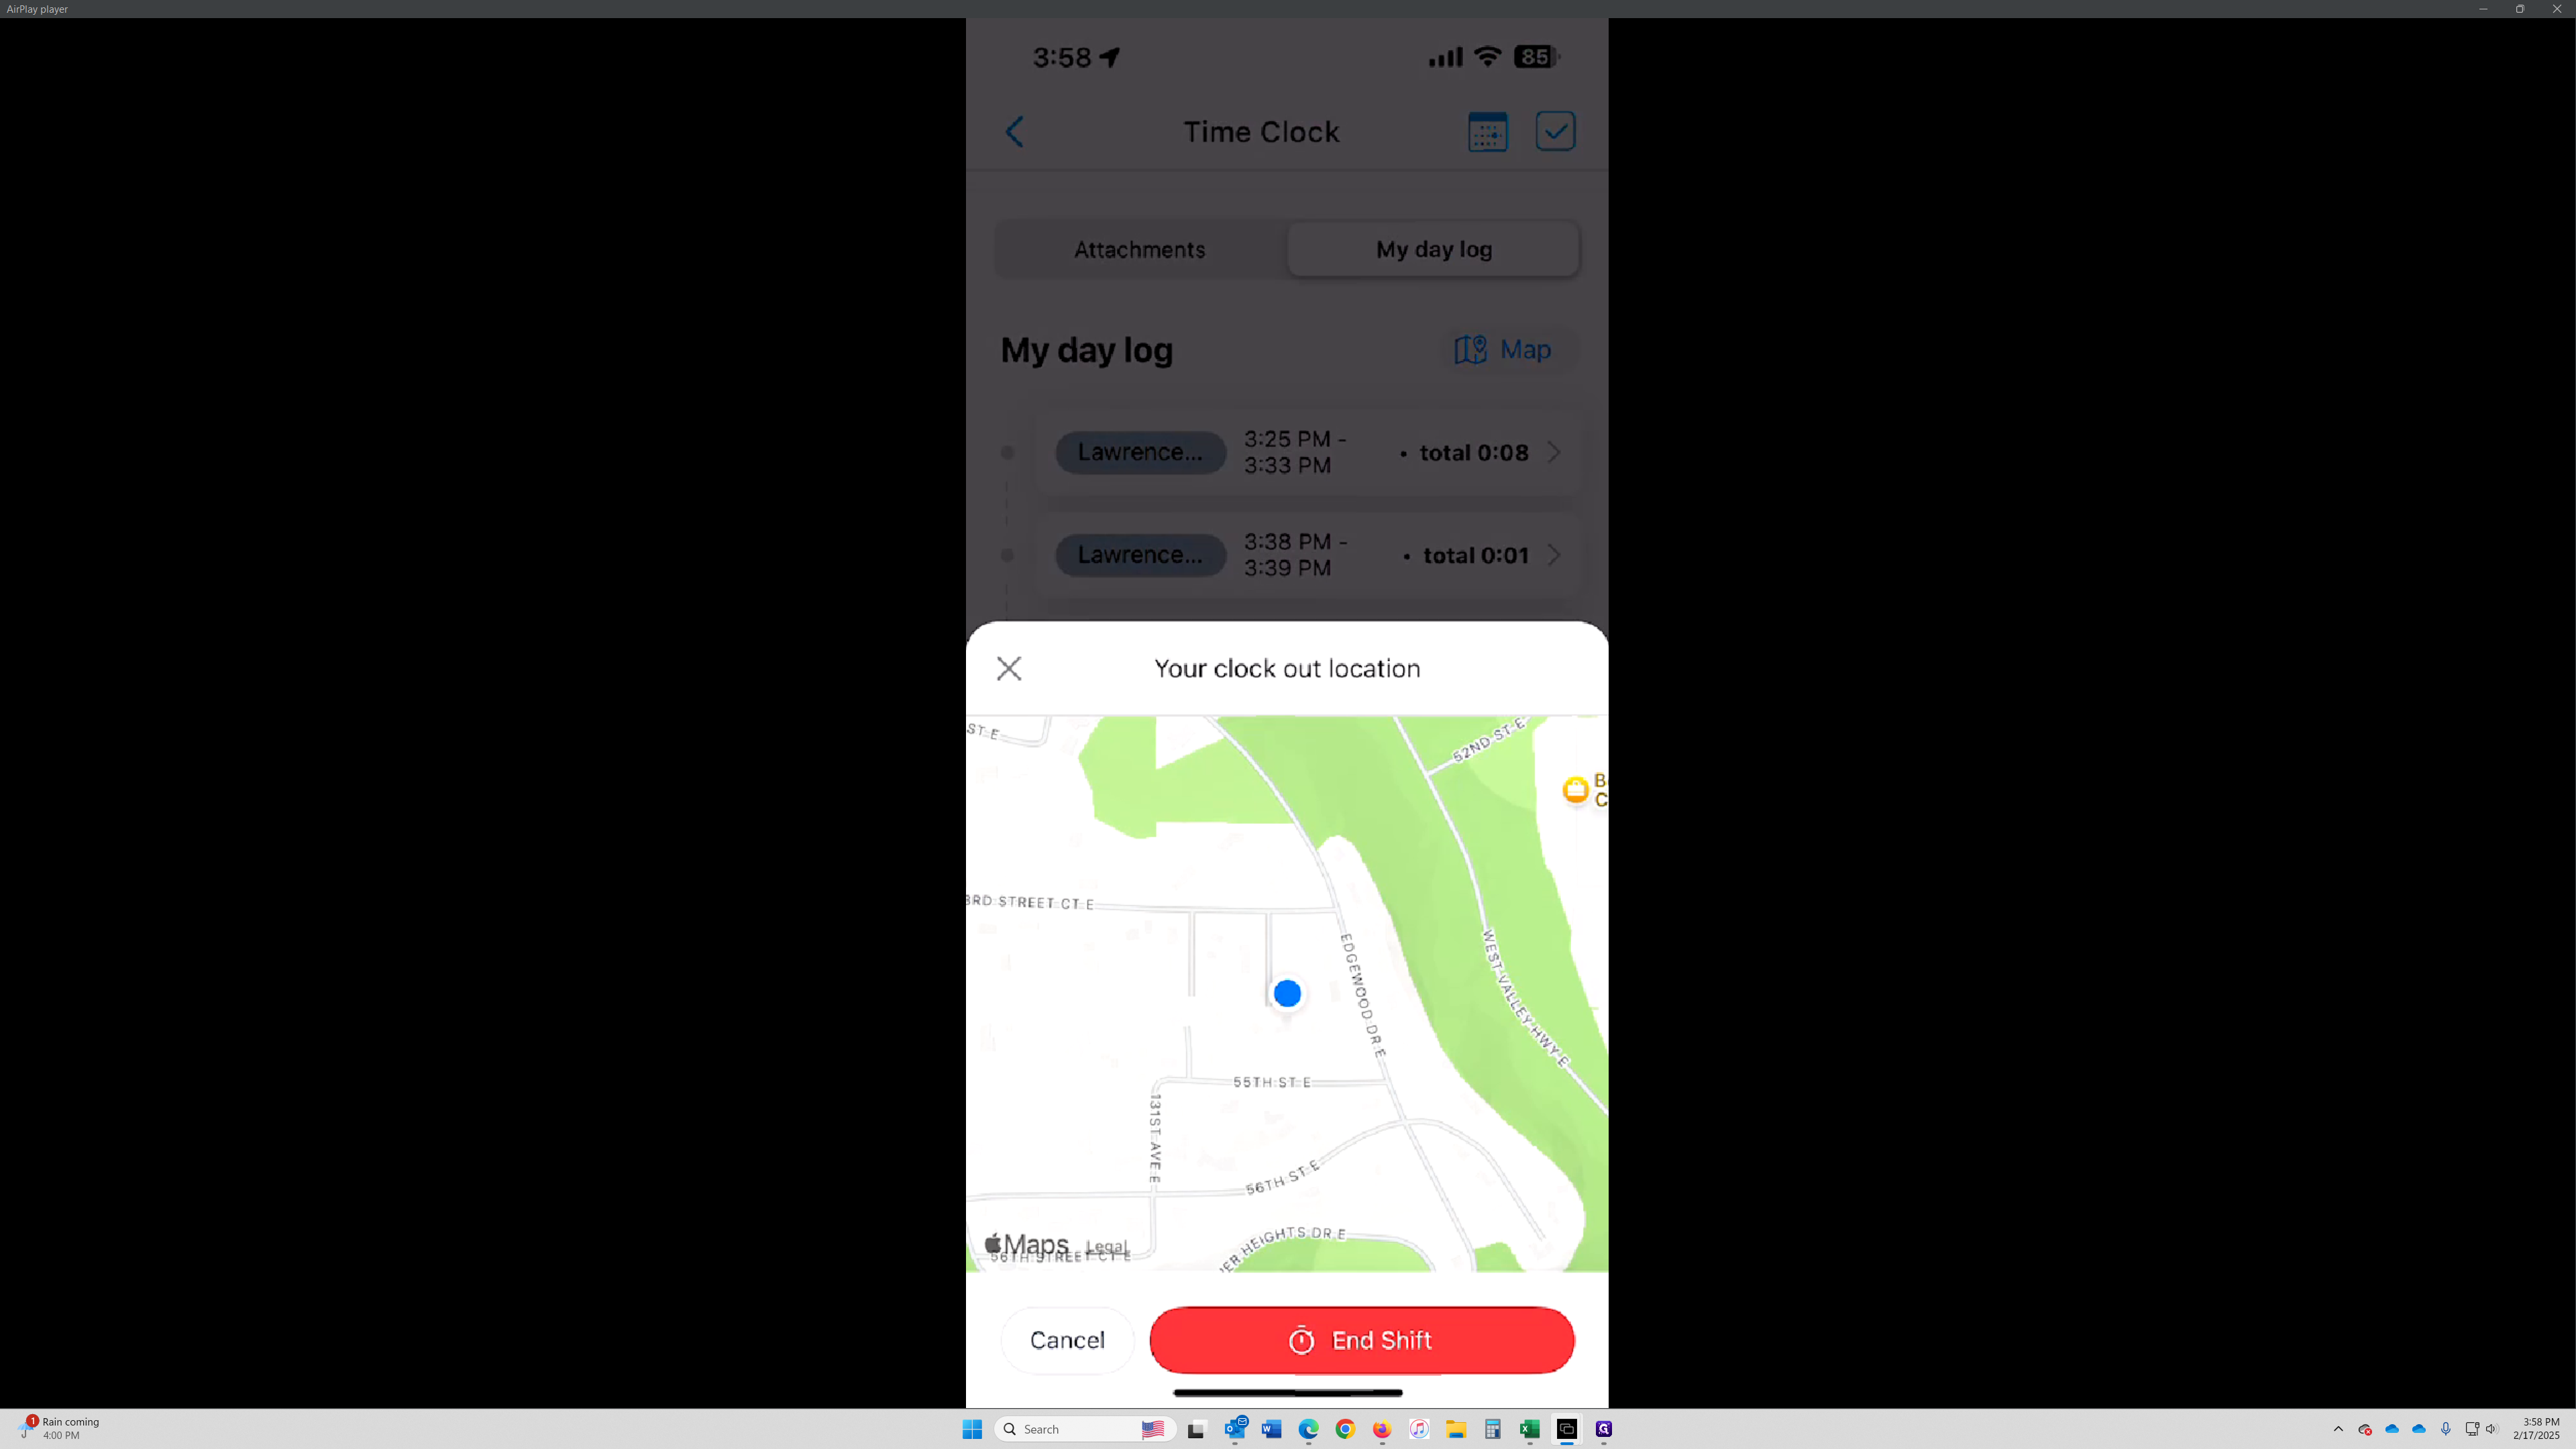
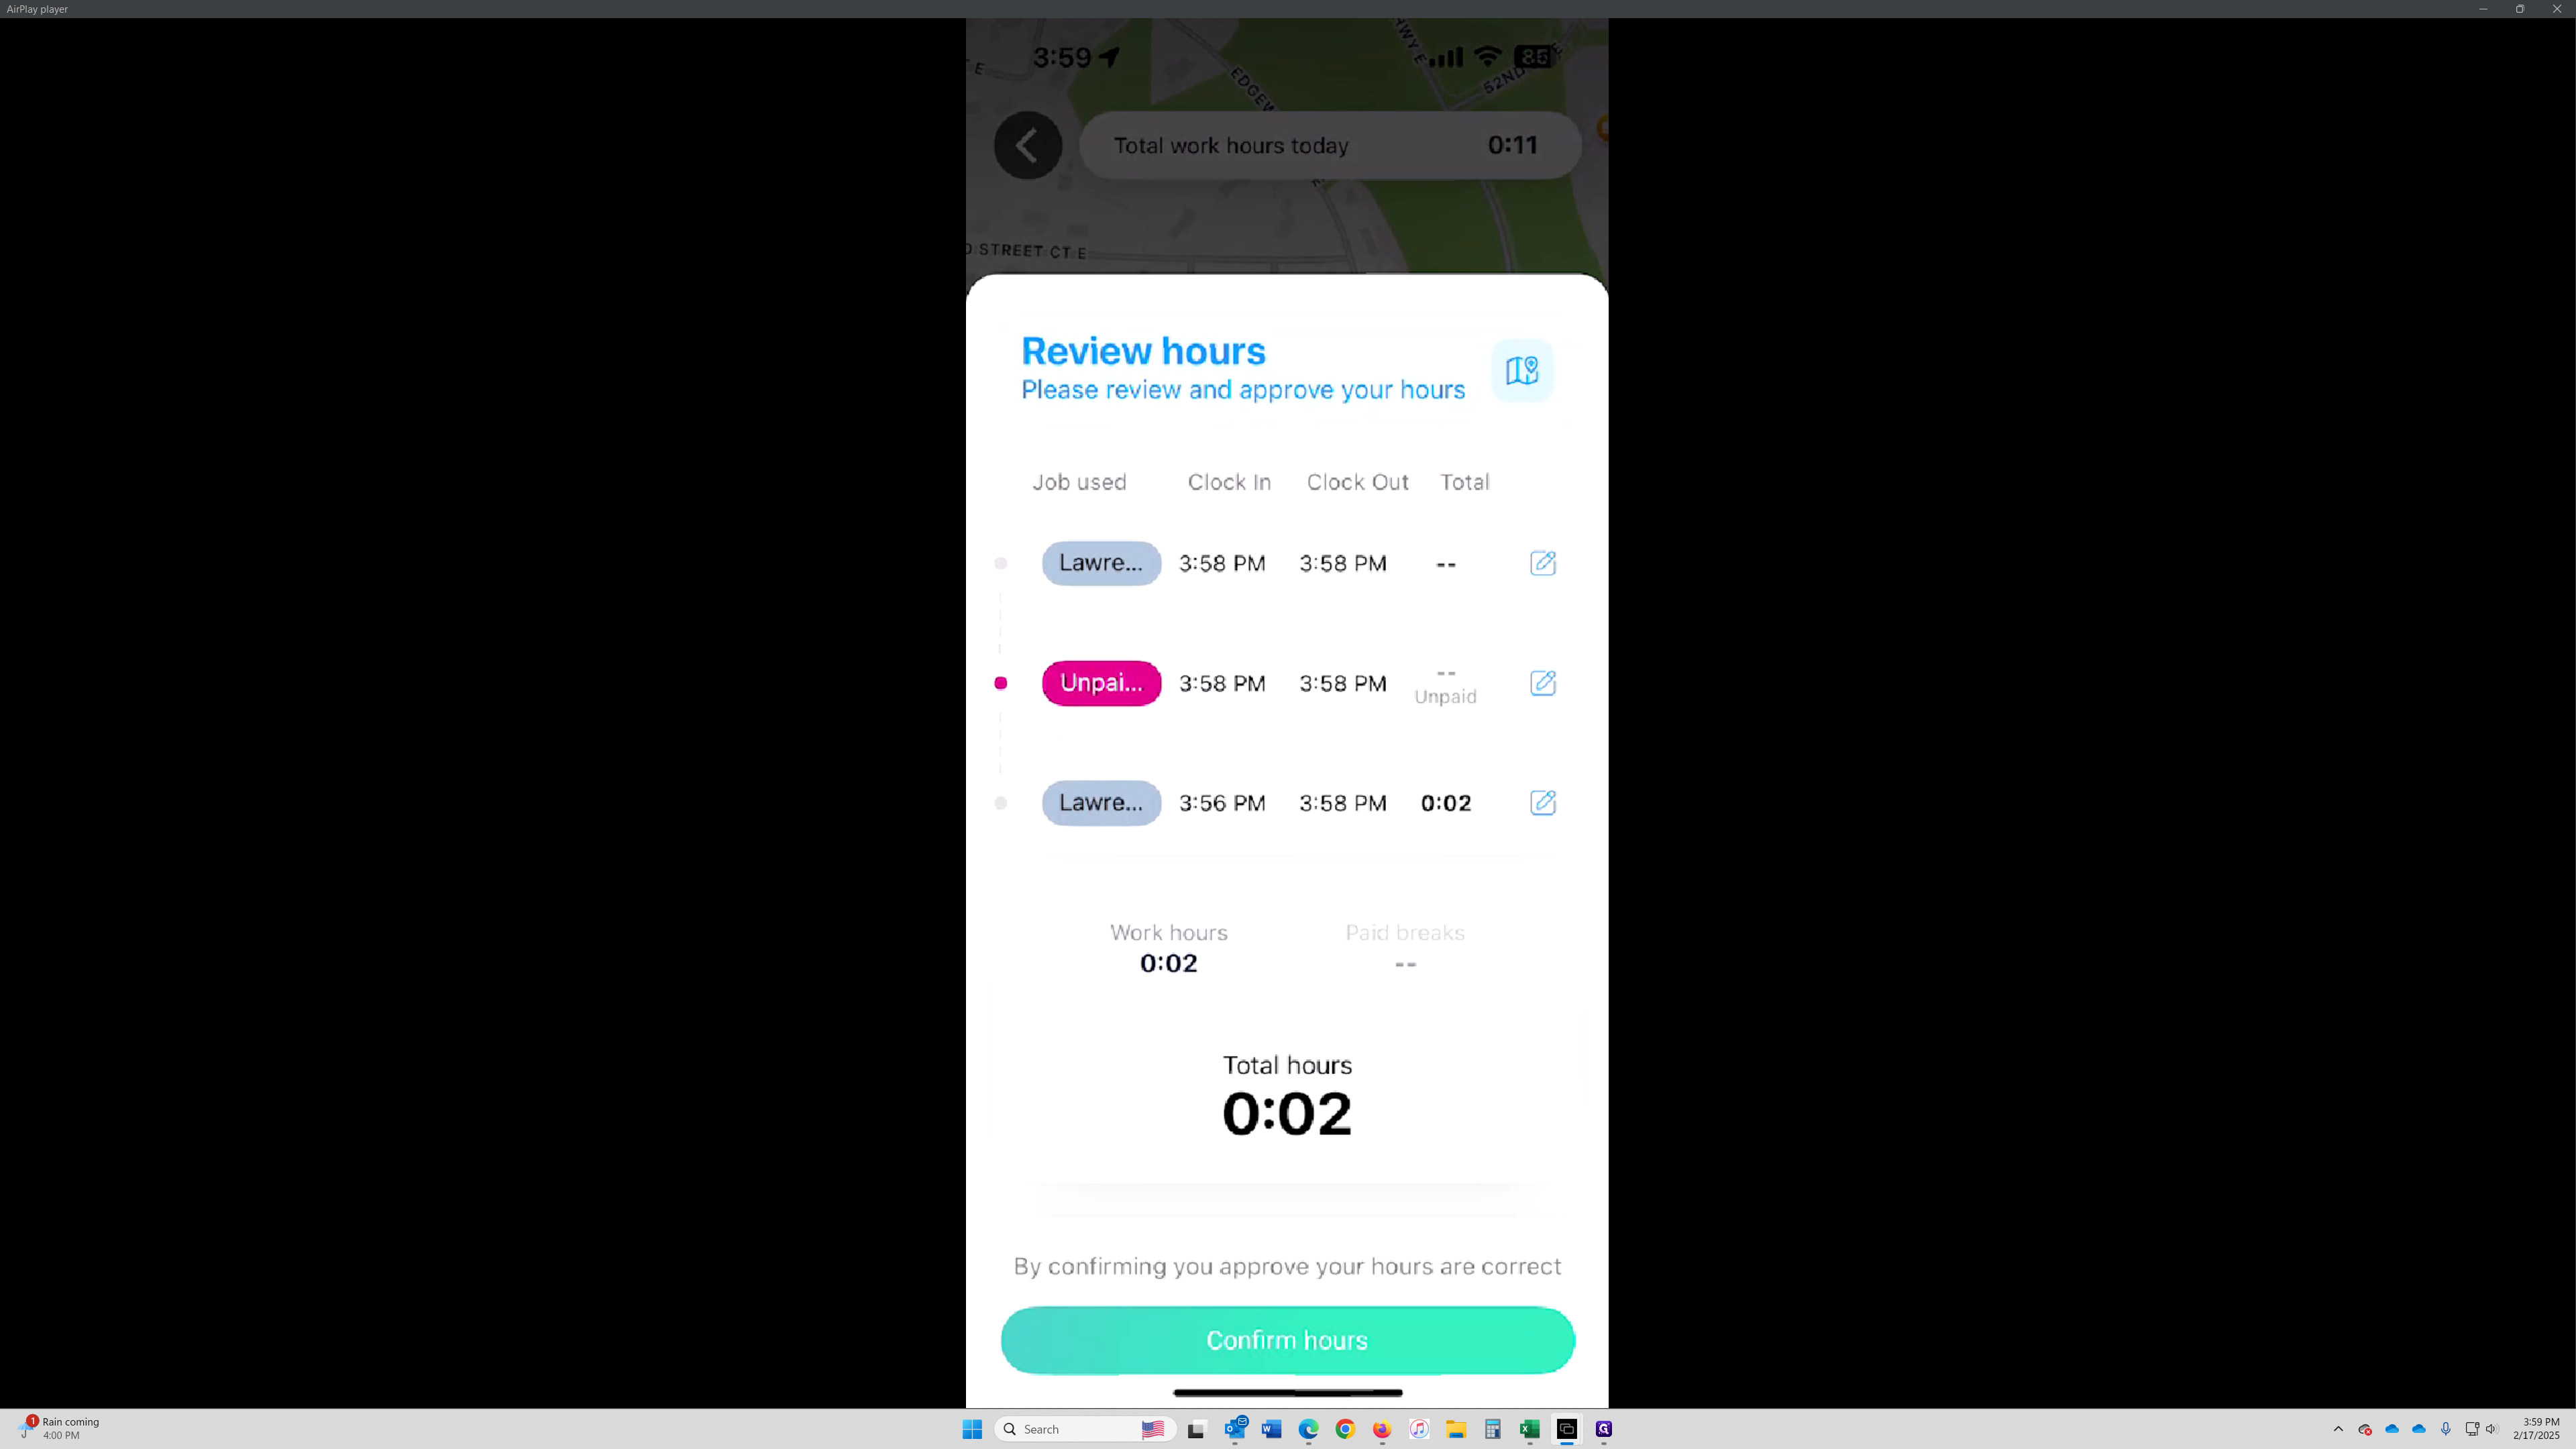
Confirm Hours
After clicking "End Shift," confirm your hours. You can make changes to the details here, but remember that time clock time stamps will be provided for comparison. Notes you add will be helpful to explain any adjustments made.
