Setting & User Profile
Learn how to manage user settings and profiles in Capstack, including roles, permissions, and email notifications.
In this guide, we'll learn how to navigate the settings and user profile features within Capstack Participate. These tools are essential for account managers to manage user information, roles, and permissions, ensuring proper access rights to organizational offerings and operations.
We'll explore how to access the settings page to view institution details, manage user roles, and invite new users. Additionally, we'll cover the profile page, where you can edit personal information and manage notification preferences, including in-app and email notifications.
Let's get started
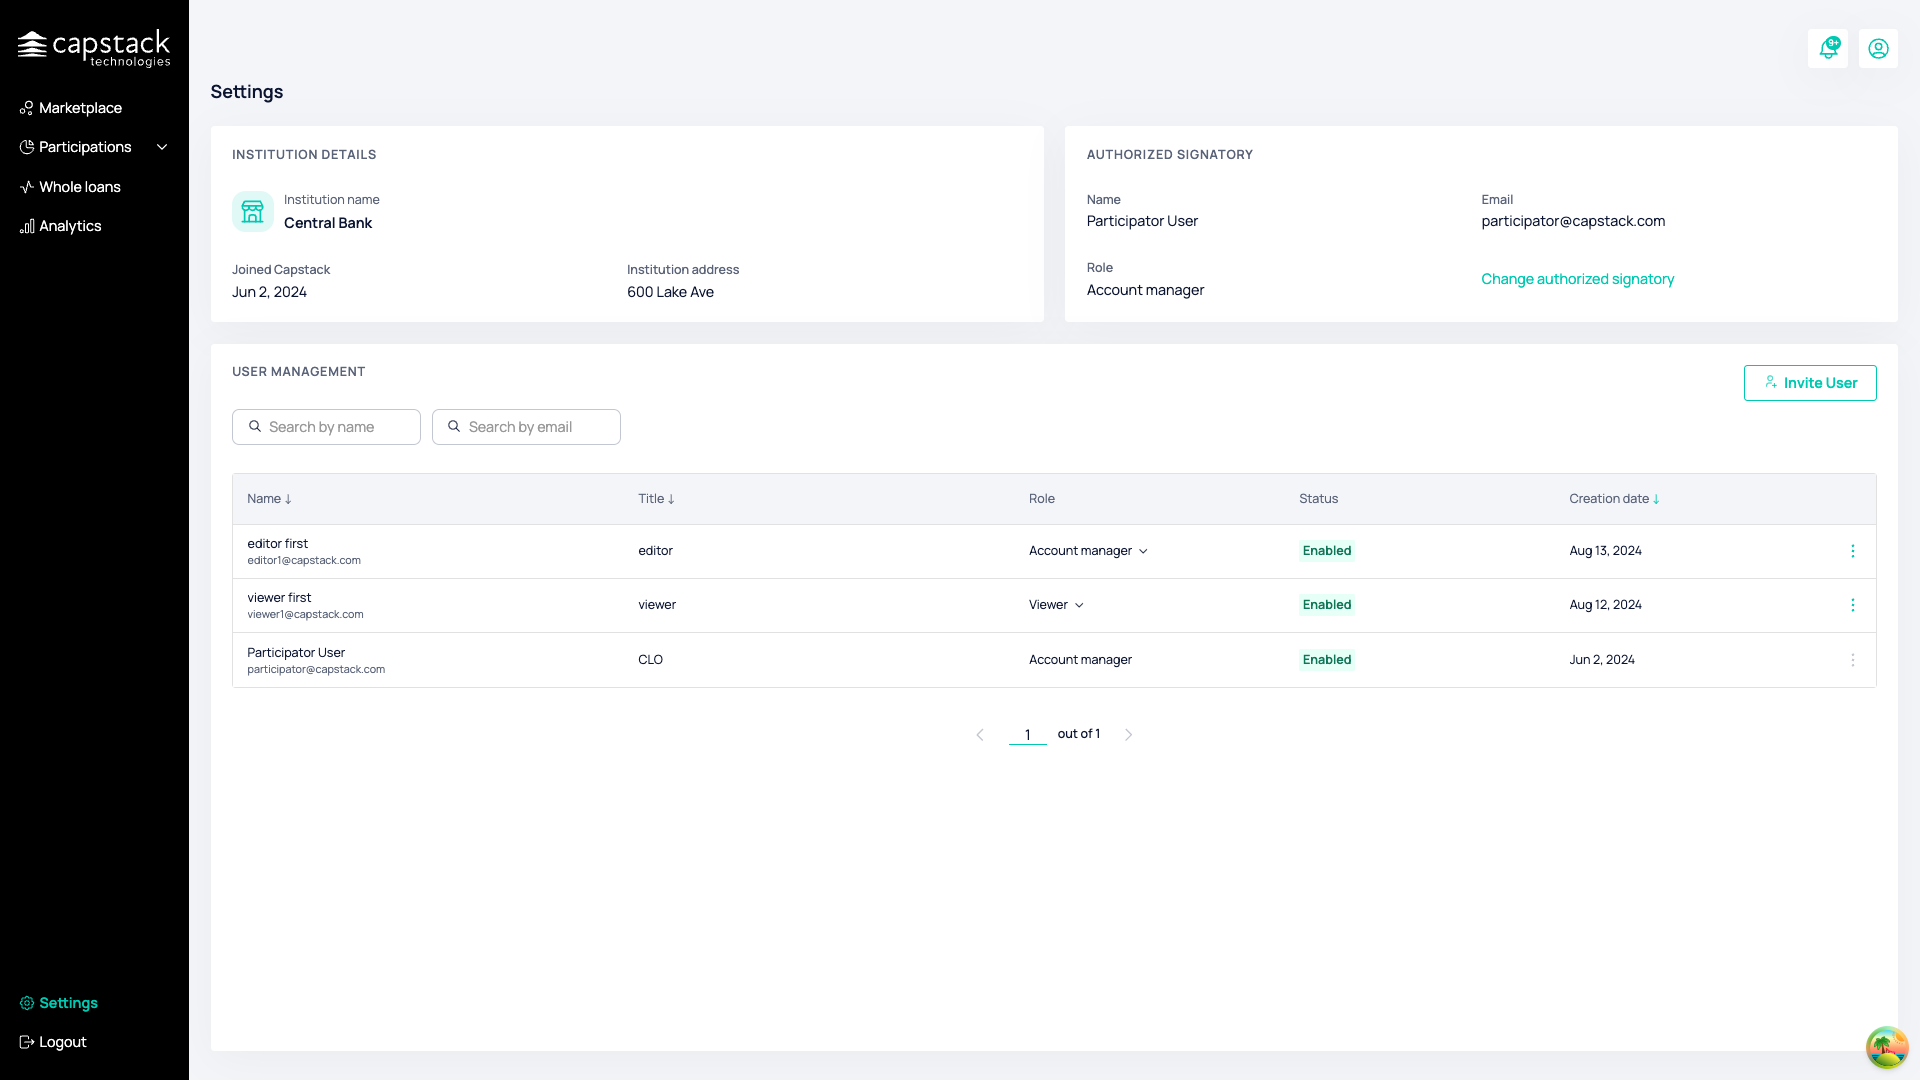
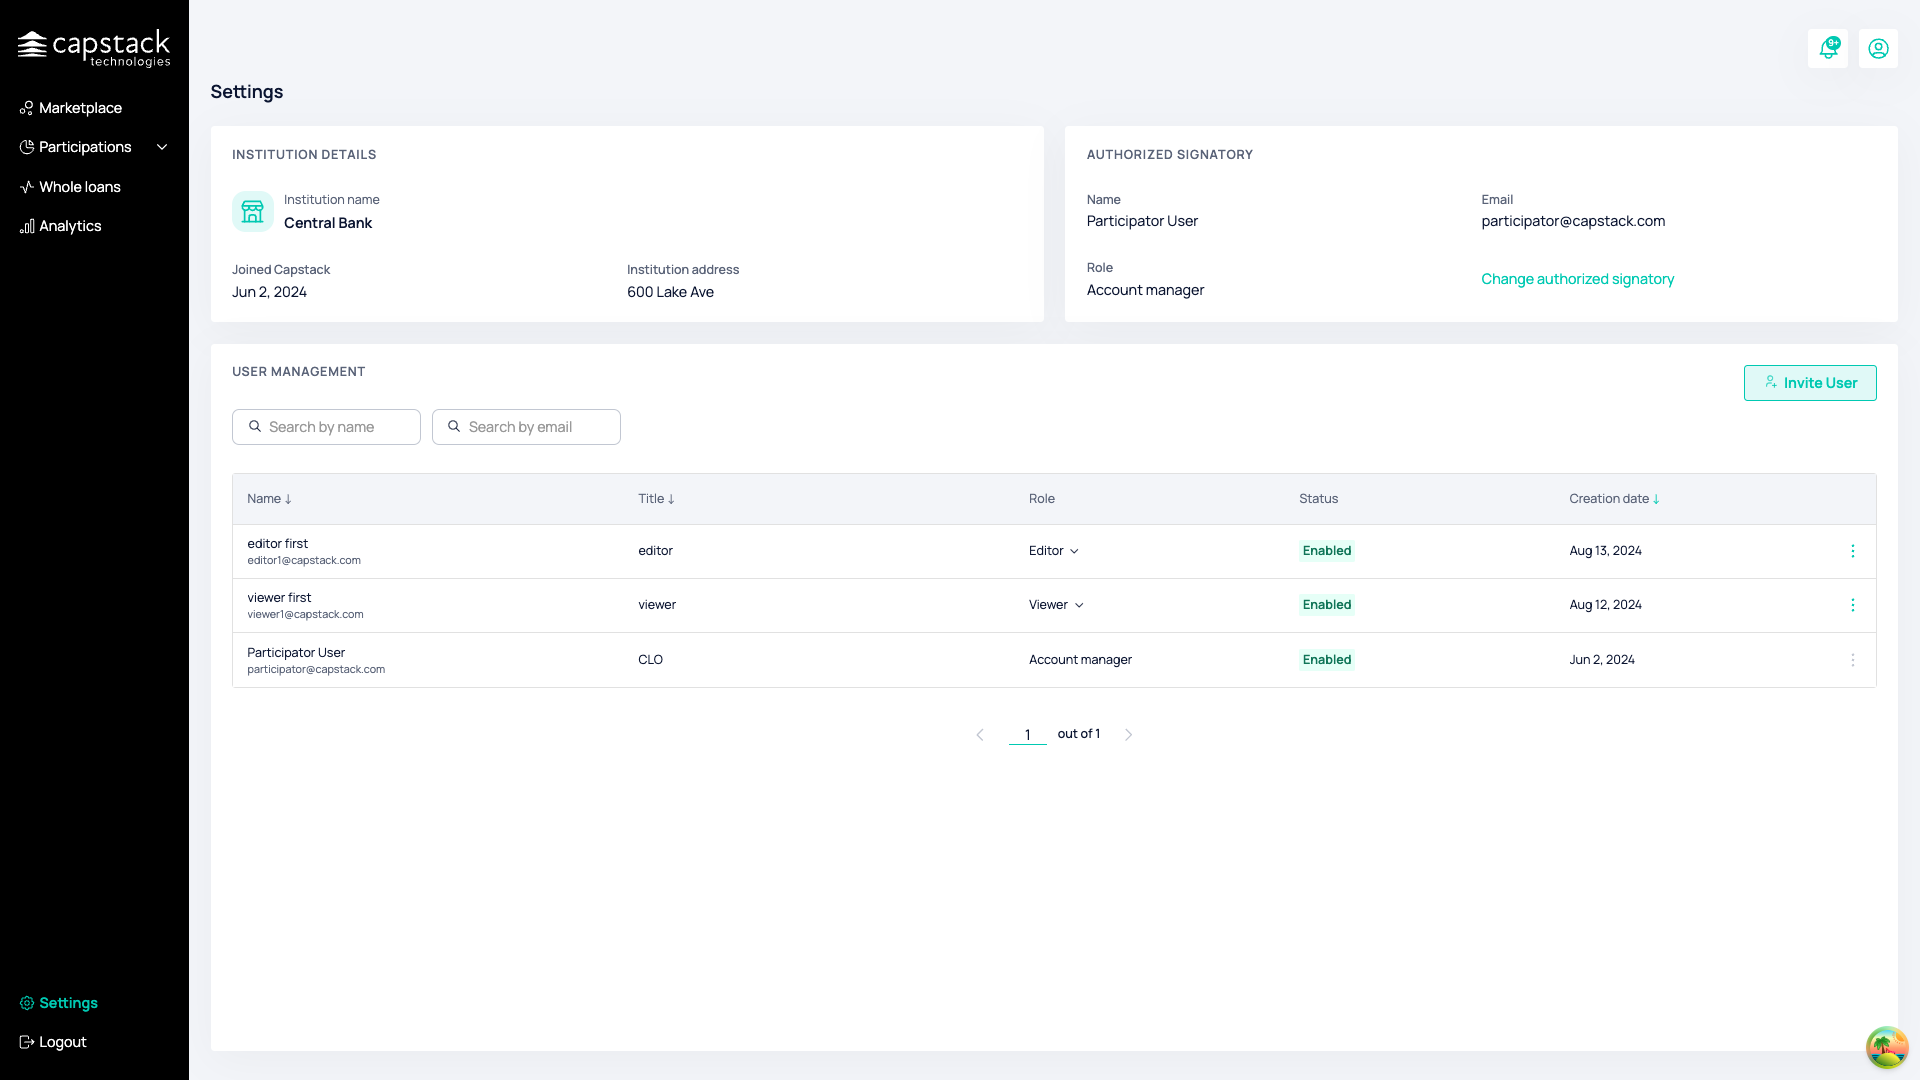
To access the settings, click on "Settings" in the navigation bar, and you will be directed to the settings page.
We can view the institution details, including the authorized signatory who will sign documents for your organization. You can also see the users in the system and their roles.
We are currently logged in as the Participatior user, who is currently an account manager.
Edit Permissions
When we look at the "editor" user, he has an "Account Manager" role assigned to him, in order to change its Role we press on the Account manager button and choose a different role.
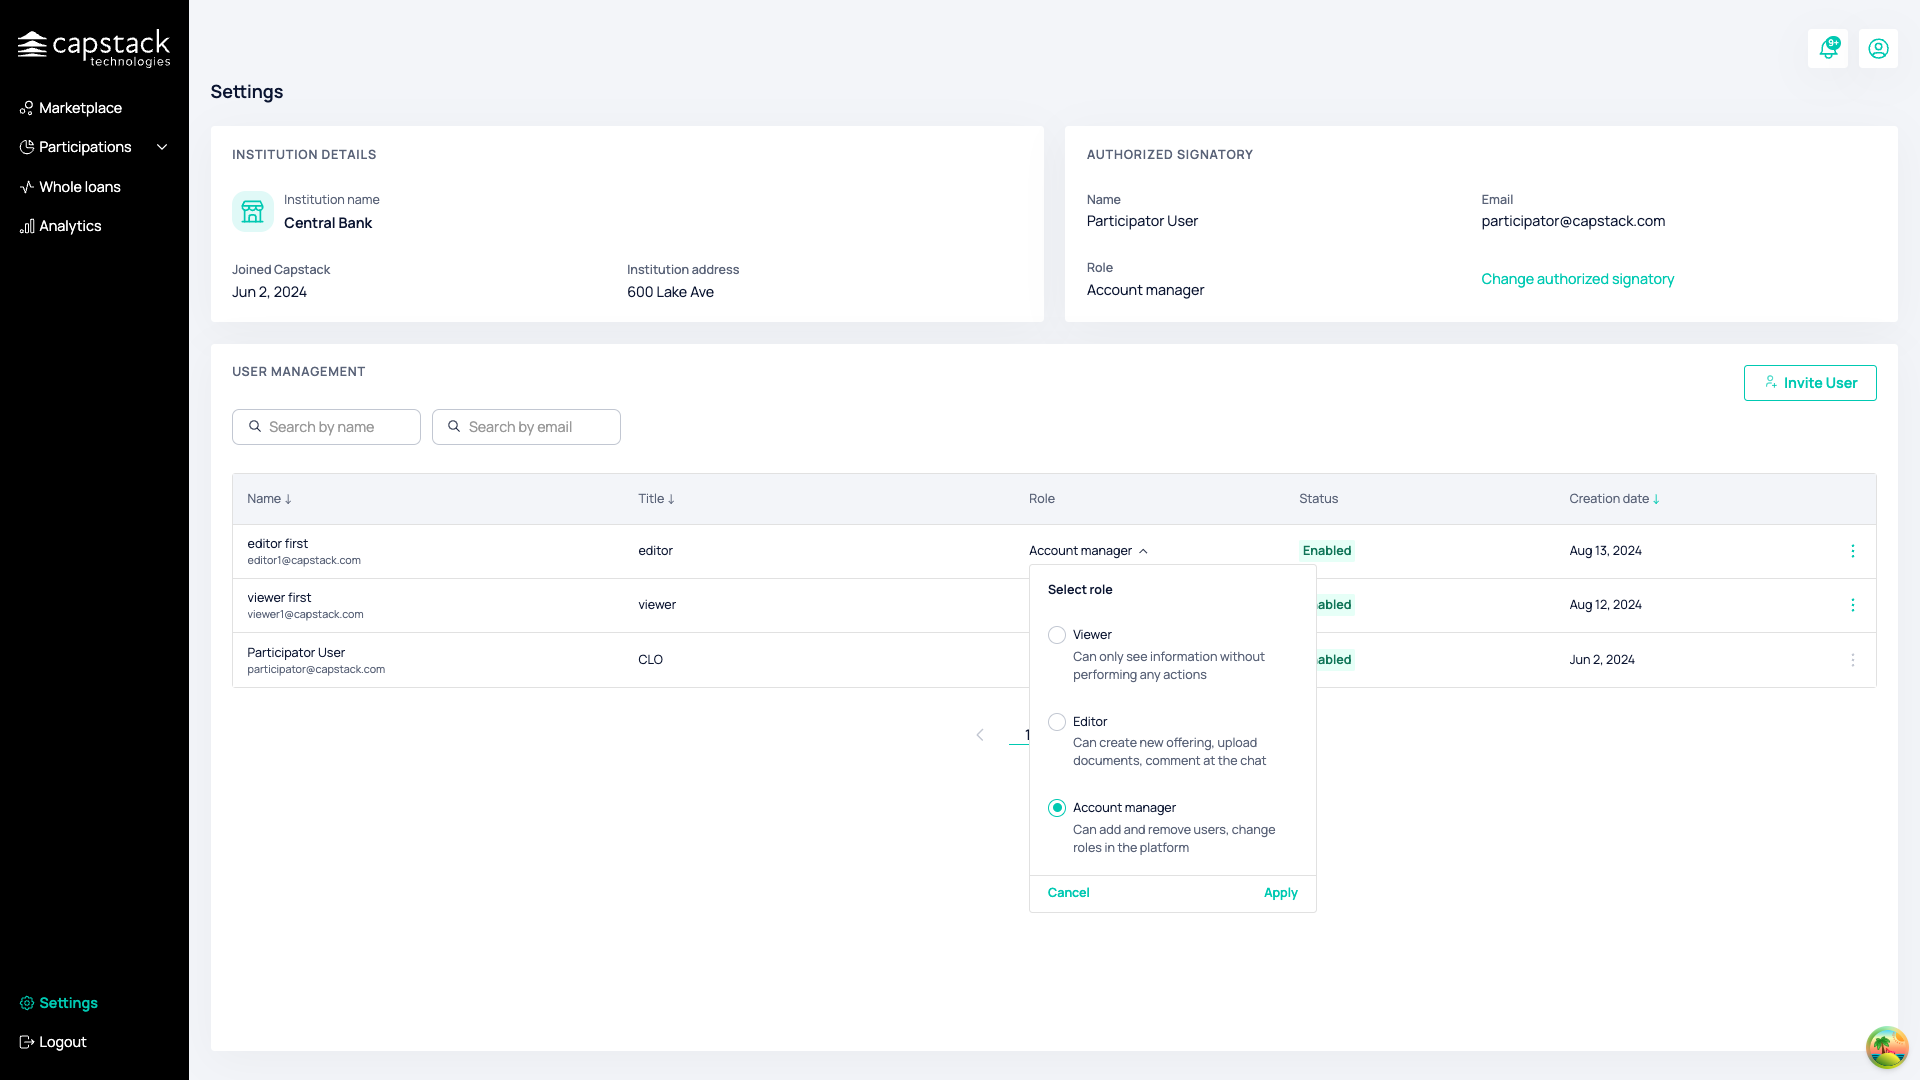

Now the editor user has "editor" role. it means that he has no permission to add new users to the system under the organization account and restricted from changing any roles for other users.
With the same ease we can grant other users in our institution different roles and permissions.
Invite User
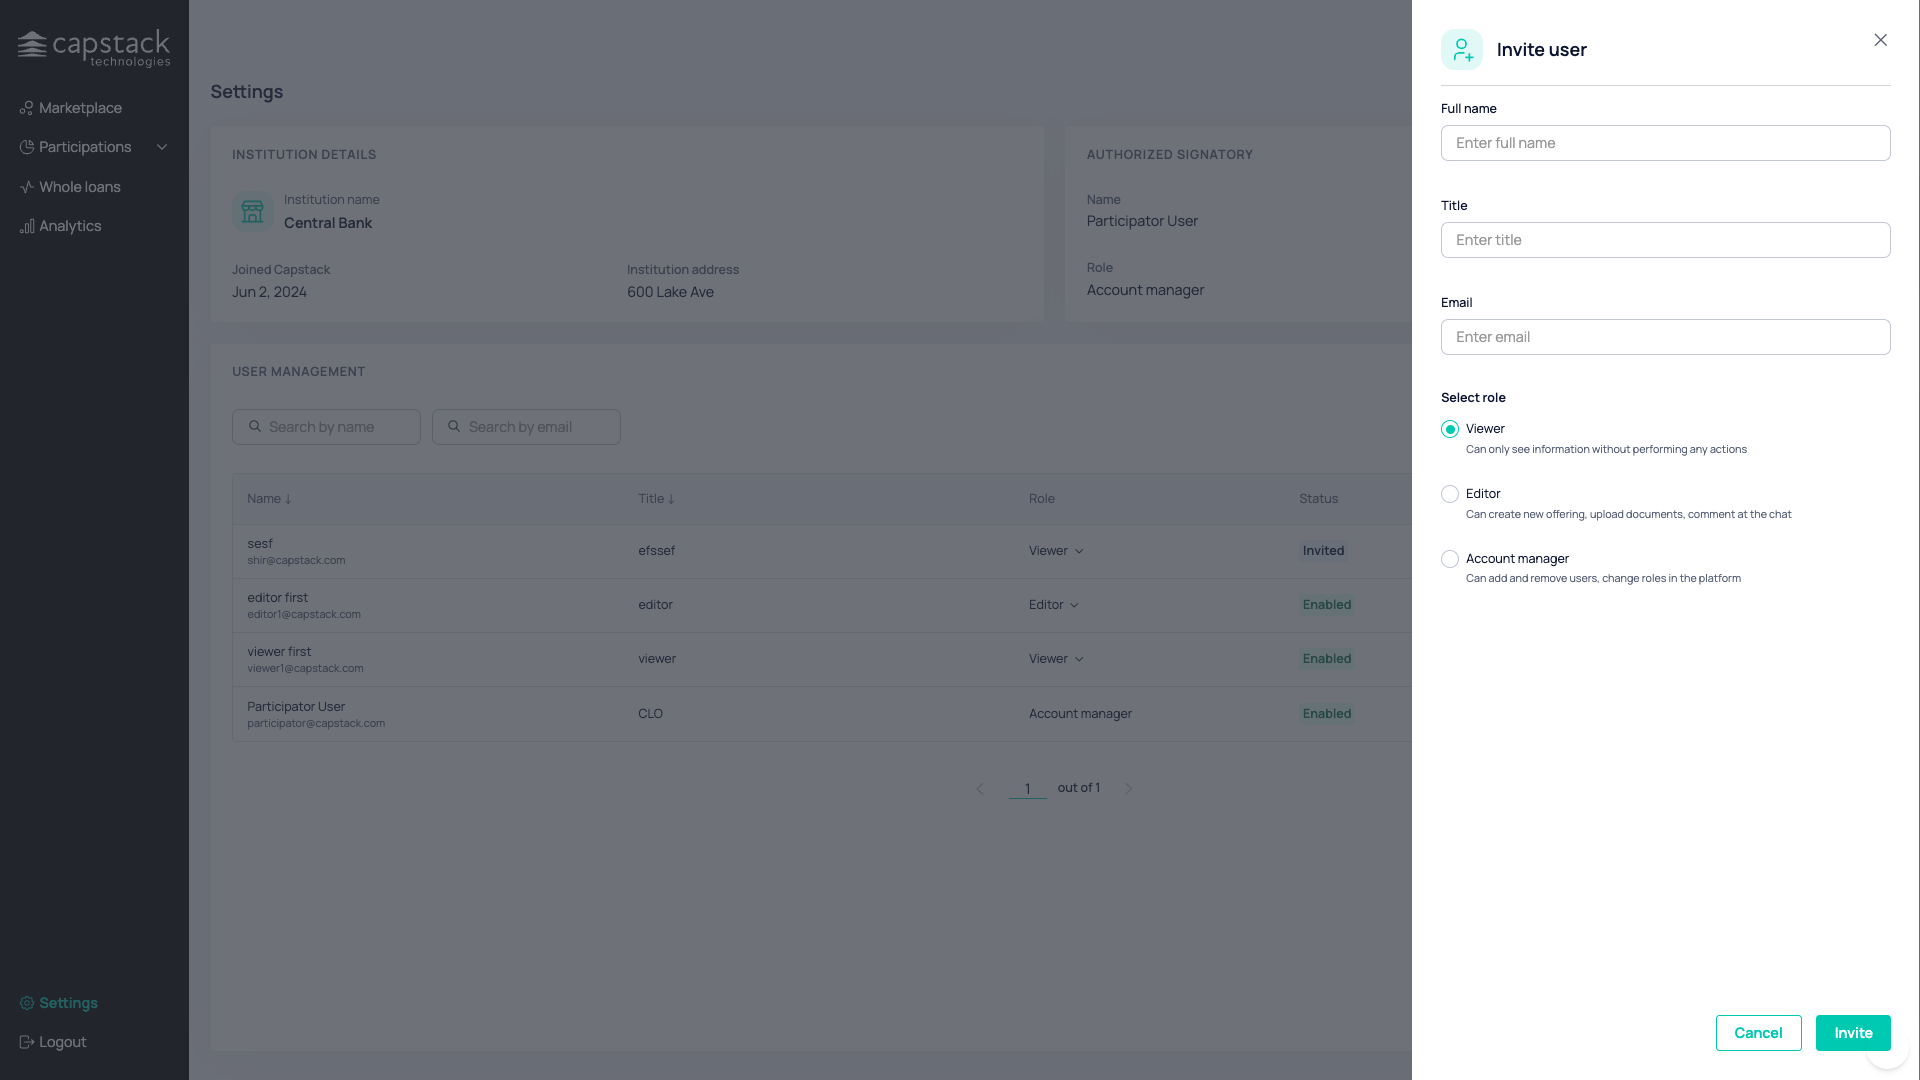
In case we want to add a new user to our organization, we need to click on the "Invite User" button.
We will need to fill in some basic information about the user such as full name, email, and title. The user will get an email invitation to join capstack under the organization.
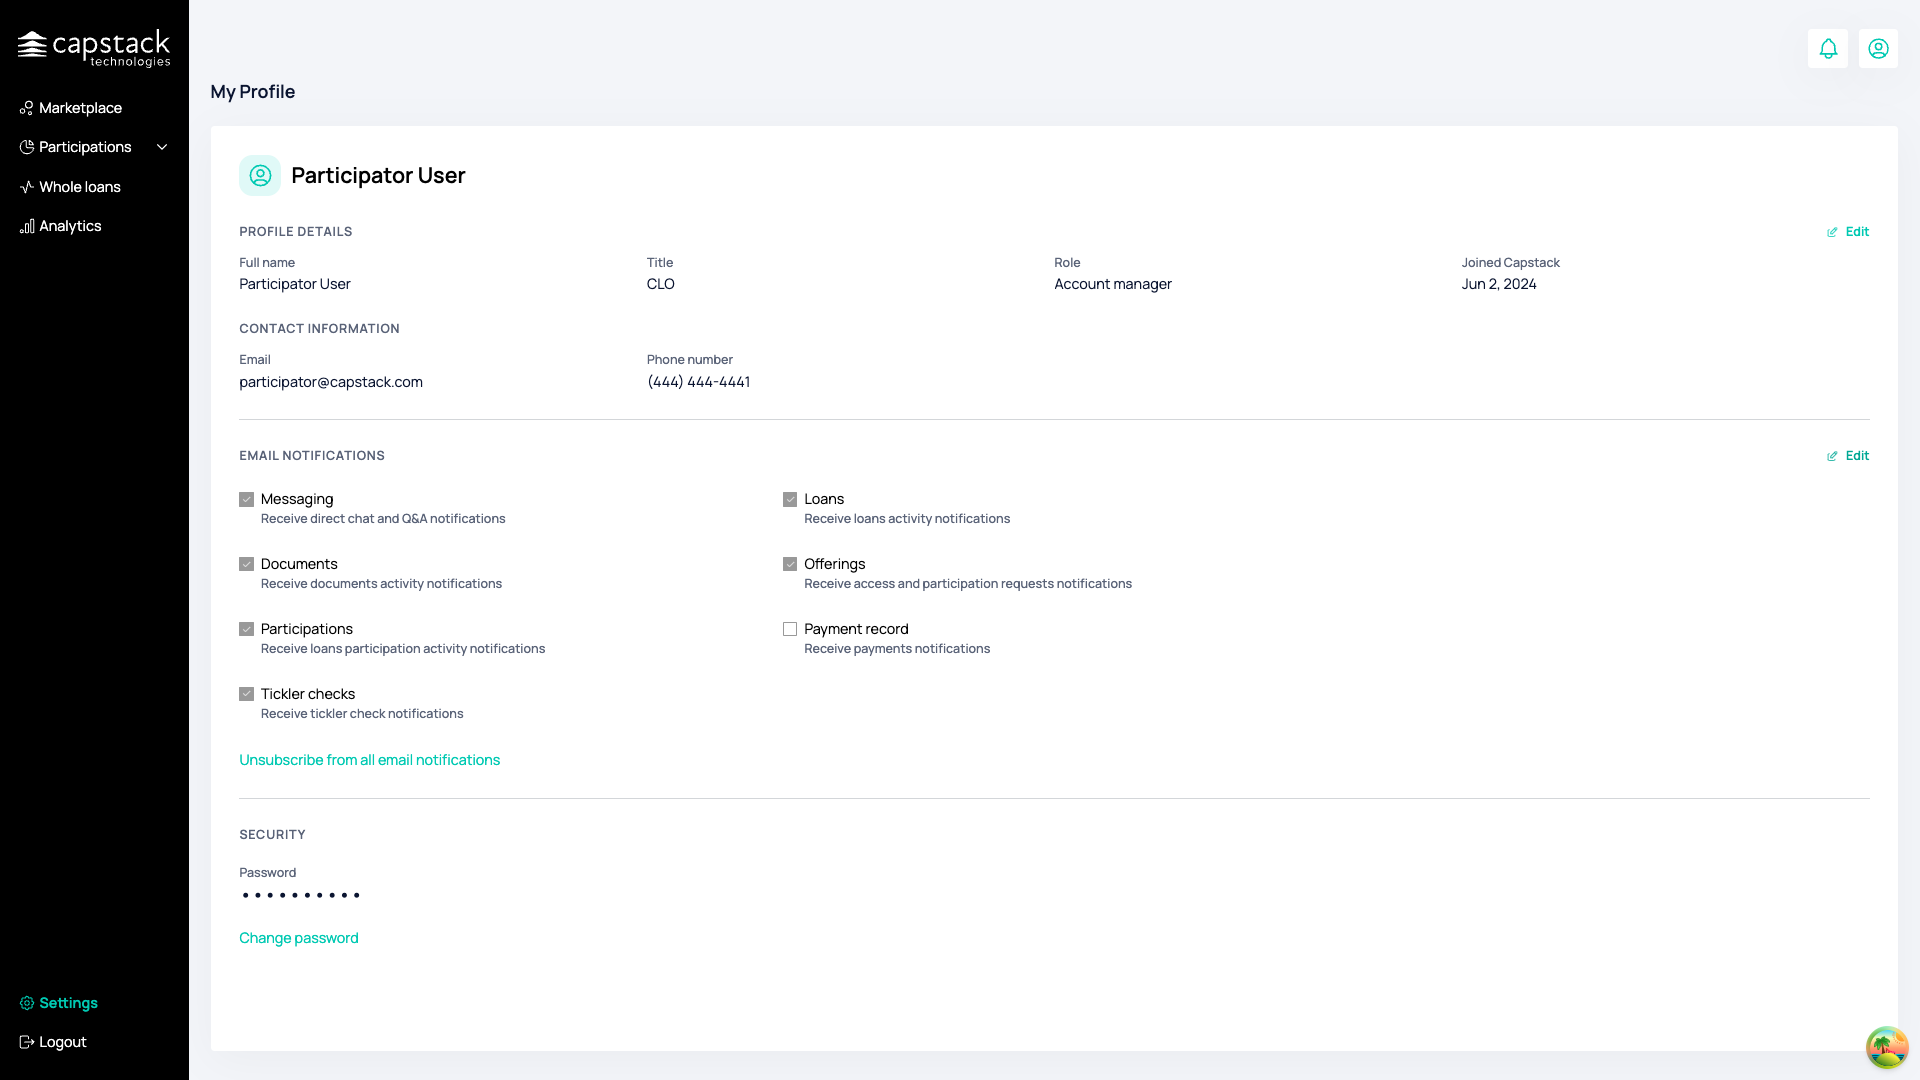
Profile Page
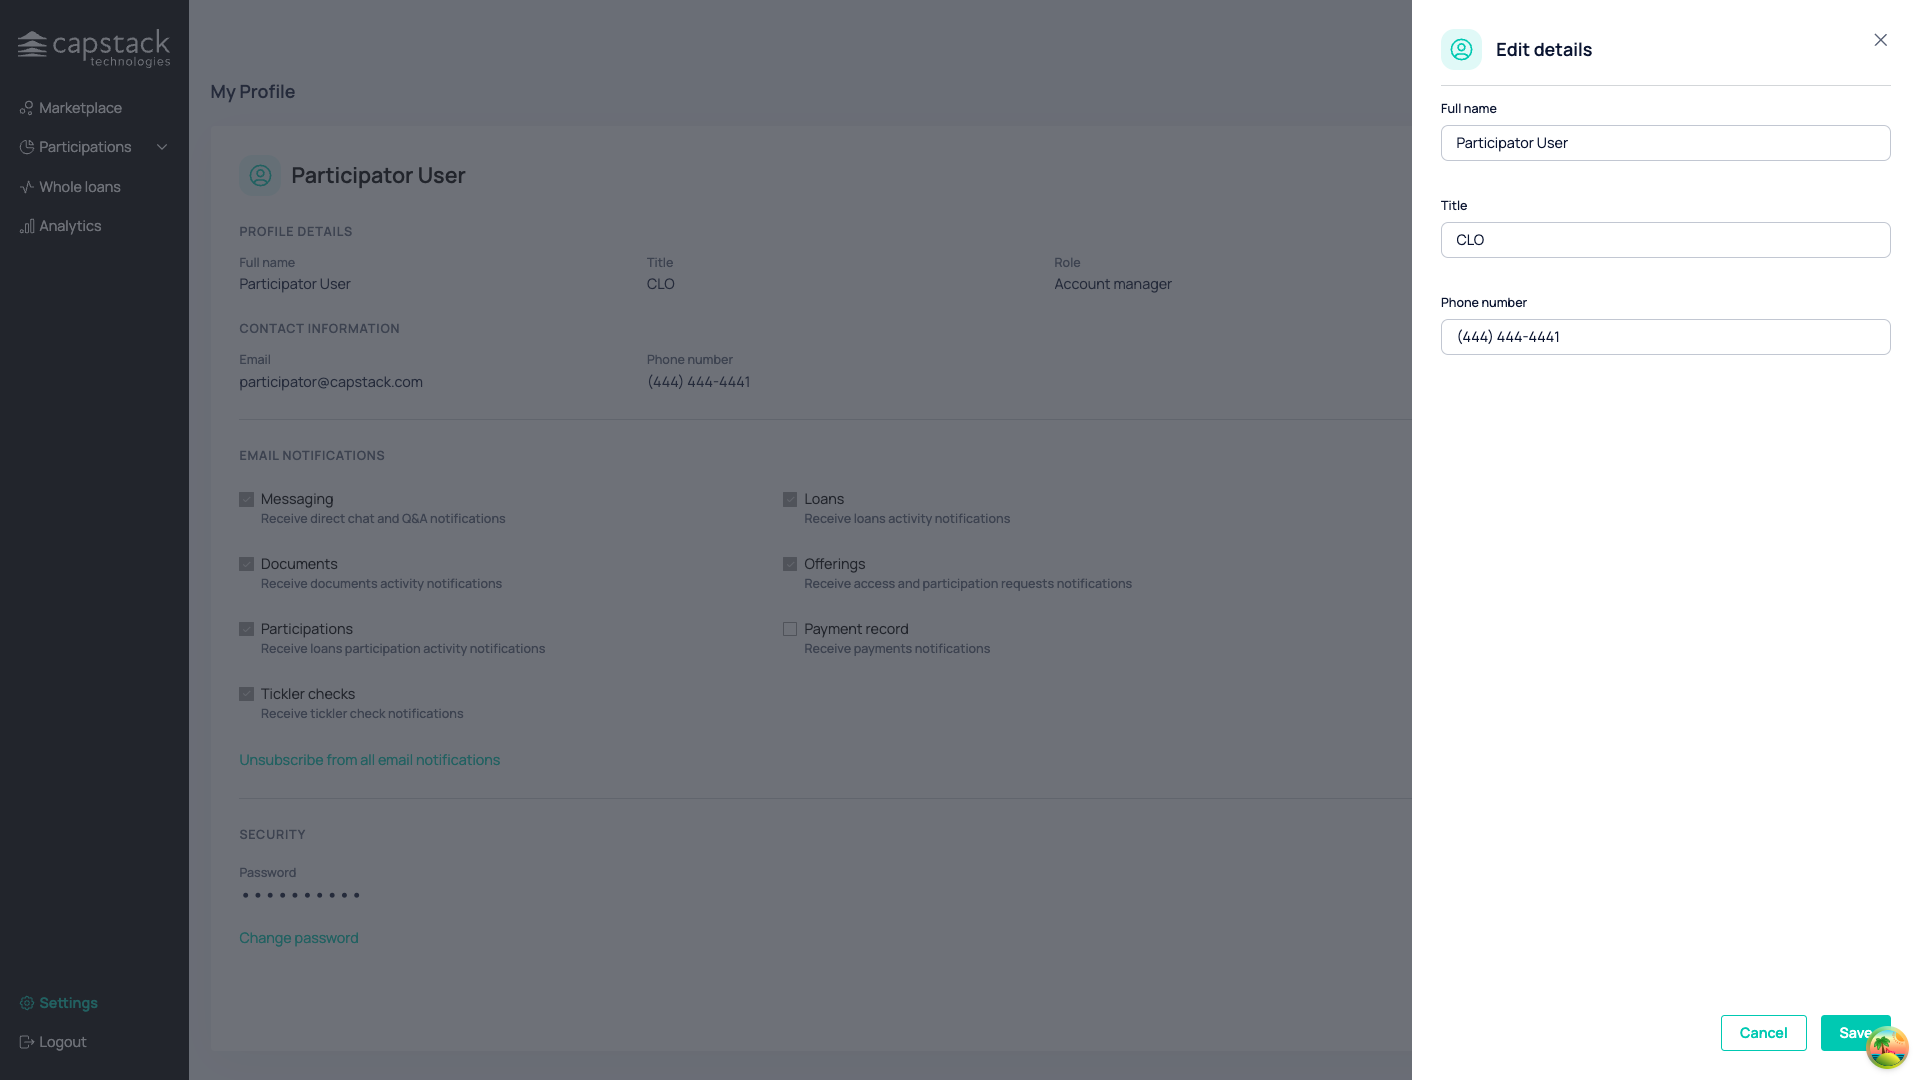
To access the profile page, click on the small user icon. This will redirect you to the profile page.

Here, we can view our information, role and edit it if desired.

In addition to basic information, there is also a notification control center.
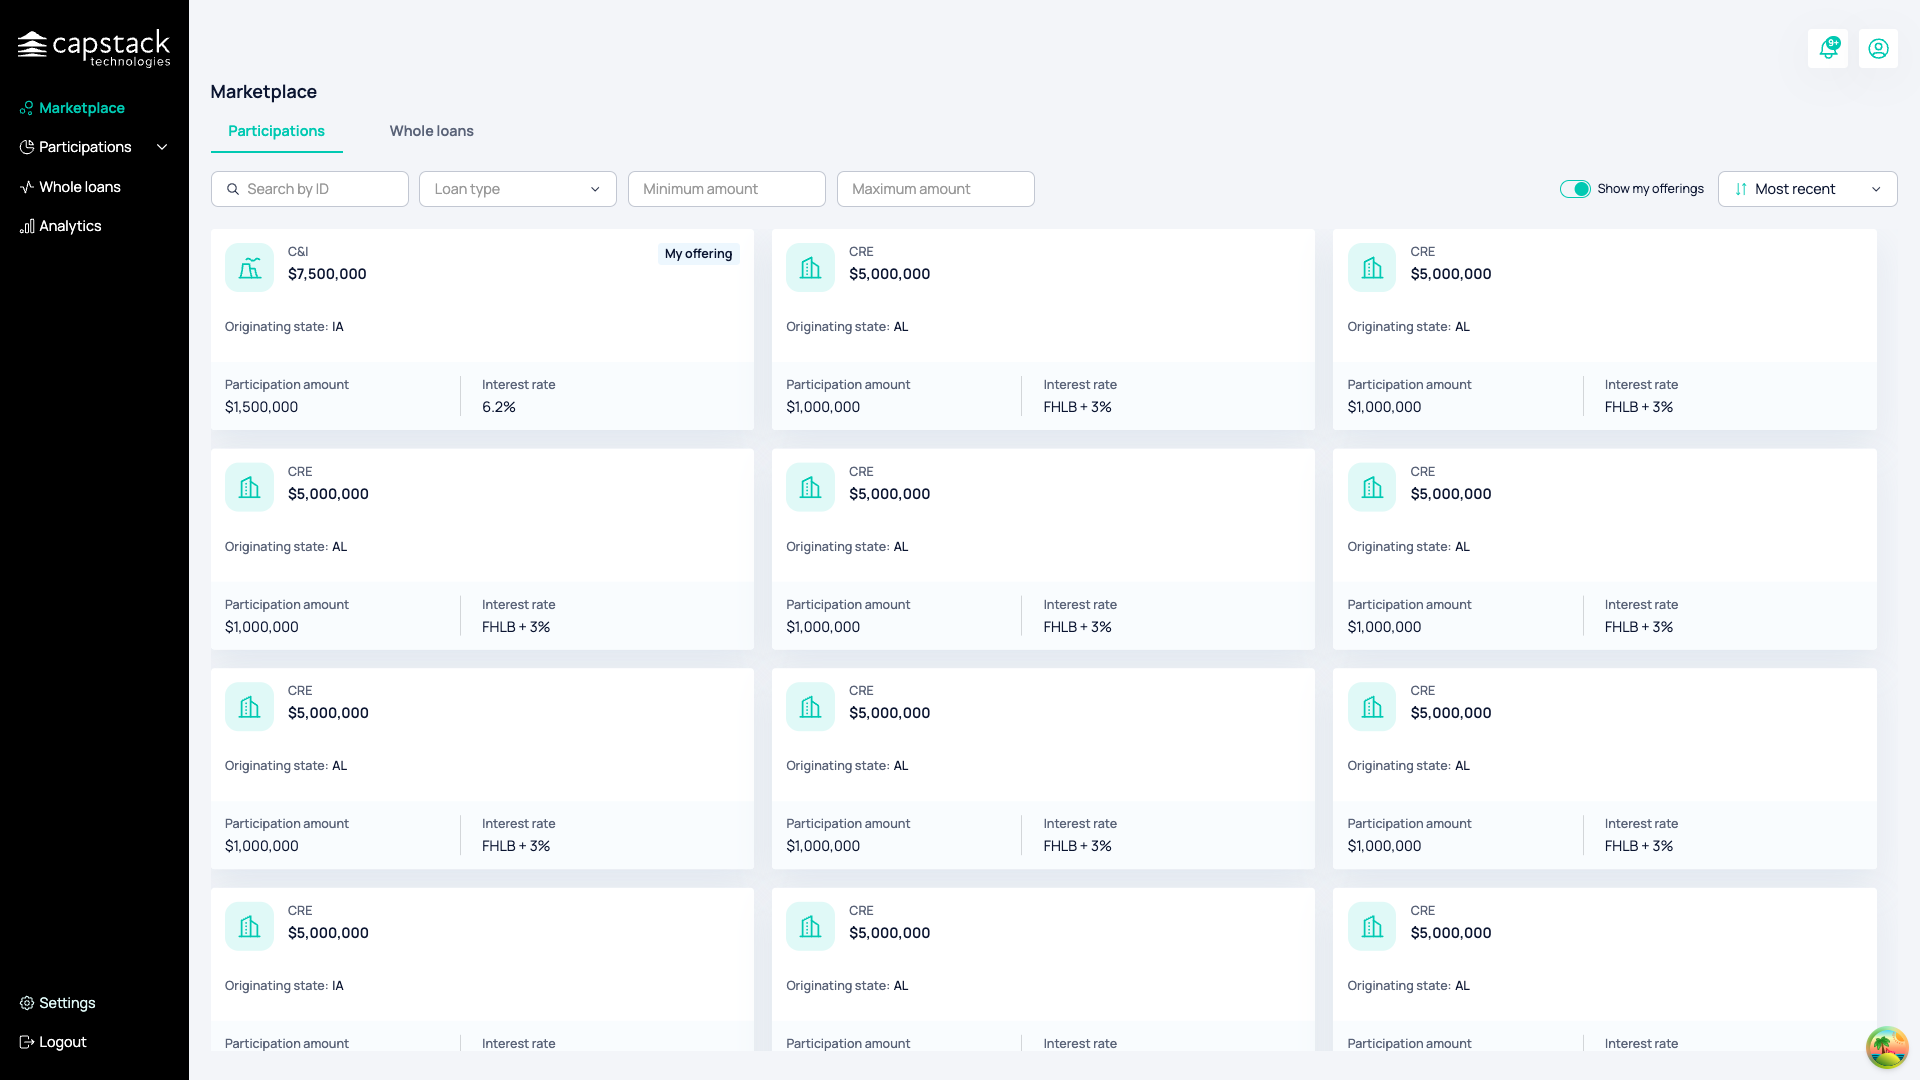
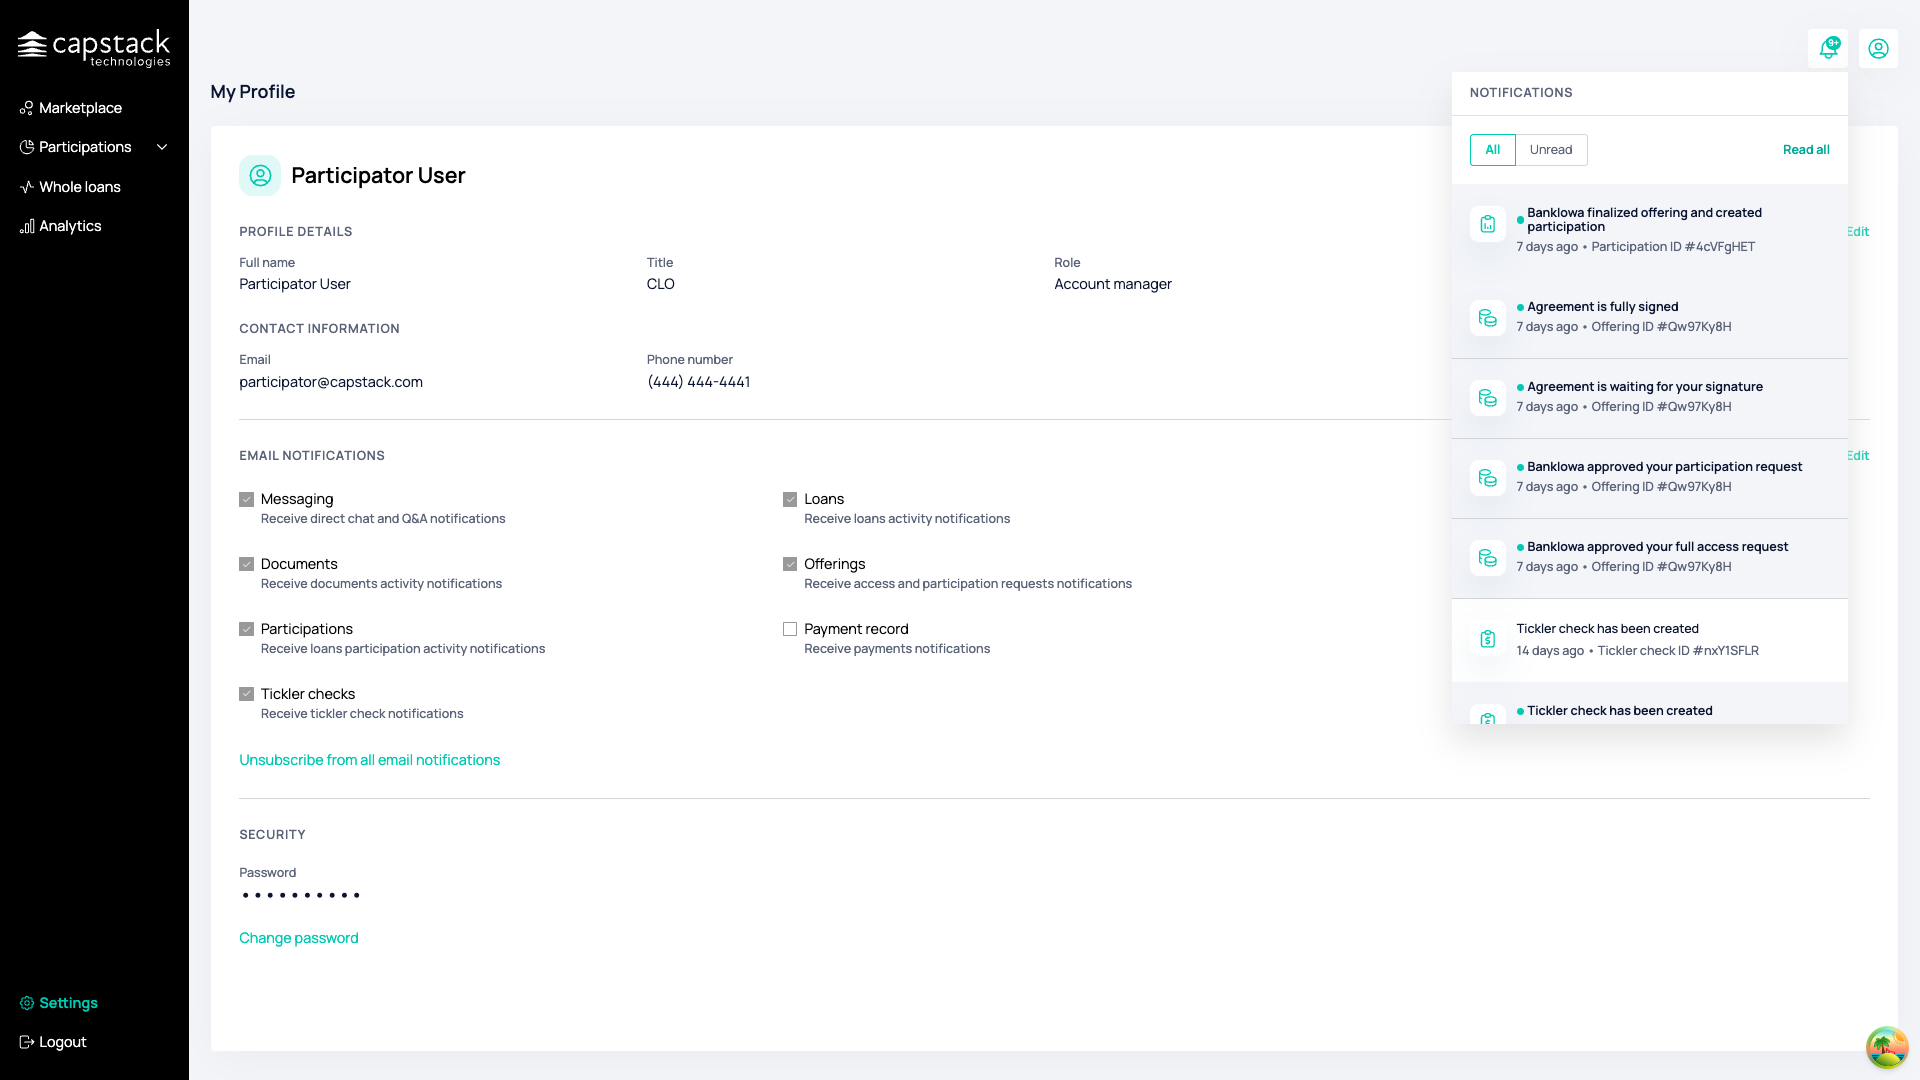
We have two types of notifications in the Capstack participation marketplace. The first type is an in-app notification, represented by the small bell icon.

We can view all the notifications we receive from our activities or the activities of offerings we are interested in.
The second notification type we support is email notifications. As a user, you will be notified via email about different actions related to your assets or about assets you are interested in within the marketplace.

Here, you can select and edit which email notifications you want. You can choose to unsubscribe from all of them, although this is not recommended.