Icon

How to Uninstall Programs in Windows 11

Learn how to safely uninstall programs and applications in Windows 11 to free up storage space and keep your computer running smoothly.

By Paige Diles

This guide demonstrates how to properly uninstall a program or application from your Windows 11 computer to free up system space or remove outdated software as part of routine device maintenance. Completing this task ensures that unwanted software is safely removed.

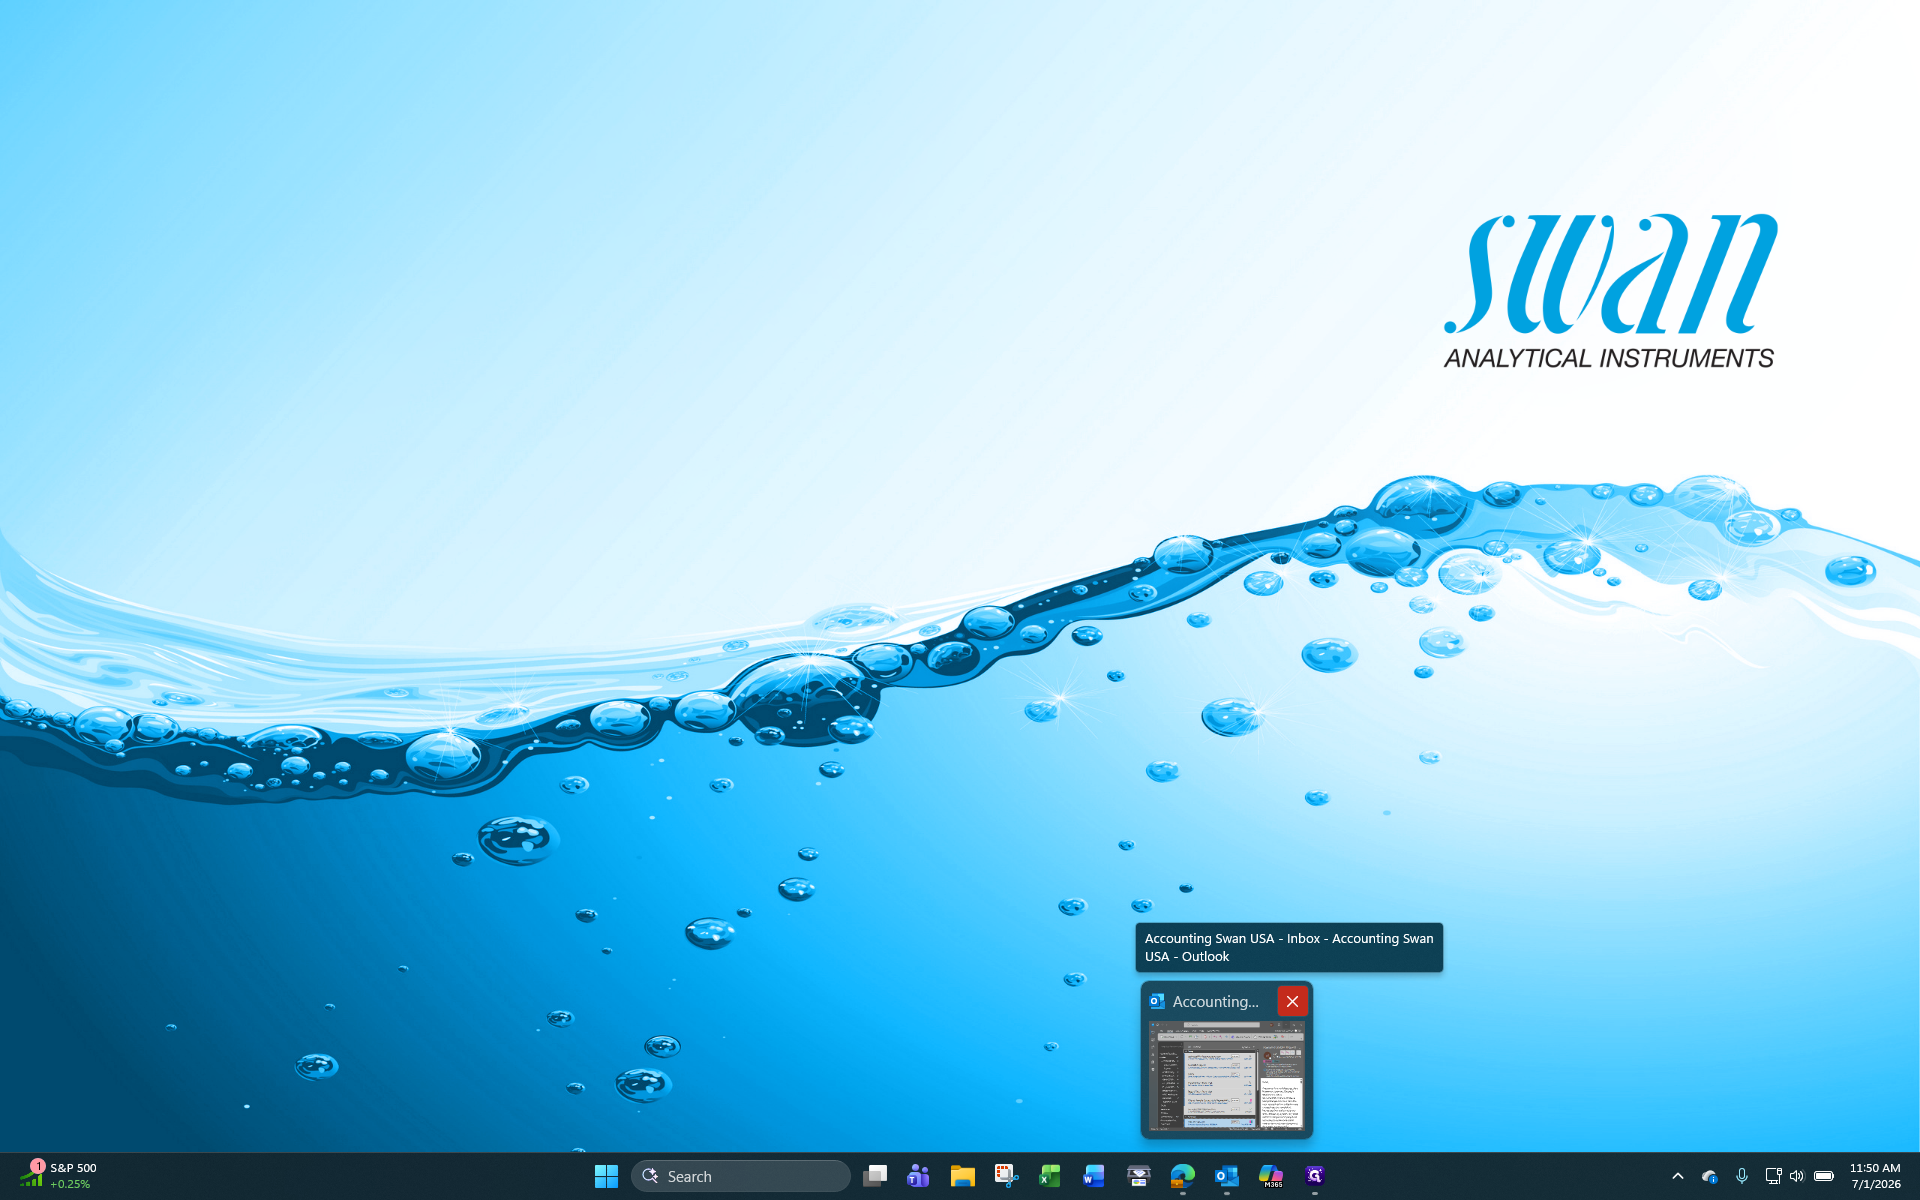
Before beginning the uninstallation process, make sure to close any programs that integrate with the software you are removing. In this example, this software integrates with Microsoft Outlook, so closing Microsoft Outlook will guarantee a smooth program removal.
1
Close running applications that might interfere with the removal process.
Step #1: Close running applications that might interfere with the removal process.

Accessing the Uninstall Menu

There are several ways to access the list of installed applications on your Windows 11 computer. Choose the method that works best for you:

Method

Steps

Easiest

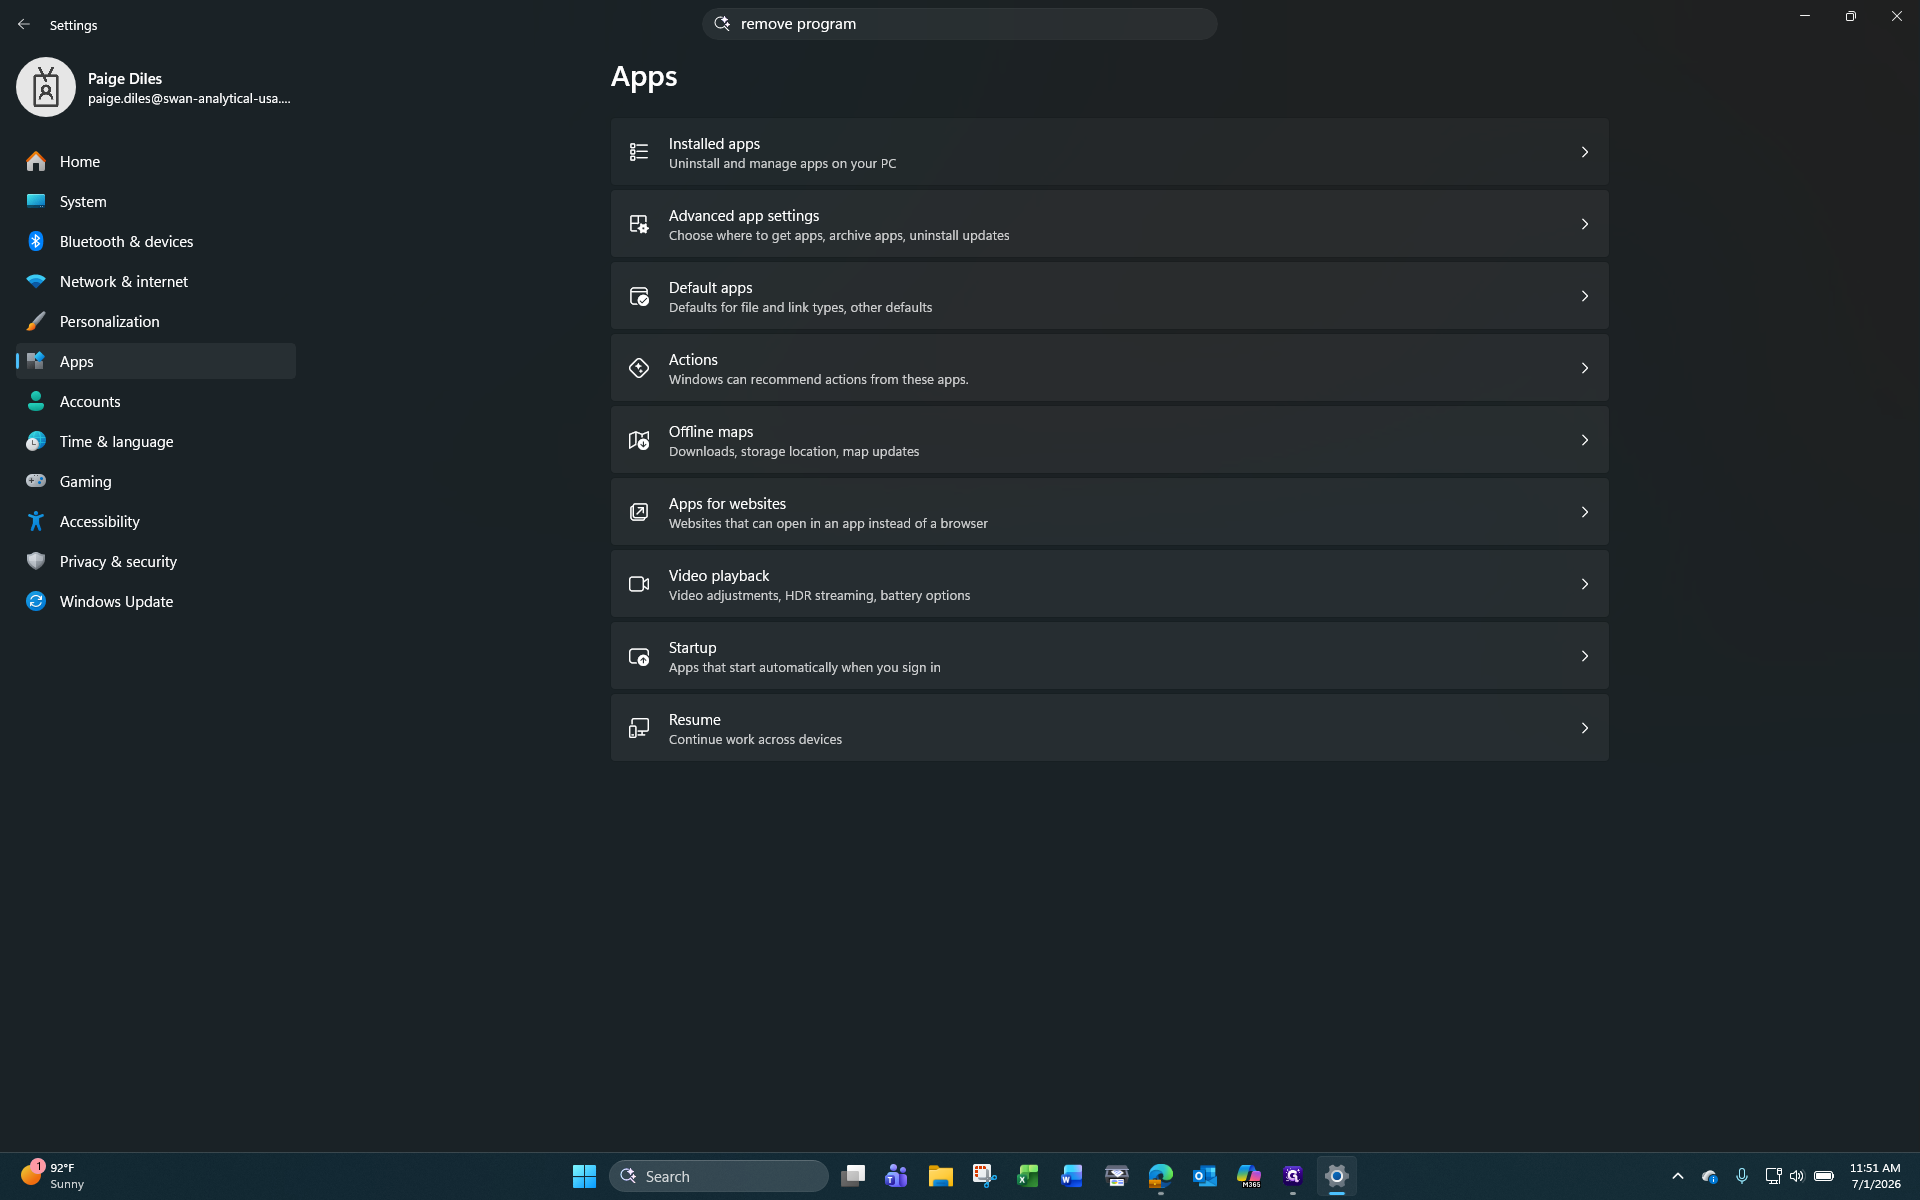
In the search bar field of your taskbar, type remove program. Open and select the matching result.

Quick

Open the Start menu, click the Settings gear, and type remove program in the search bar.

Full Route

Open the Start menu, go to Settings, select Apps, and choose Installed apps.

2
Navigate to Installed apps using your preferred method to view all software on your computer.
Step #2: Navigate to Installed apps using your preferred method to view all software on your computer.
3
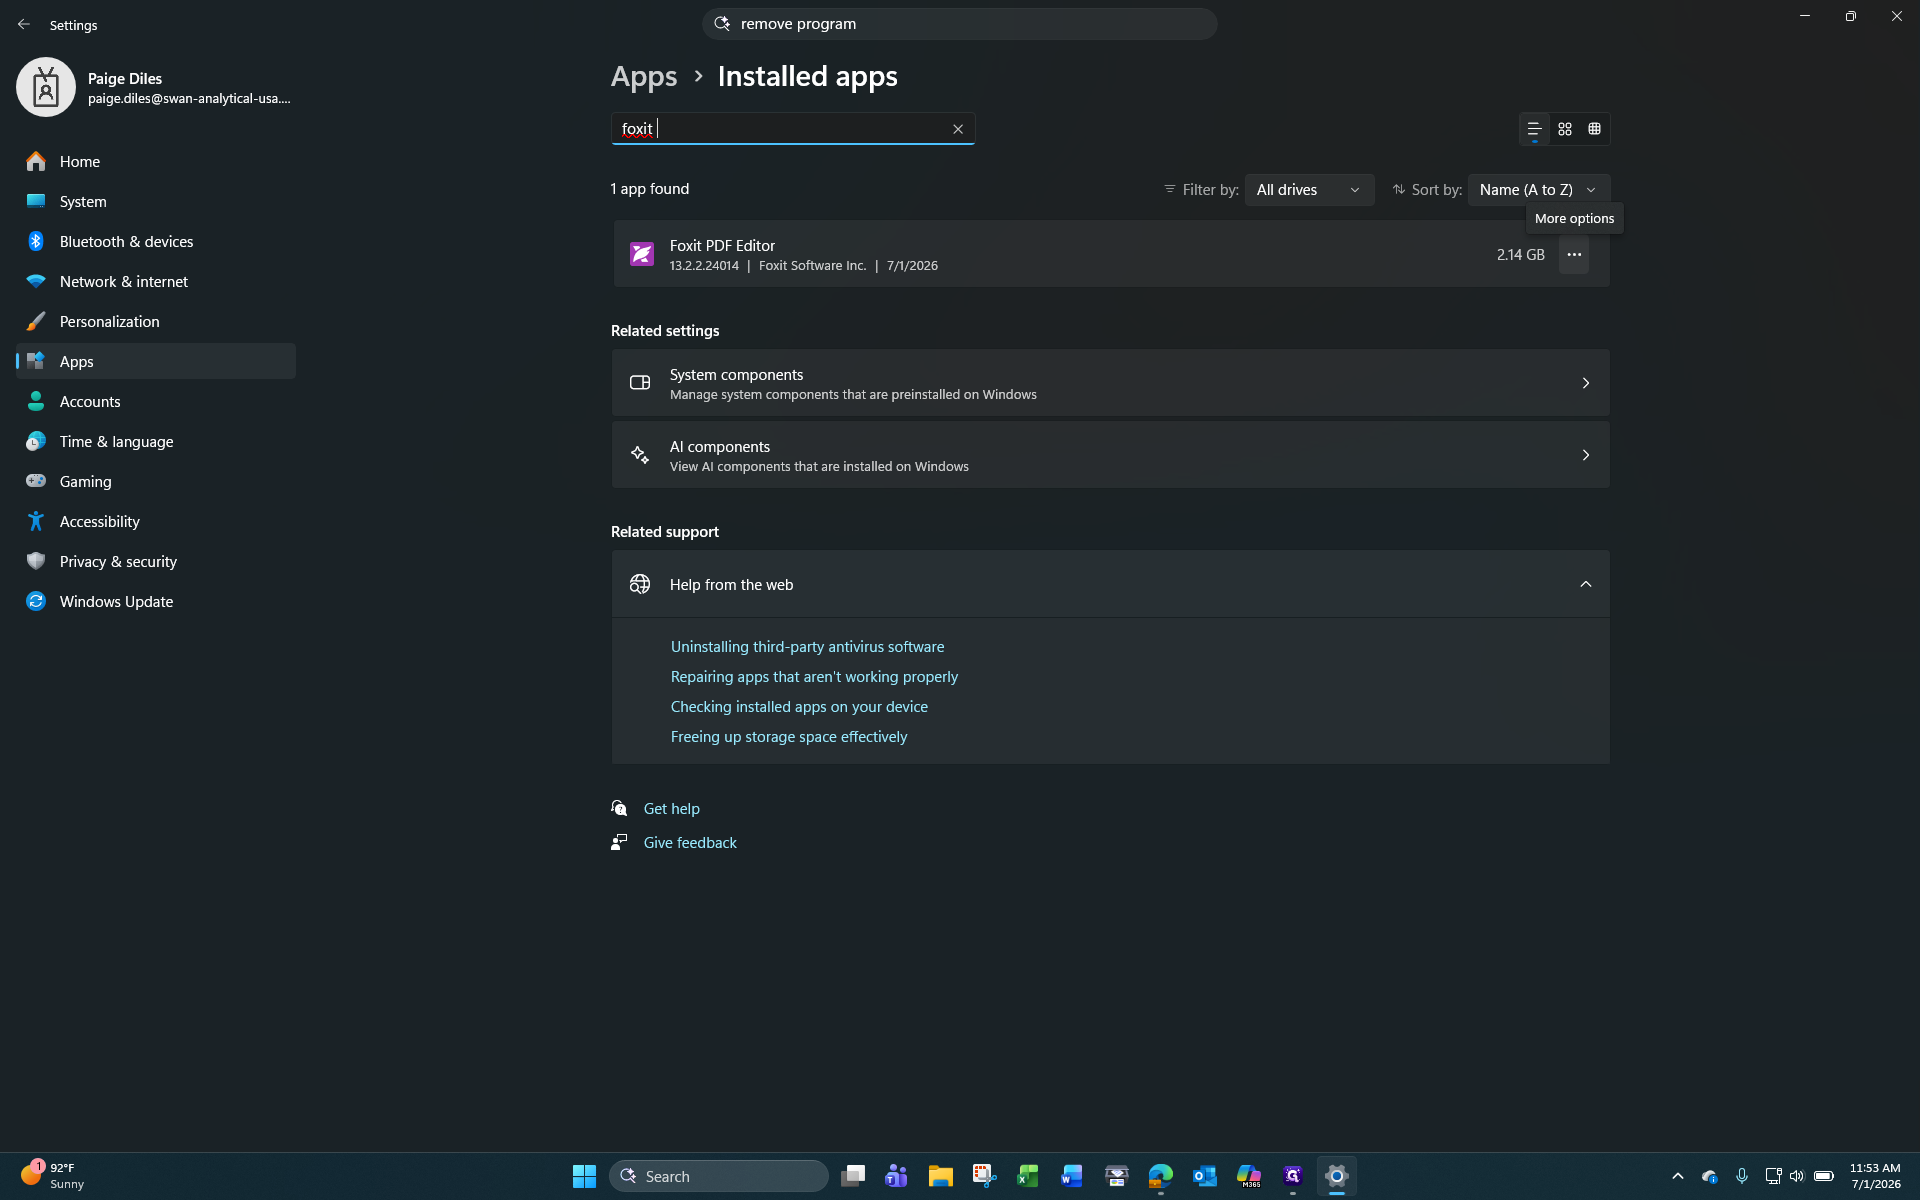
To filter and quickly find the software you are removing, type the program name into the Search apps field, or you can scroll through the list of installed applications.
Step #3: To filter and quickly find the software you are removing, type the program name into the Search apps field, or you can scroll through the list of installed applications.

Removing the Application

4
Once you have found the program you want to remove click the More options (three horizontal dots) icon next to the application you want to remove.
Step #4: Once you have found the program you want to remove click the More options (three horizontal dots) icon next to the application you want to remove.
5
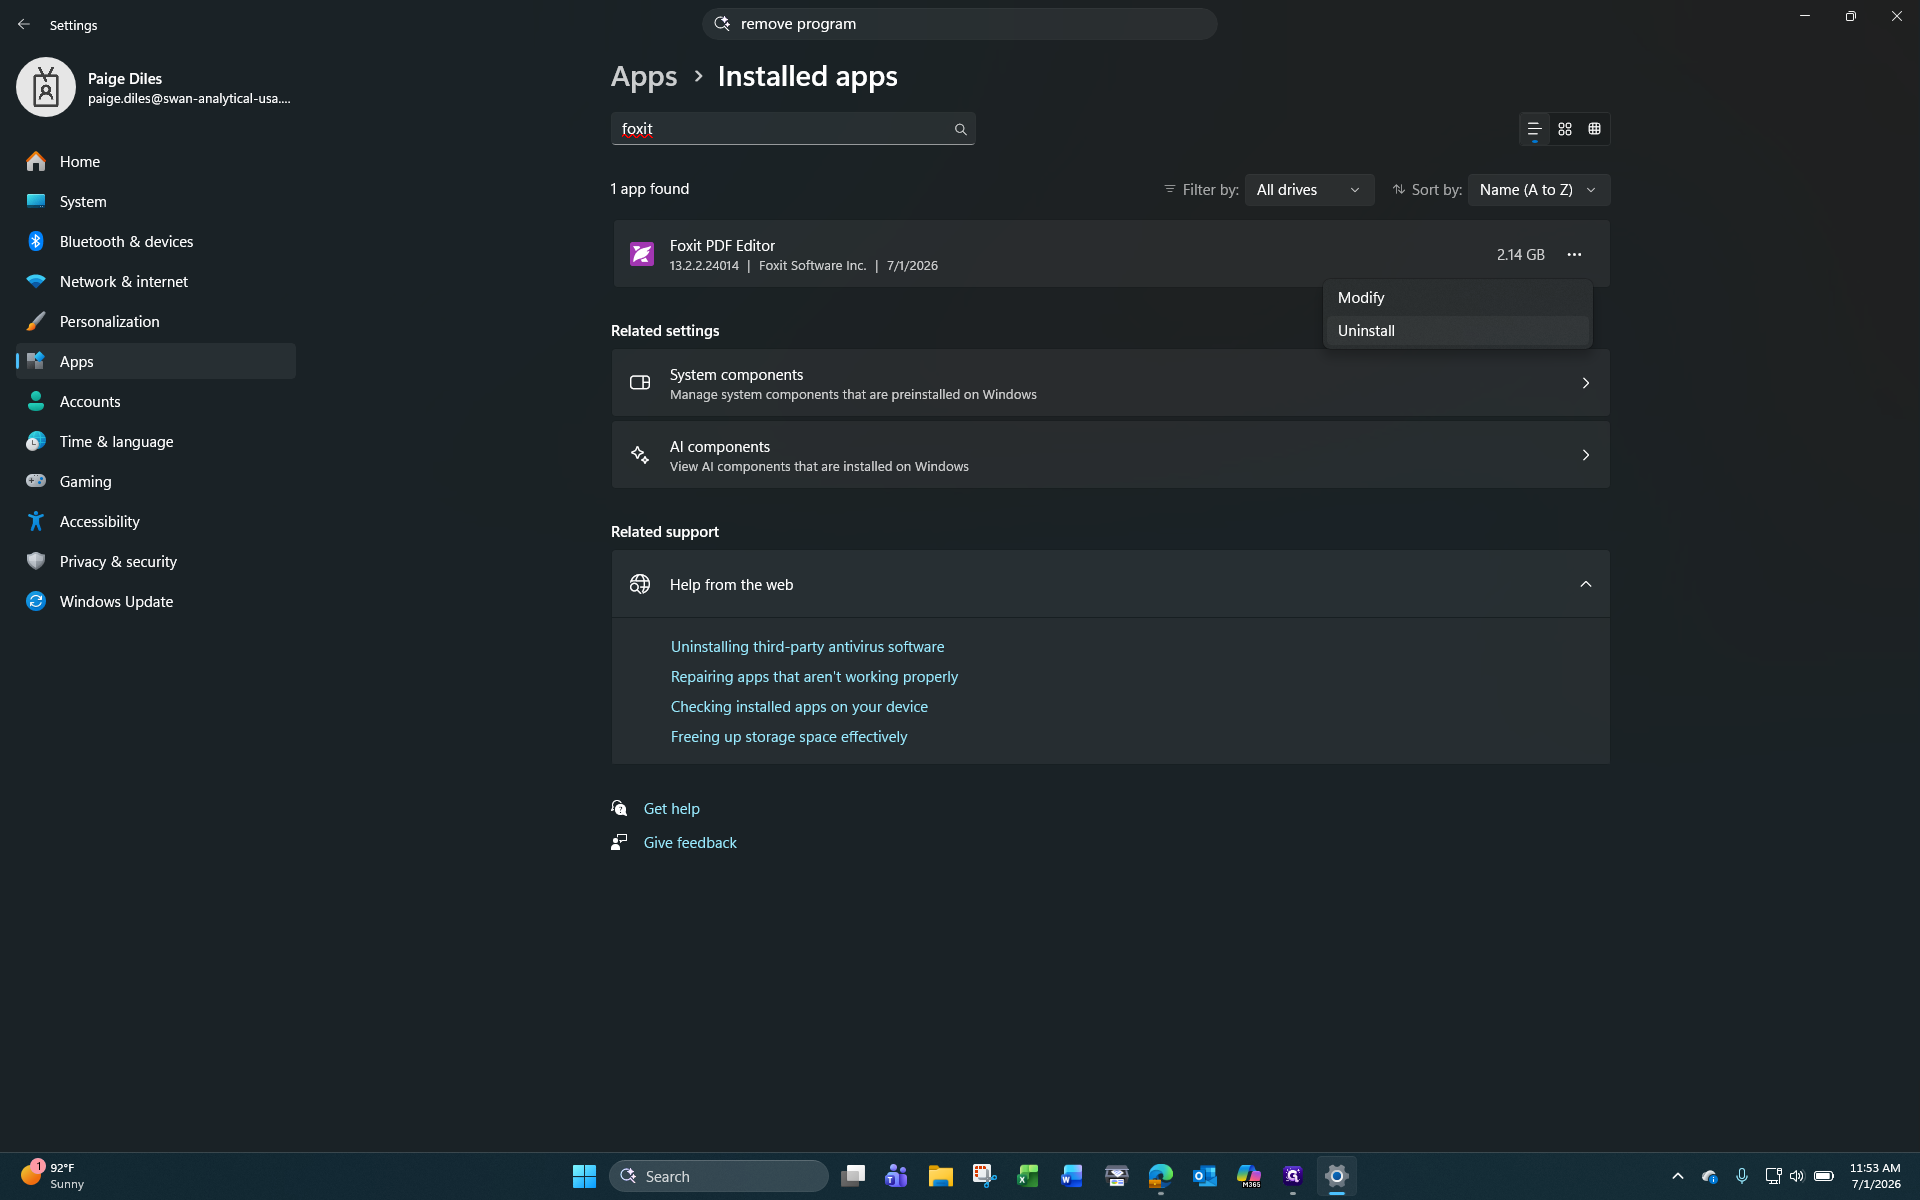
Select Uninstall from the dropdown menu.
Step #5: Select Uninstall from the dropdown menu.
6
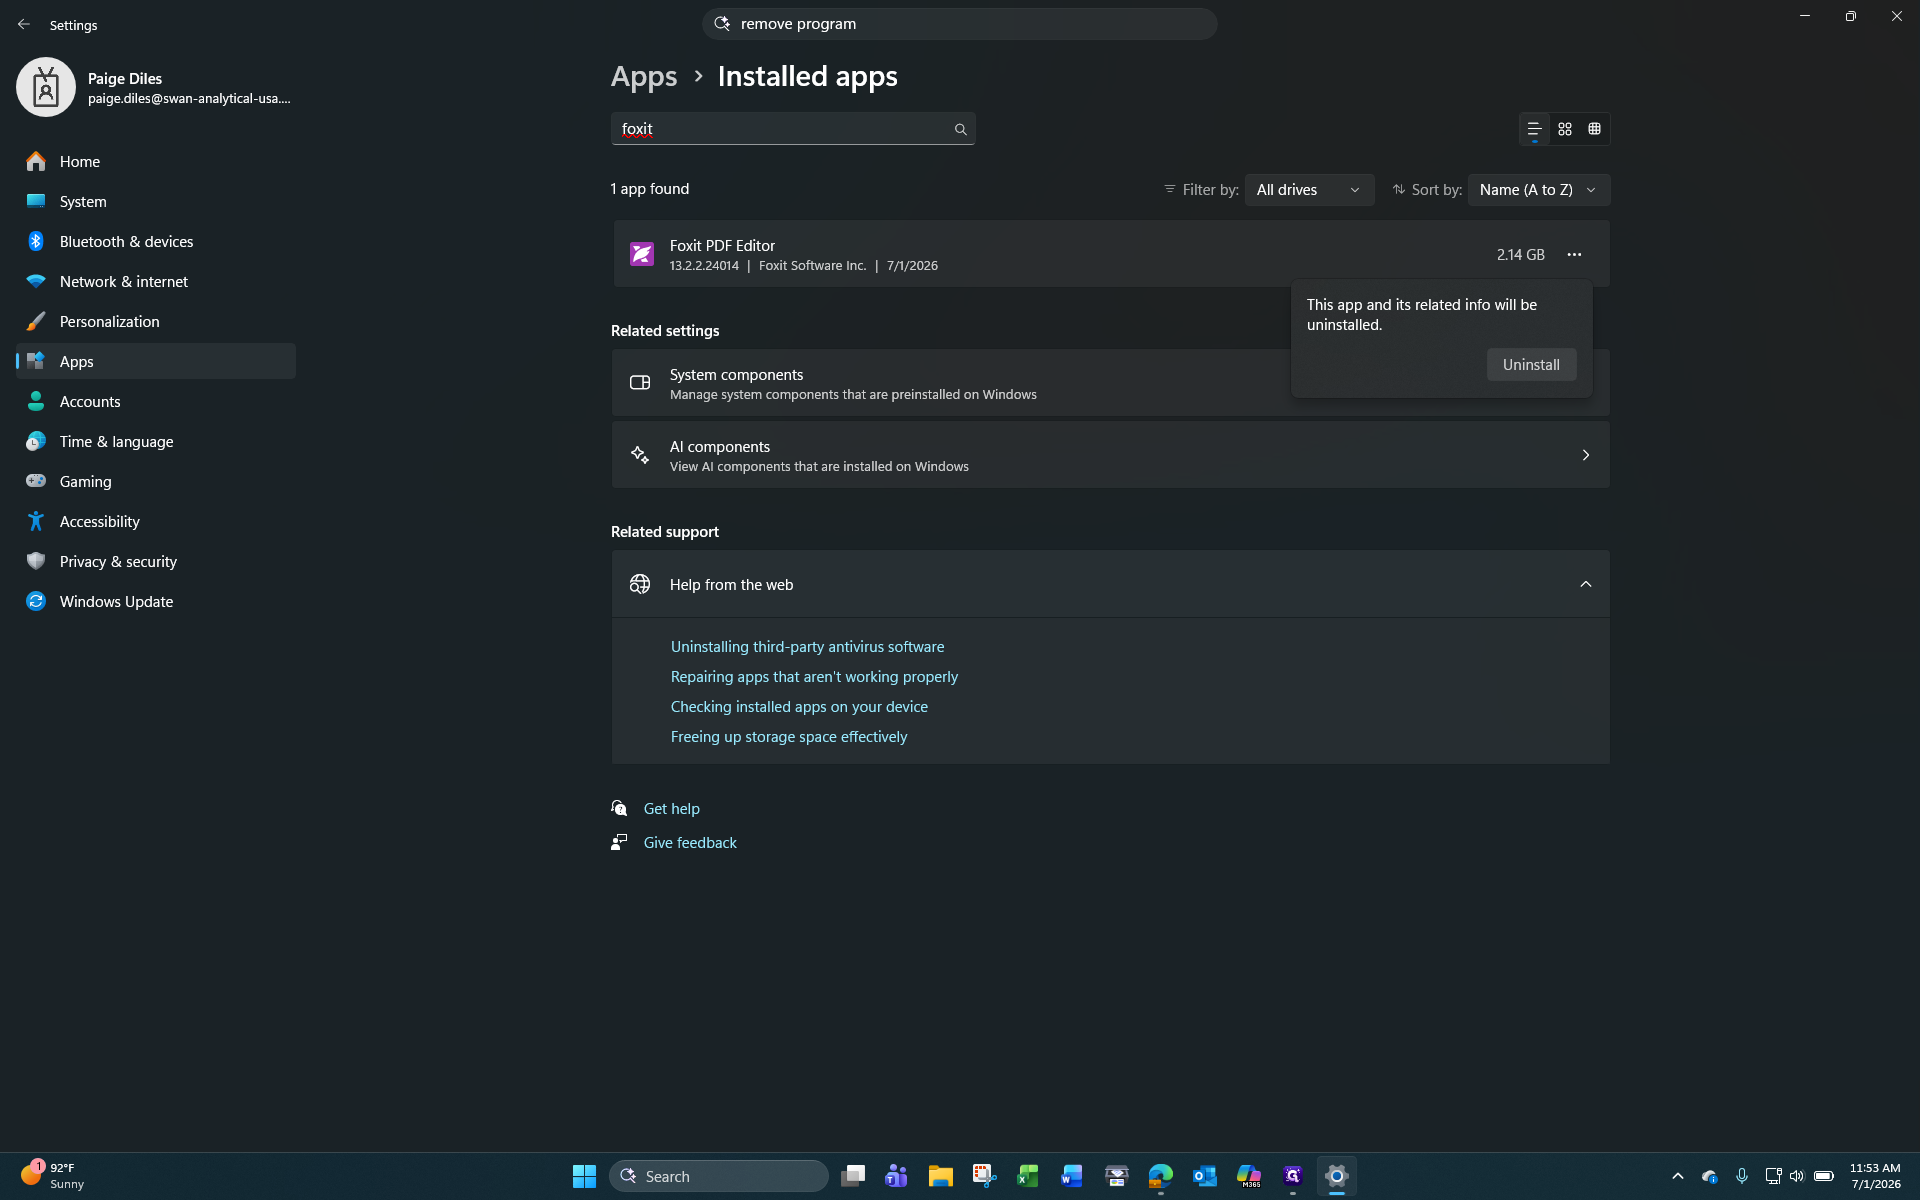
Click Uninstall again in the confirmation popup to proceed.
Step #6: Click Uninstall again in the confirmation popup to proceed.
7
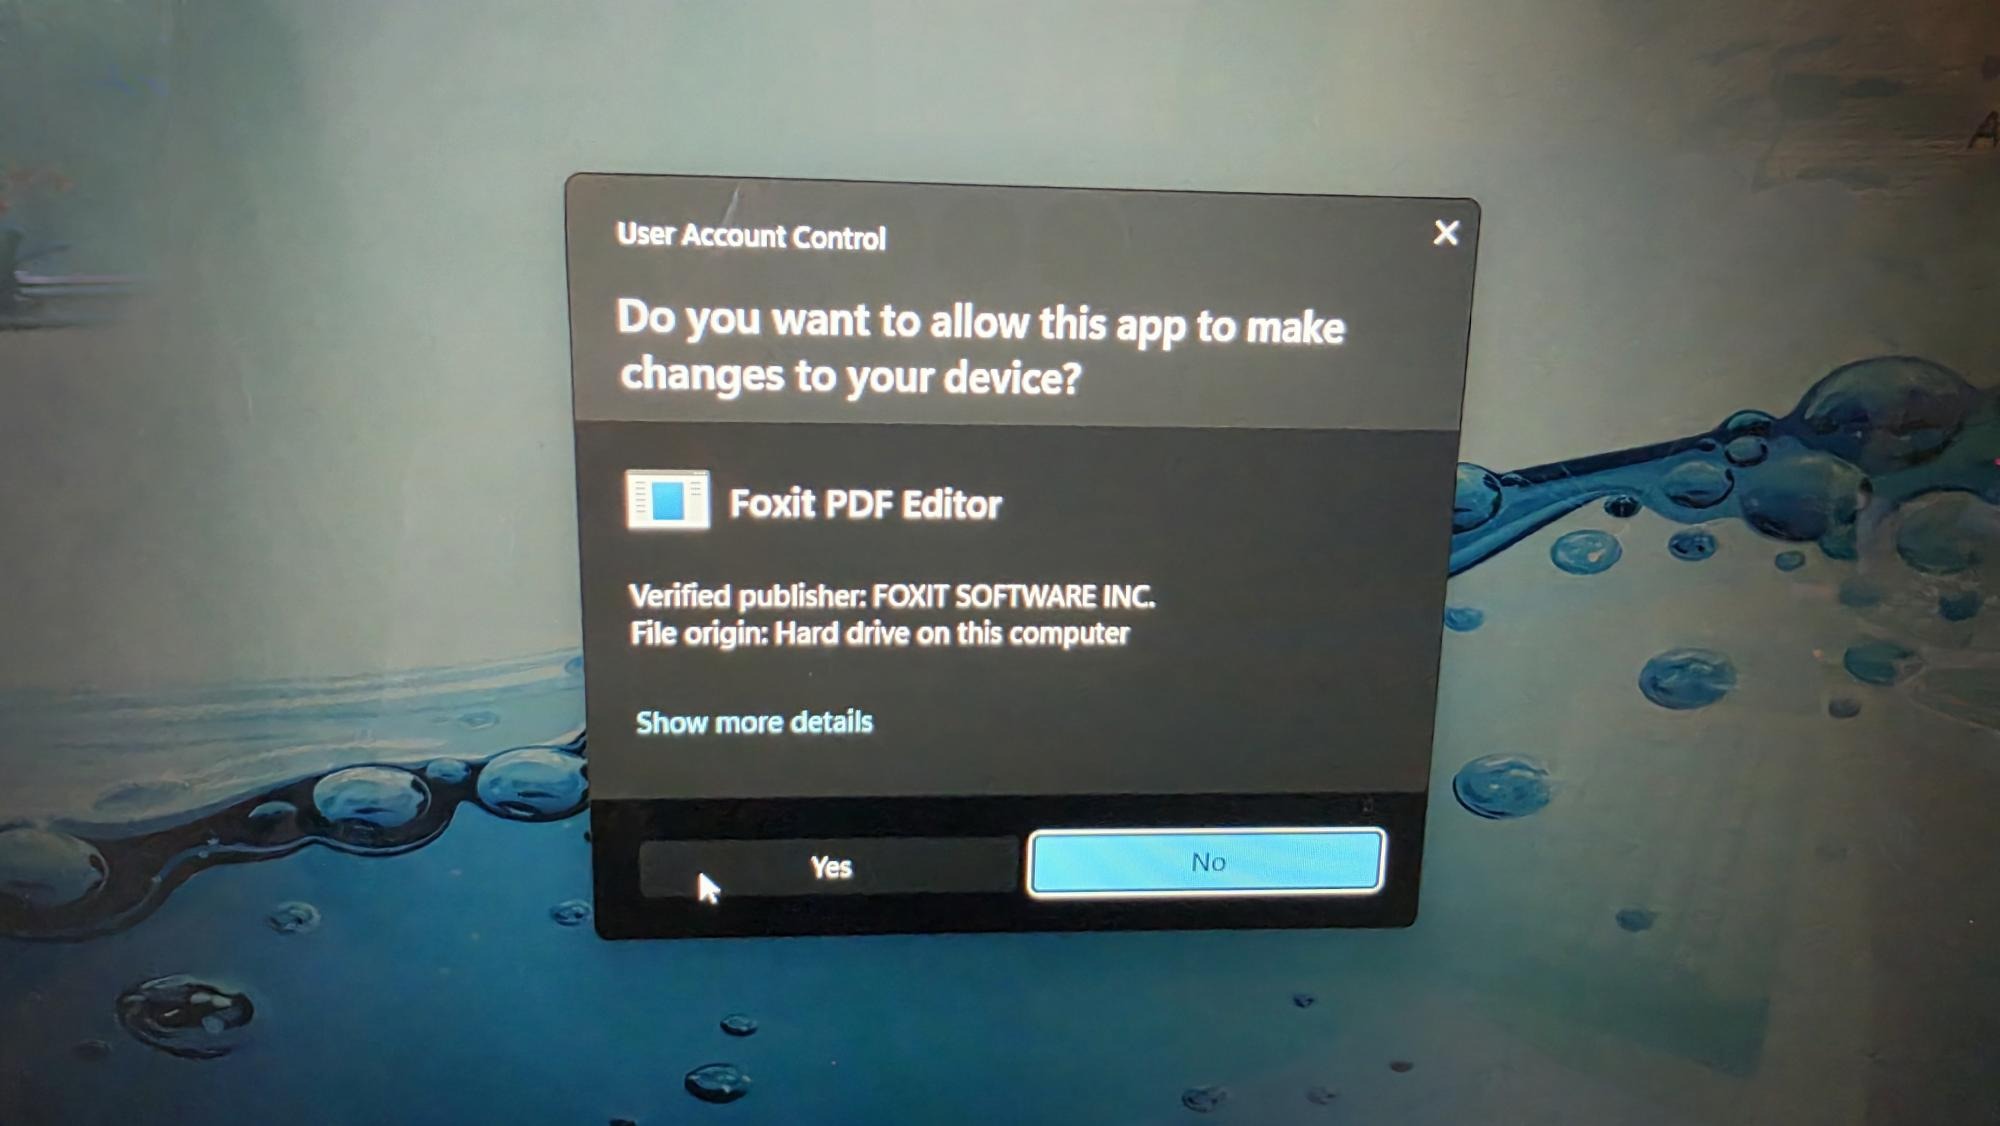
Your screen may momentarily go blank and display a User Account Control (UAC) prompt asking if you want to allow the app to make changes to your device. Click Yes to authorize the uninstallation.
Step #7: Your screen may momentarily go blank and display a User Account Control (UAC) prompt asking if you want to allow the app to make changes to your device. Click Yes to authorize the uninstallation.
8
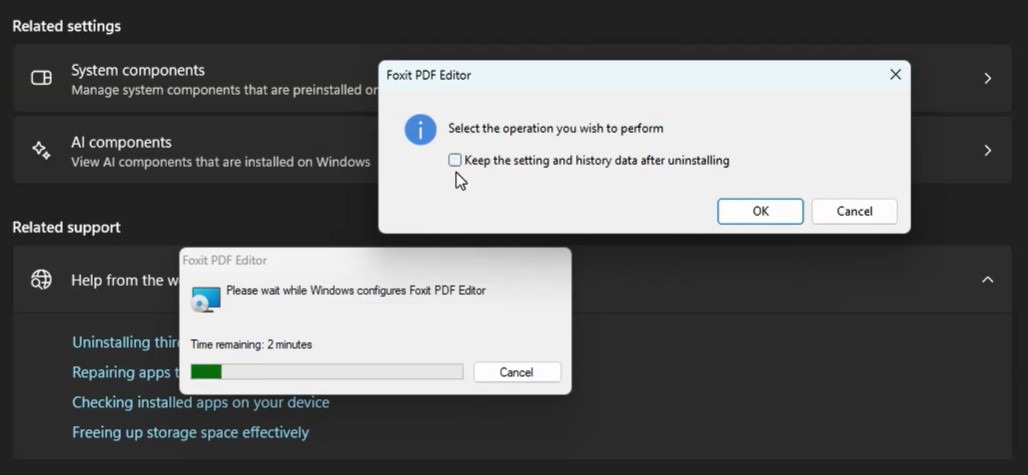
Uncheck any box which asks if you'd like to keep files, settings, or history data. To save disk space it is unnecessary, then click OK.
Step #8: Uncheck any box which asks if you'd like to keep files, settings, or history data.  To save disk space it is unnecessary, then click OK.

Wait for the uninstallation progress bar to complete. The time remaining may fluctuate, but the process will finish automatically, completely removing the software from your computer.