
Summit Update - Investor Settlements
Learn how to update the BI format database using XLOOKUPs after receiving an investor settlement email from transaction management.
This guide explains how to update records in the BI format database after receiving an investor settlement confirmation email. The goal is to accurately map loan population data, updating statuses, balances, and critical dates to reflect the newly settled transaction.
This workflow is designed for data operations and transaction management teams. It should be performed immediately after receiving a settlement email from Dewey specifying the seller, loan count, servicing details, and purchasing entities (such as APCA or AP2).
Access the Settlement Details
The settlement email contains critical details about the transaction, including the seller, the number of loans, whether servicing is released or retained, and the purchasing and financing entities.
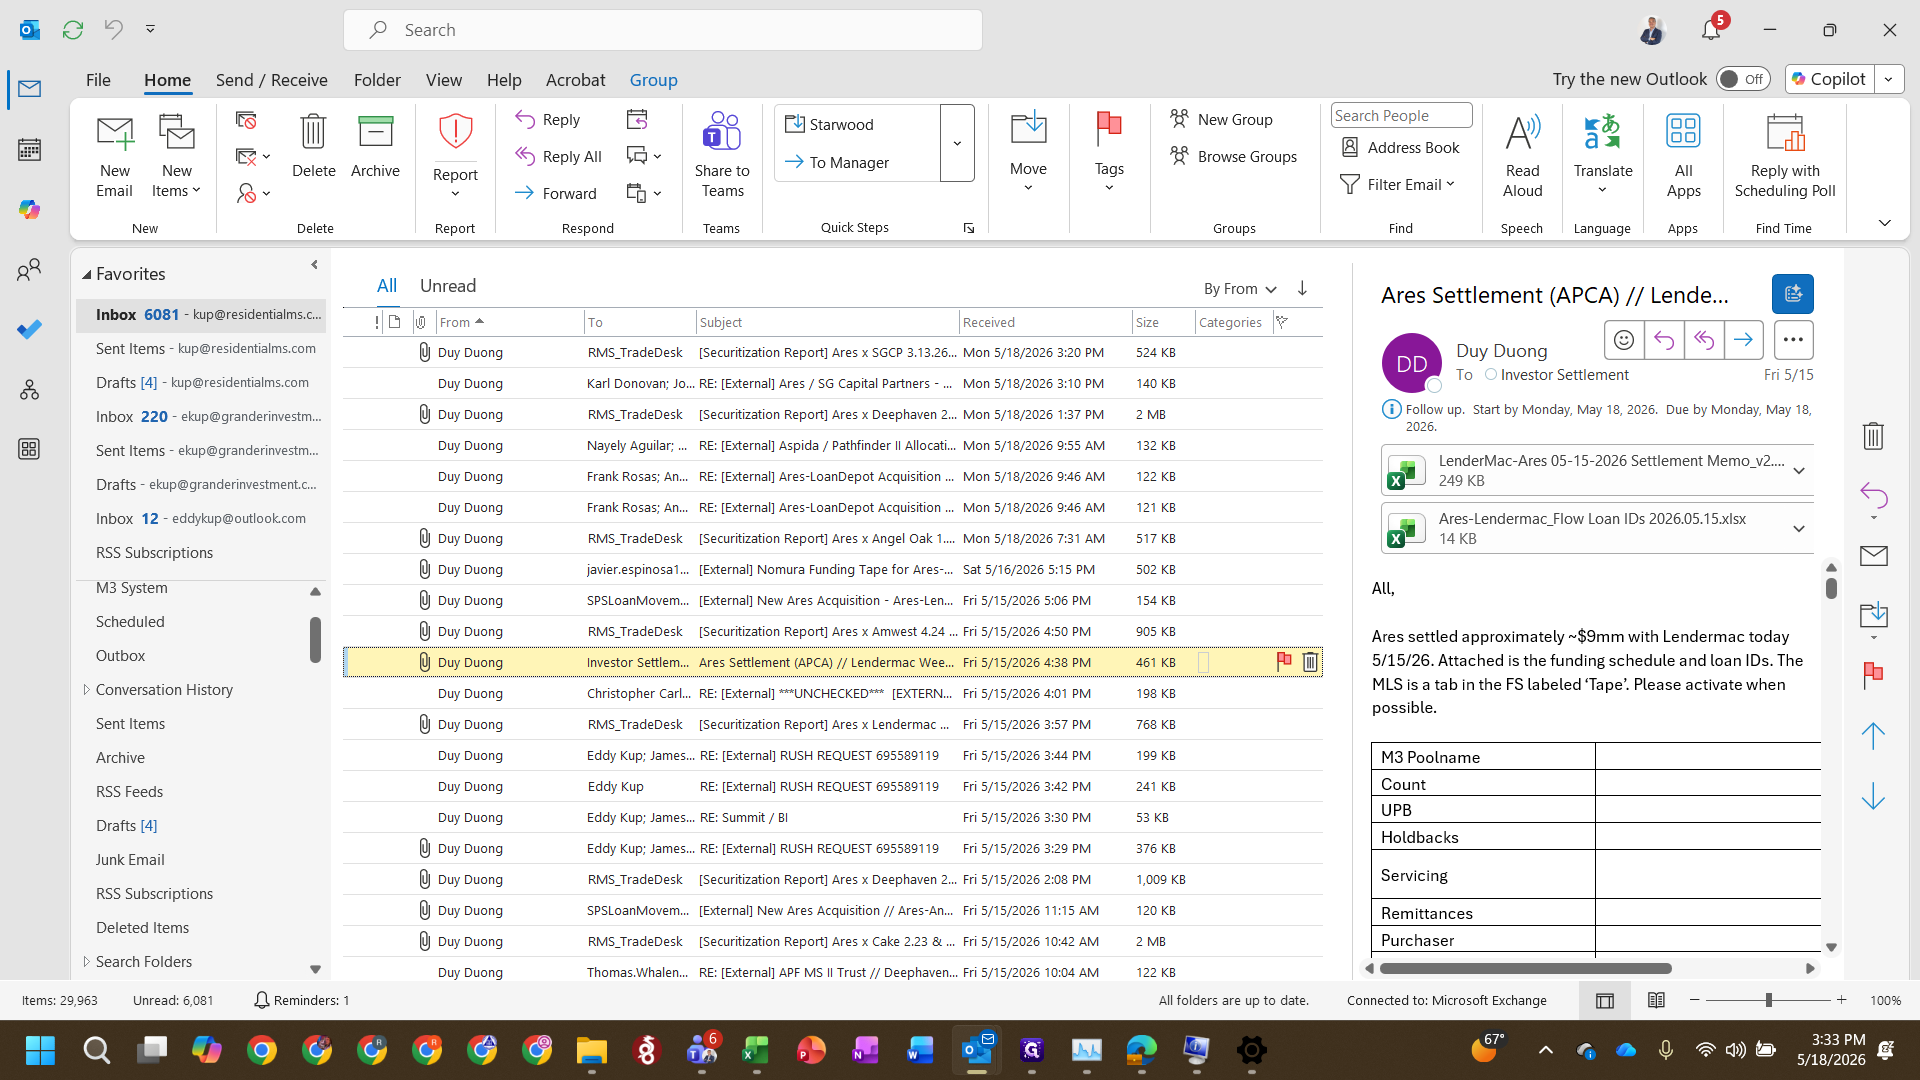
LenderMac - Ares Settlement Memo.xlsx) to open it.
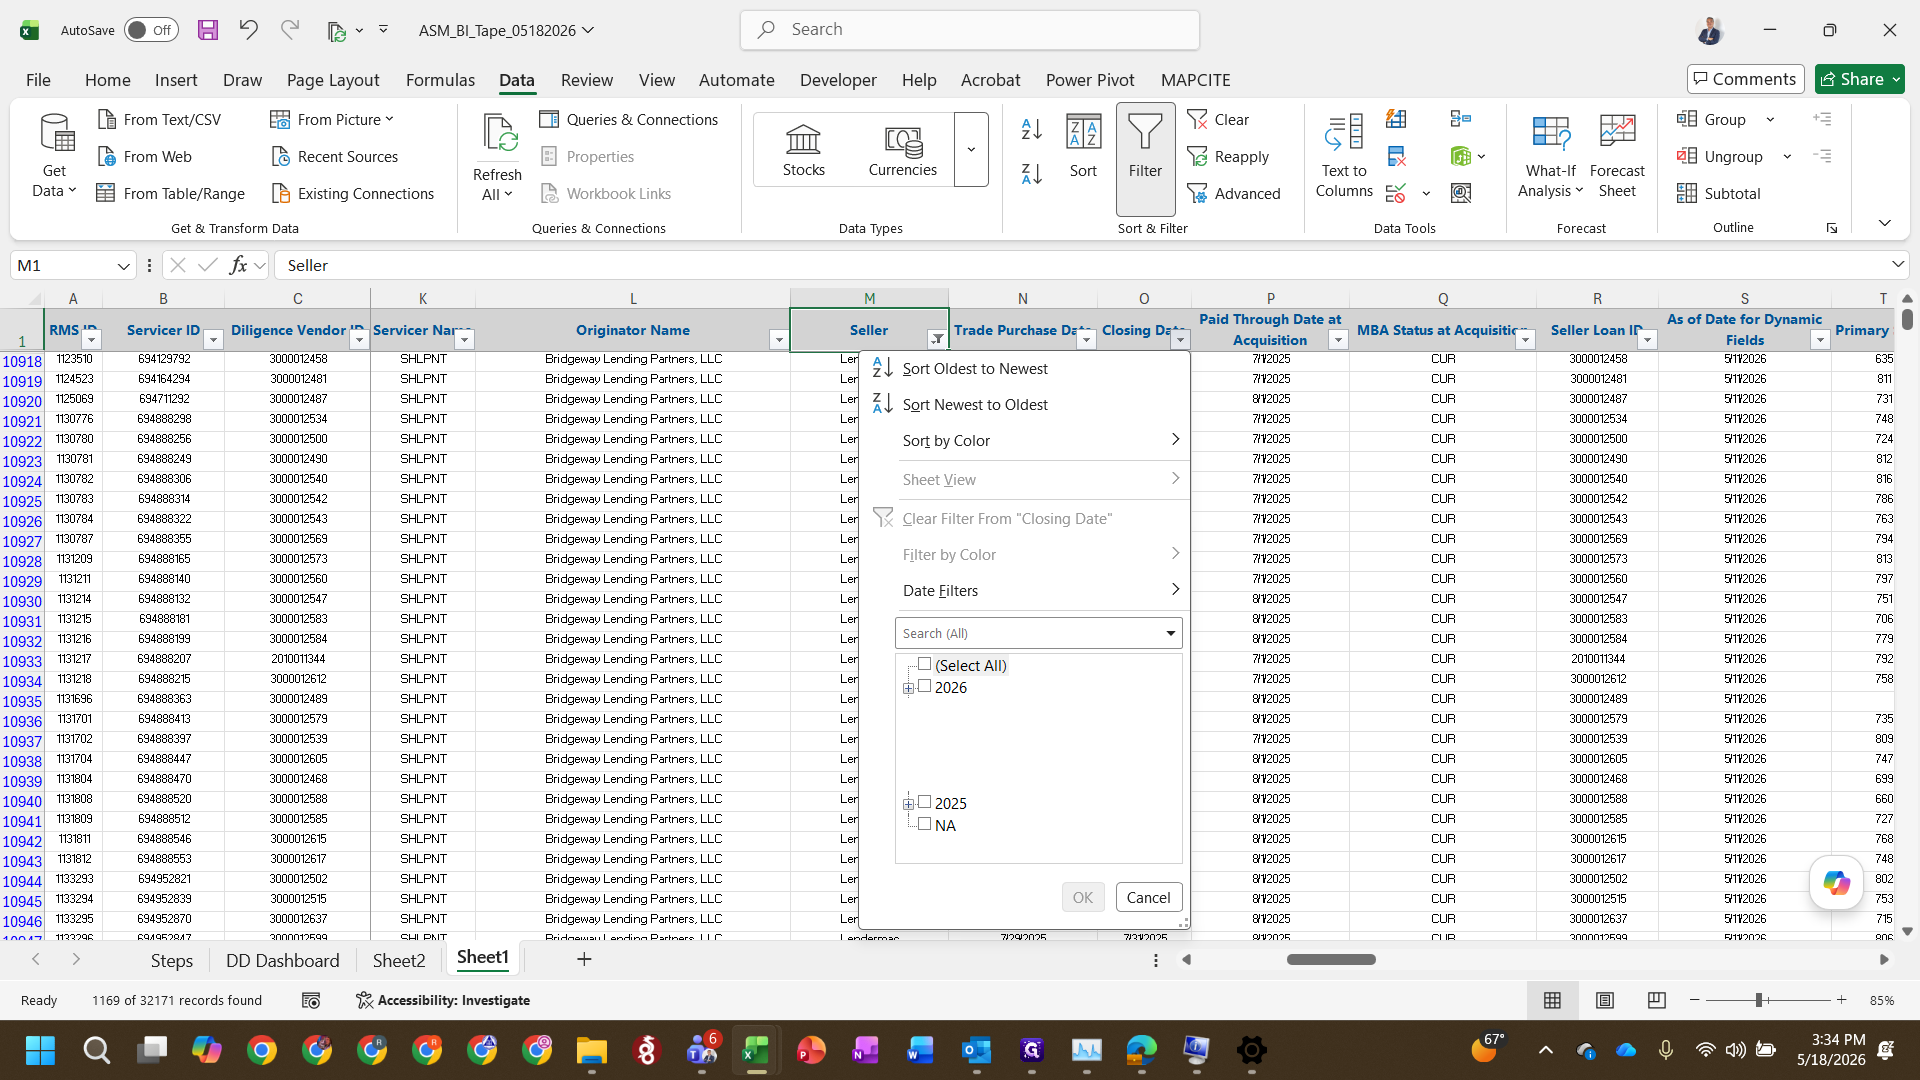
Filter the Database
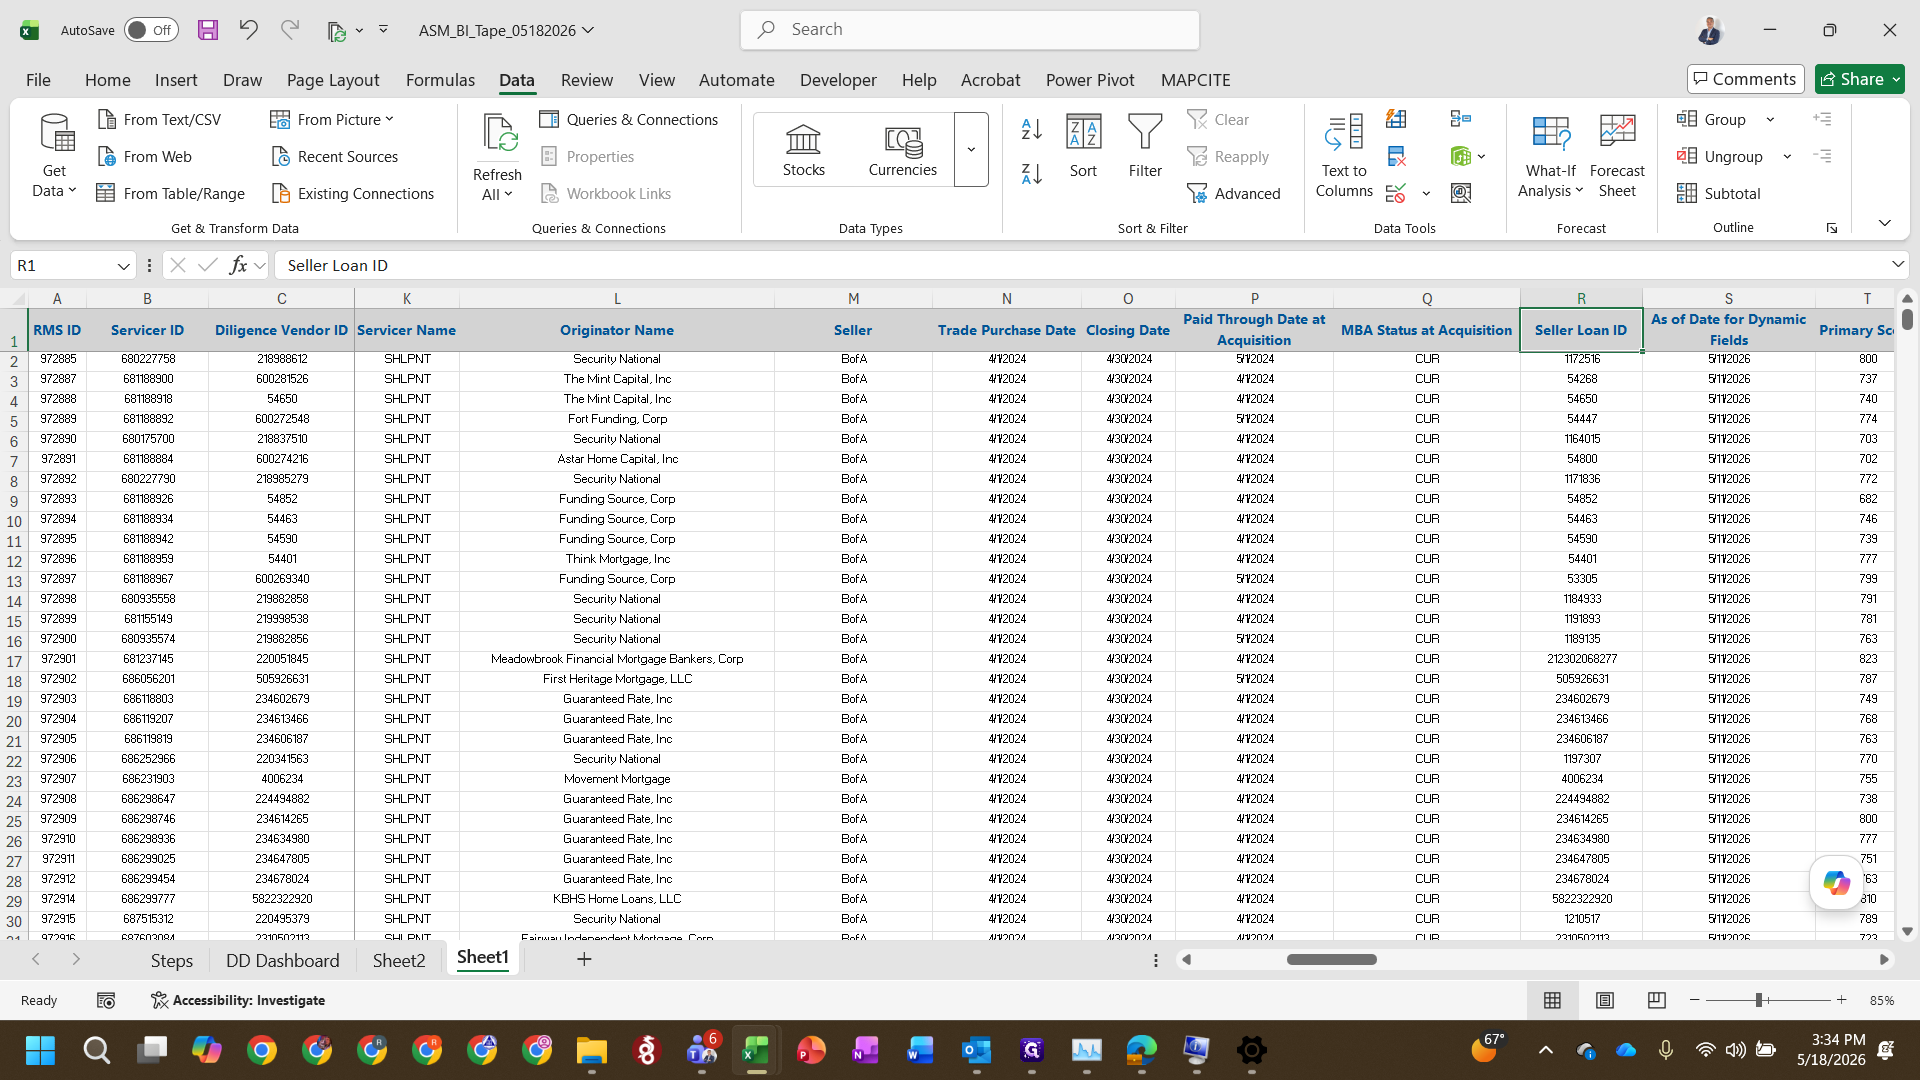
Map Loan Attributes
Once the database is filtered to the correct seller and closing date, use XLOOKUP formulas to pull in updated balances, prices, and dates from the funding memo.
Field Mapping Reference
Target Database Field | Source Document | Formula Logic / Target Column |
|---|---|---|
Balance at Acquisition | Funding Memo (Population) | Column B |
Final Purchase Price | Funding Memo (Population) | Column I (Excludes accrued interest) |
Interest Pay-through Date | Funding Memo (Population) | Multiply value by |
Due Date | Calculated via Formula |
|
Seller AM3 ID | Loan IDs Attachment | Append |
XLOOKUP function to map the Balance at acquisition and Final purchase price from the funding memo into the database.=EDATE() formula, advancing it by exactly one month.Acquired - Pending Activation.Map Loan IDs
The settlement email also includes a secondary attachment specifically for mapping internal and seller IDs.
XLOOKUP to pull the Seller AM3 ID into the database, appending &"" to the end of the formula to format the ID as text.FAQ
Q: Why do we multiply the Interest Pay-through Date by 1?
A: Multiplying the retrieved value by 1 forces the database to format the date string as text. This prevents the spreadsheet from accidentally converting the value into scientific notation.
Q: How is the Due Date determined?
A: The Due Date is always exactly one month after the Interest Pay-through Date. You can automatically calculate this in Excel by using the =EDATE([cell], 1) function.
Q: Why do we add an ampersand and quotes to the Loan ID formula?
A: Appending &"" to the end of your XLOOKUP formula coerces the retrieved Loan ID into a text string. This ensures alphanumeric IDs are stored consistently and prevents formatting errors in the BI database.