
Update Digital Signage Content in OmmaSign
Learn how to quickly update studio LED strips and window displays using the OmmaSign web dashboard.
This guide explains how to update the digital signage content for studio LED strips and window displays using the OmmaSign web dashboard. Completing these steps ensures your studio or window monitors always display the correct branded graphics or generic welcome screens.
This applies to studio producers, broadcast technicians, and content managers. Use these instructions whenever you need to switch the active display graphics for specific shows or physical locations.
Update Studio Content
When searching for the correct graphic, use the specific naming convention (prefix) assigned to your location and display type.
Display Type | Required Prefix | Example Usage |
|---|---|---|
Studio Displays |
|
|
Window Displays |
|
|
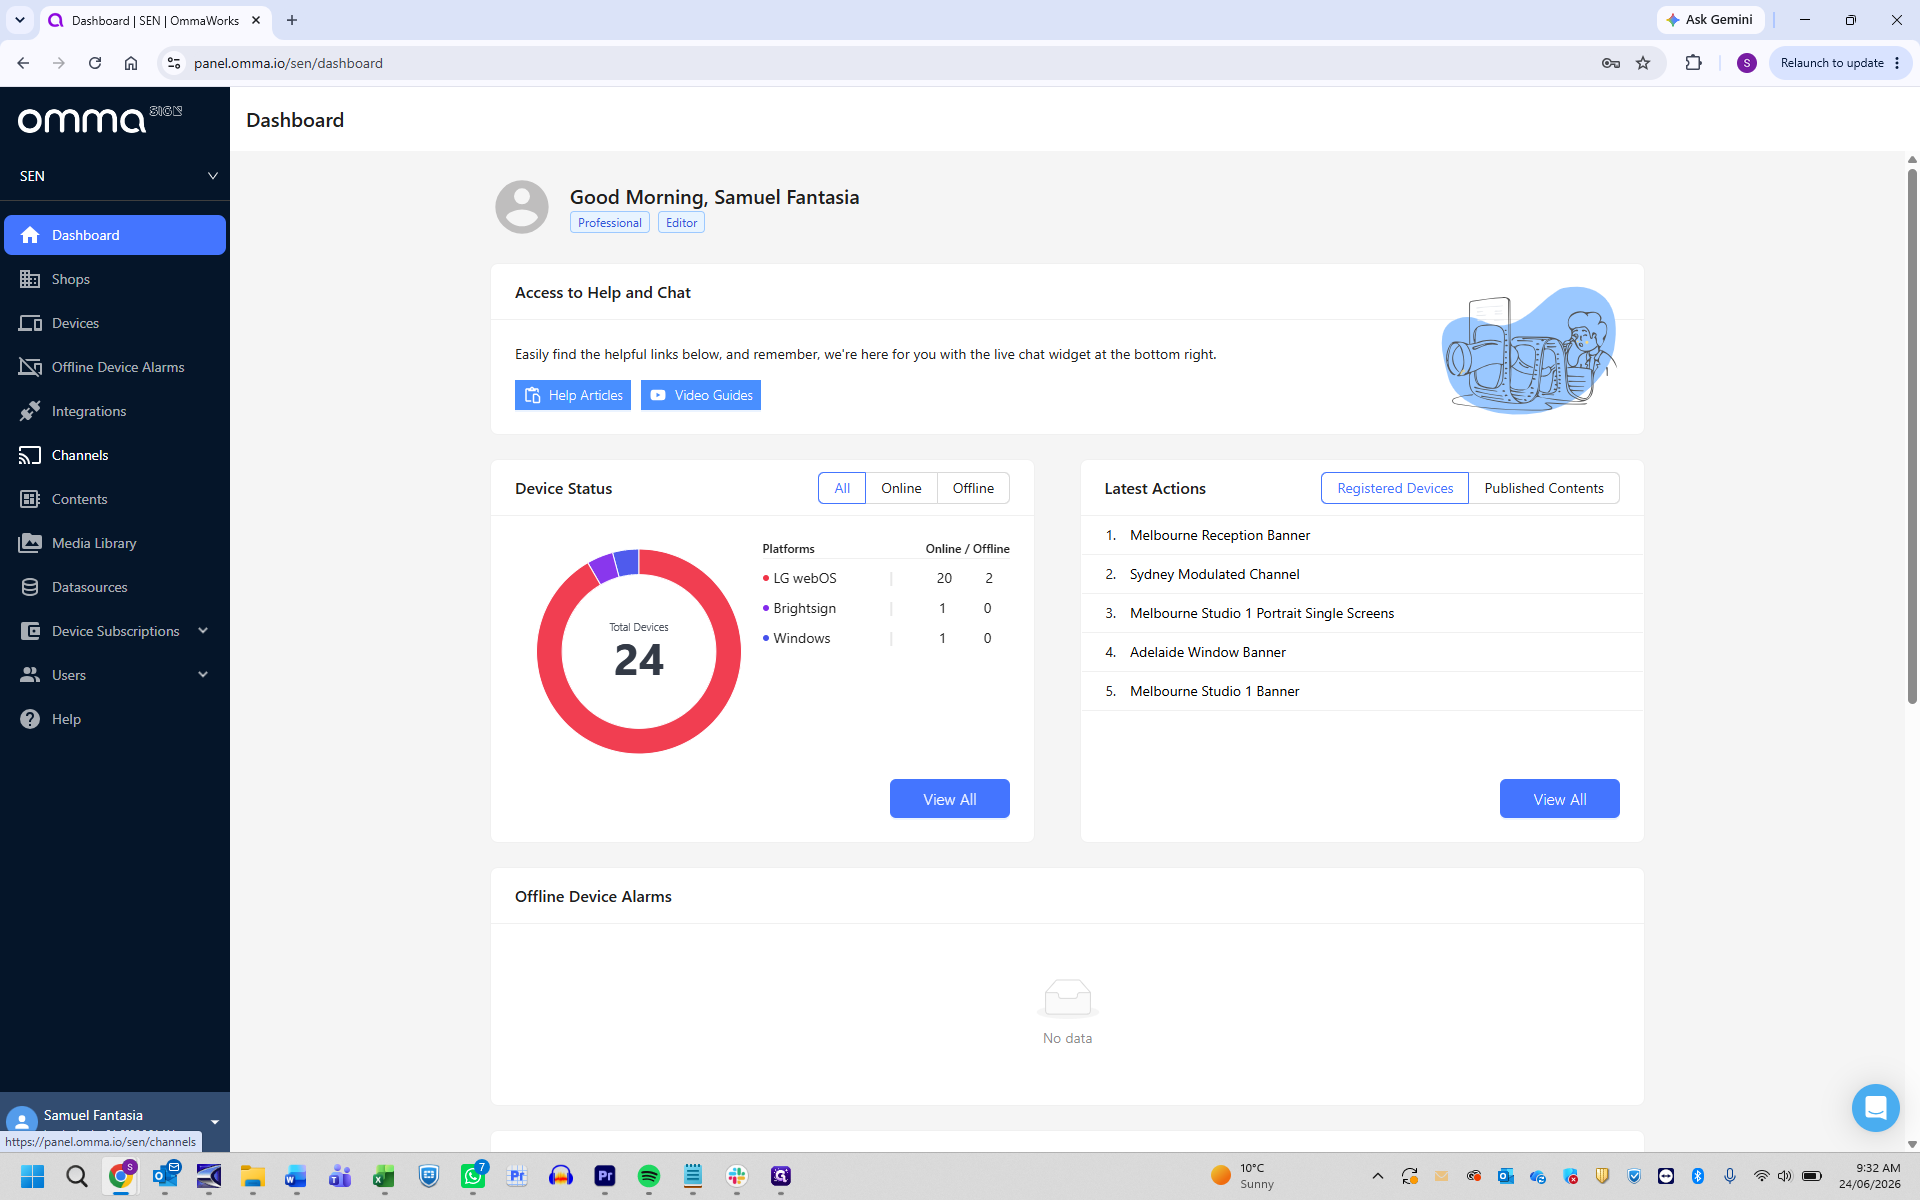
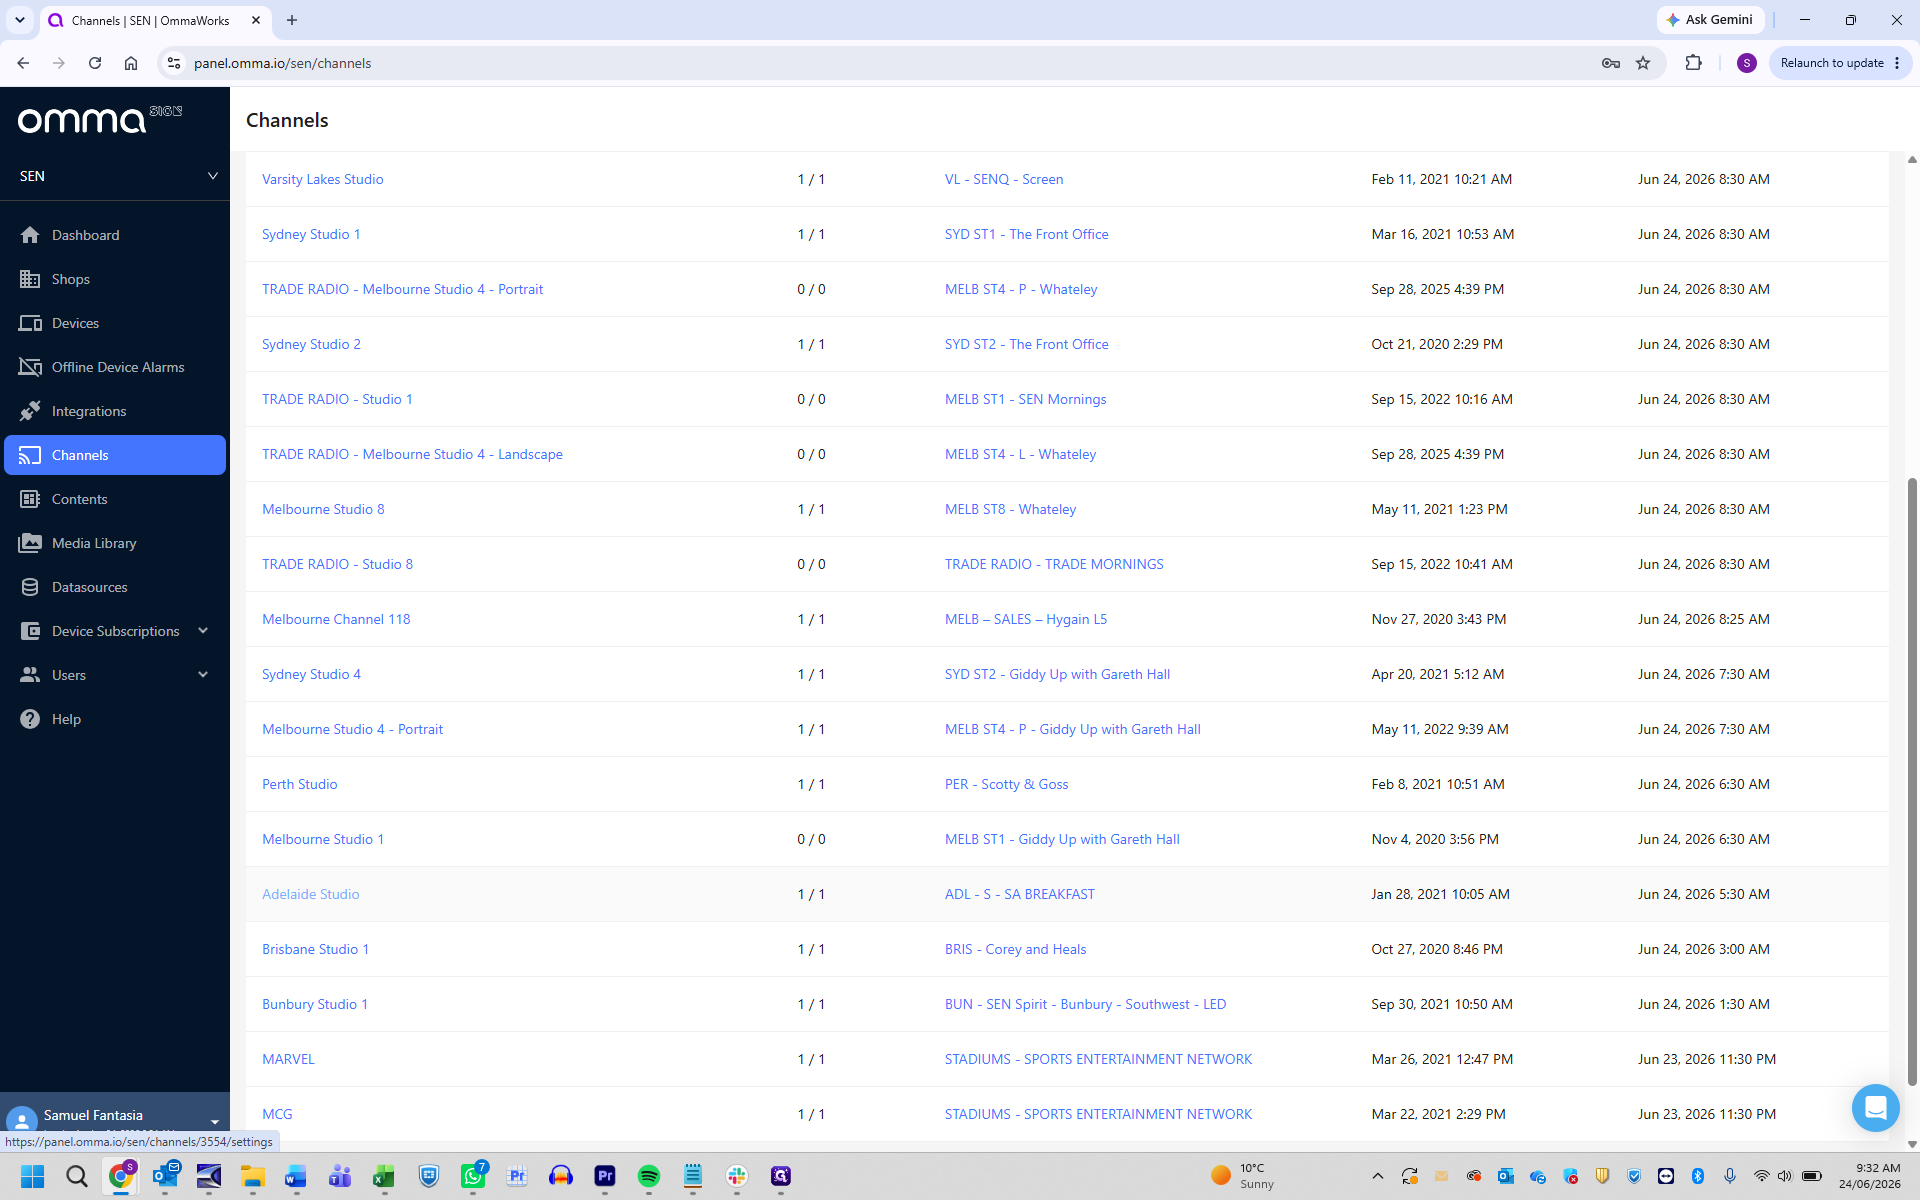
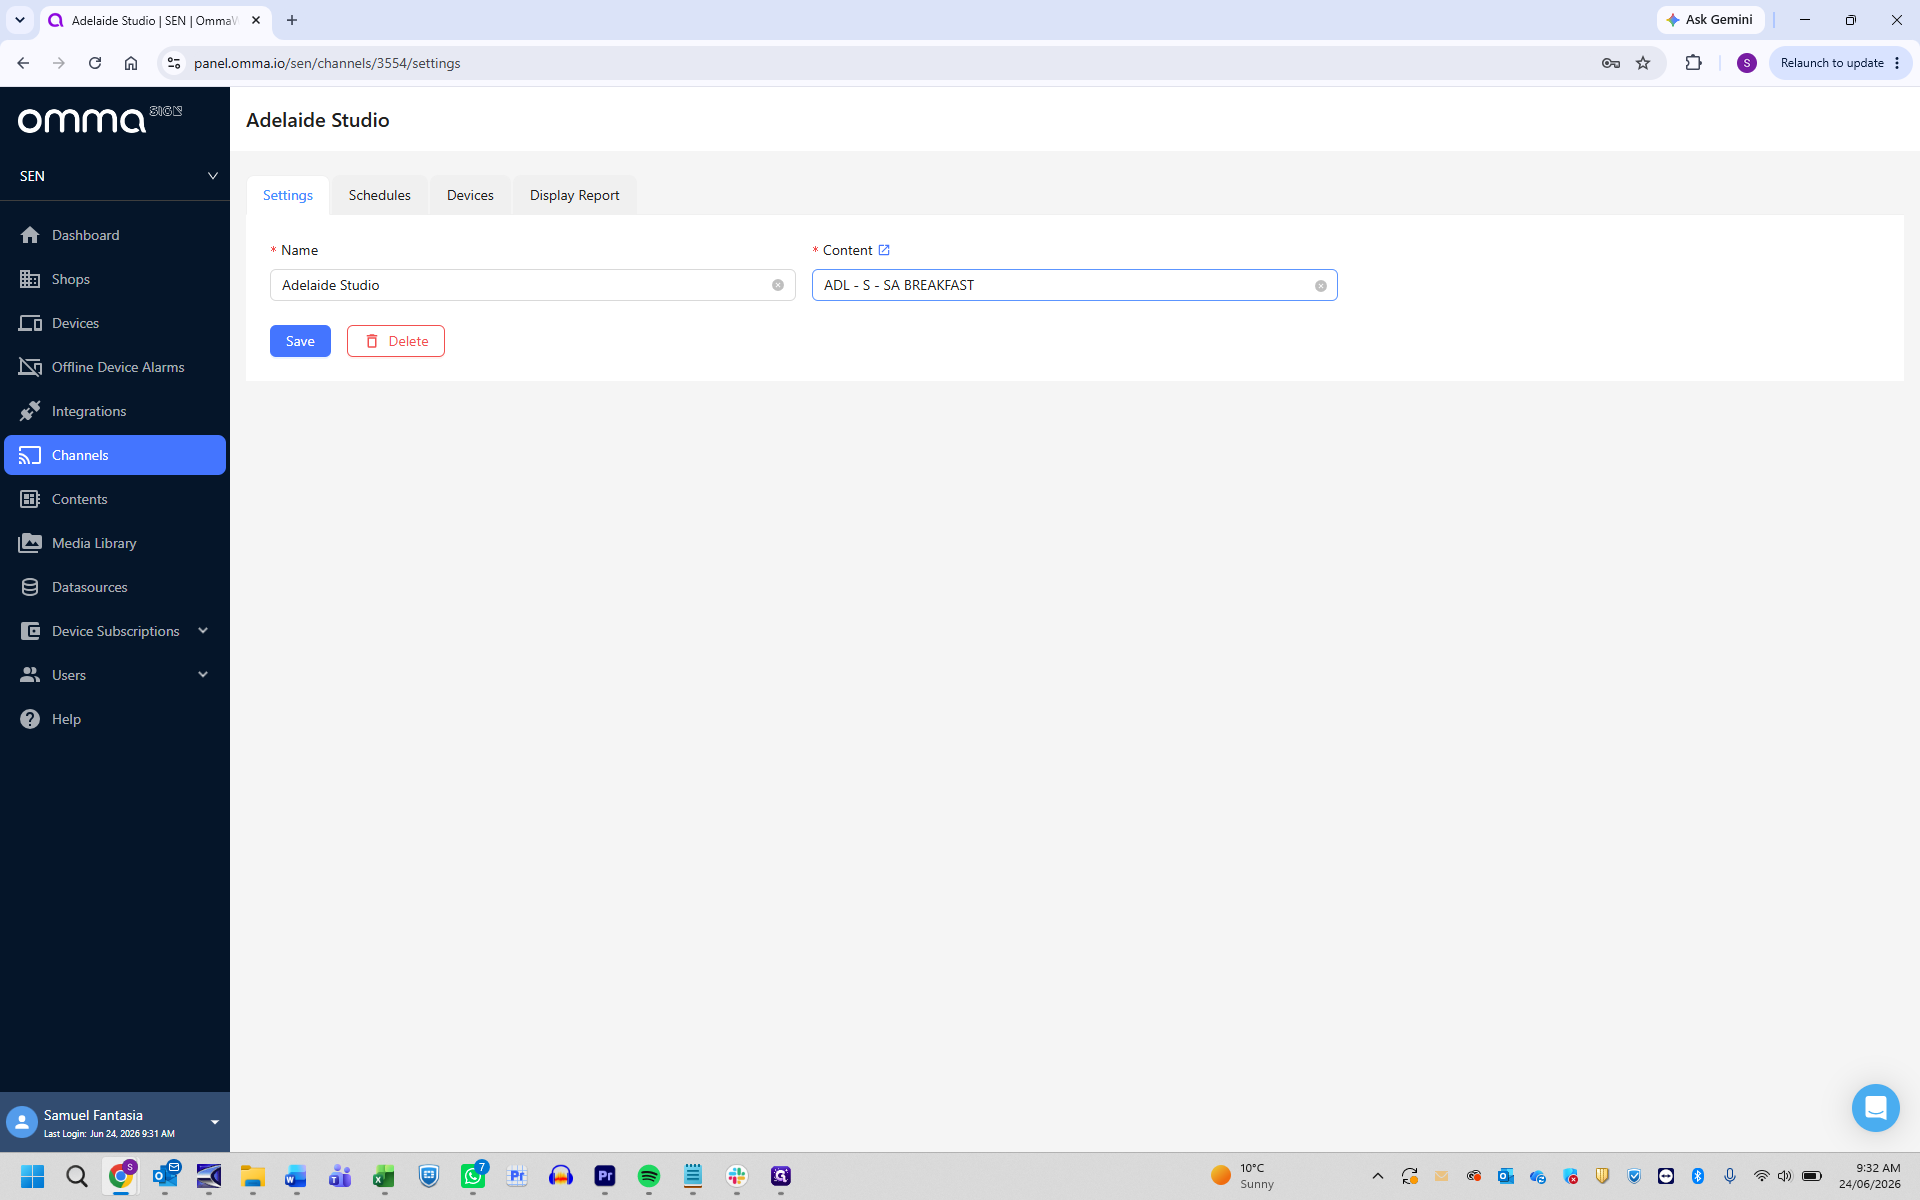
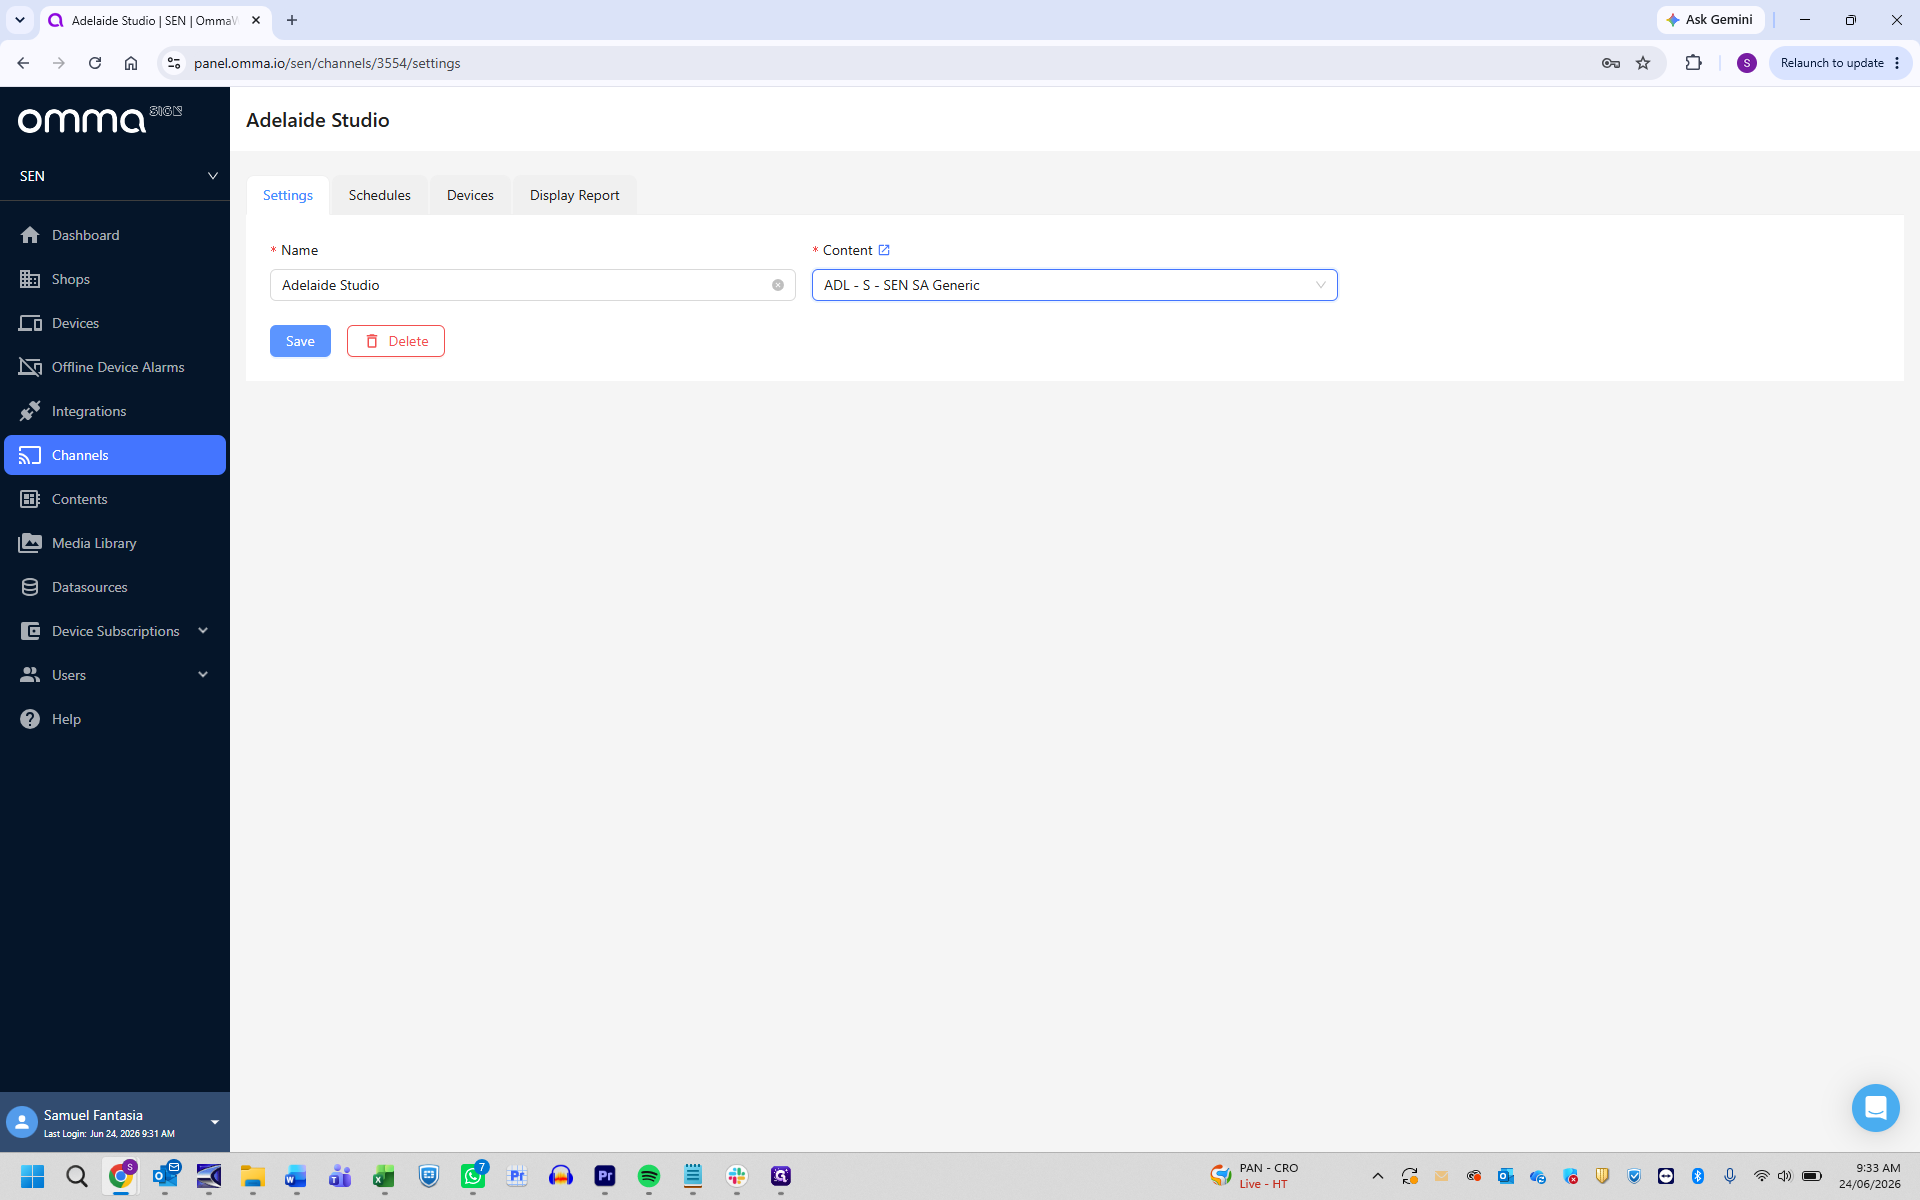
ADL - S - ) to filter the available graphics.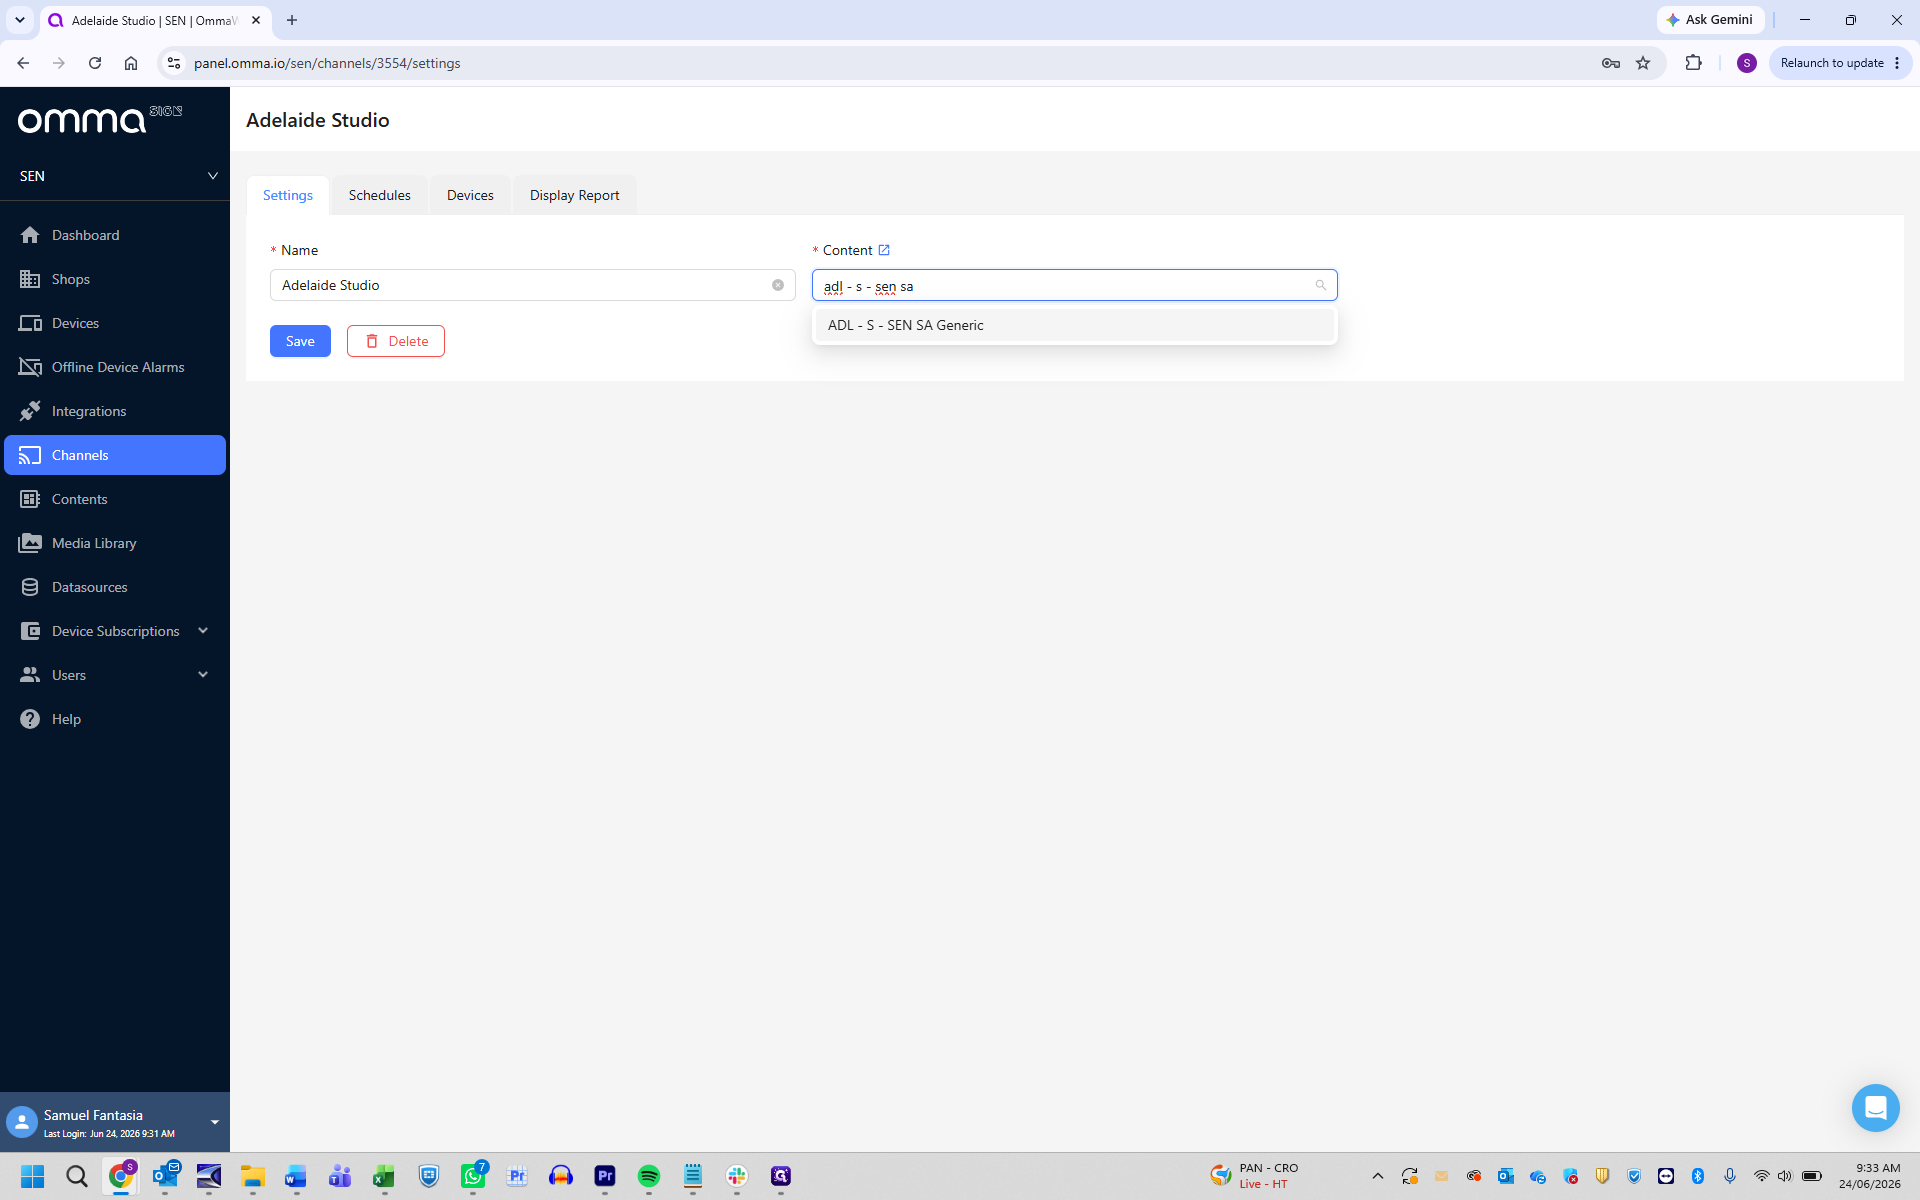
Verify the Active Display
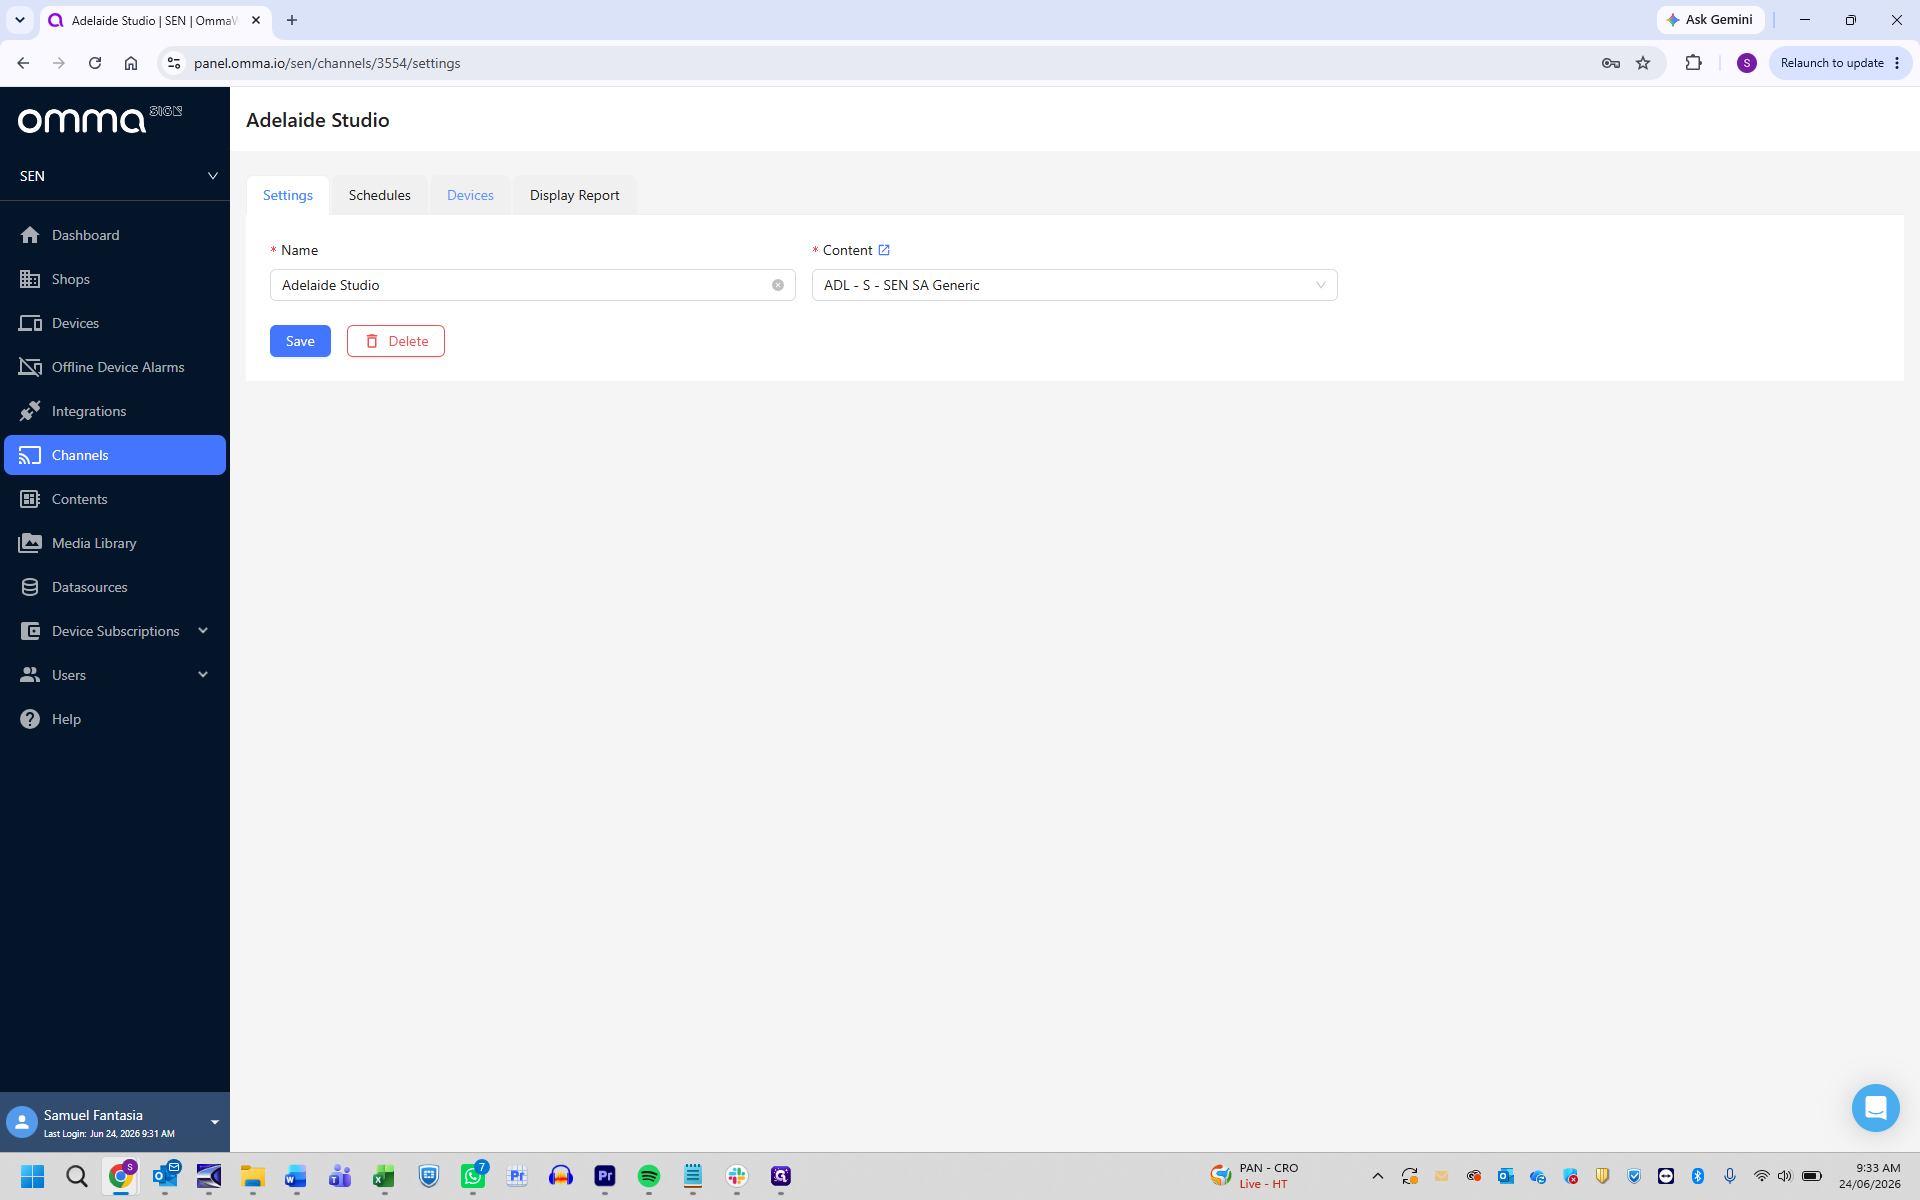
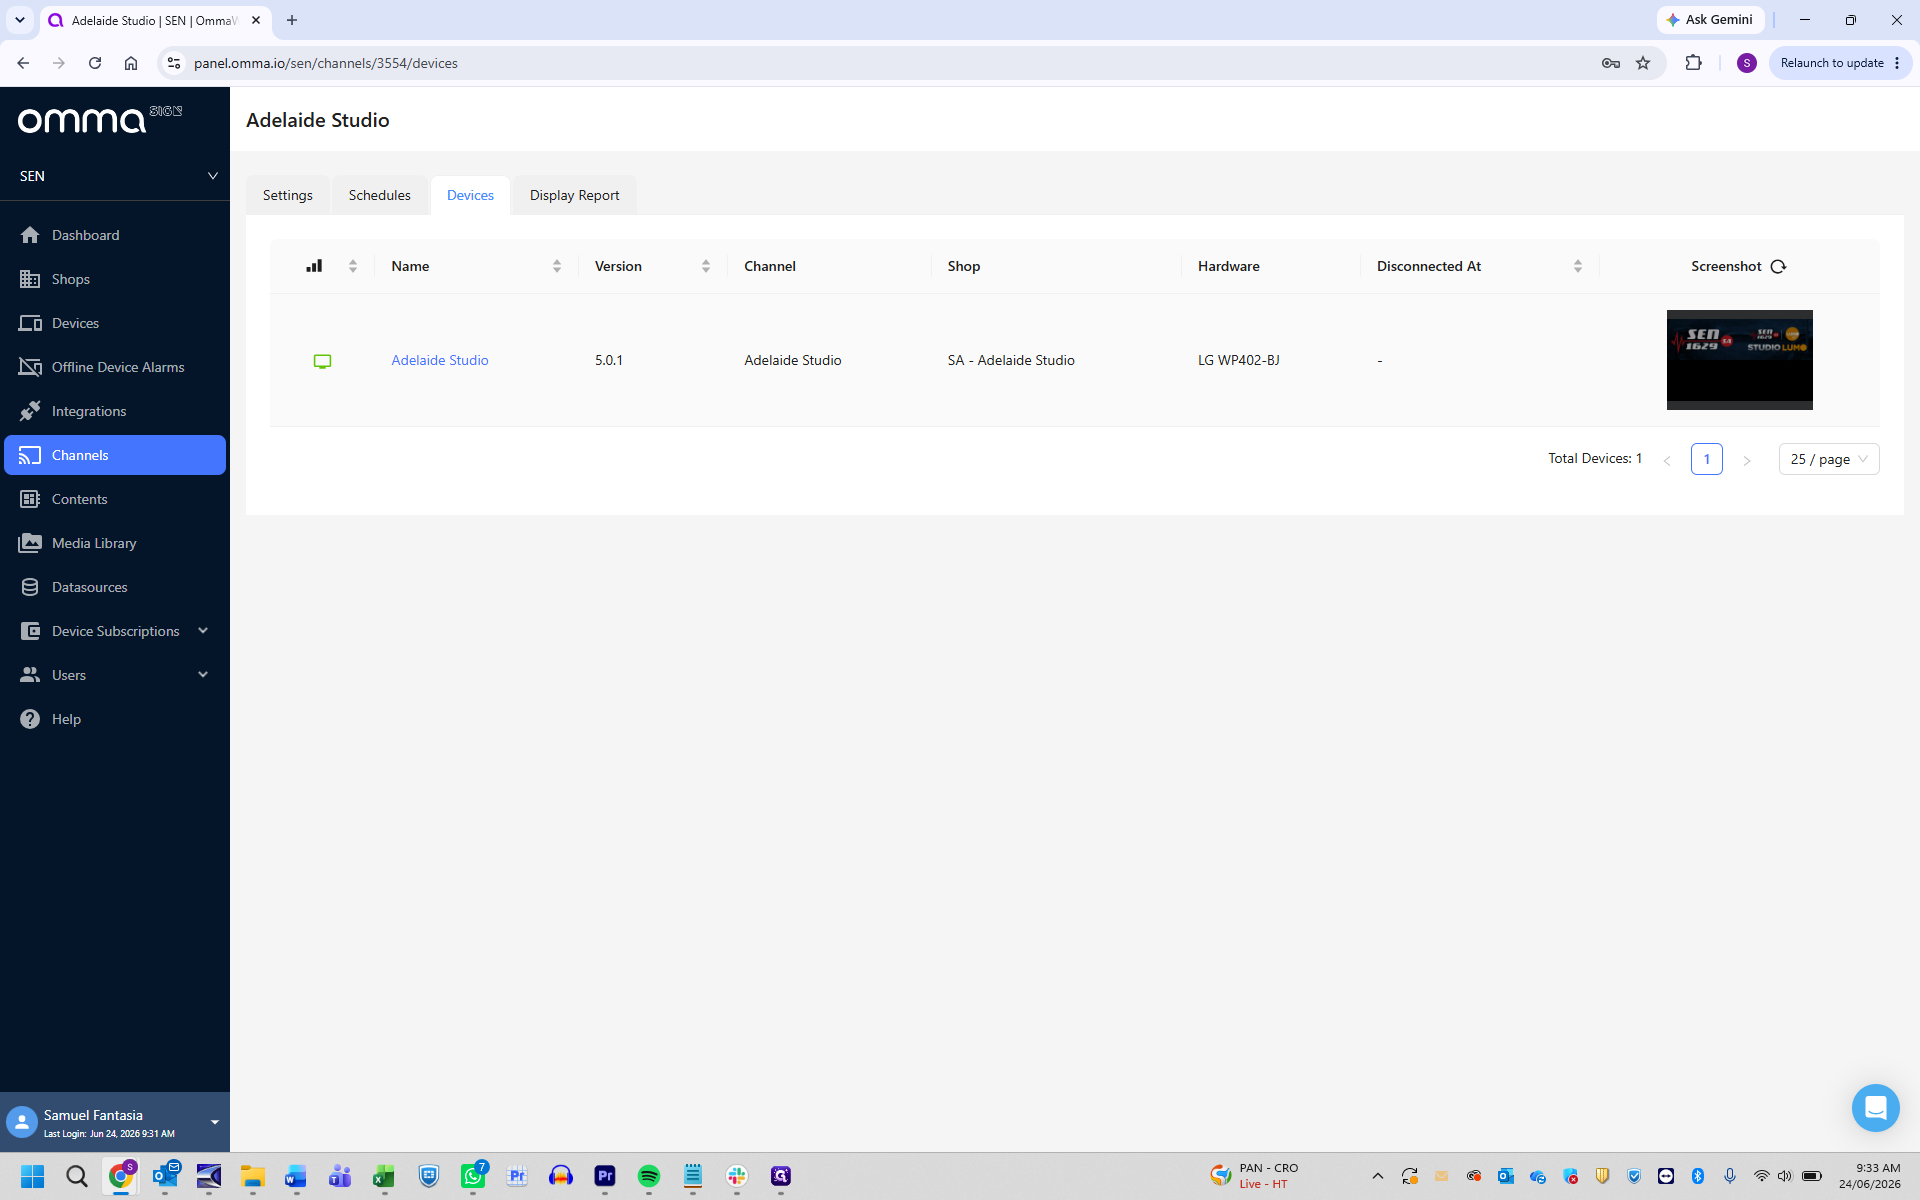
You can easily check if the physical LED strip or screen has updated by pulling a live screenshot.
Update Window Content
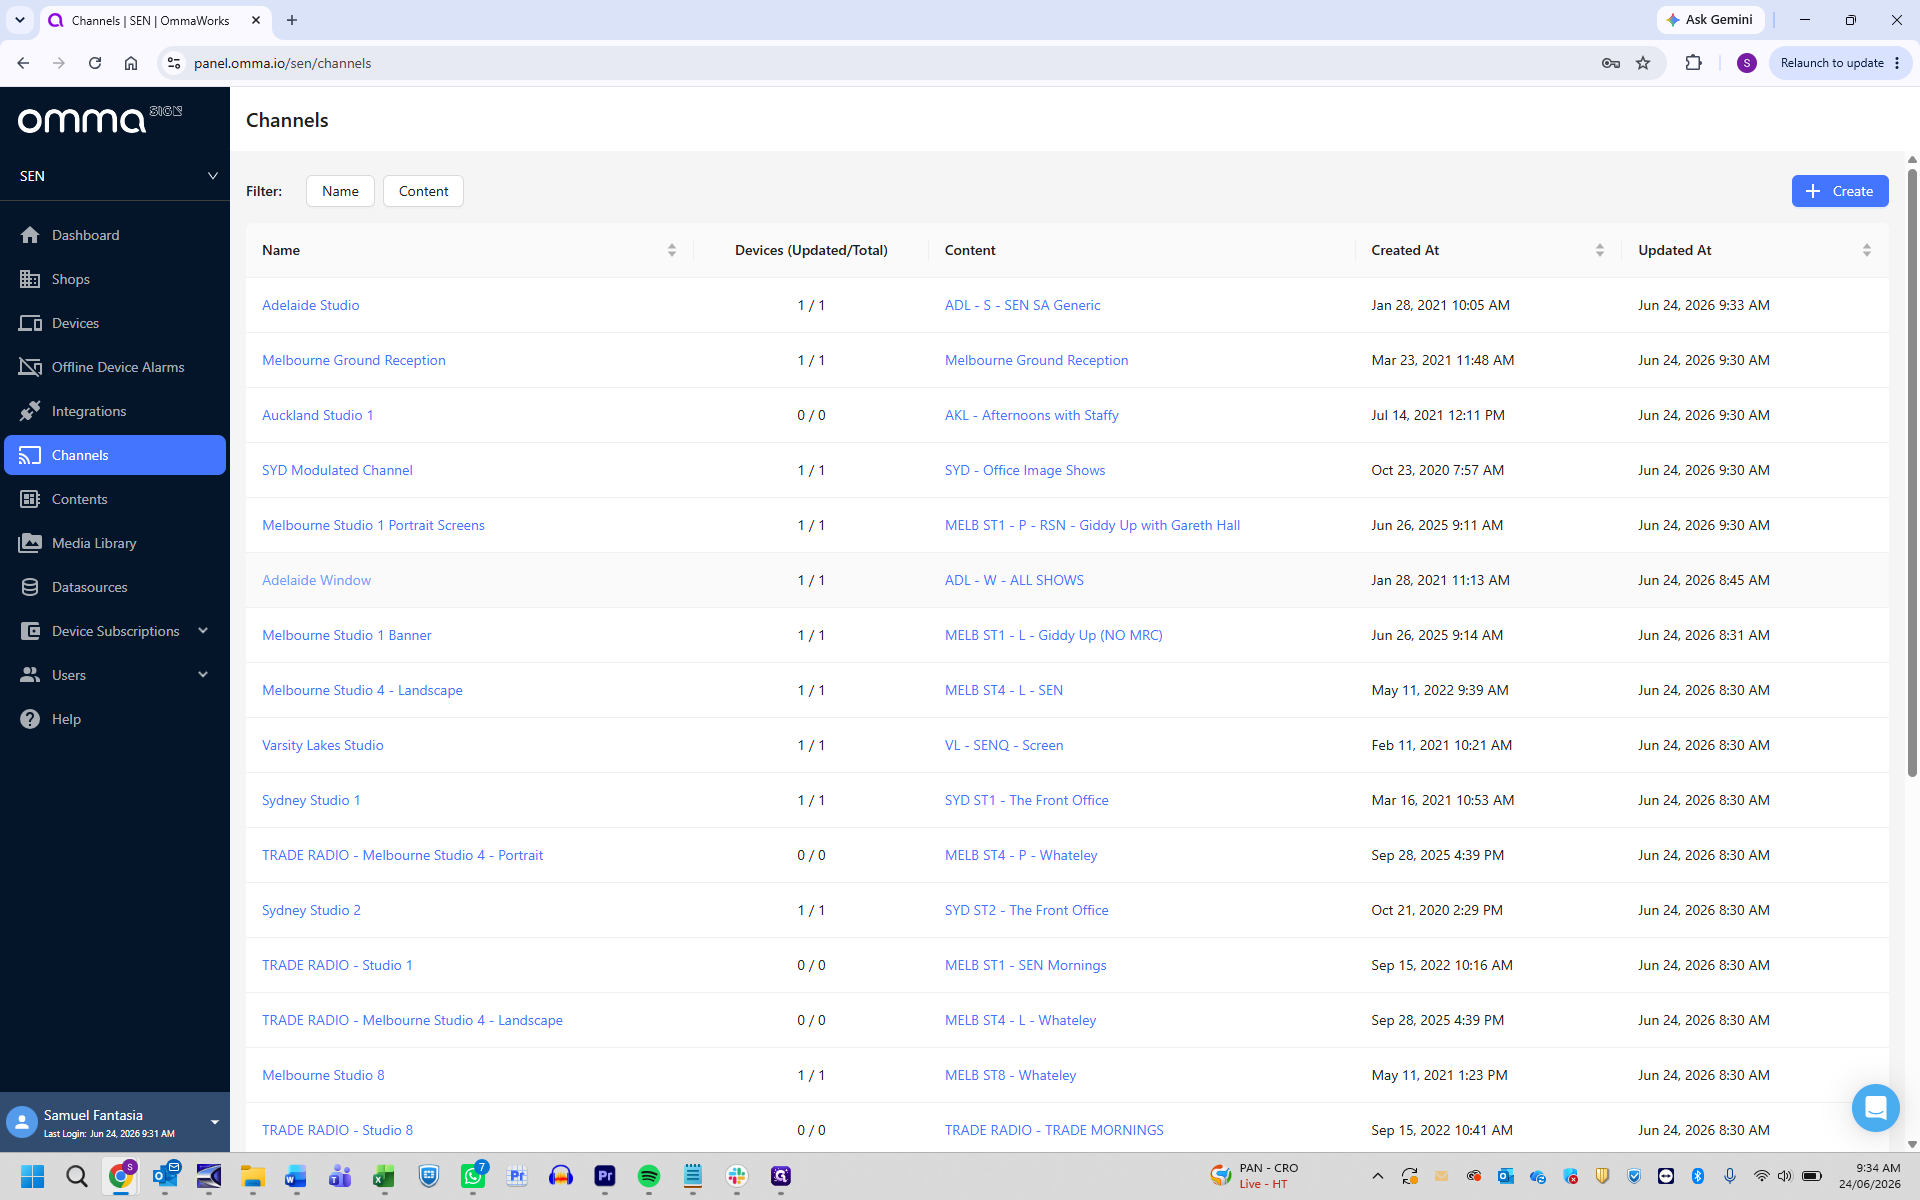
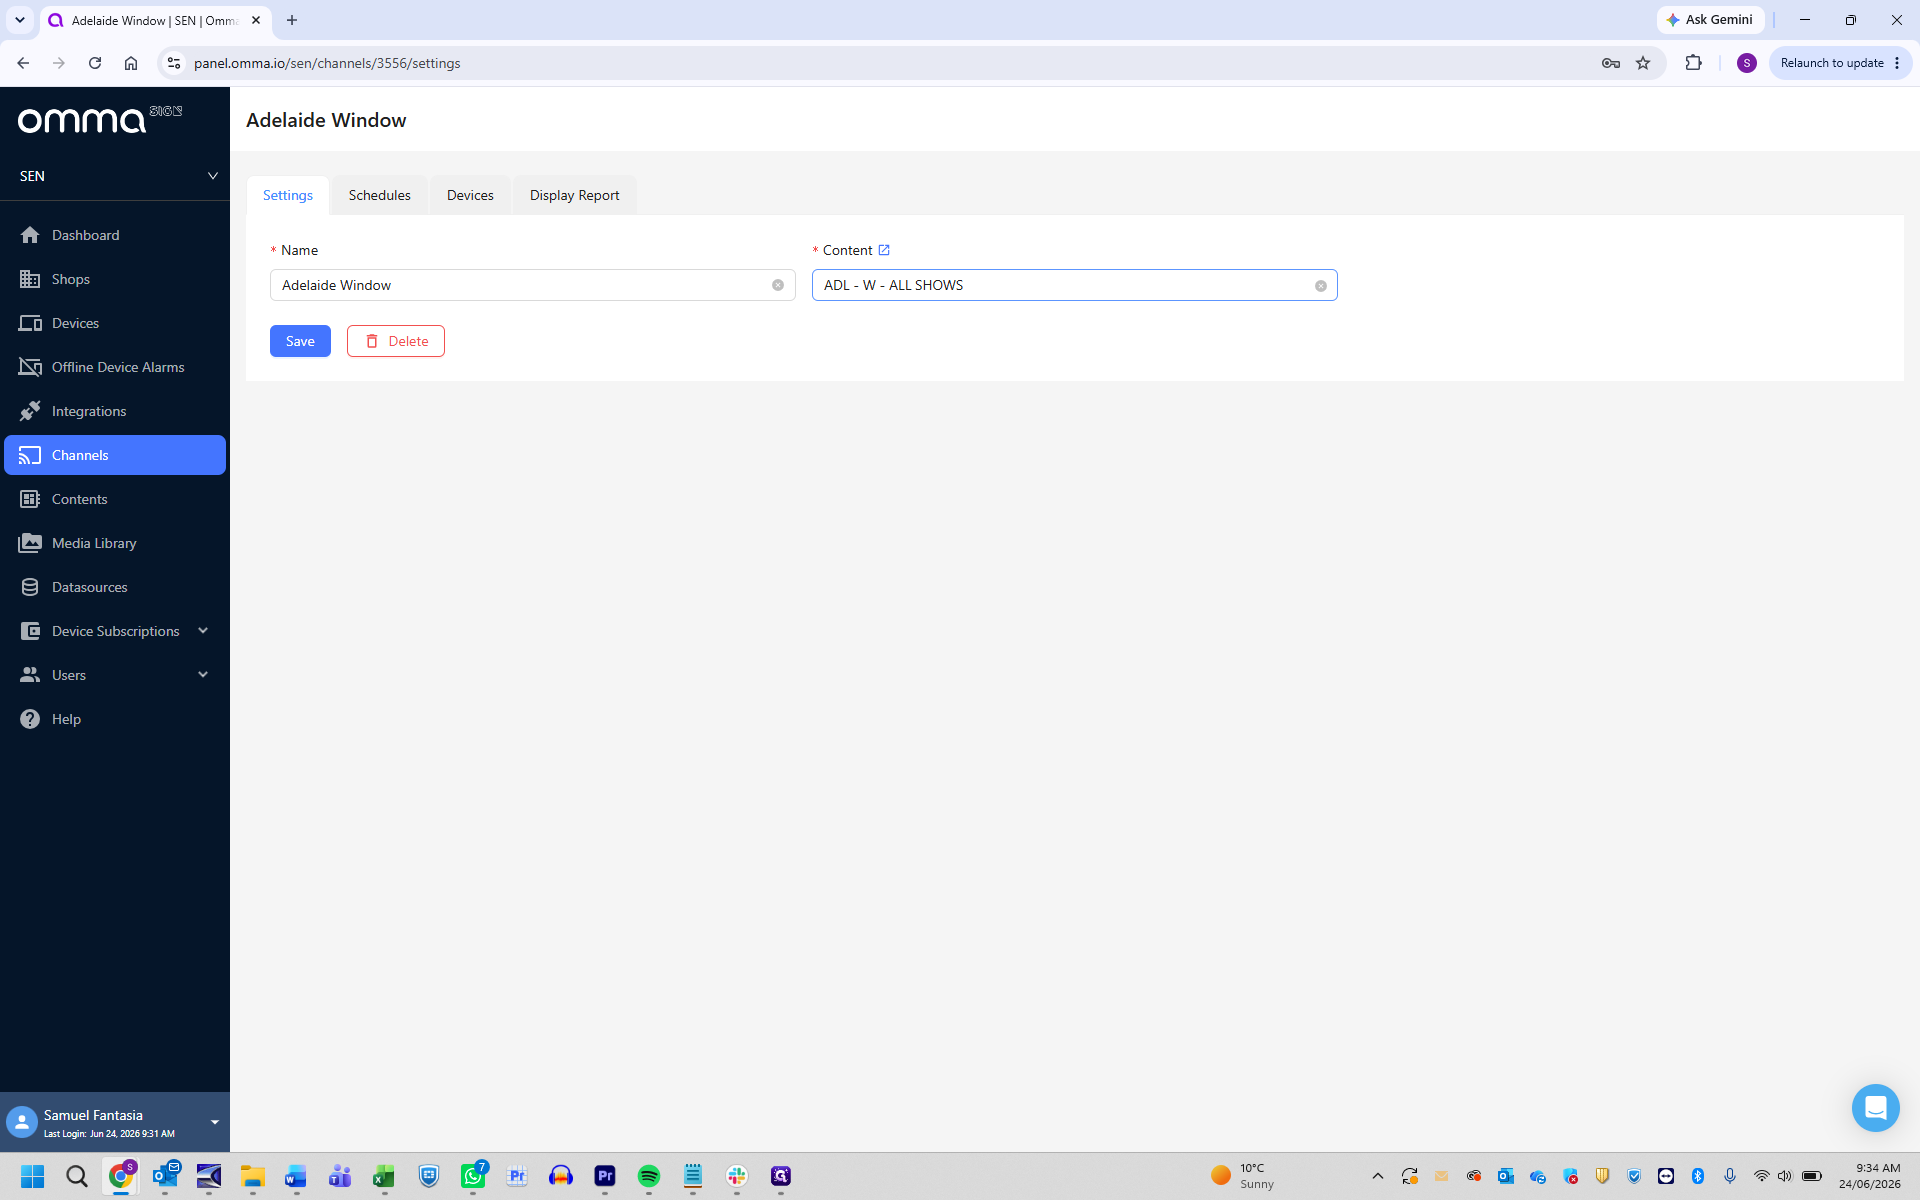
ADL - W - ) to filter the options.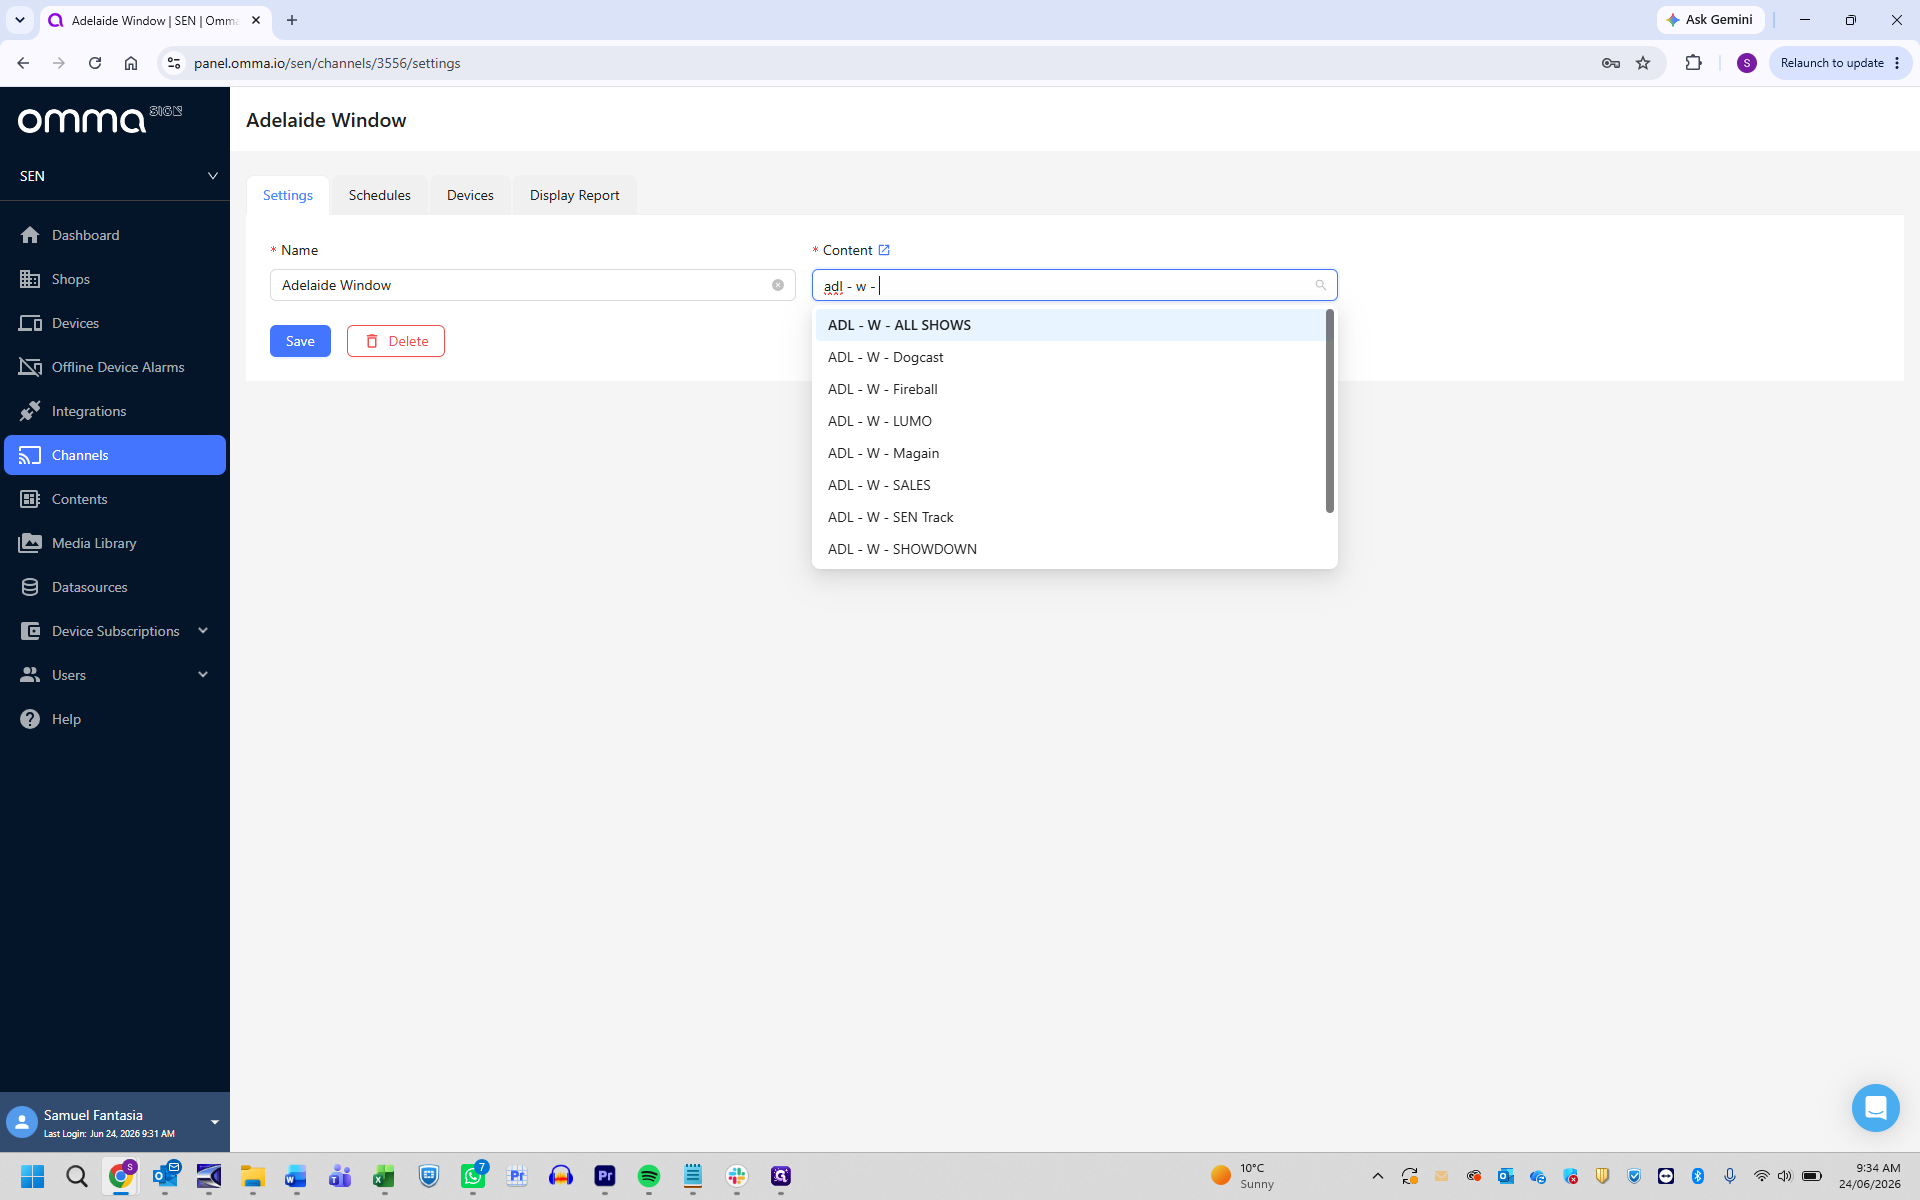
Q: How do I find the correct content for my studio or window?
A: Use the designated prefix code in the content search bar. Use ADL - S - for studio displays and ADL - W - for window displays.
Q: Do I need to type the exact formatting for the prefix?
A: Yes, the search is strict. Make sure to include the exact spaces and hyphens (e.g., ADL - S - ) when searching for content.
Q: How can I verify that the correct content is showing on the physical screen?
A: Navigate to the Devices tab and click on the device thumbnail. This opens a live screenshot modal showing exactly what the screen is currently displaying.
Term | Definition |
|---|---|
OmmaSign | The digital signage web dashboard used to manage content on remote screens and LED strips. |
Channel | A dedicated feed representing a specific physical location or screen group, such as a studio or window. |
Prefix Code | A standardized text string (like ADL-S- or ADL-W-) used to filter and locate specific regional or situational display content. |