
How to Upload and Manage New Hire Audiences in Mailchimp
Learn how to import and organize weekly new hire lists in Mailchimp, including formatting spreadsheets, tagging contacts, and mapping custom fields.
This guide provides step-by-step instructions for importing a list of new employees into Mailchimp. Completing this ensures that all team members are accurately tagged and added to the correct audience for internal company communications.
This process applies to internal communications or human resources personnel who manage weekly employee updates. It should be used every Friday upon receiving the latest new hire spreadsheet from the HRIS team.
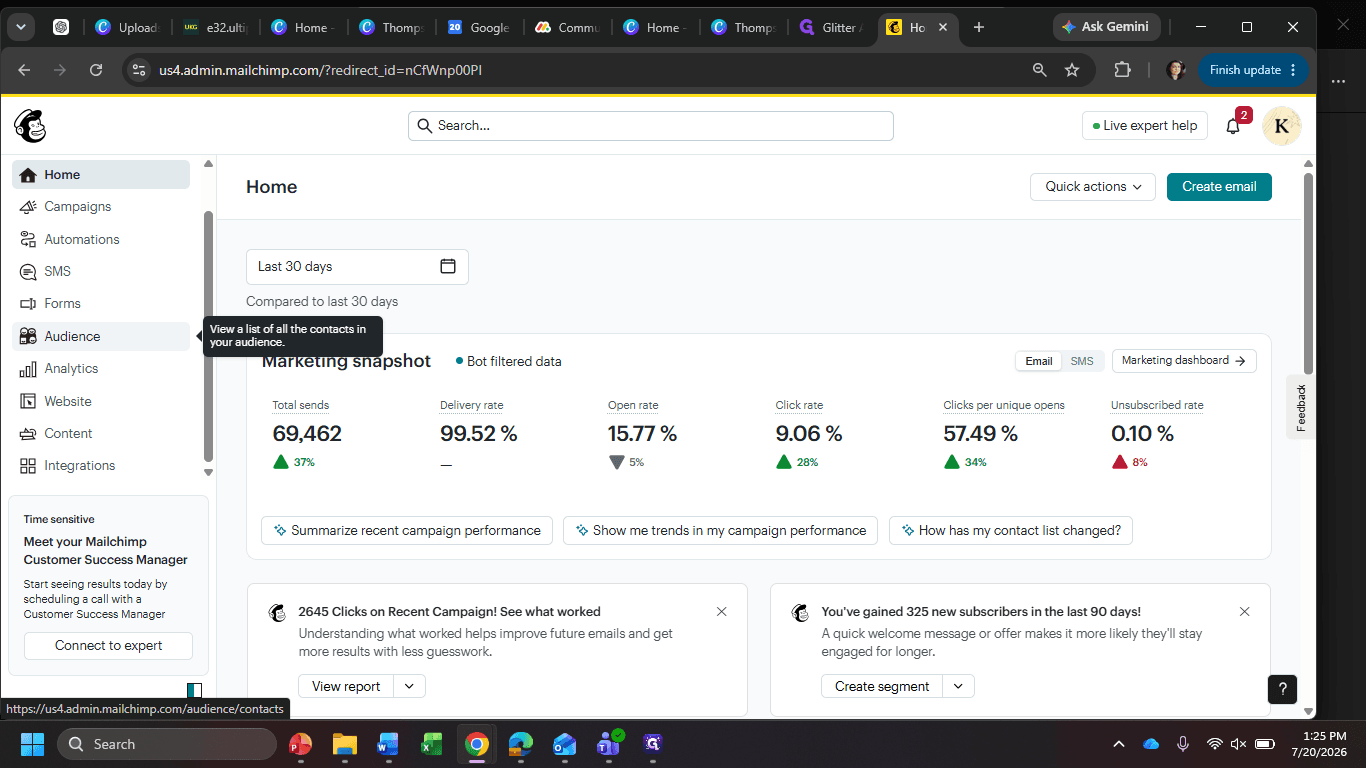
Log in and navigate to imports
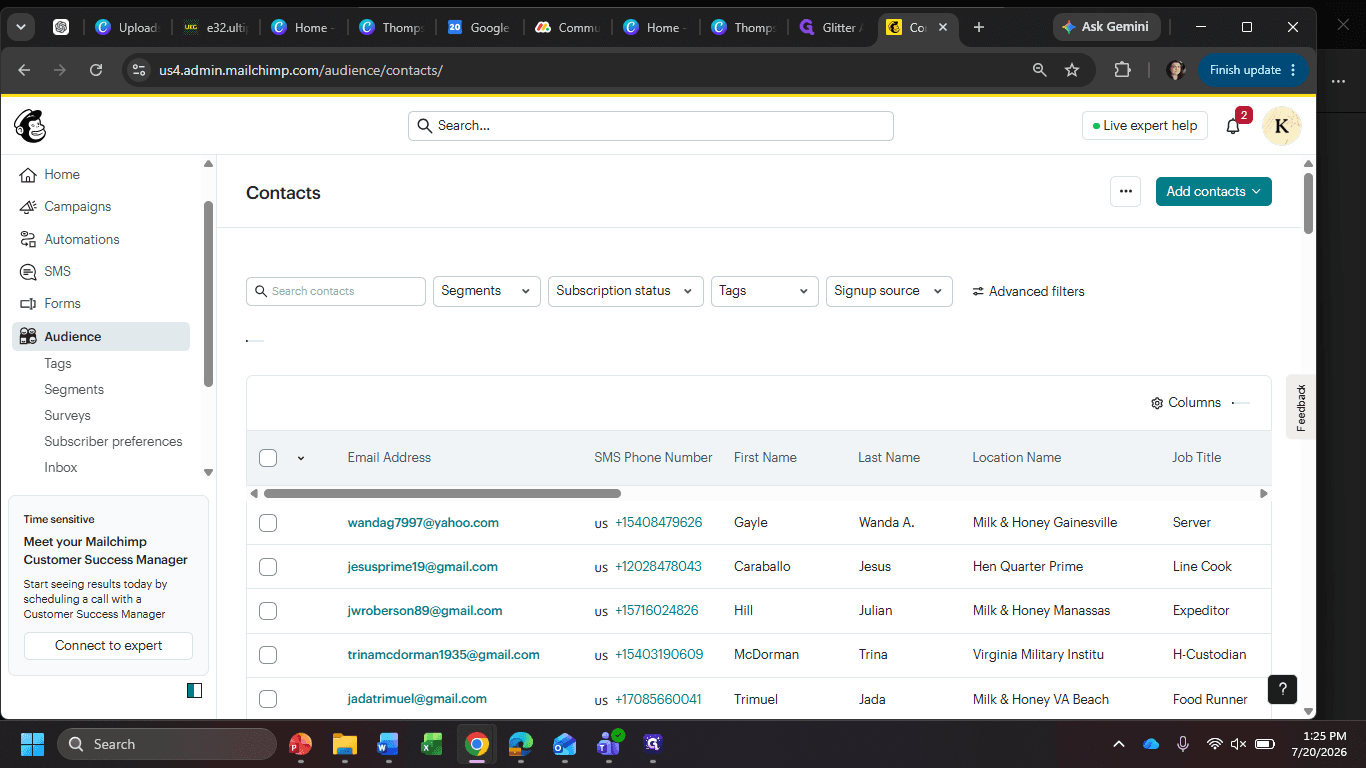
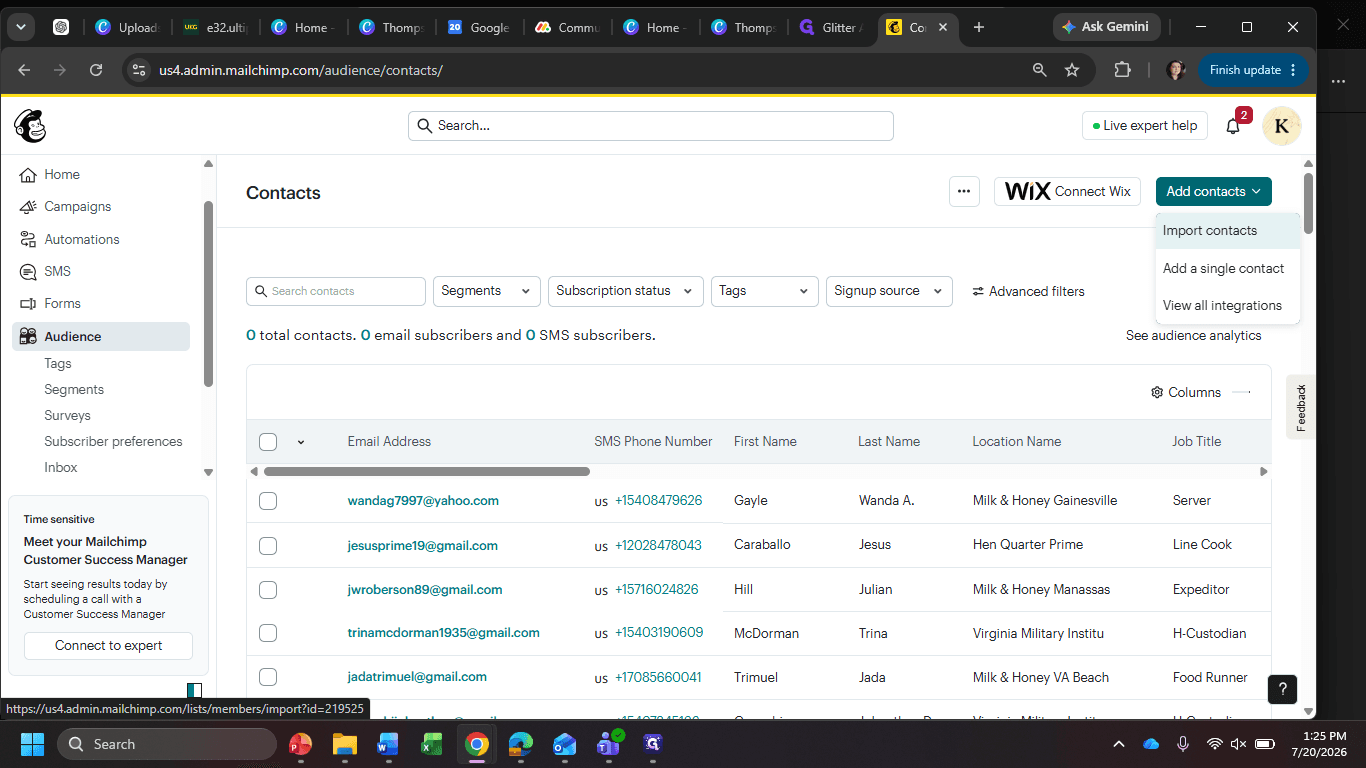
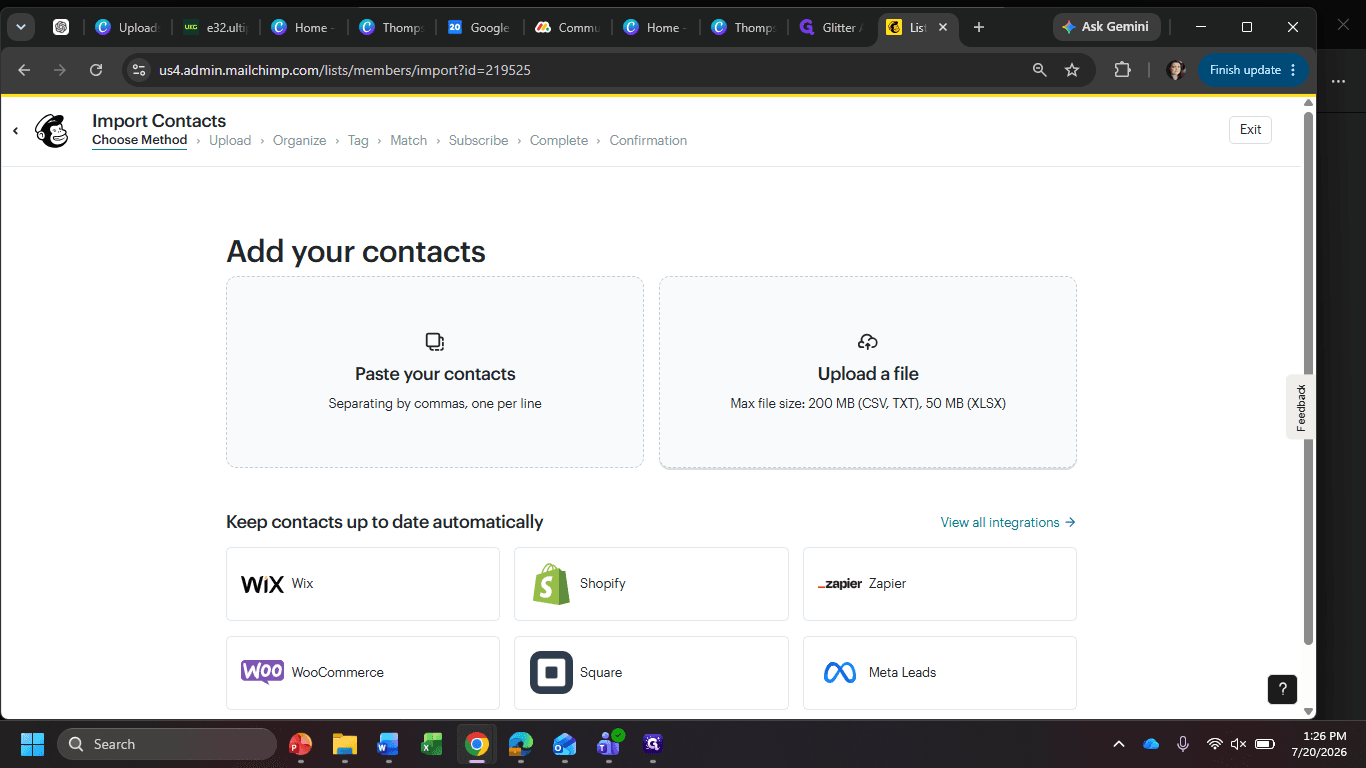
Upload the new hire spreadsheet
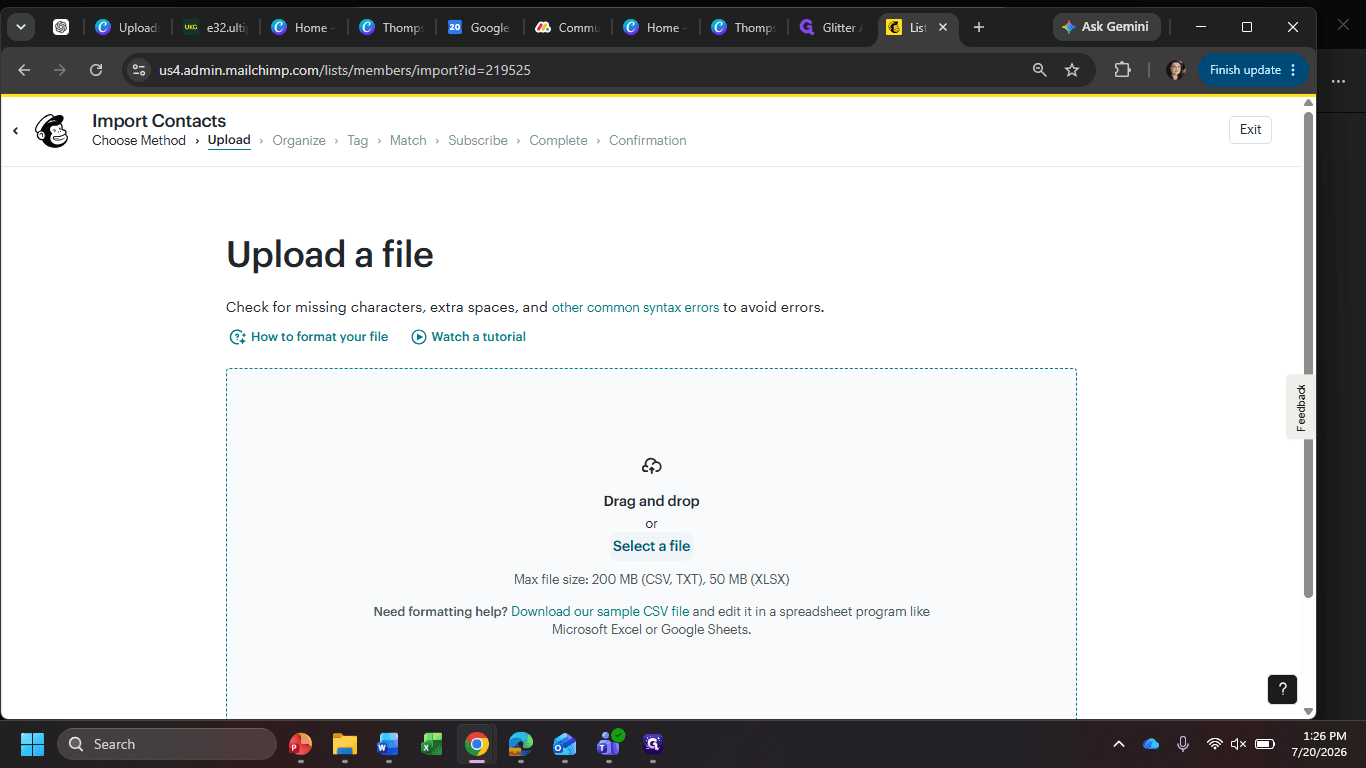
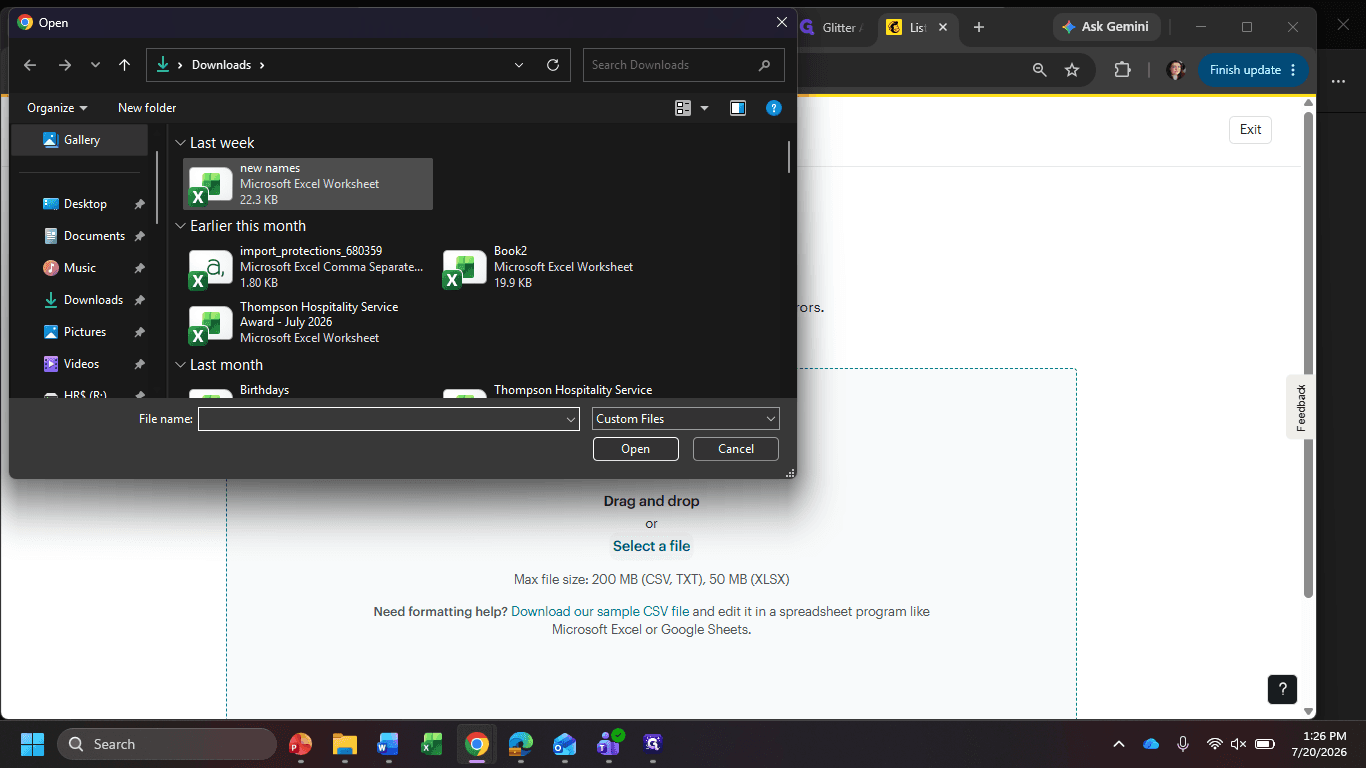
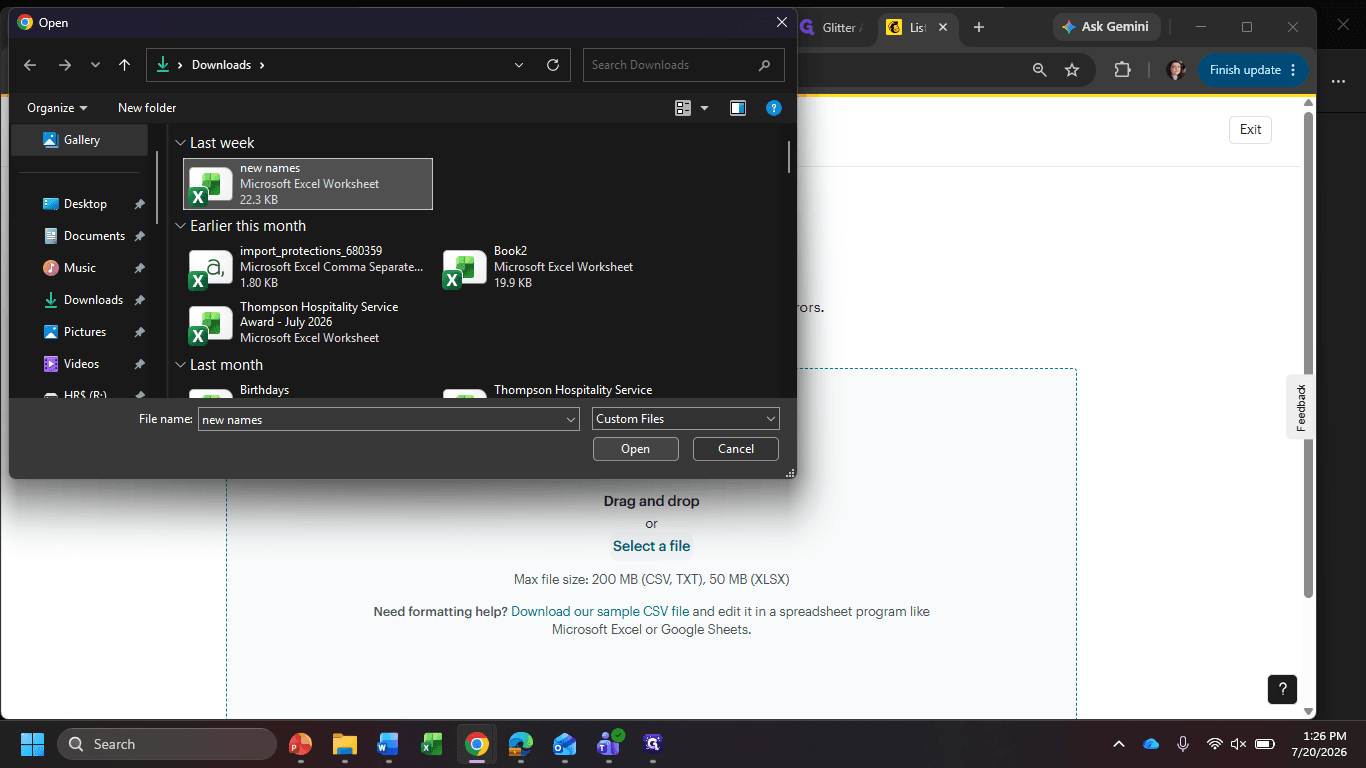
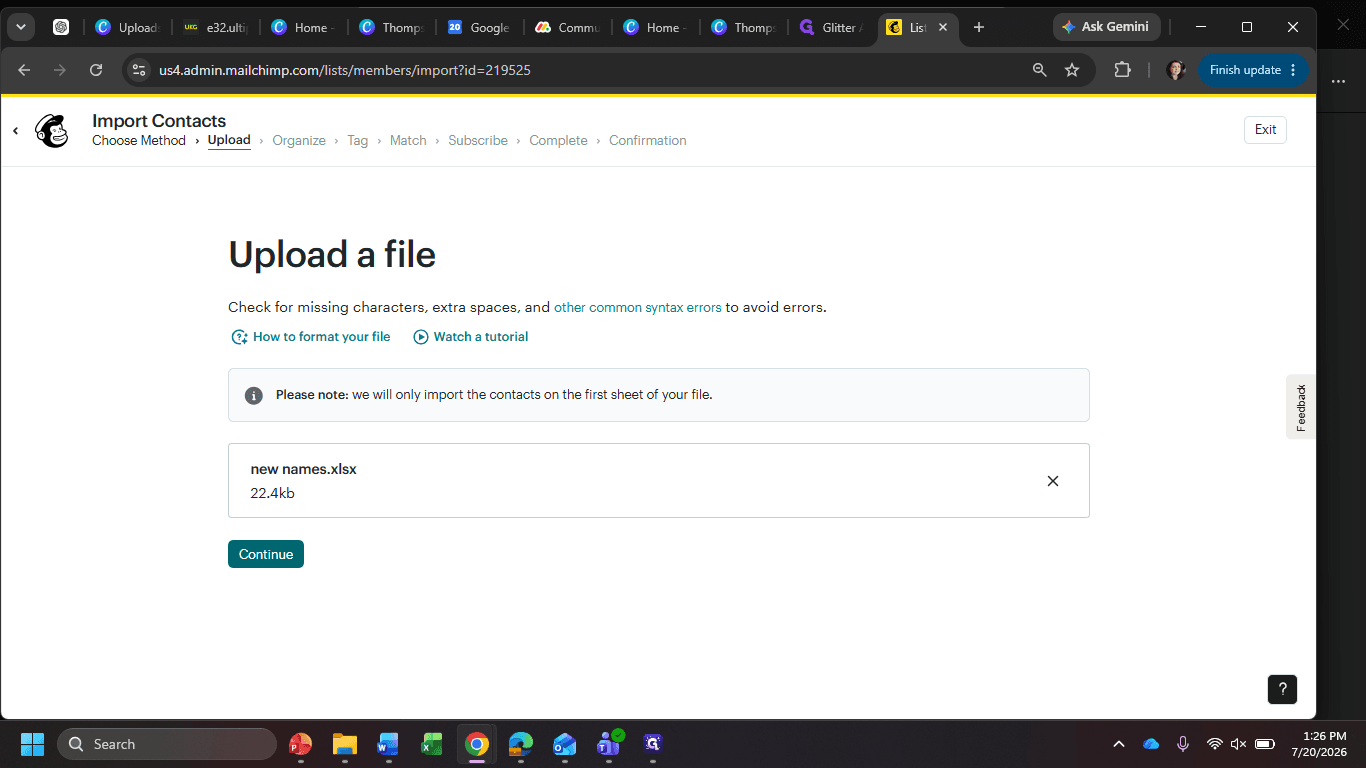
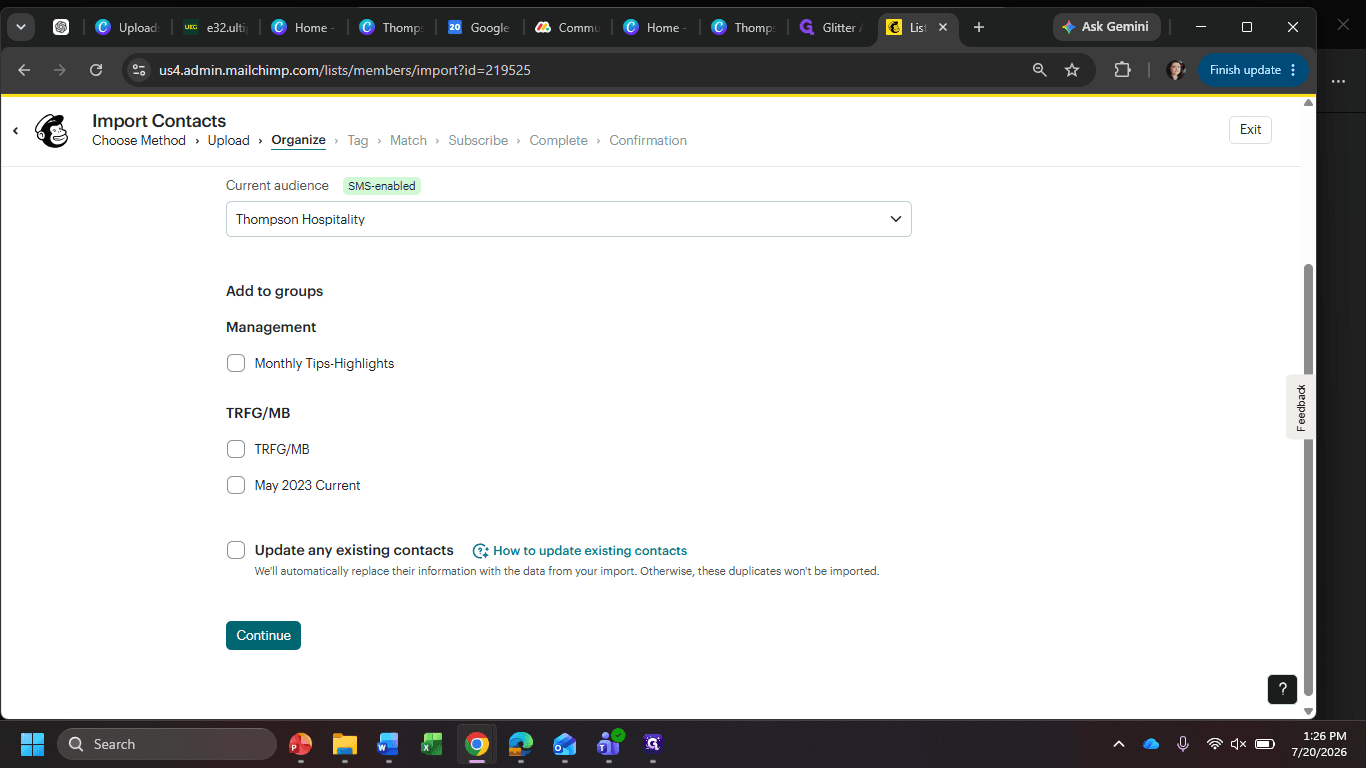
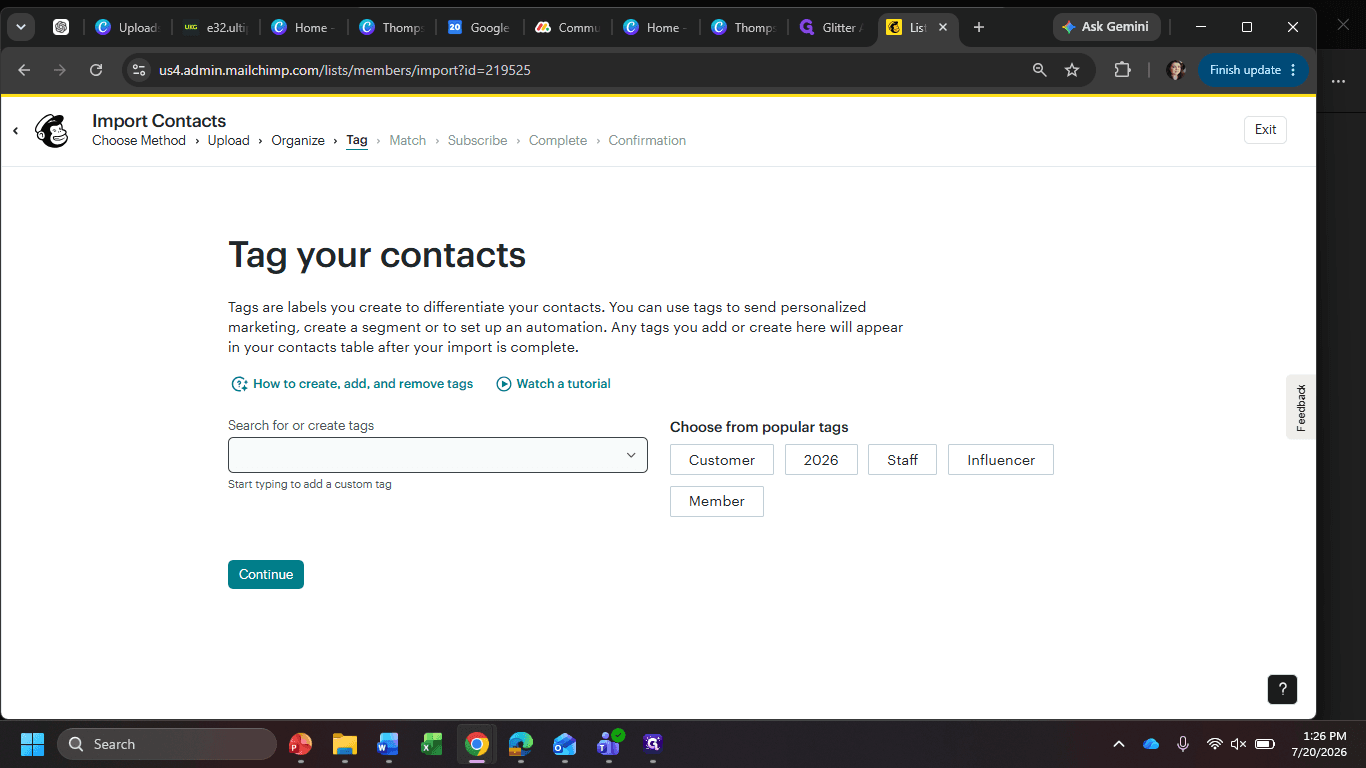
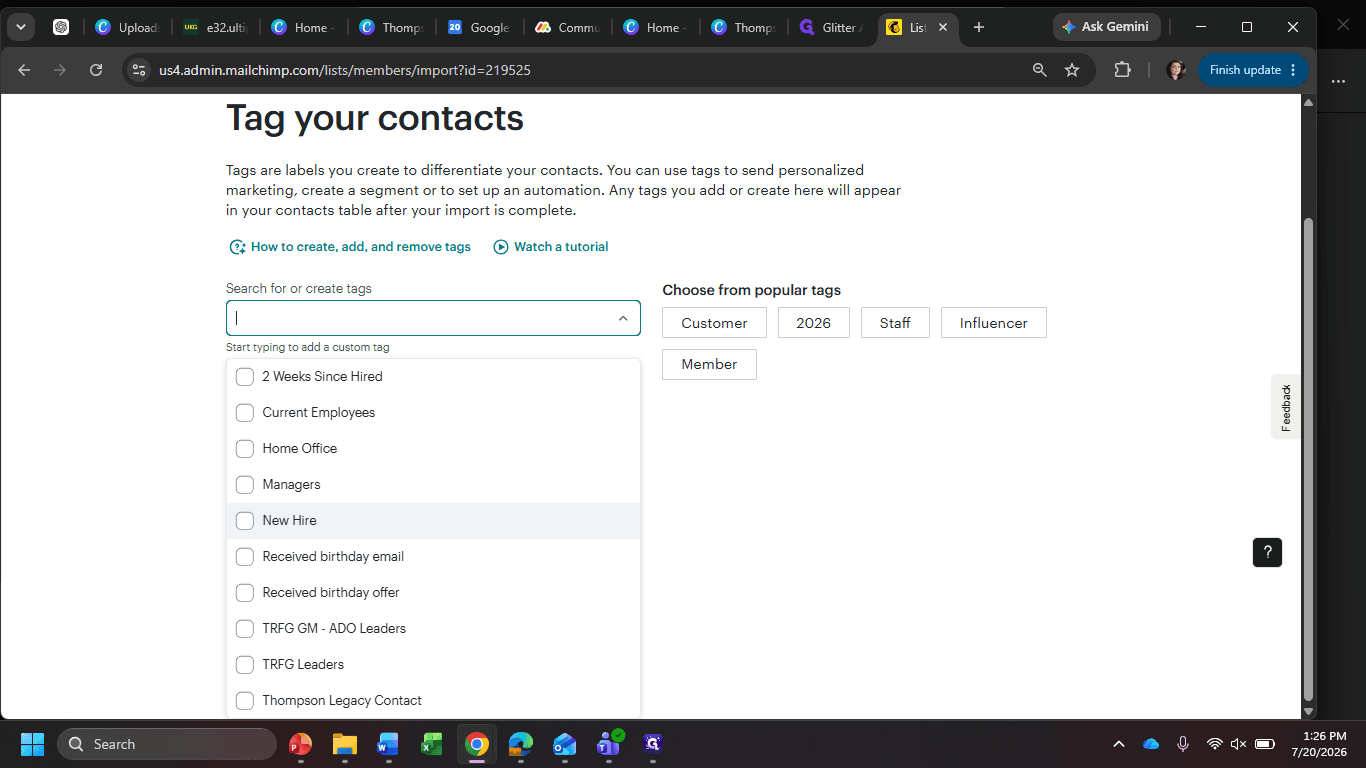
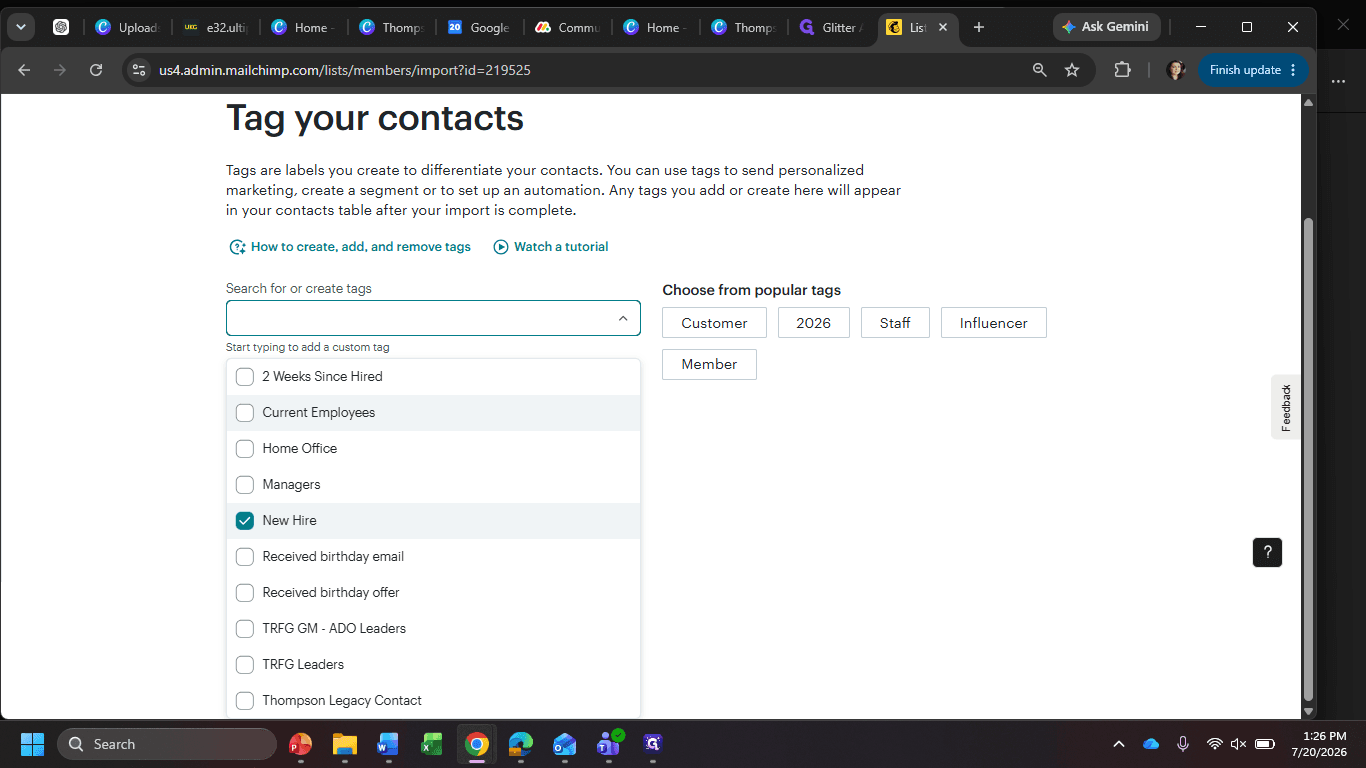
Organize and tag contacts
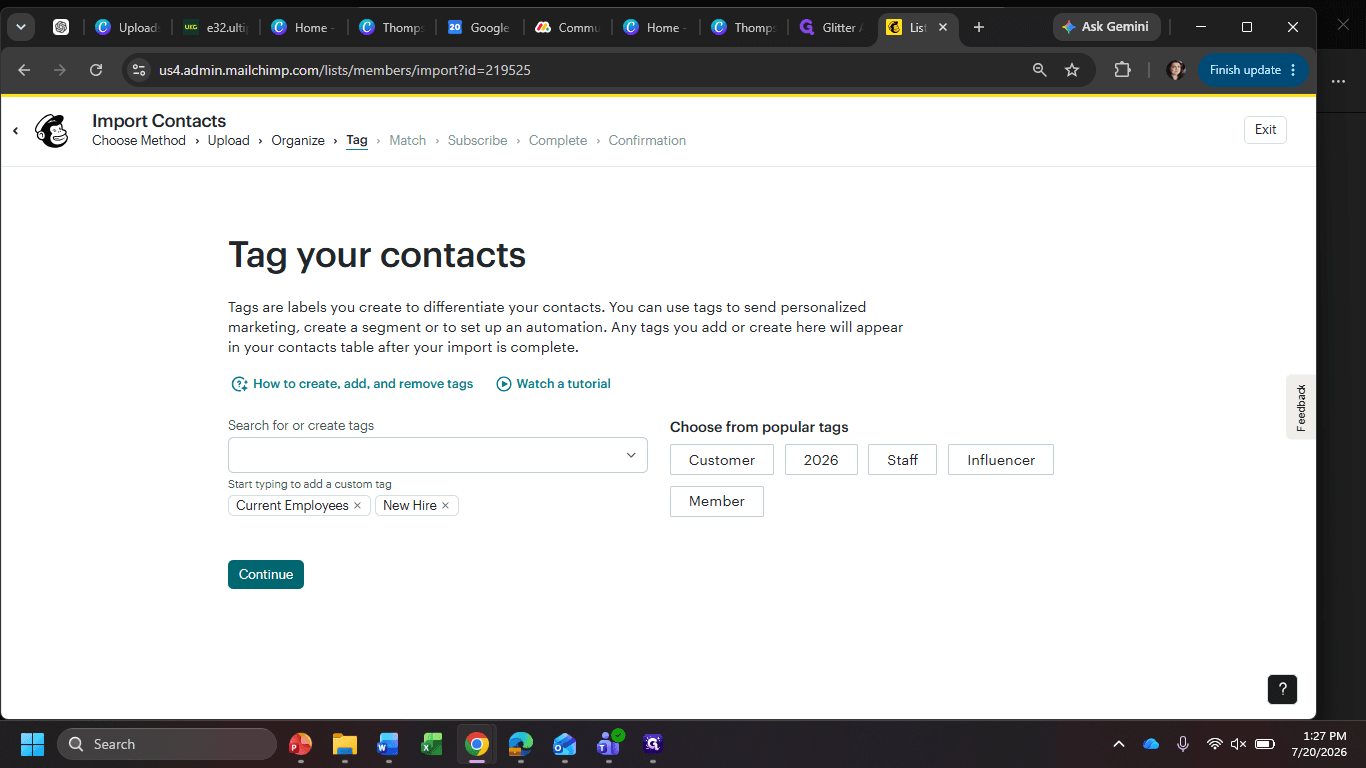
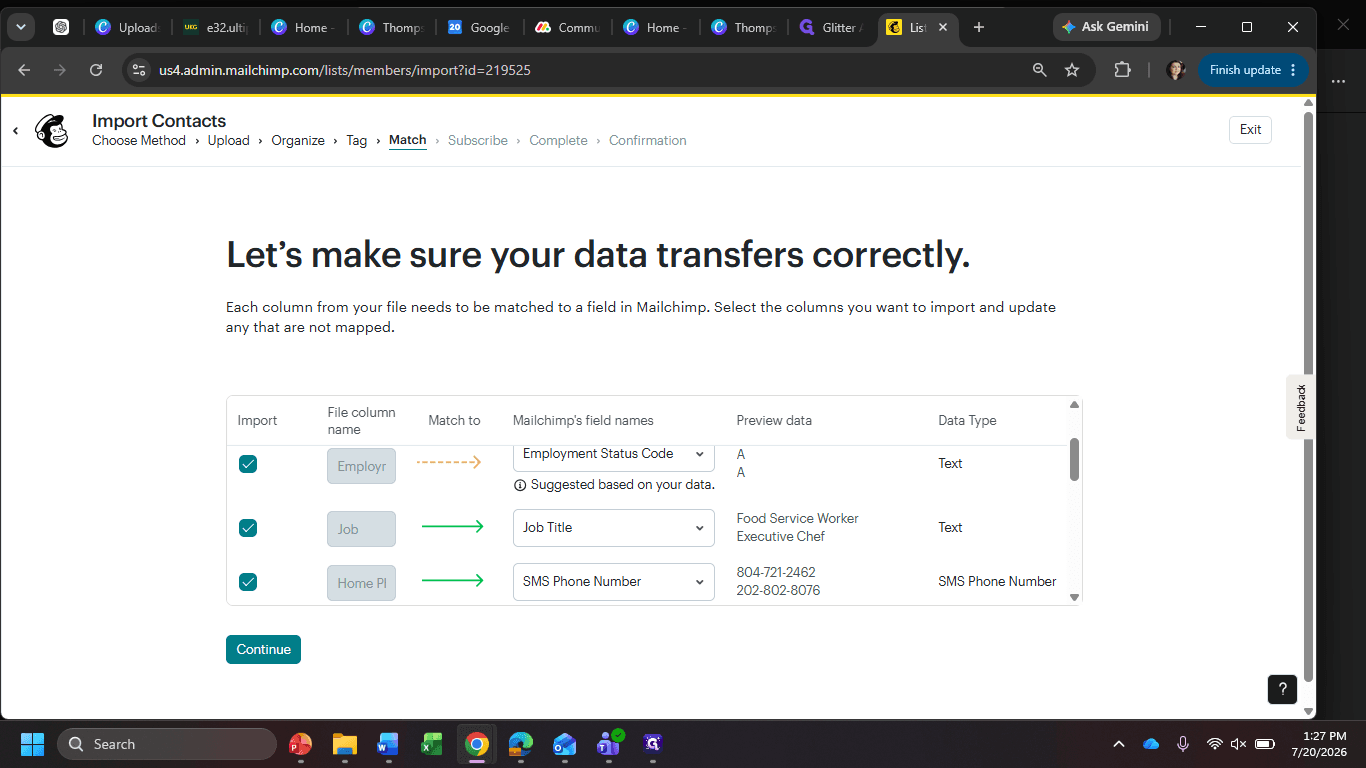
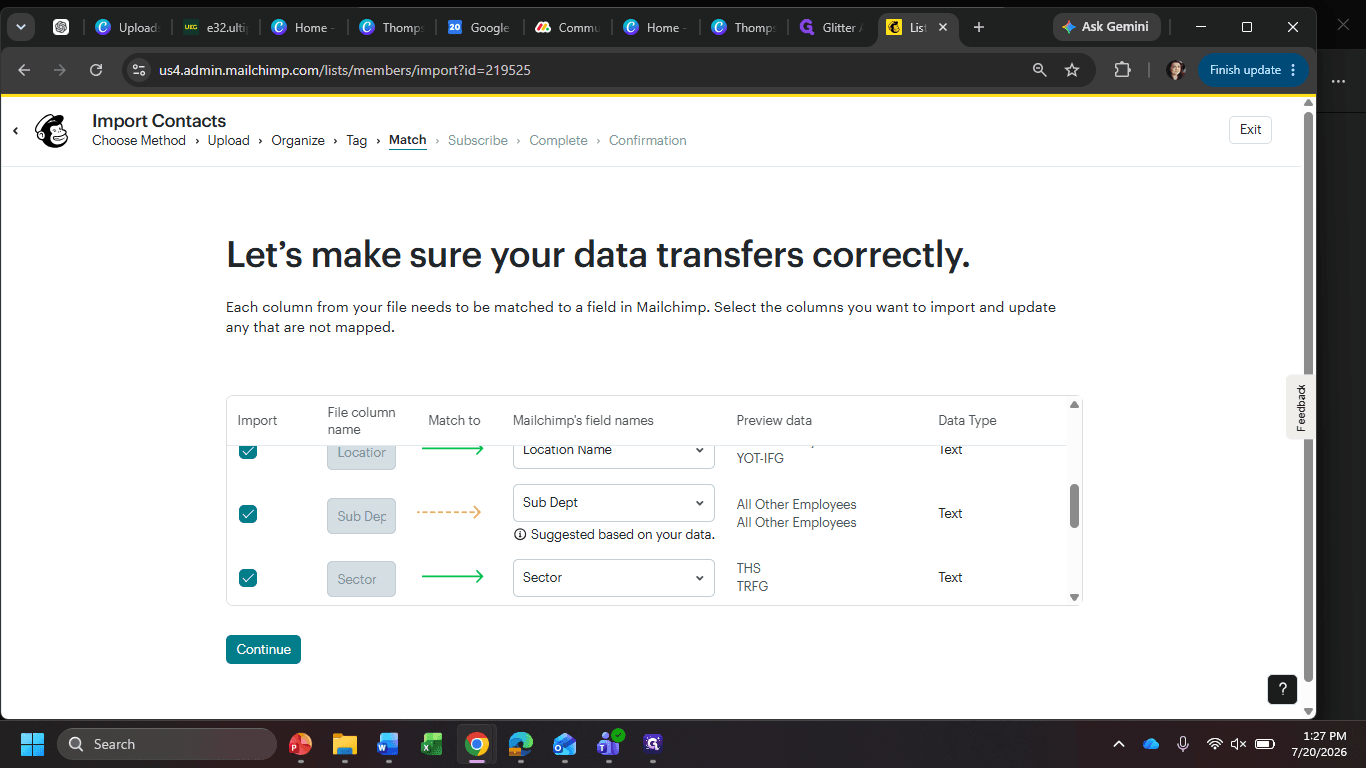
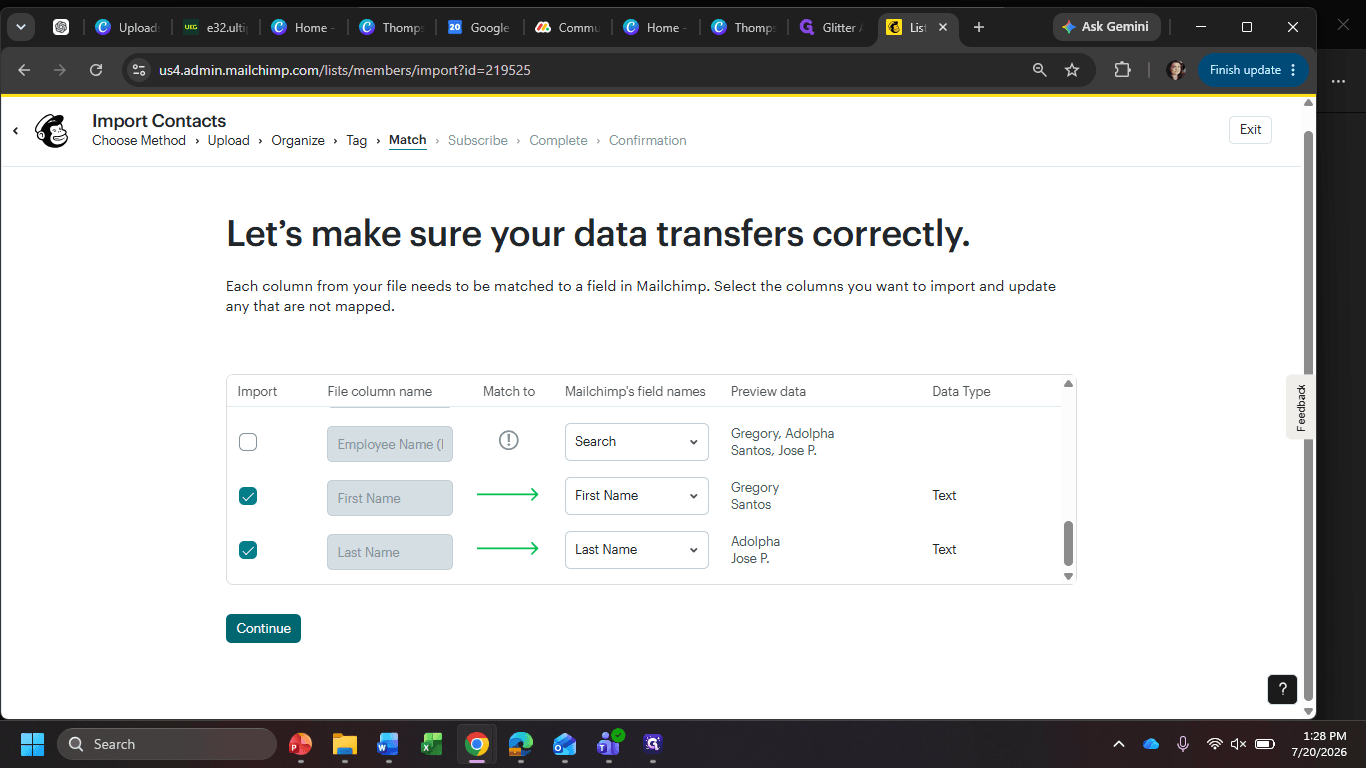
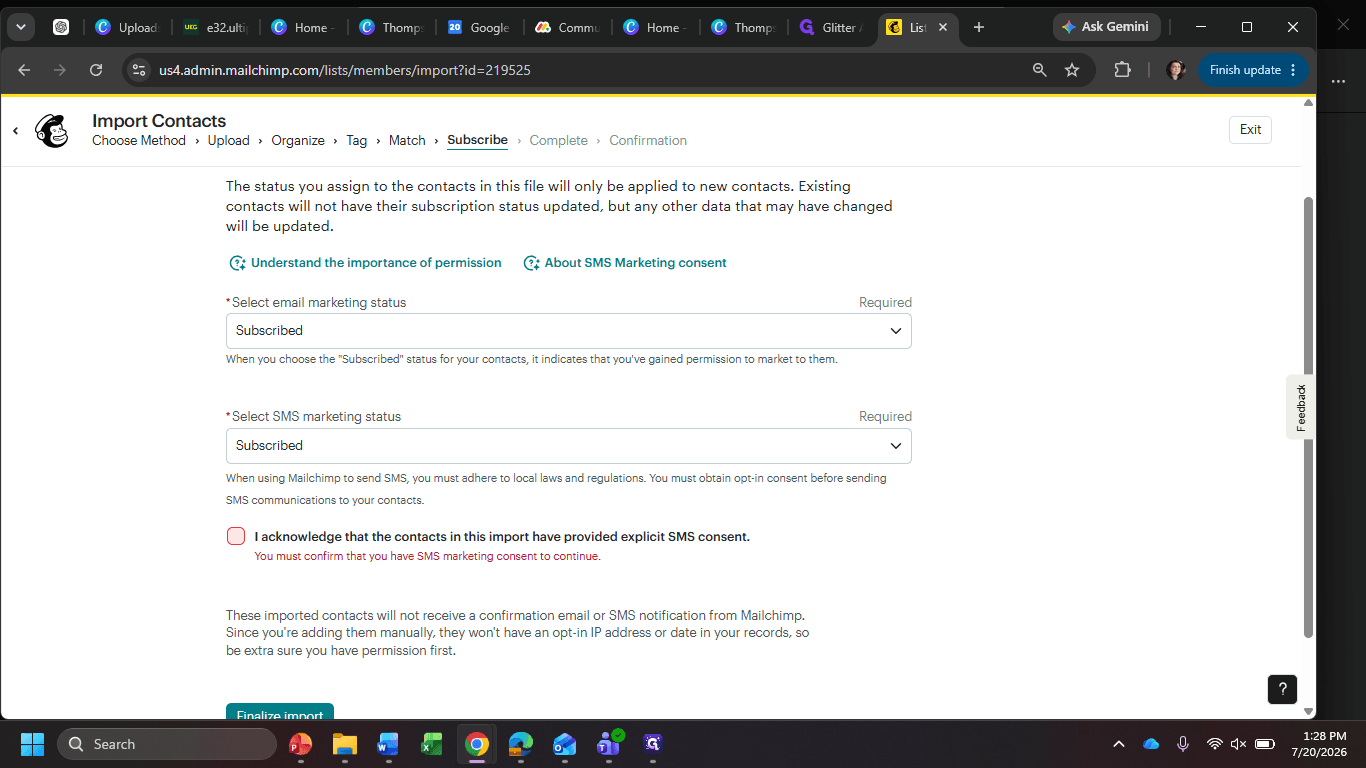
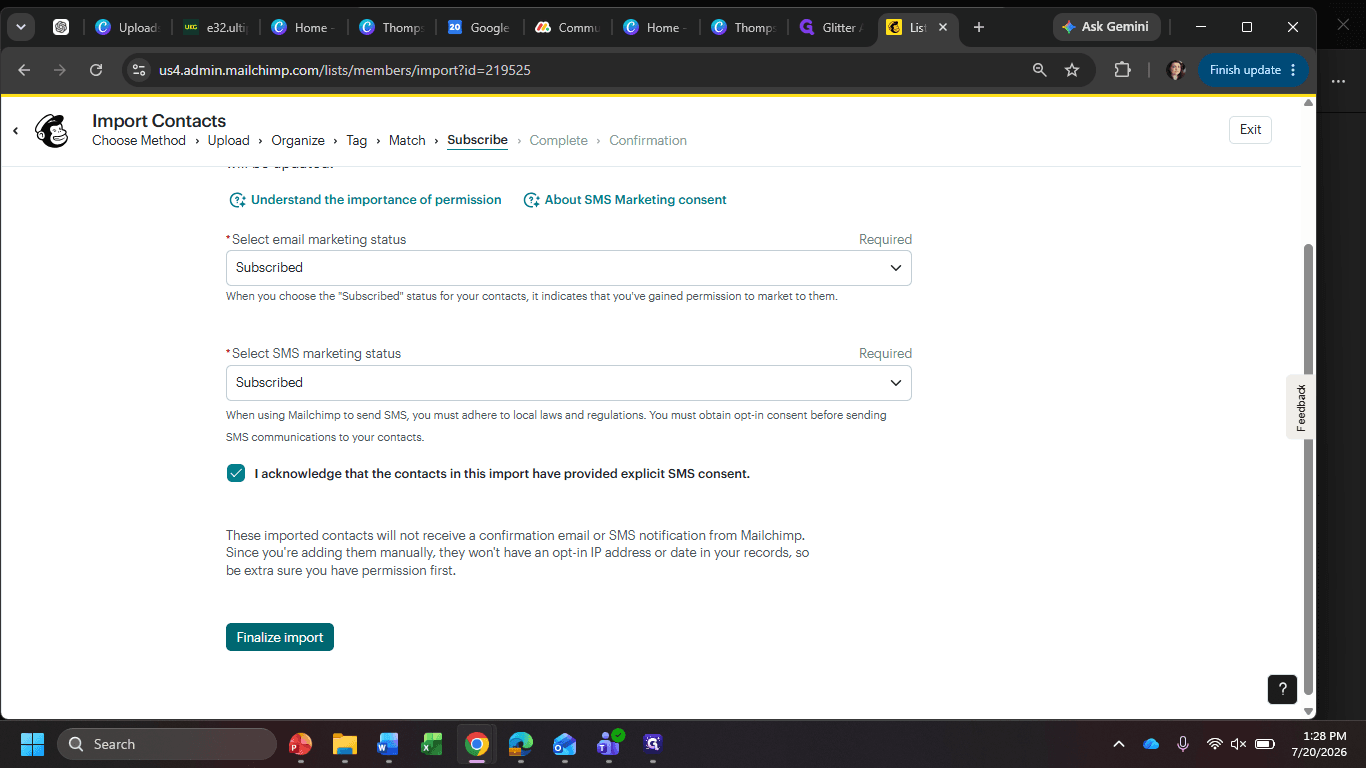
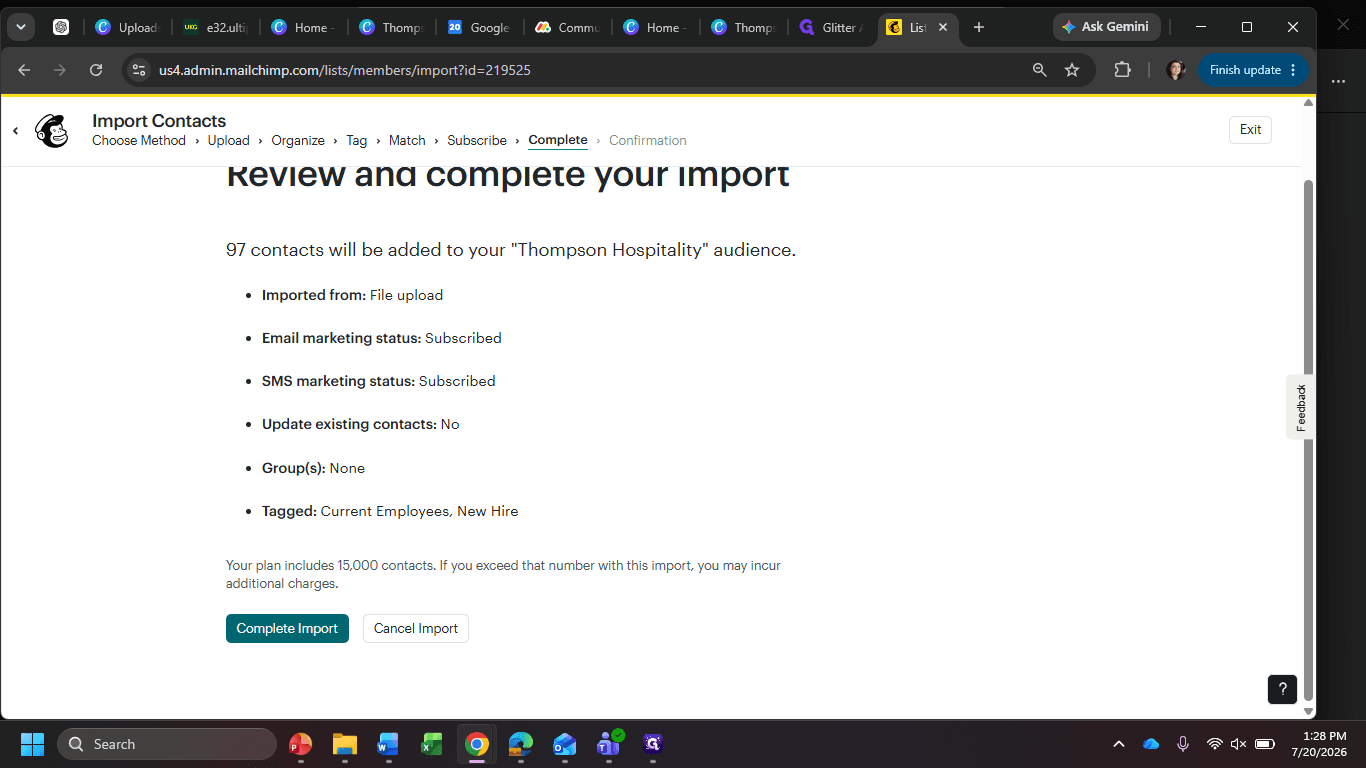
Match columns and finalize
Q: Do I need to update existing contacts during the weekly new hire upload?
A: No, you should leave the "Update any existing contacts" box unchecked. Only use that option if you are doing a full system update of all current employees.
Q: How do I handle unneeded columns like "Employment Status Code" or "Sub Dept" during the import?
A: You do not need to map these fields. Simply skip them during the column matching step and only map relevant data like emails, names, job titles, and locations.
Q: Why do I need to edit the HRIS spreadsheet before uploading it?
A: The standard HRIS spreadsheet exports names in a single column. You must split them into separate "First Name" and "Last Name" columns in Excel so Mailchimp automatically parses and maps the identities accurately.
Term | Definition |
|---|---|
HRIS | Human Resources Information System, the source of the weekly new hire spreadsheet. |
Audience | A centralized directory of contacts and subscribers managed within Mailchimp. |
Tag | A customizable label used in Mailchimp to organize and filter specific segments of contacts. |
Field Mapping | The process of linking spreadsheet columns to the corresponding data fields in Mailchimp. |