How to Upload and Publish a Video on YouTube

Learn how to upload a video to YouTube, configure details like playlists and audience settings, set visibility, and publish your content using YouTube Studio.

By Logan Jamieson

This guide provides a step-by-step walkthrough on how to upload a video to YouTube using YouTube Studio. By following these steps, you will be able to properly configure video details, audience settings, and visibility before publishing your content.

This guide is intended for content creators, marketing teams, and anyone managing a YouTube channel who needs to upload and configure new video content.

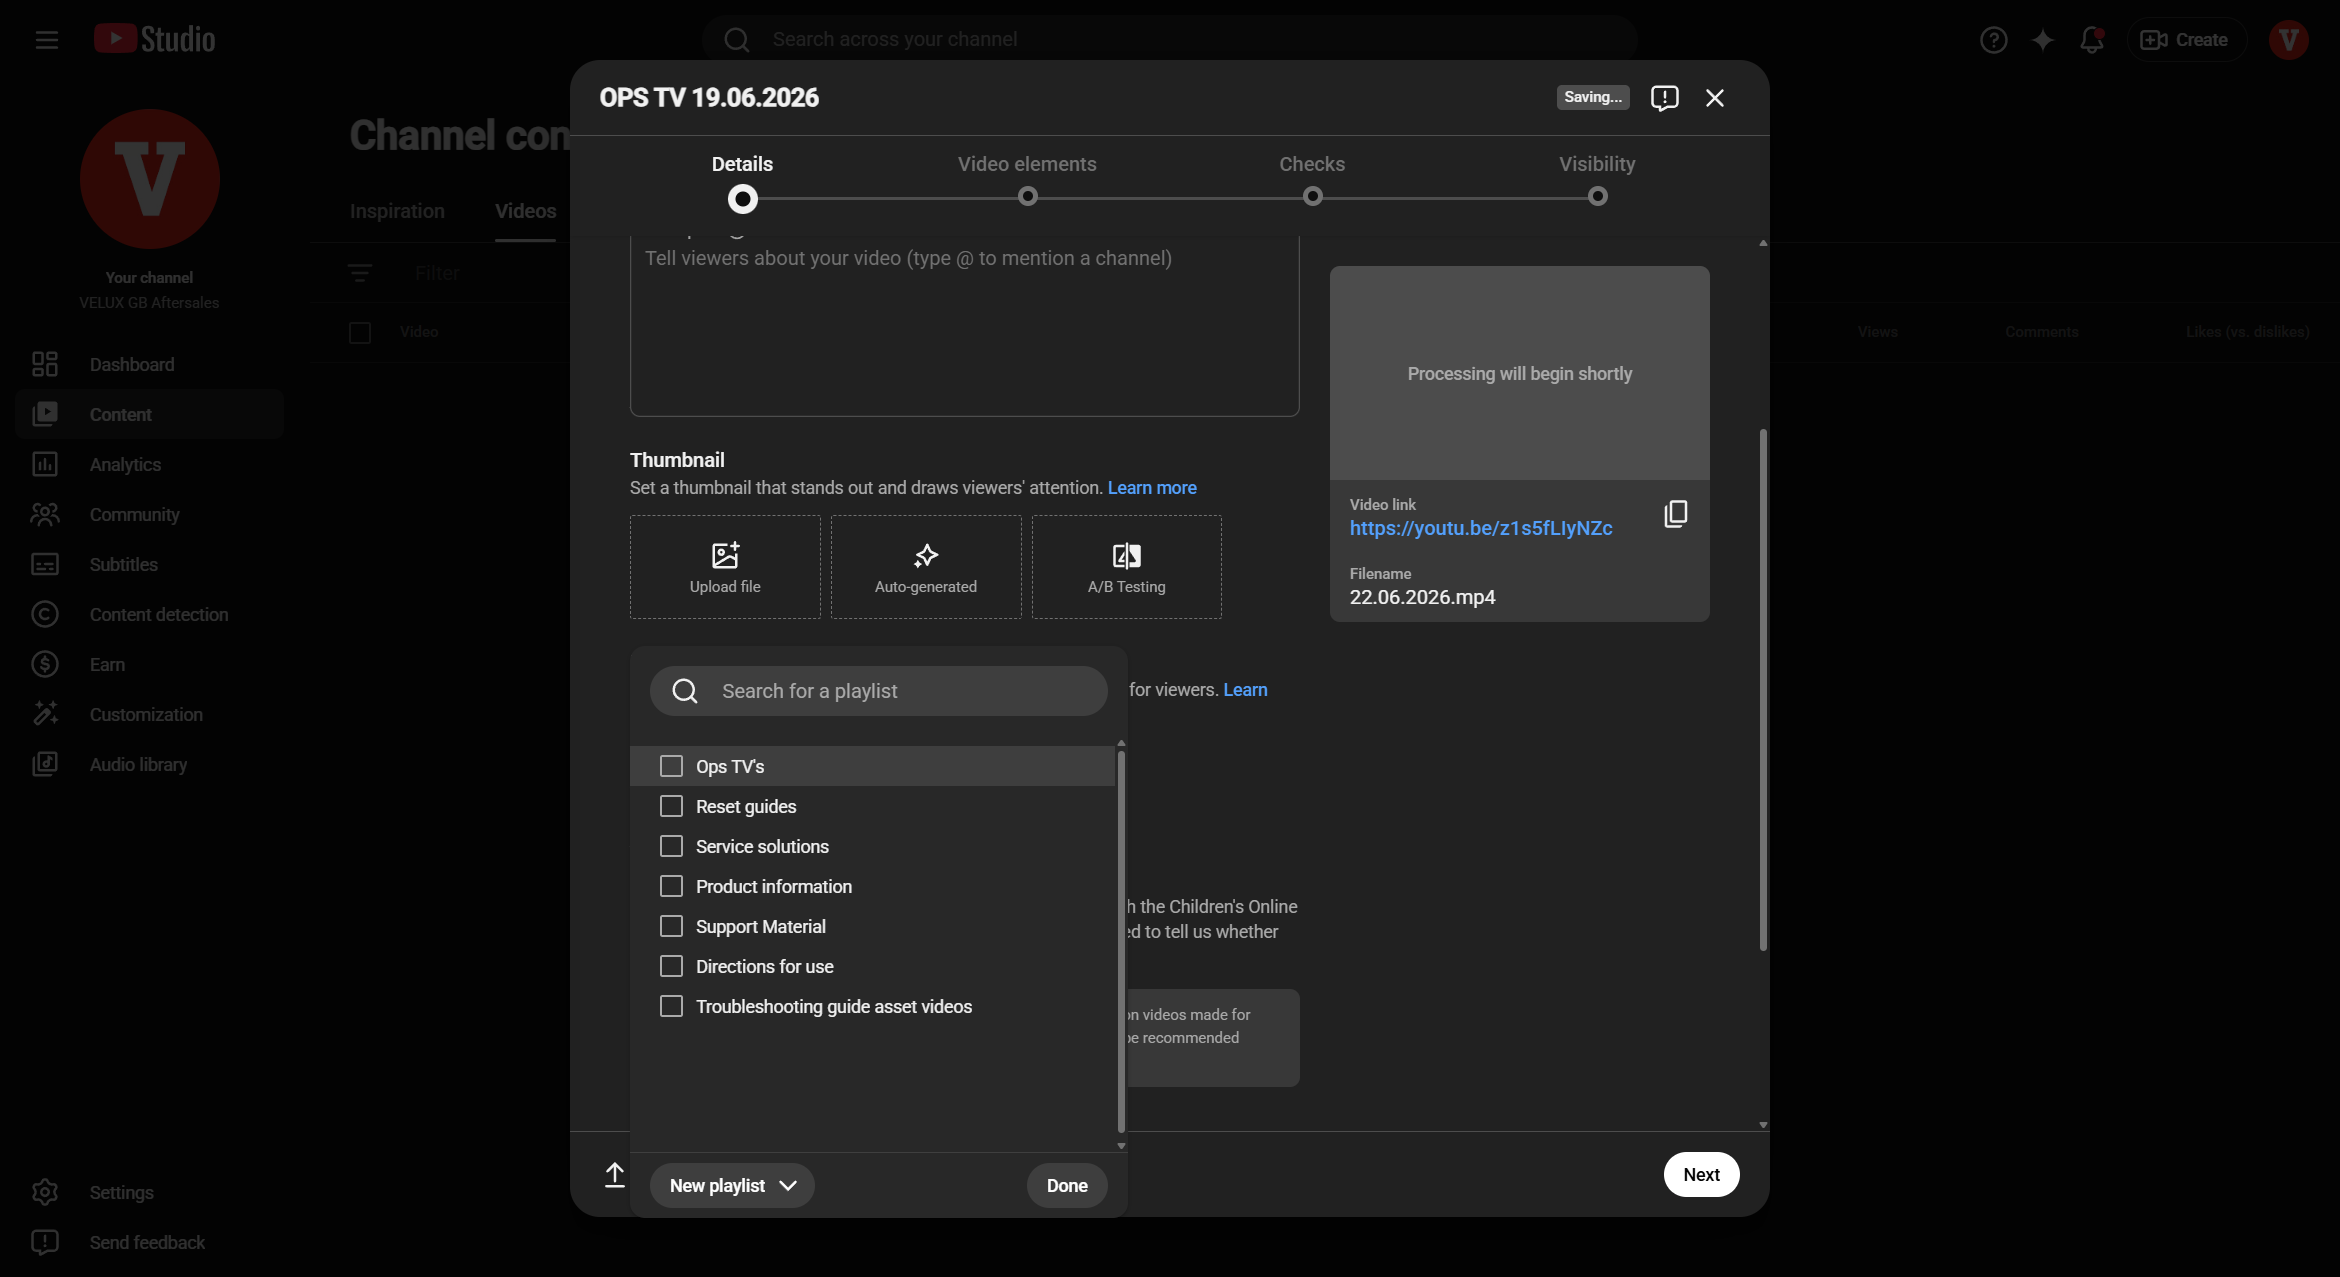
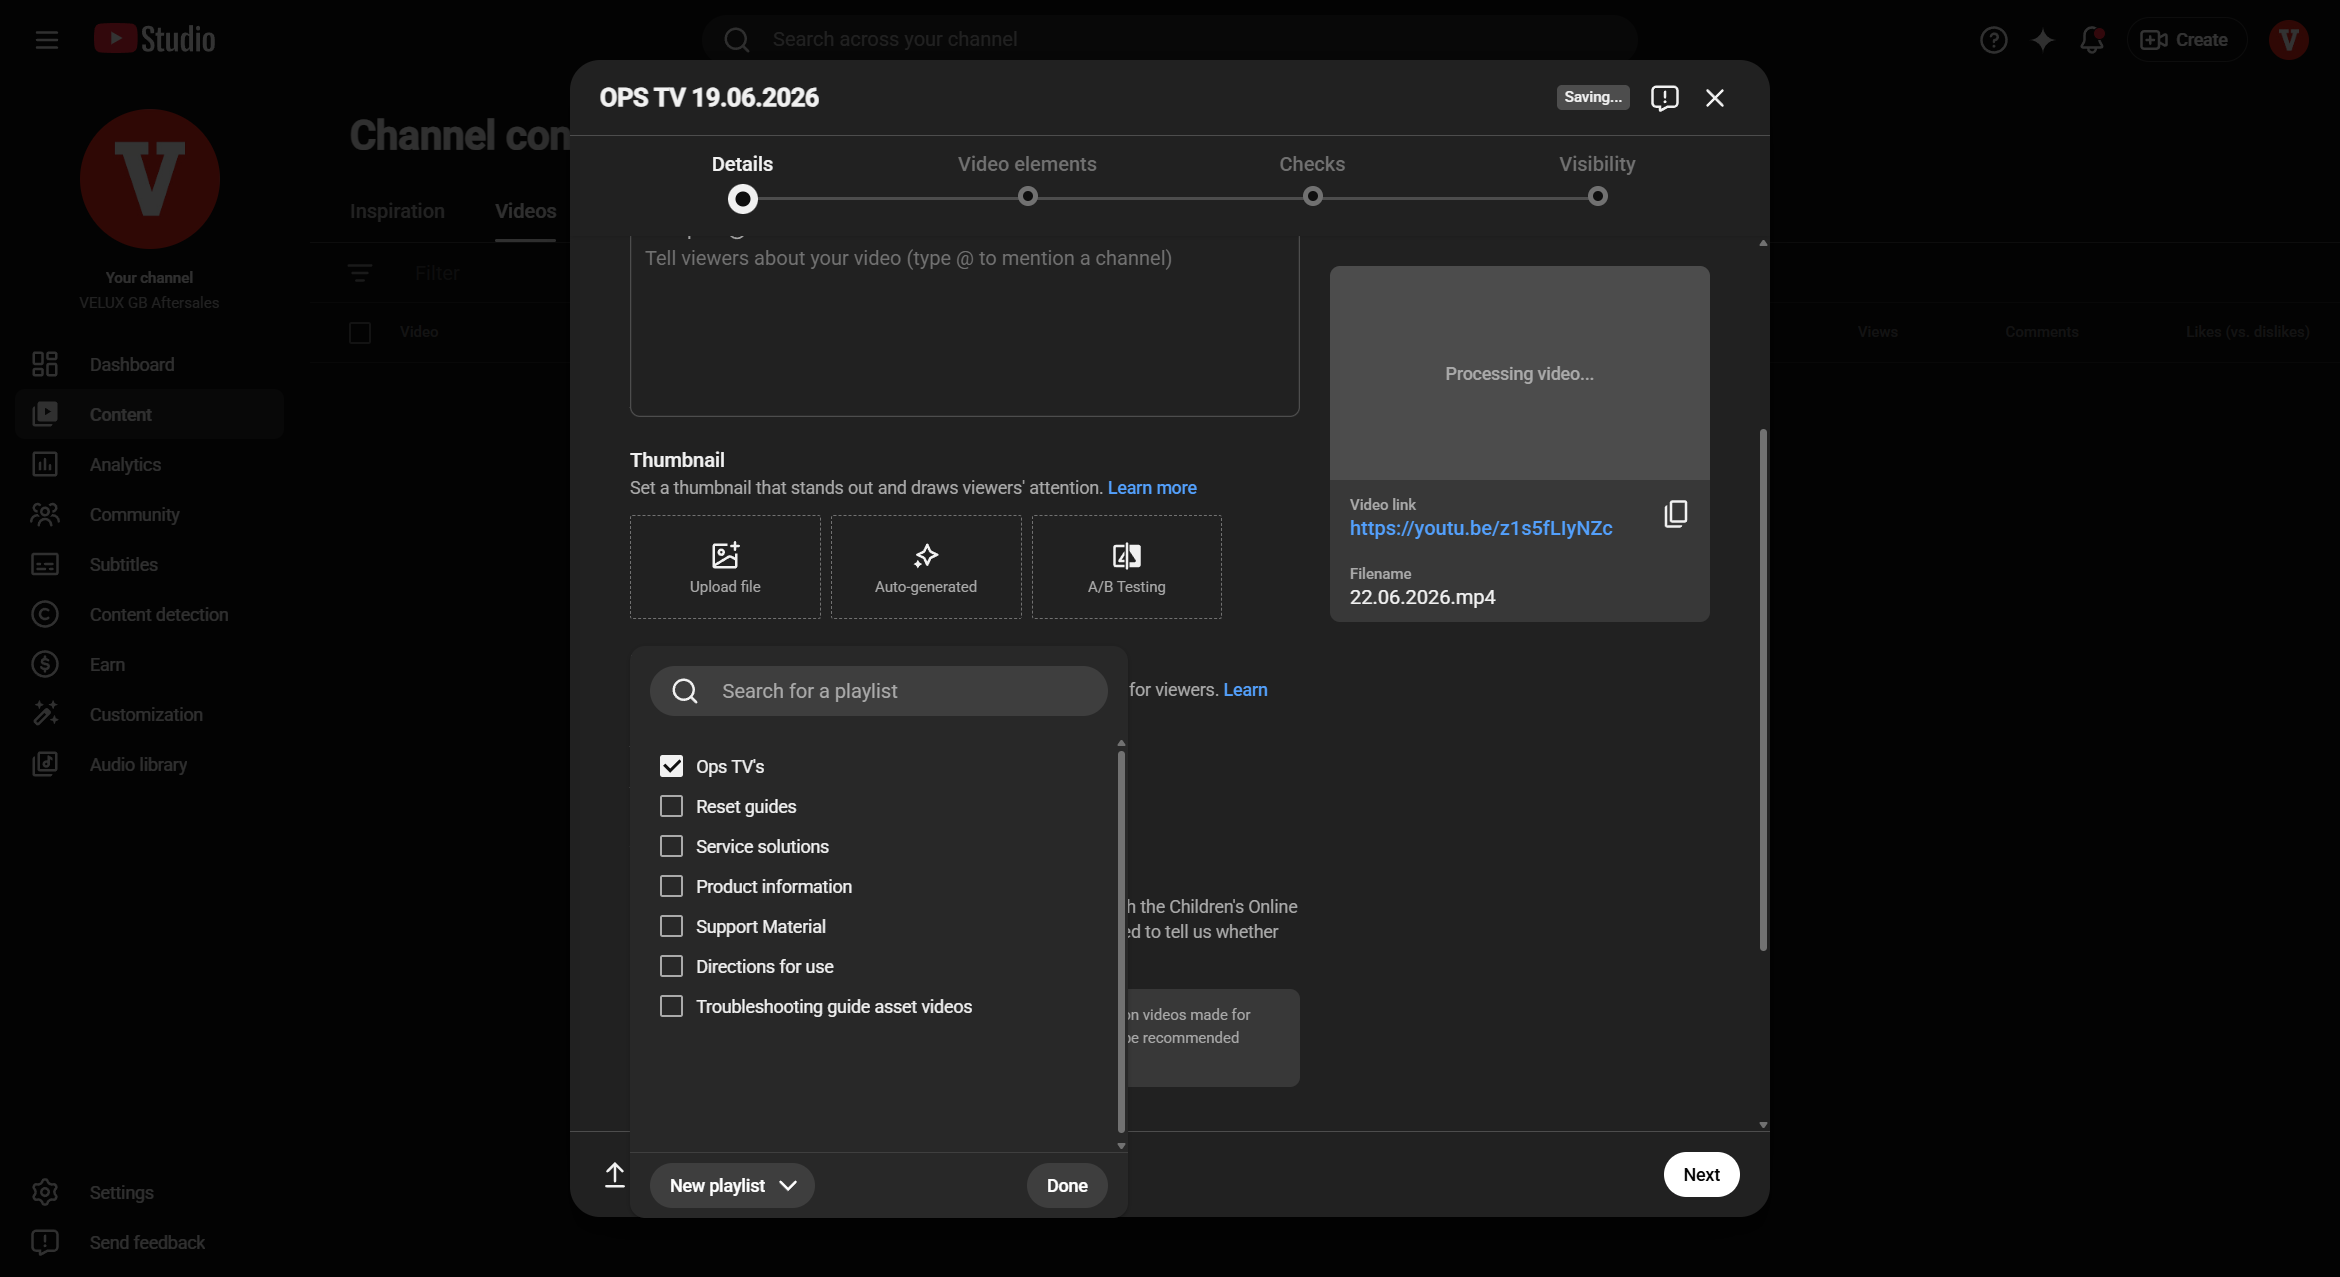
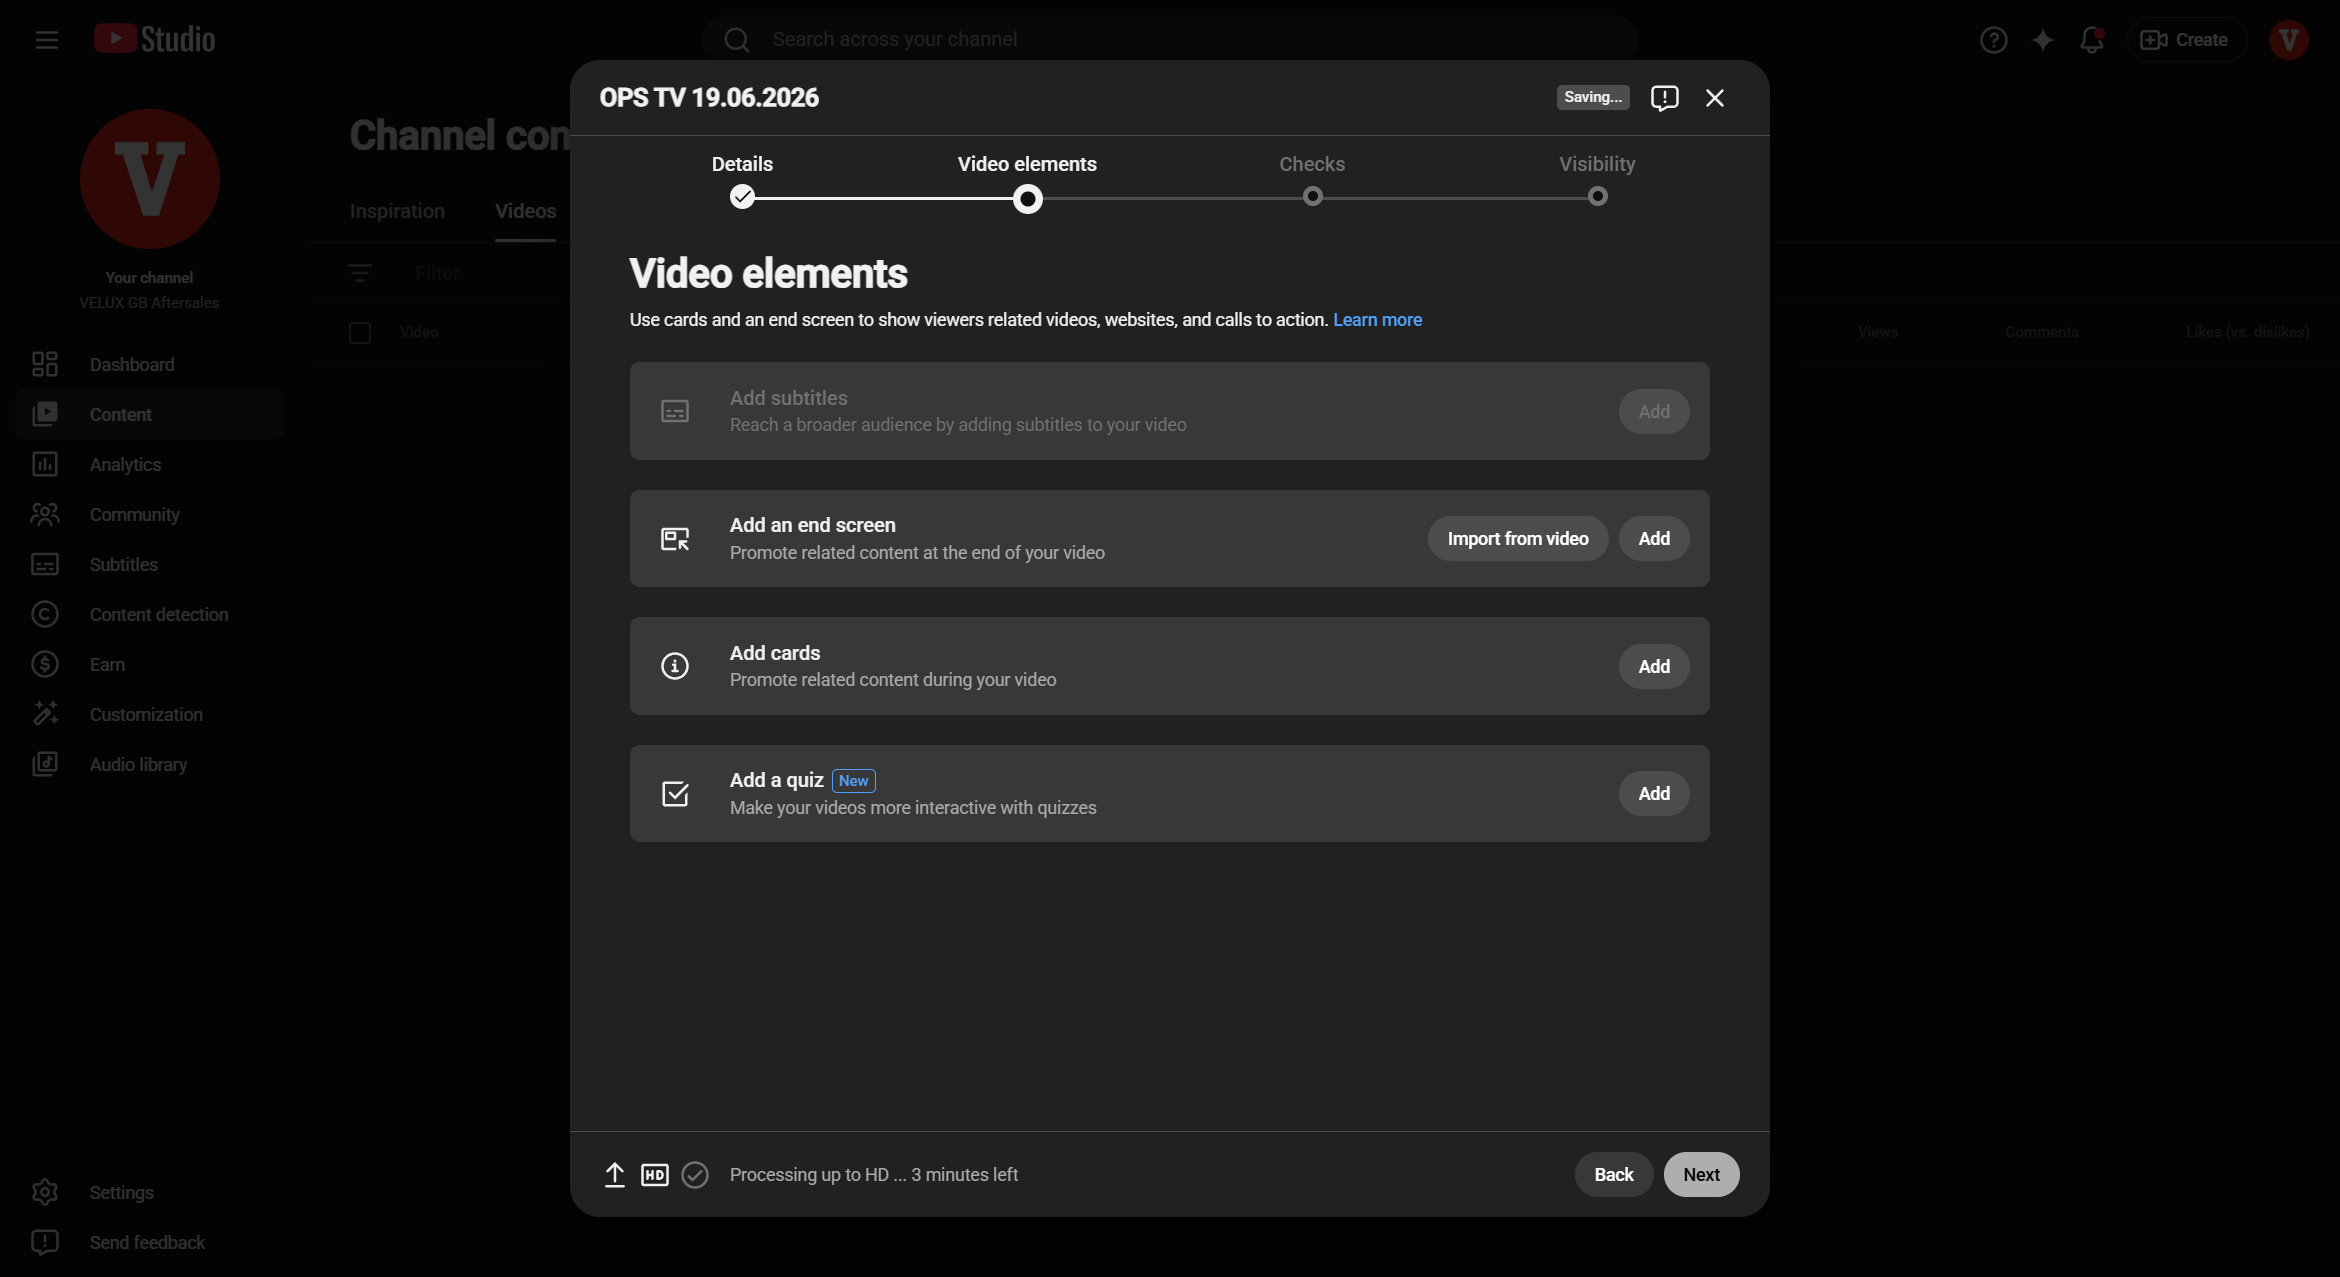
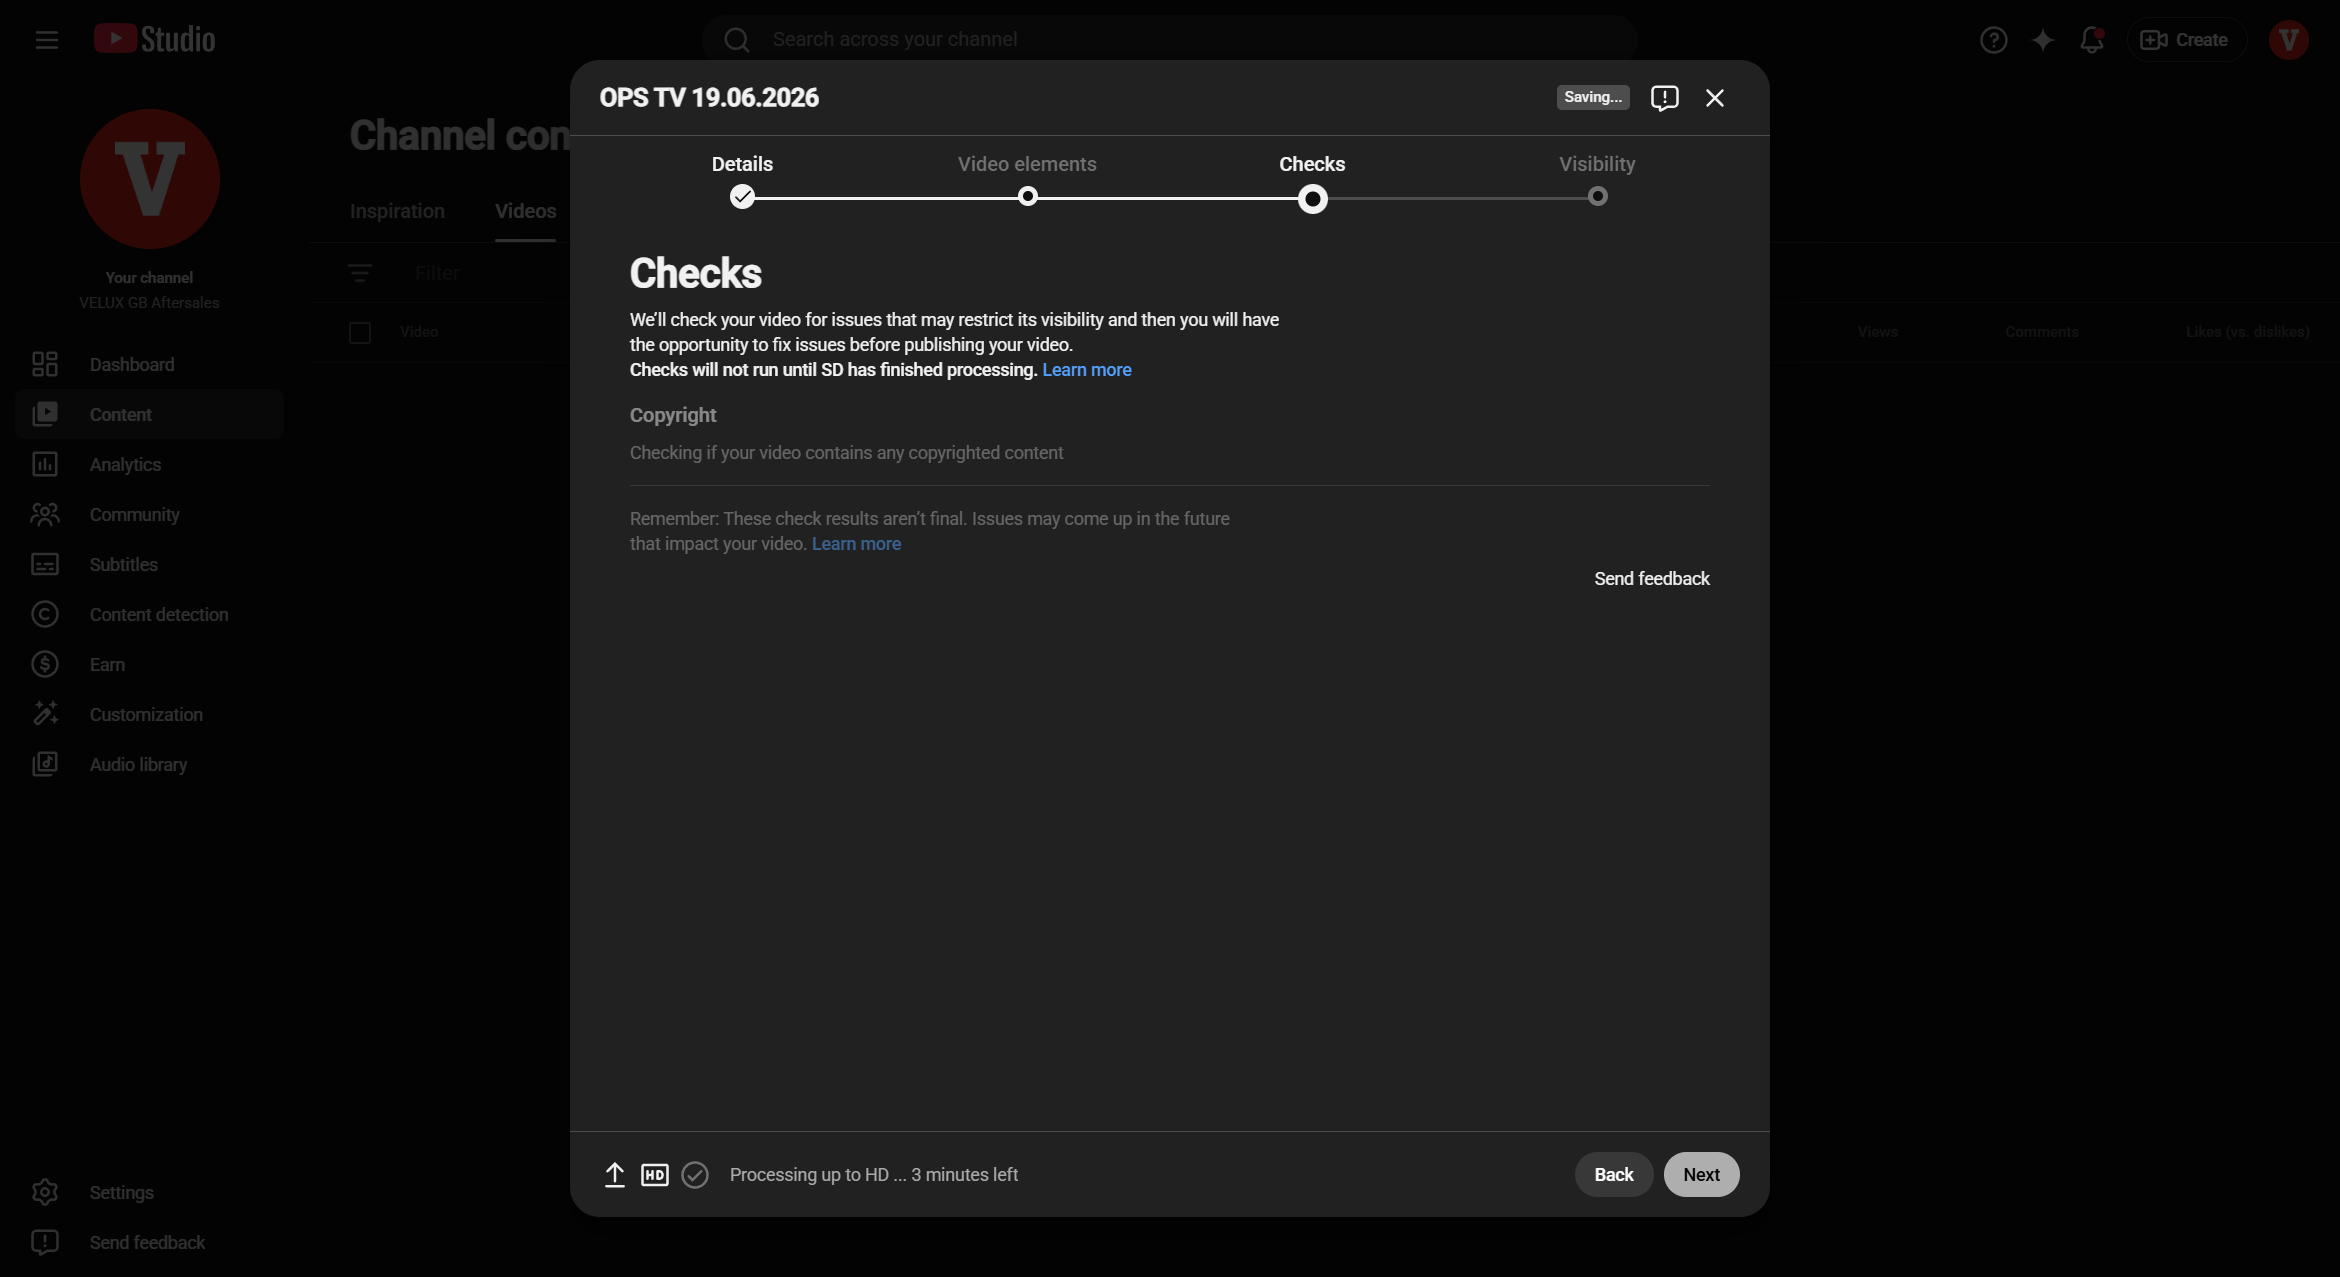
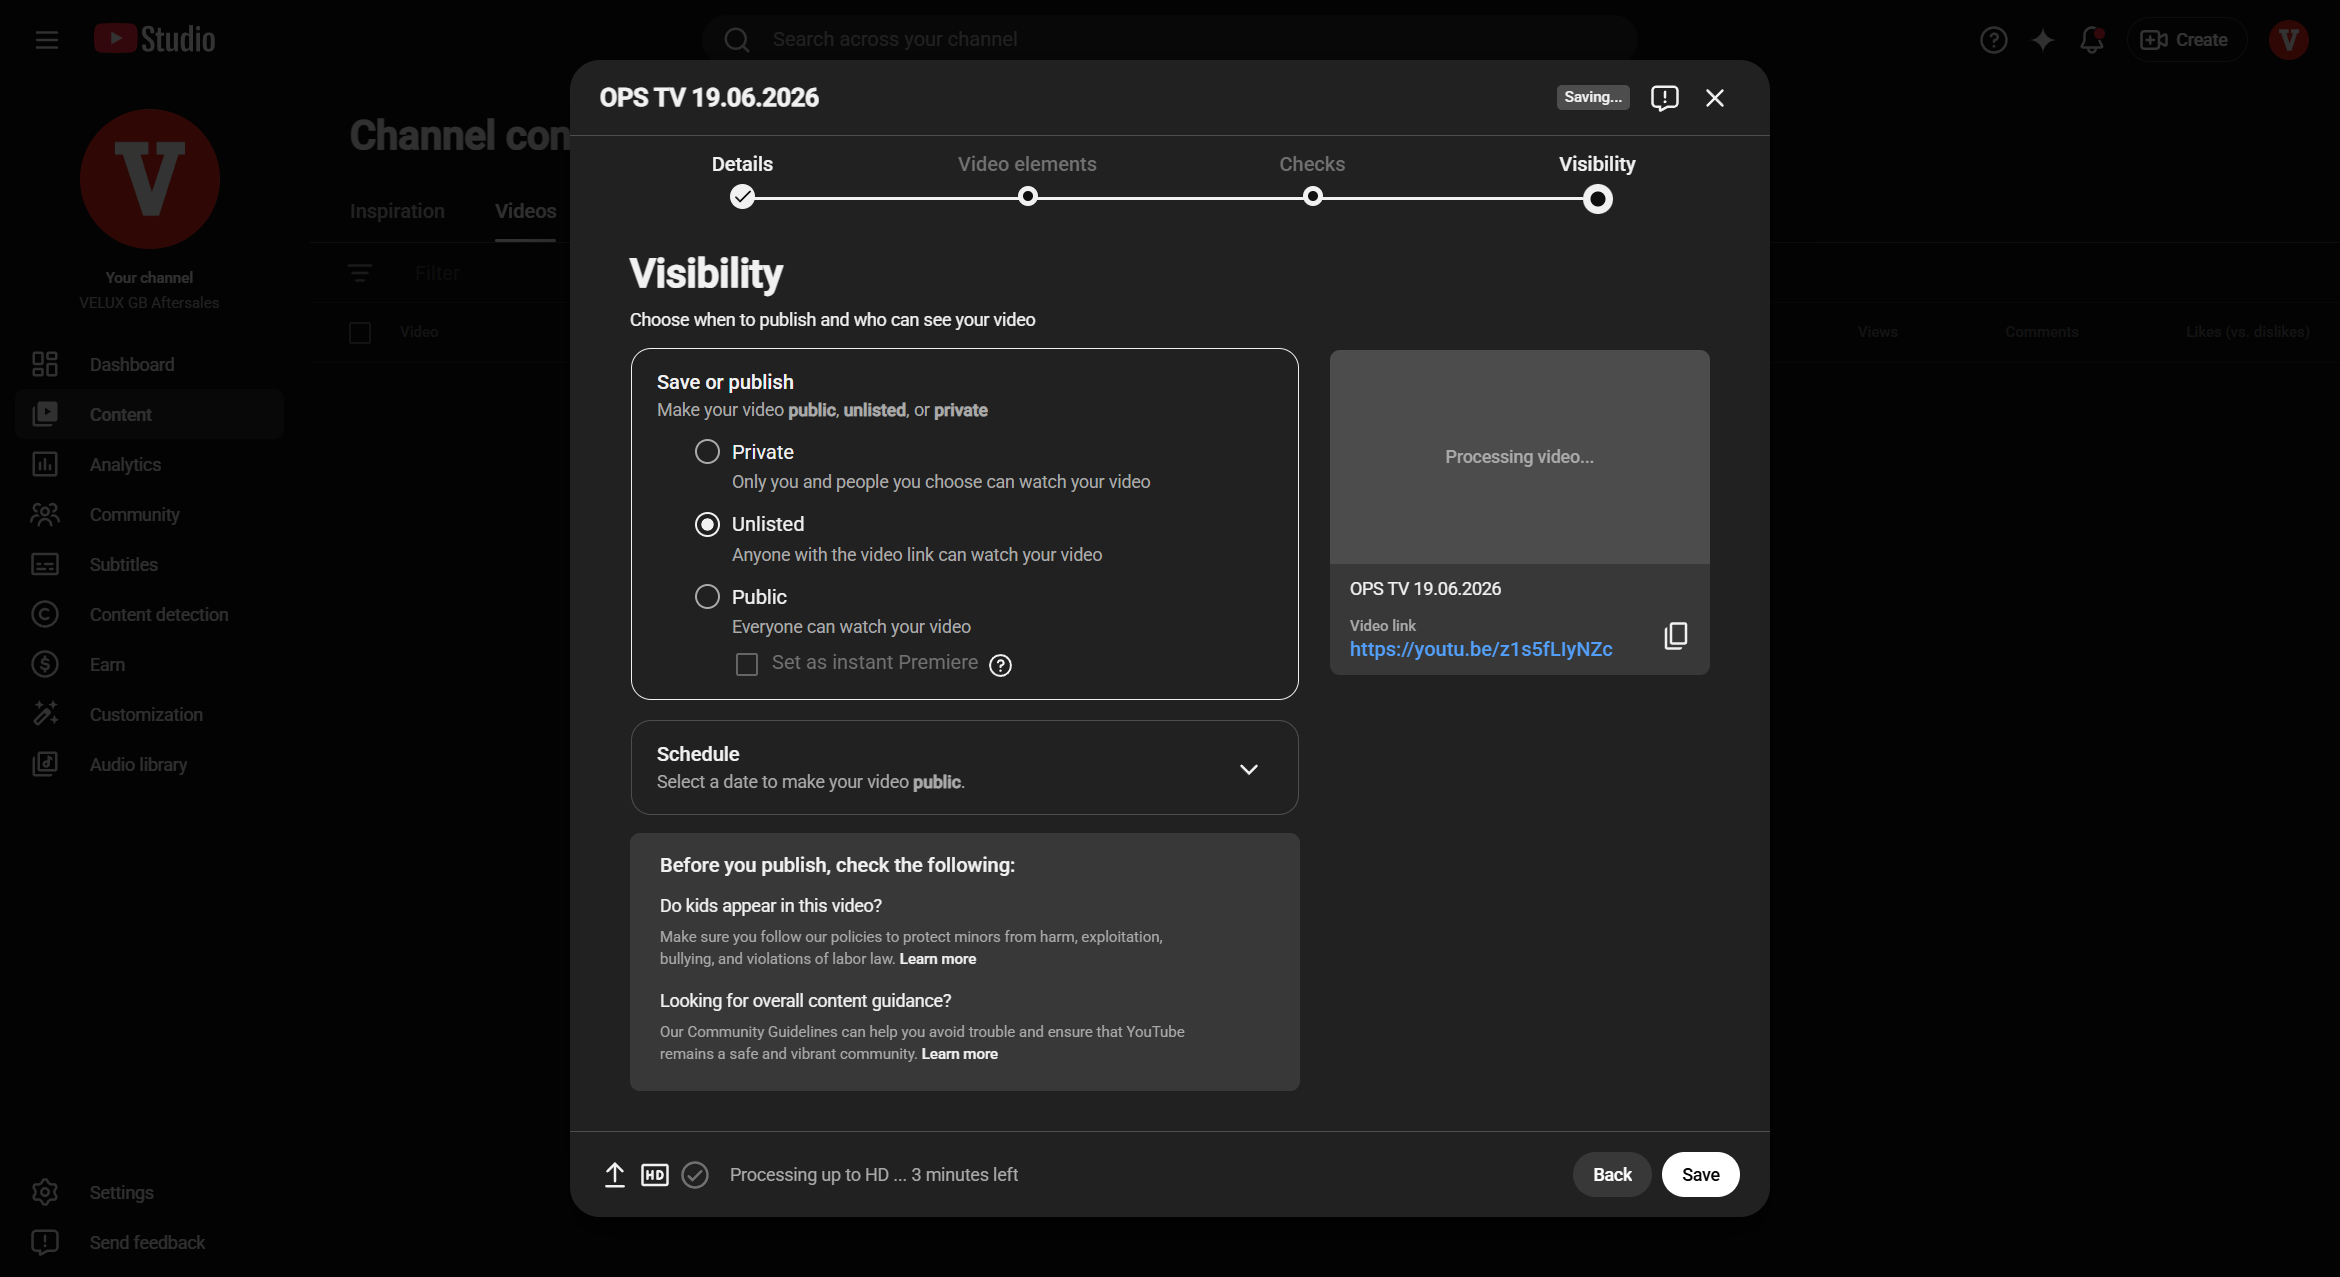
To upload a video to your YouTube channel, follow these steps in YouTube Studio:

1
Click the Create button (camera icon) in the top right corner of the YouTube homepage.
Step #1: Click the Create button (camera icon) in the top right corner of the YouTube homepage.

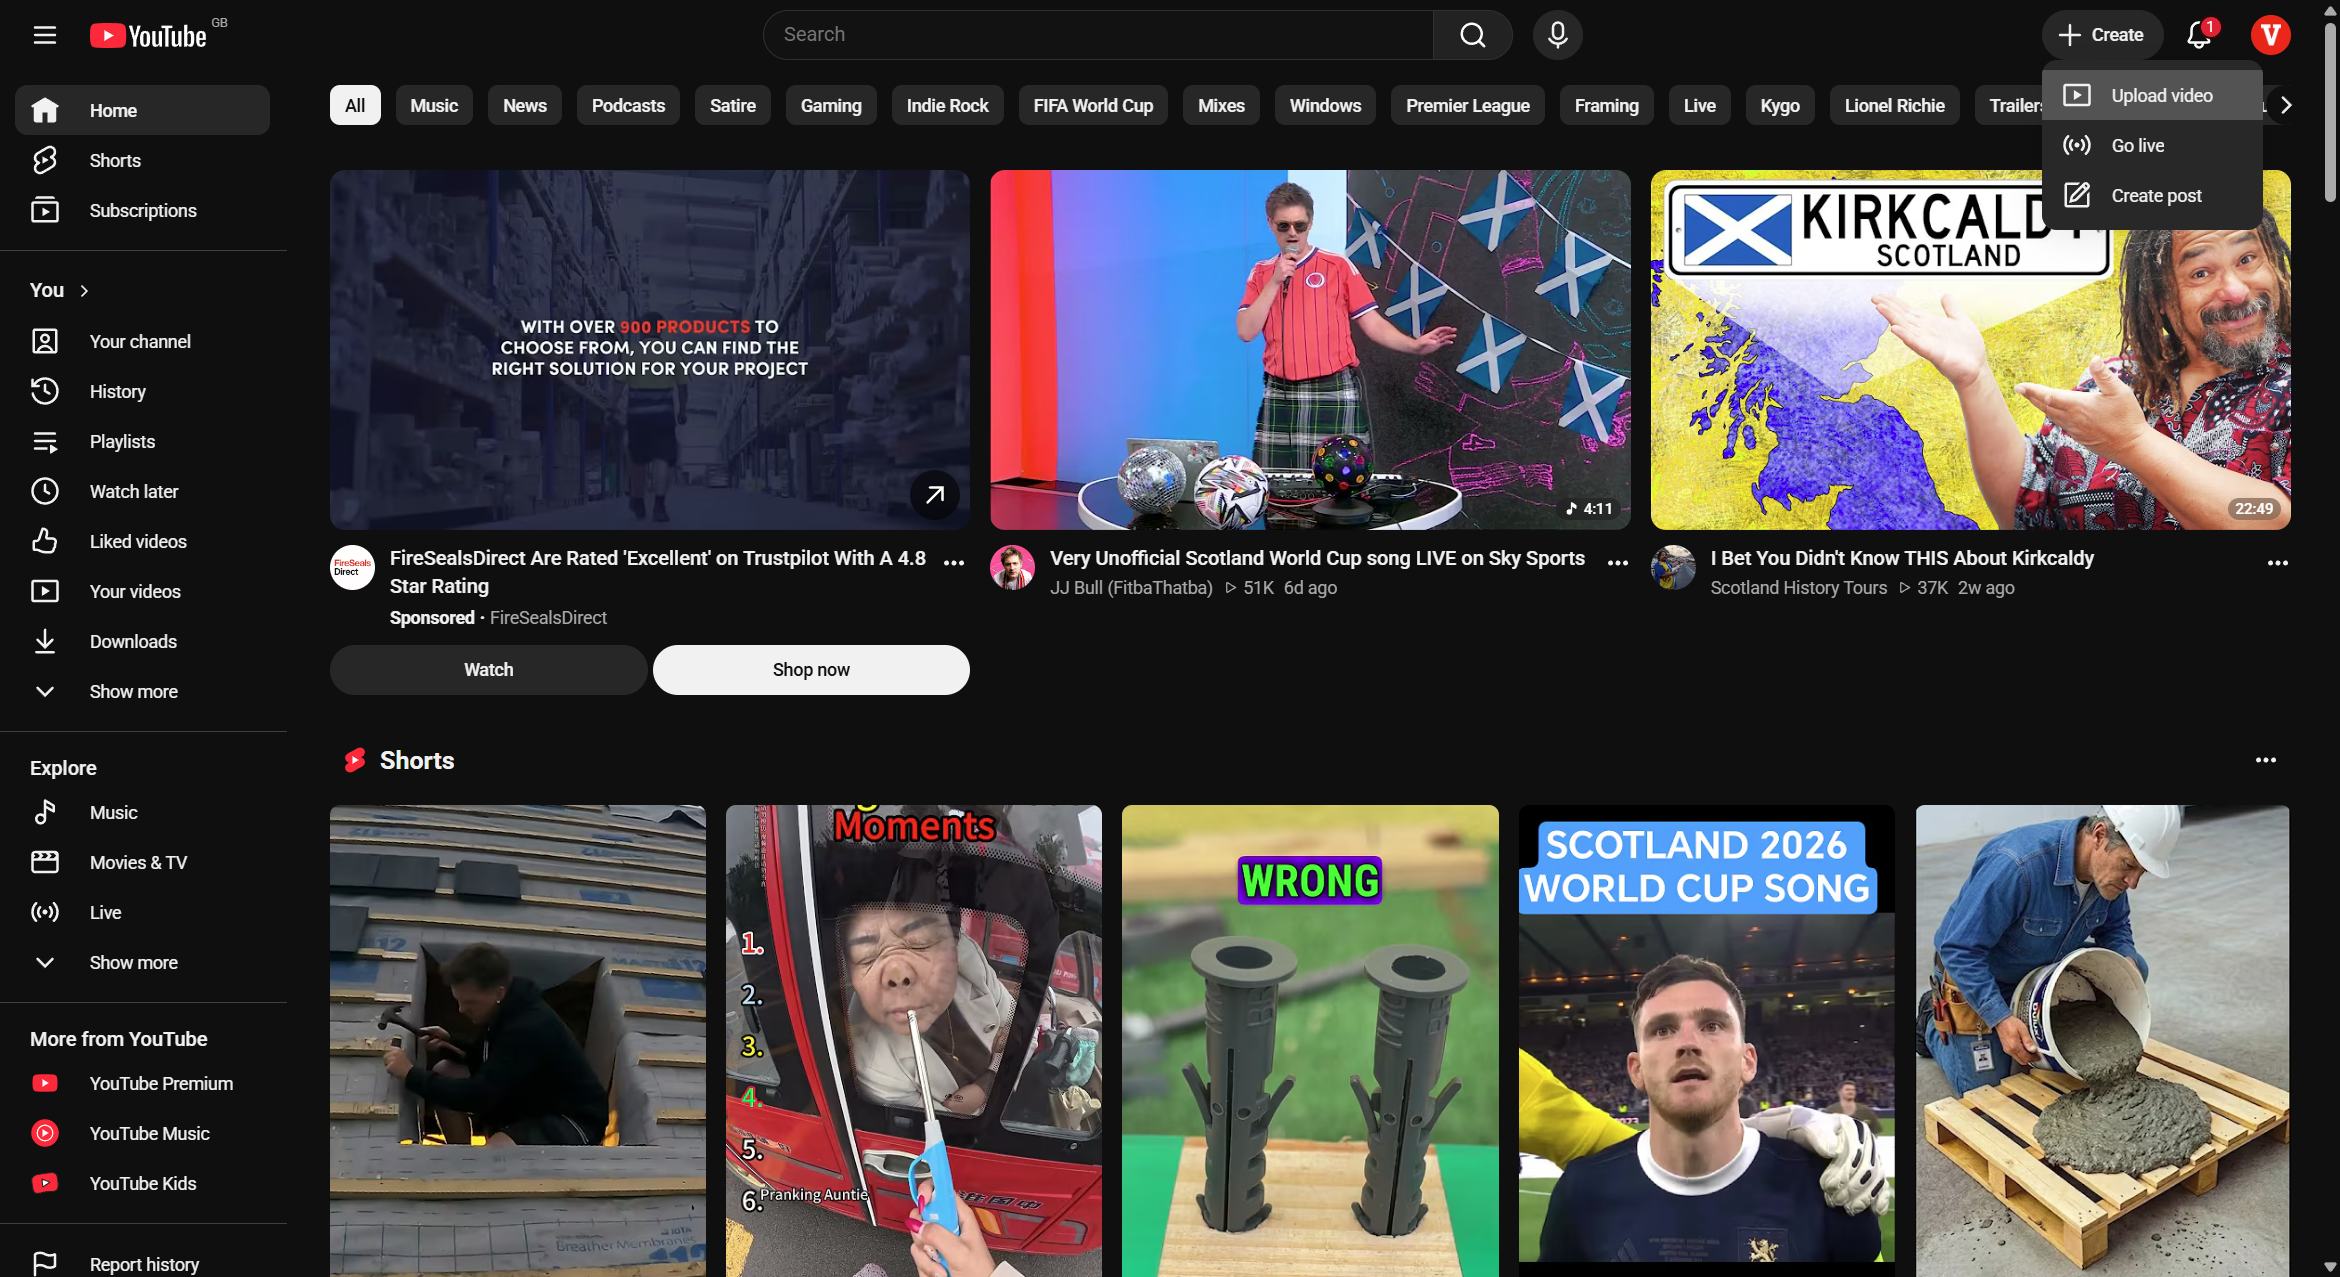
YouTube provides several options for adding content to your channel:

Option

Description

Upload video

Upload pre-recorded video files from your computer.

Go live

Broadcast a live stream to your audience in real time.

Create post

Share text, images, or polls to your channel's Community tab.

2
Select Upload video from the drop-down menu.
Step #2: Select Upload video from the drop-down menu.
3
Click Select files to browse your device and choose the video file you want to upload.
Step #3: Click Select files to browse your device and choose the video file you want to upload.
4
Type your video's name in the Title field.
5
Click the Playlists dropdown menu to categorize your video.
Step #5: Click the Playlists dropdown menu to categorize your video.
6
Check the box for the appropriate playlist (e.g., "Ops TV's") and click Done.
Step #6: Check the box for the appropriate playlist (e.g., "Ops TV's") and click Done.
7
Under the Audience section, select No, it's not made for kids unless your content is specifically directed at children.
Step #7: Under the Audience section, select No, it's not made for kids unless your content is specifically directed at children.
8
Click Add next to "Add an end screen" if you want to promote related content at the end of your video, then click Next.
Step #8: Click Add next to "Add an end screen" if you want to promote related content at the end of your video, then click Next.
9
Review the Checks tab to ensure there are no copyright issues, then click Next.
Step #9: Review the Checks tab to ensure there are no copyright issues, then click Next.

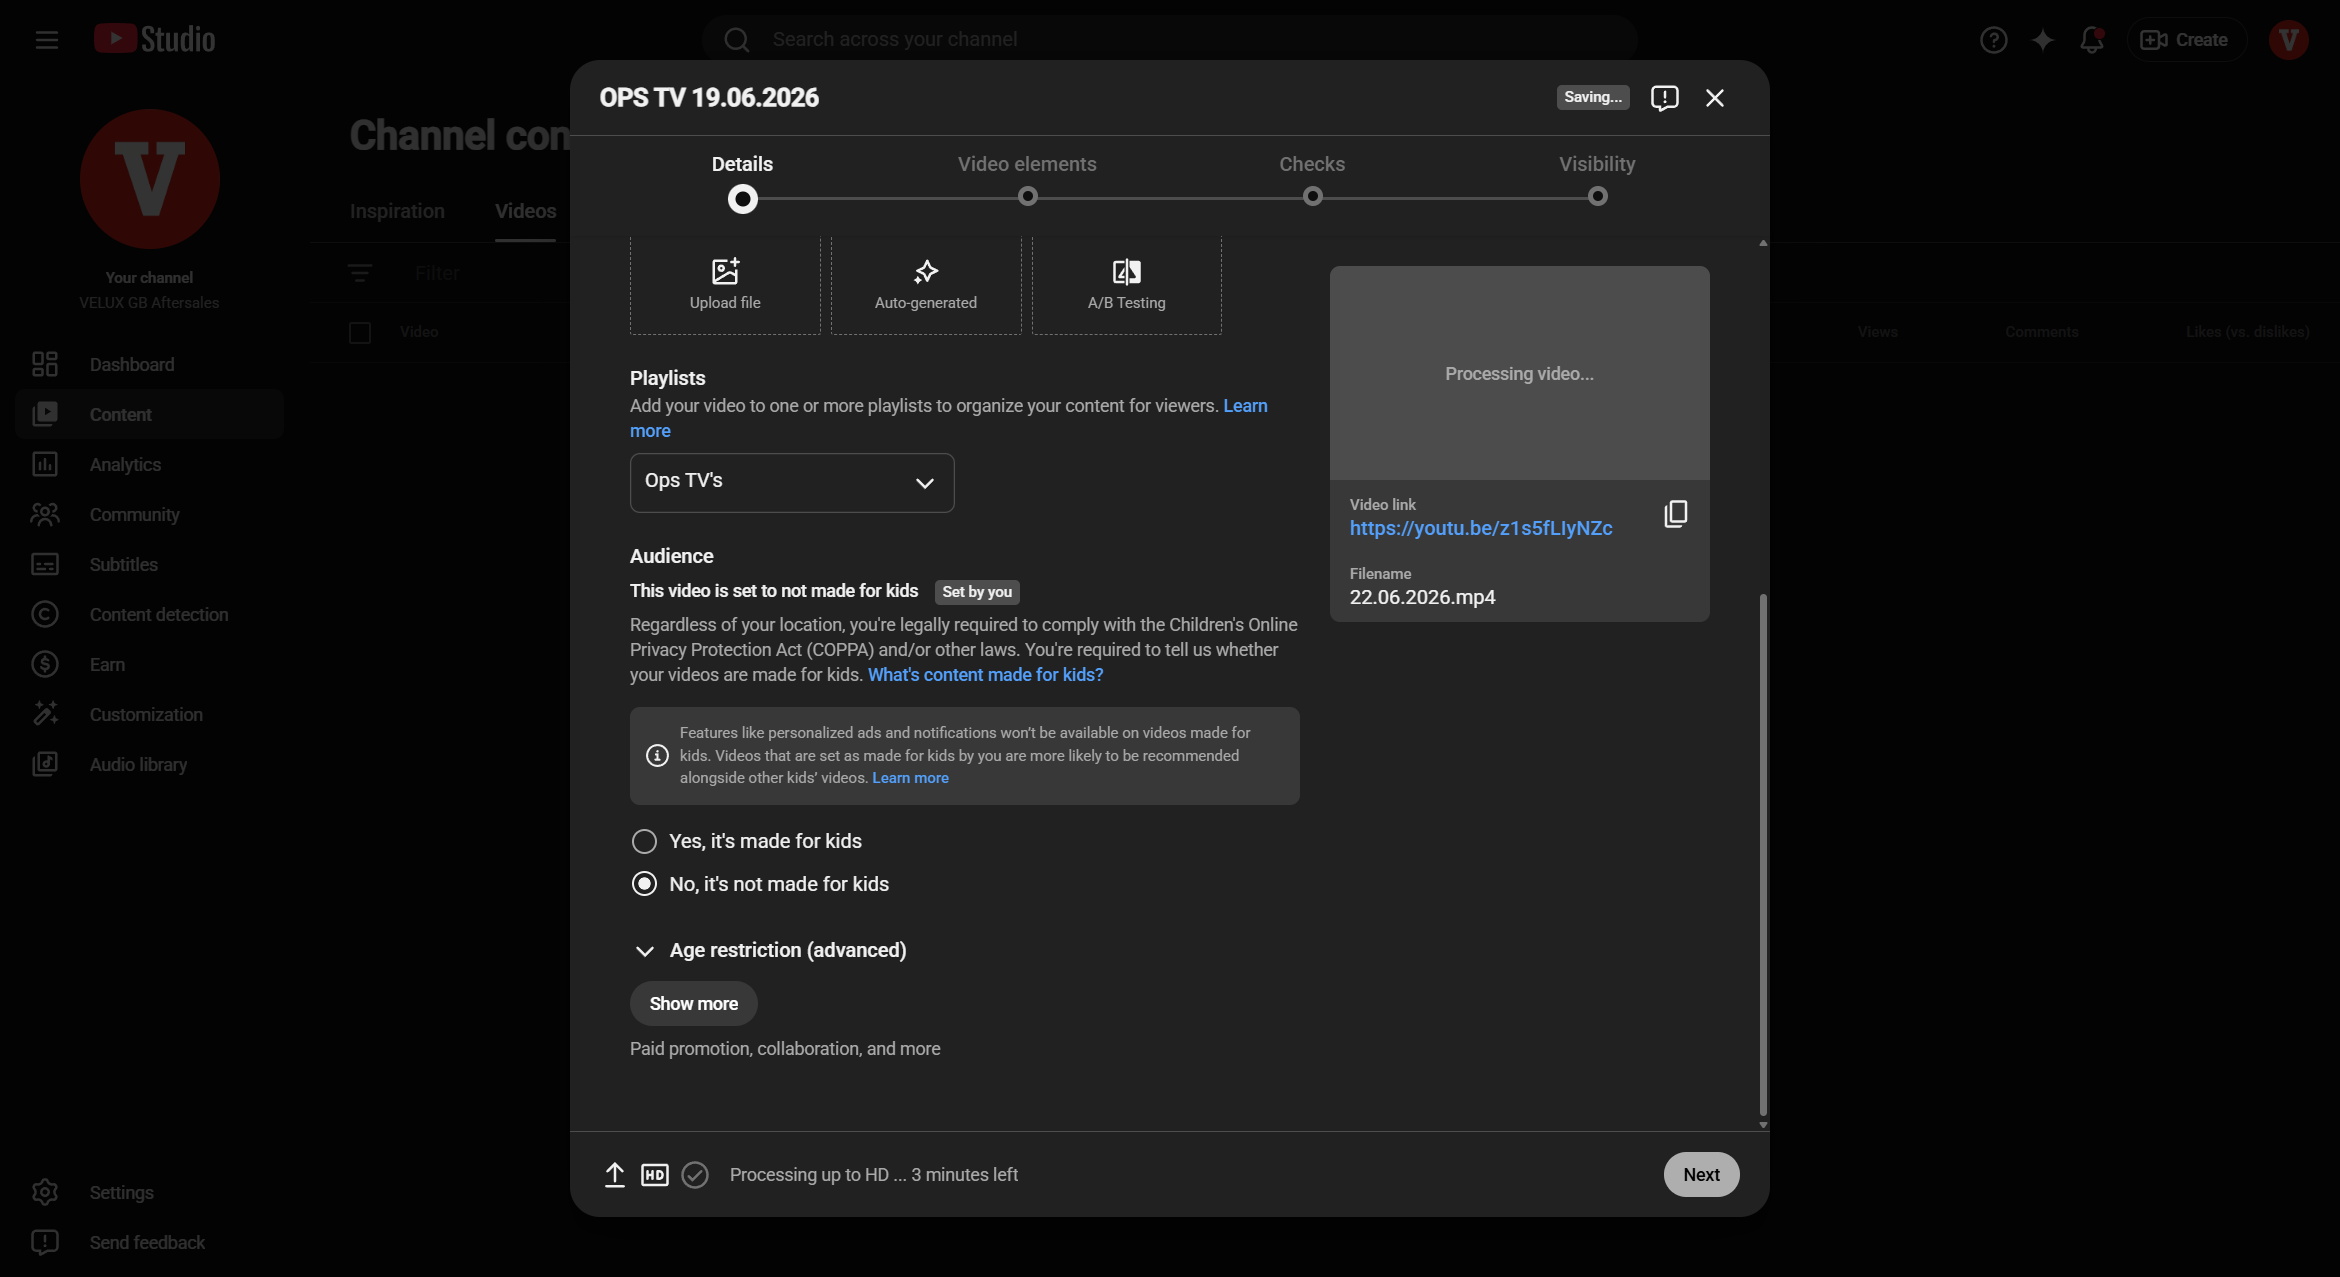
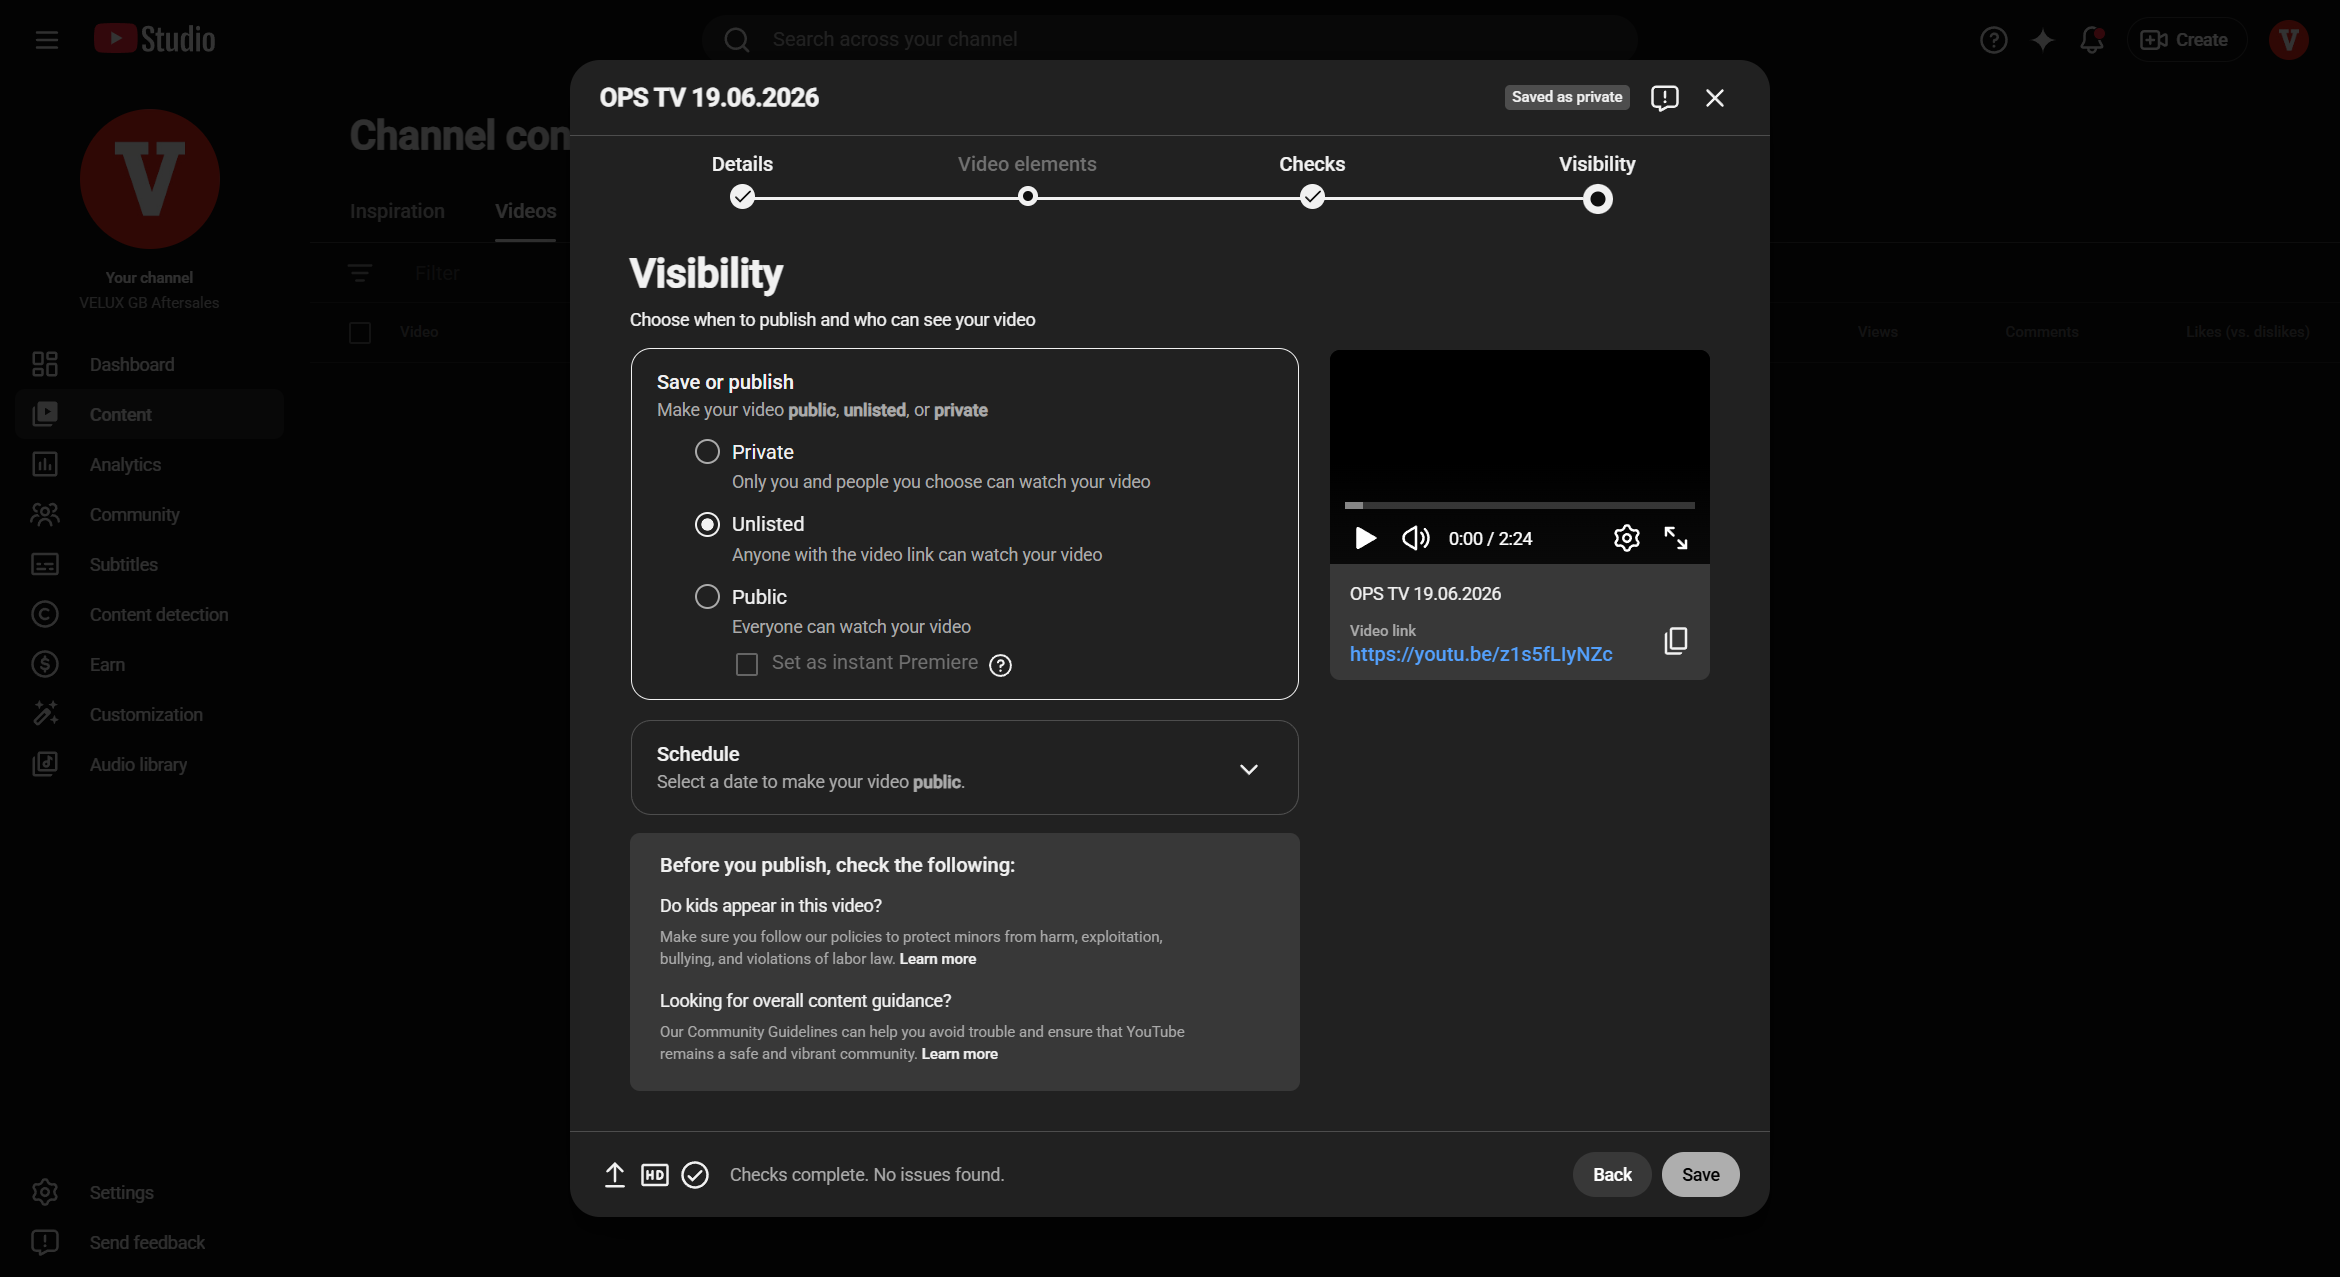
When setting your video's visibility, you have three standard options:

Visibility

Description

Private

Only you and people you explicitly invite can watch the video.

Unlisted

Anyone with the direct video link can watch it, but it won't appear in search results.

Public

Everyone can find and watch your video.

10
In the Visibility tab, select Unlisted (or your preferred visibility setting).
Step #10: In the Visibility tab, select Unlisted (or your preferred visibility setting).
11
Click Save to finalize your settings and publish the video.
Step #11: Click Save to finalize your settings and publish the video.
12
Once the confirmation modal appears, you can optionally copy the video link again before closing the window.
Step #12: Once the confirmation modal appears, you can optionally copy the video link again before closing the window.

Term

Definition

YouTube Studio

The central dashboard where creators can manage their YouTube channels, upload videos, and track analytics.

End Screen

A YouTube feature that allows creators to add interactive elements, such as links to other videos or subscribe buttons, to the last 5-20 seconds of a video.

Unlisted

A privacy setting where the video does not appear in public search results or on your channel page, but can be viewed by anyone with the direct link.