Icon

How to Create a Quote in the VELUX Dealer Portal

Learn how to start a new quote, configure products like modular rooflights, enter customer information, and print professional quotes in the VELUX dealer portal.

By Rajko Koole

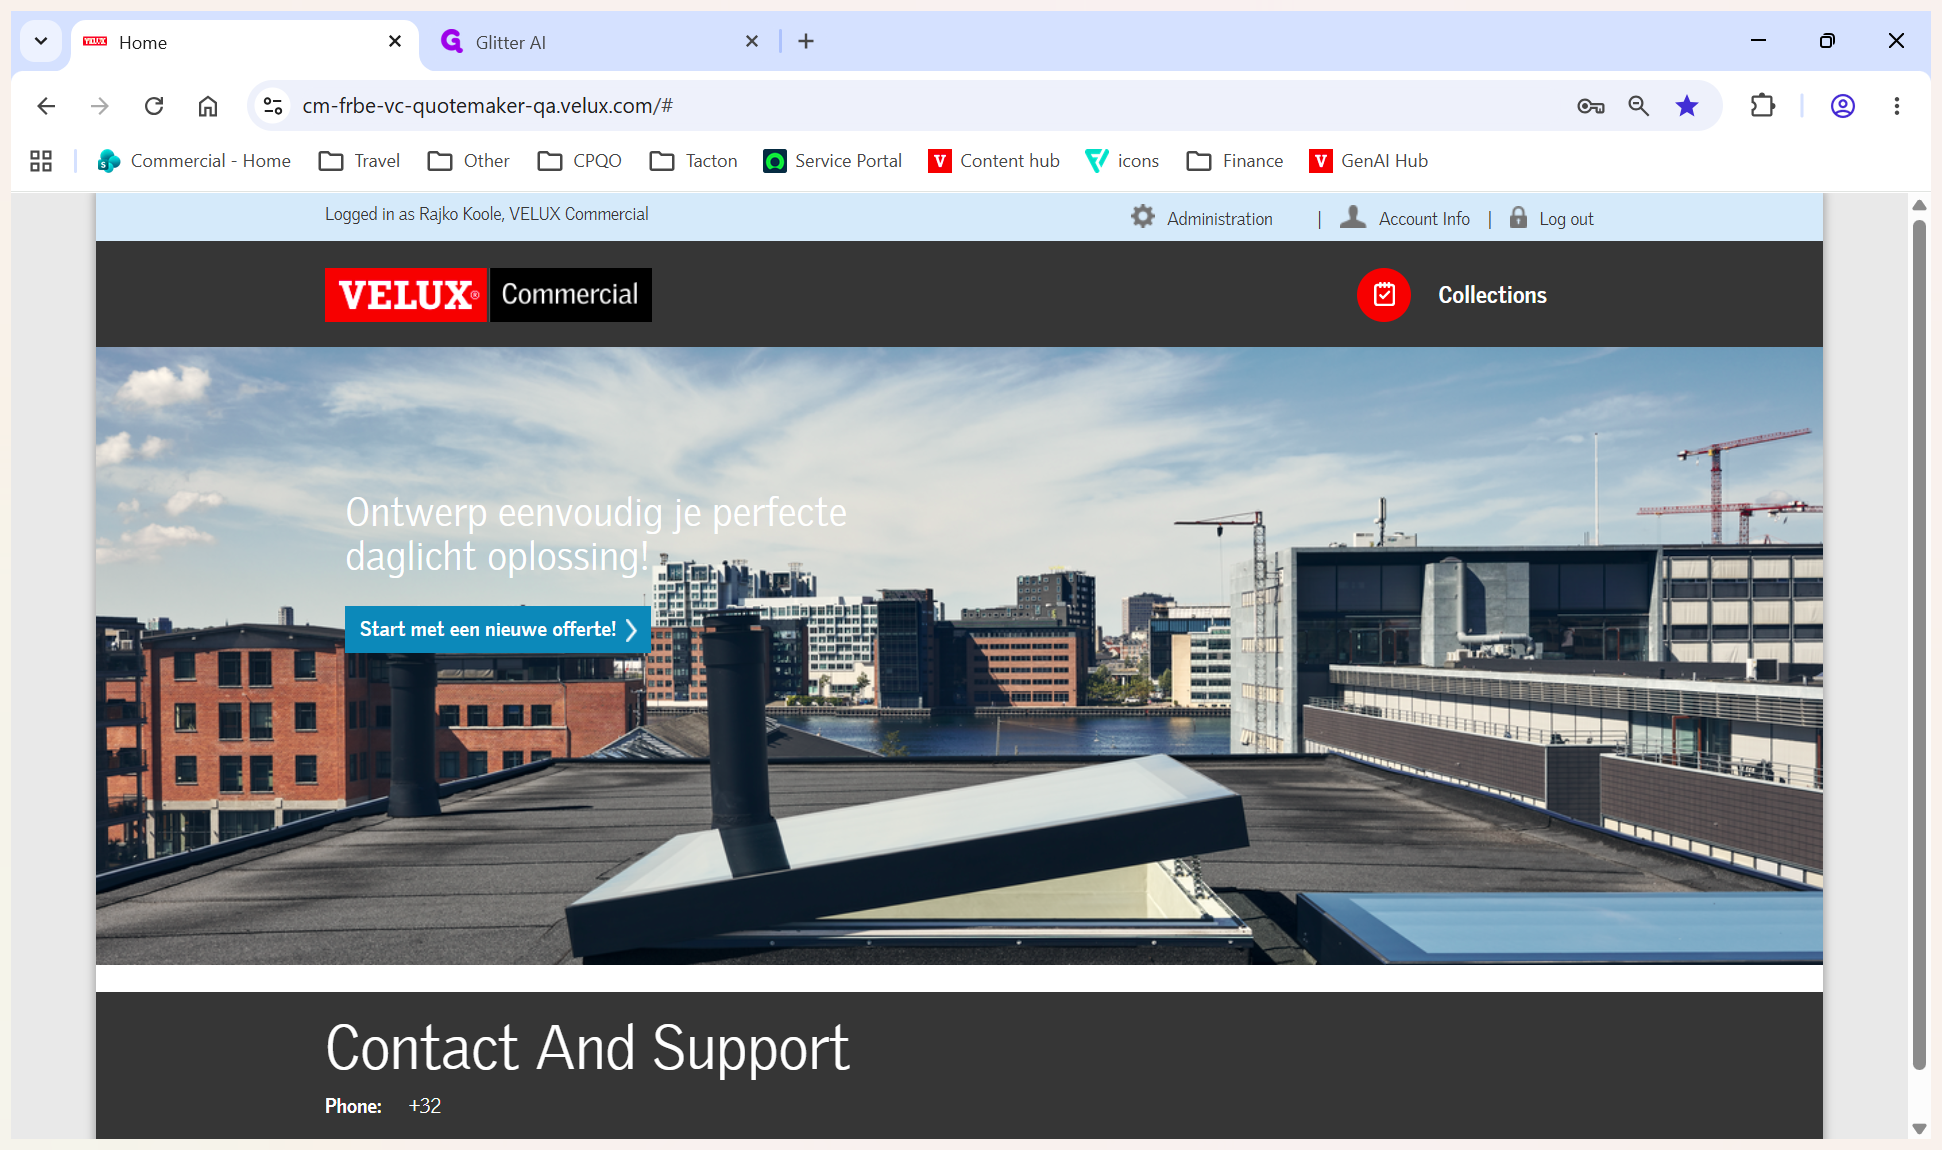
This guide walks you through creating and printing a product quote using the new VELUX Commercial dealer portal in Belgium. By following these steps, you can quickly configure products like VELUX Modular Rooflights, attach customer details, and generate a professional PDF quote.

This workflow applies to VELUX dealers and sales representatives in Belgium who use the Quotemaker portal to generate and manage customer offers.

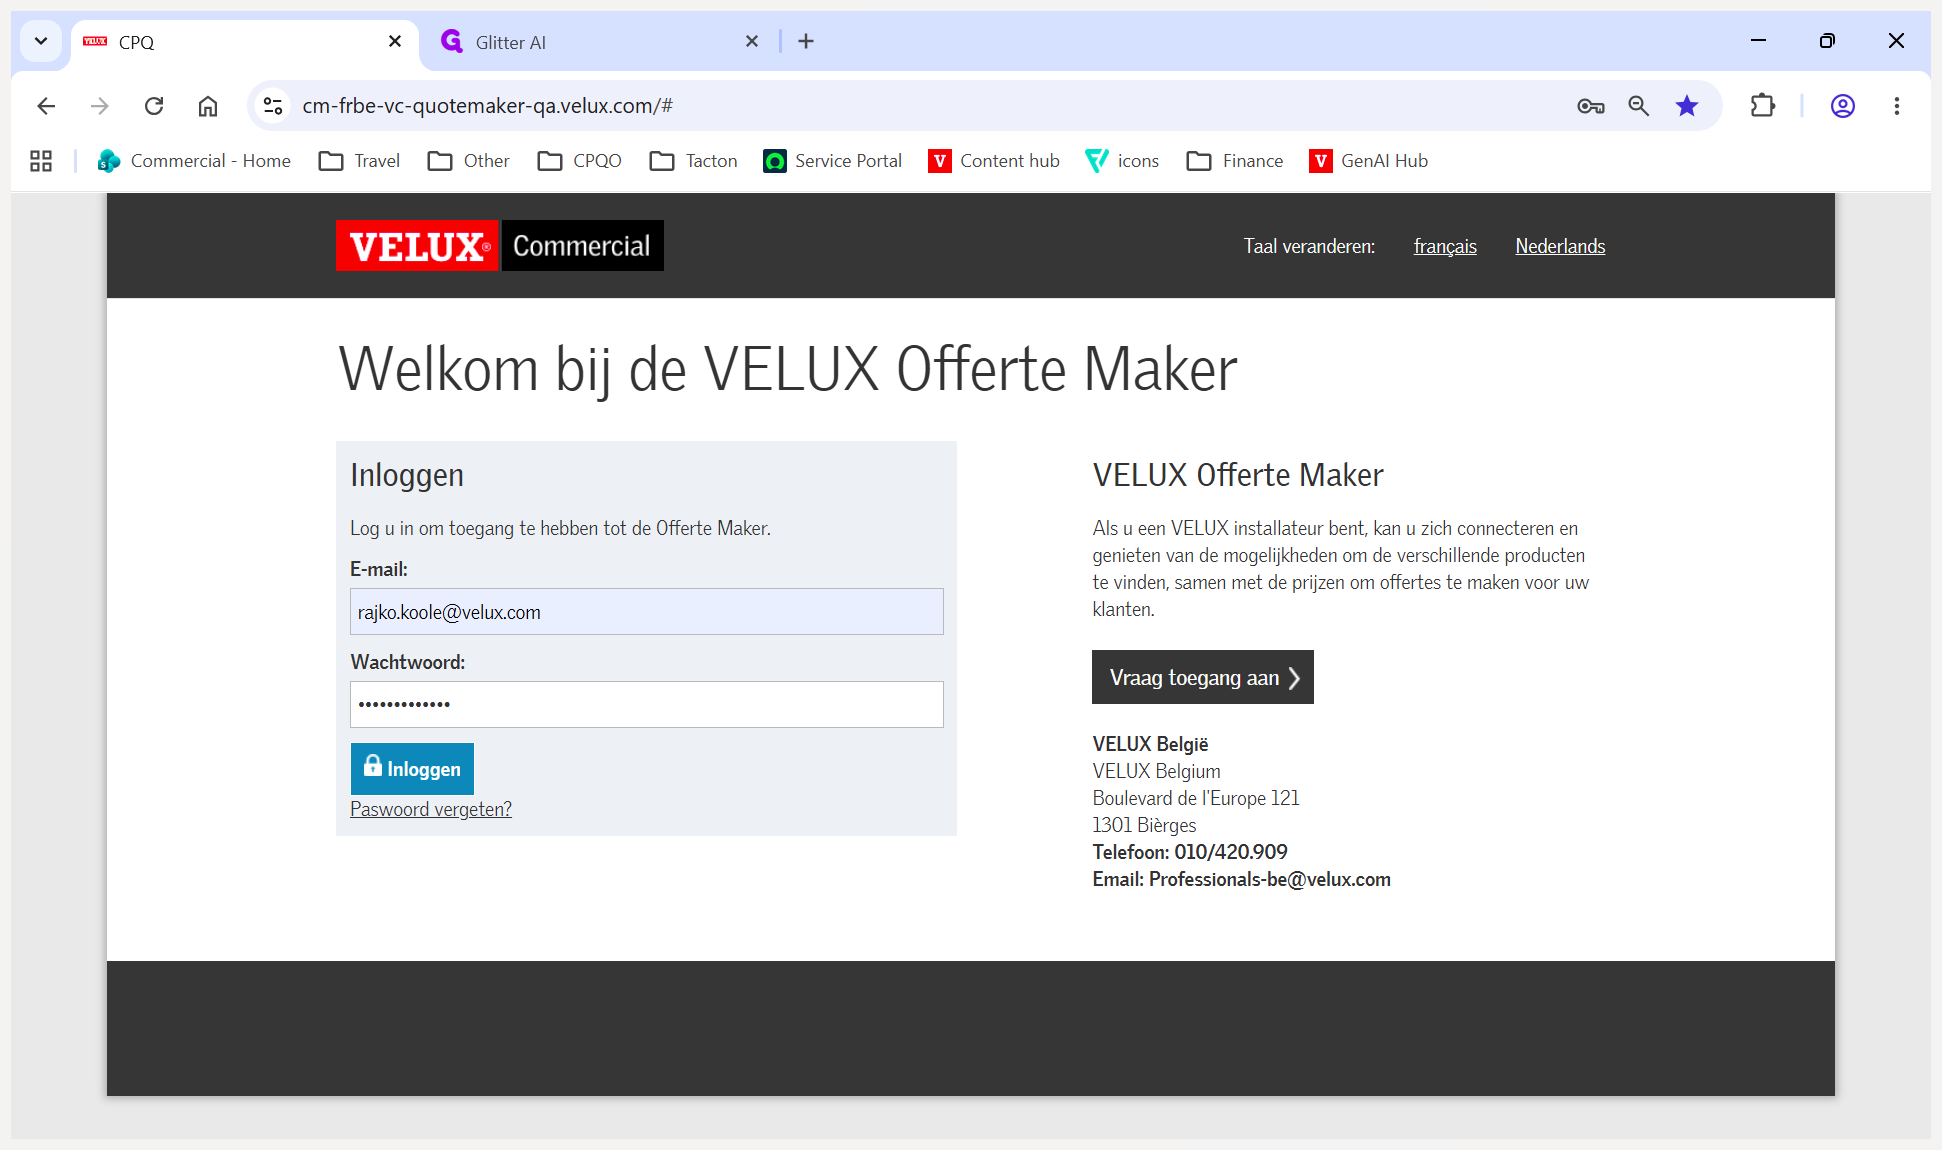
Log in and Start a Quote

Navigate to the VELUX Commercial landing page and enter your credentials.

1
Click Inloggen to log into the portal.
Step #1: Click Inloggen to log into the portal.
2
Click Start met een nieuwe offerte ! to begin a new quote.
Step #2: Click Start met een nieuwe offerte ! to begin a new quote.
3
Enter a name for your quote in the text field, then click Add.
Step #3: Enter a name for your quote in the text field, then click Add.

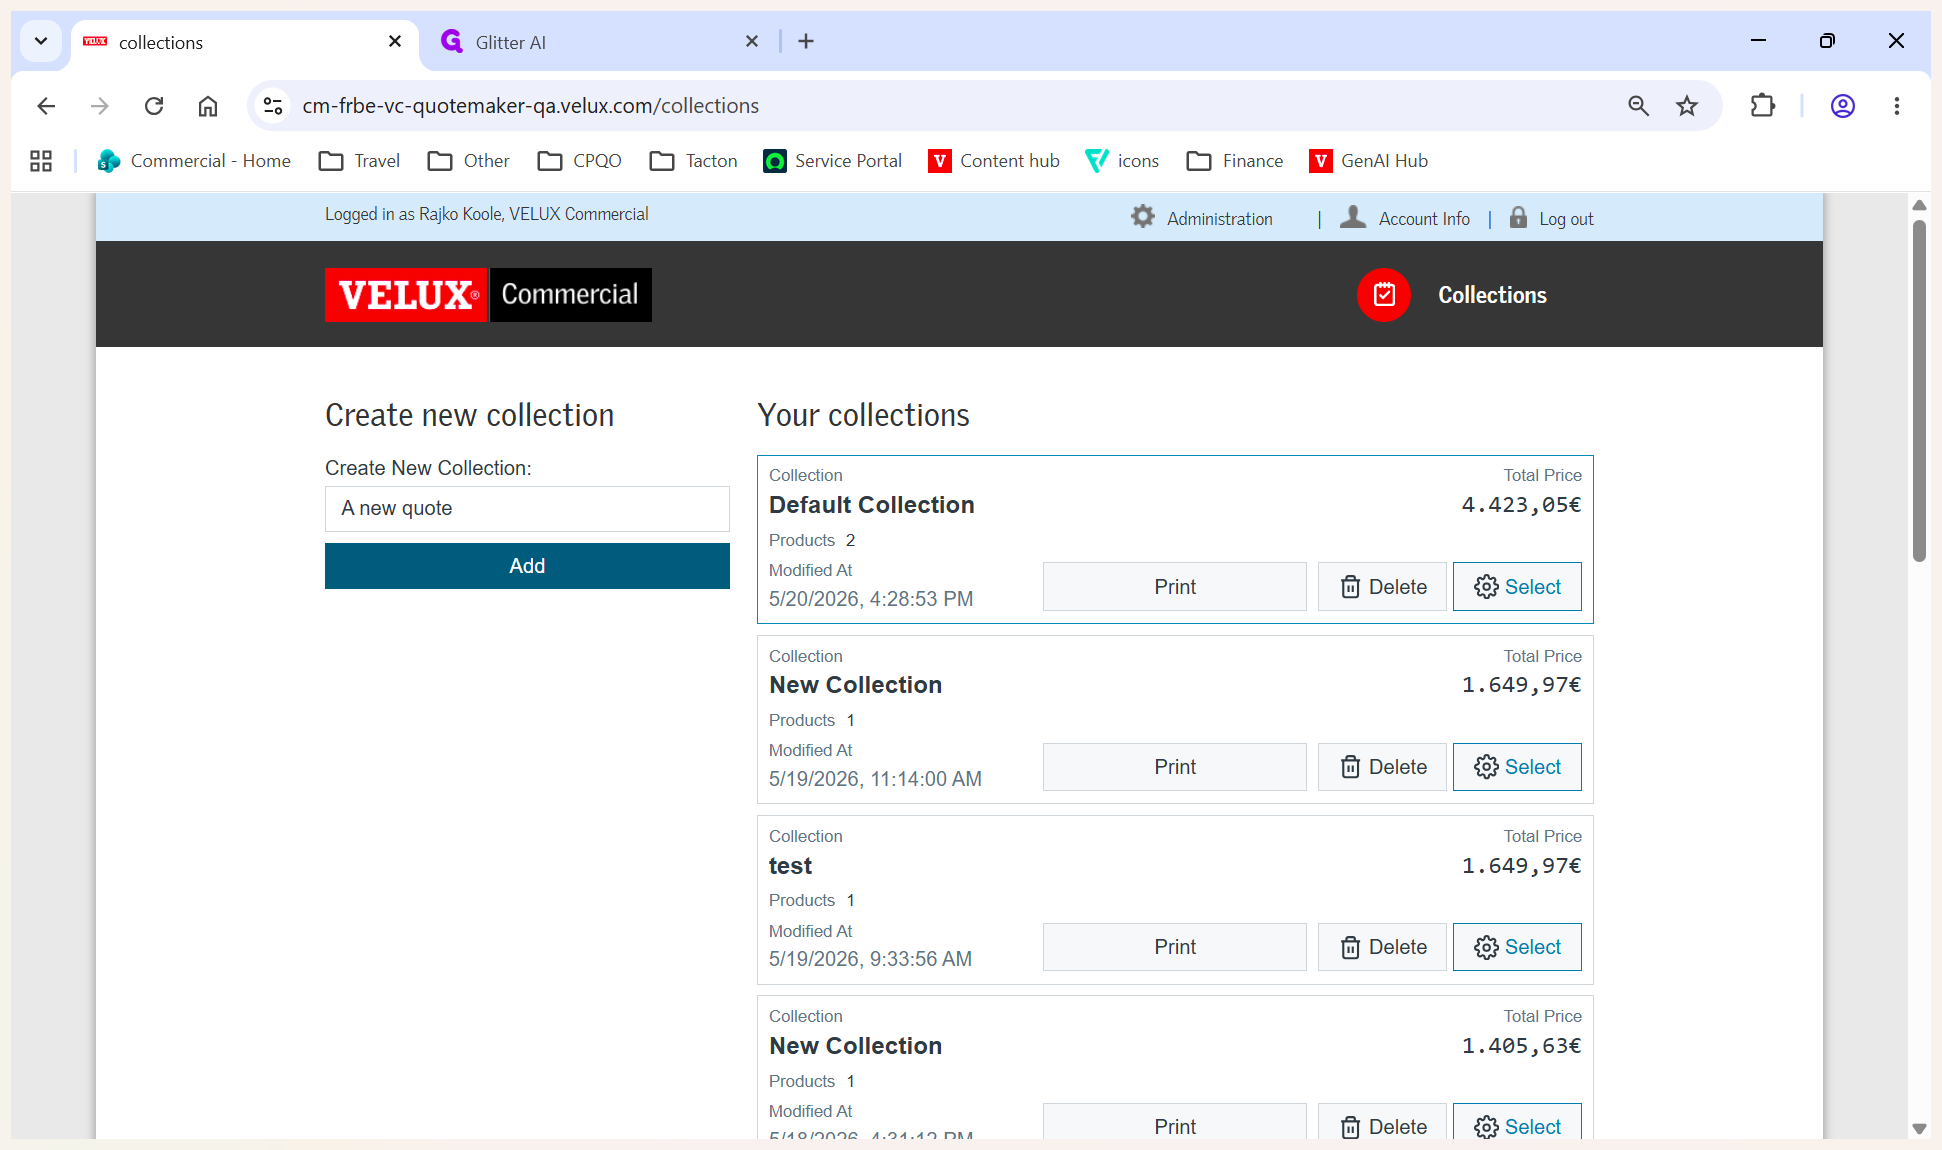
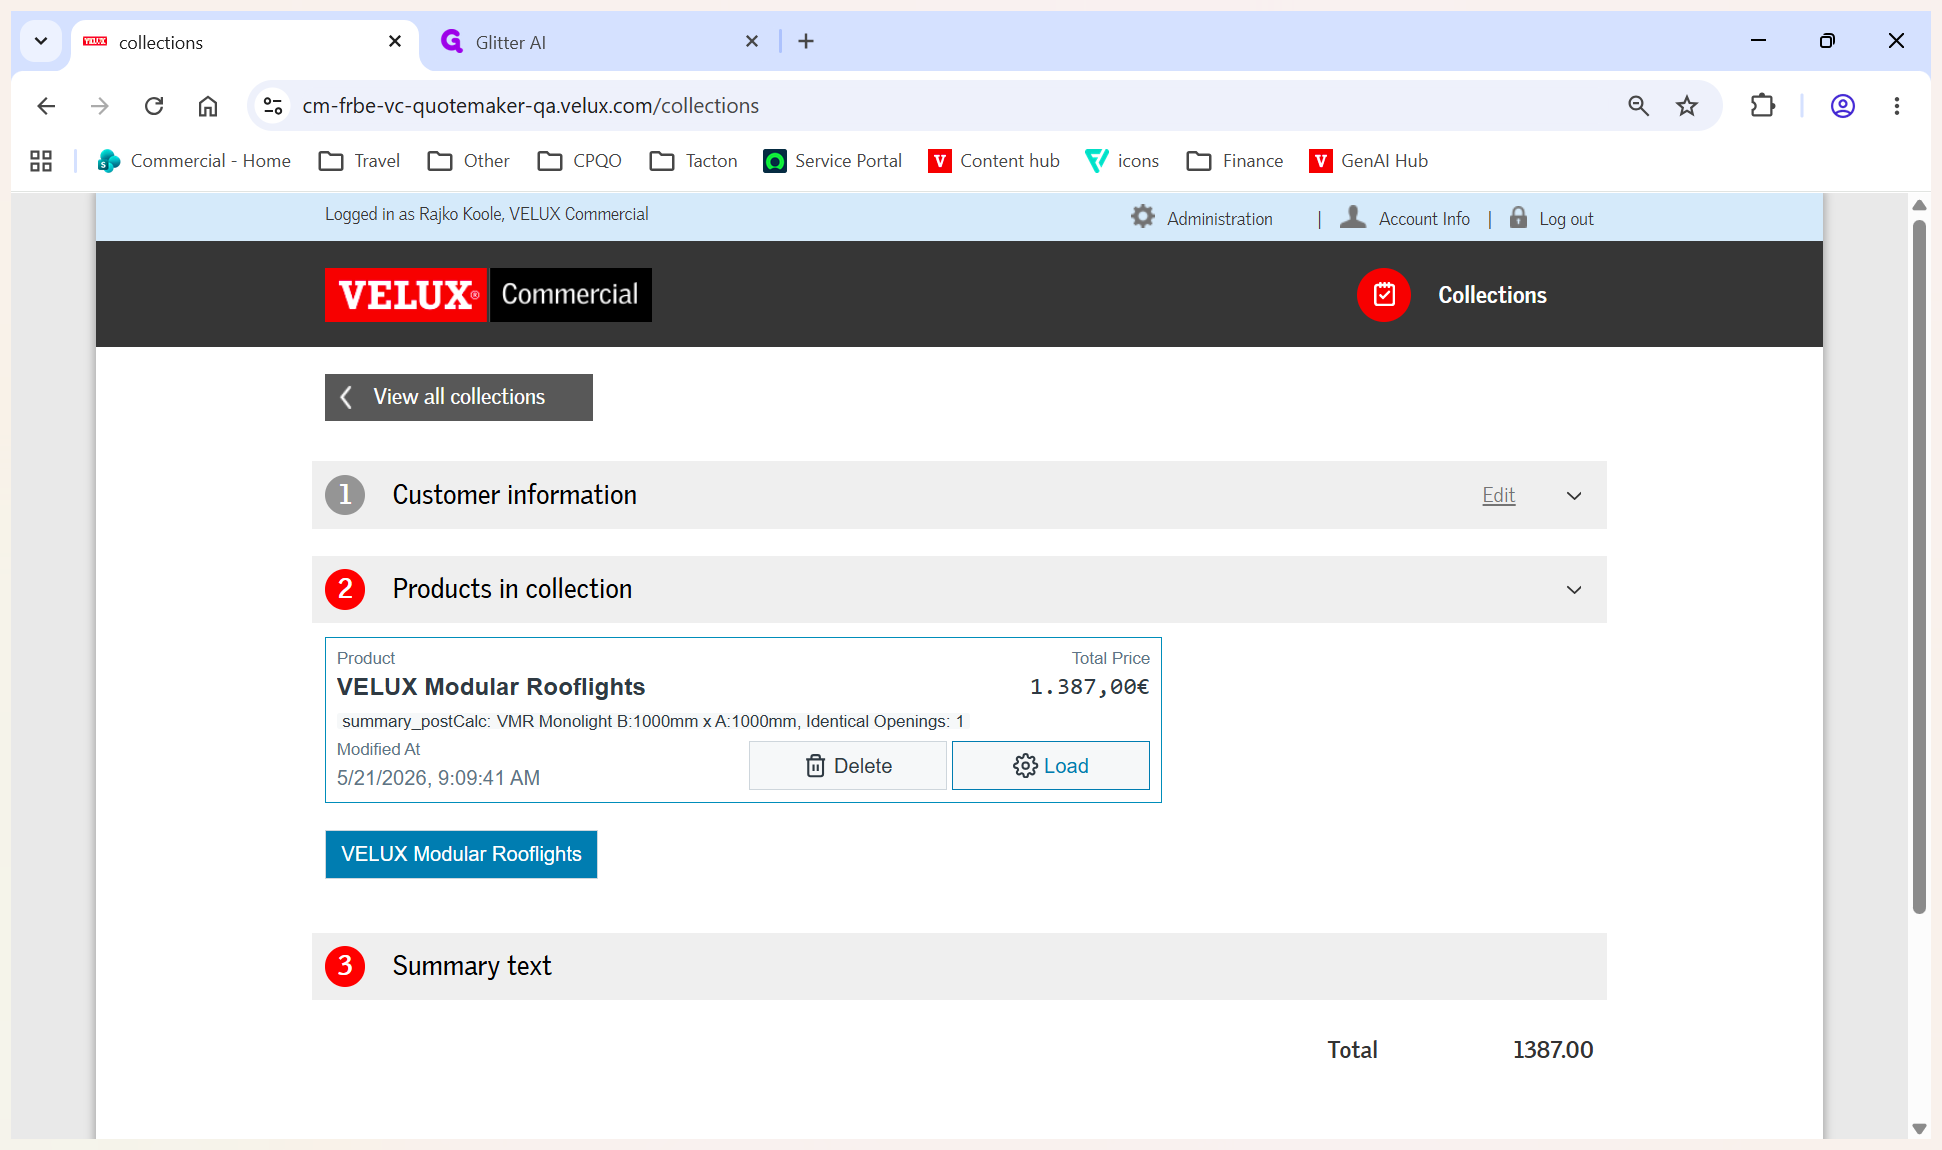
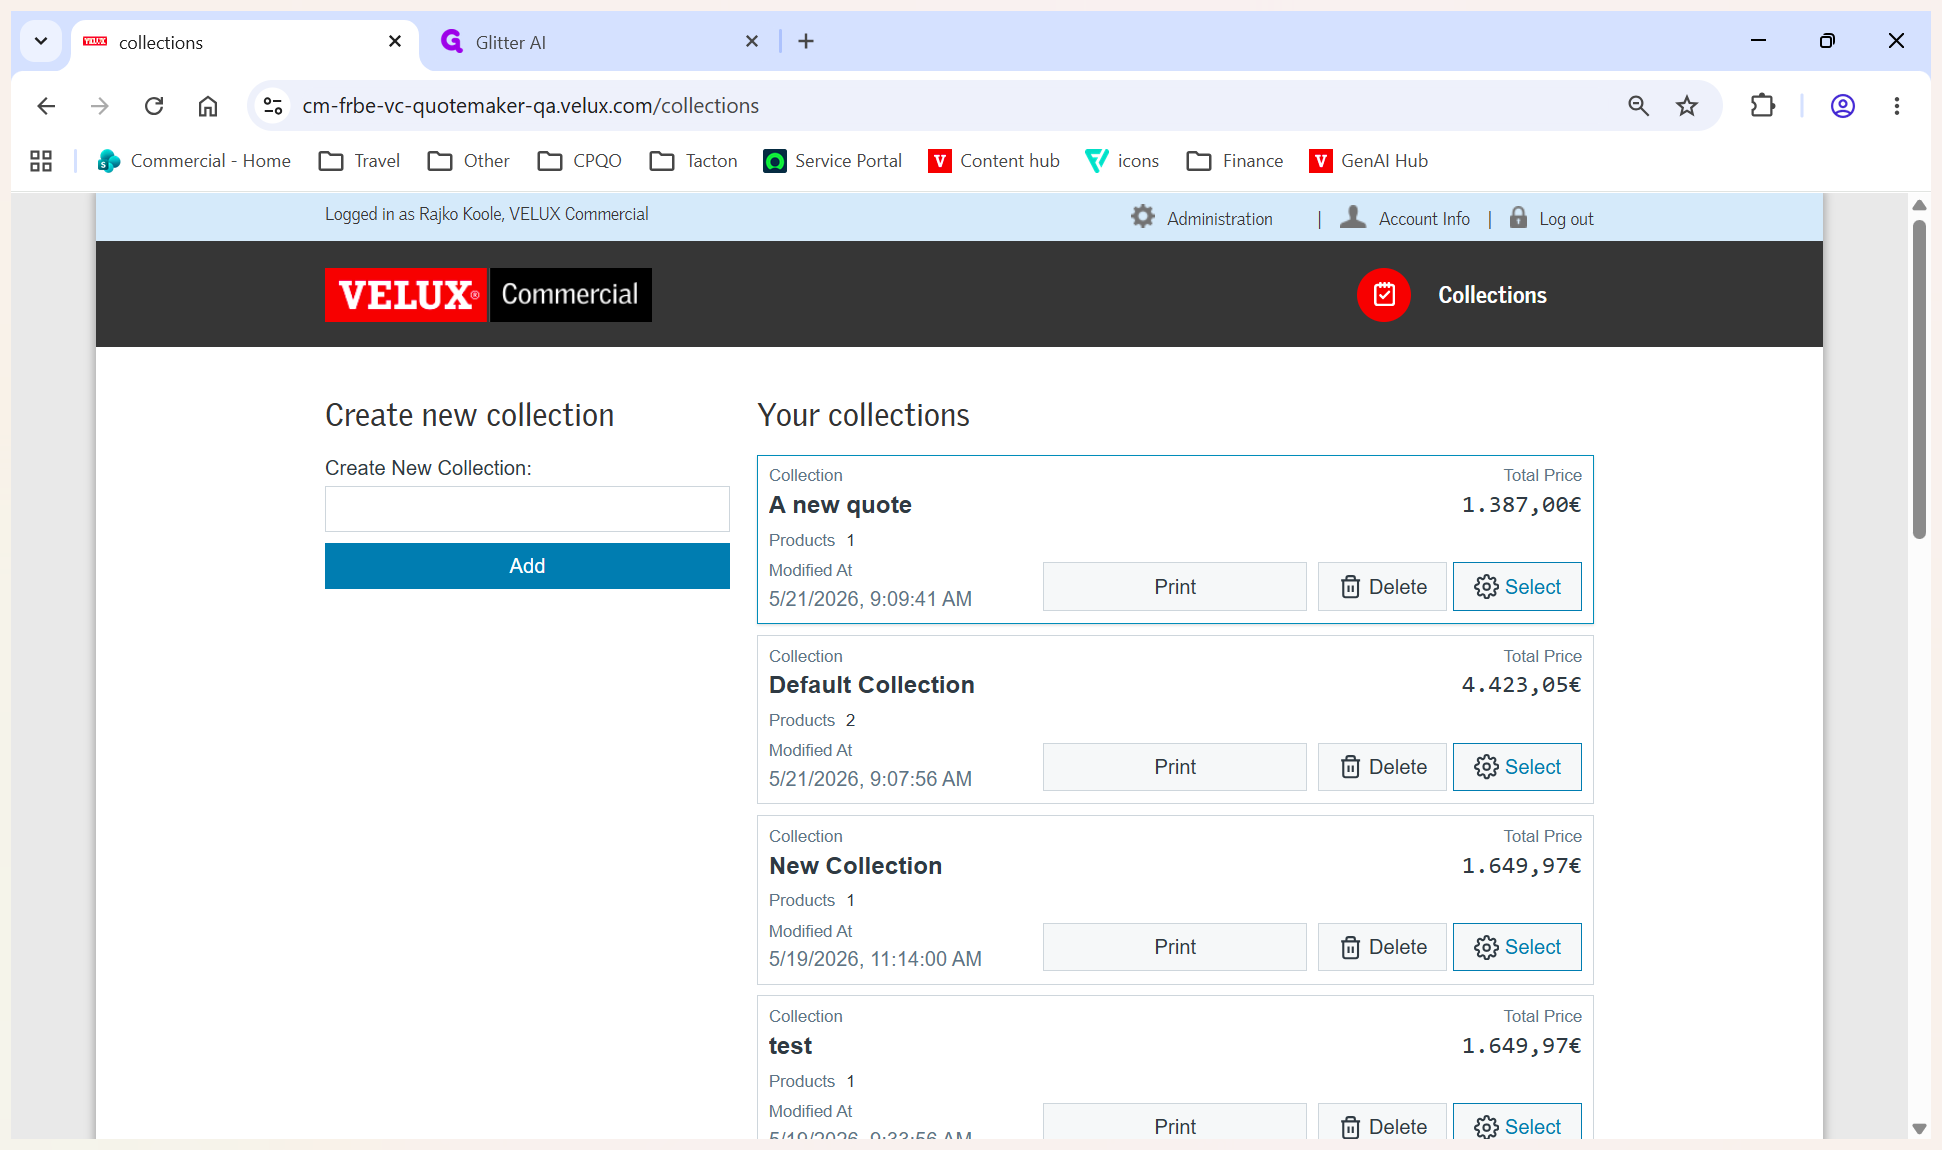
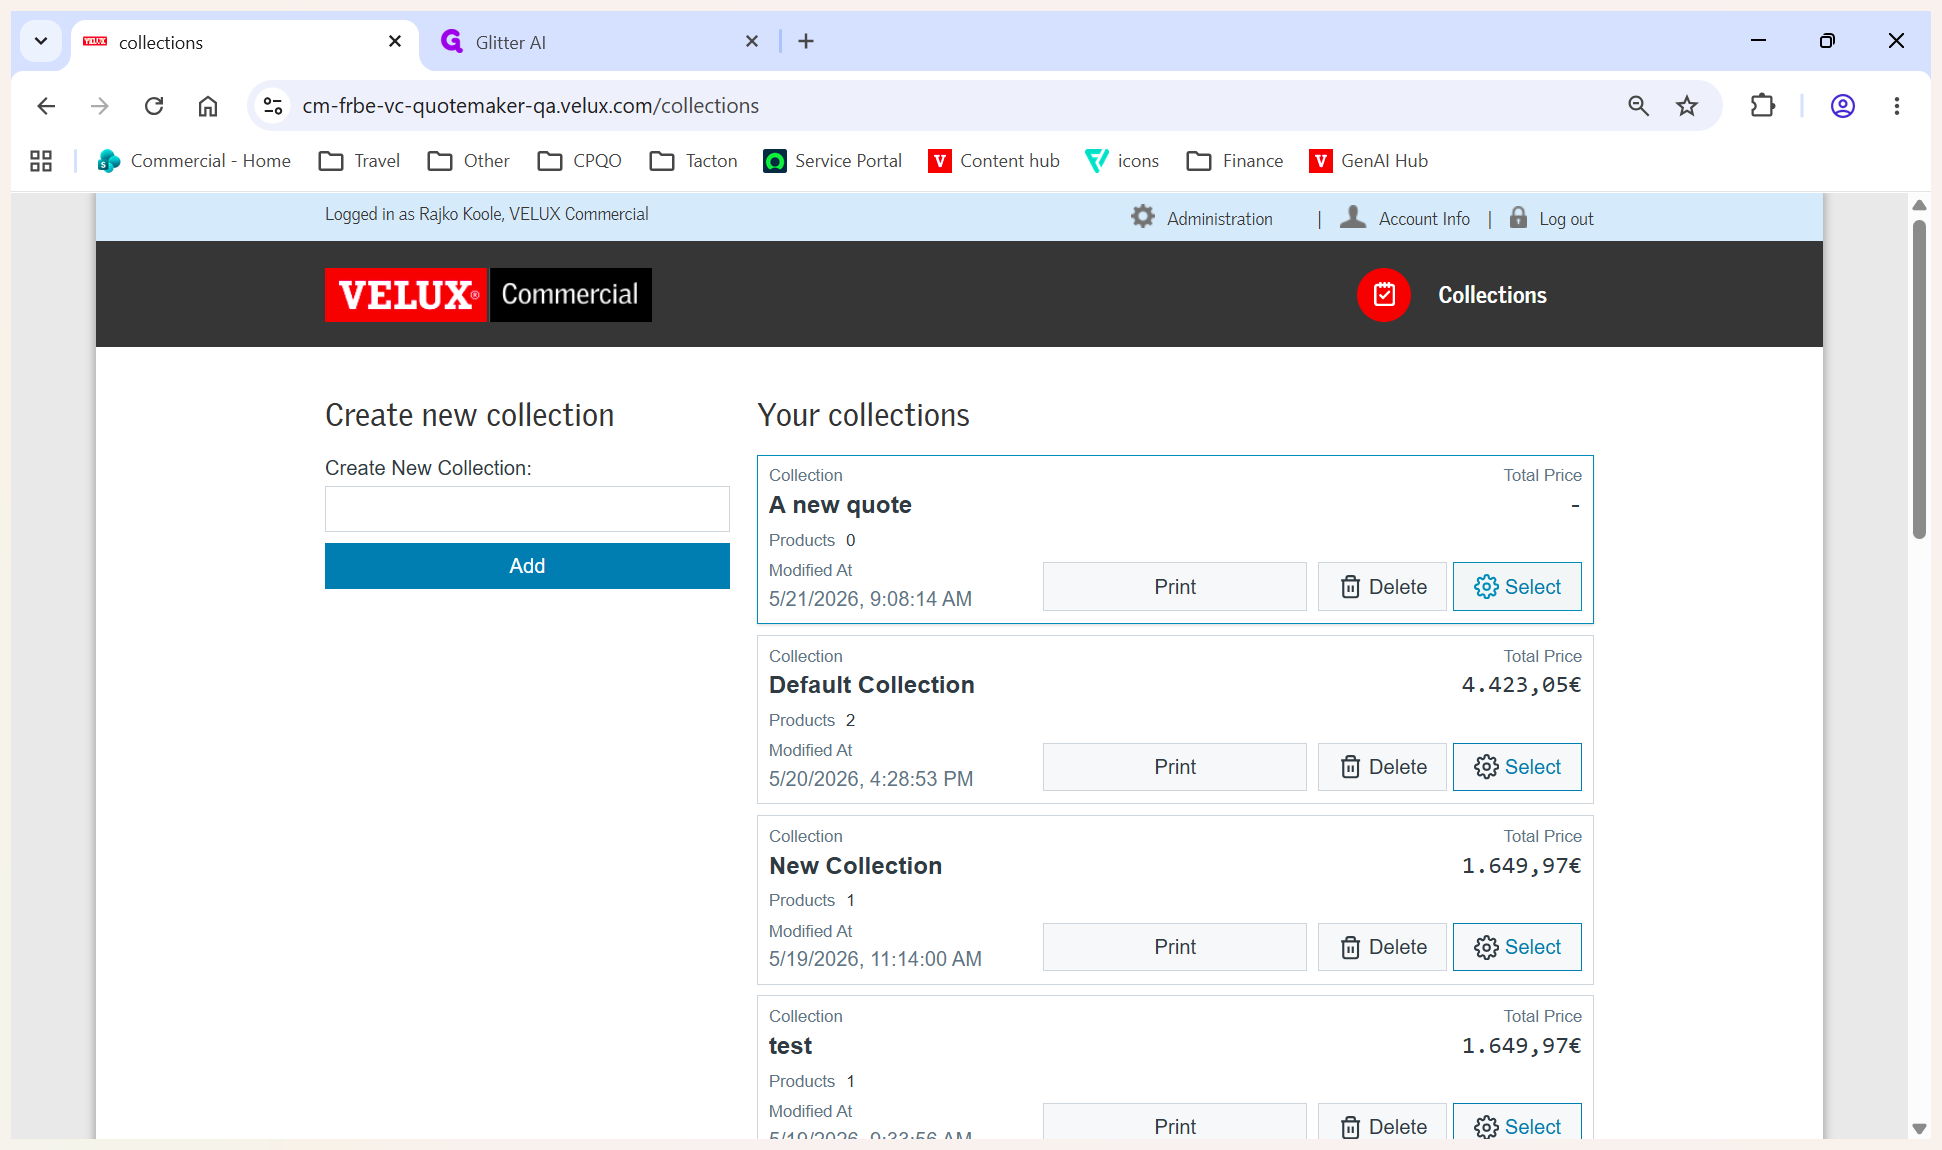
The new collection (quote) will appear on the right-hand side of your dashboard.

4
Click Select next to the quote to open it.
Step #4: Click Select next to the quote to open it.

Enter Customer Details

To ensure your generated quote is accurately addressed, provide the customer's contact information.
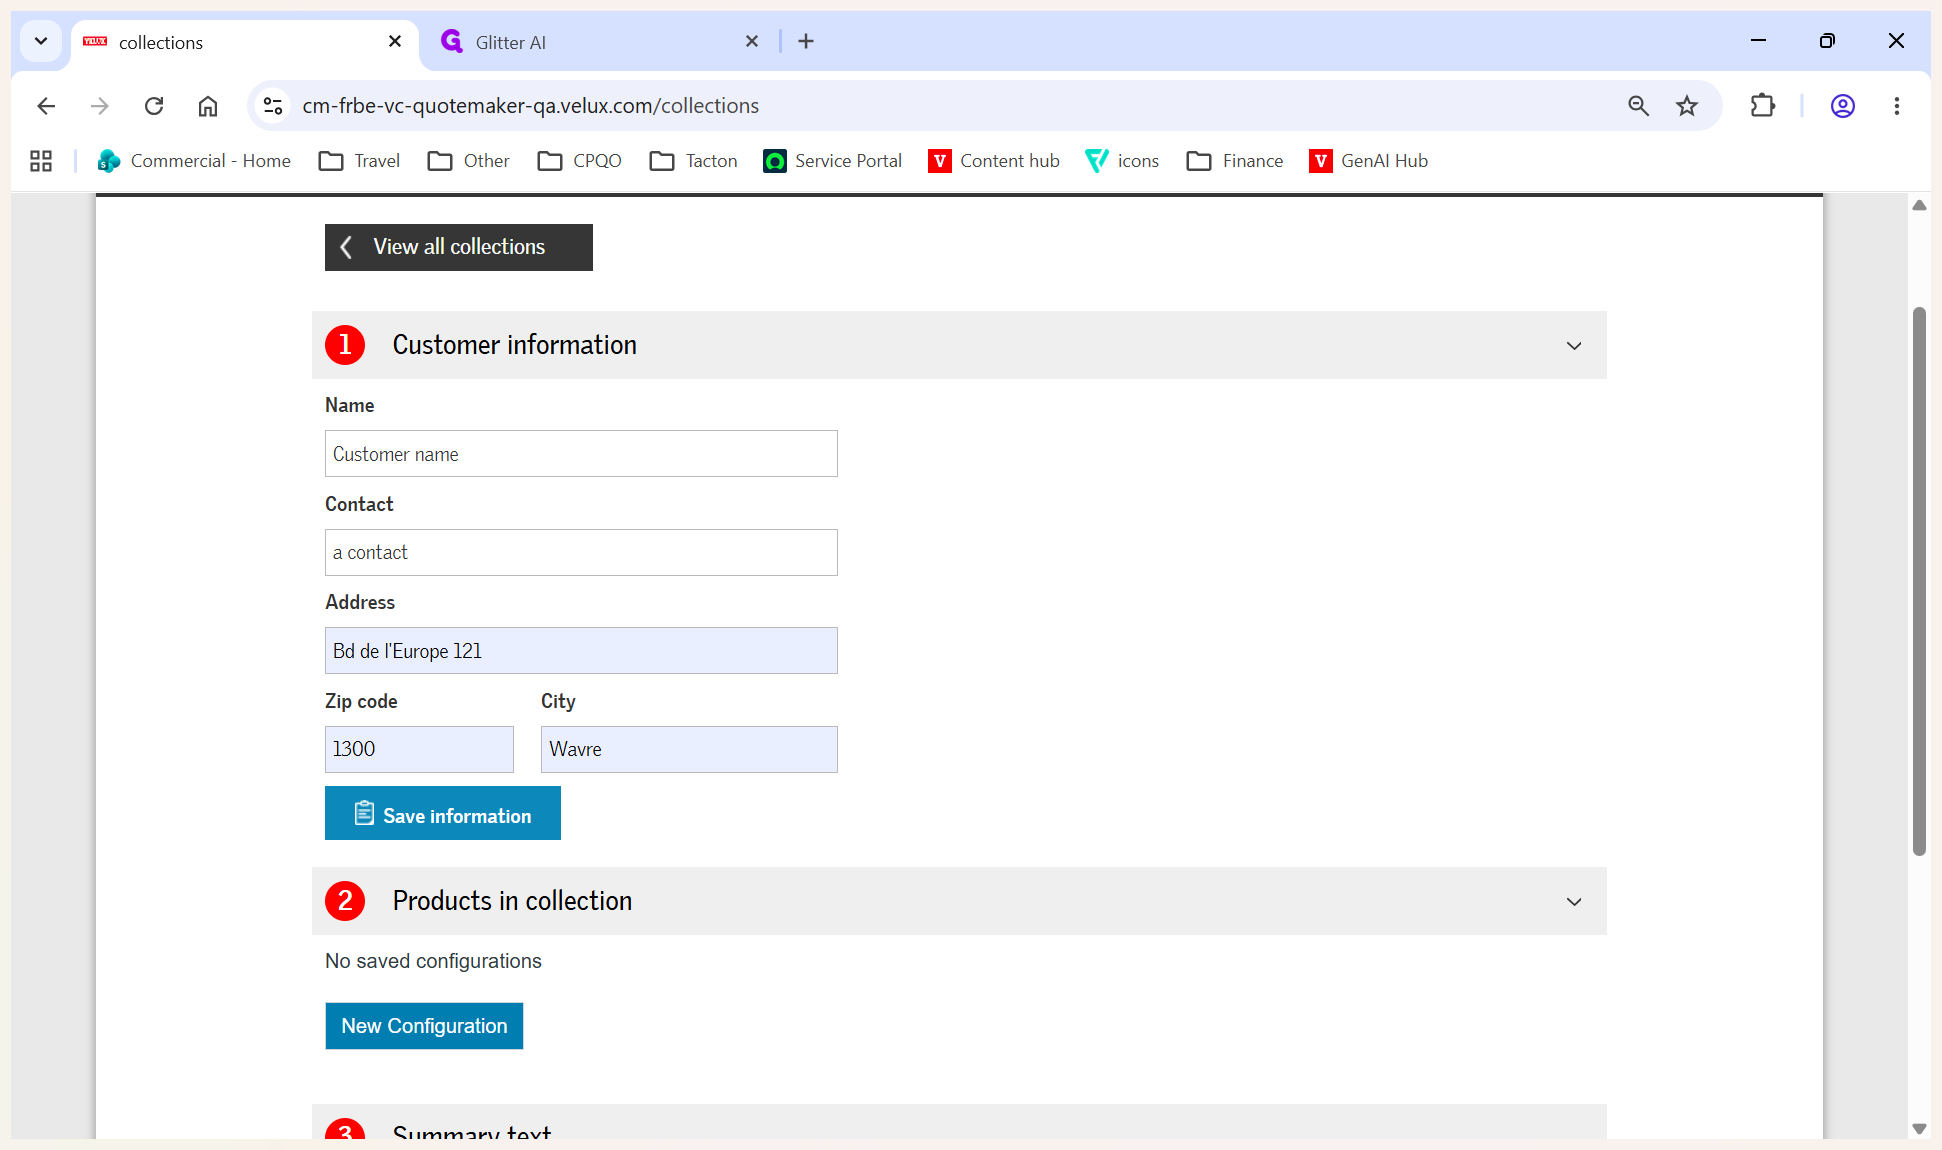
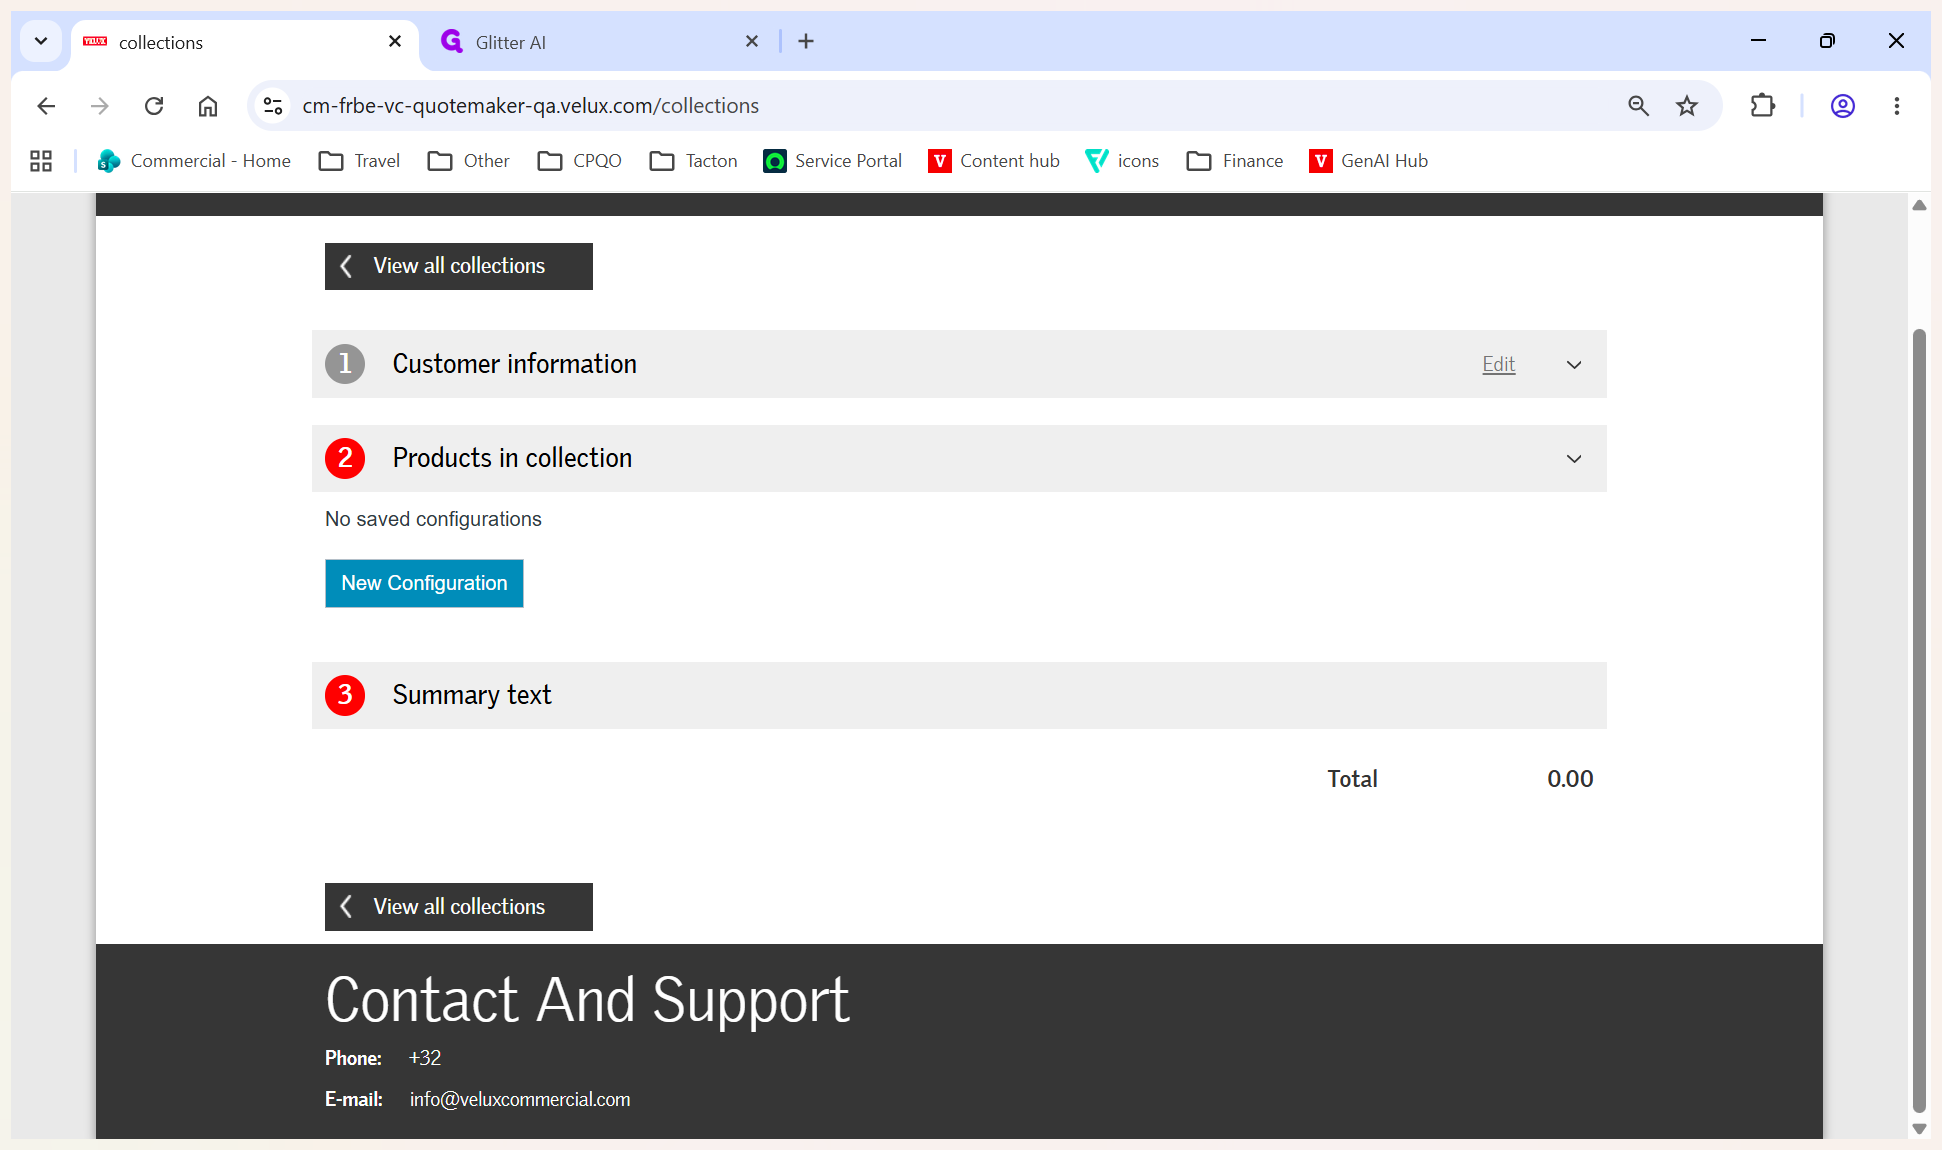
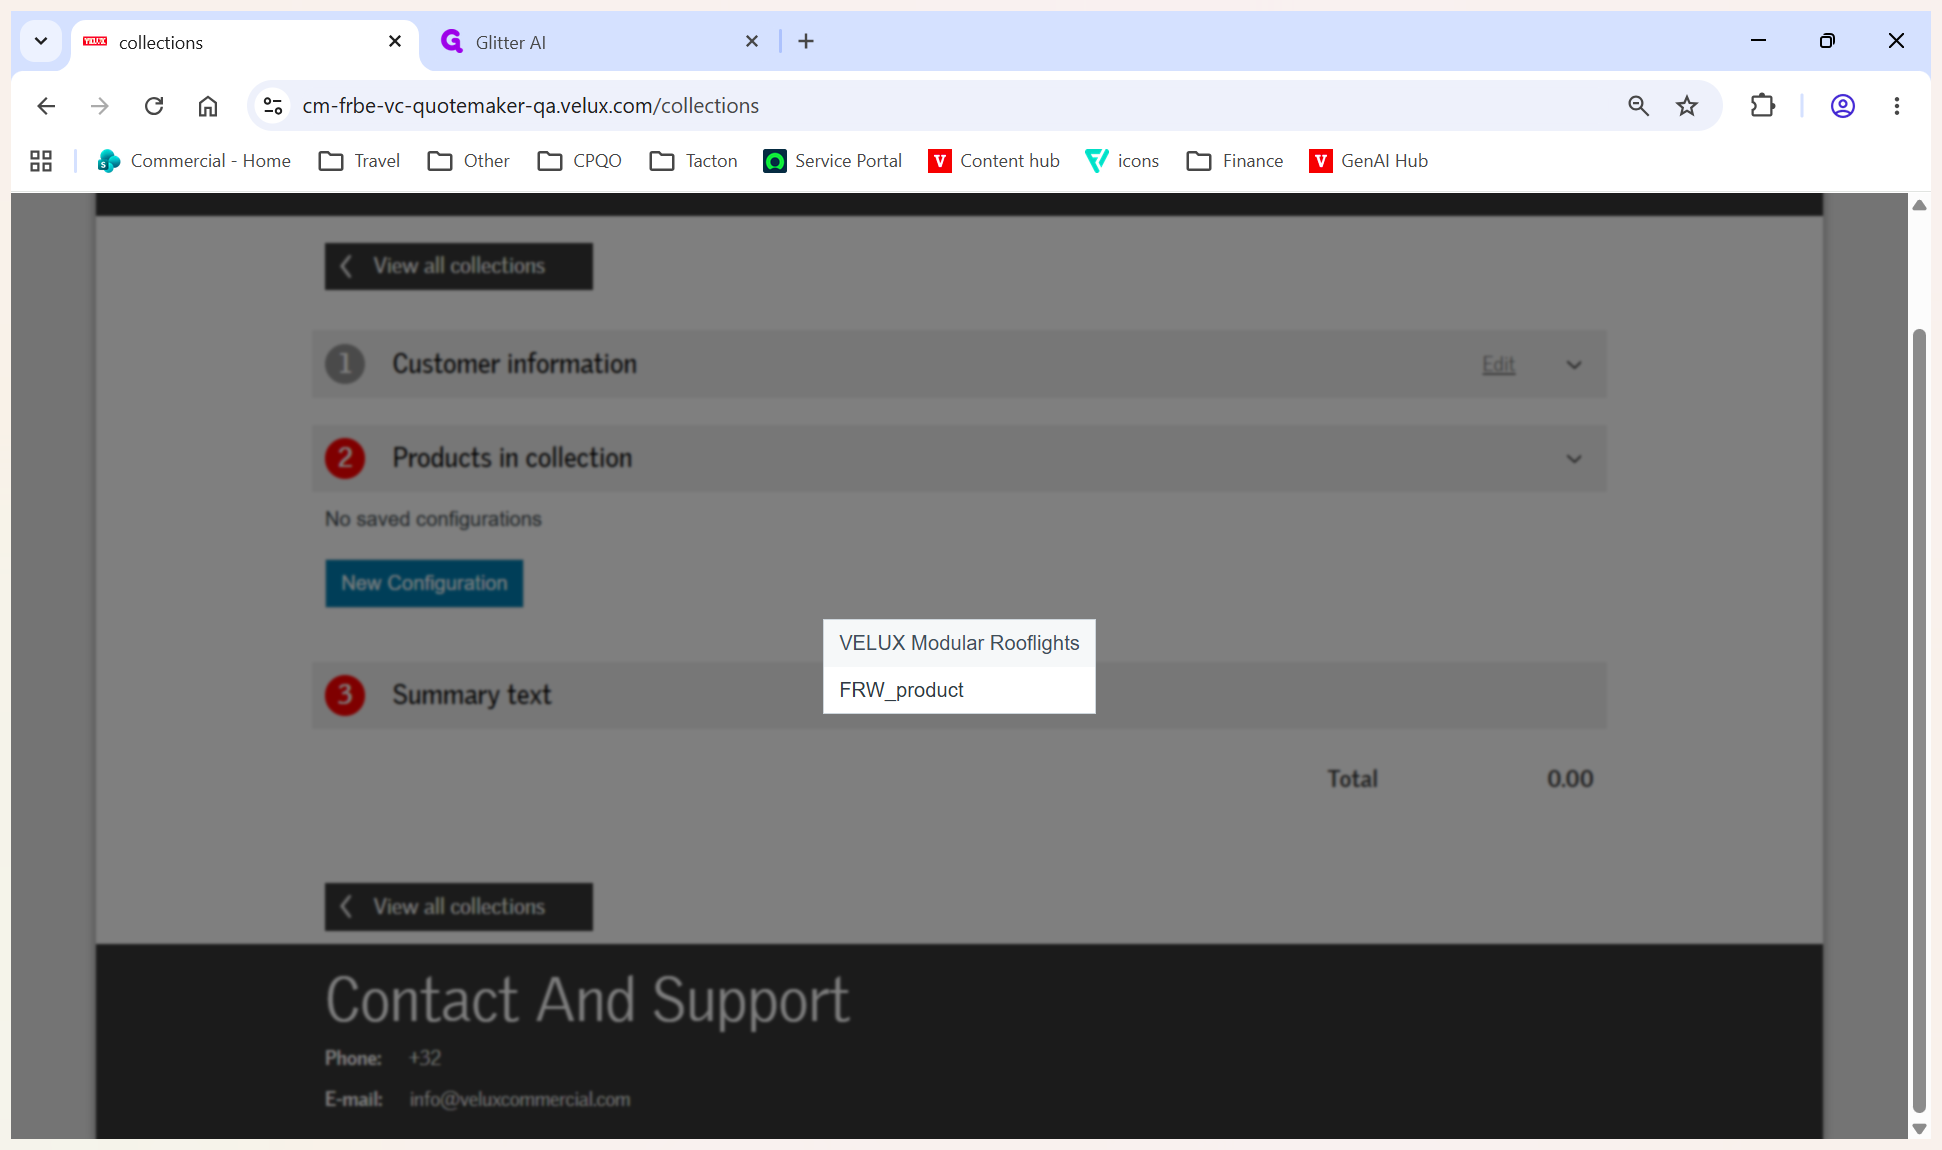
5
Fill in the customer information (such as name, address, zip code, and city), then click Save information.
Step #5: Fill in the customer information (such as name, address, zip code, and city), then click Save information.

Configure a Product

Next, select and configure the specific products for the customer.

6
Click New Configuration to add a product to the quote.
Step #6: Click New Configuration to add a product to the quote.
7
Select VELUX Modular Rooflights from the dropdown menu.
Step #7: Select VELUX Modular Rooflights from the dropdown menu.
8
Choose the base shape by clicking the VMR_pos (Monolight) option.
Step #8: Choose the base shape by clicking the VMR_pos (Monolight) option.

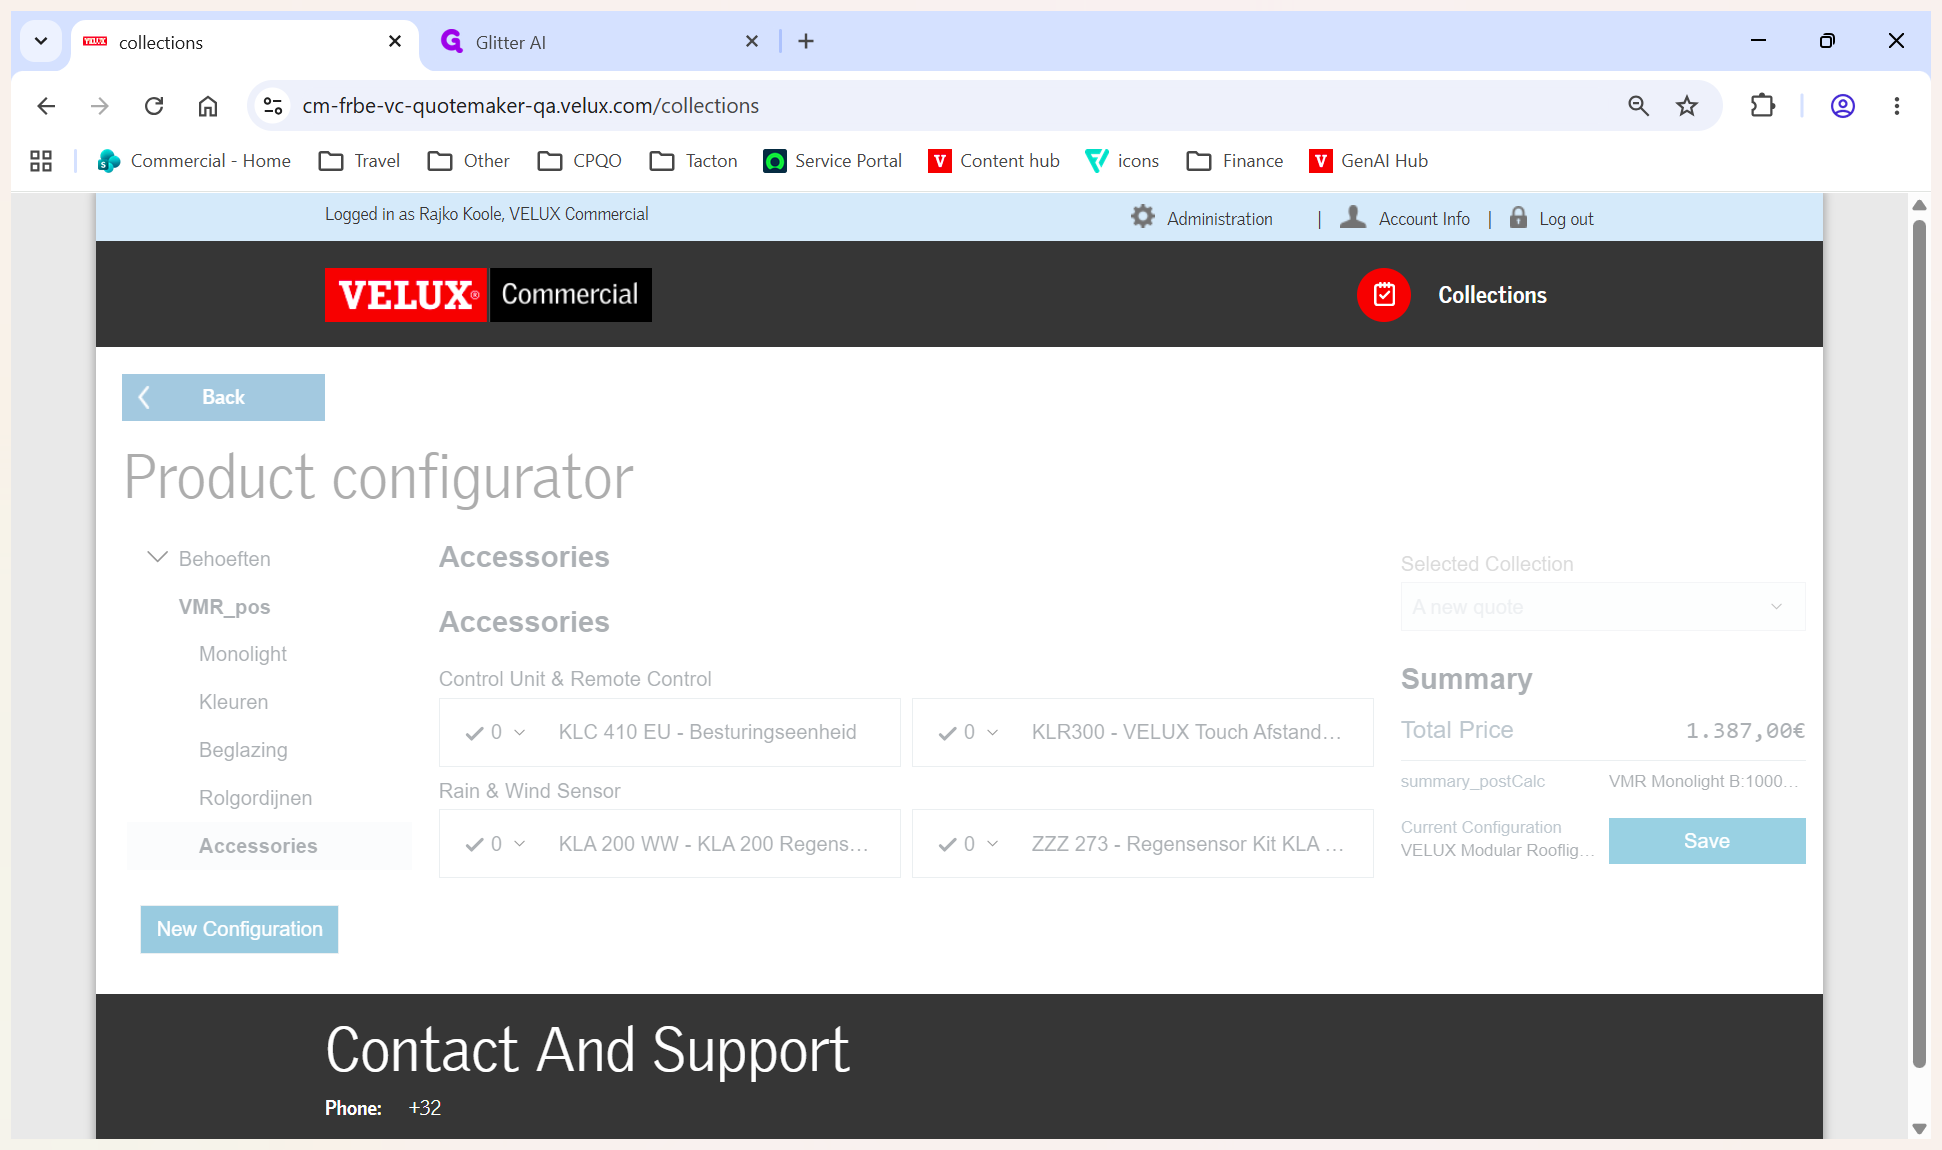
You are now inside the Monolight configurator. Use the left-hand navigation menu to customize specific technical details, including upstand height and variants.

Configuration Menu

What you configure

Kleuren

Select interior and exterior RAL colors.

Beglazing

Configure glass layers and sun protection coatings.

Rolgordijnen

Add and specify integrated roller blinds.

Accessories

Select optional add-ons like control units and sensors.

9
Once your customization is complete, click Save to lock the configuration into the quote.
Step #9: Once your customization is complete, click Save to lock the configuration into the quote.

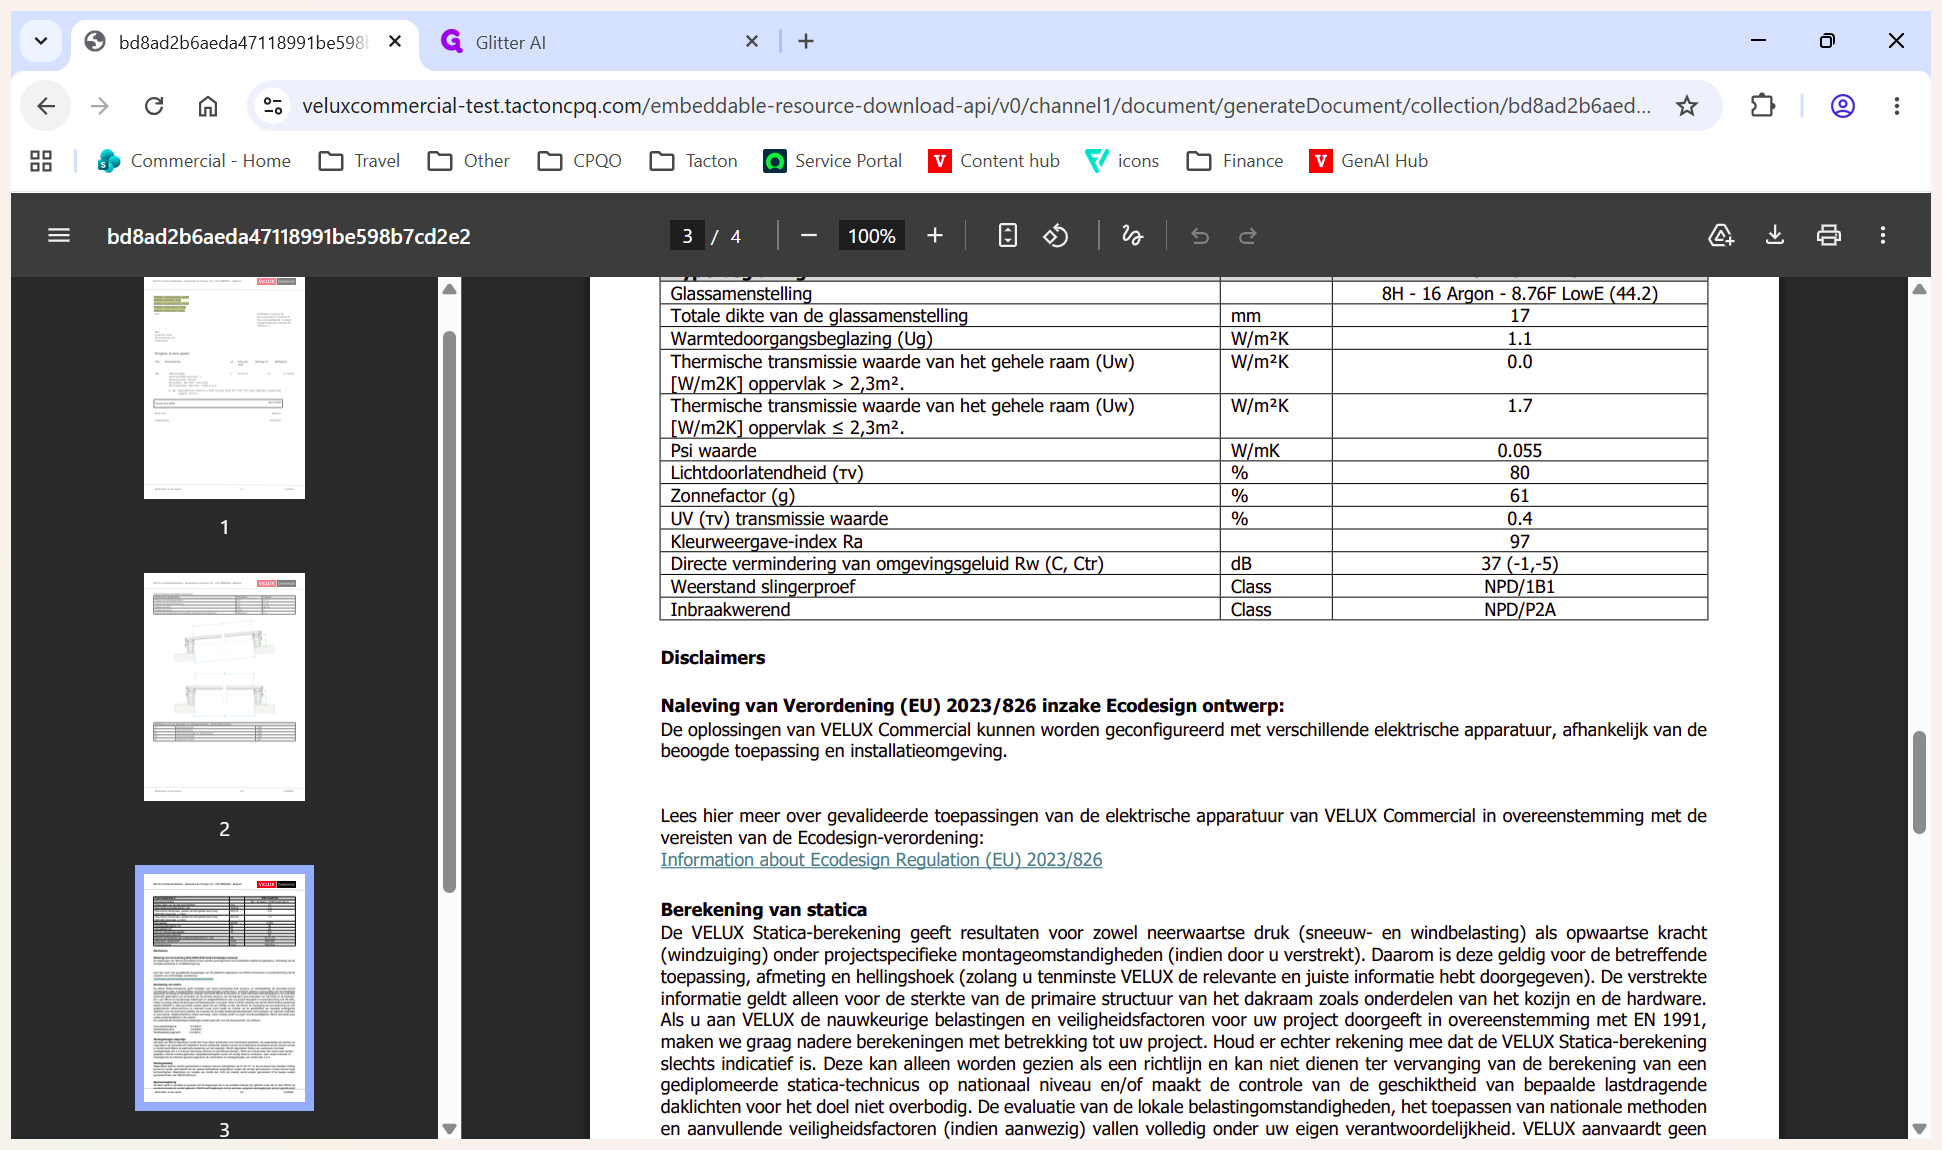
Generate and Print the Quote

Once all products are added and saved, you can generate the final document.

10
Click Collections to return to your quote overview page.
Step #10: Click Collections to return to your quote overview page.
11
Click Print to generate a PDF containing all configured technical details and customer information.
Step #11: Click Print to generate a PDF containing all configured technical details and customer information.
12
Click the back arrow in your PDF viewer or browser to return to your specific quote.
Step #12: Click the back arrow in your PDF viewer or browser to return to your specific quote.