Working with ArcGIS Server and NatureLab Applications
A step-by-step guide on how to work with ArcGIS Server and NatureLab applications. Learn how to access the user area, download surveys, and navigate through the NatureLab Sites and Participants apps.
In this guide, we'll learn how to navigate and utilize the ArcGIS Servi 1, 2, 3 application effectively. The user message highlights the importance of accessing the client area, specifically the user area, for tasks such as downloading surveys and exploring the NatureLab app for sites and participants. Understanding these steps is crucial for seamless interaction within the program. Let's delve into the process step by step.
Accessing the Client Area
To begin, we'll explore how to access the client area within ArcGIS Servi 1, 2, 3 and understand the significance of this step for efficient workflow.
Downloading Surveys and NatureLab App
Next, we'll guide you through the process of downloading surveys and accessing the NatureLab app for sites and participants, essential for data collection and analysis.
Exploring NatureLab Features
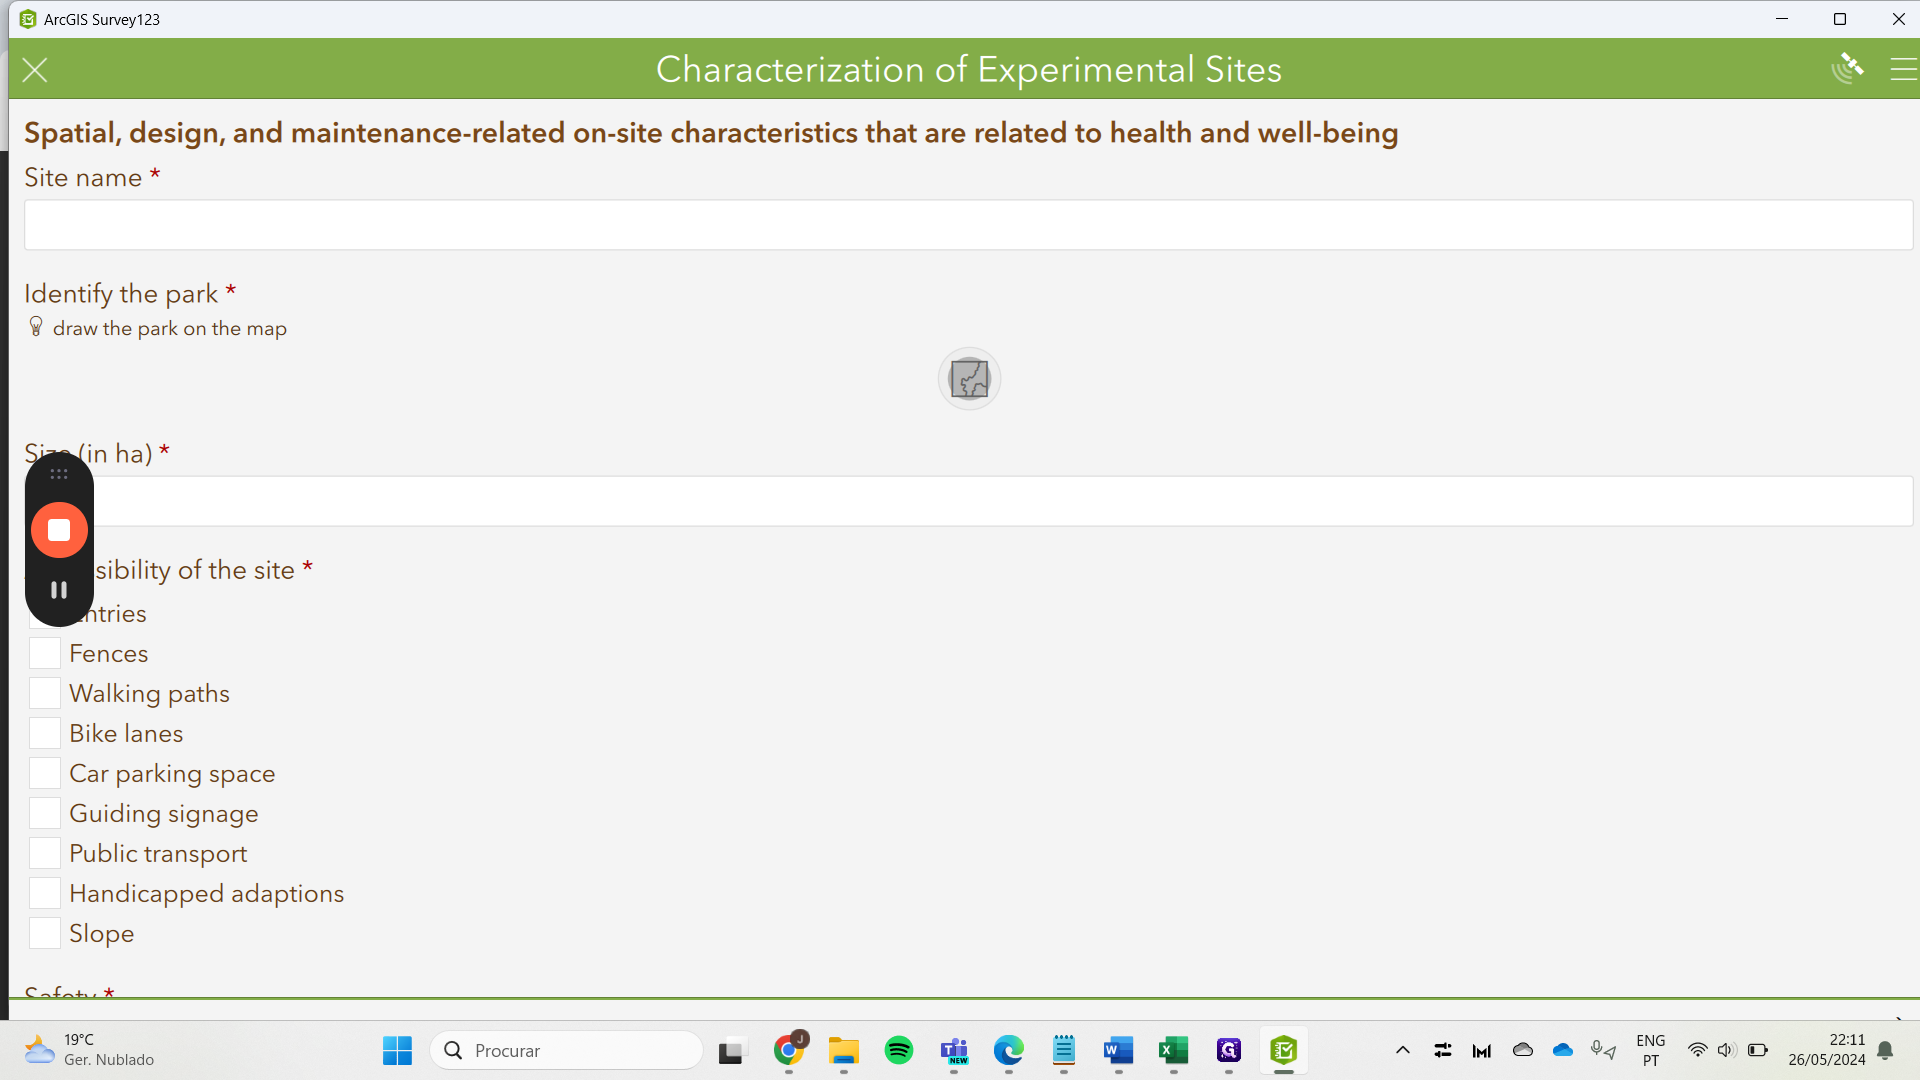
Lastly, we'll delve into the features of NatureLab, focusing on options like outbox, inbox, and collection, providing insights into optimizing your workflow effectively.
Let's get started.
Hello, good morning. Let's now learn how to work with ArcGIS Server 1, 2,
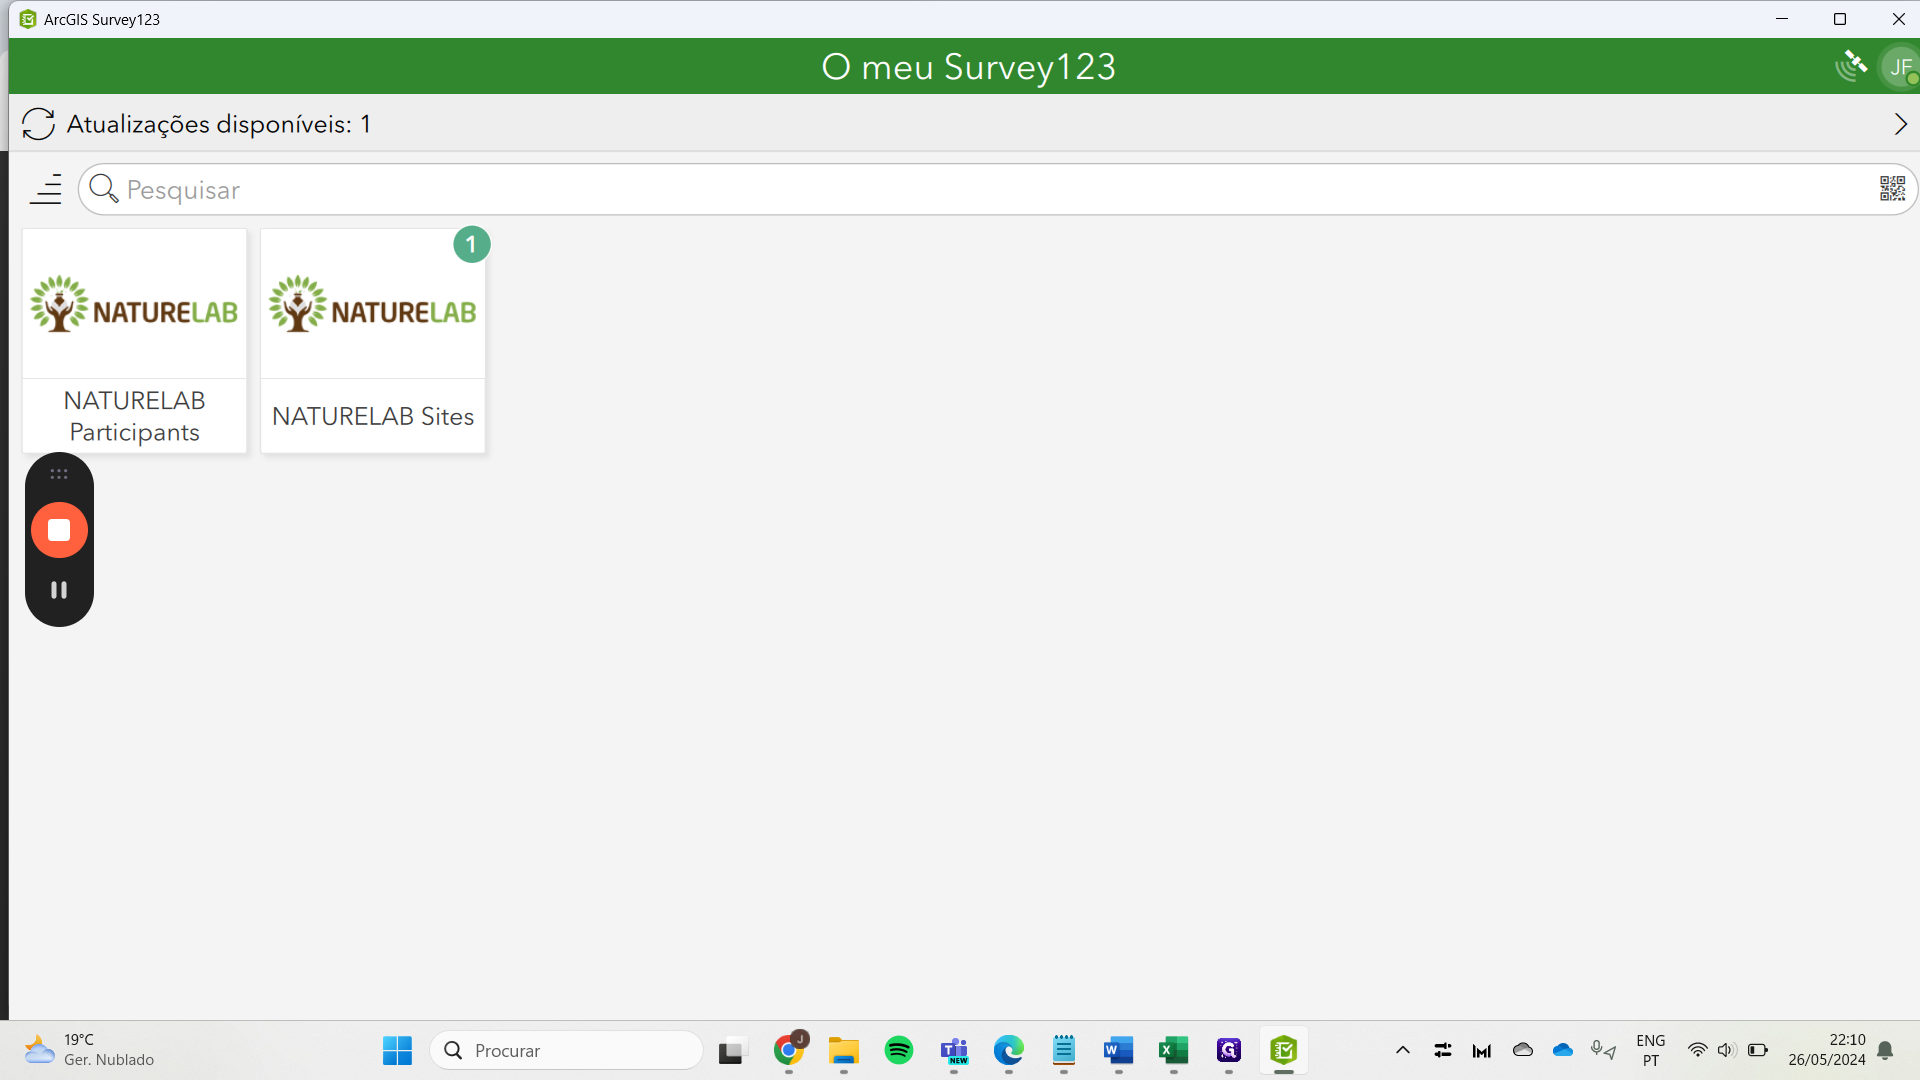
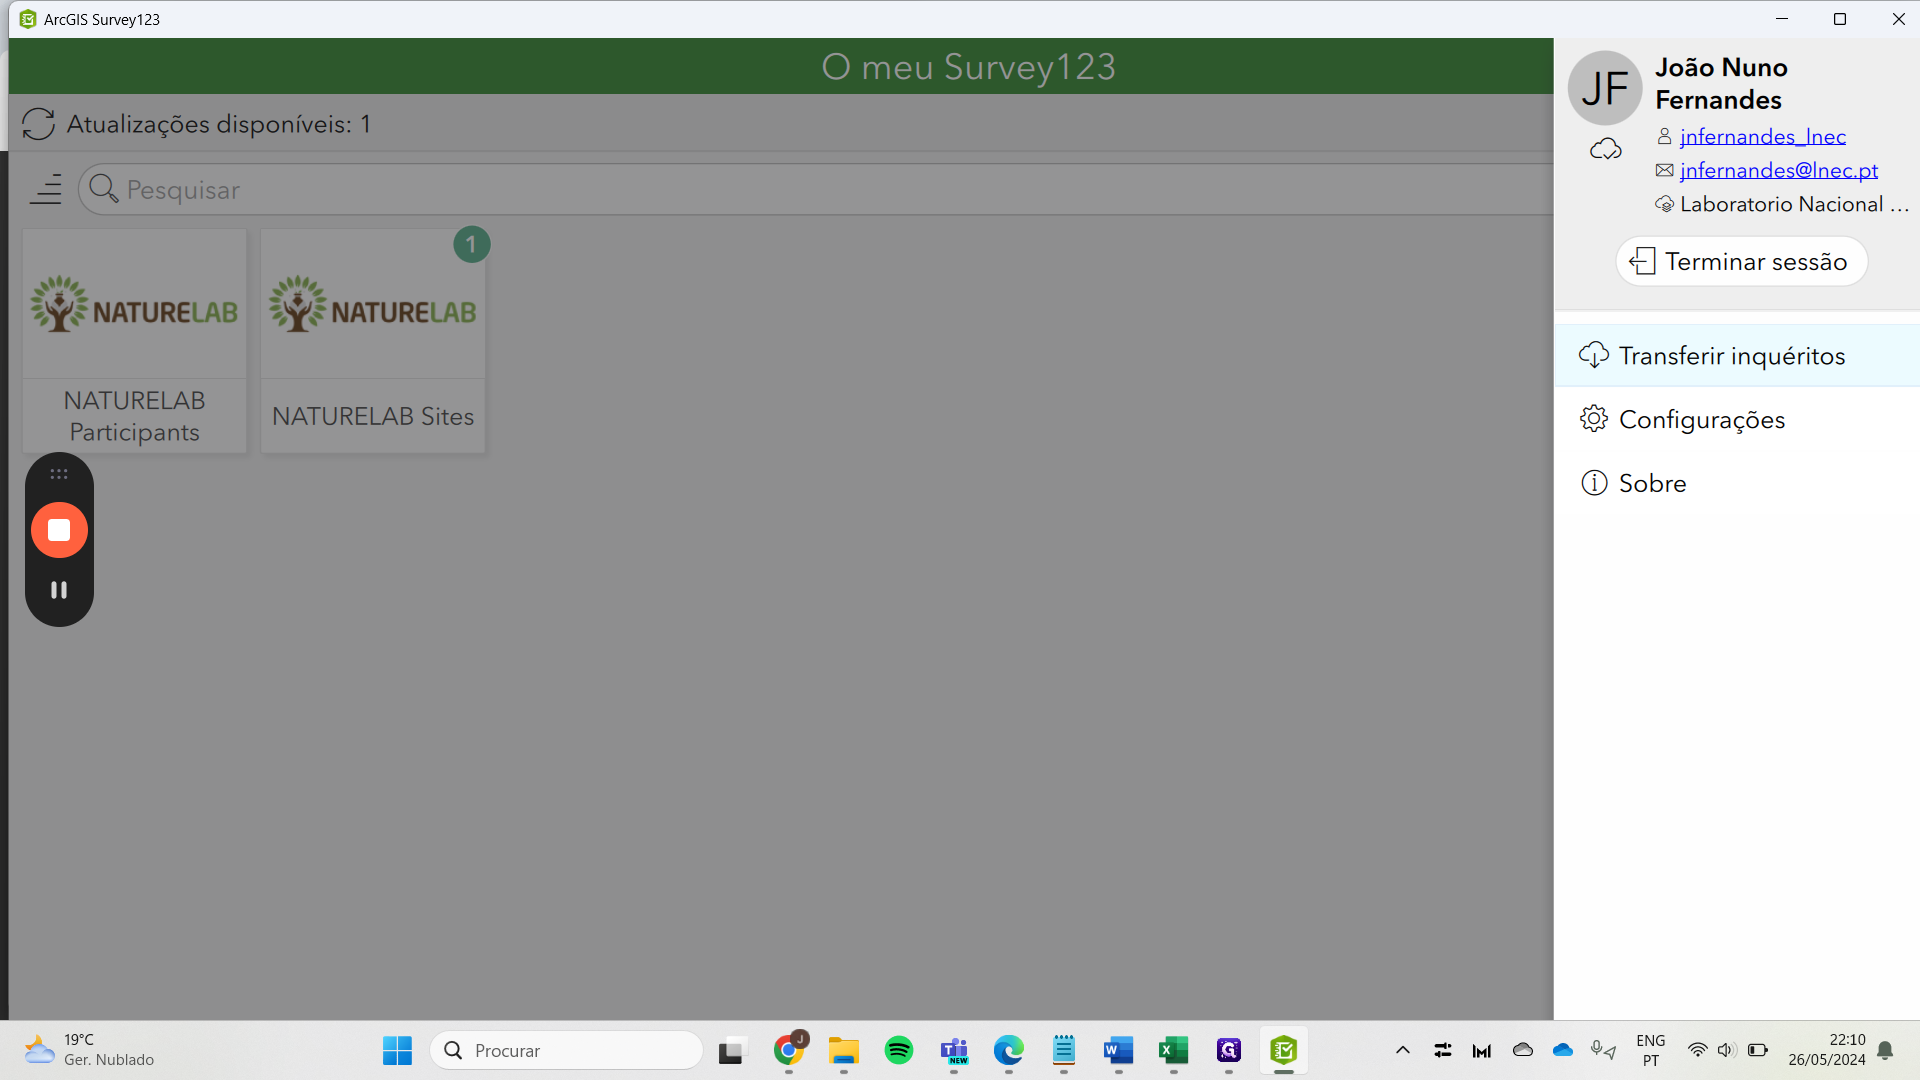
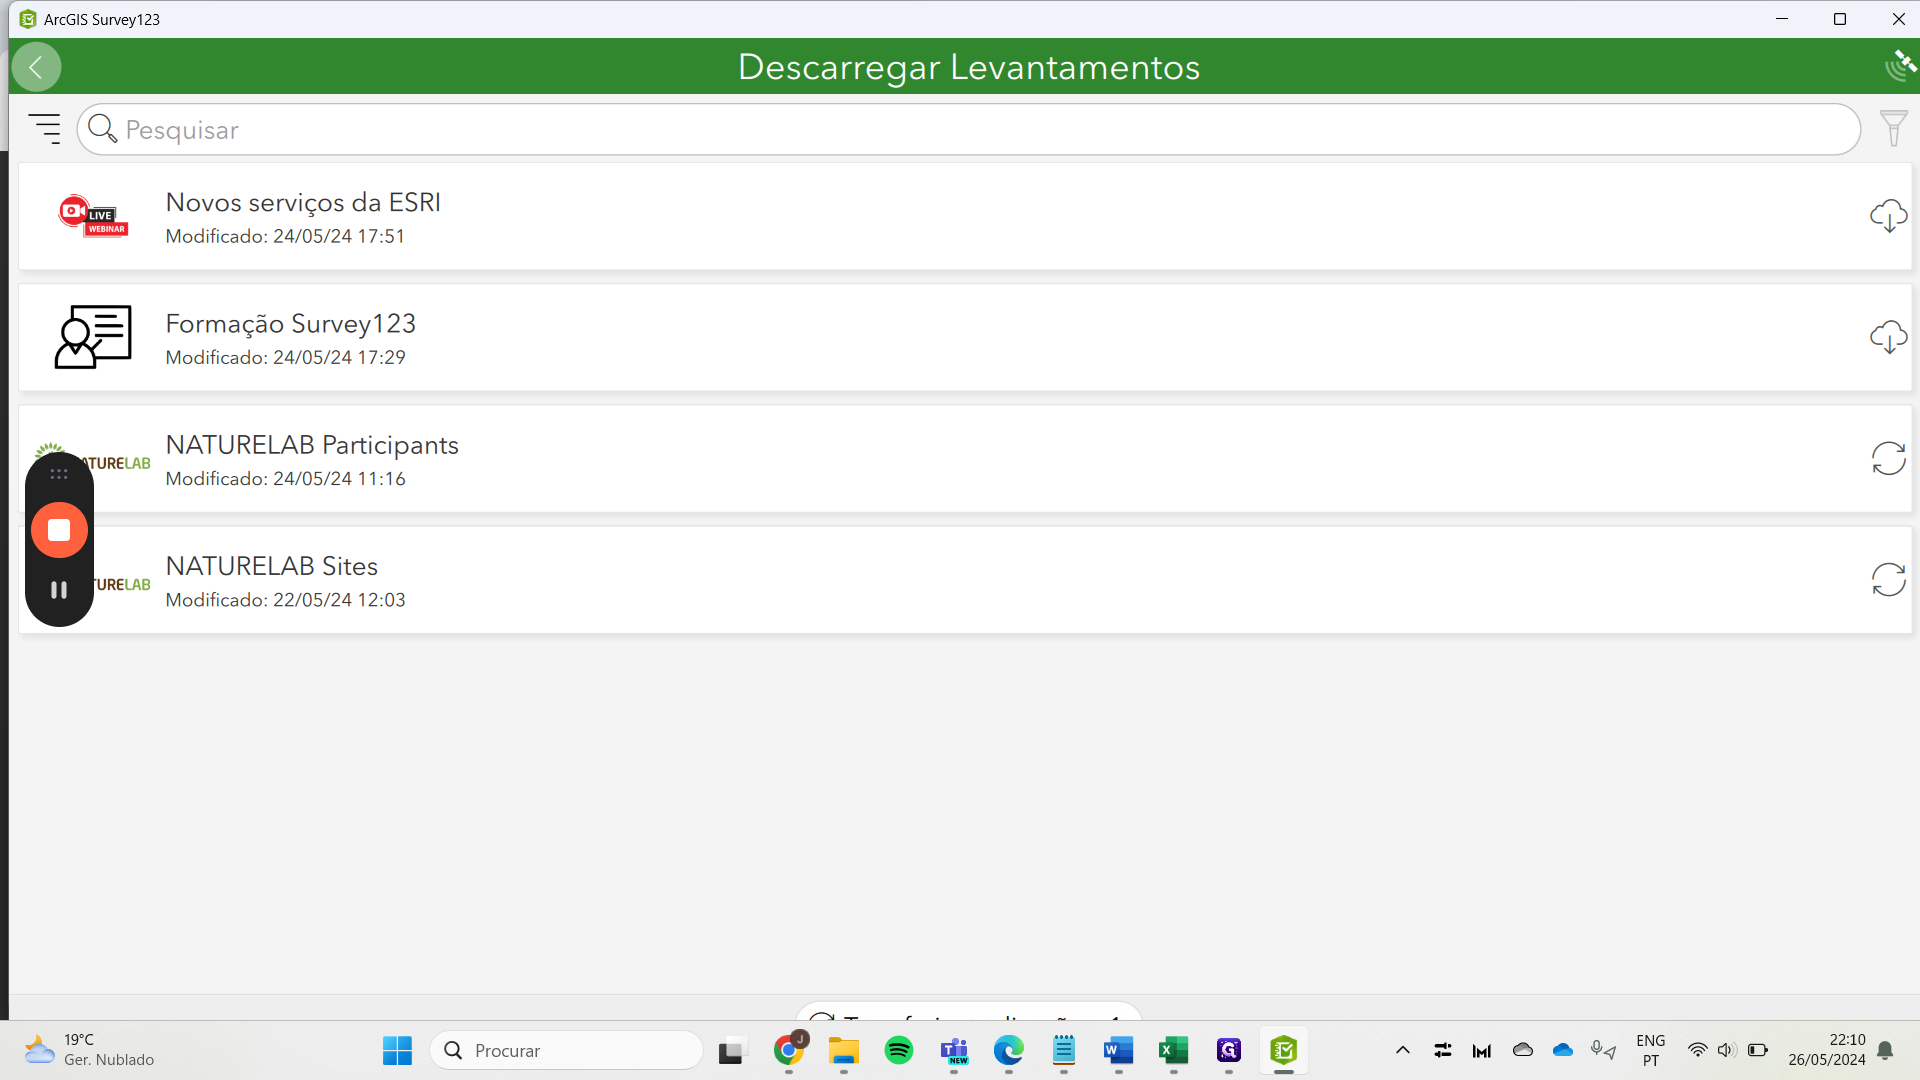
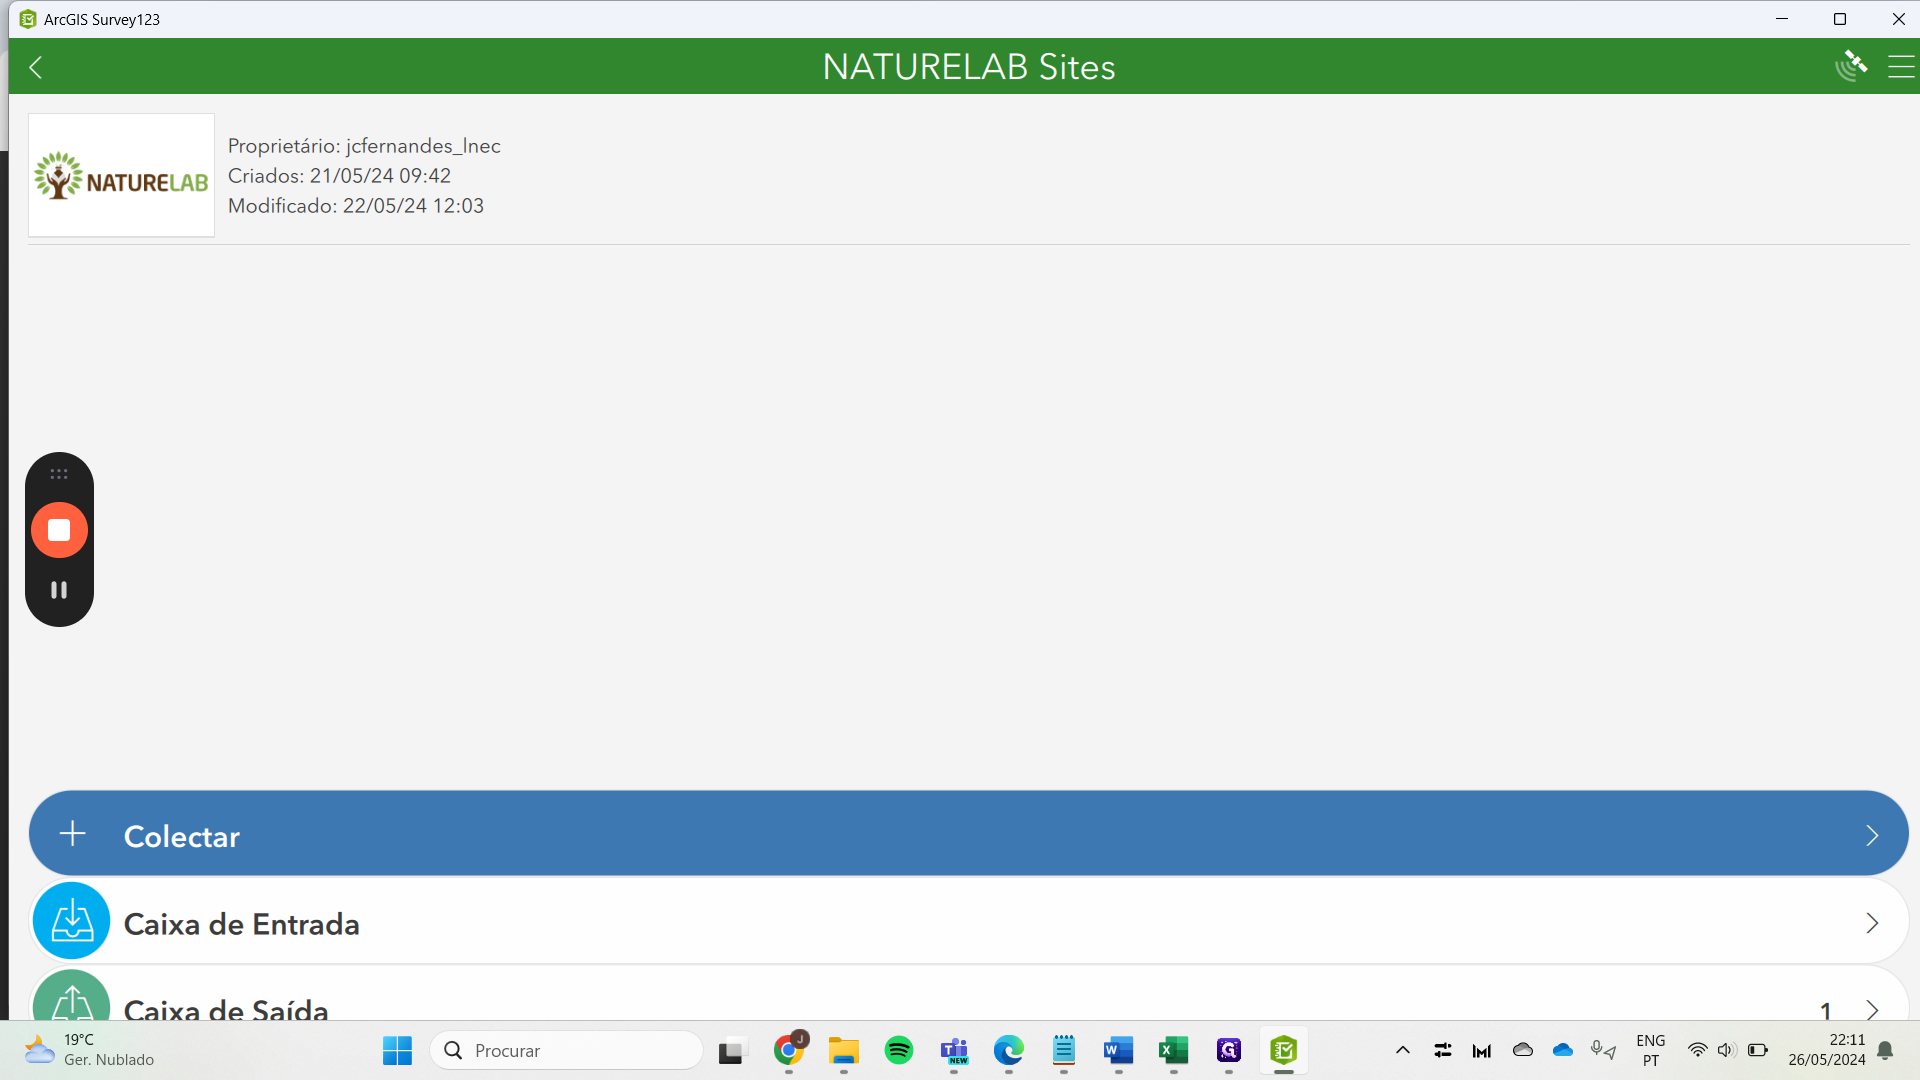
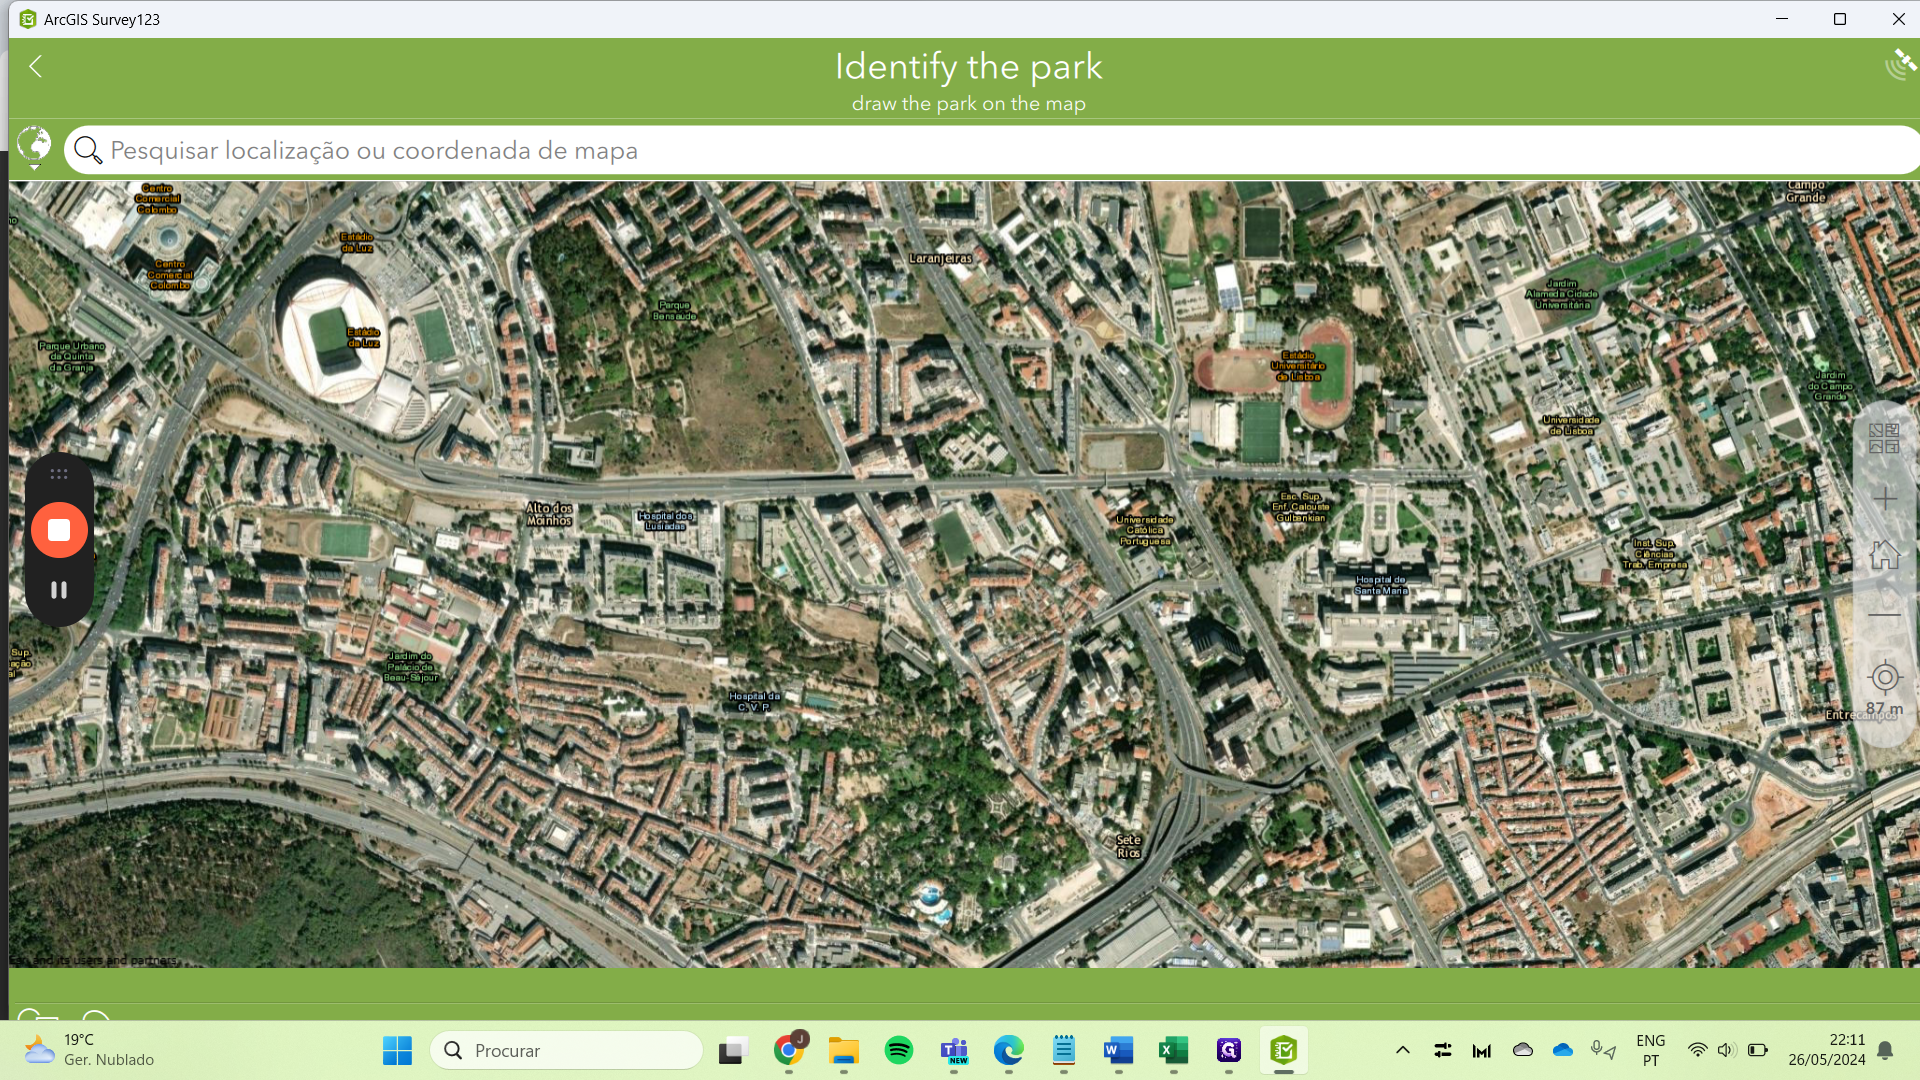
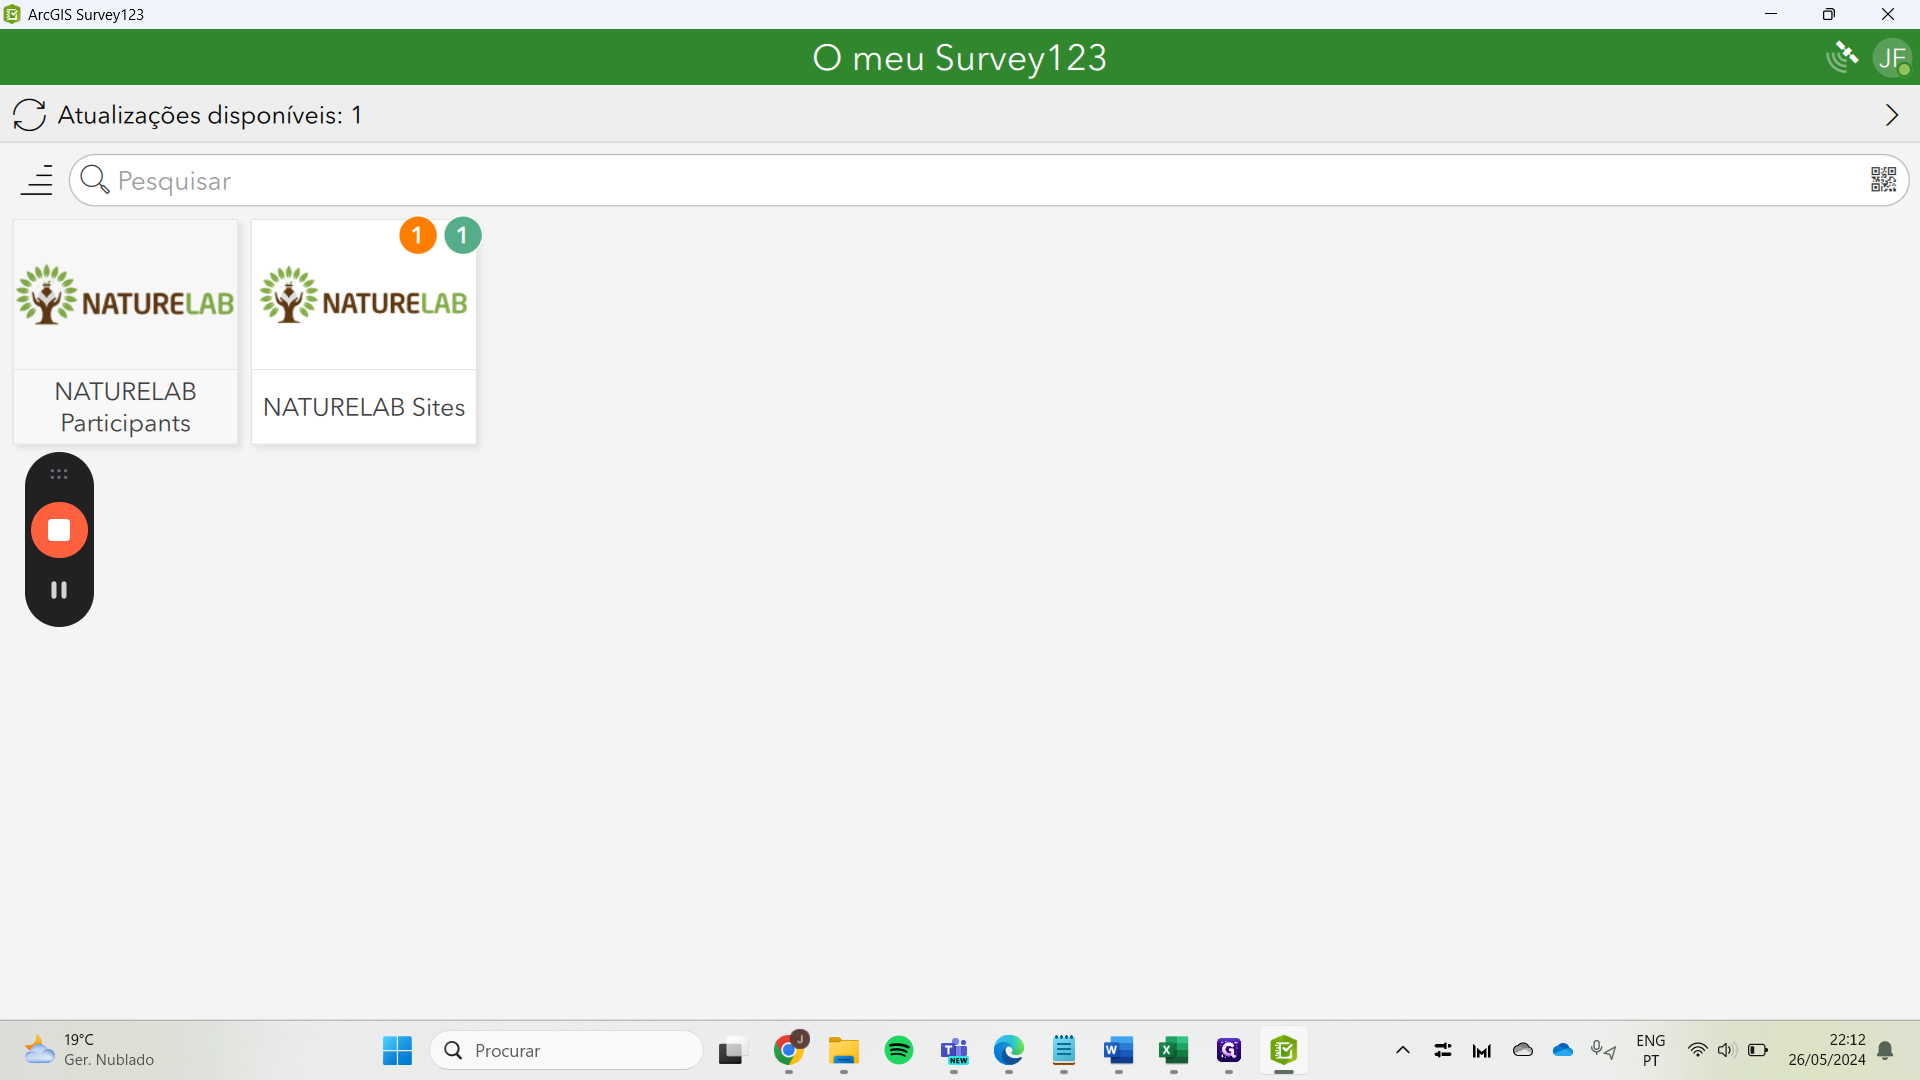
We are calling here to open the program, and as you can see, it is opening. I have already started my session. It is very important to go to the user area, not the client area, and as you can see, there are survey downloads available.
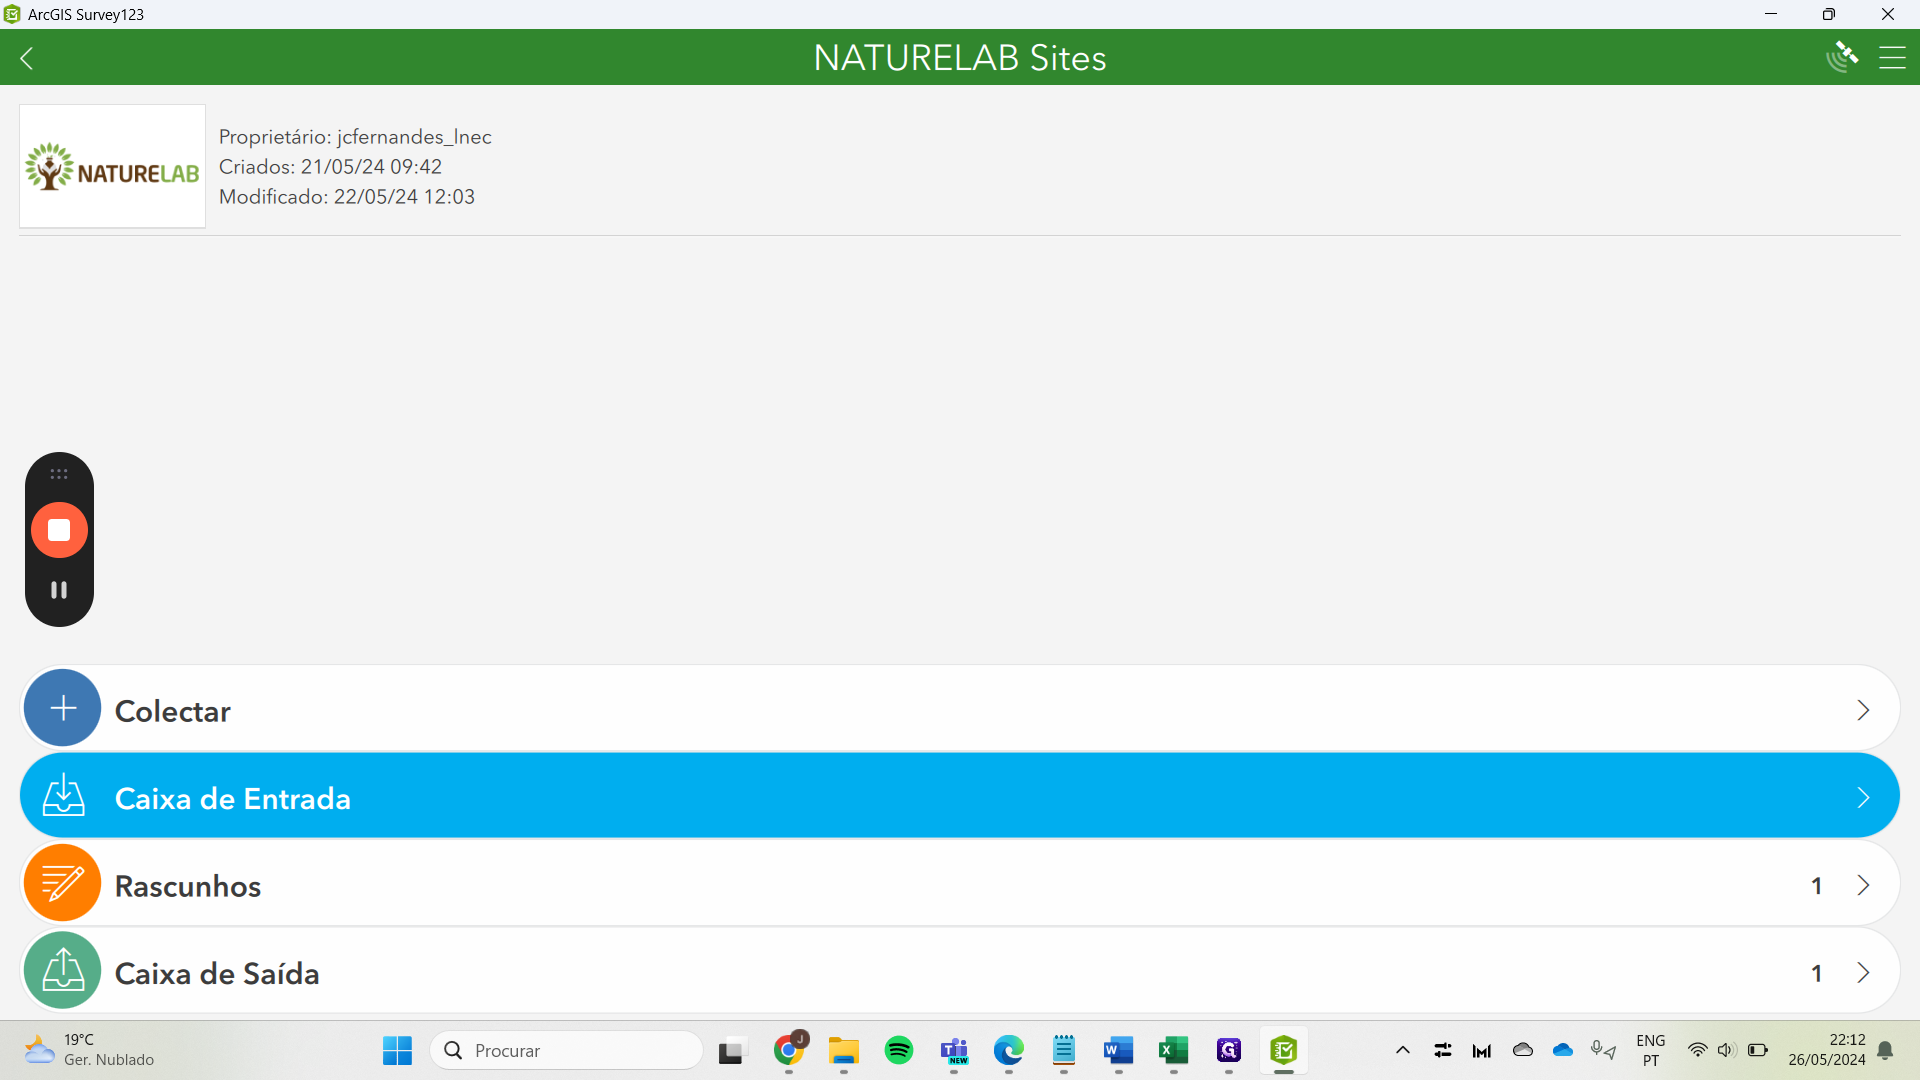
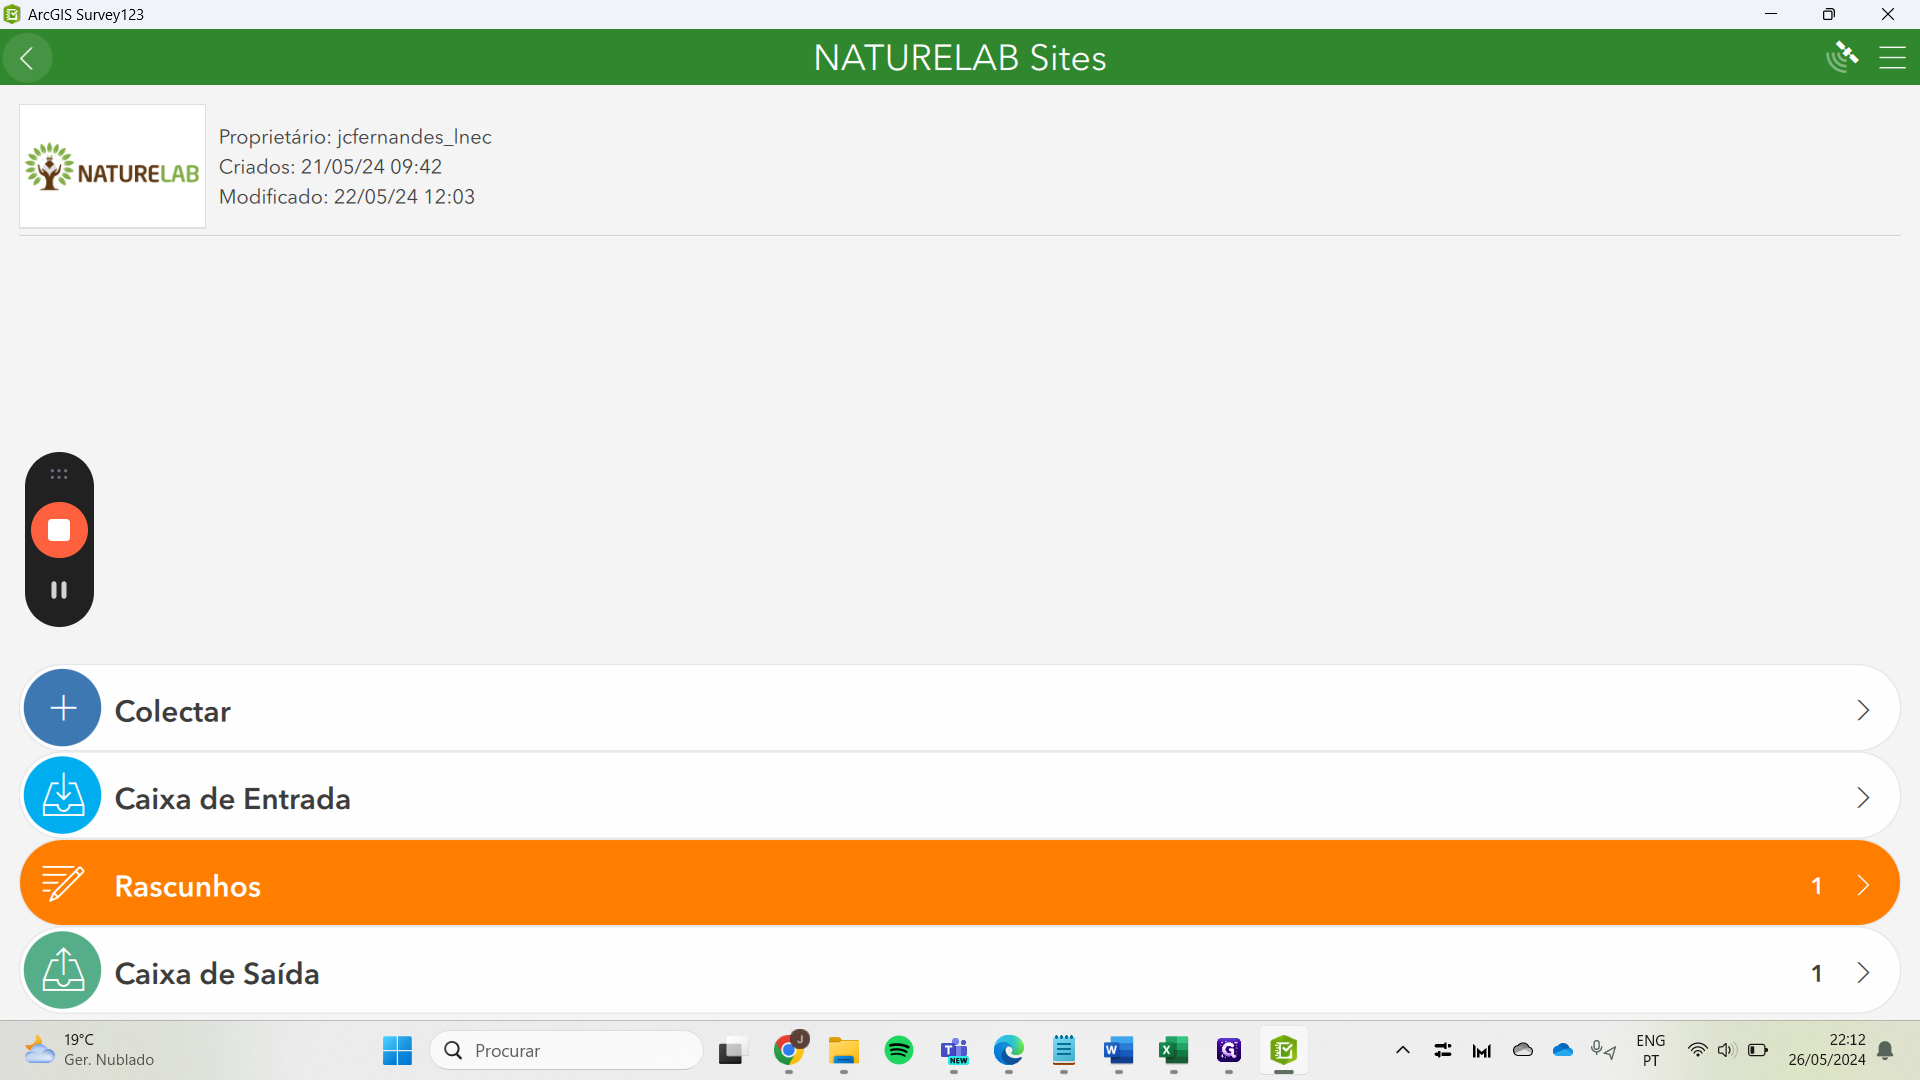
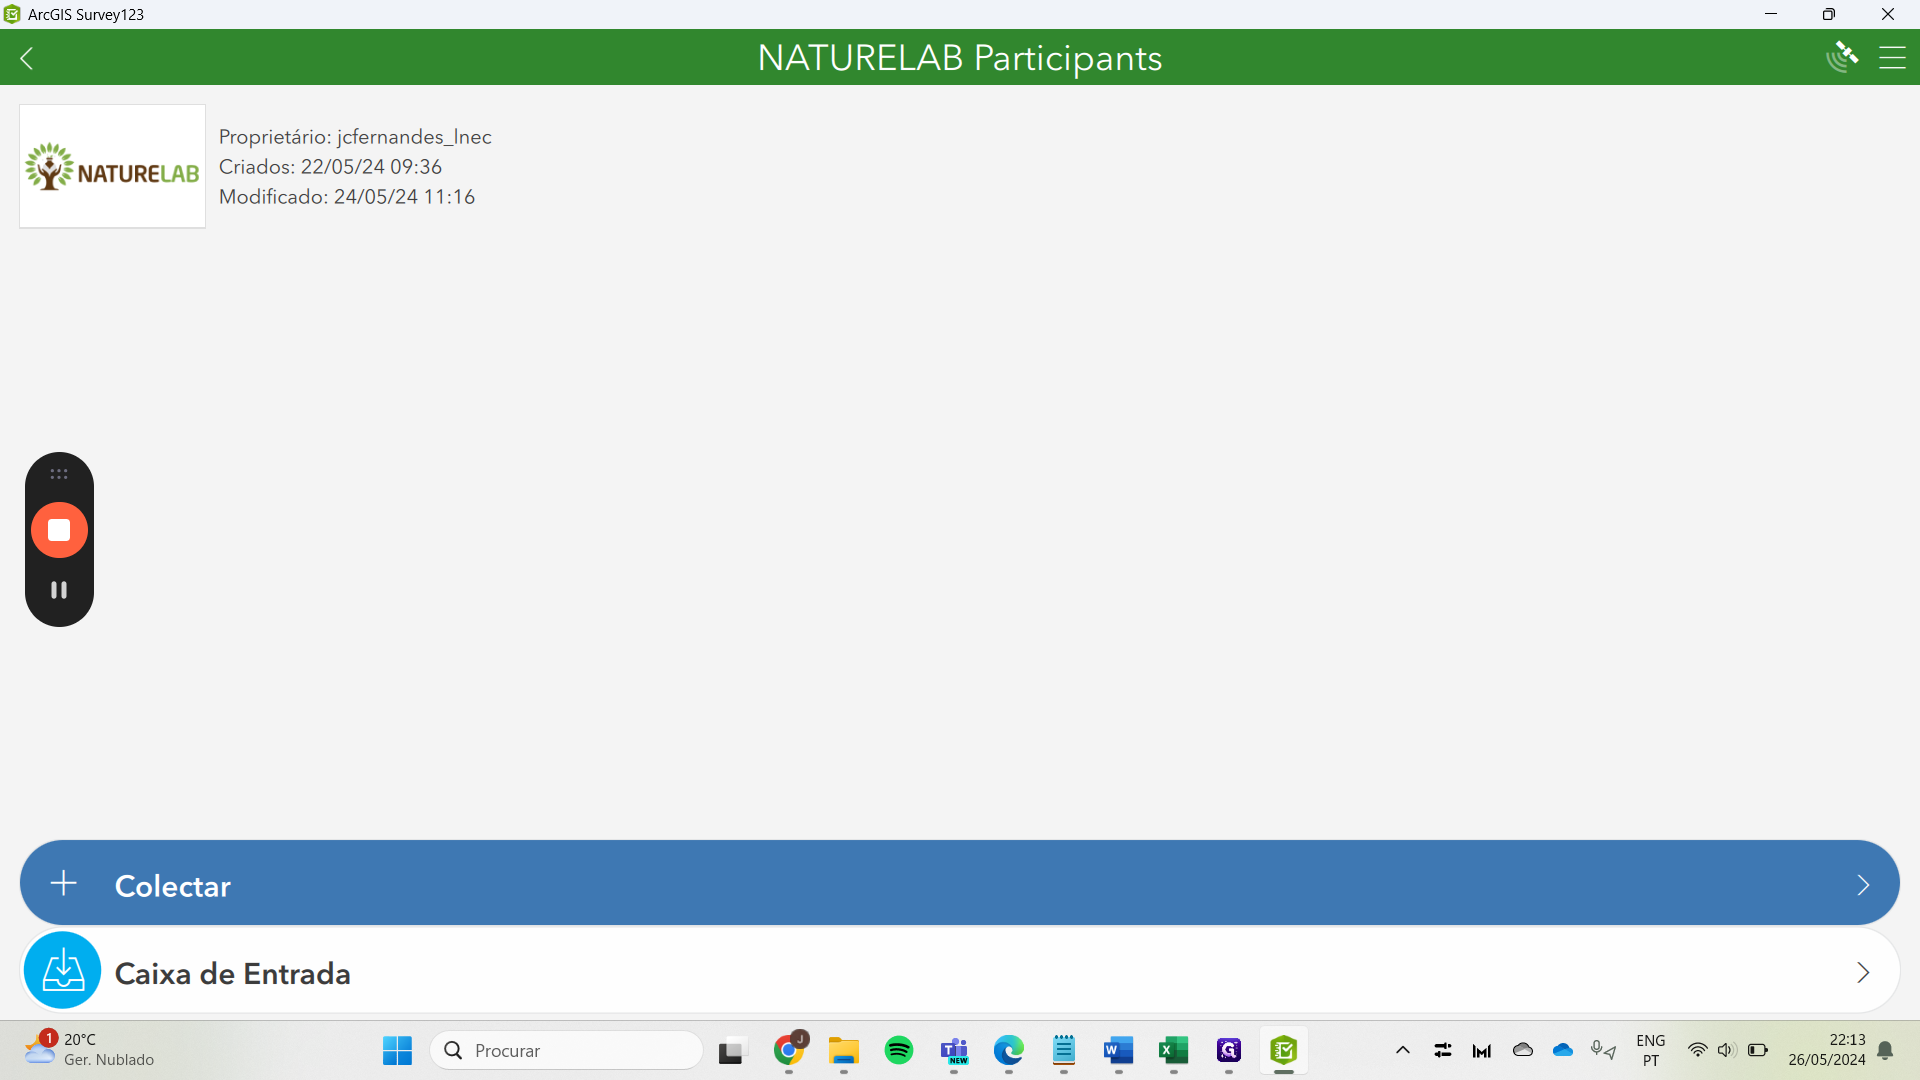
After João Carlos Fernandes grants you access, you can come to this place and find the NatureLab app for websites and participants.
Simply click on "download," in this case, you are downloading, that's it.

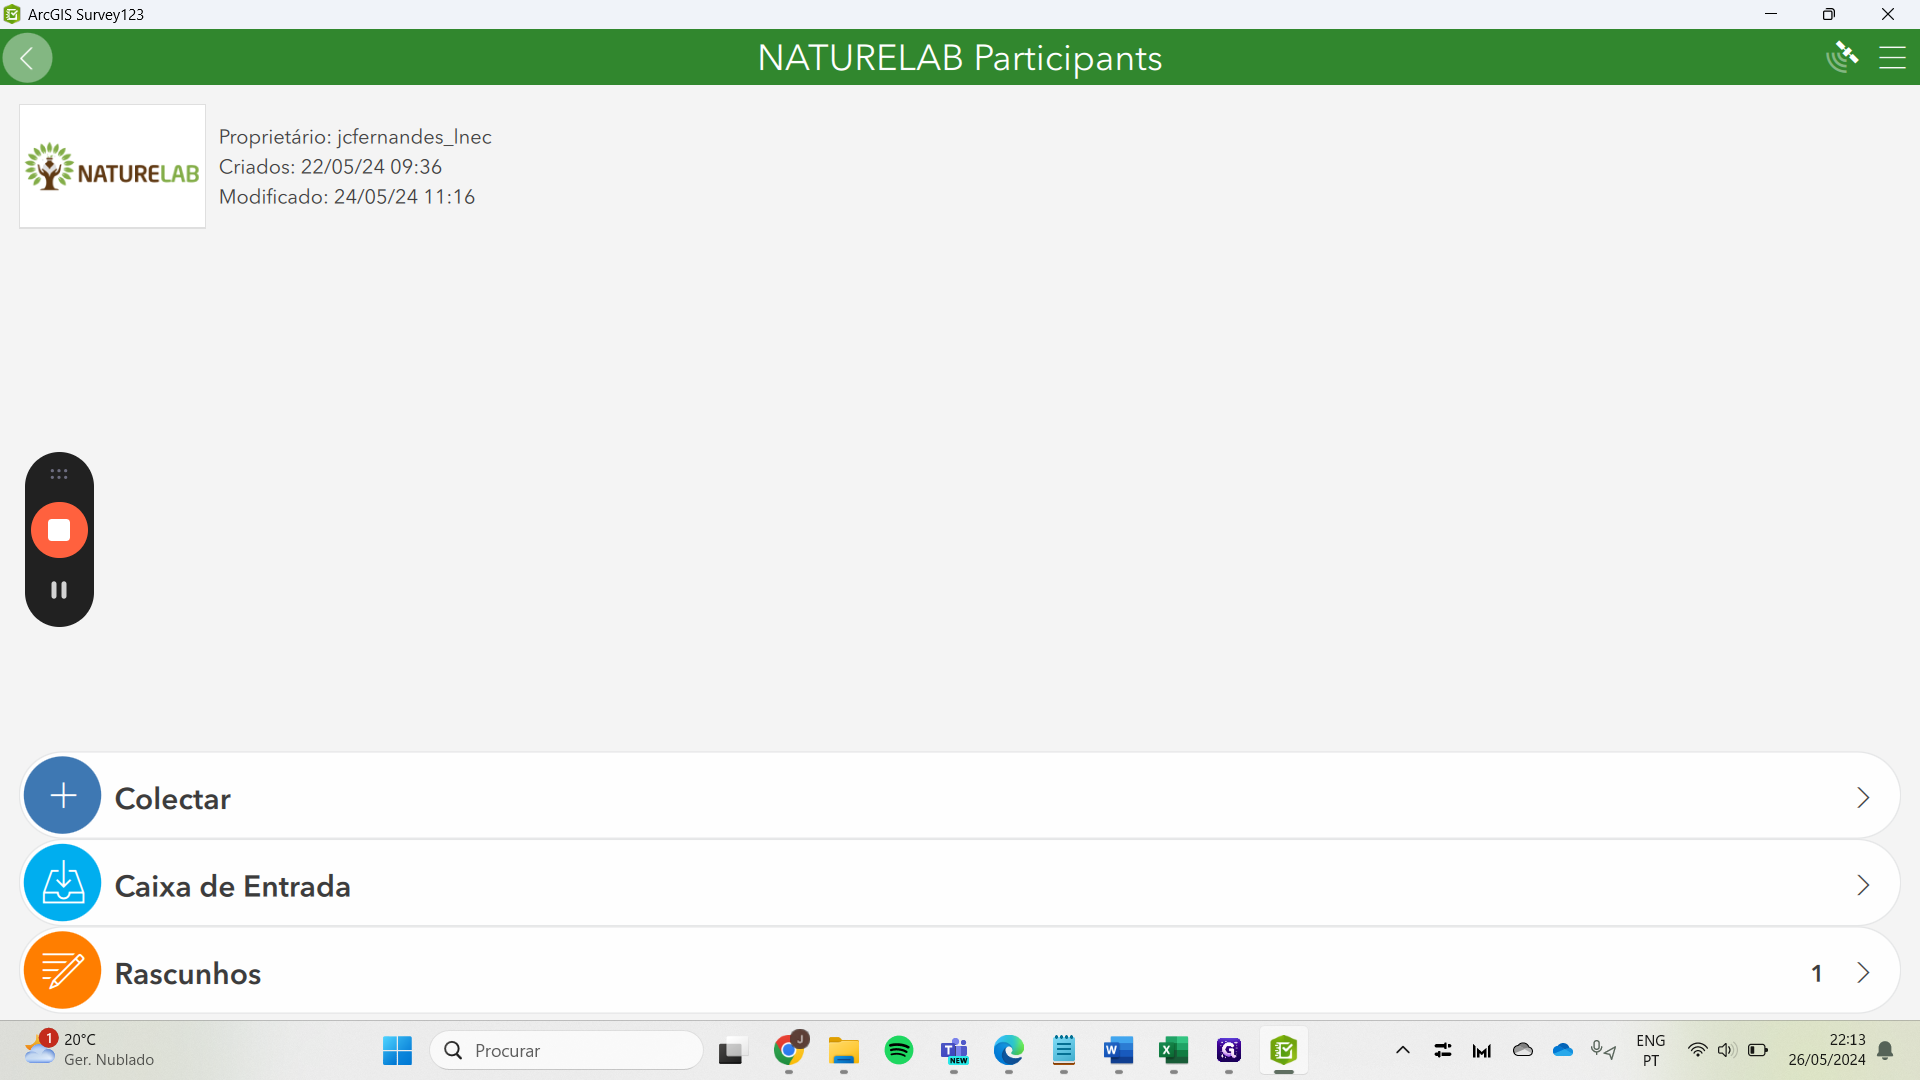
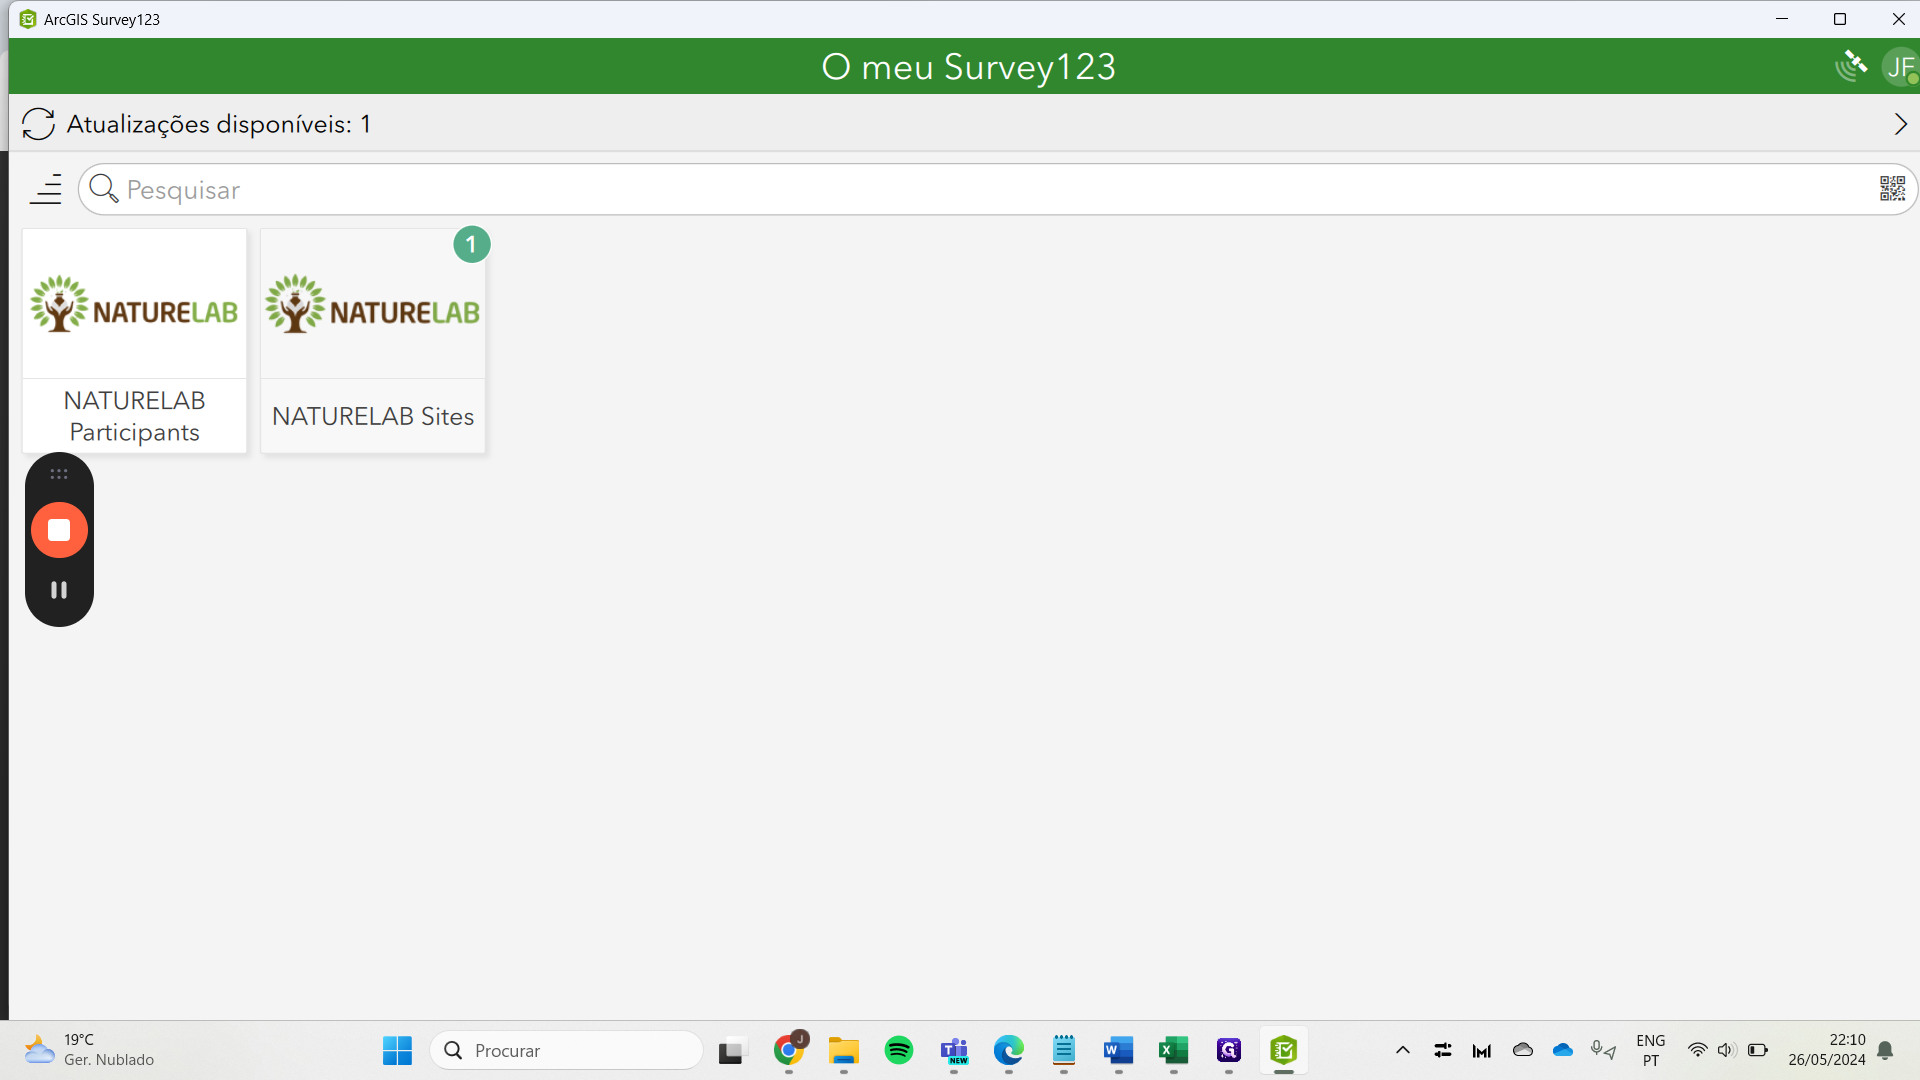
Returning back, the two applications appear automatically here, either NatureLab Sites or NatureLab Participants. Let's, for example, take a look at NatureLab Sites.
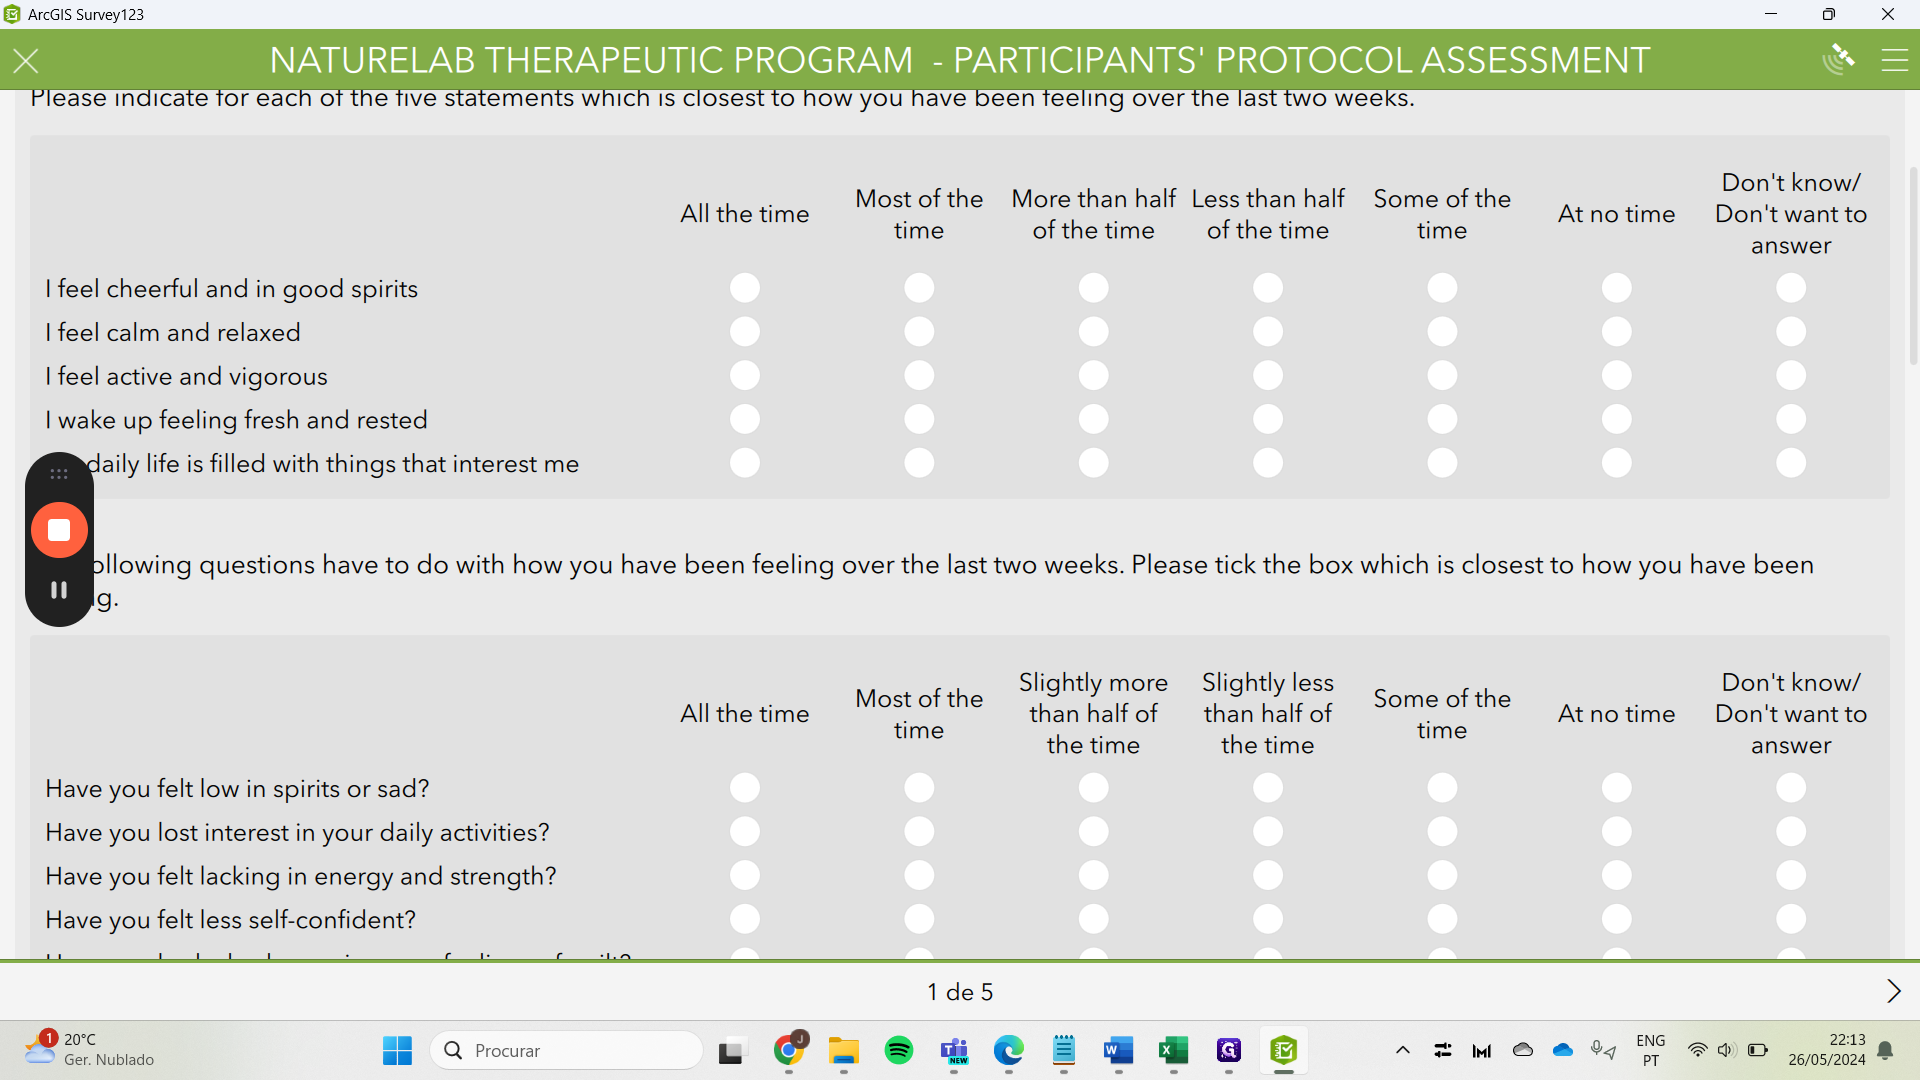
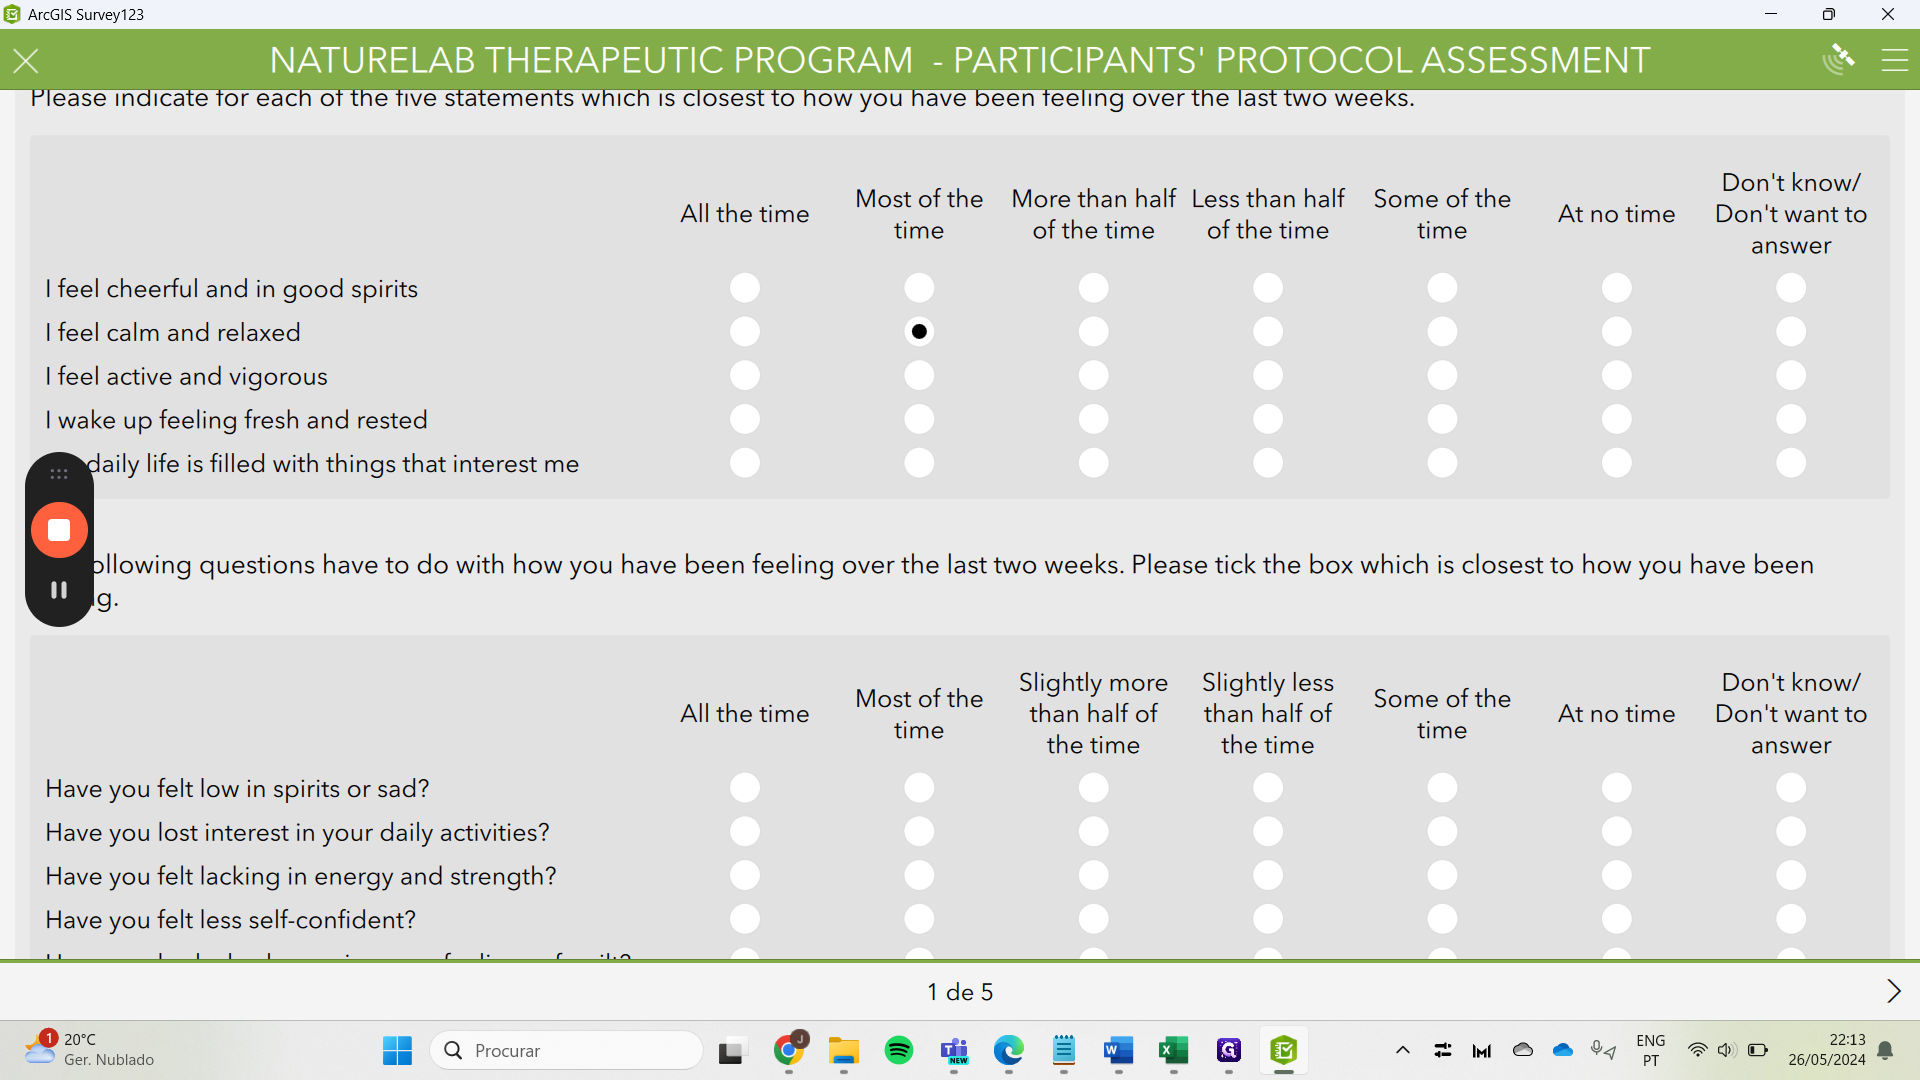
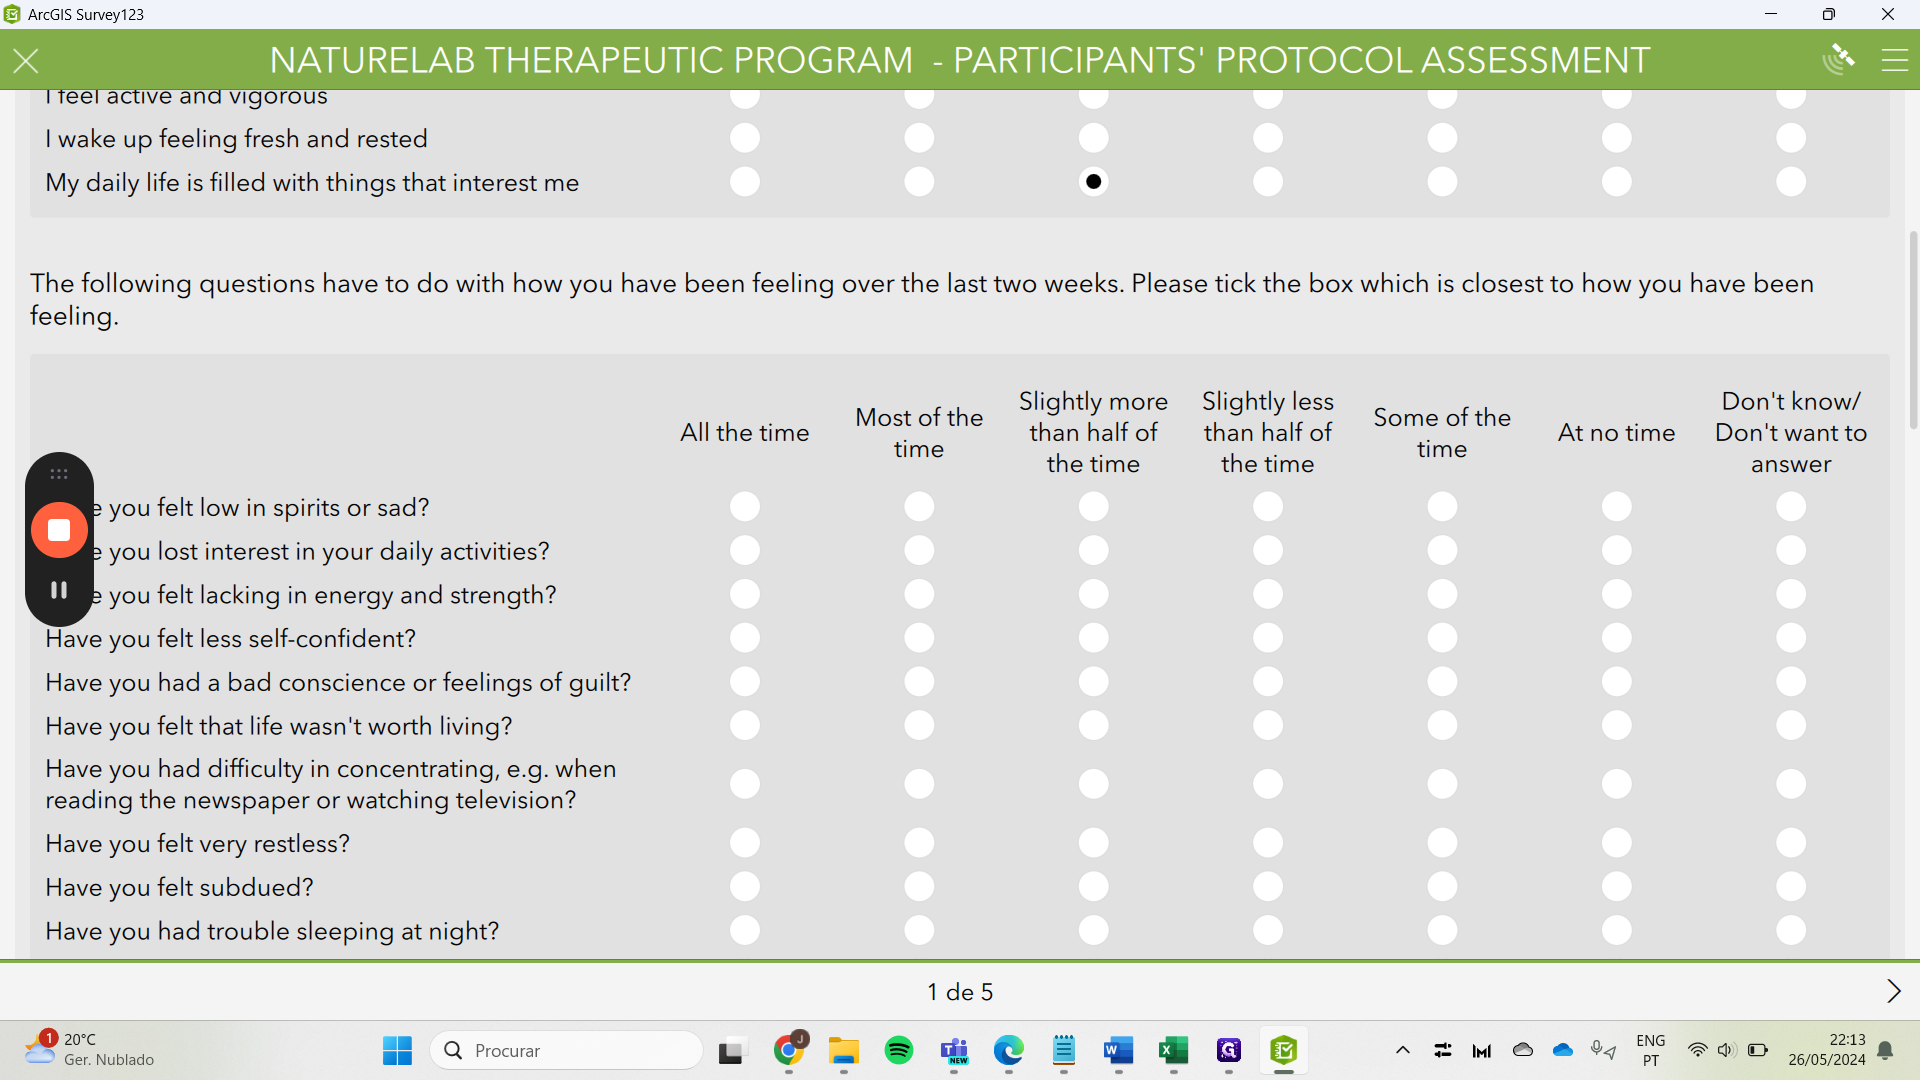
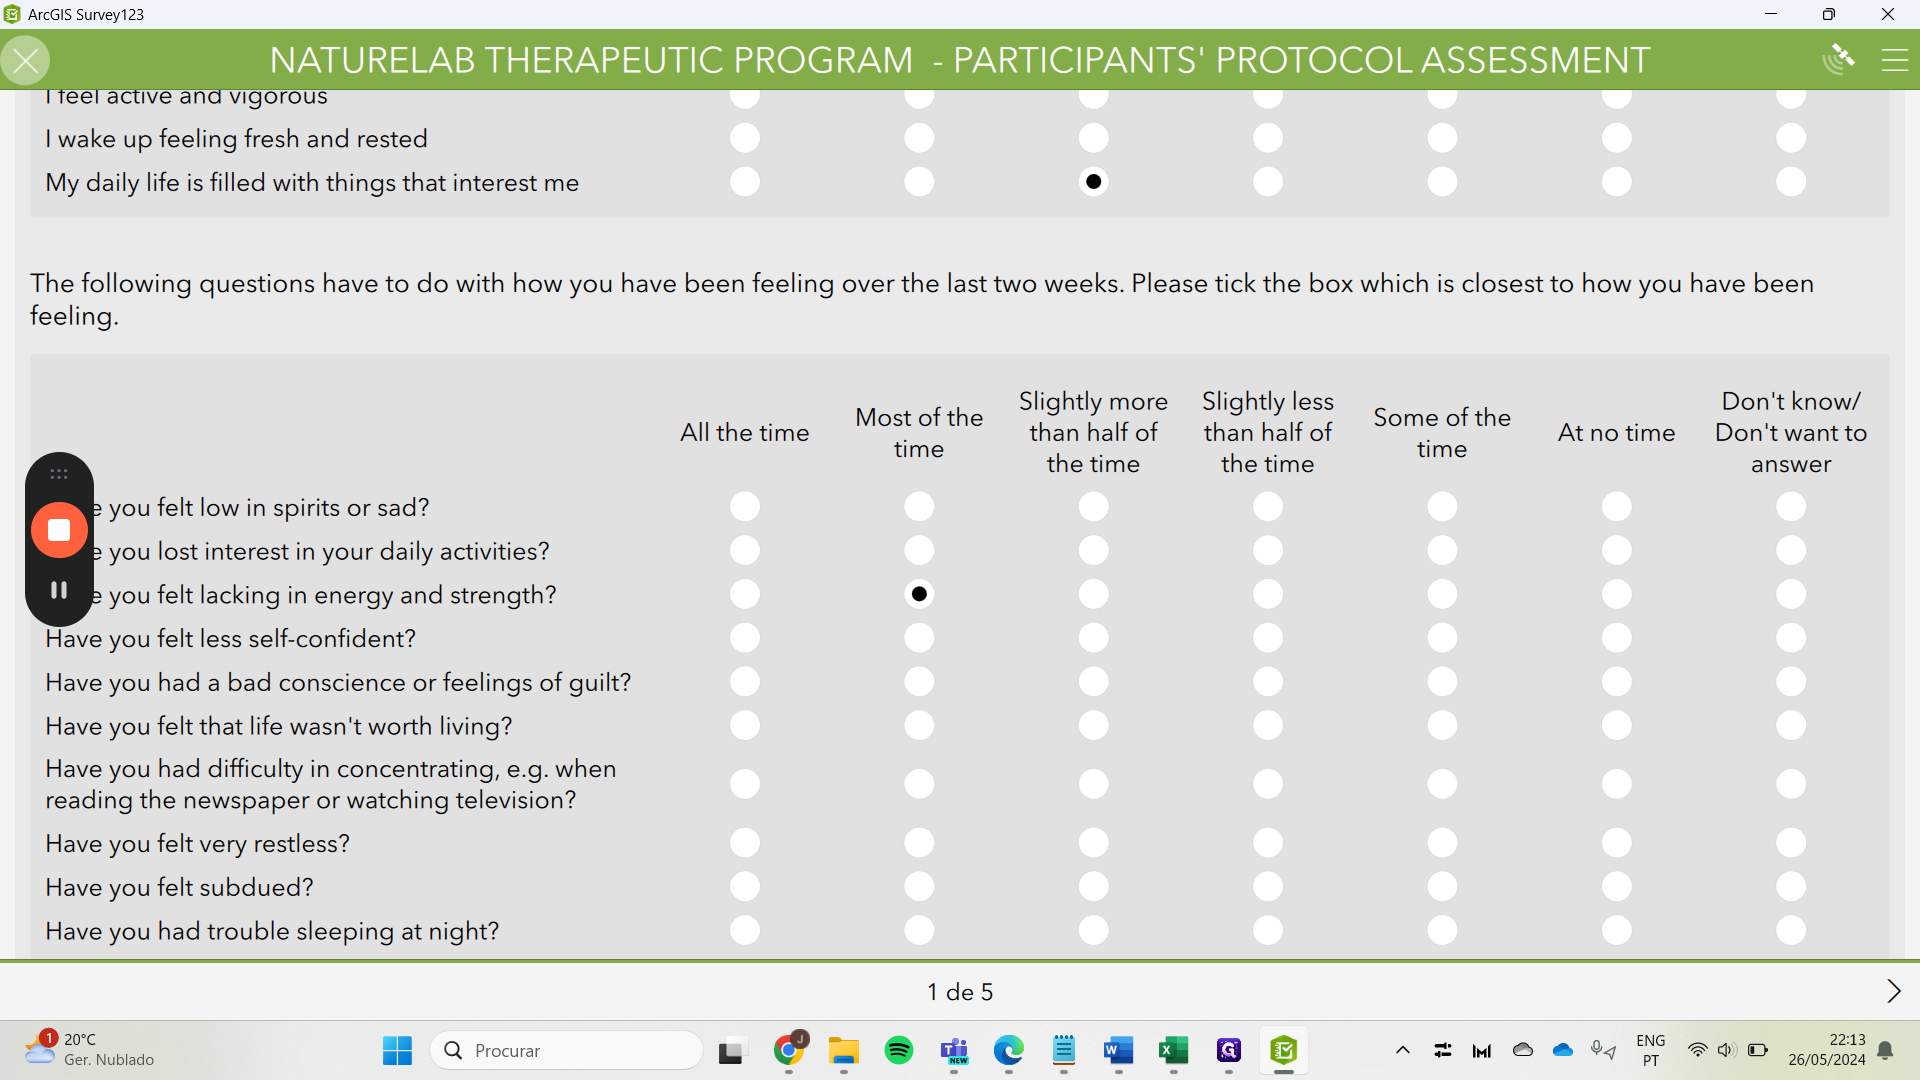
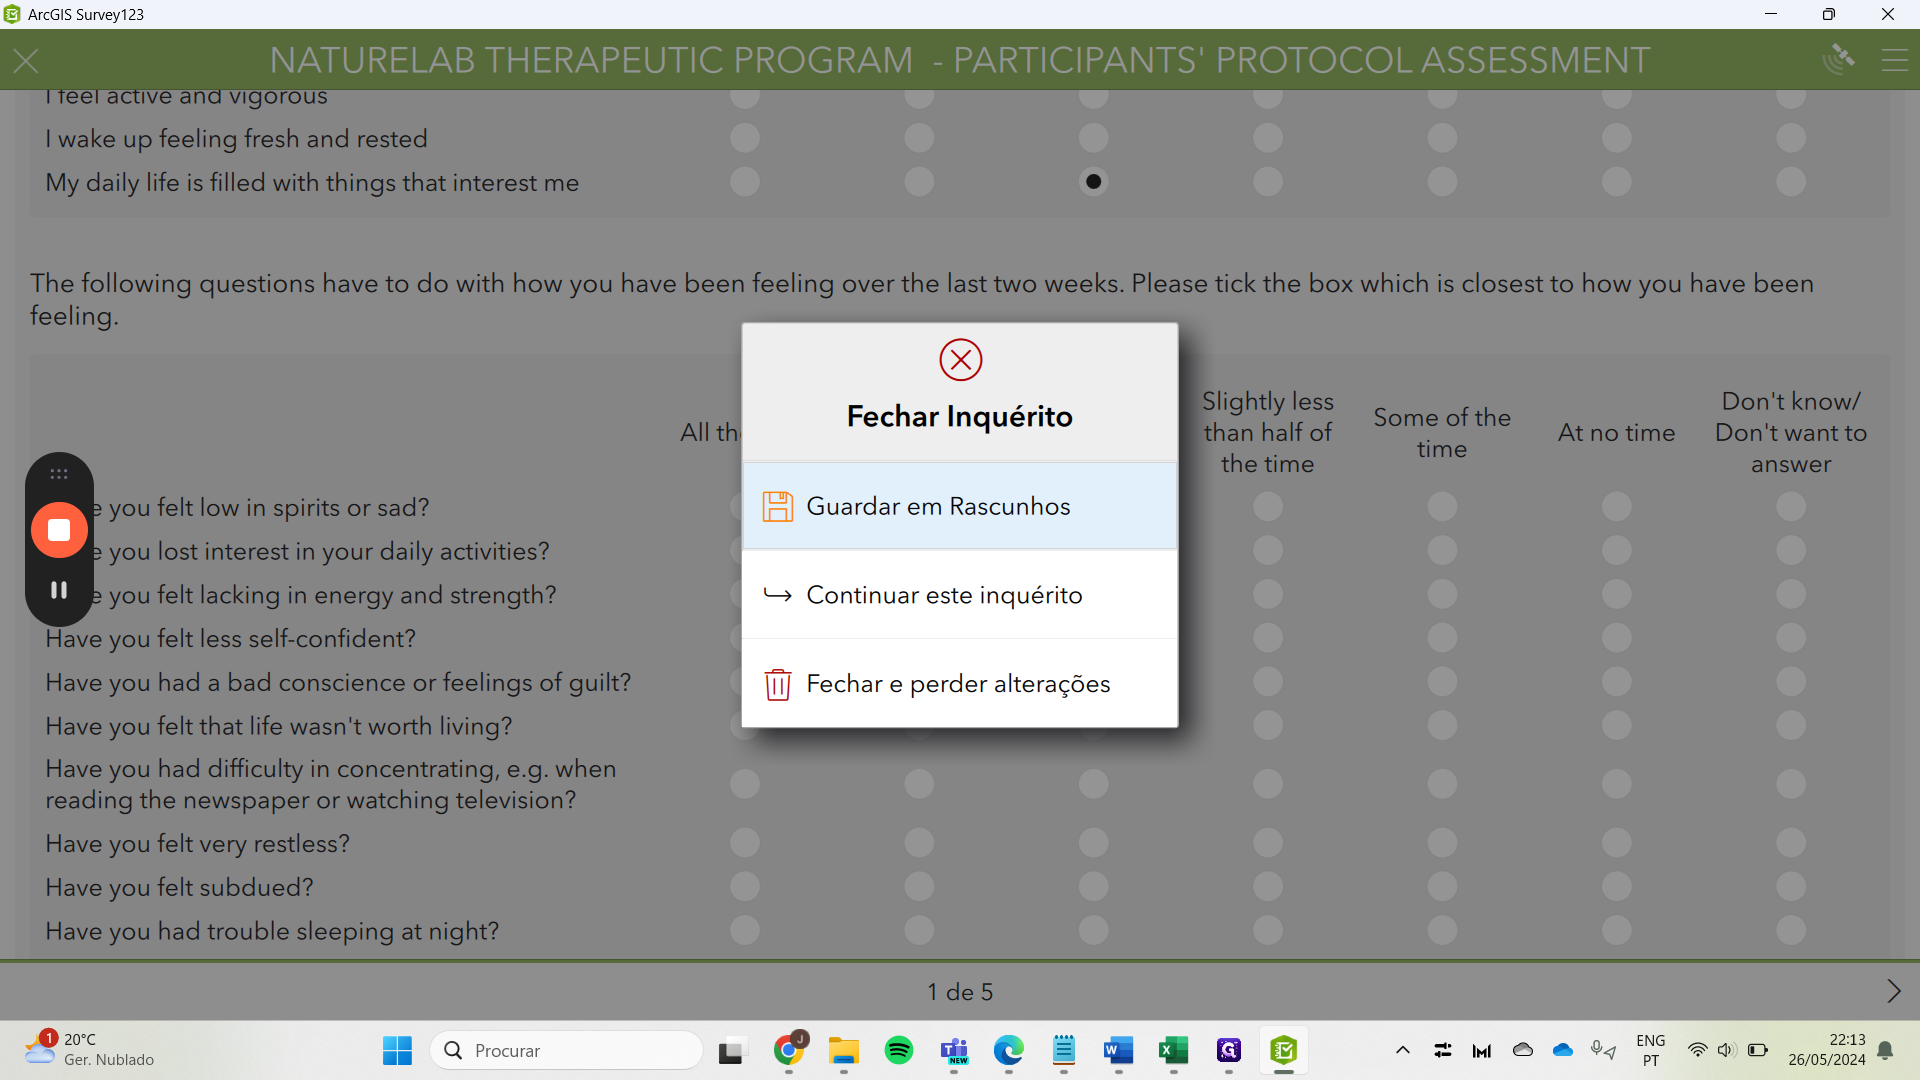
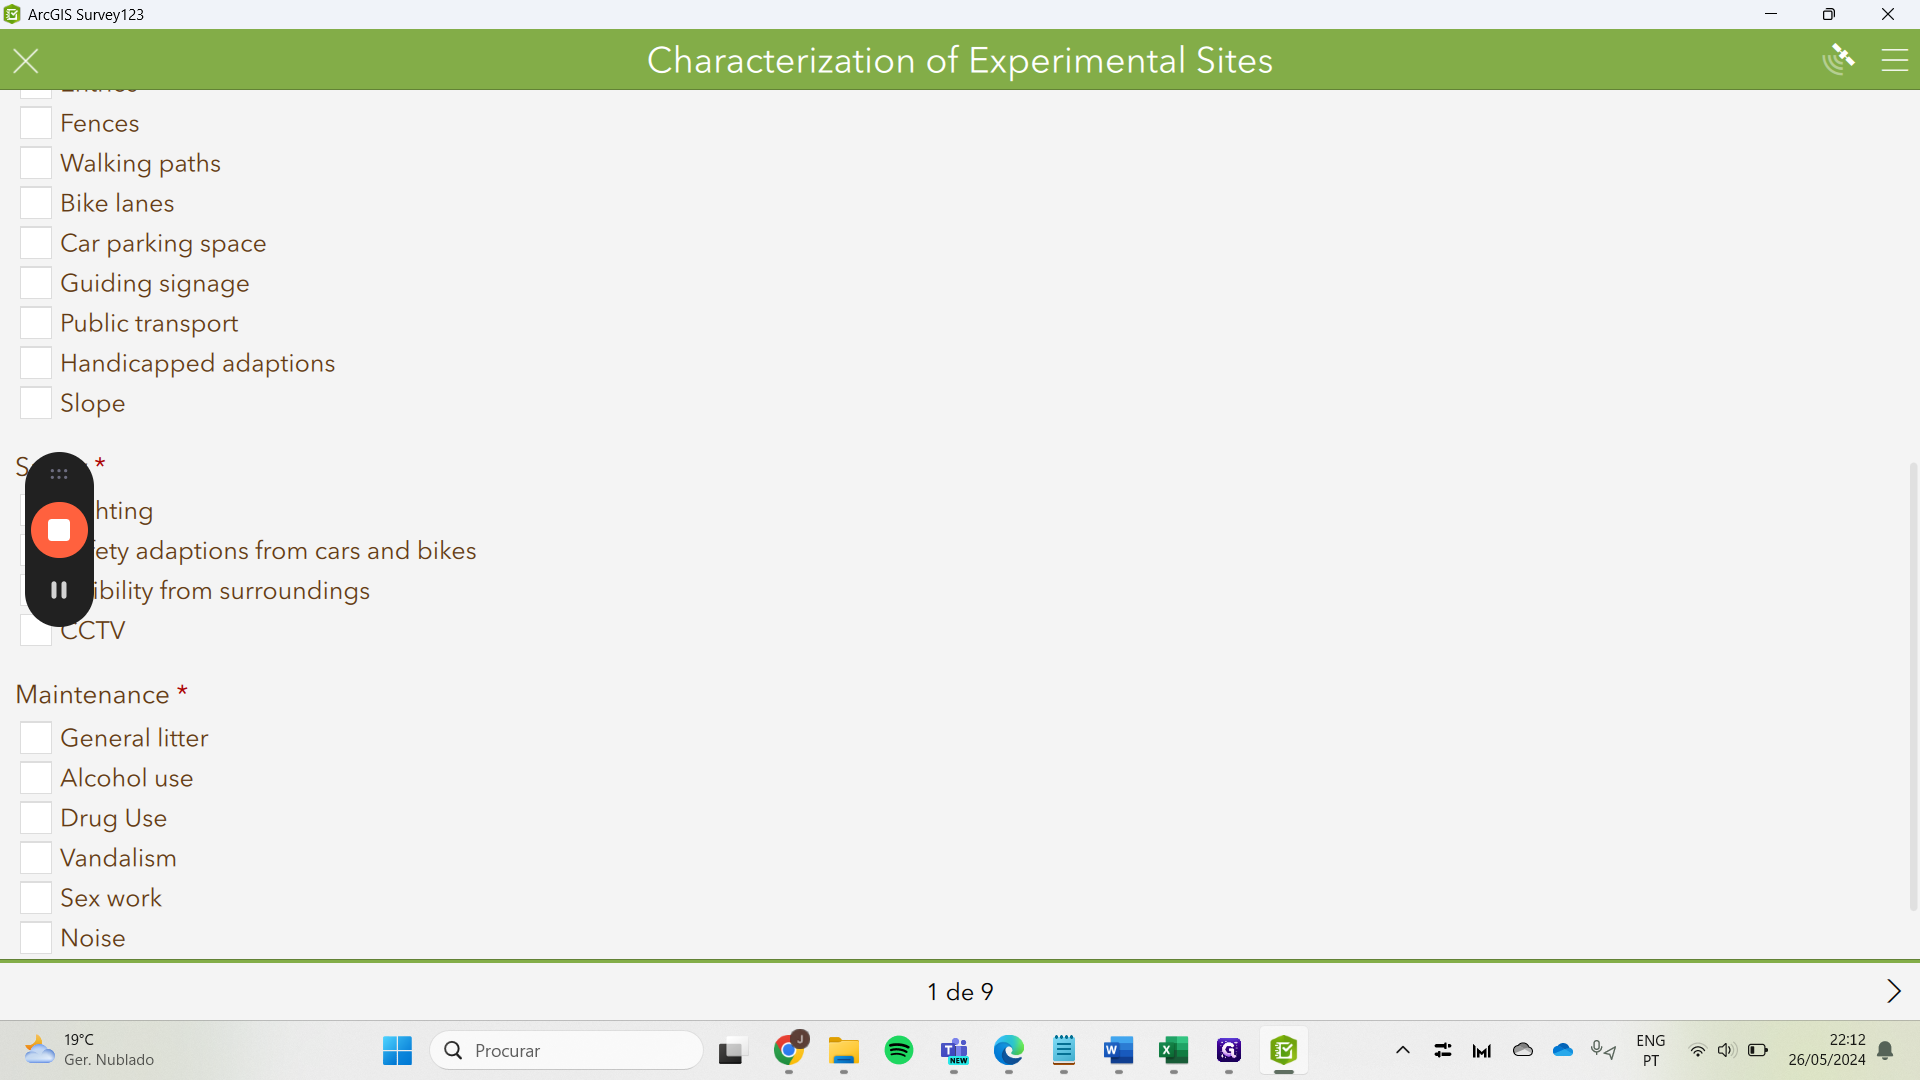
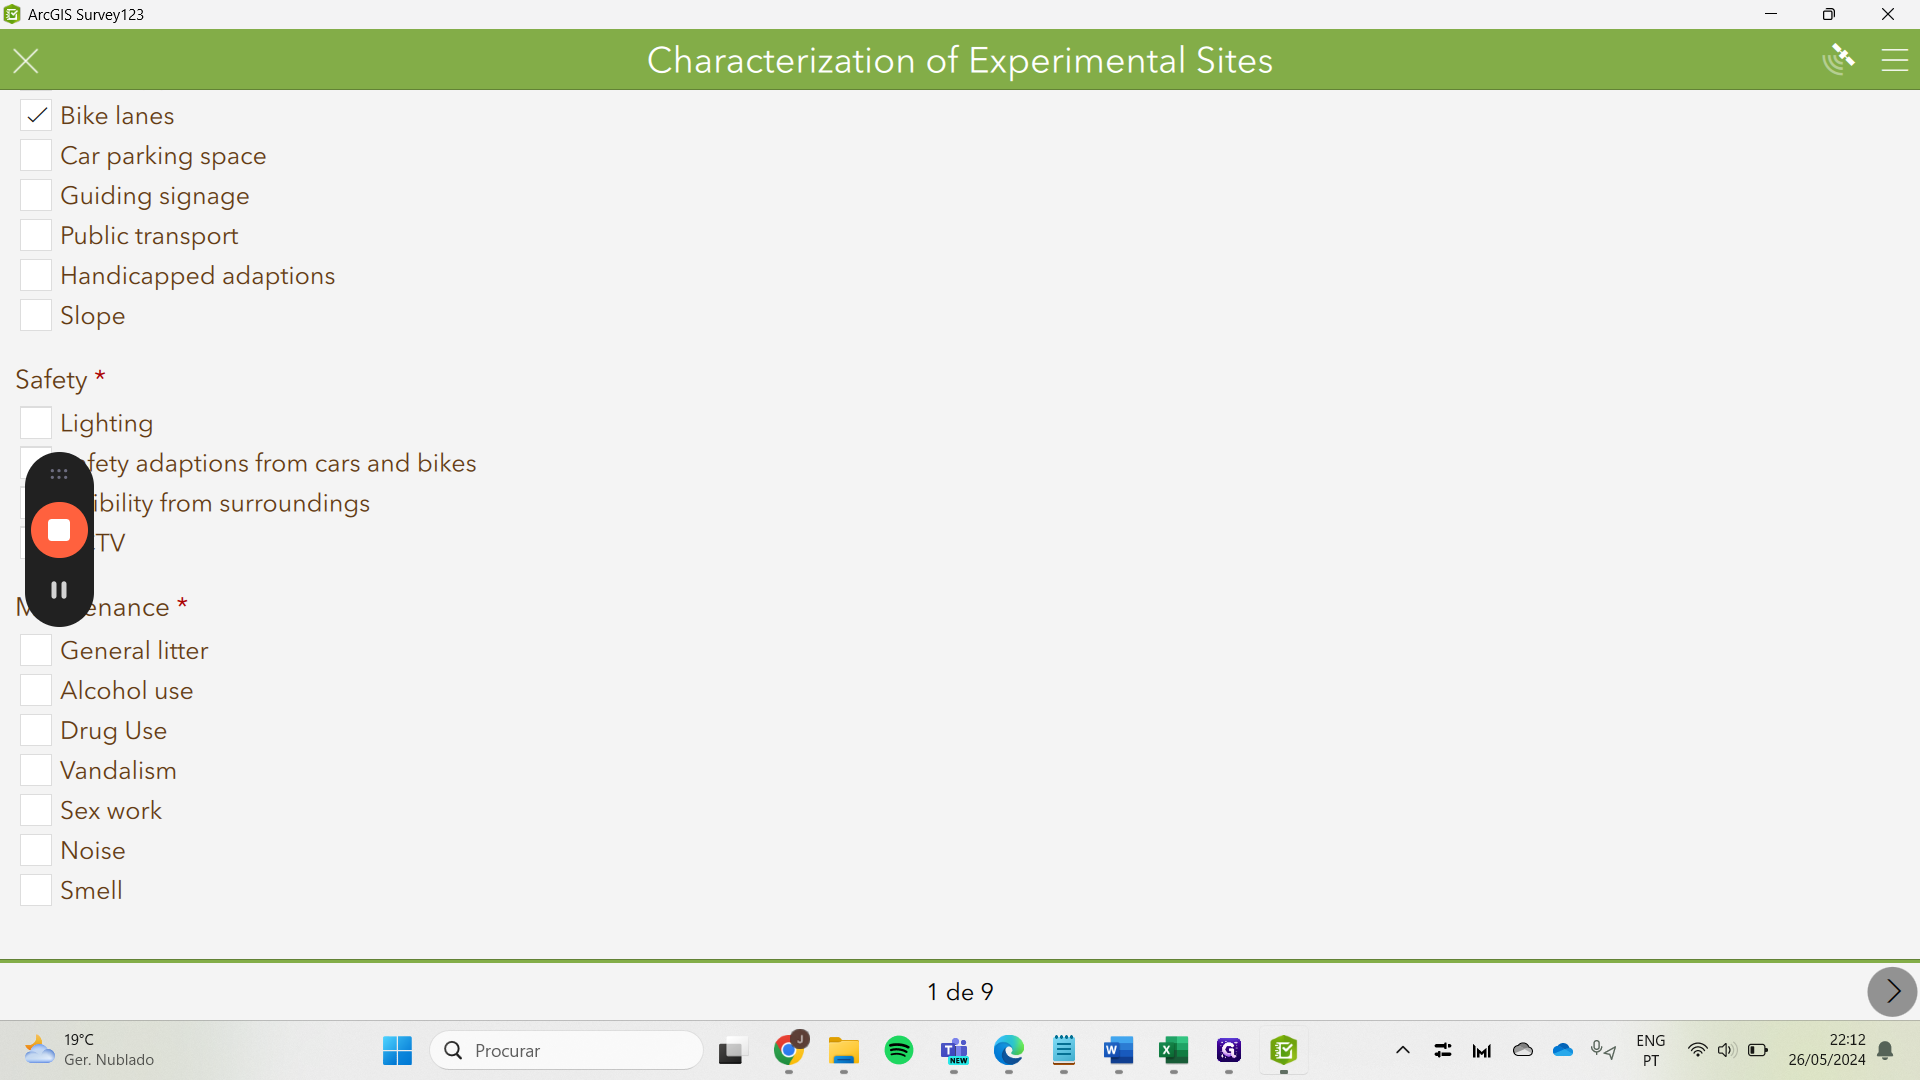
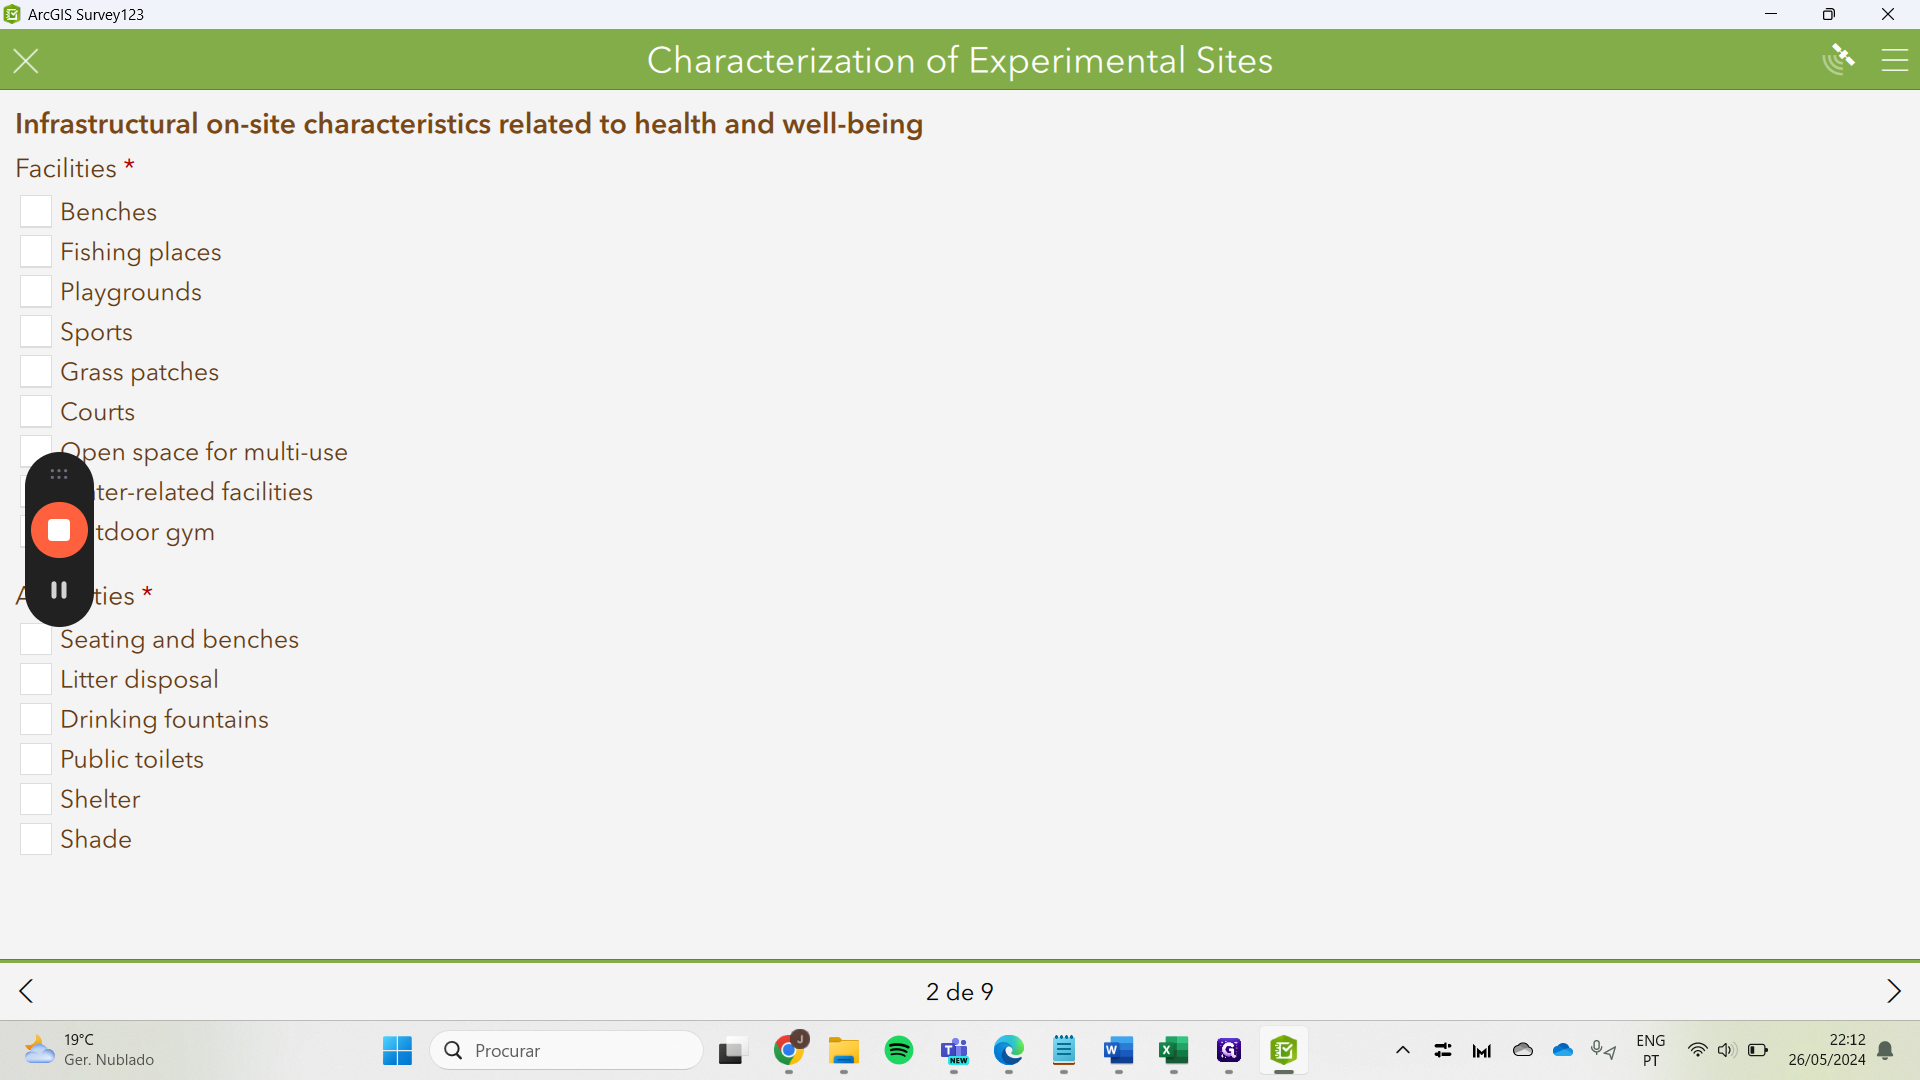
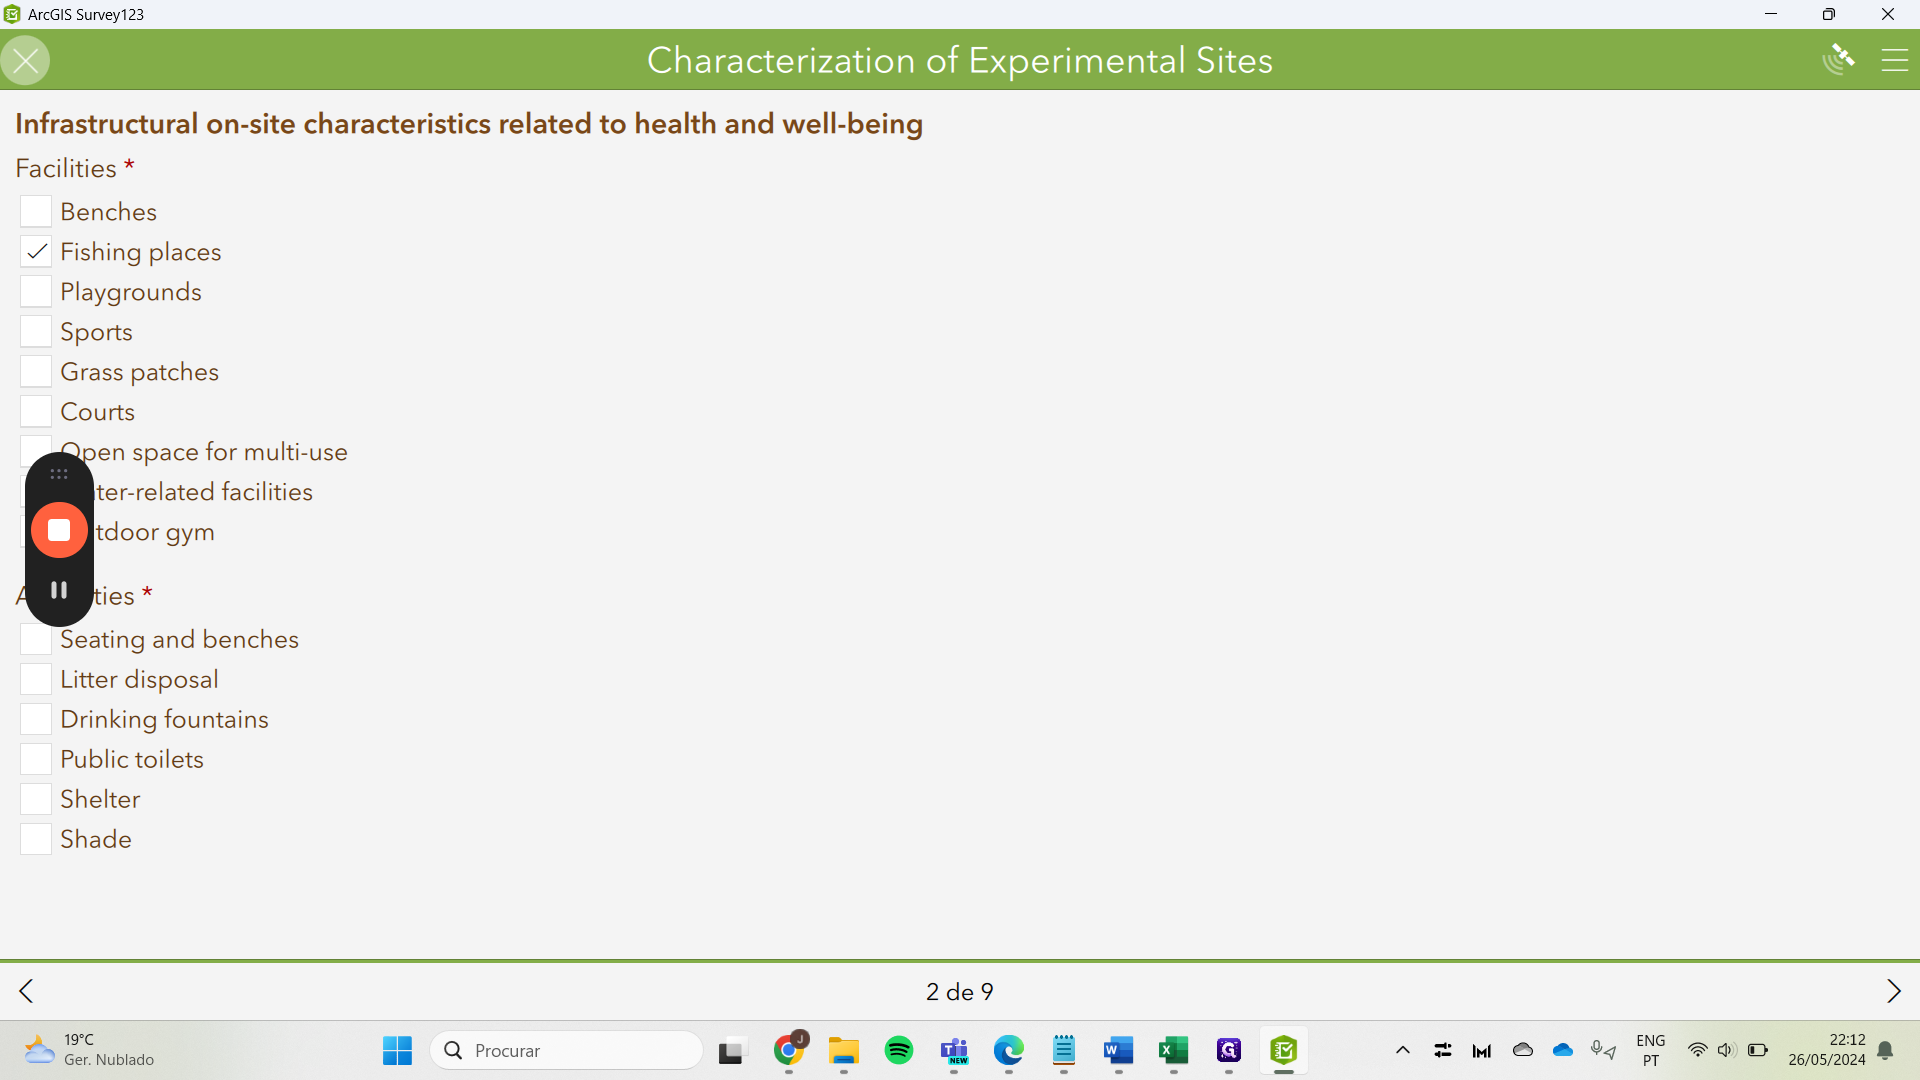
We open and have three options: outbox, inbox, or collect. In this case, inbox means that I already have a completed survey here.


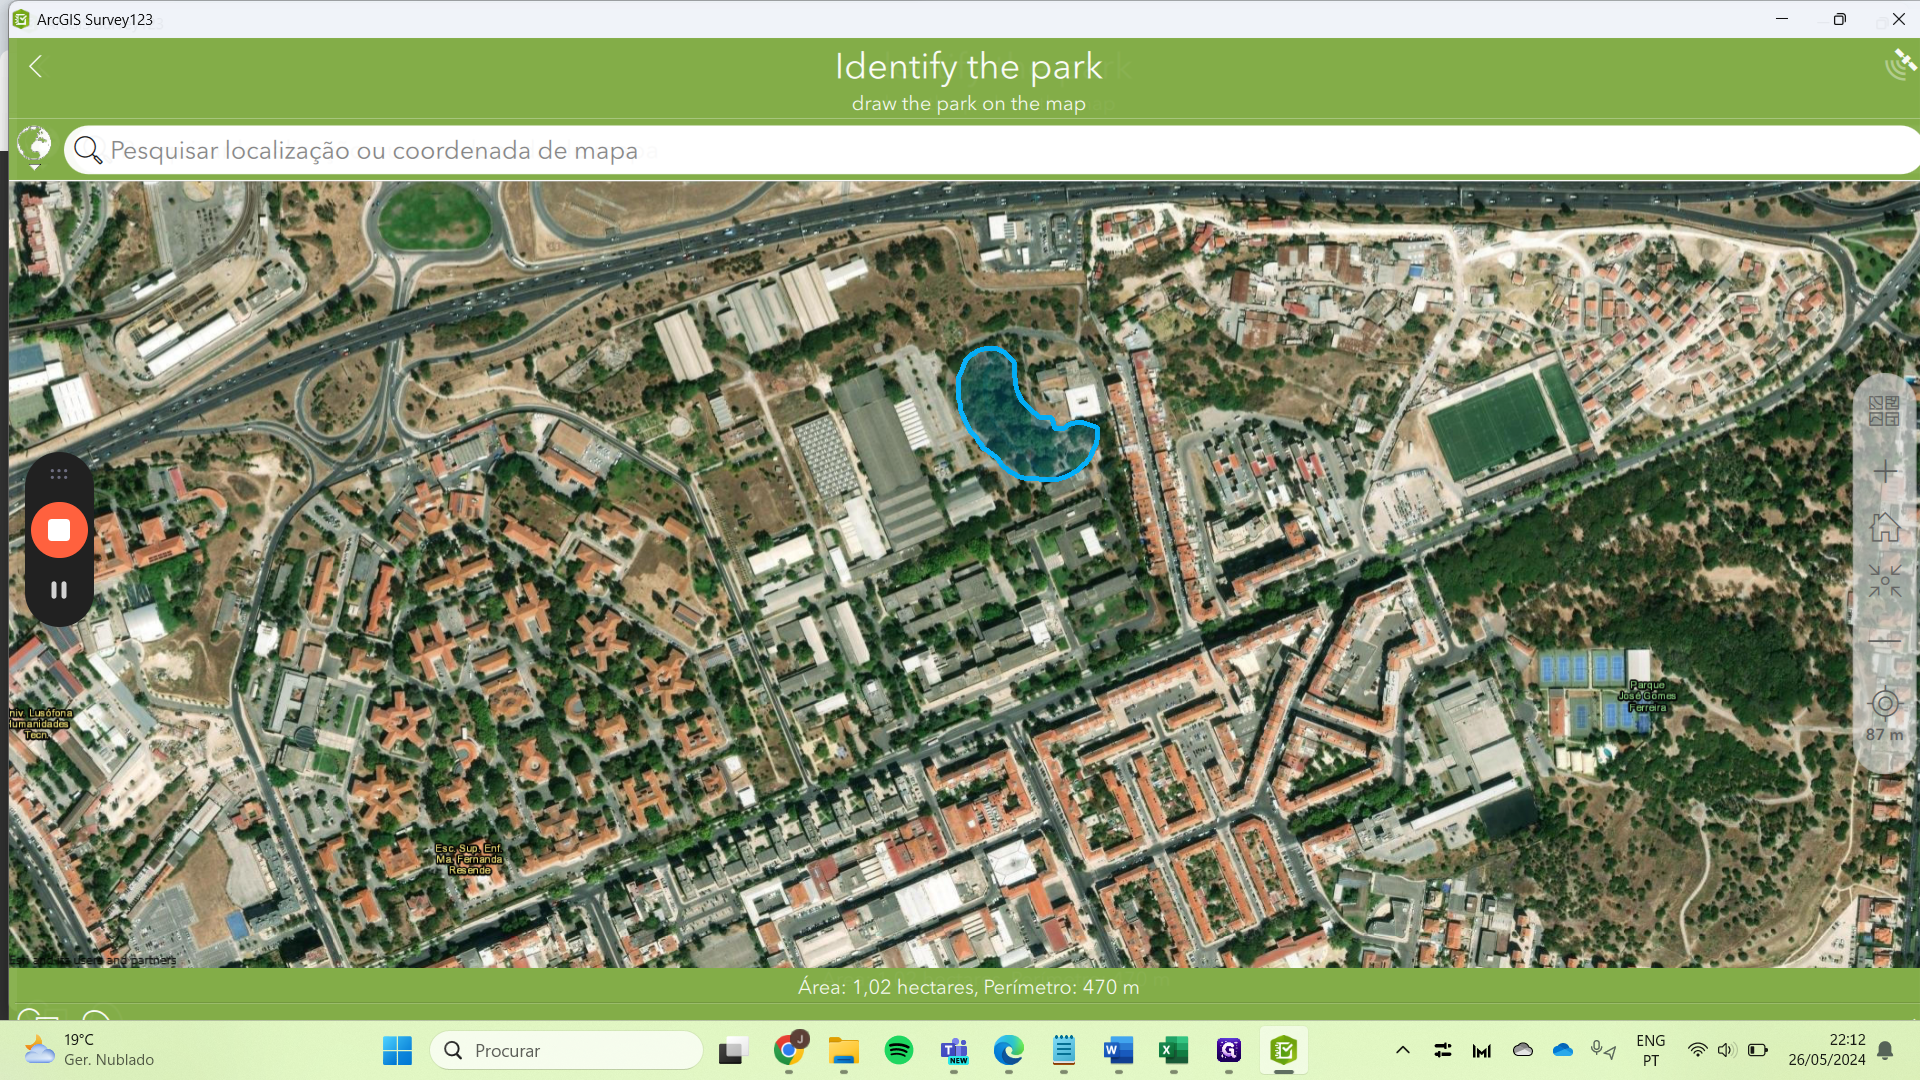

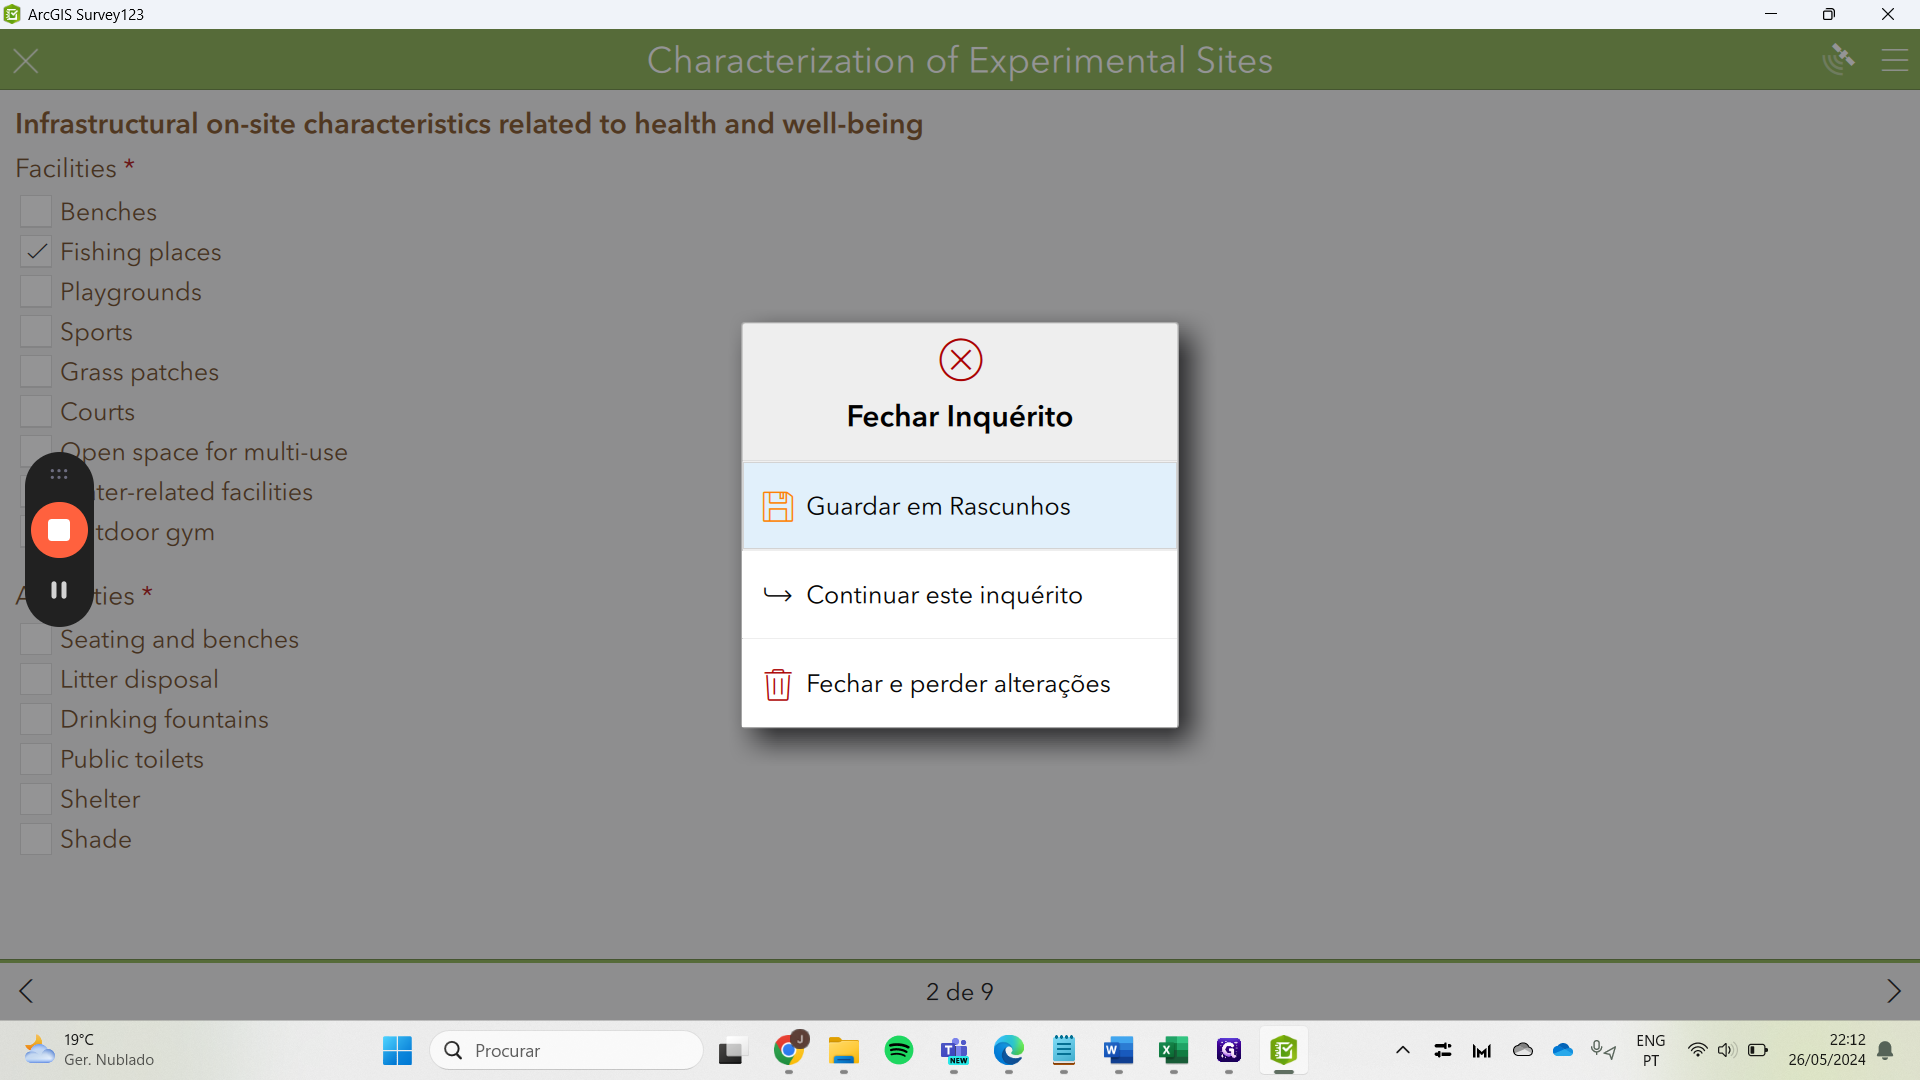
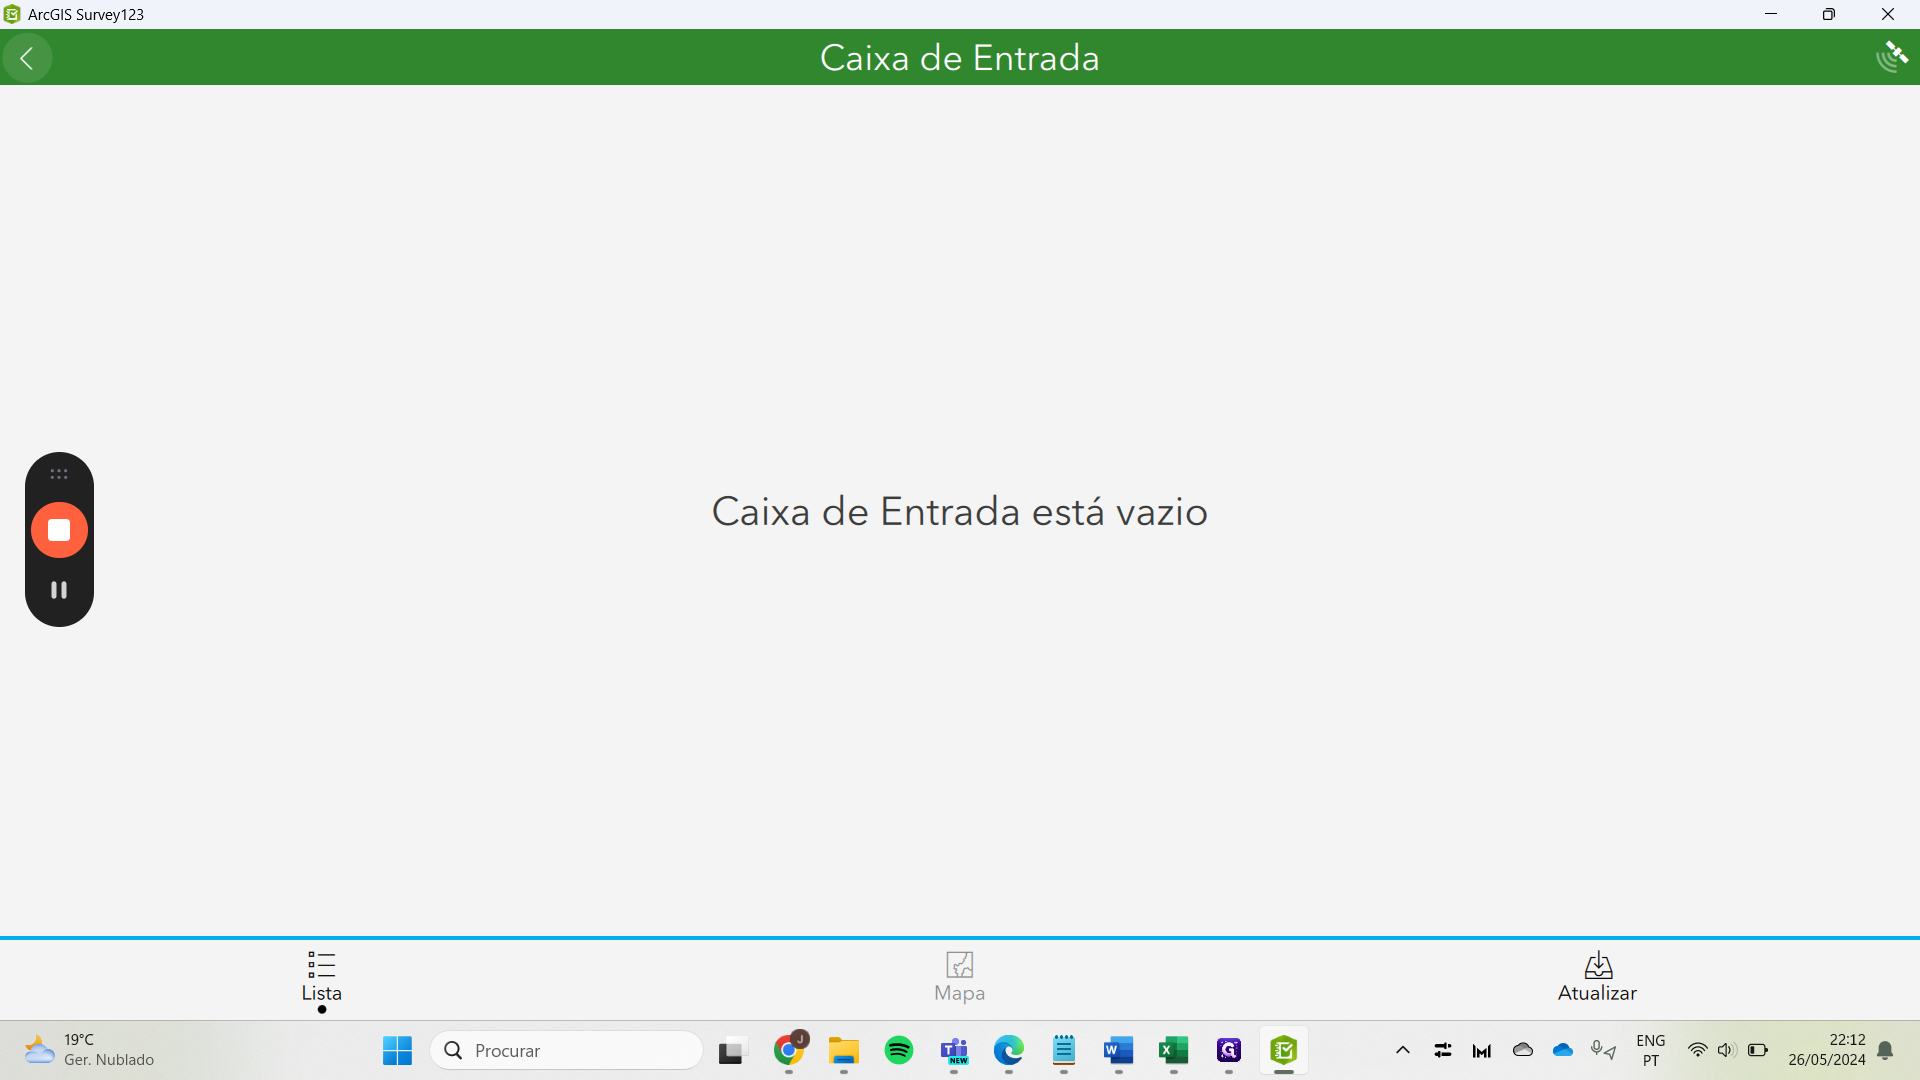
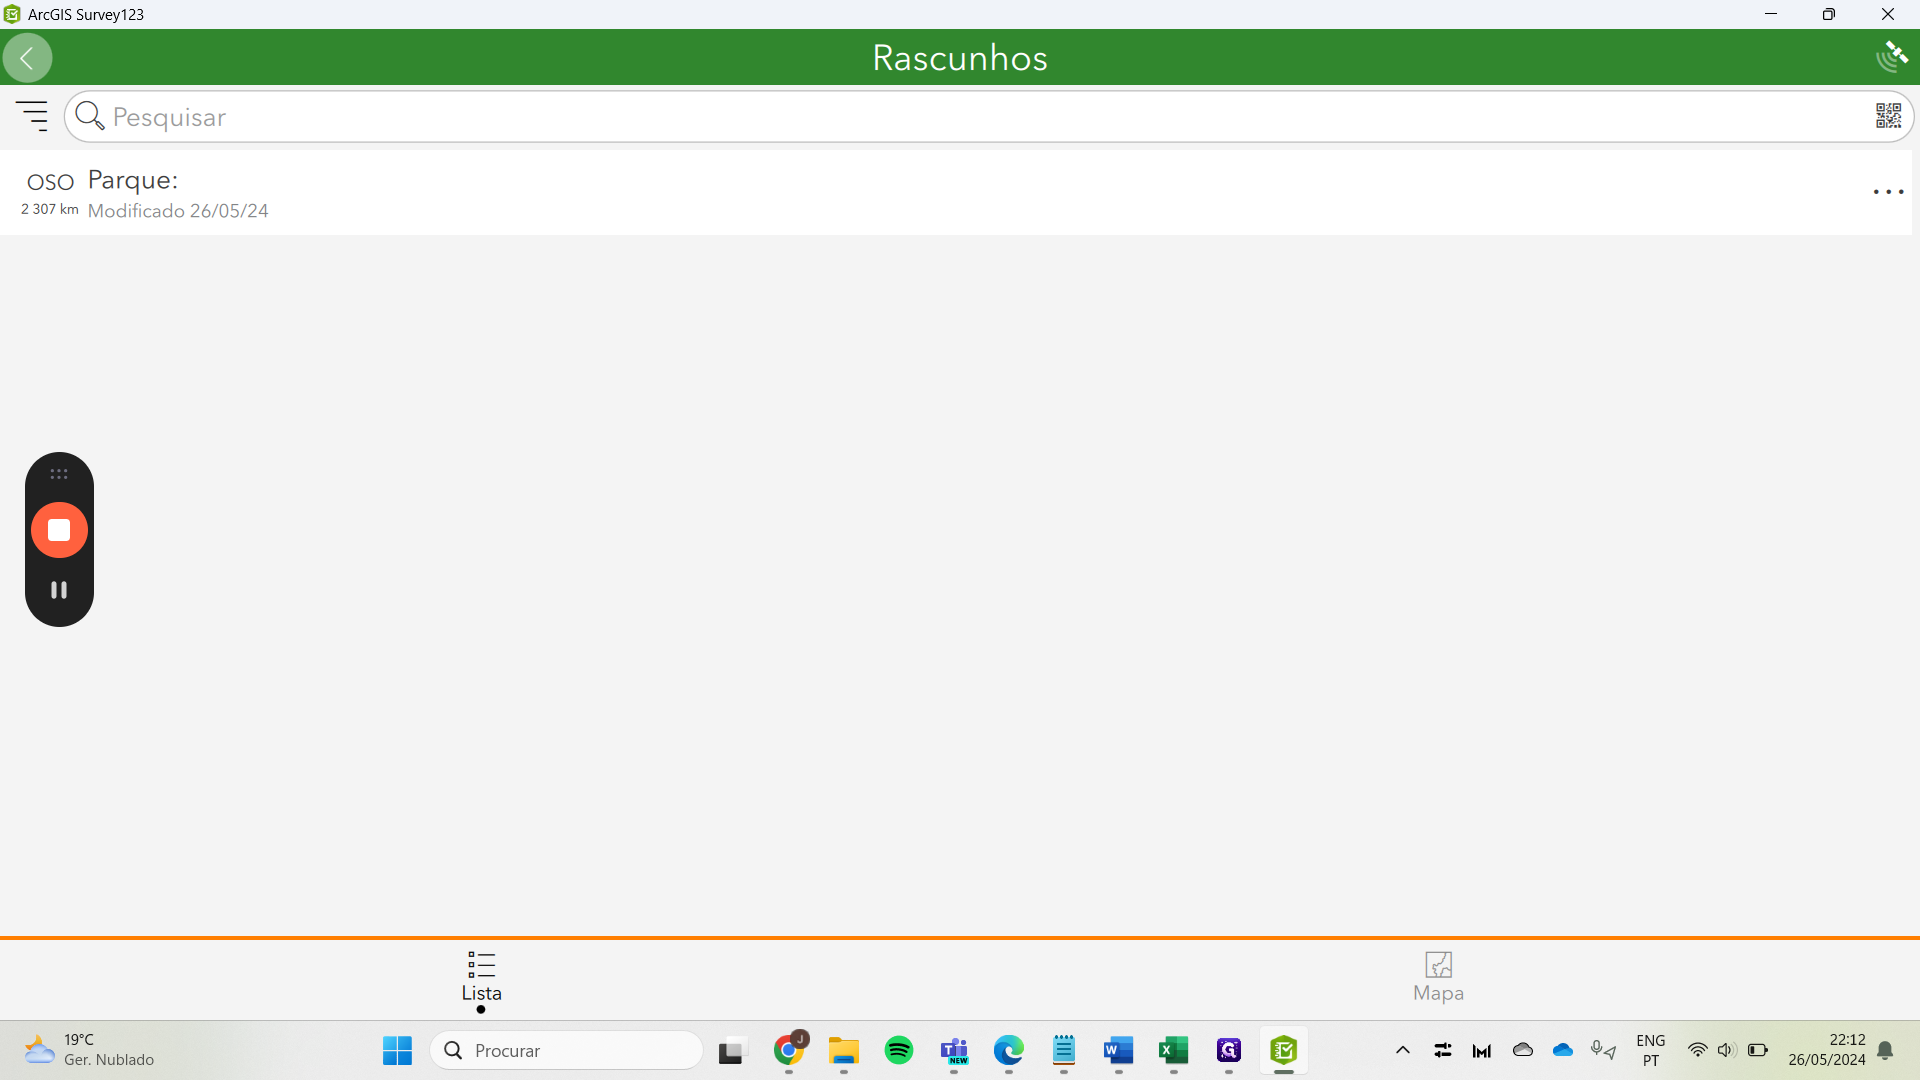
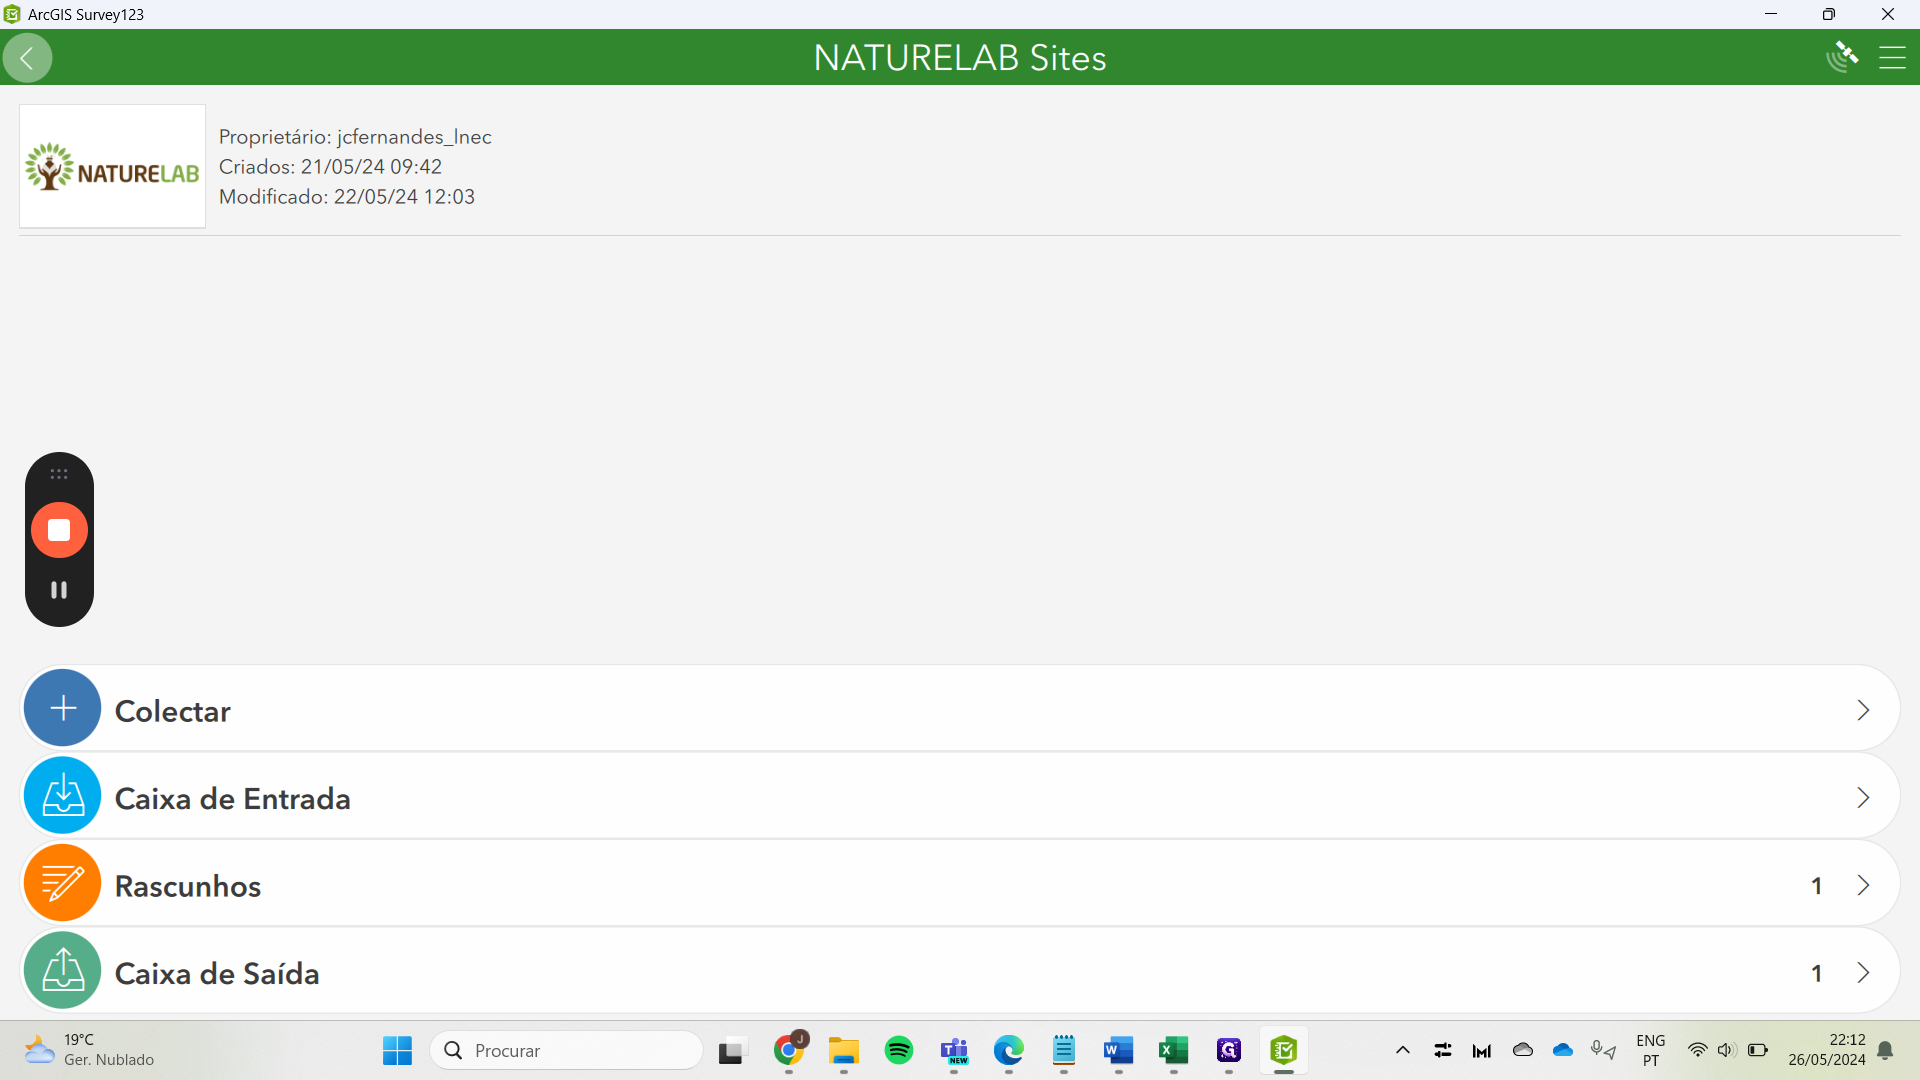
inbox, for example.
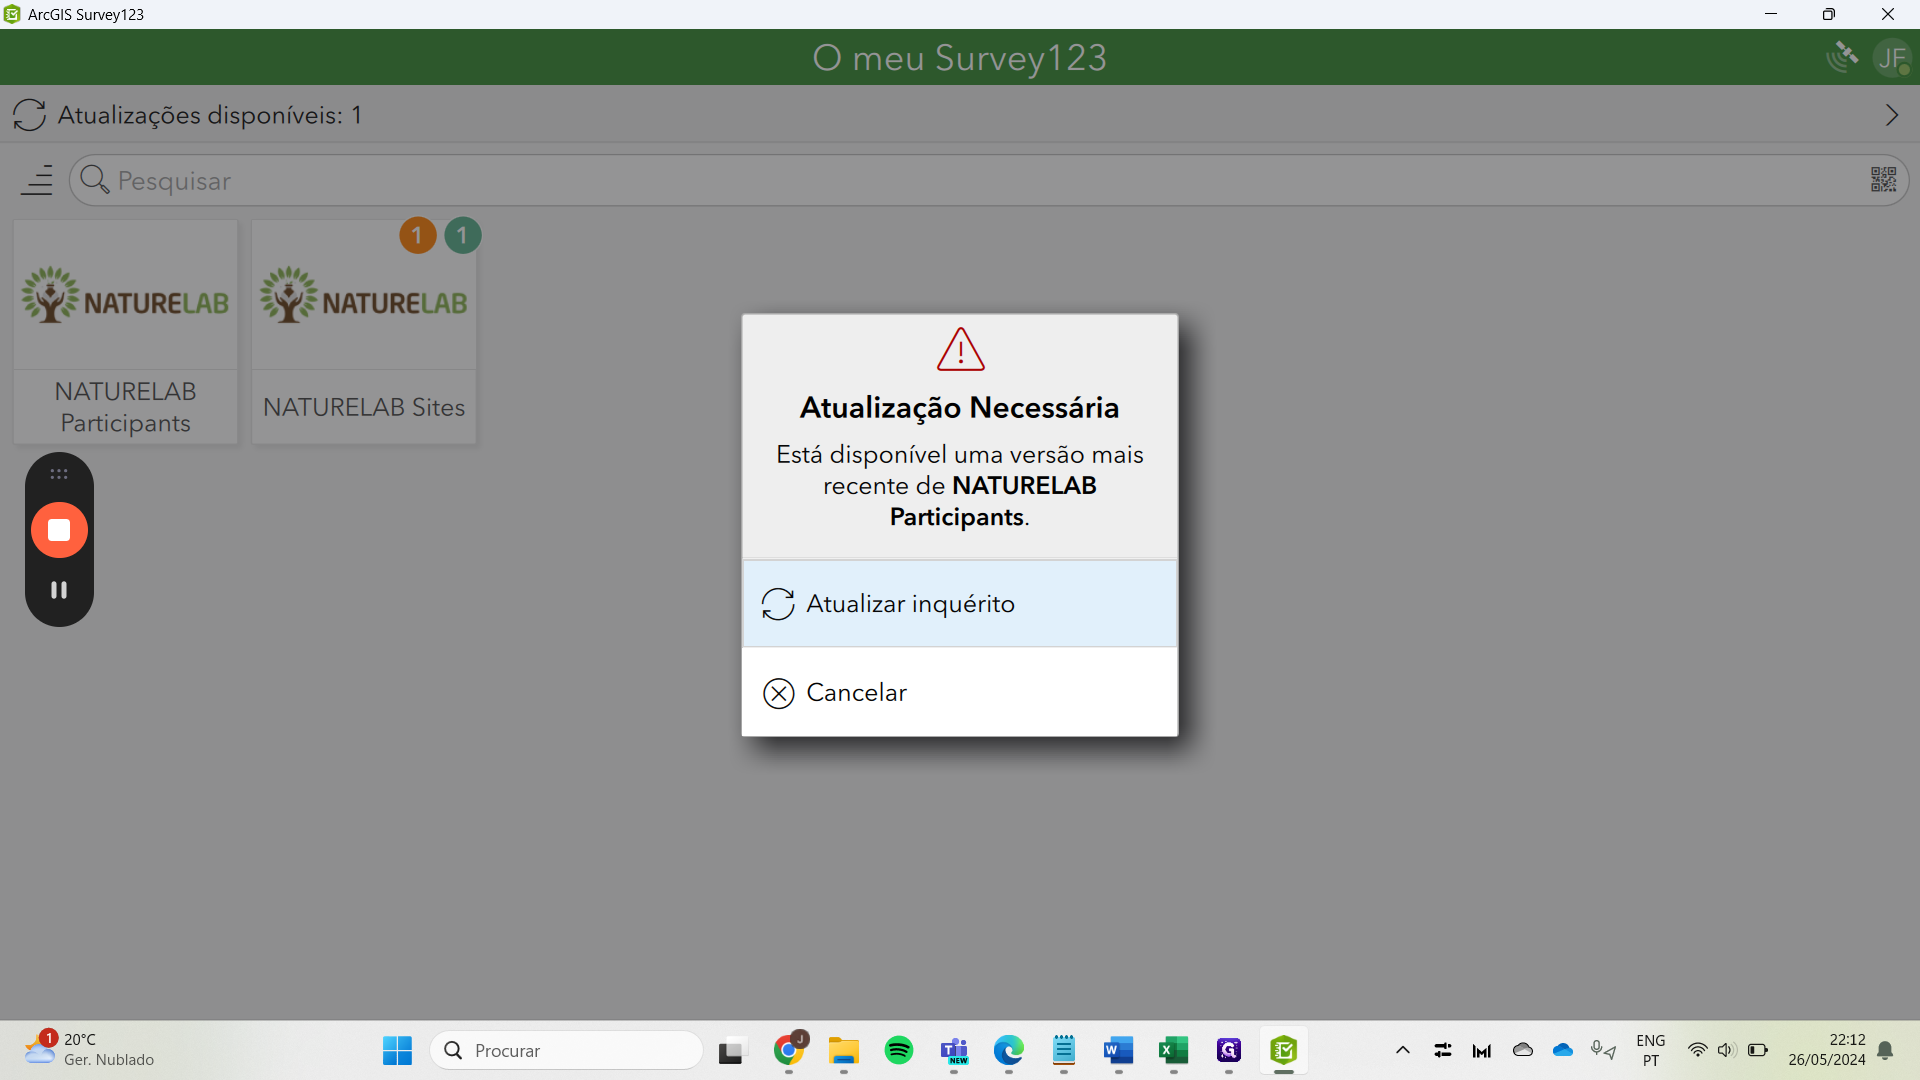
We have the features that Margarida Rebelo indicated; it may take some time to optimize.