
FE Registration Guide
The rider onboarding process is crucial for submitting personal details, selecting preferences, and uploading necessary documents for verification. Ensuring accurate information helps applicants meet eligibility requirements, match available opportunities, and activate their accounts efficiently. Accessing the correct registration portal, such as Shadowfax or Betterplace, is the first step. These platforms provide essential resources and guidelines to complete the process smoothly. Awareness of specific document requirements in advance helps prevent delays. Entering accurate personal details, including the full legal name as per official identification, is essential. A valid mobile number is required for communication, while selecting the correct country, state, and city determines operational assignments. Reviewing all submitted information before finalizing the application ensures accuracy and prevents complications. A well-completed registration process enhances efficiency, making onboarding seamless and allowing riders to start assignments without unnecessary hurdles.
By Akash R
1
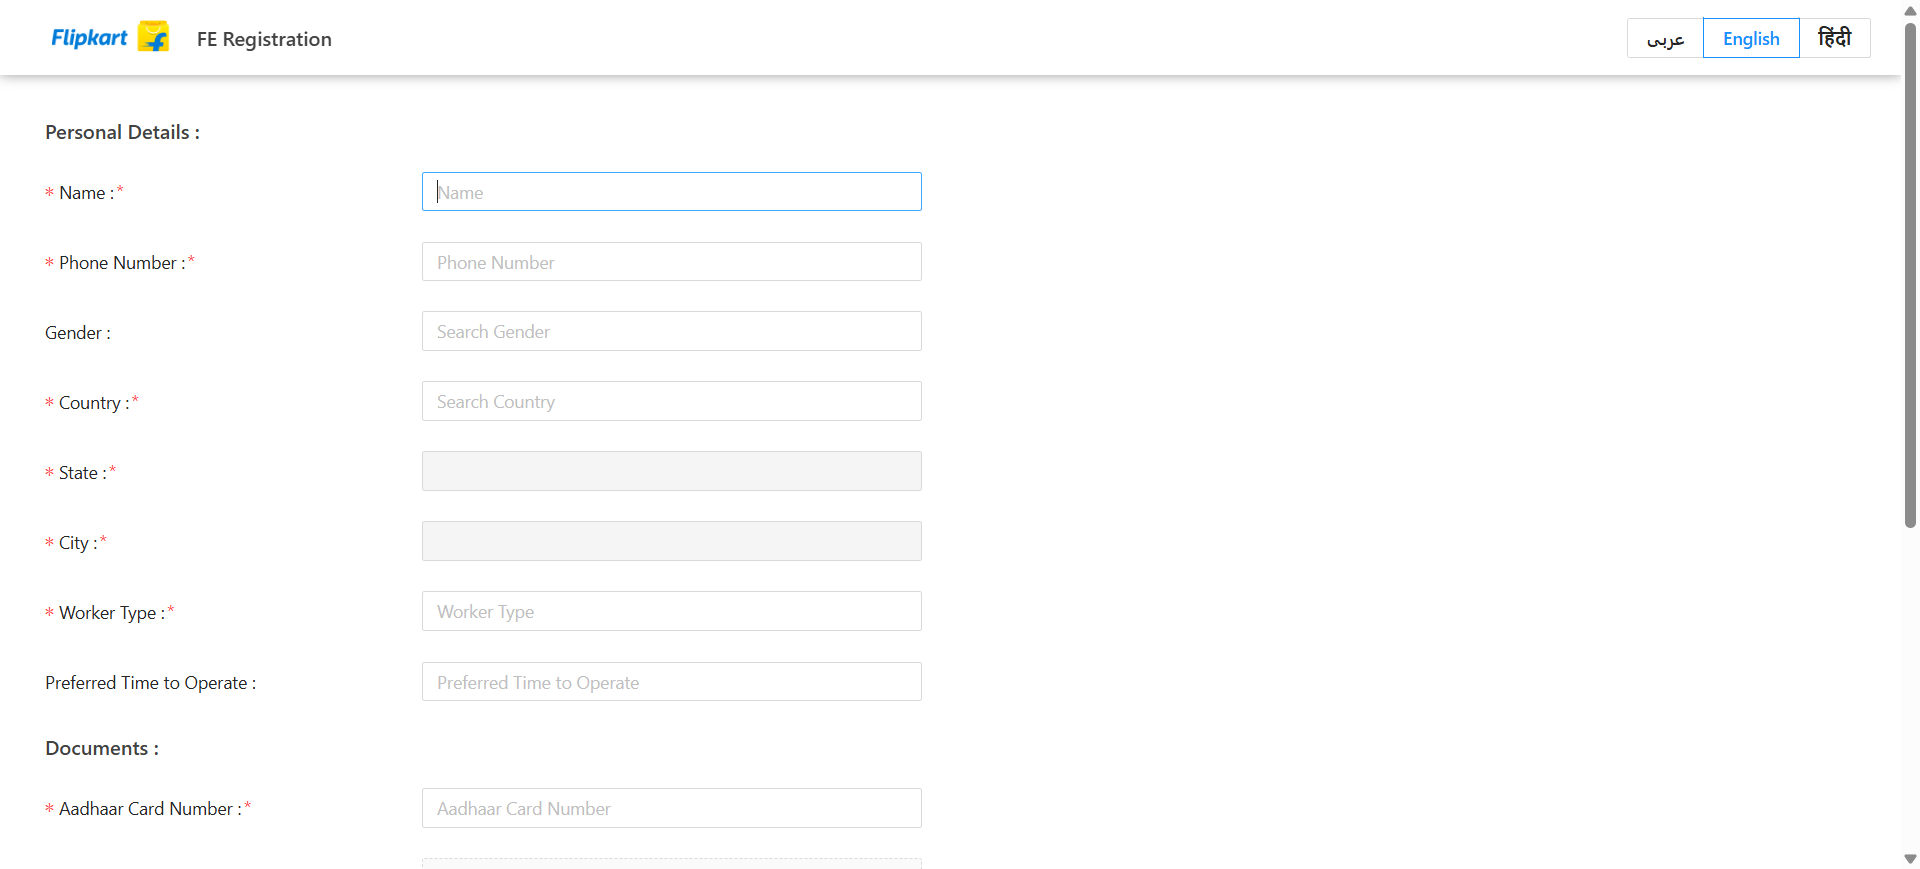
Go to FE Registration
2
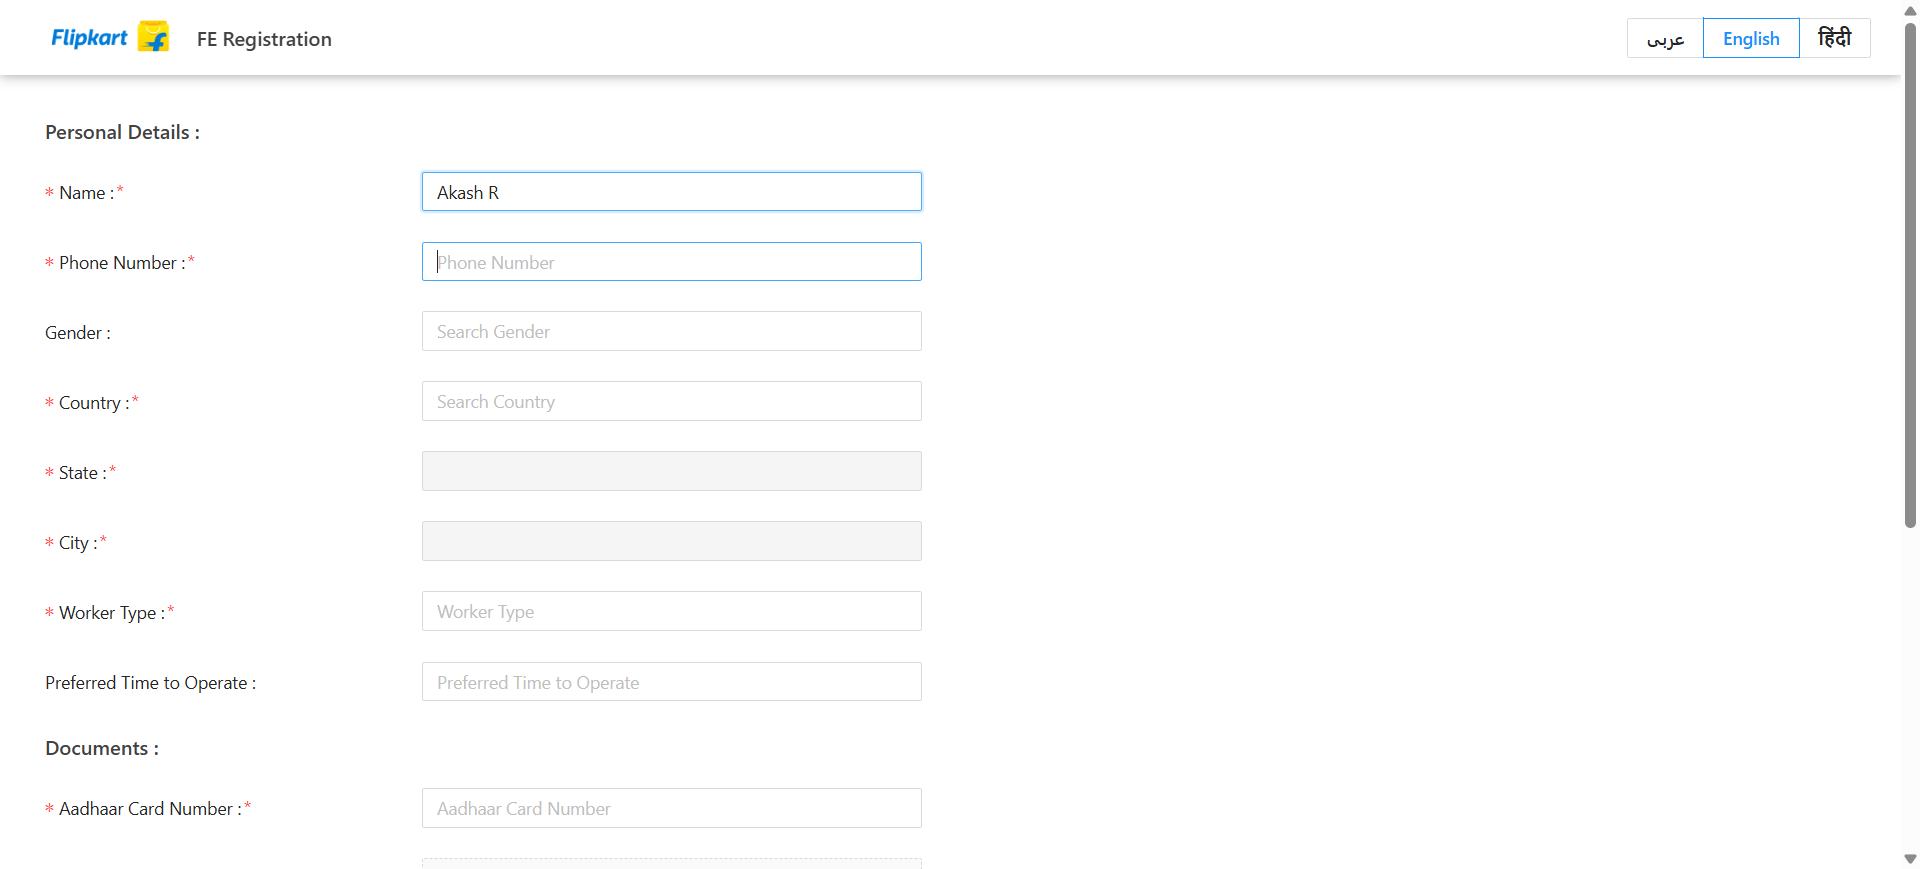
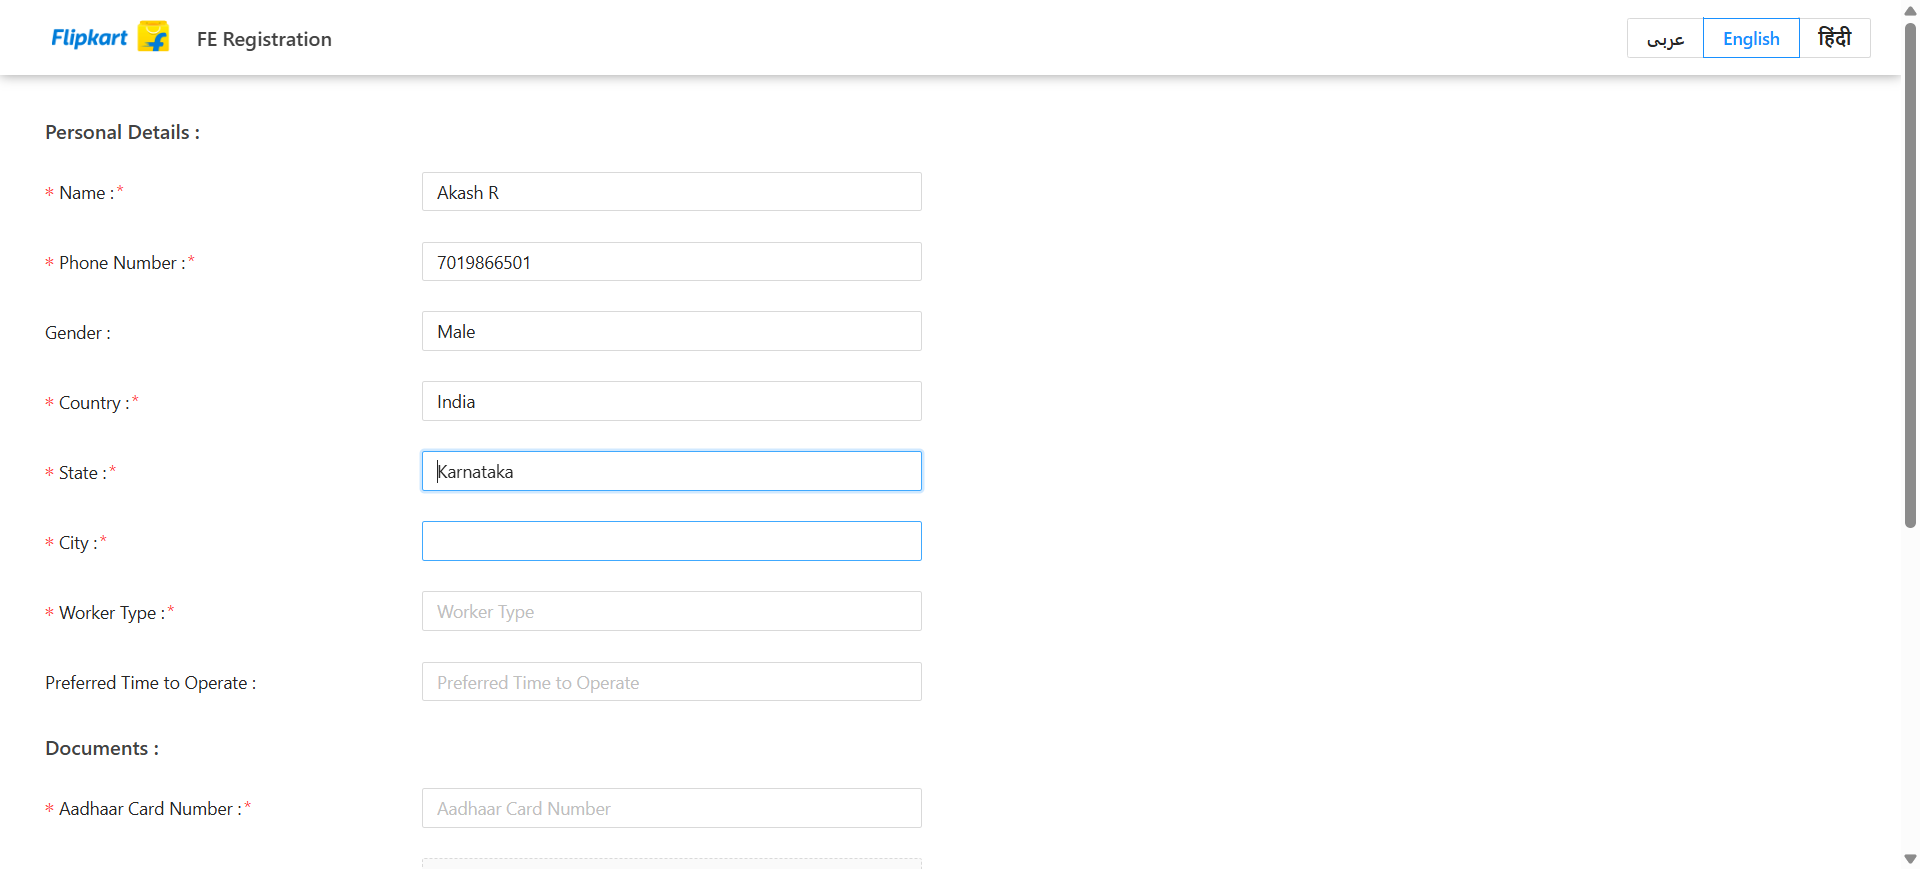
Enter the rider's name as required.
3
Enter the rider's mobile number as required
4
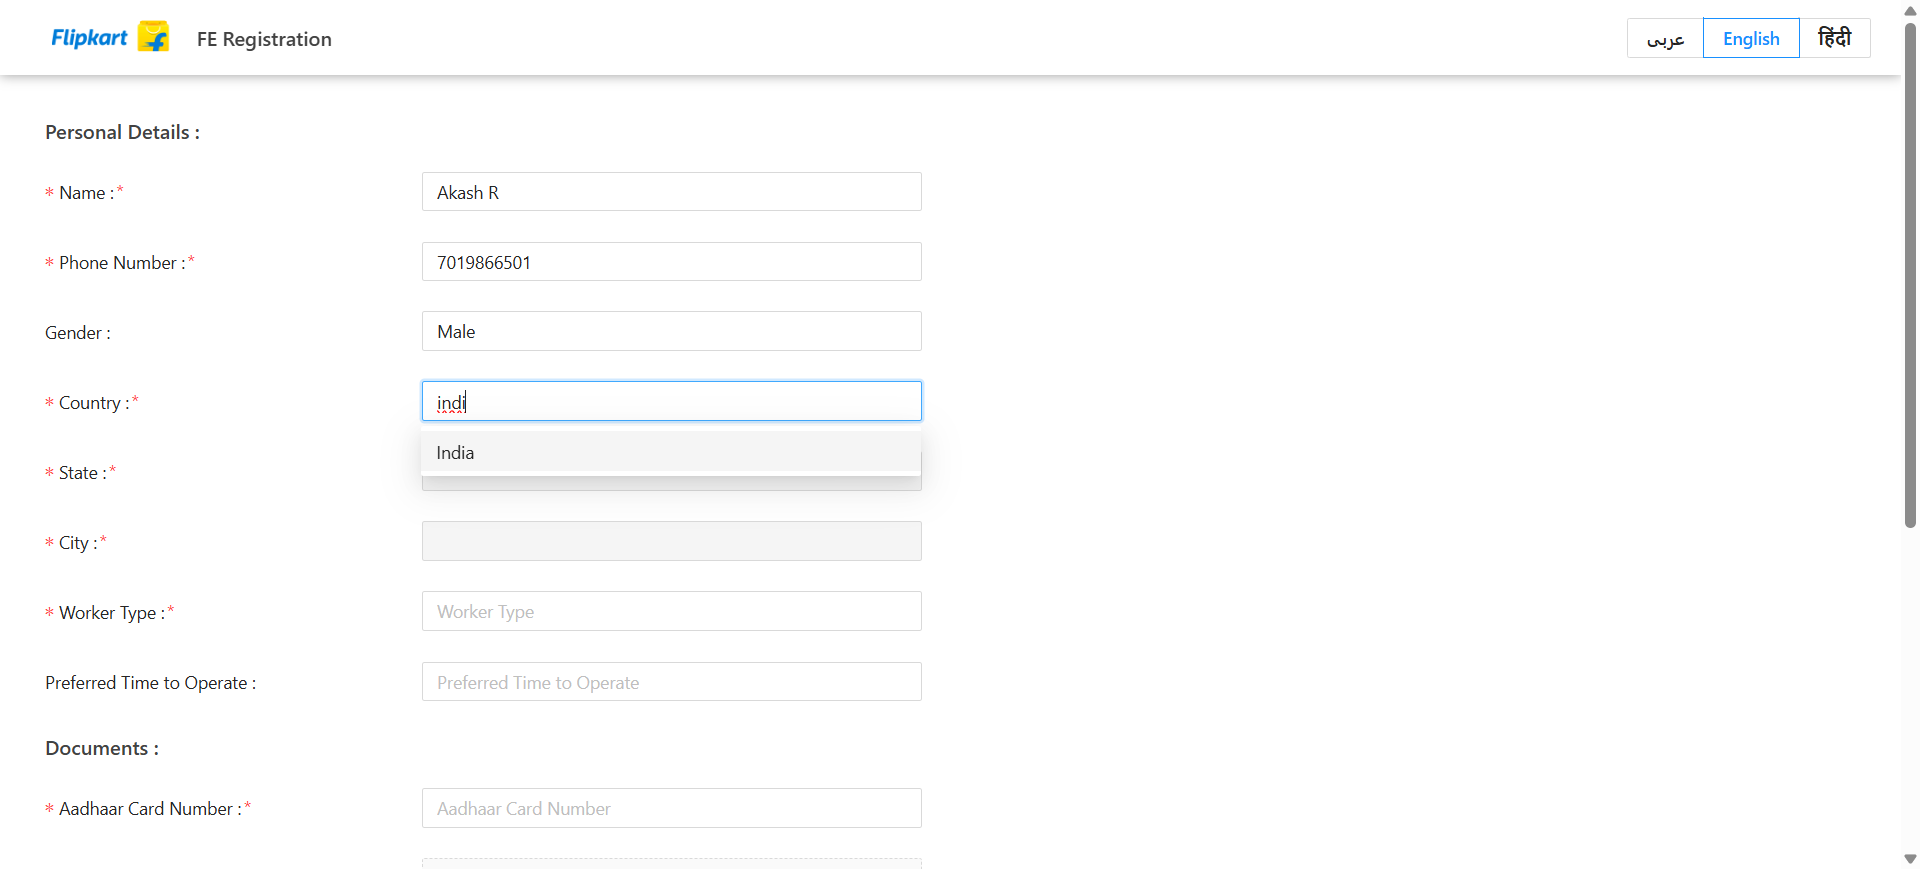
Select the gender of the rider.

5
Choose the country of residence for the rider.
6
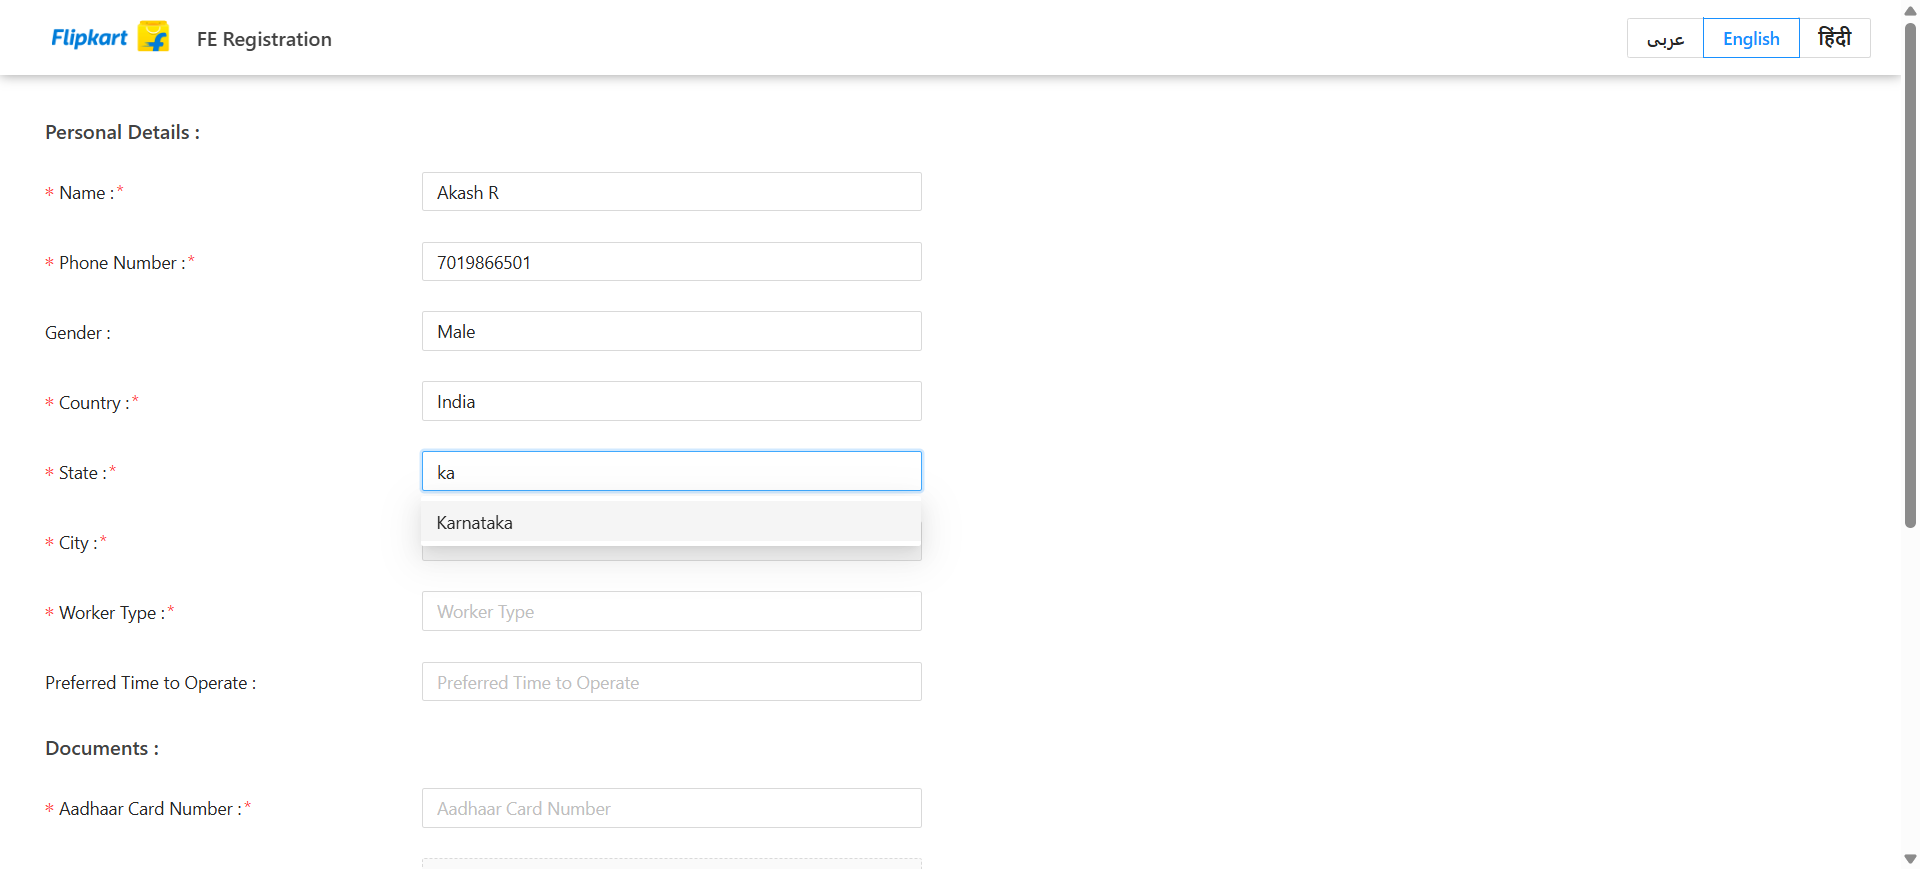
Select the state where the rider is domiciled.
7
Choose the city in which the rider lives.
8
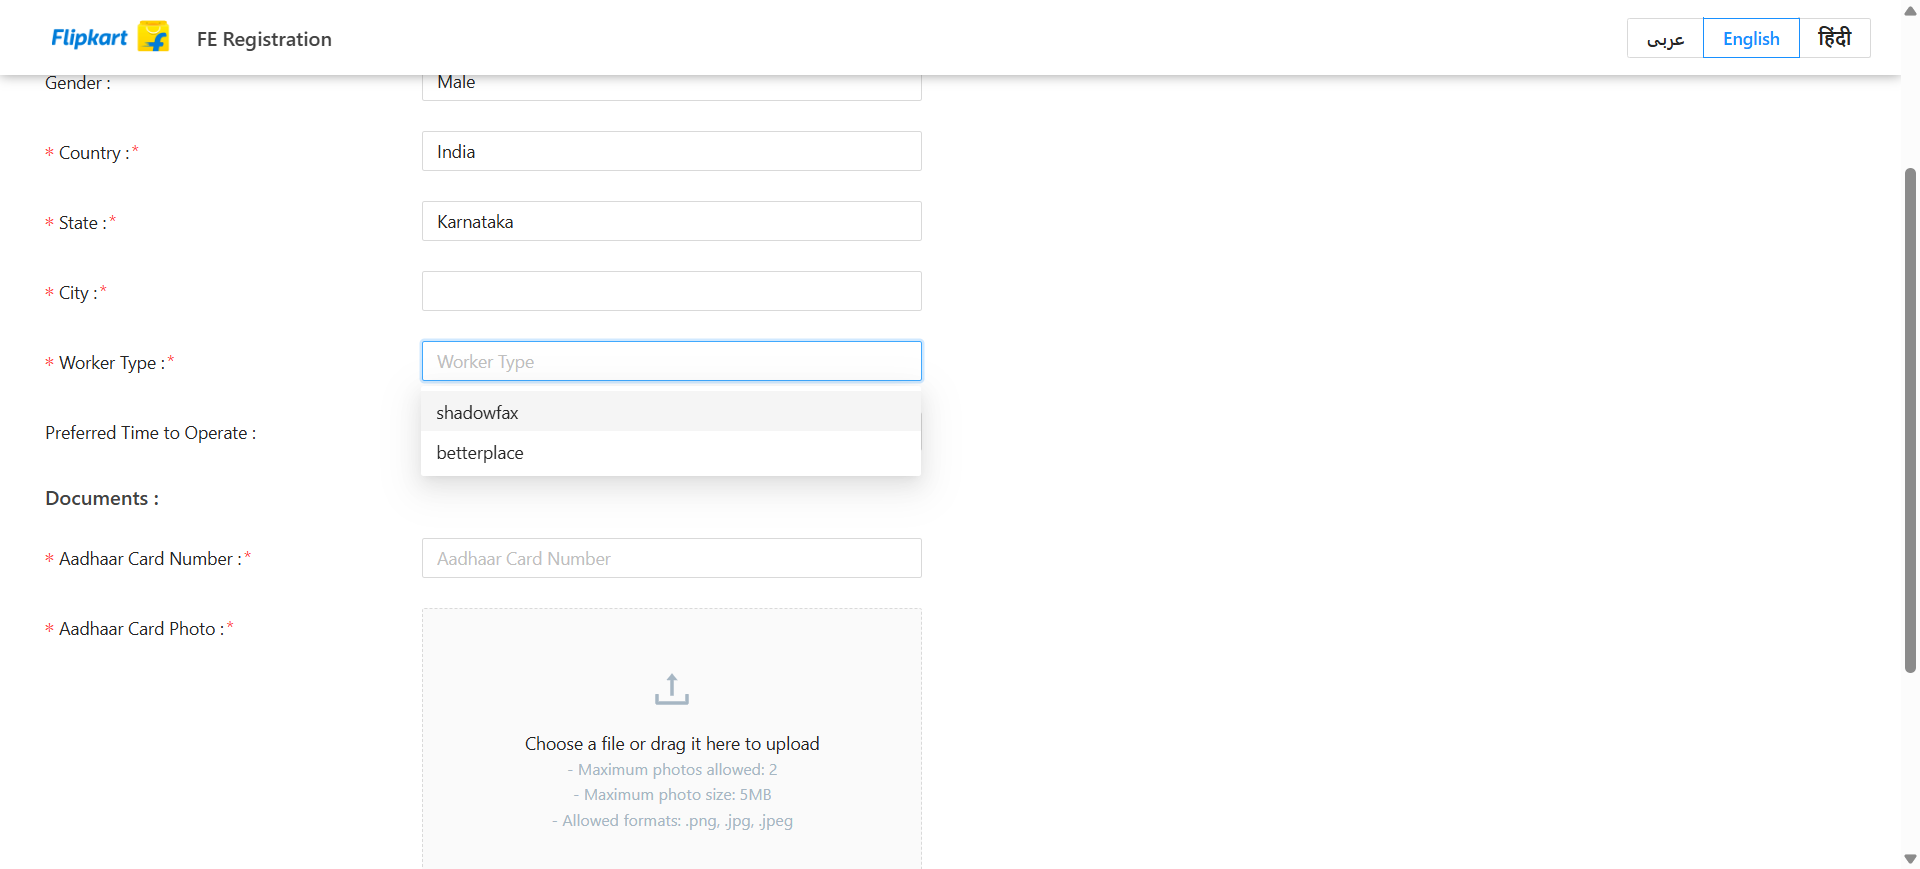
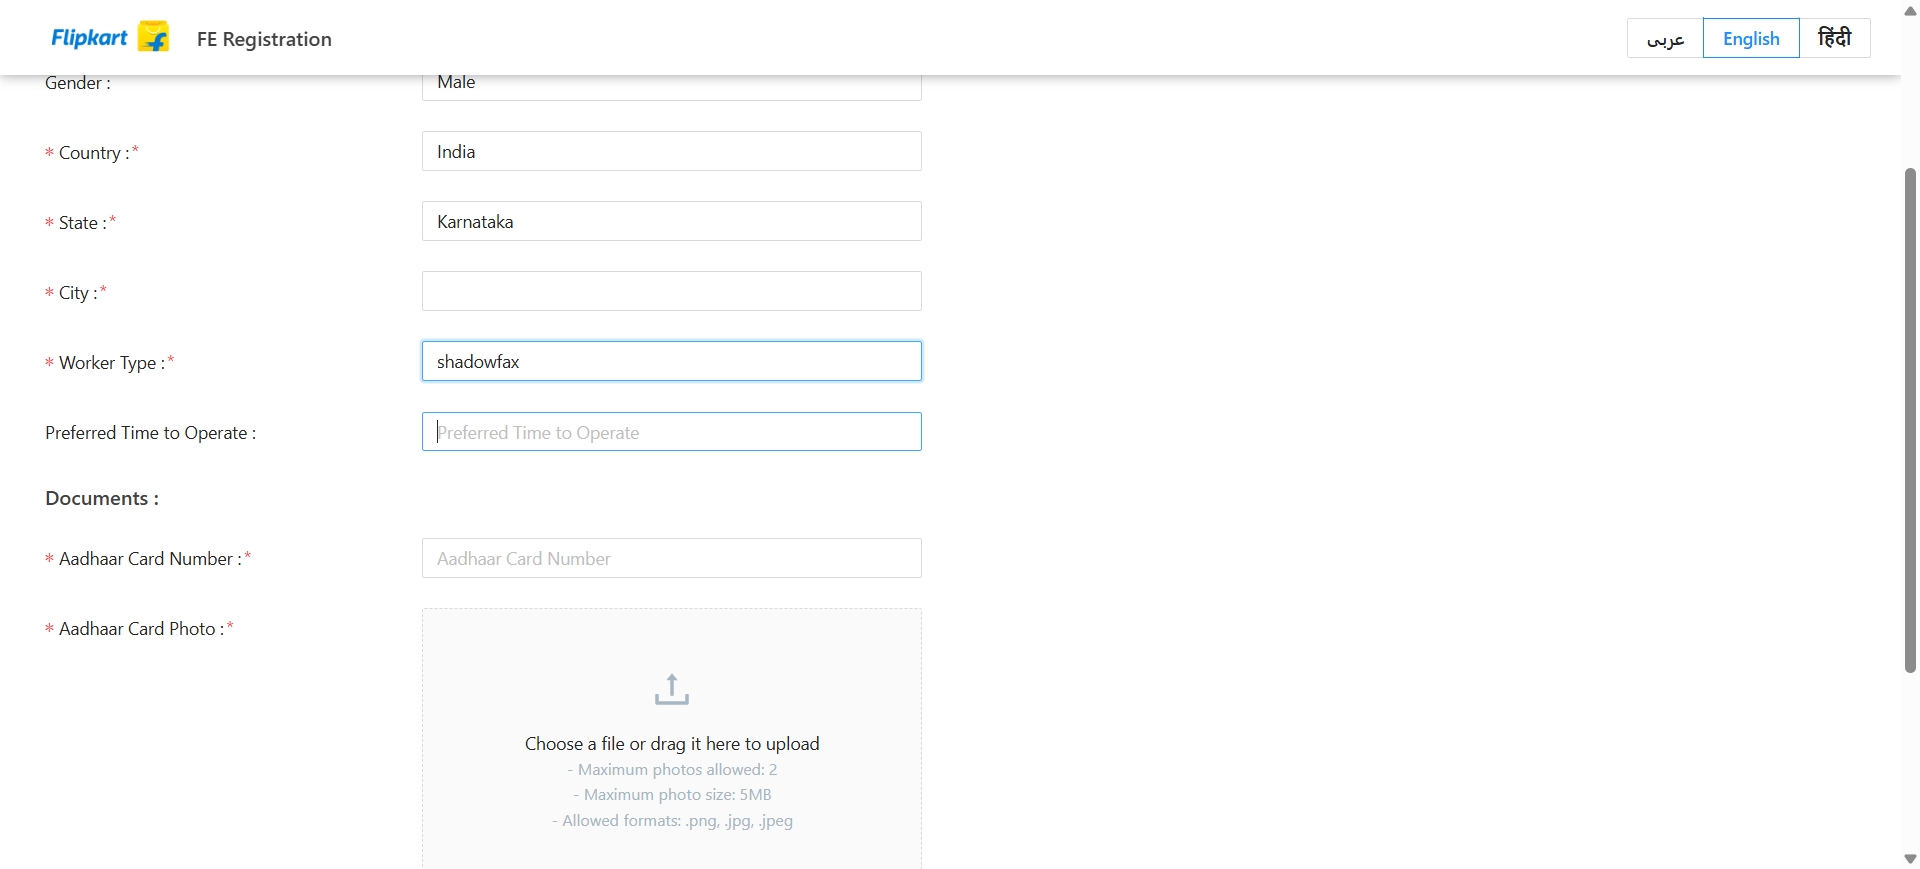
Determine the category of work that the rider wishes to pursue.
9
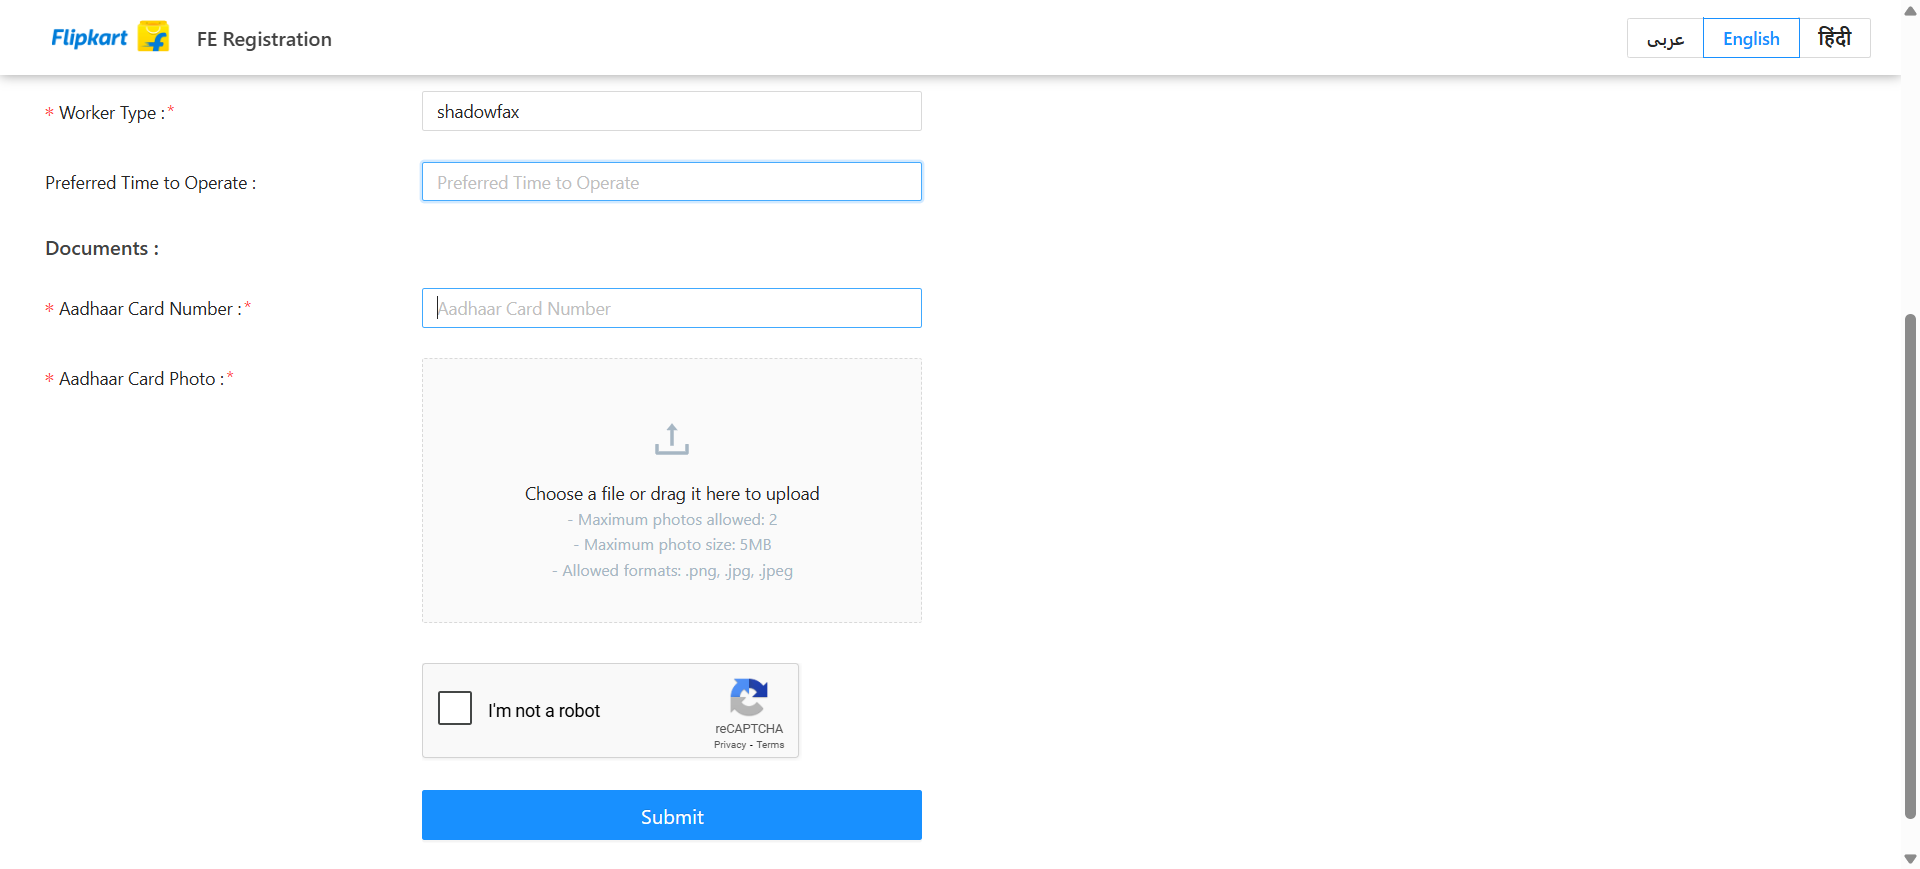
Specify the times the rider would like to work during their shifts.
10
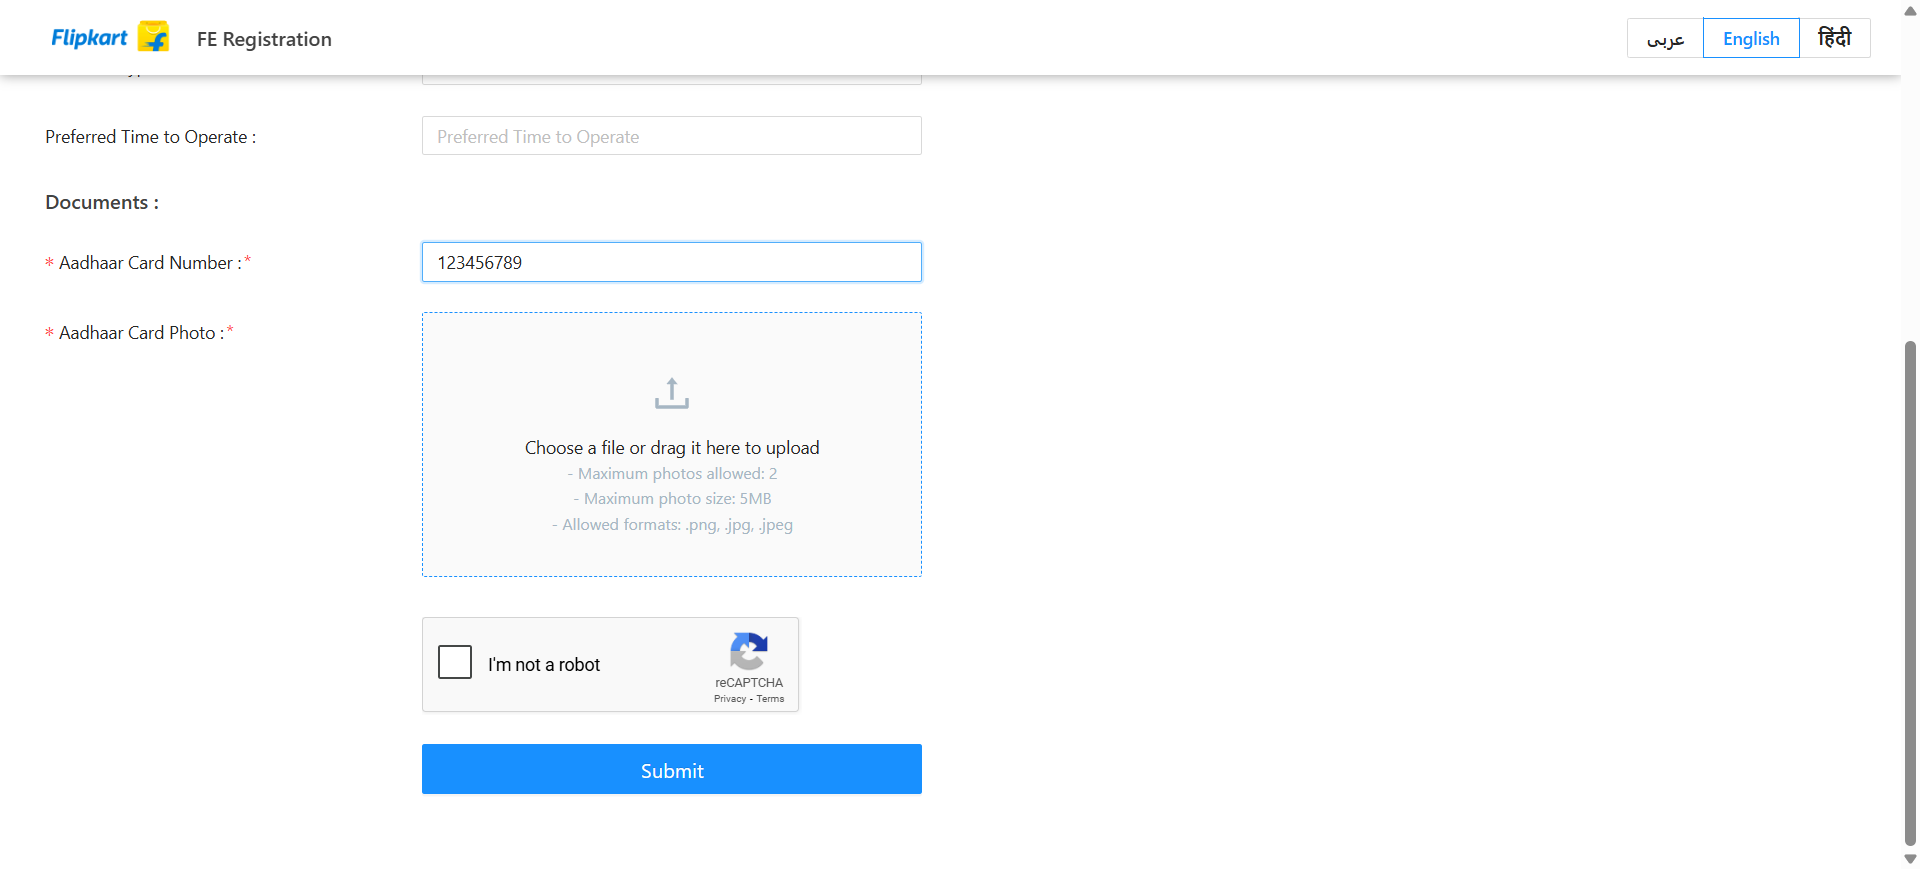
In the 'Document' section, please enter the document number associated with the rider
11
Click on the 'Photos' tab to upload the rider's document photographs
12
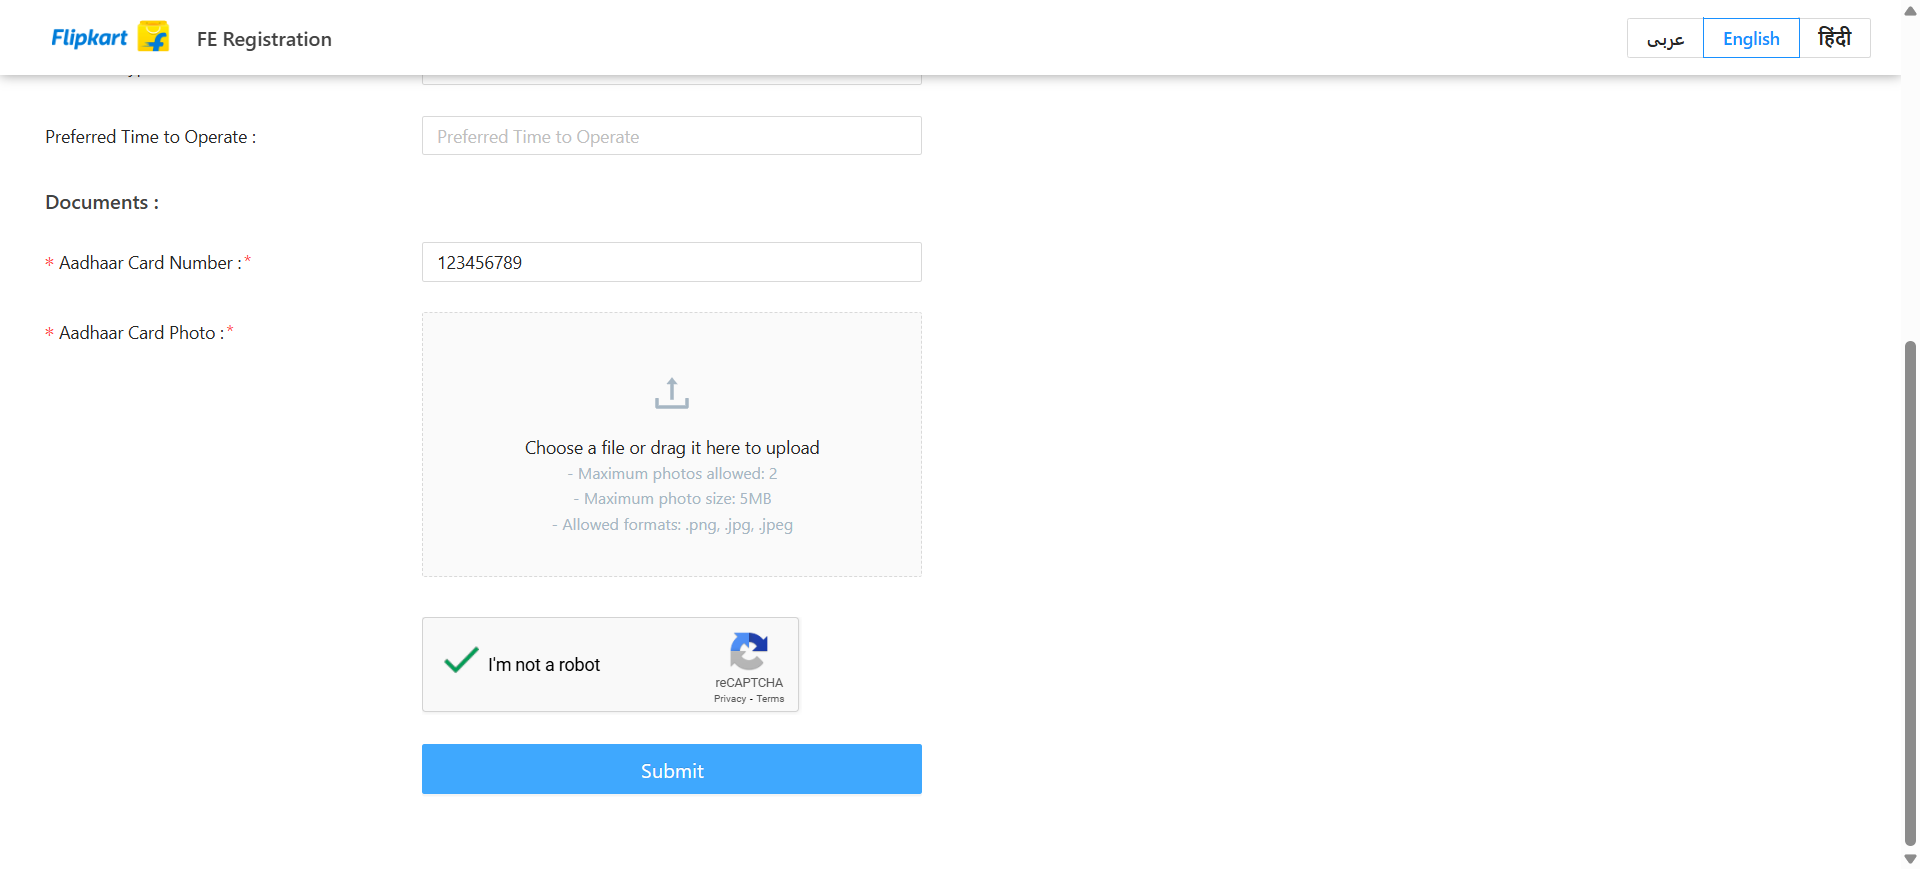
Confirm the CAPTCHA and then click the submit button to send the rider's information.
13
After submitting the form, the information is recorded in the OPS (Operational Dashboard) and made accessible to the Hub Manager, who has the authority to approve or decline the ride within the Rider Management system.
If the rider wishes to be onboarded directly by the Hub Manager, they should consult this documentation