
Rider Management
This guide outlines a systematic method for effectively handling rider information in the Rider Management section of the dashboard. It guarantees precise data entry, appropriate vehicle allocation, shift scheduling, and configuration of payout rules, all while adhering to operational and business standards. This process enhances rider registration, minimizes errors, and boosts efficiency in managing rider profiles. The procedure starts with the user, typically an administrator or manager, logging into the dashboard and accessing the Rider Management section. After selecting the relevant store information for the rider, the user inputs critical details such as the rider's name, contact number, Aadhaar card number, and gender. The user also uploads an image of the rider’s identification documents using the "Upload Image" feature. Subsequently, the user sets the shift timings and selects the corresponding payout rules identifier. The vehicle for the rider is then chosen from the available options, or if the rider does not have one, the "Auto-create vehicle" option is utilized. Additionally, an upstream worker code is generated by entering the necessary information into the codebase. Once all information is entered, the user submits the rider’s details. The system processes and saves this information, creating a unique username and a system-generated code for the rider. The Rider Management page is then updated with the new rider's information. If any discrepancies are found, such as an invalid mobile number or incomplete required fields, the system prompts the user to make corrections before final submission. This process ensures that rider profiles are accurately established and efficiently managed within the system, upholding data integrity and operational effectiveness.
By Nagesh A P
1
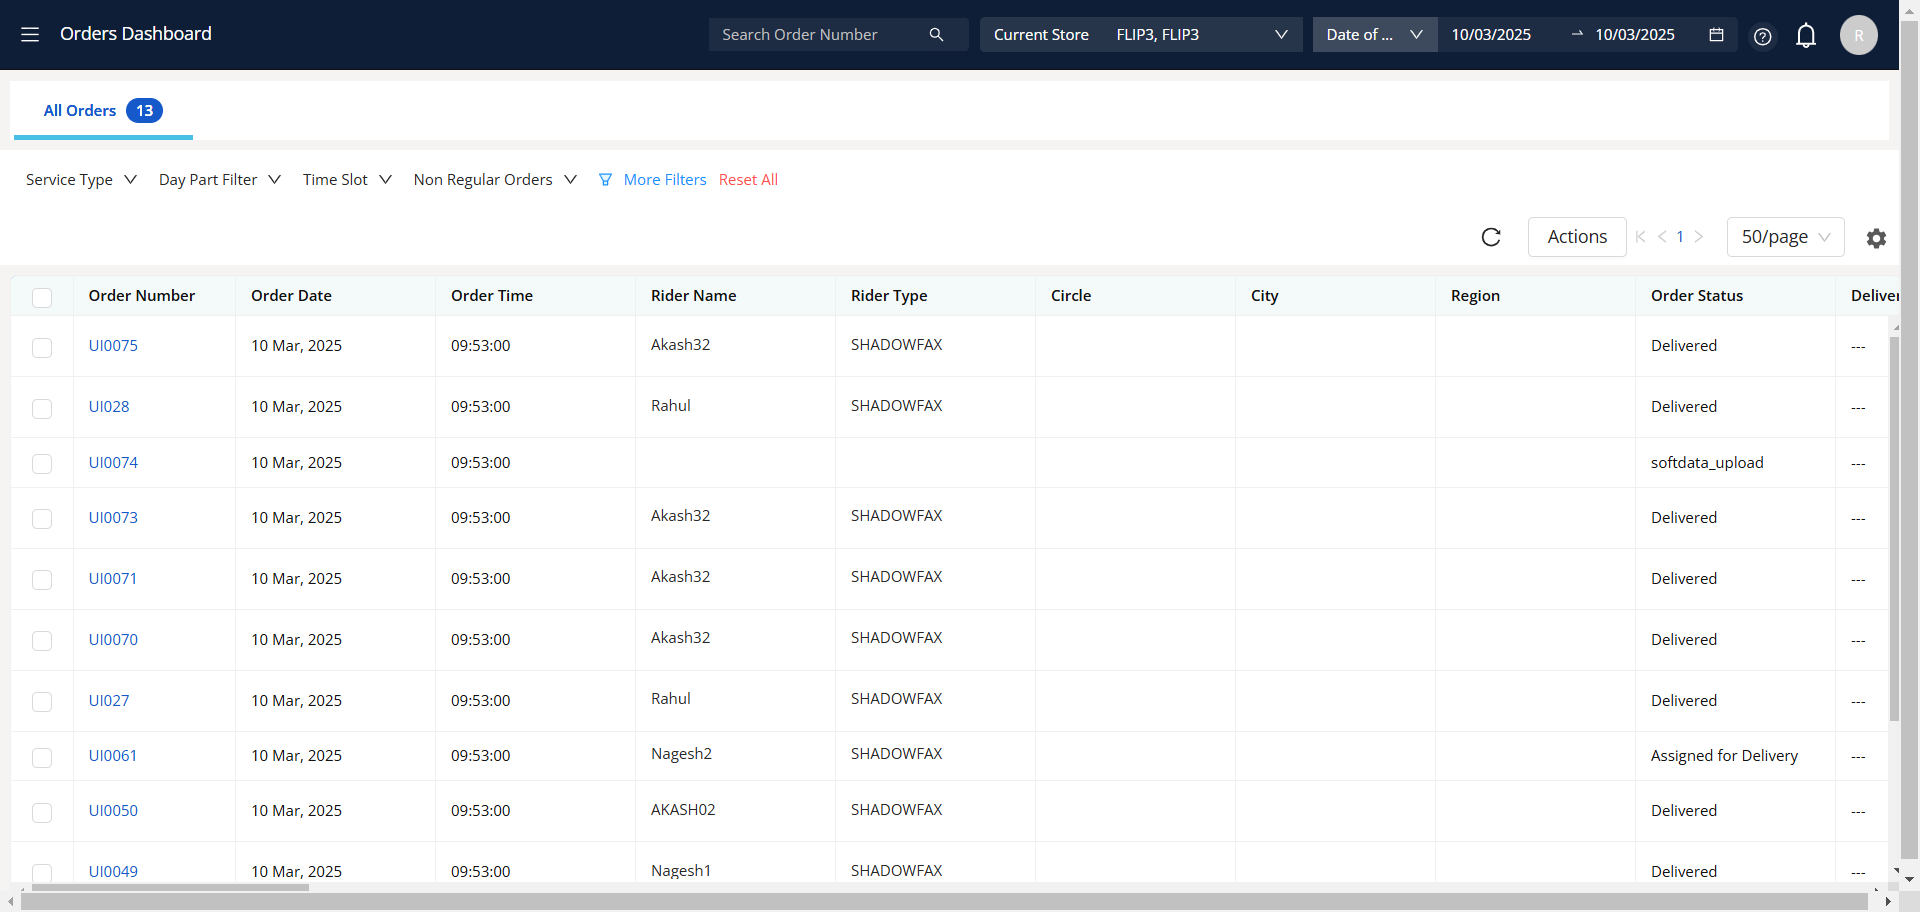
Go to Orders Dashboard
2
To access your account, please provide the correct username and password.
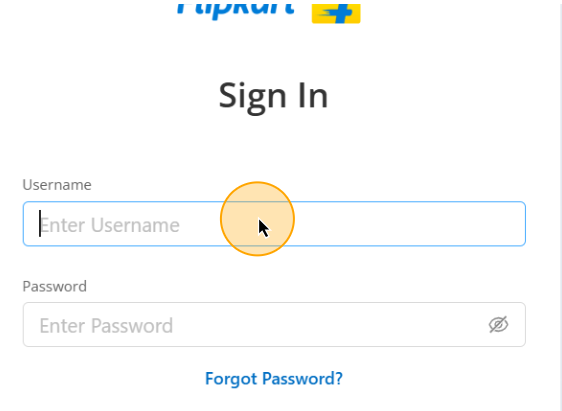
3
After entering your username and password, please click the 'Sign In' button to access your account

4
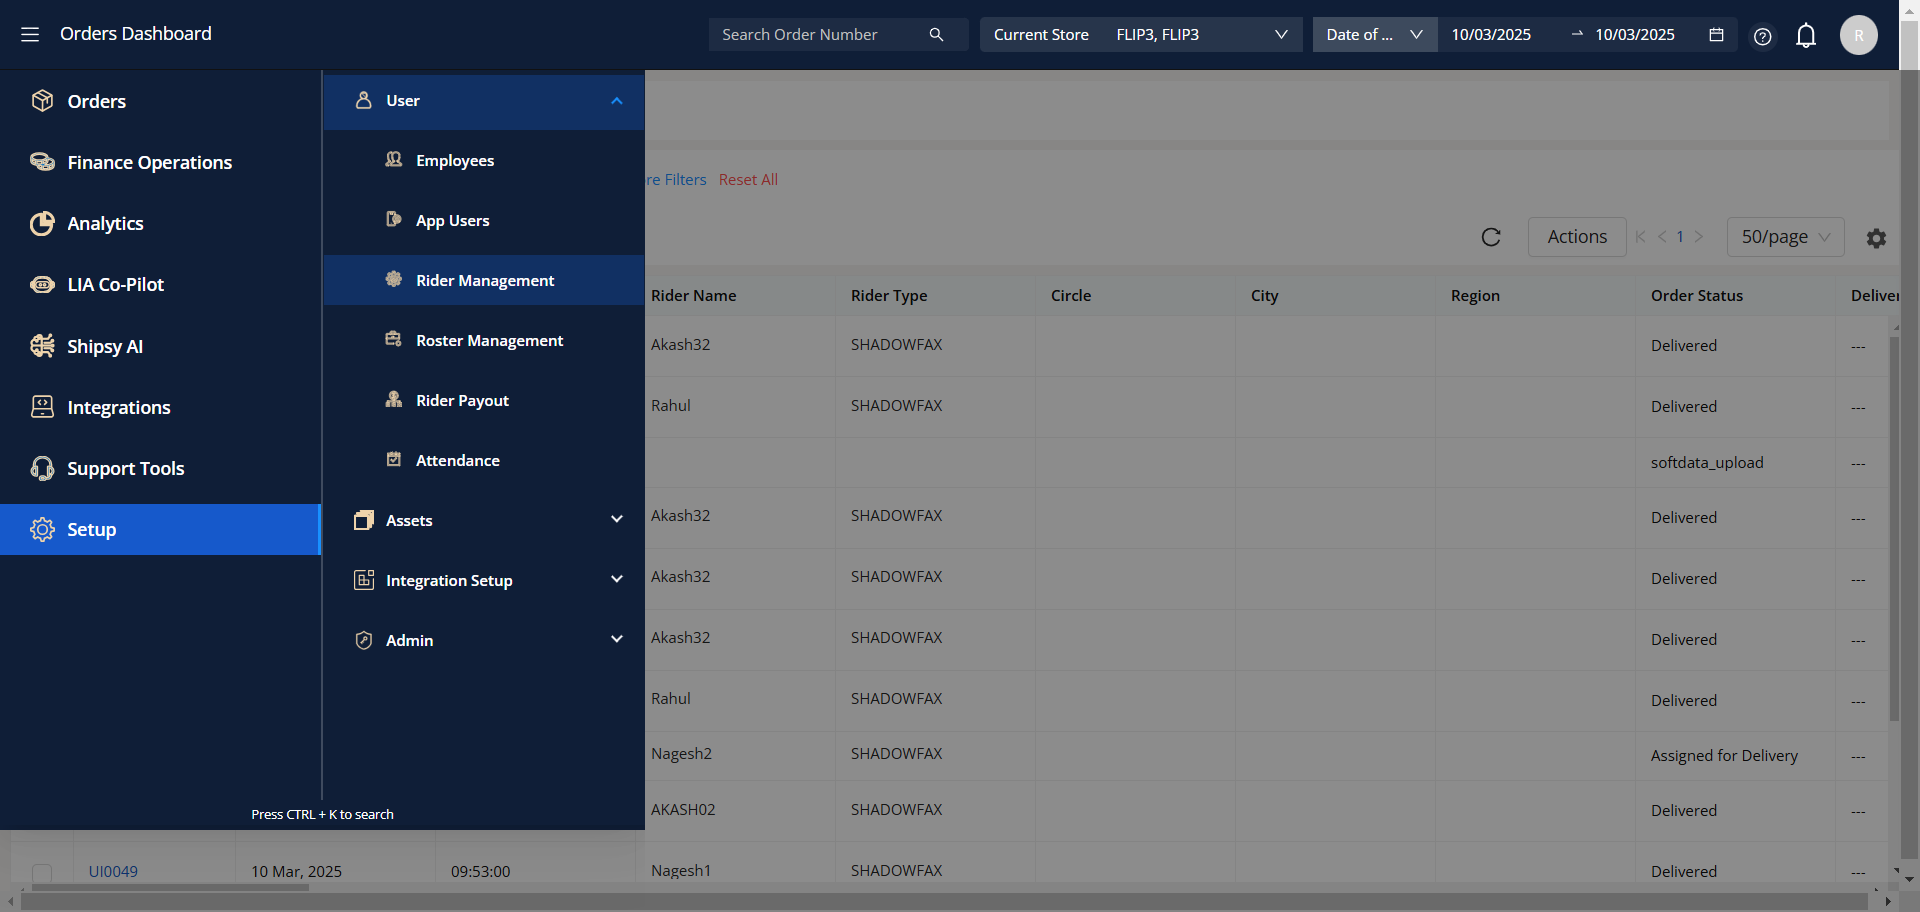
Upon successful login, the system will take the user to the dashboard page. Next, the user must select the menu bar.
5
From the menu bar, select the setup file.
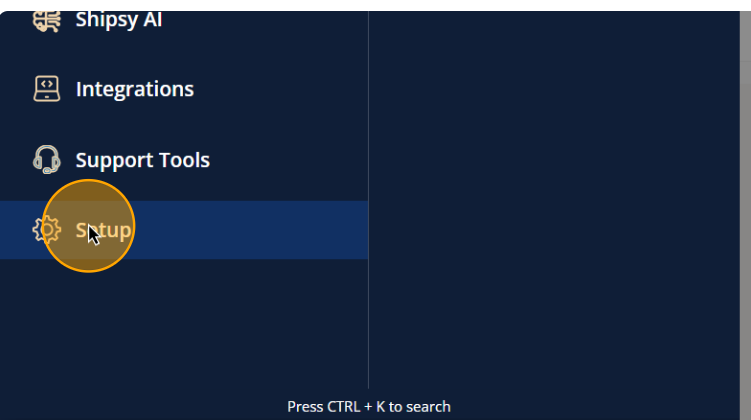
6
In the setup section, please select the 'Users' option.
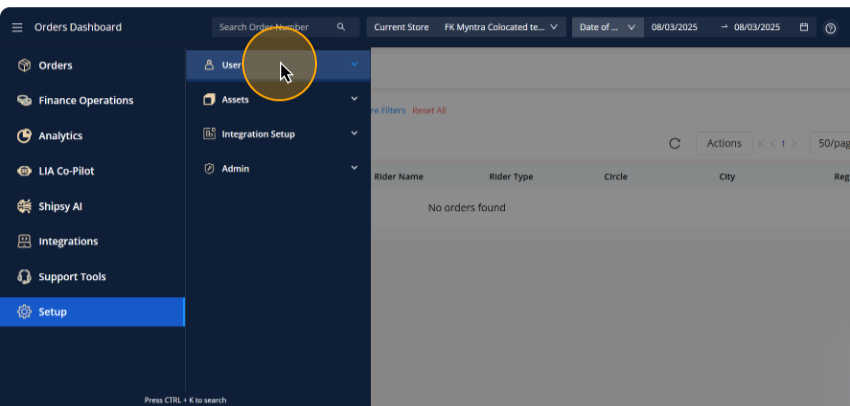
7
To access 'Rider Management,' go to the 'Users' section and select it.
8
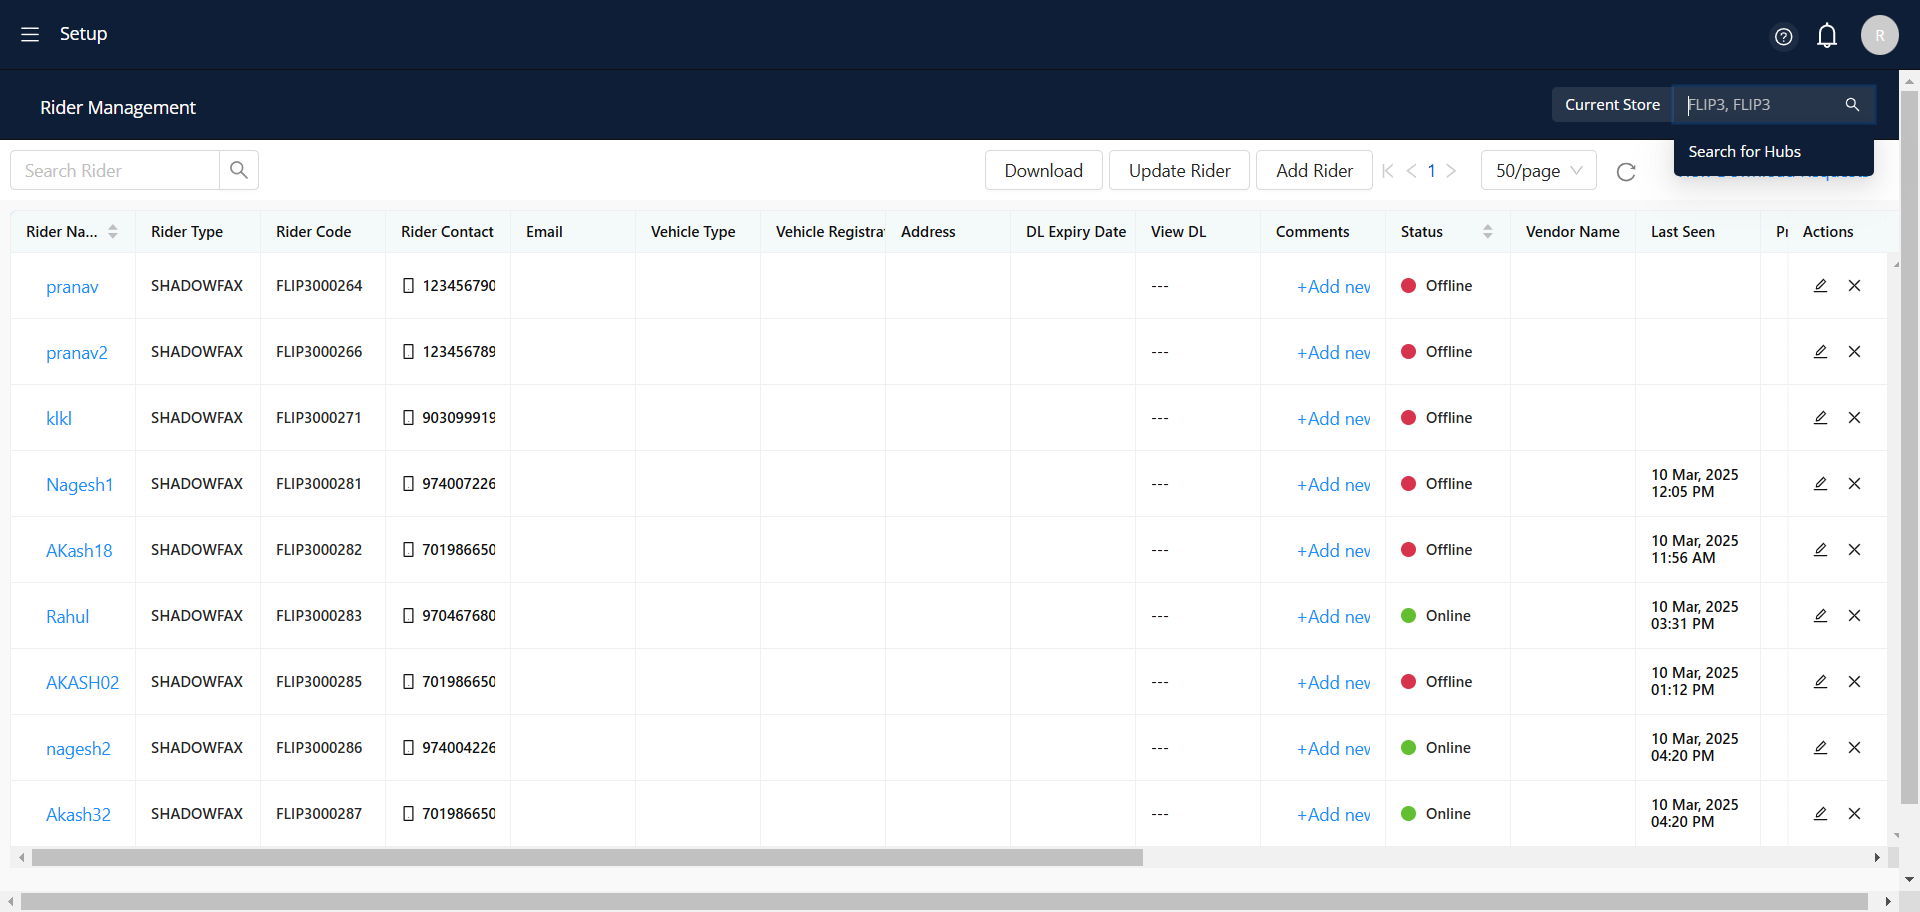
After selecting the 'Rider Management' option, the system will take you to the Rider Management page, where you need to enter the store name in the designated field for the current store.
Please select your store name from the 'Current Store' field
Please select your store name from the 'Current Store' field
9
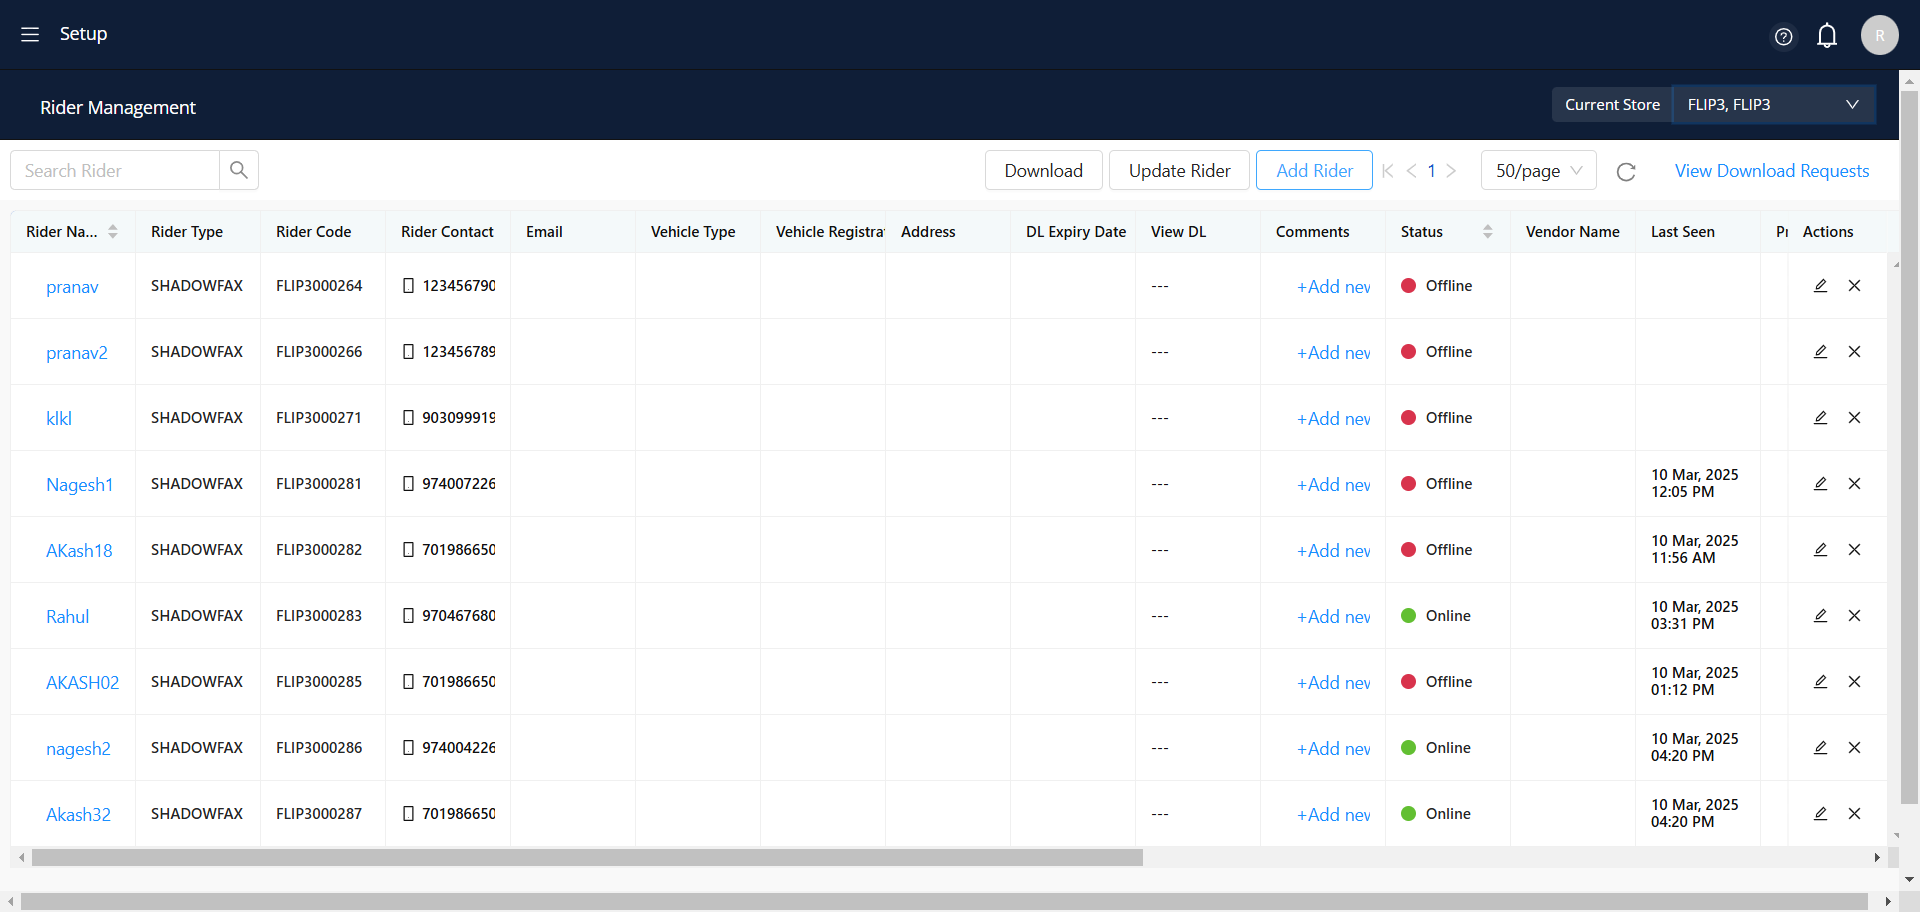
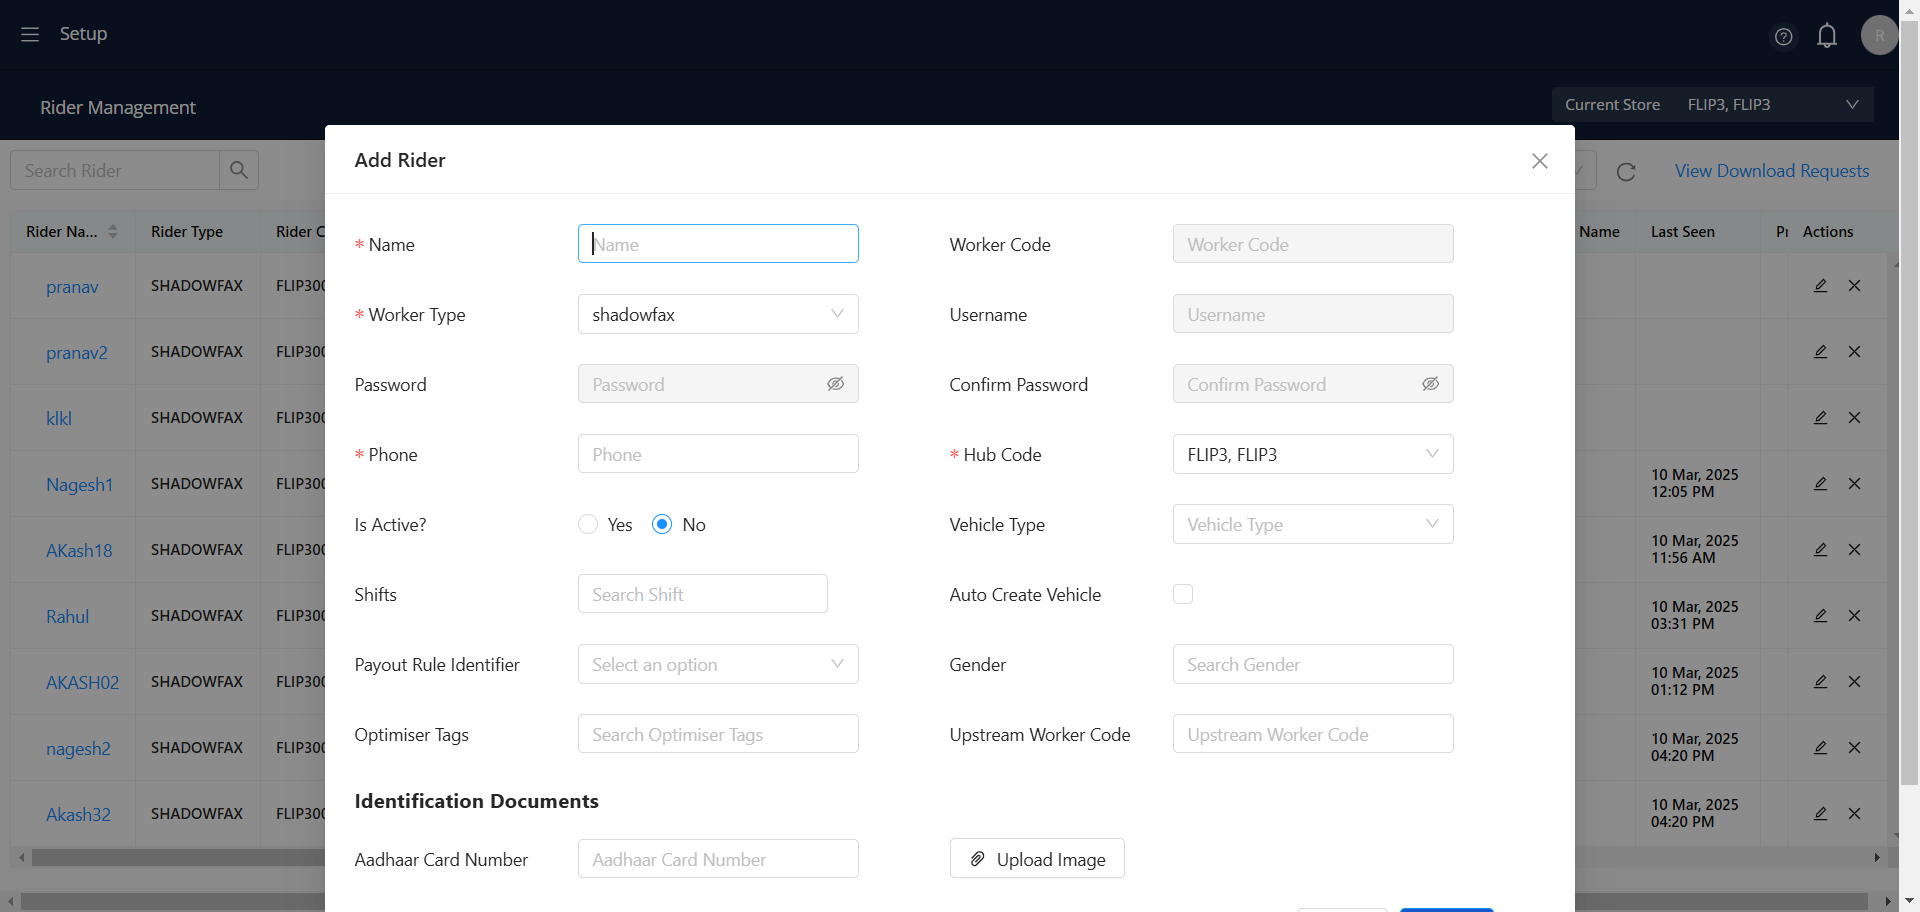
To add the new rider, please select the option Add Rider.
10
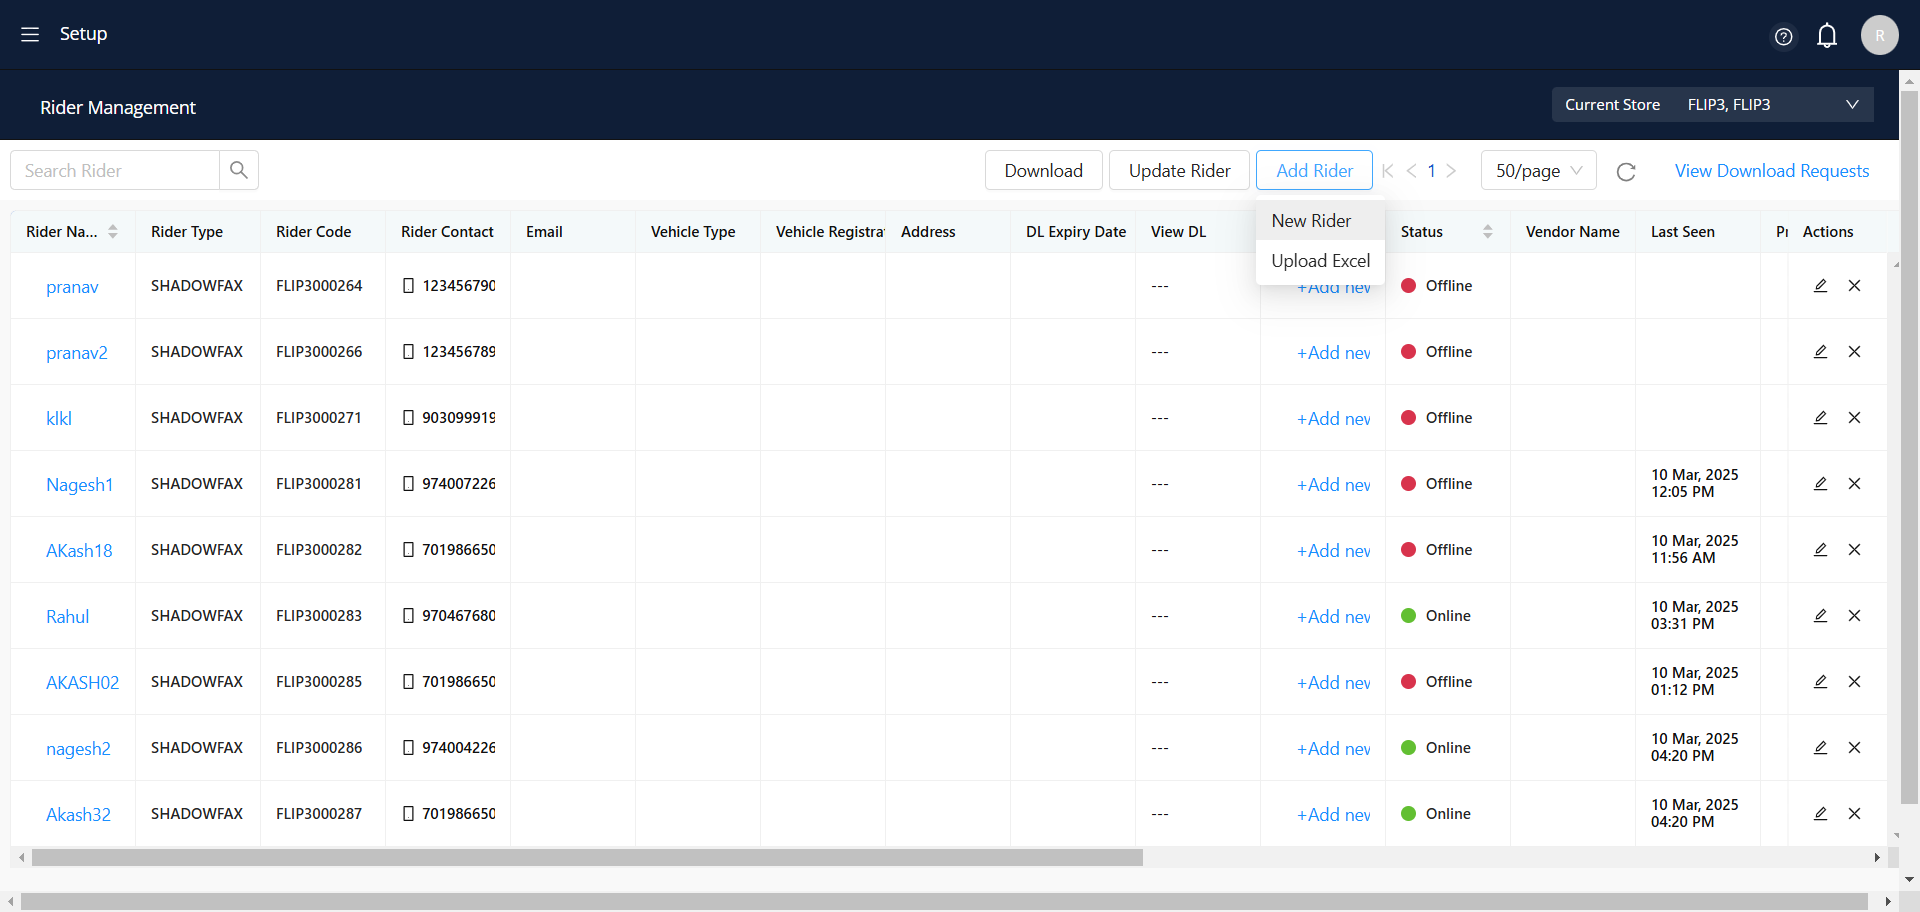
To add a rider, please choose either the "New Rider" option or the "Upload Excel" option.
11
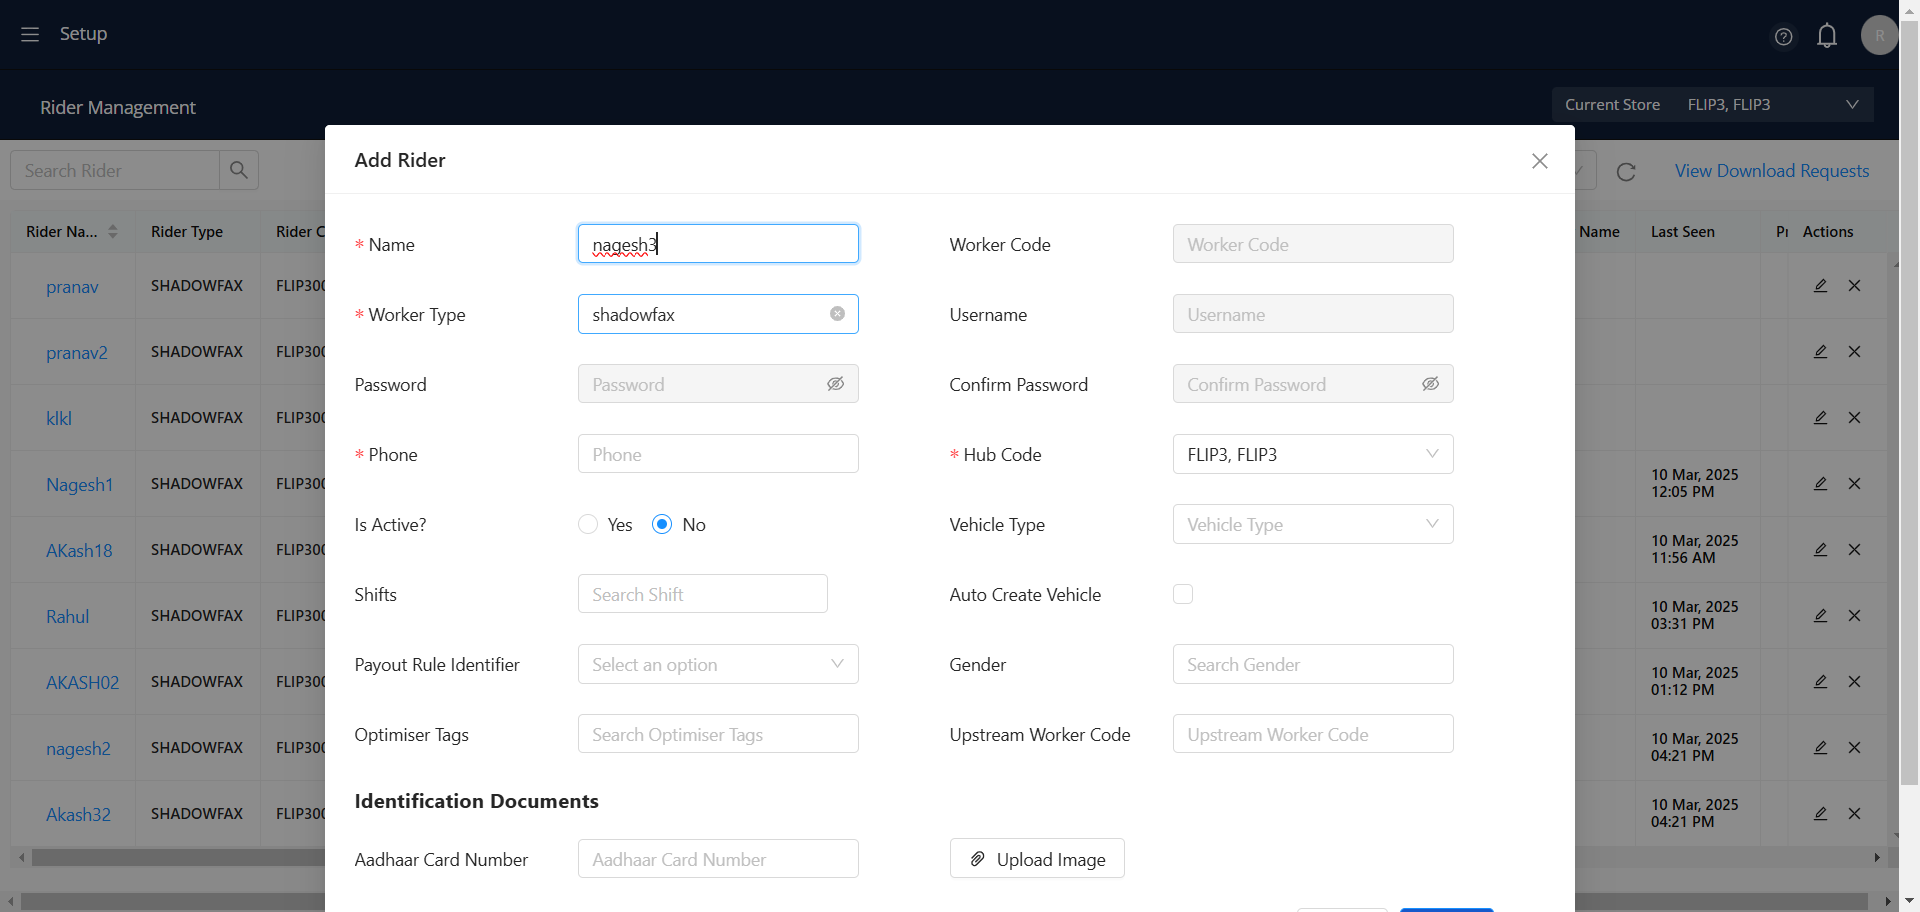
Please provide the name of the Rider.
12
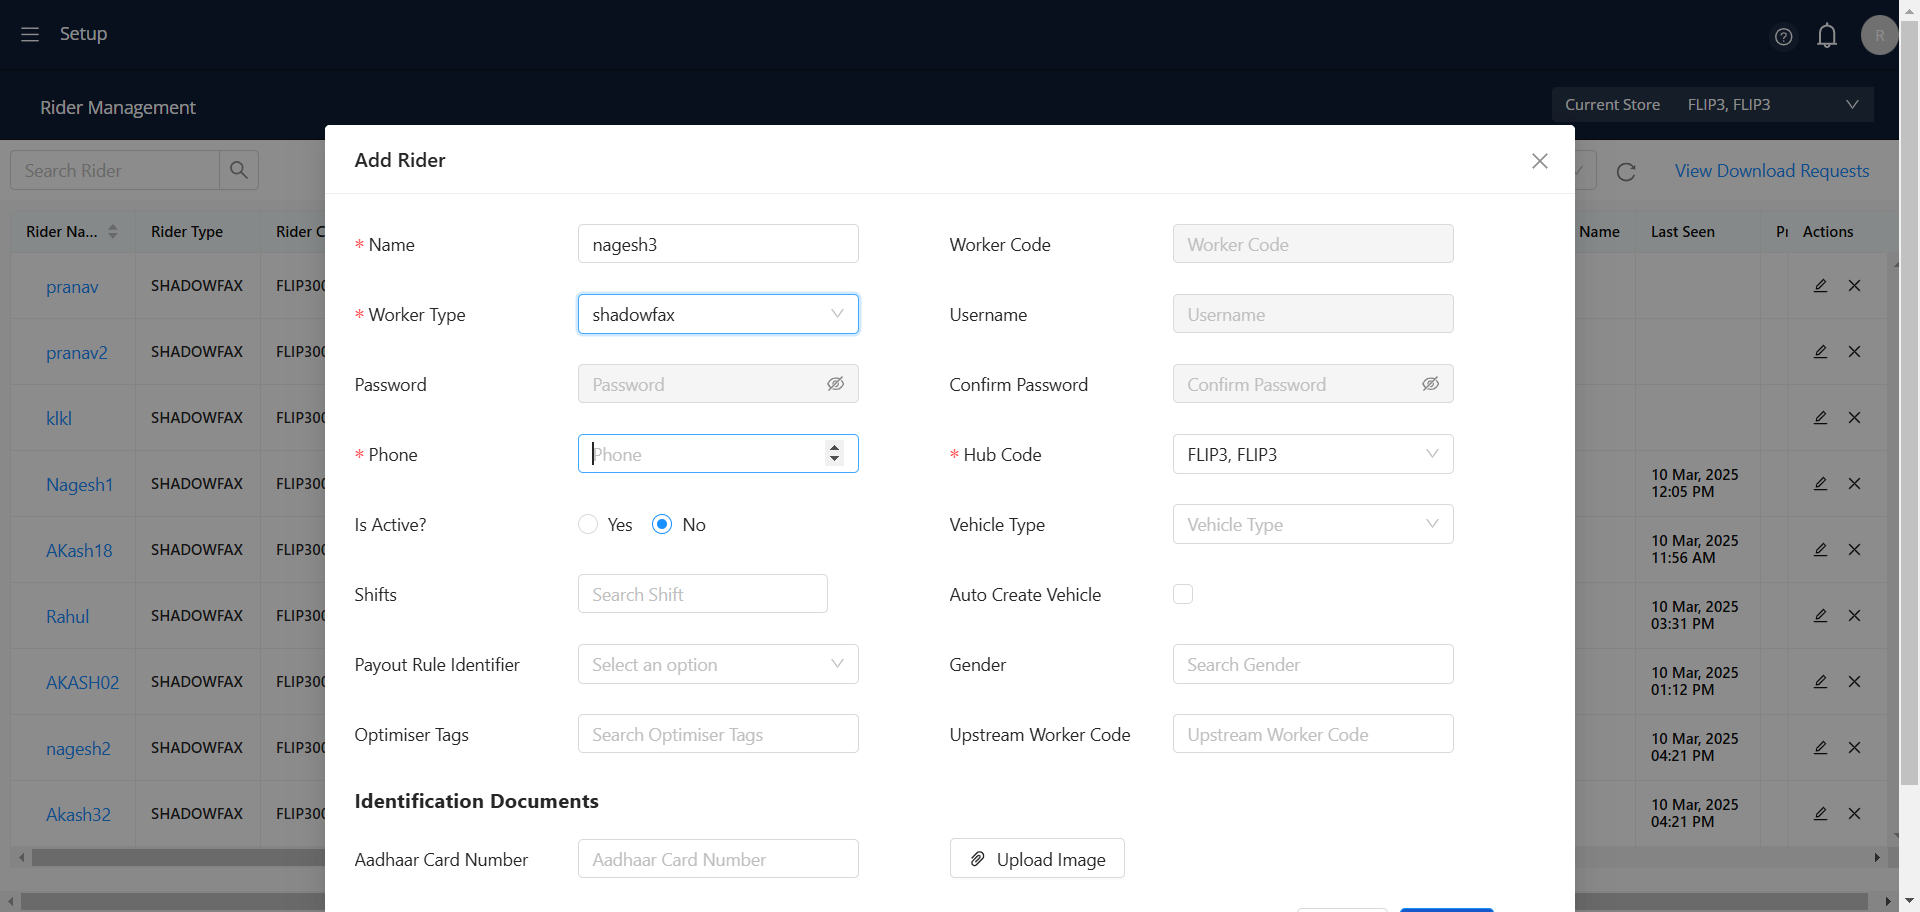
Please provide the Work Type of the Rider.
13
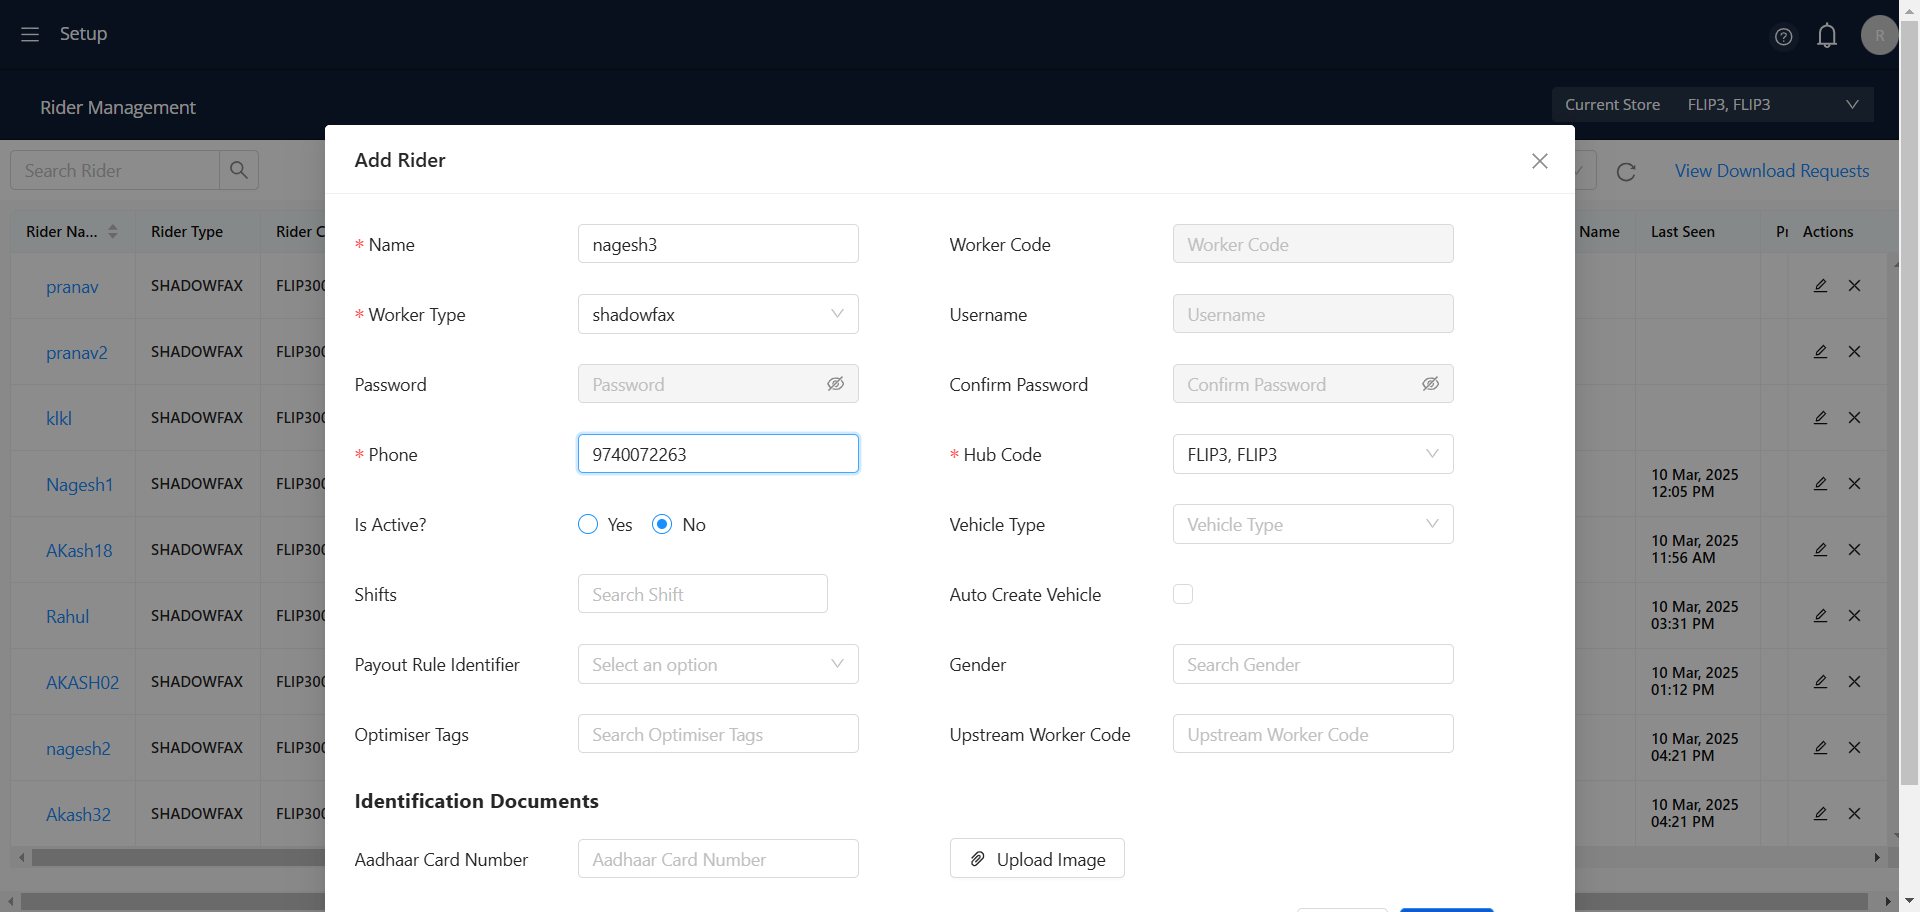
Please submit the rider's mobile number, consisting of 10 digits.
14
To assess the status of the rider, kindly choose 'Yes' in the 'Is Active' field if the rider is currently active, or select 'No' to indicate that the rider is inactive.
15
Please input the shift timings for the rider under the section labeled 'Shifts'.
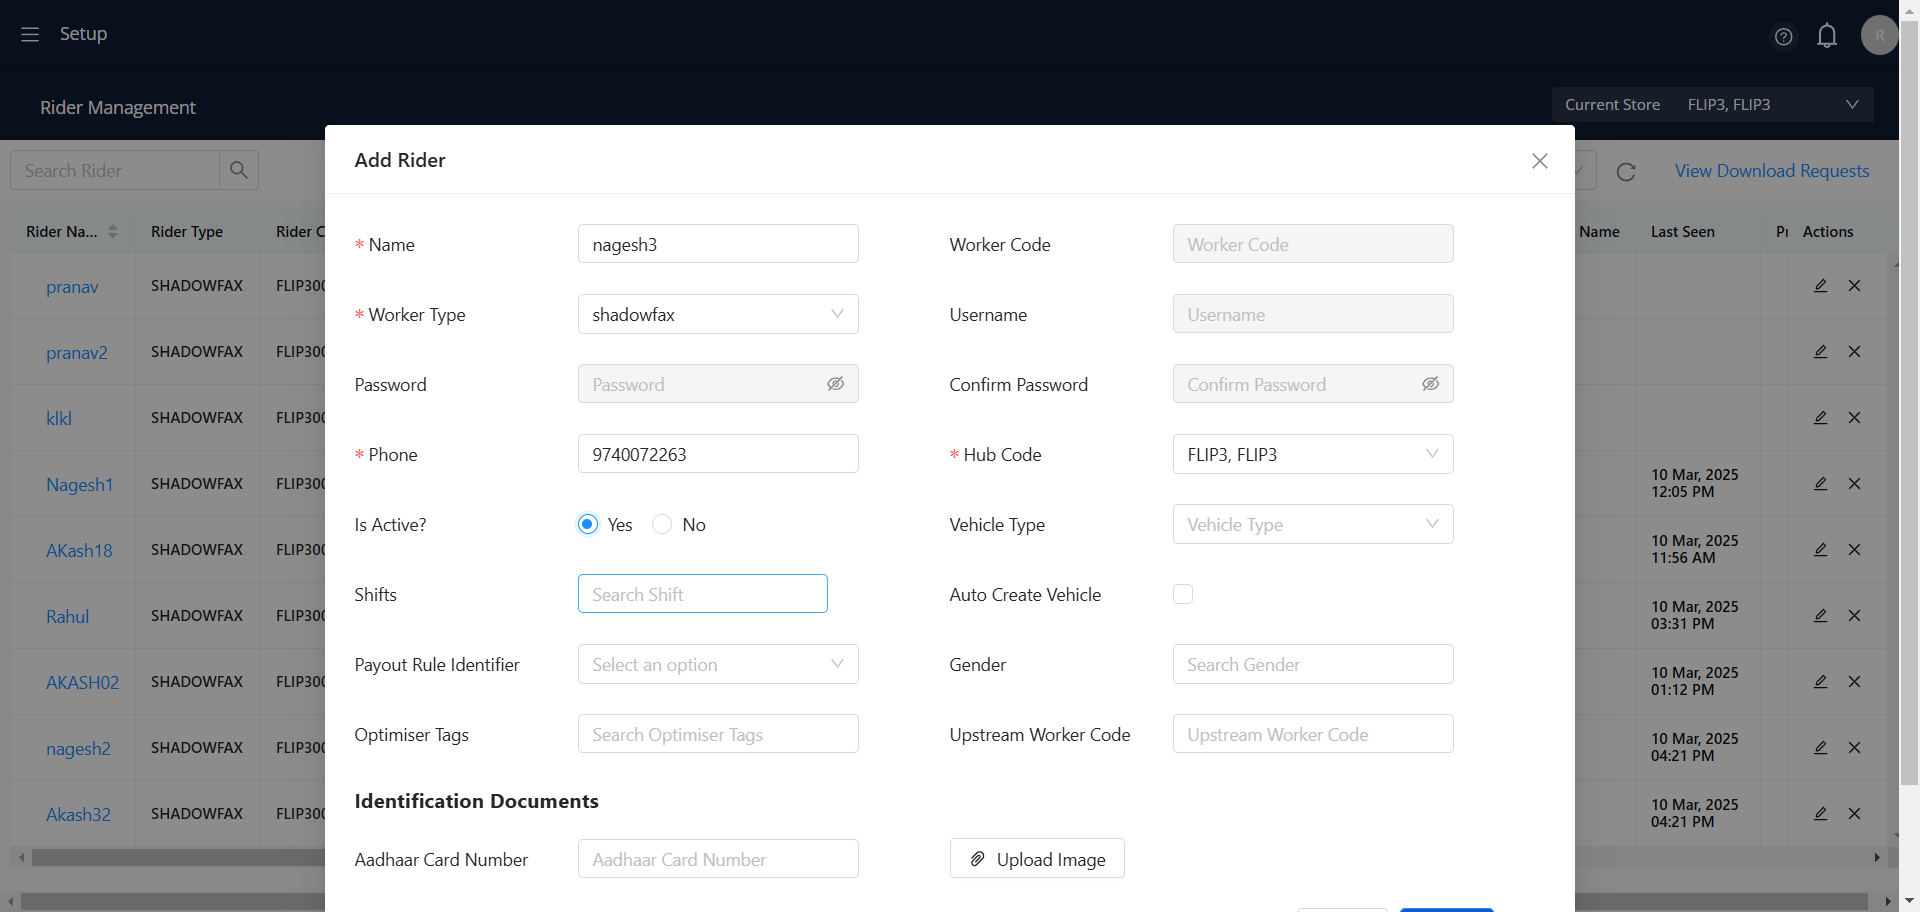
16
In the section designated for 'Identification Documents,' kindly provide the Aadhaar card number of the rider.

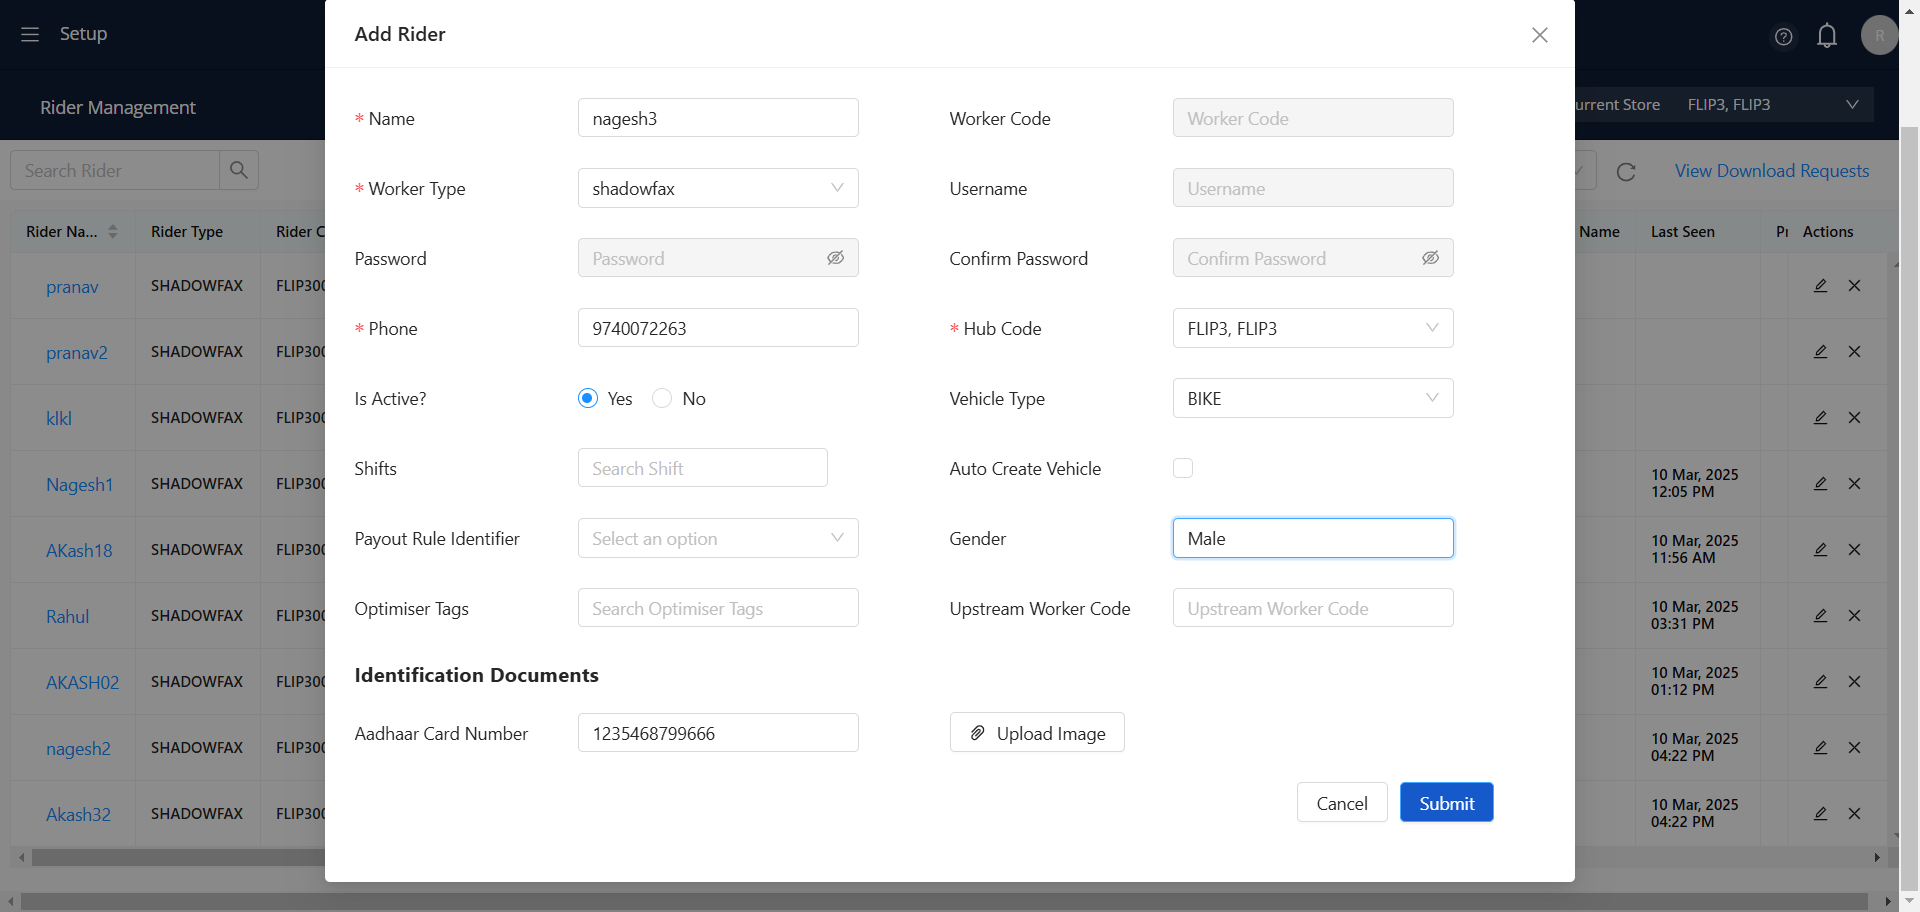
17
Select the appropriate vehicle for the rider from the range of vehicle options provided.

18
Choose the rider's gender under the 'Gender' section.

19
To proceed, kindly input the upstream worker code for the rider within the upstream codebase, and subsequently click on the data to submit .
20
Once the rider's information is submitted, the system will navigate to the Rider Management page and securely store the rider's details, including the username and rider code.

21
If the rider wishes to proceed with direct registration for onboarding, kindly consult the document
22
If the roster wishes to be onboarded directly by the Hub Manager, they should consult this documentation