
Roster Management
To start managing rosters, the initial step involves logging into your account with your unique username and password. This process ensures that only authorized users can access the roster management system, providing a secure and tailored experience. After successful login, you will be taken to the Dashboard, which acts as the main interface for monitoring and managing all aspects of your account and related tasks. This page presents an overview of current activities, notifications, and account details, along with a Menu Bar typically positioned at the top or side of the screen, serving as the entry point to various sections of your account. Once on the Dashboard, locate the Setup option in the Menu Bar. Selecting Setup will lead you to the administrative settings area, where you can handle various account-related tasks, including preferences, roles, and permissions. This section allows you to fully customize and configure the system to meet your organization's requirements. Within this area, you will find multiple options to adjust settings according to your needs, including user management and role assignments. To modify the permissions and roles of users accessing the roster management system, click on Users. Here, you can establish access levels for each individual, ensuring that sensitive information is restricted to authorized personnel only. This system allows you to control which sections of the platform different users can access, with some users potentially limited from altering sensitive details like staff schedules or payroll information, while others may have comprehensive administrative access. After adjusting the user permissions and roles, you can move on to the Roster Management section to organize and schedule staff. The Roster Management page is where the majority of roster organization takes place, equipped with tools to facilitate effective scheduling
By Nagesh A P
1
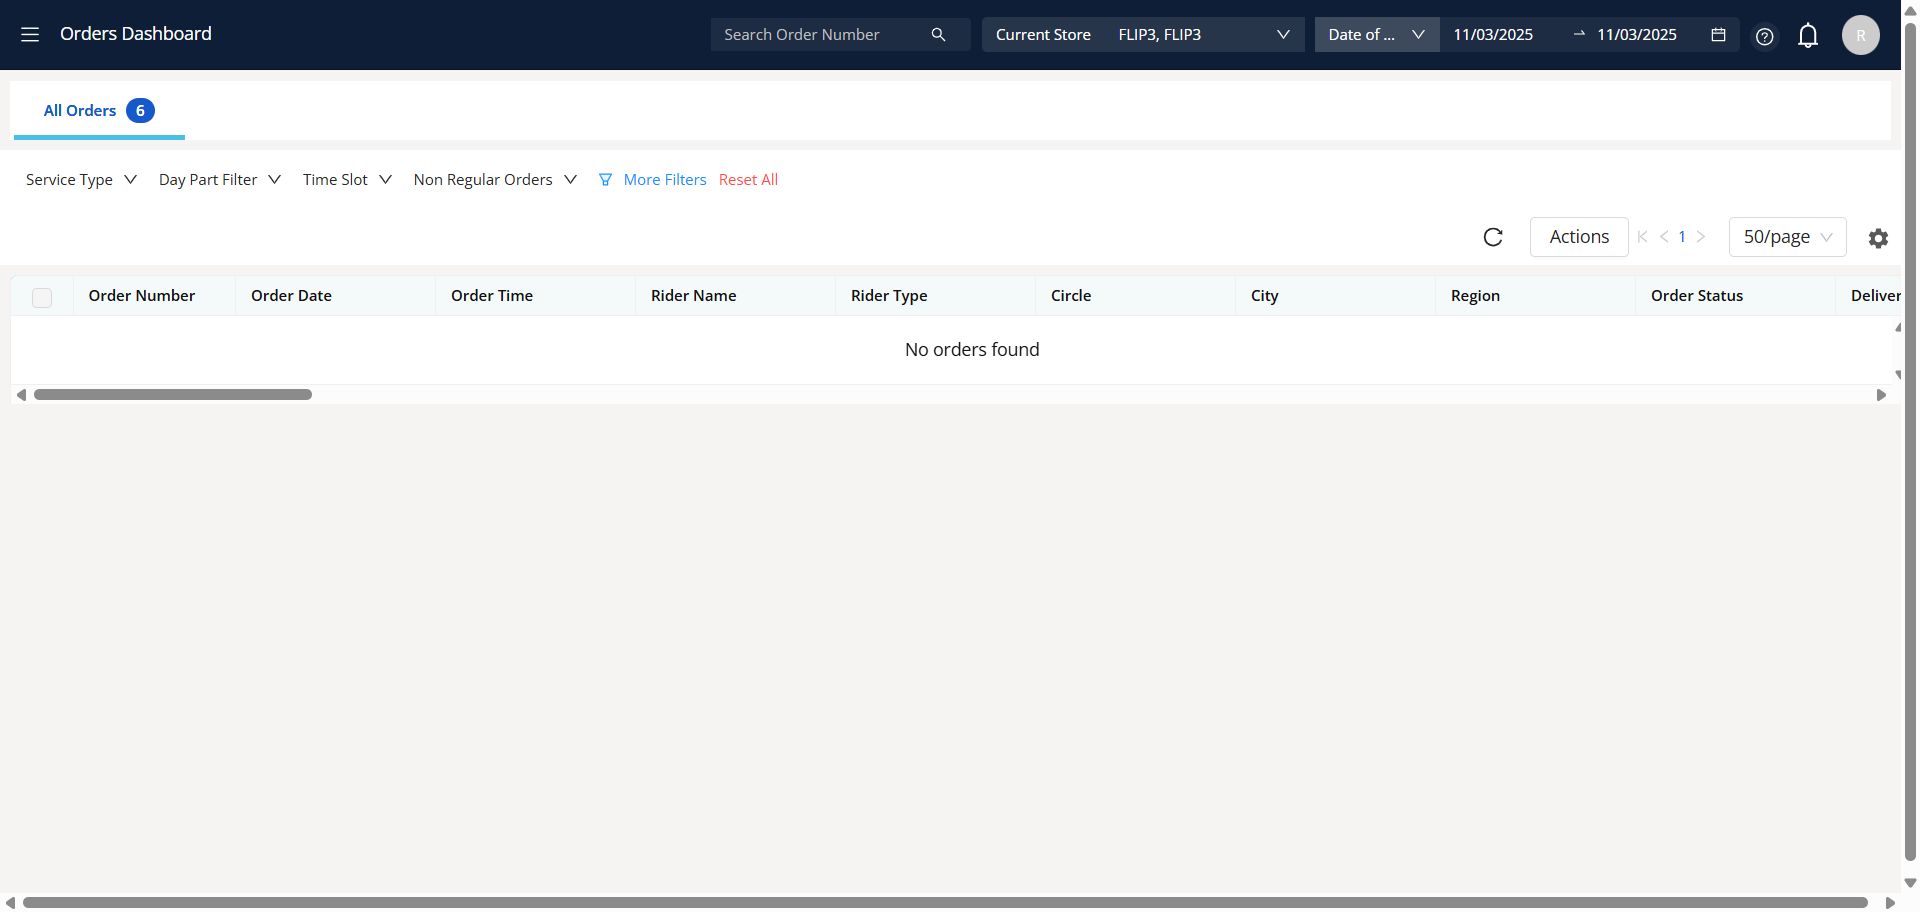
Go to Orders Dashboard
2
The user must select the menu bar."= Orders Dashboard"
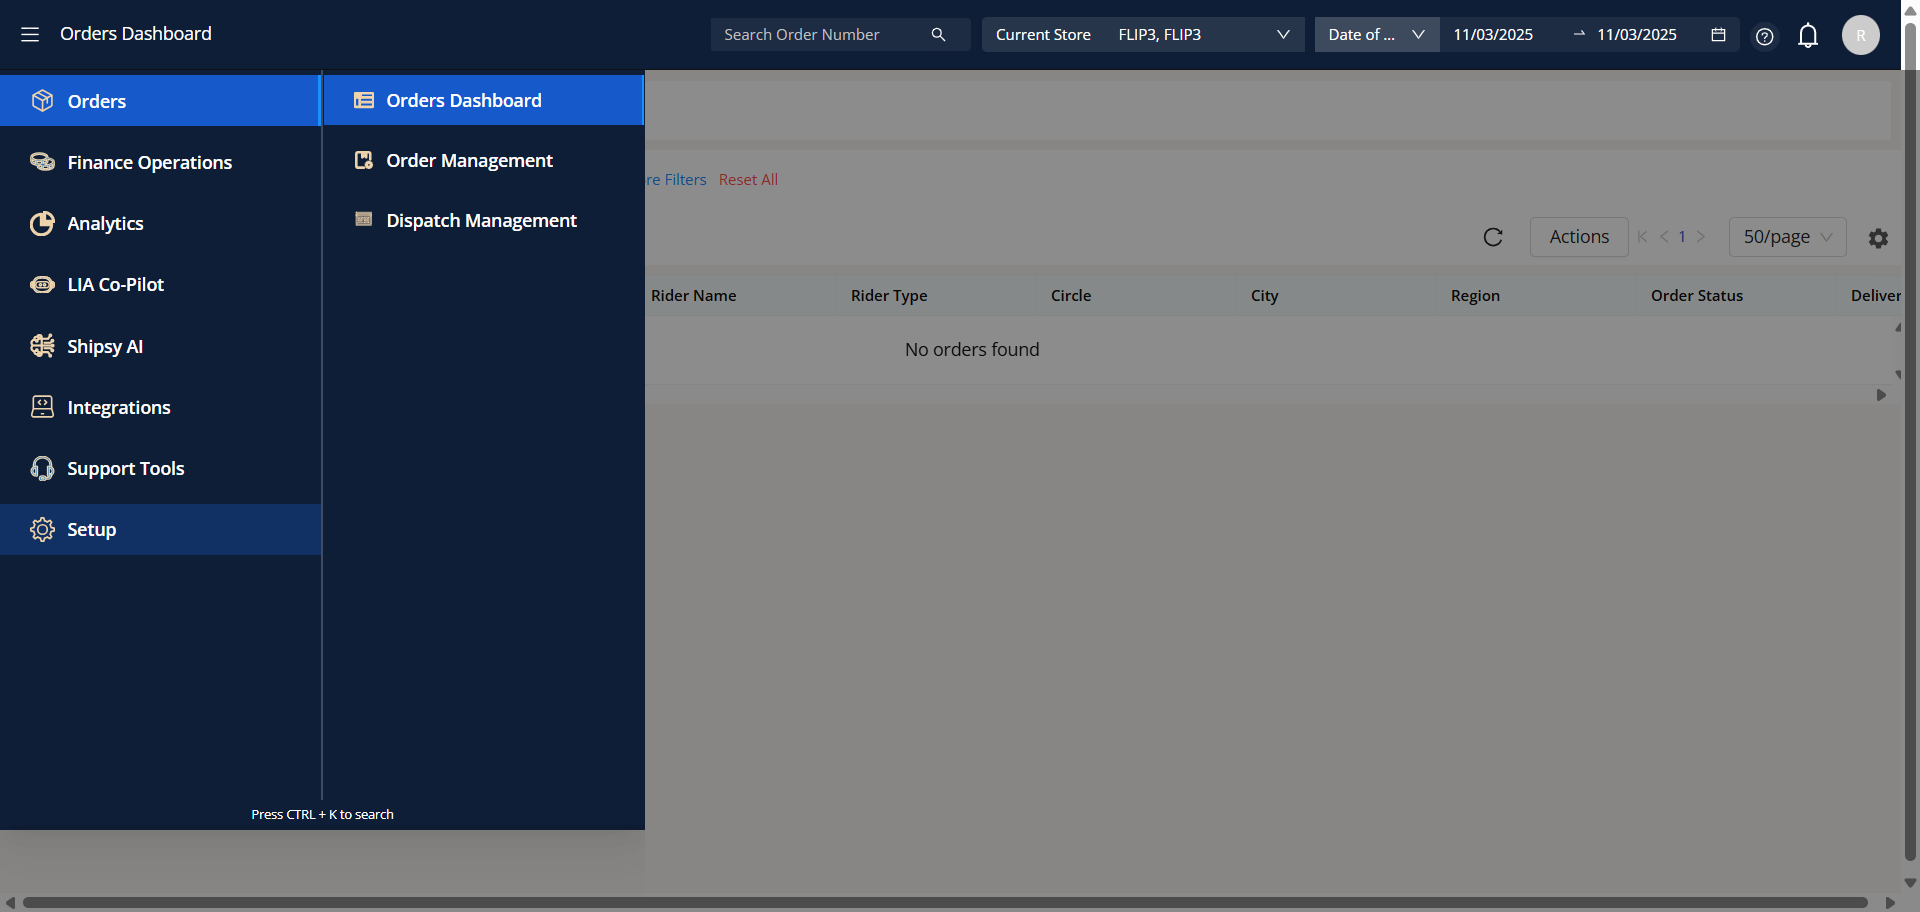
3
From the menu bar, select the setup file.
4
In the setup section, please select the 'Users' option.
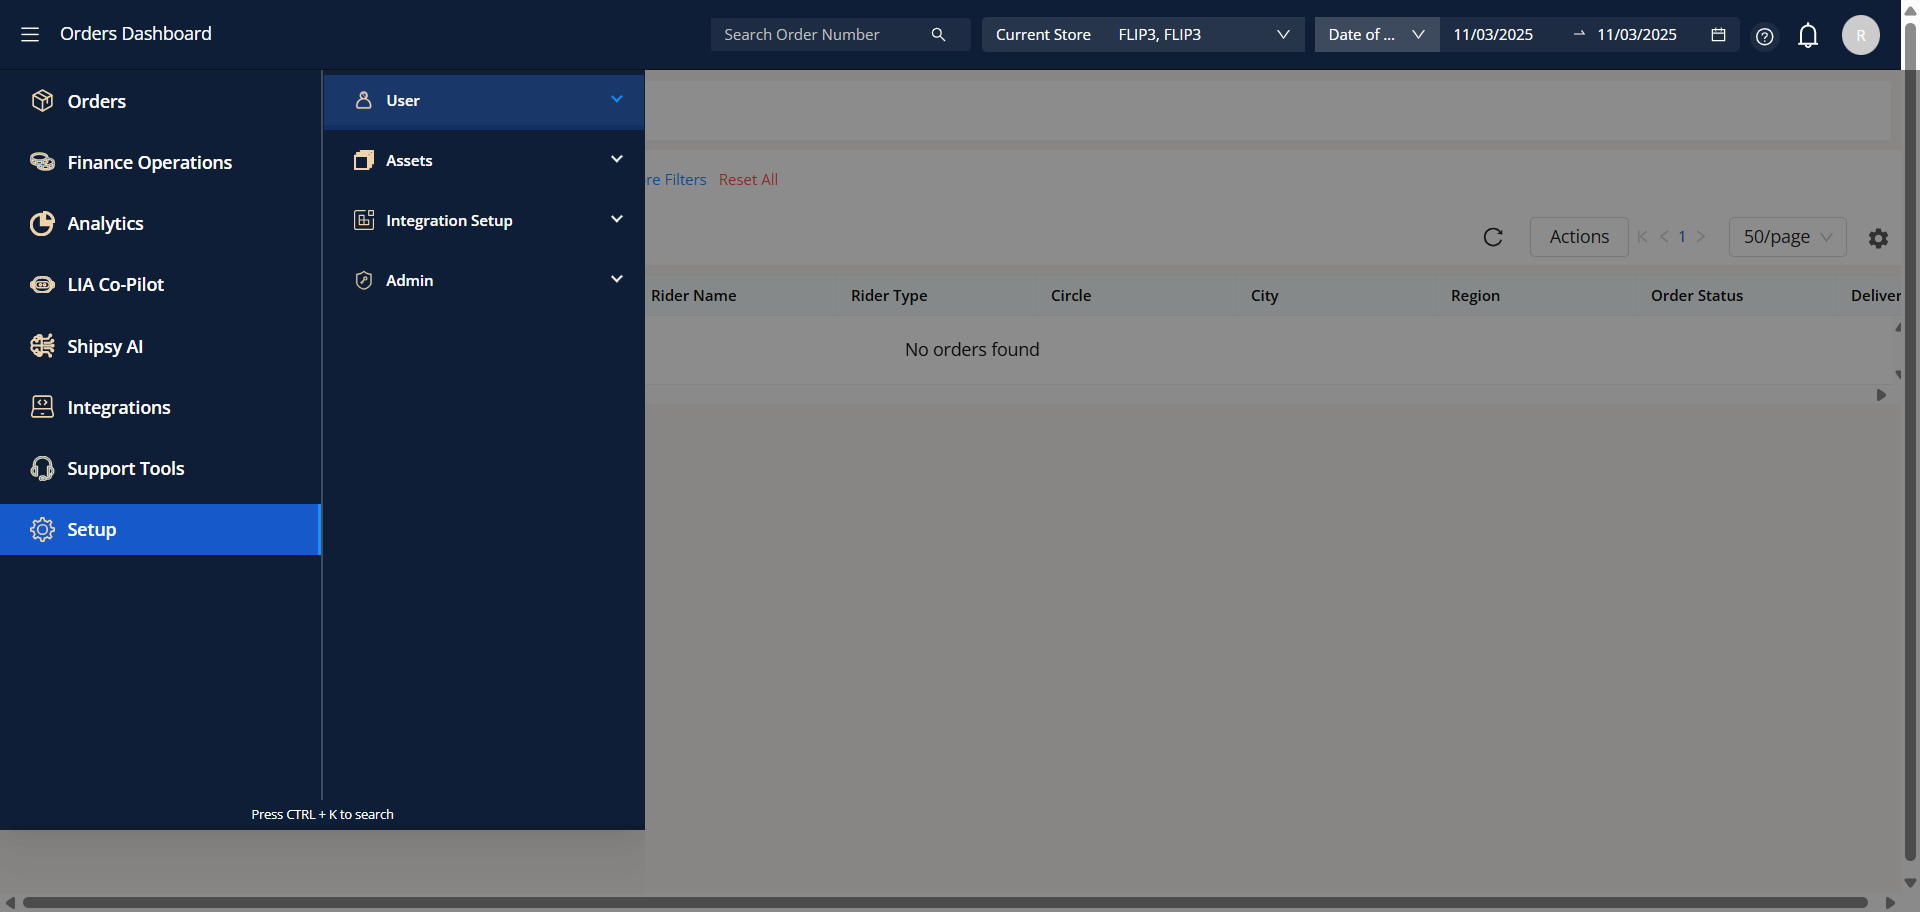
5
To access 'Roster Management,' go to the 'Users' section and select it.

6
After selecting the 'Roster Management' option, the system will take you to the Roster Management page, where you need to enter the store name in the designated field for the current store.
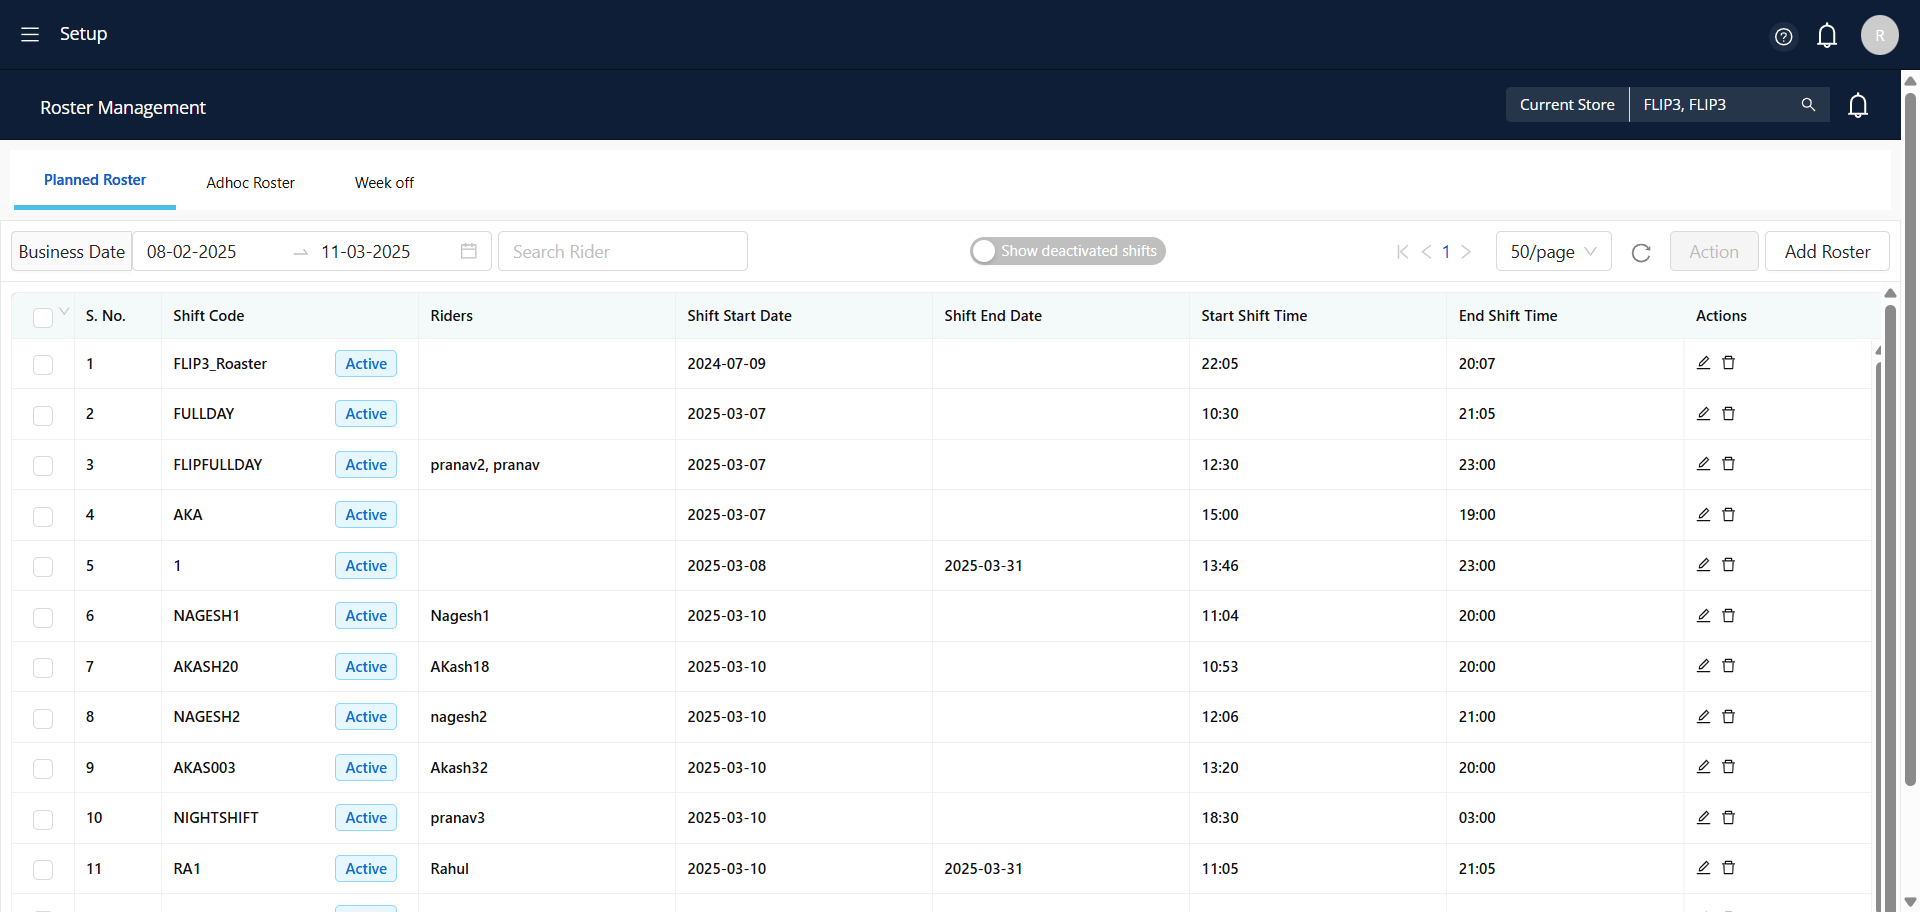
7
Please select your store name from the 'Current Store' field
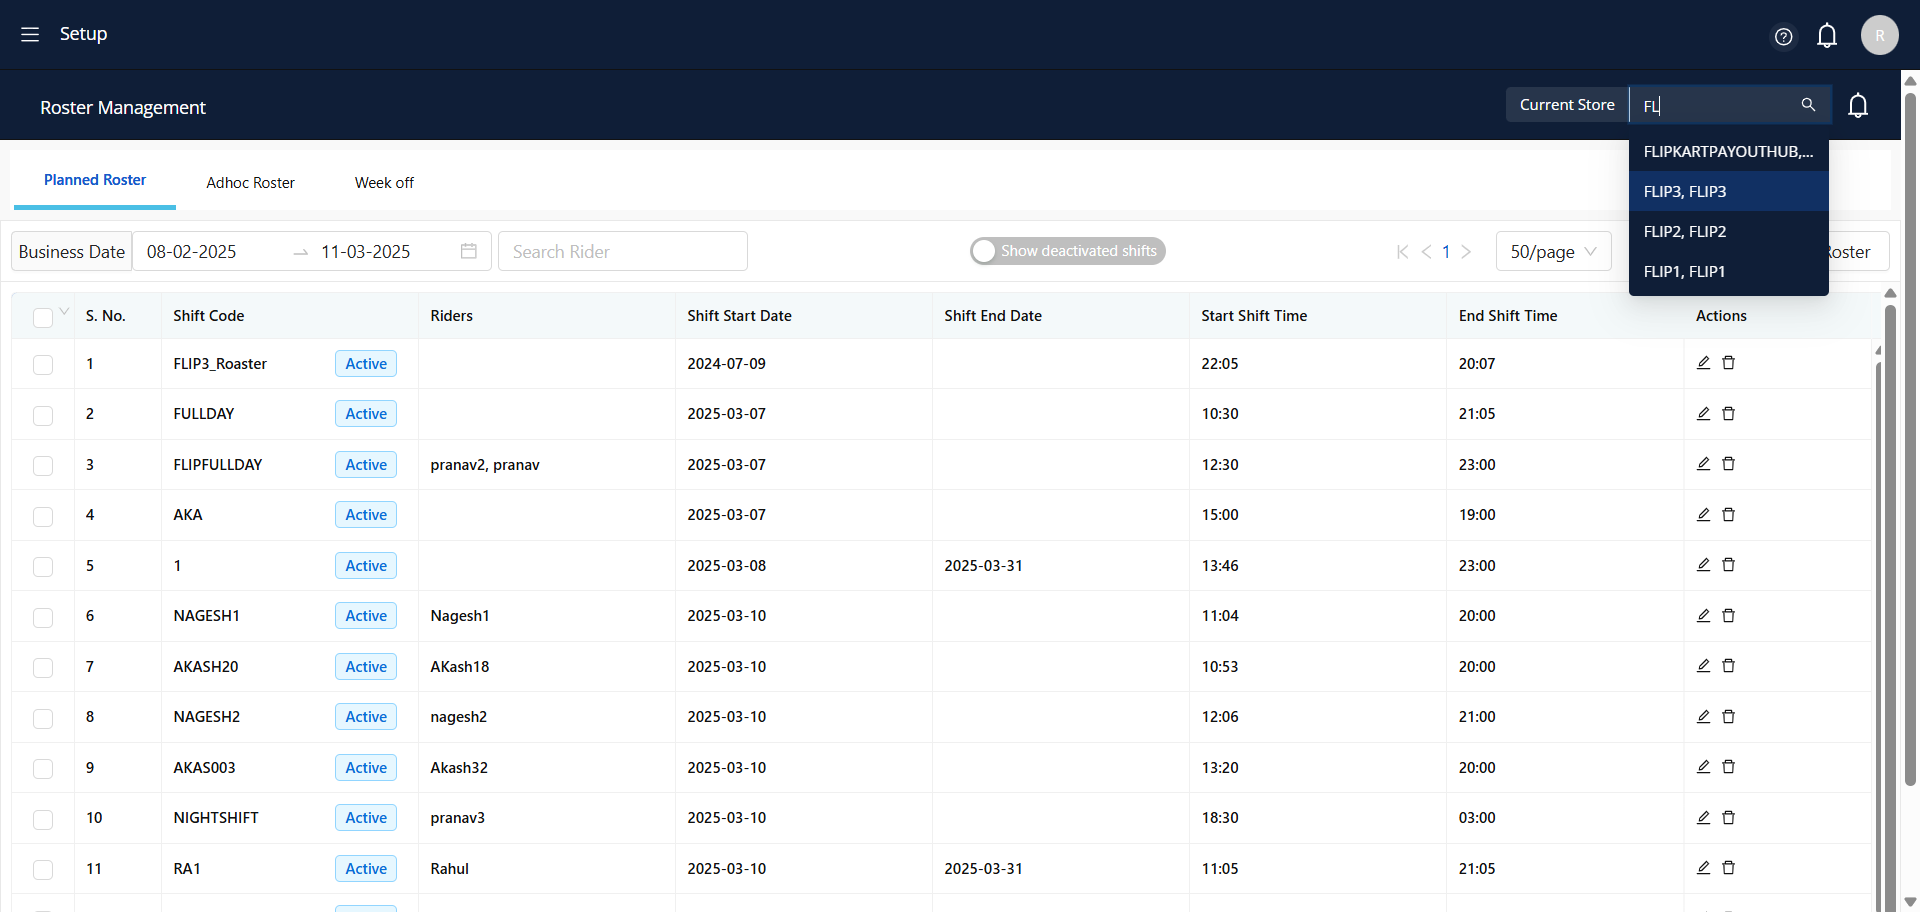
8
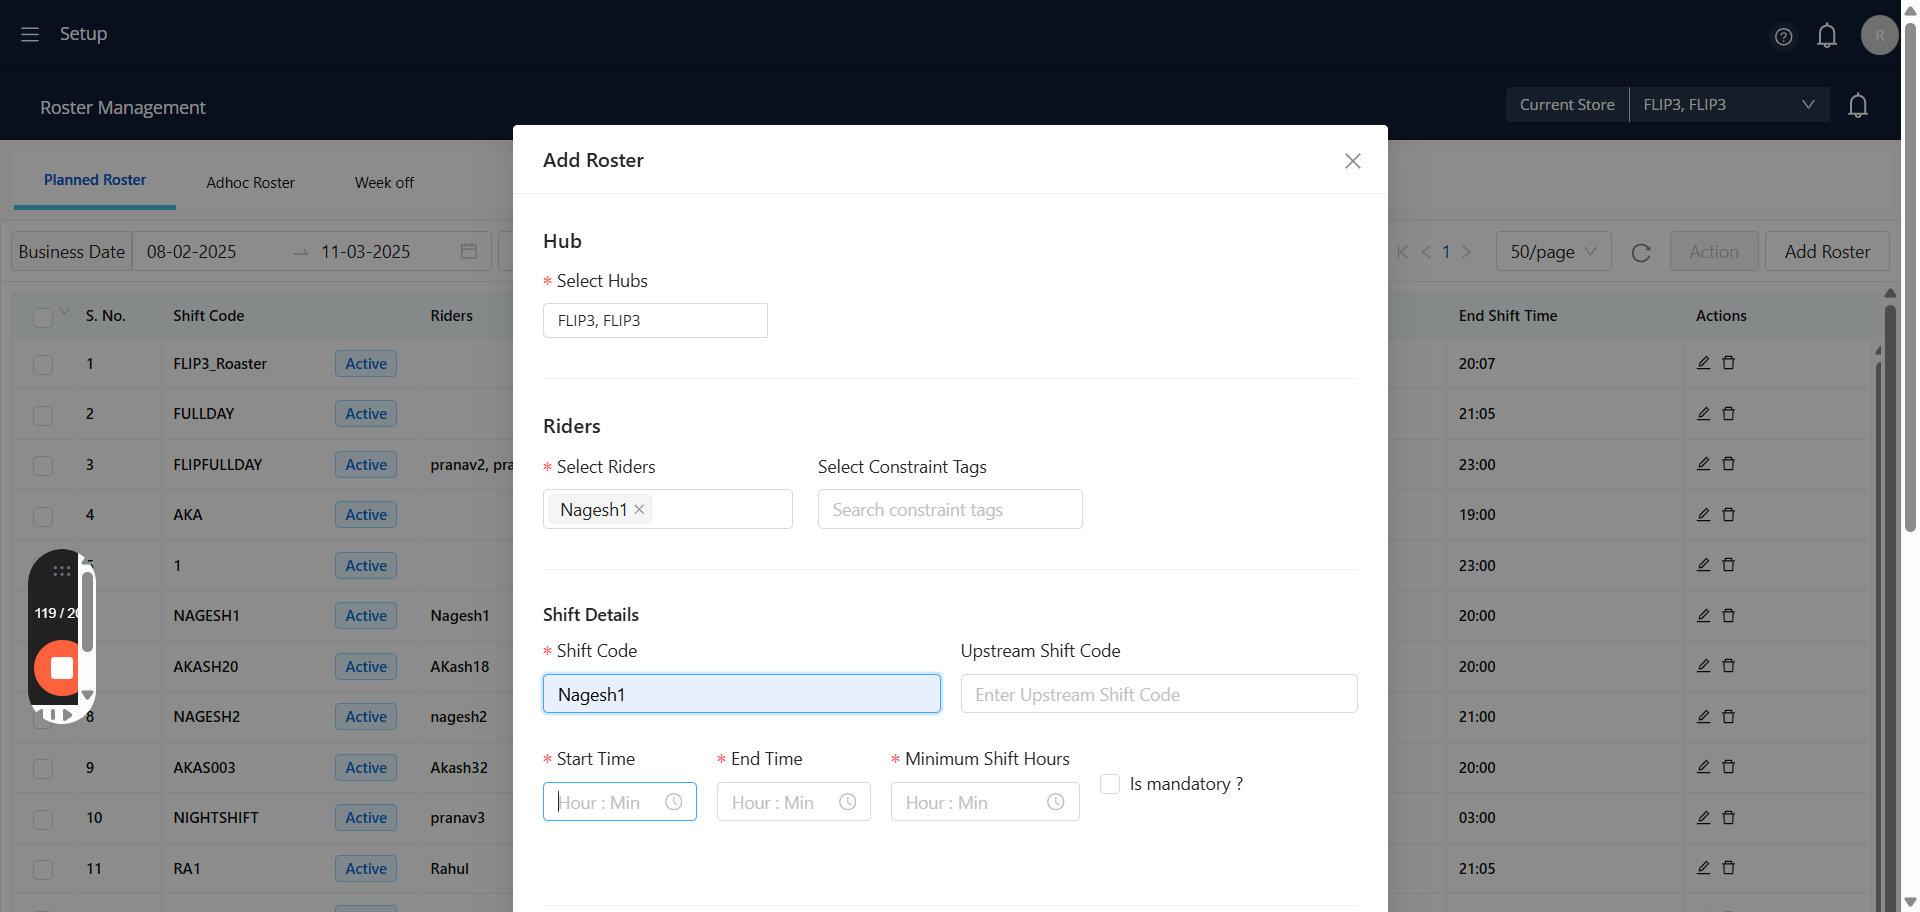
To add the new roster, please select the option Add Roster
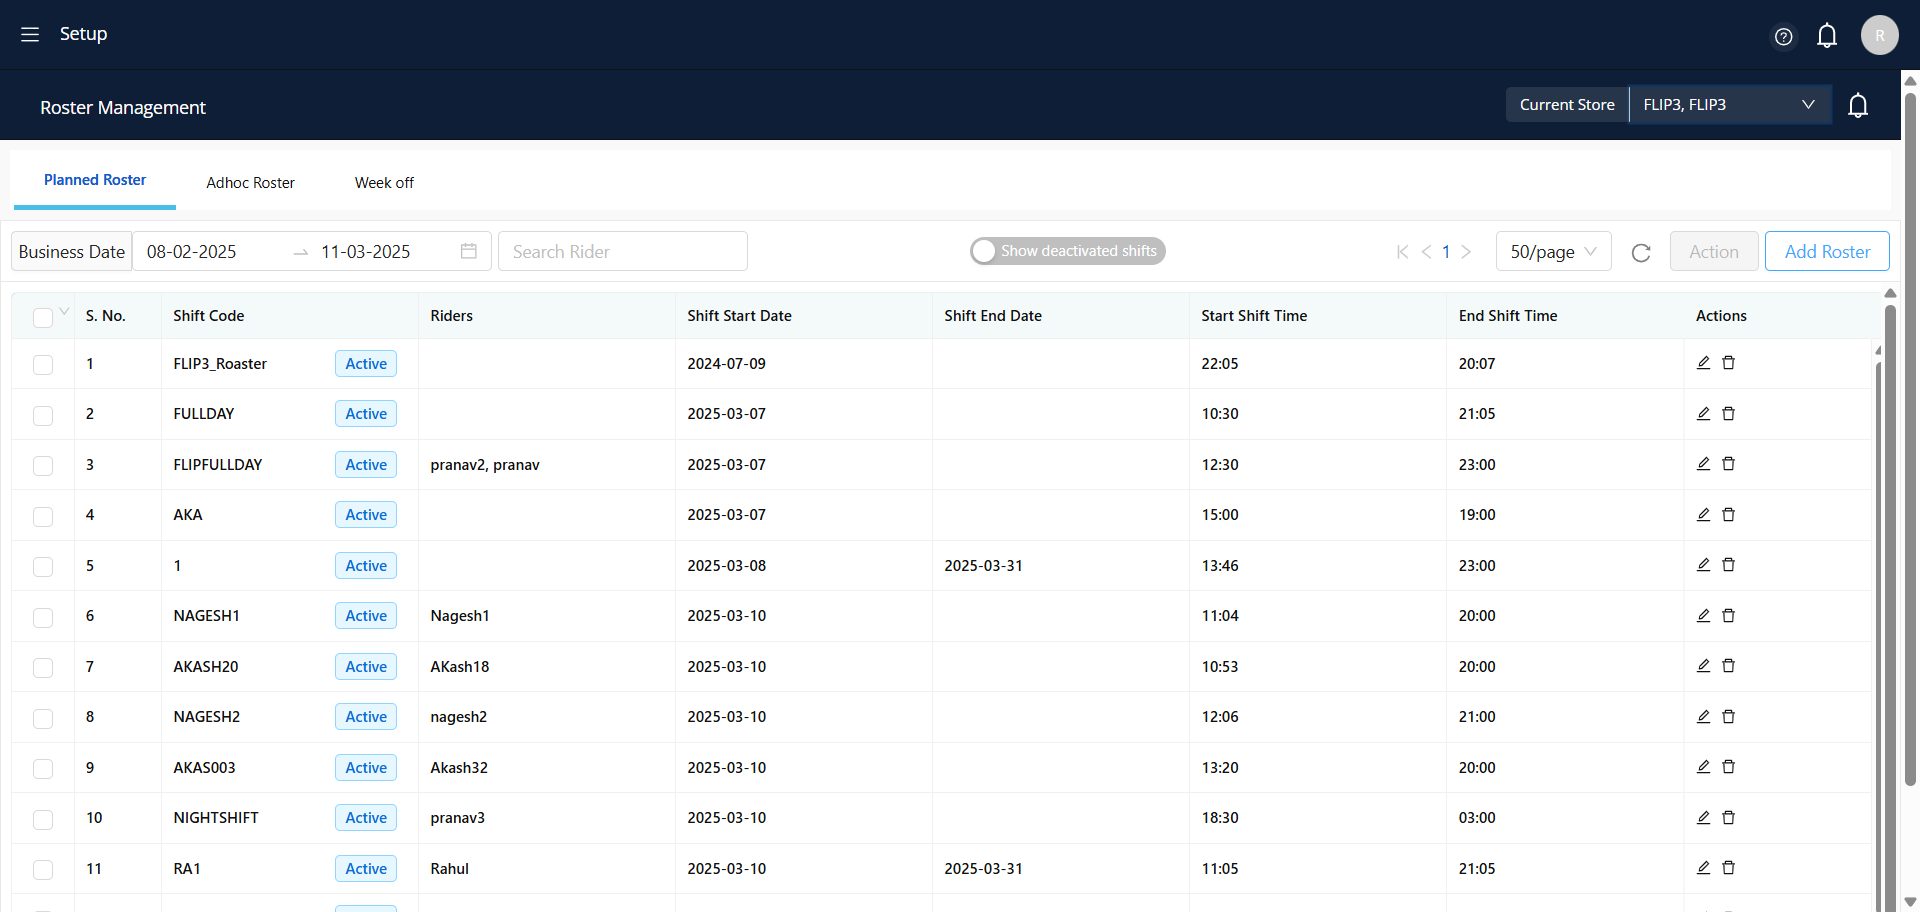
9
To add a rider, please choose either the "Add New" option or the "Upload Excel" option.
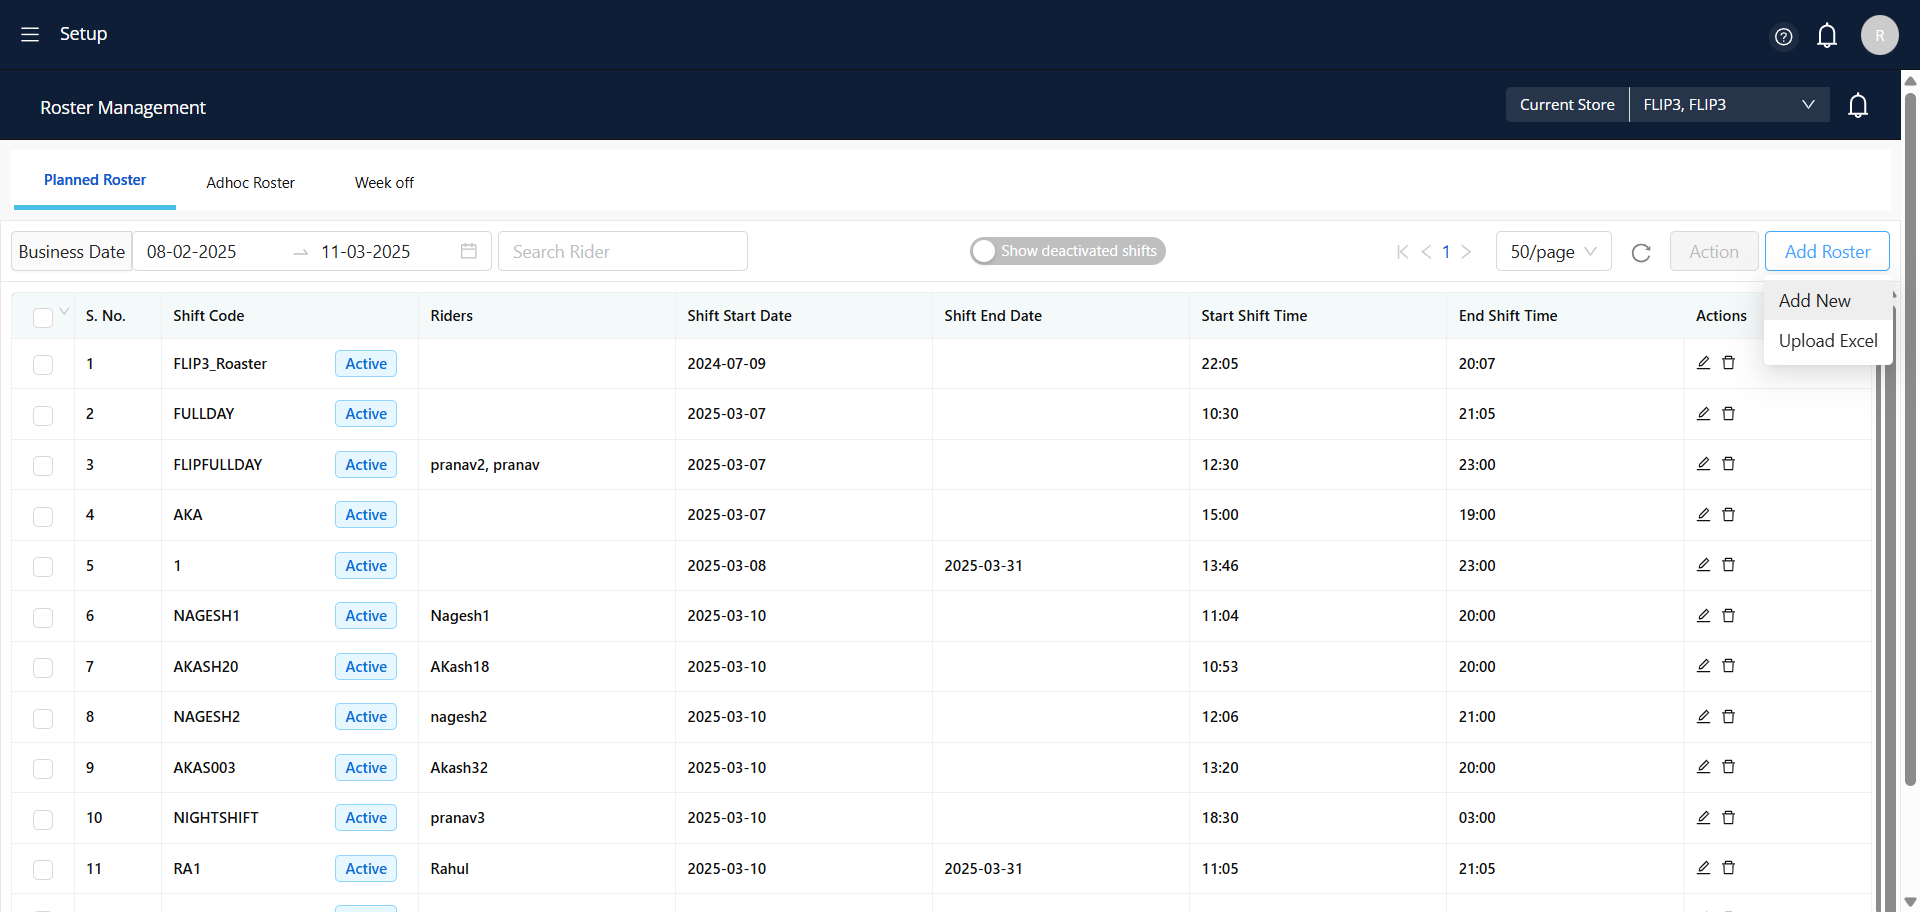
10
To create the rider, please consult this Documentation
11
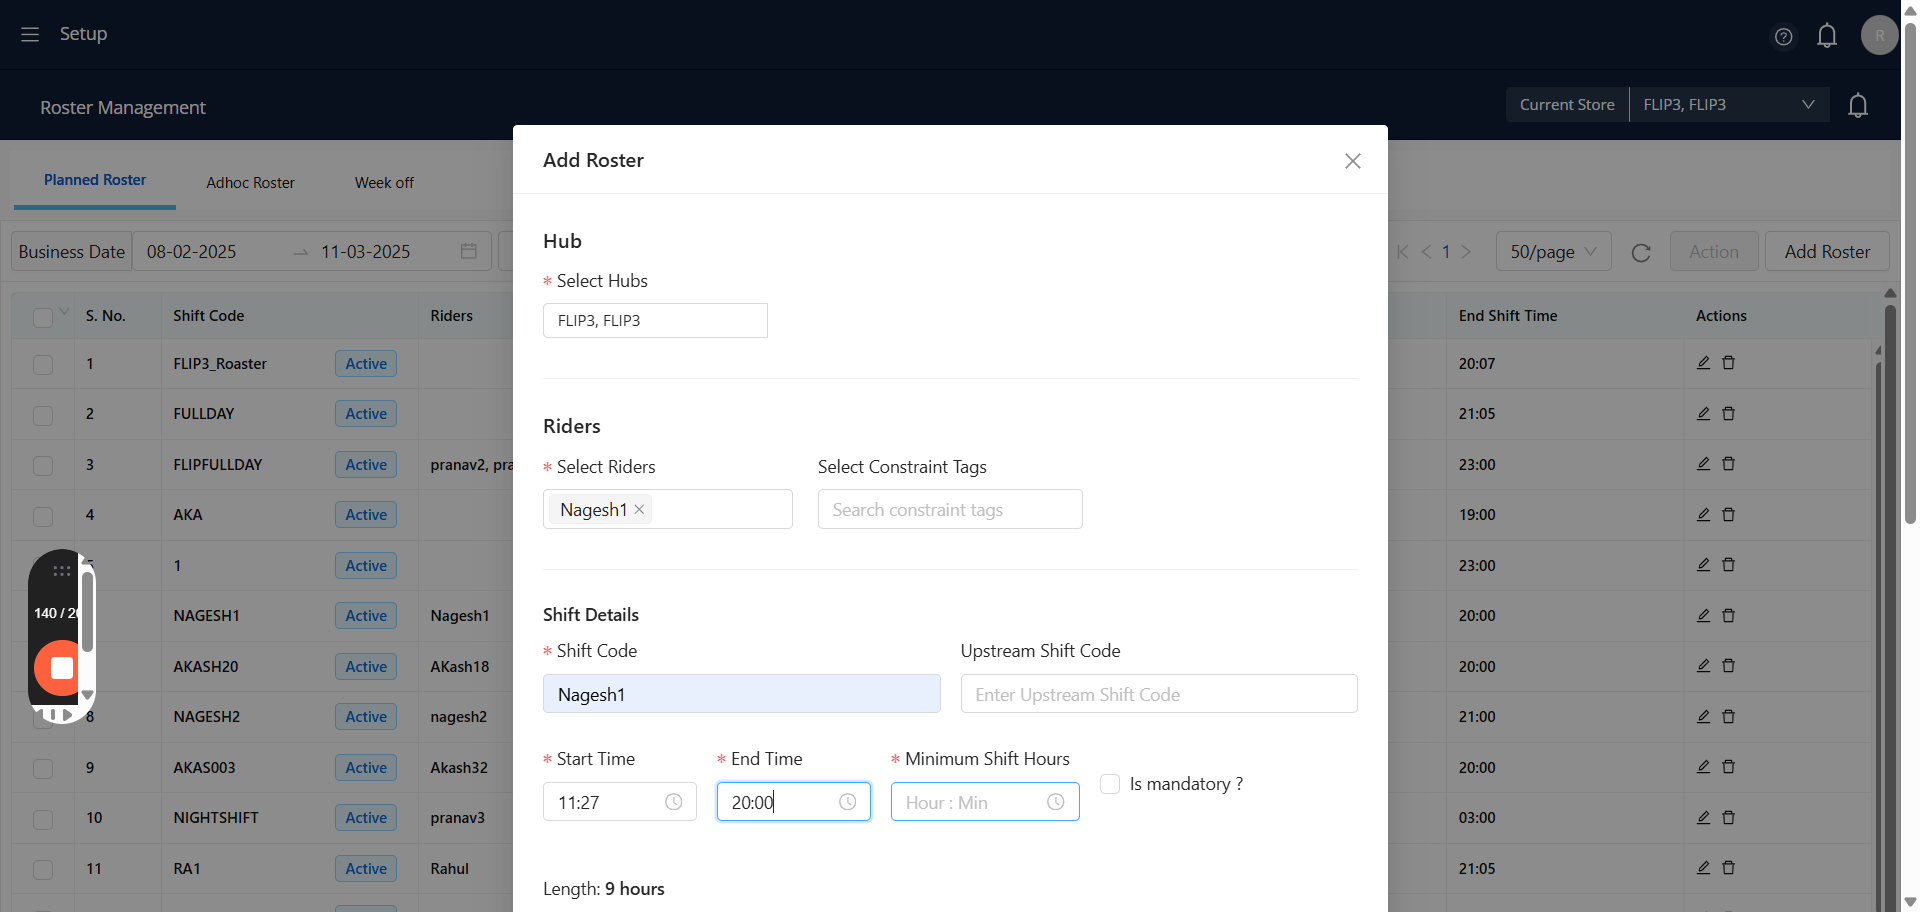
Choose the rider from the available options.
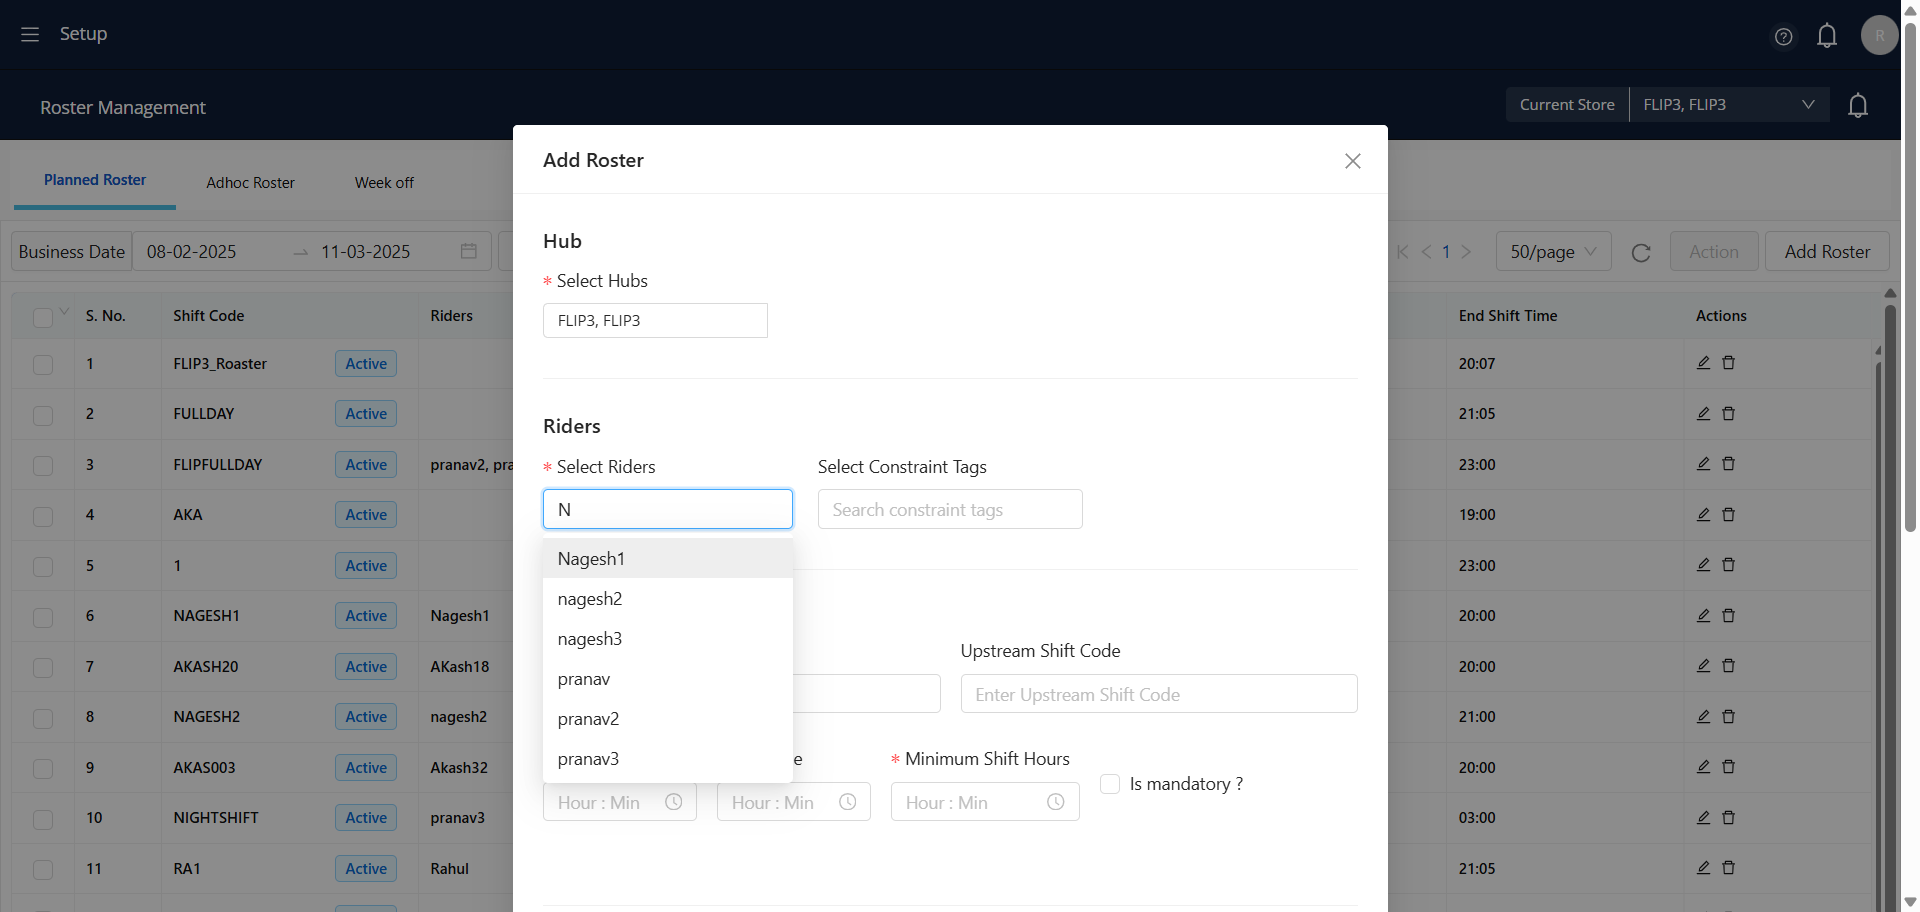
12
Please supply the shift code for the rider.

13
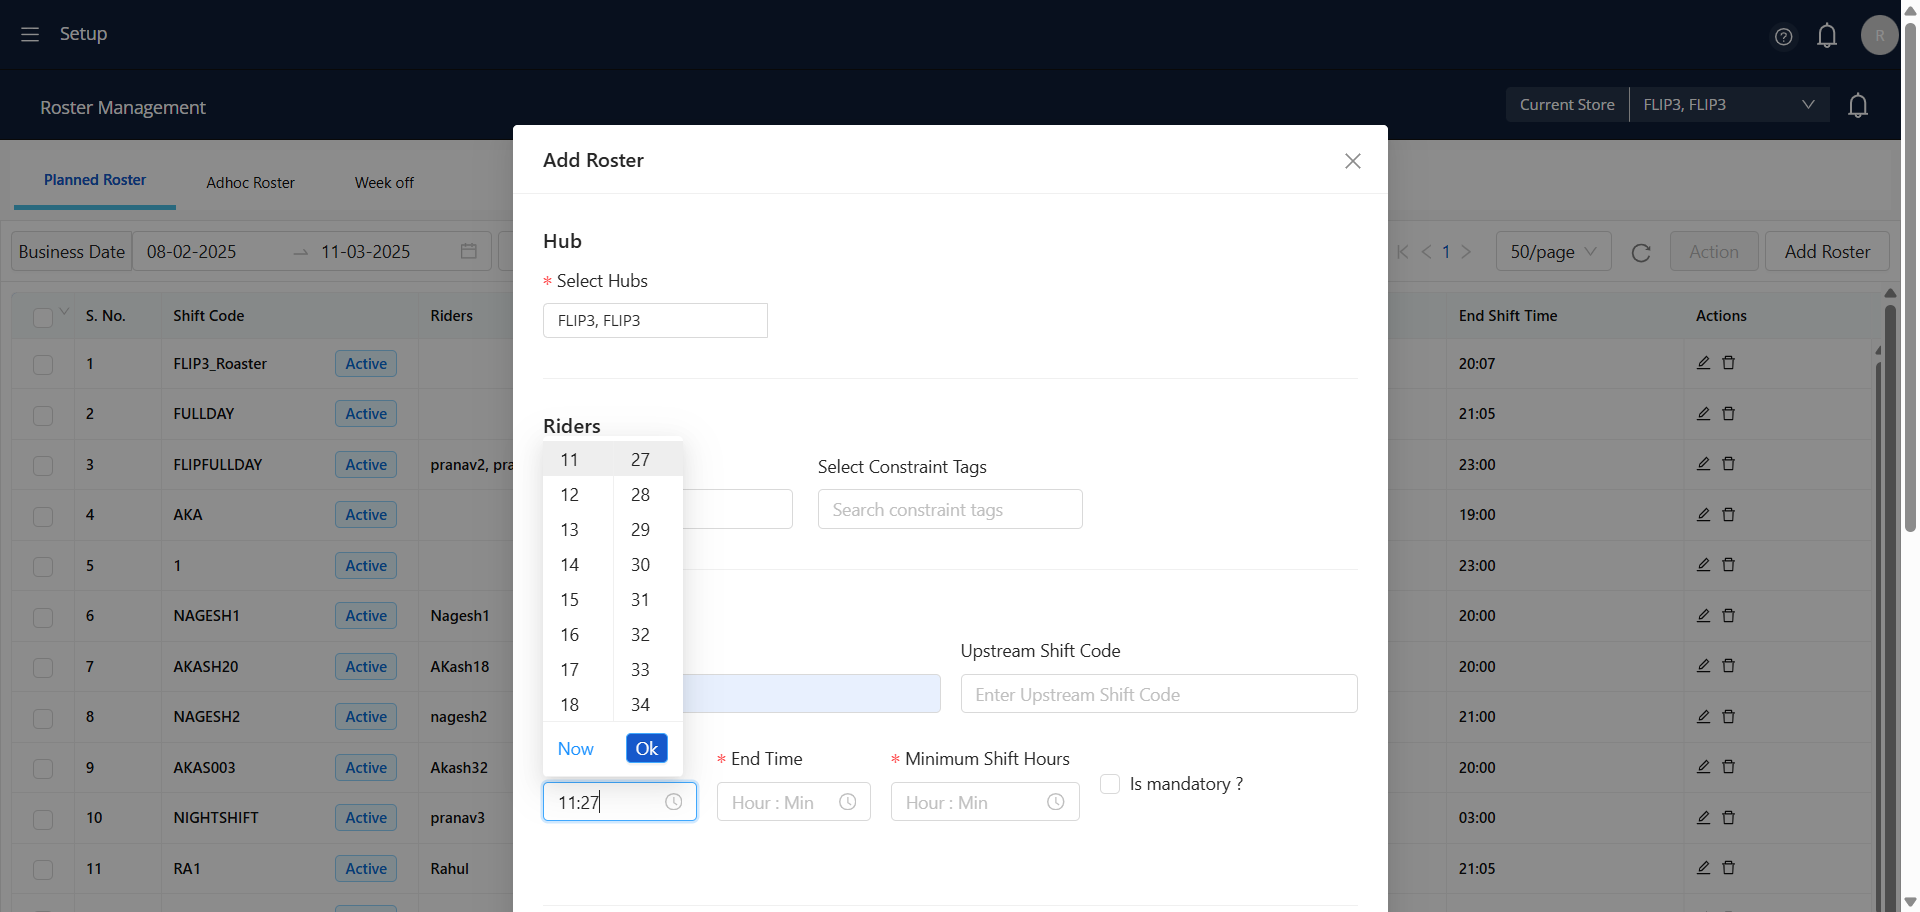
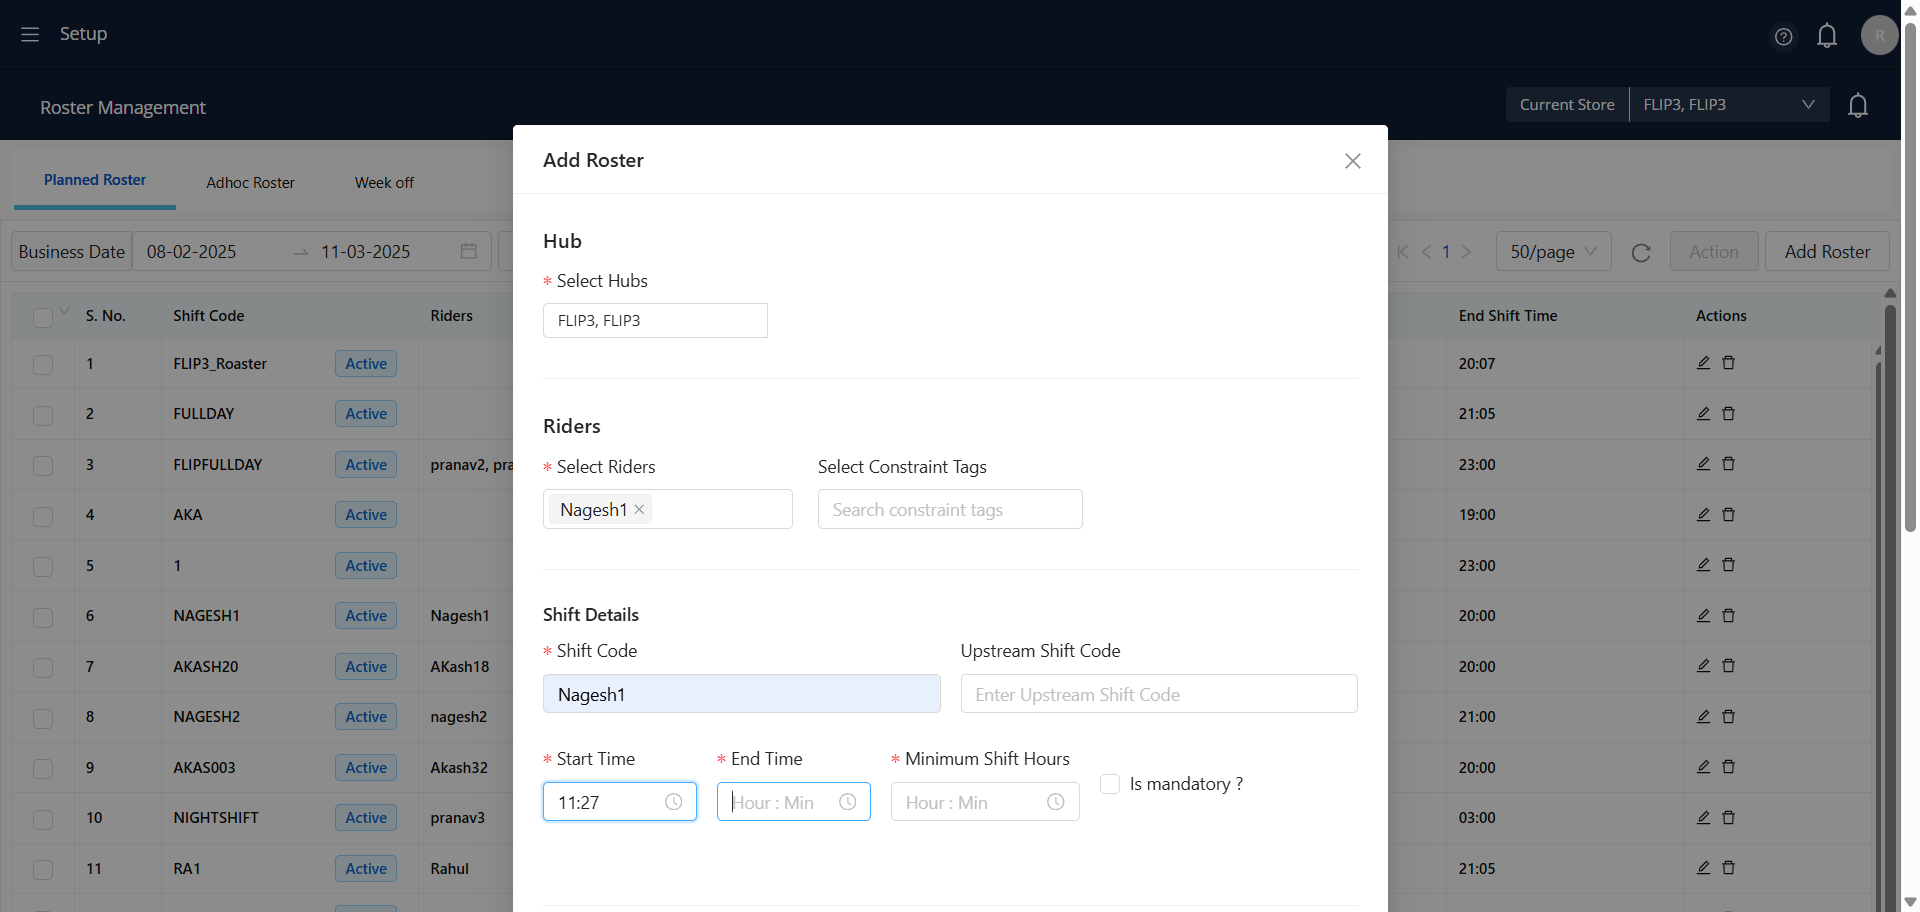
Select the preferred Start time for the rider.
14
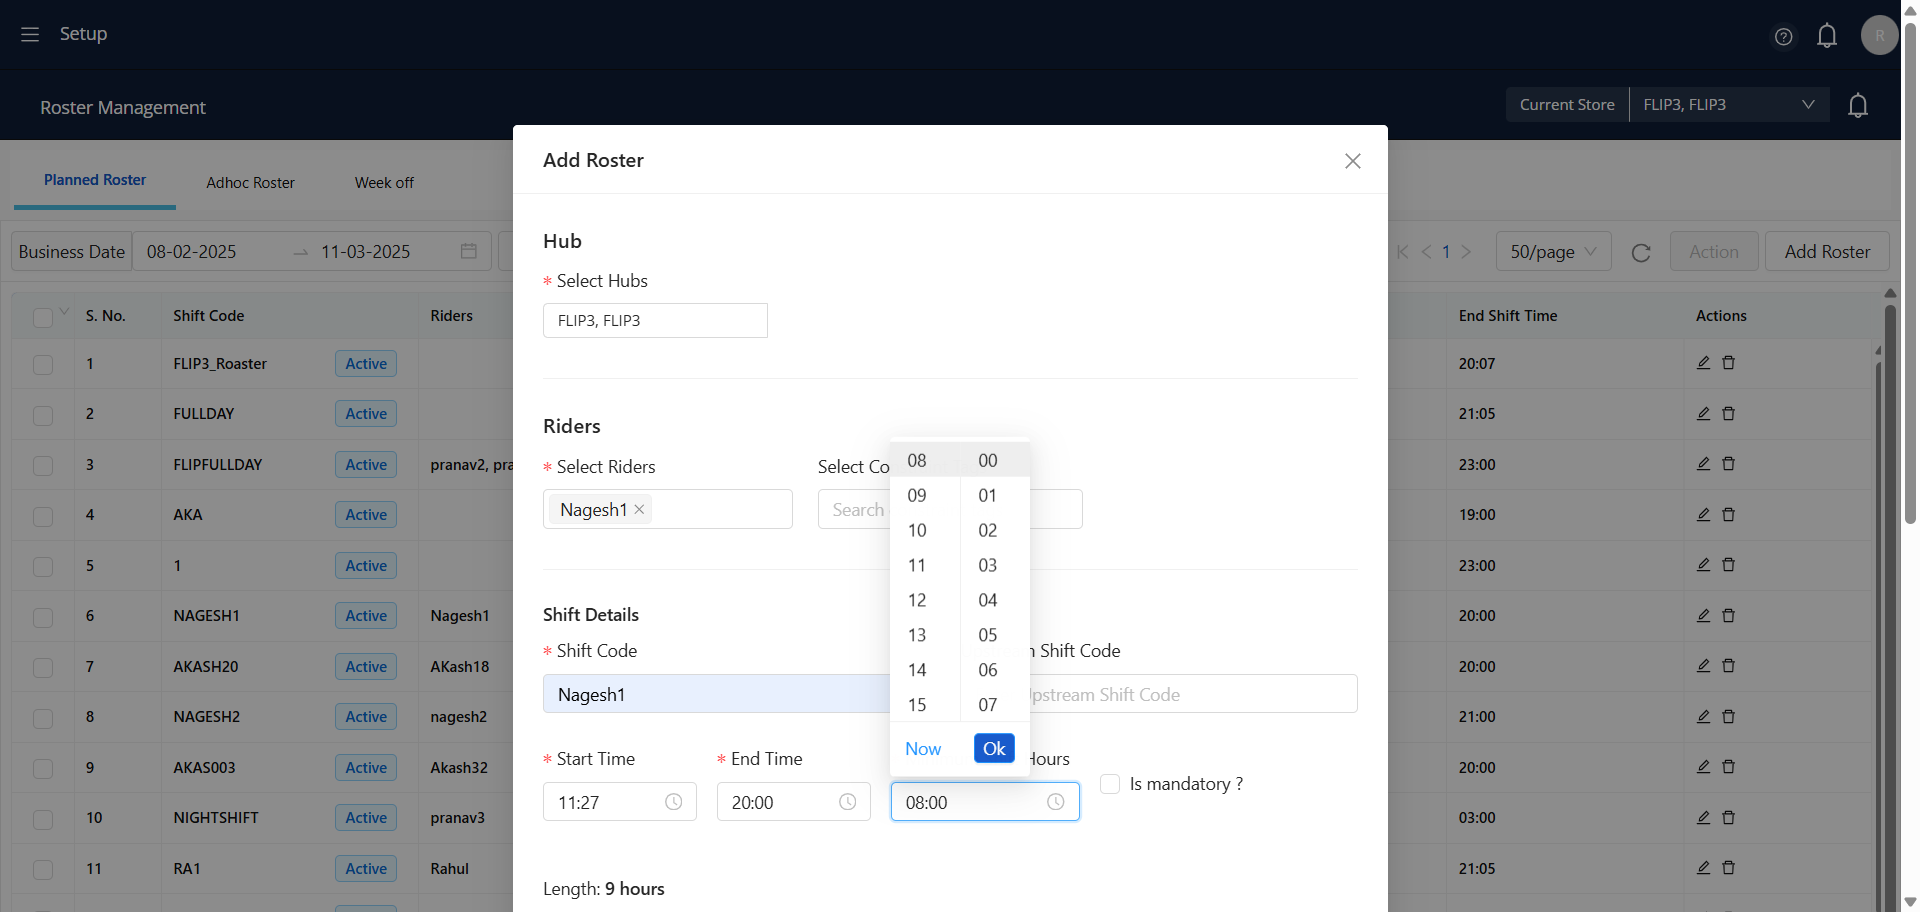
Select the preferred working time for the rider, then click 'OK' to confirm the submission.
15
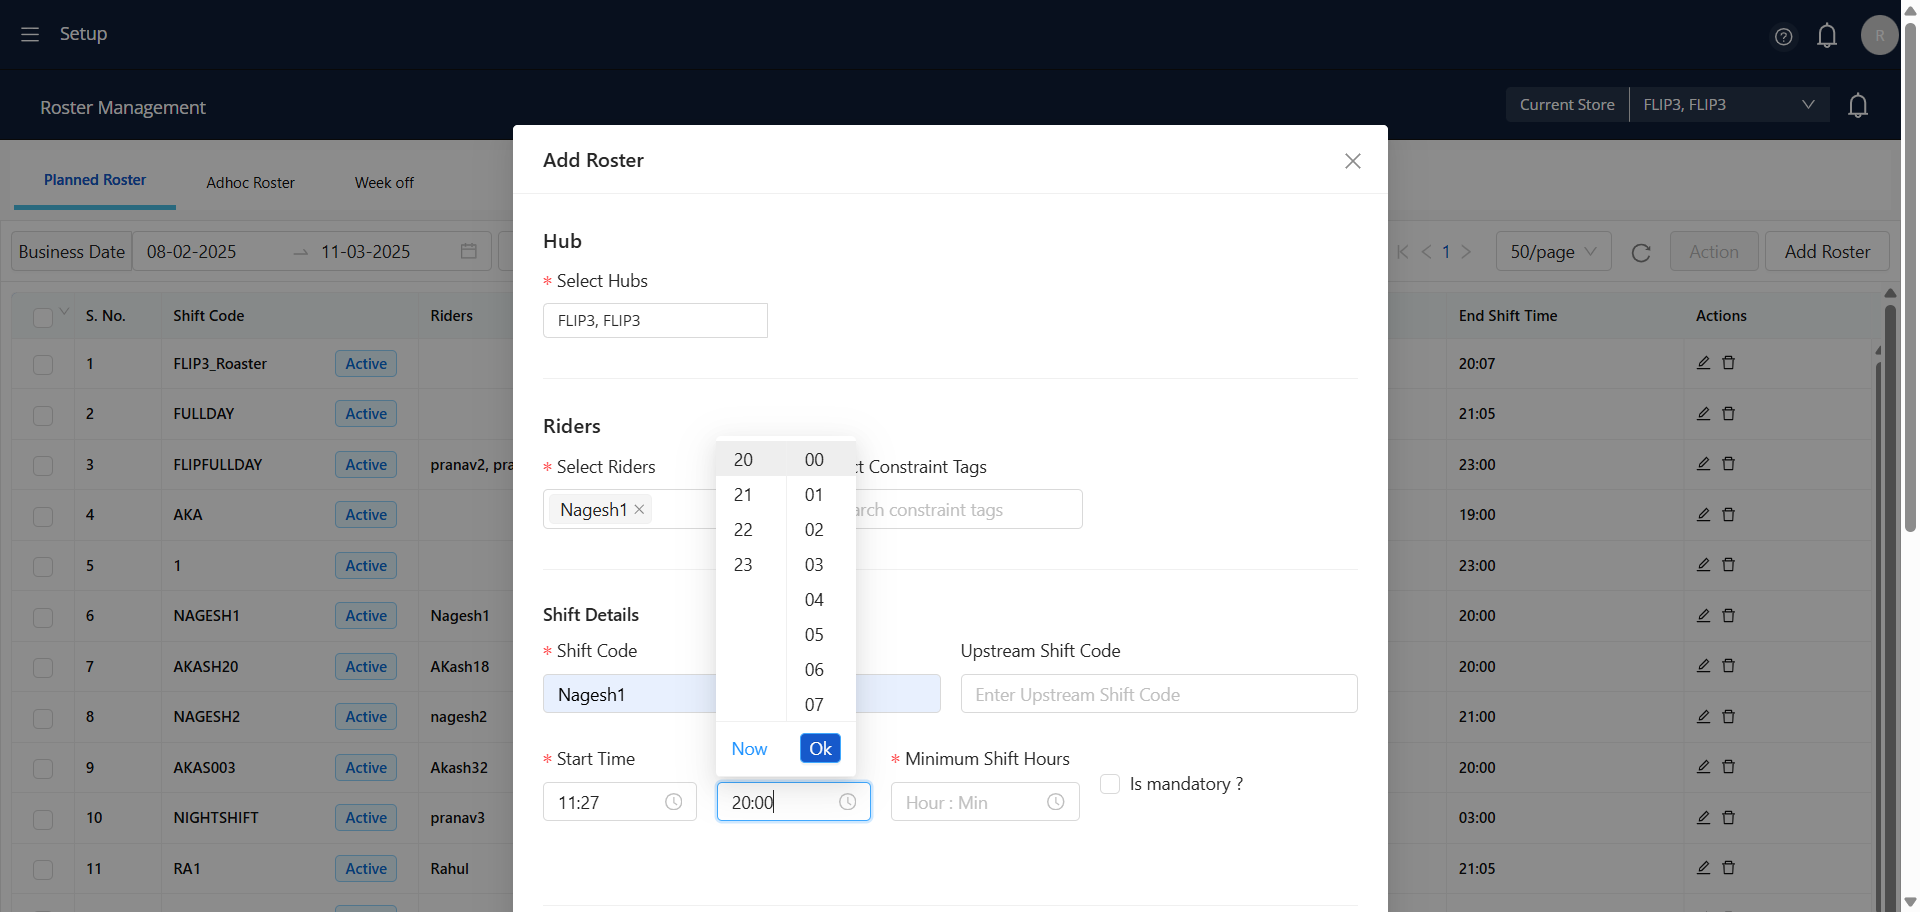
Choose the desired ending time for the rider.
16
Choose the desired ending time for the rider, then click 'OK' to finalize the submission.
17
Indicate the minimum number of hours the rider is prepared to work.
18
Indicate the minimum number of hours the rider is prepared to work, and then click 'OK' to submit your response.
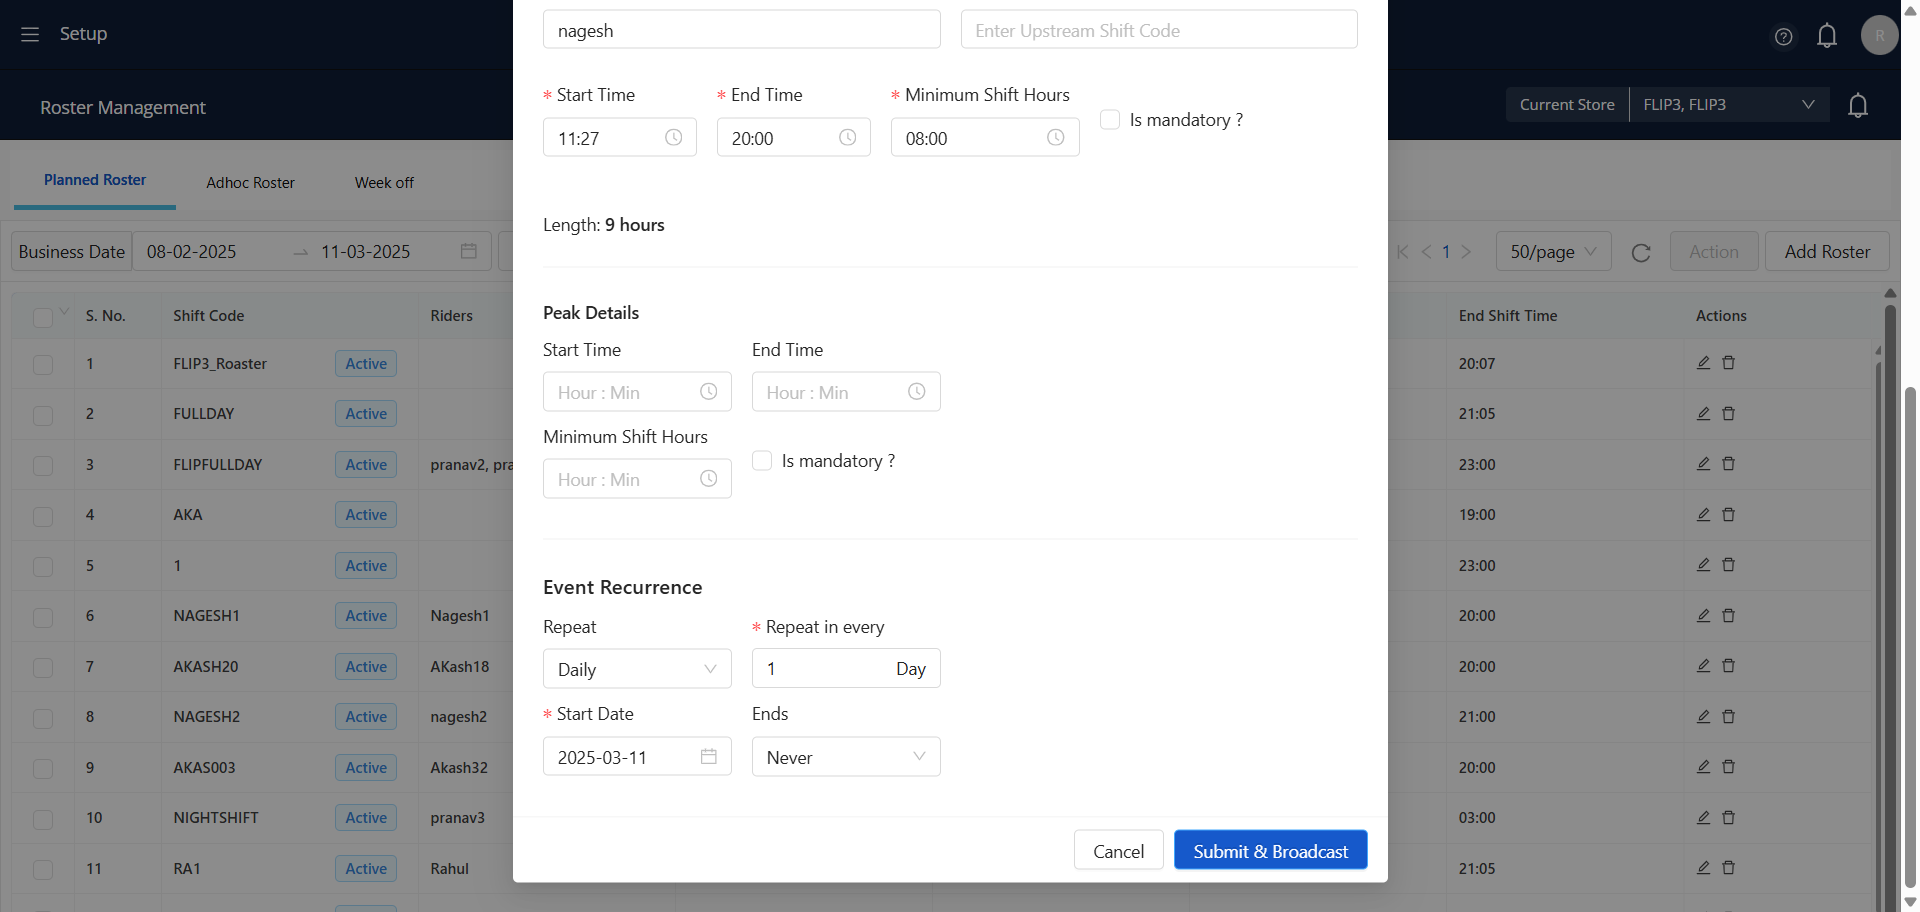
19
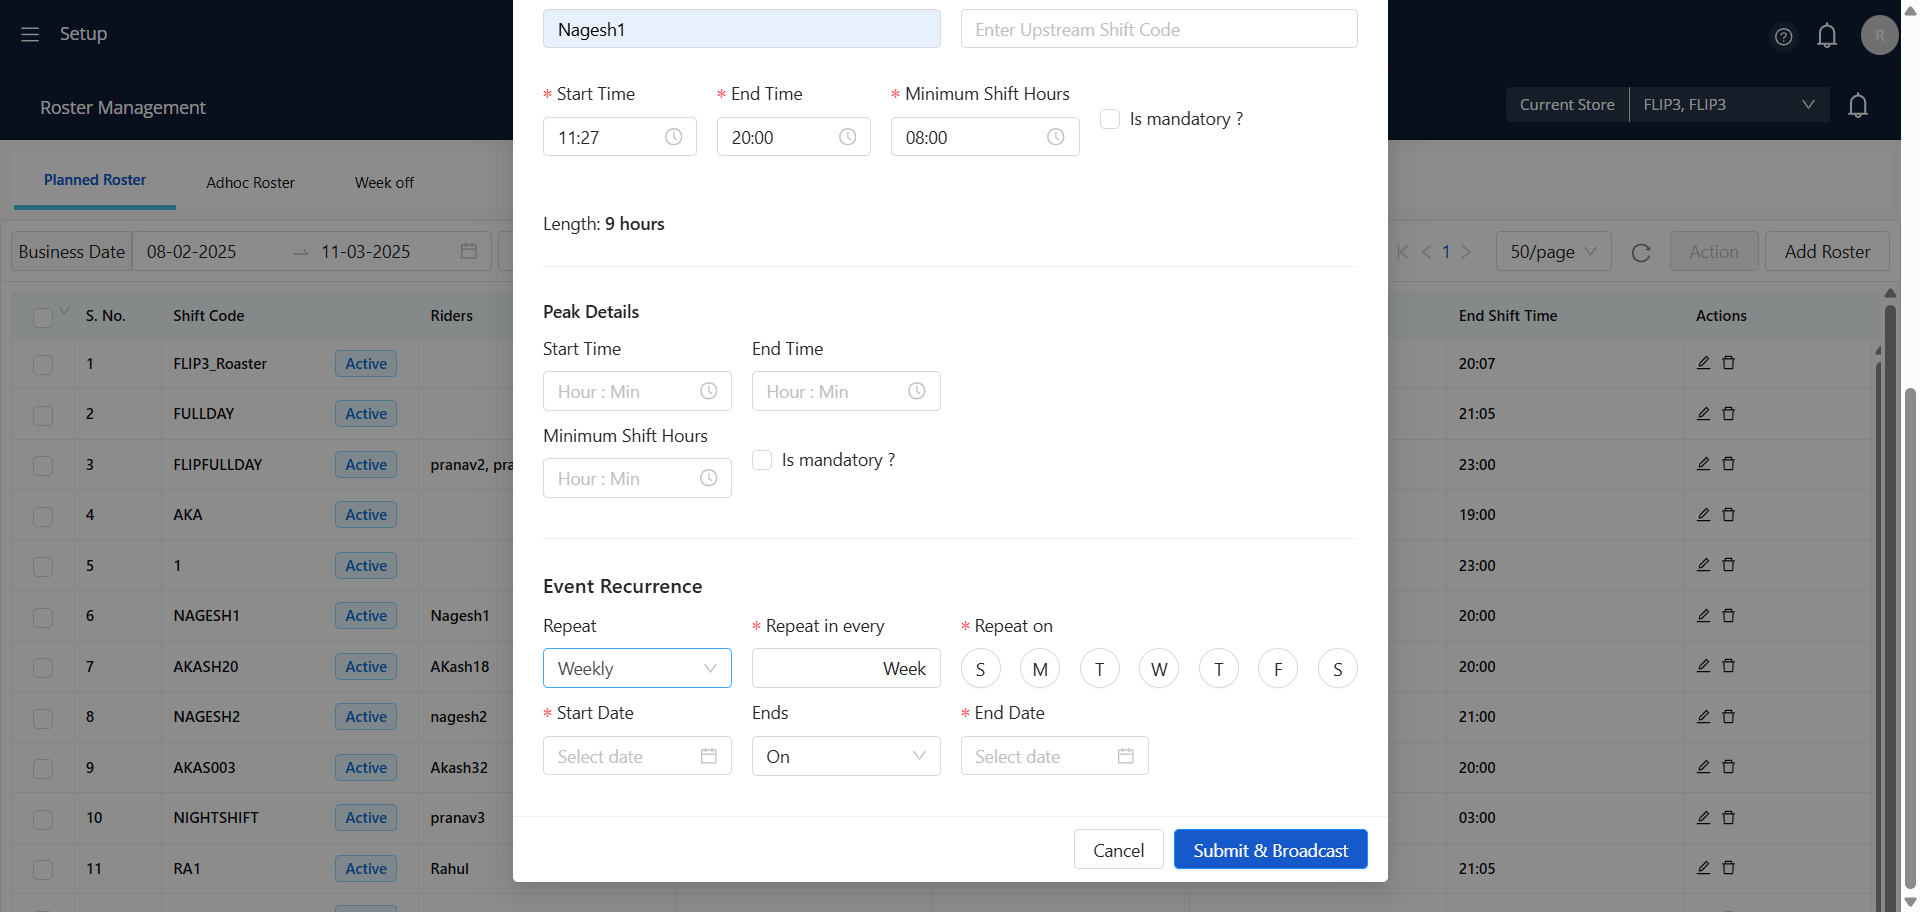
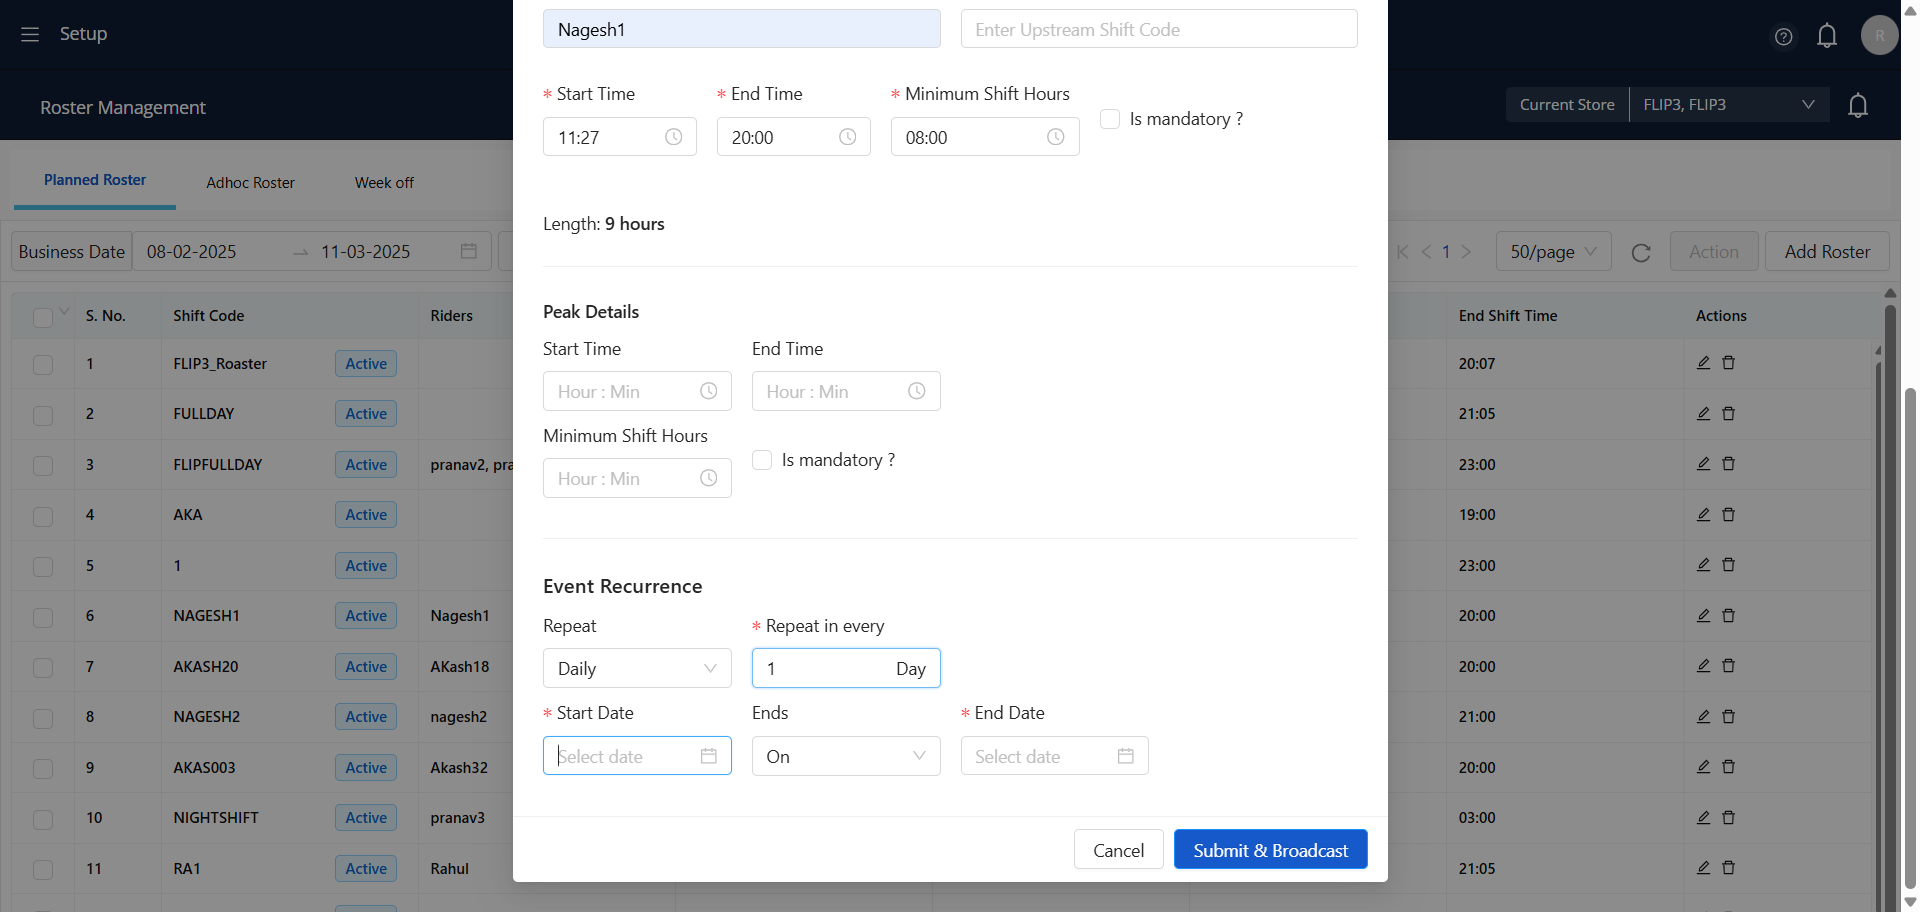
Indicate the week in which the rider wishes the event to be repeated.
20
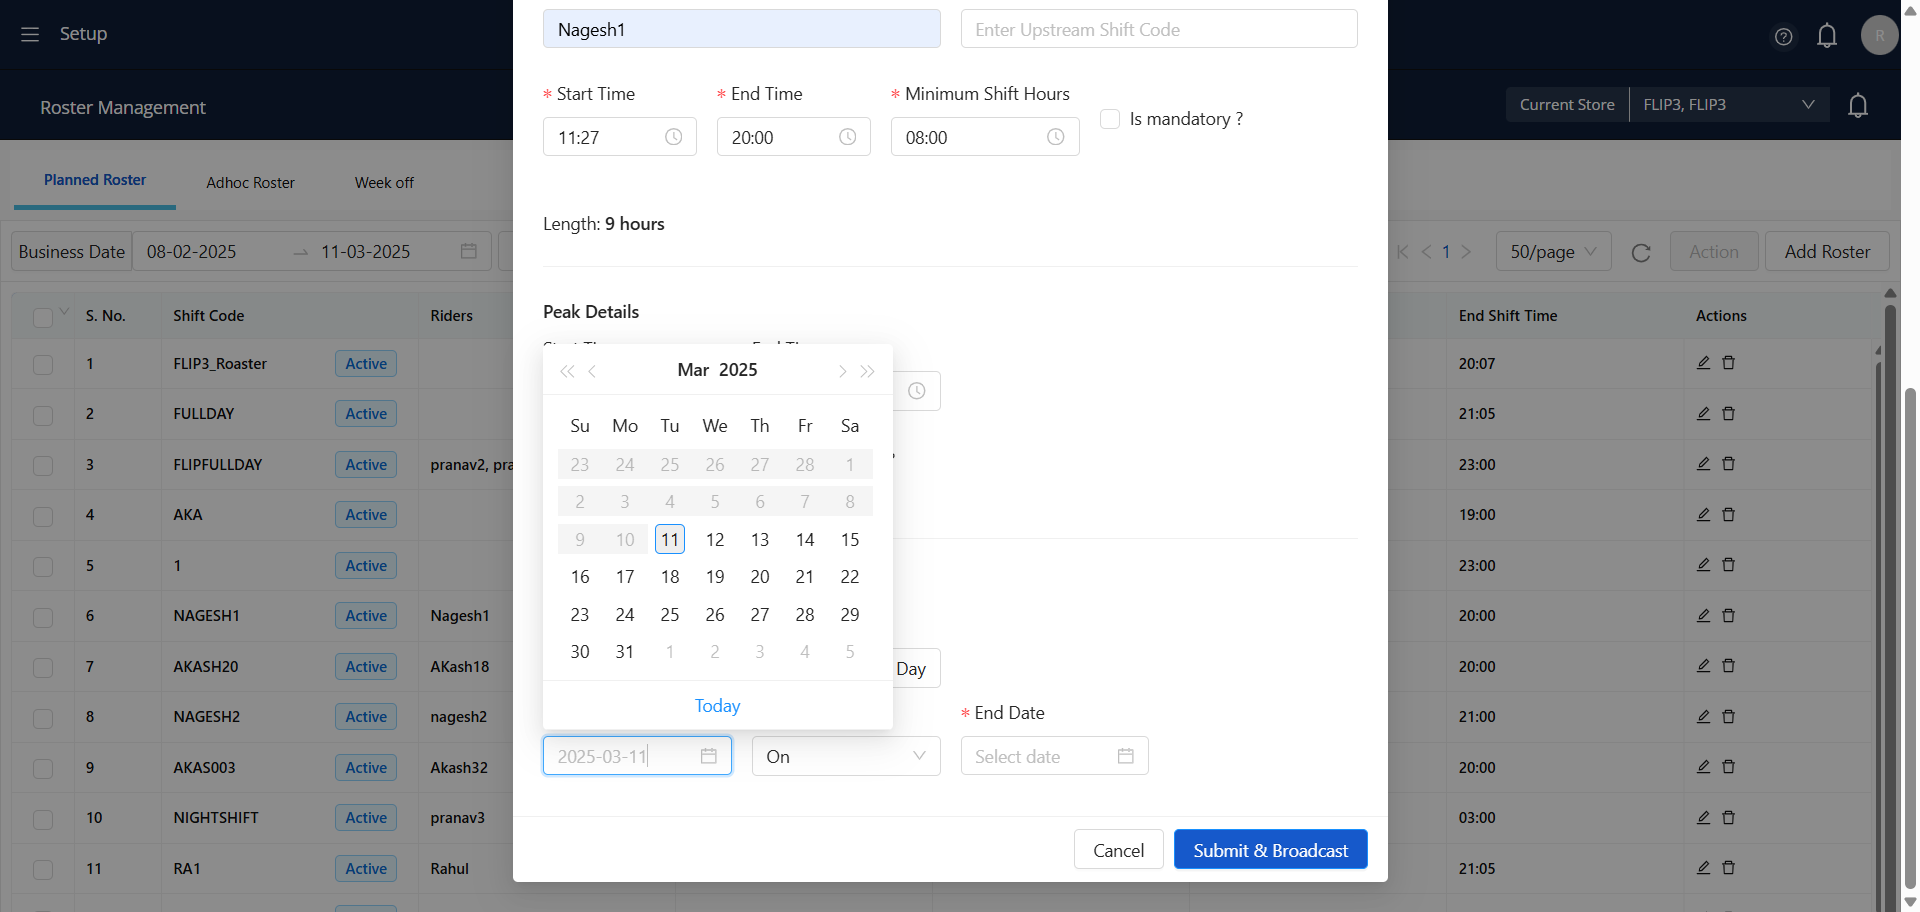
Choose the starting date for the event recurrence.
21
Choose the starting date for the event recurrence.
22
Choose the end date for the event recurrence.

23
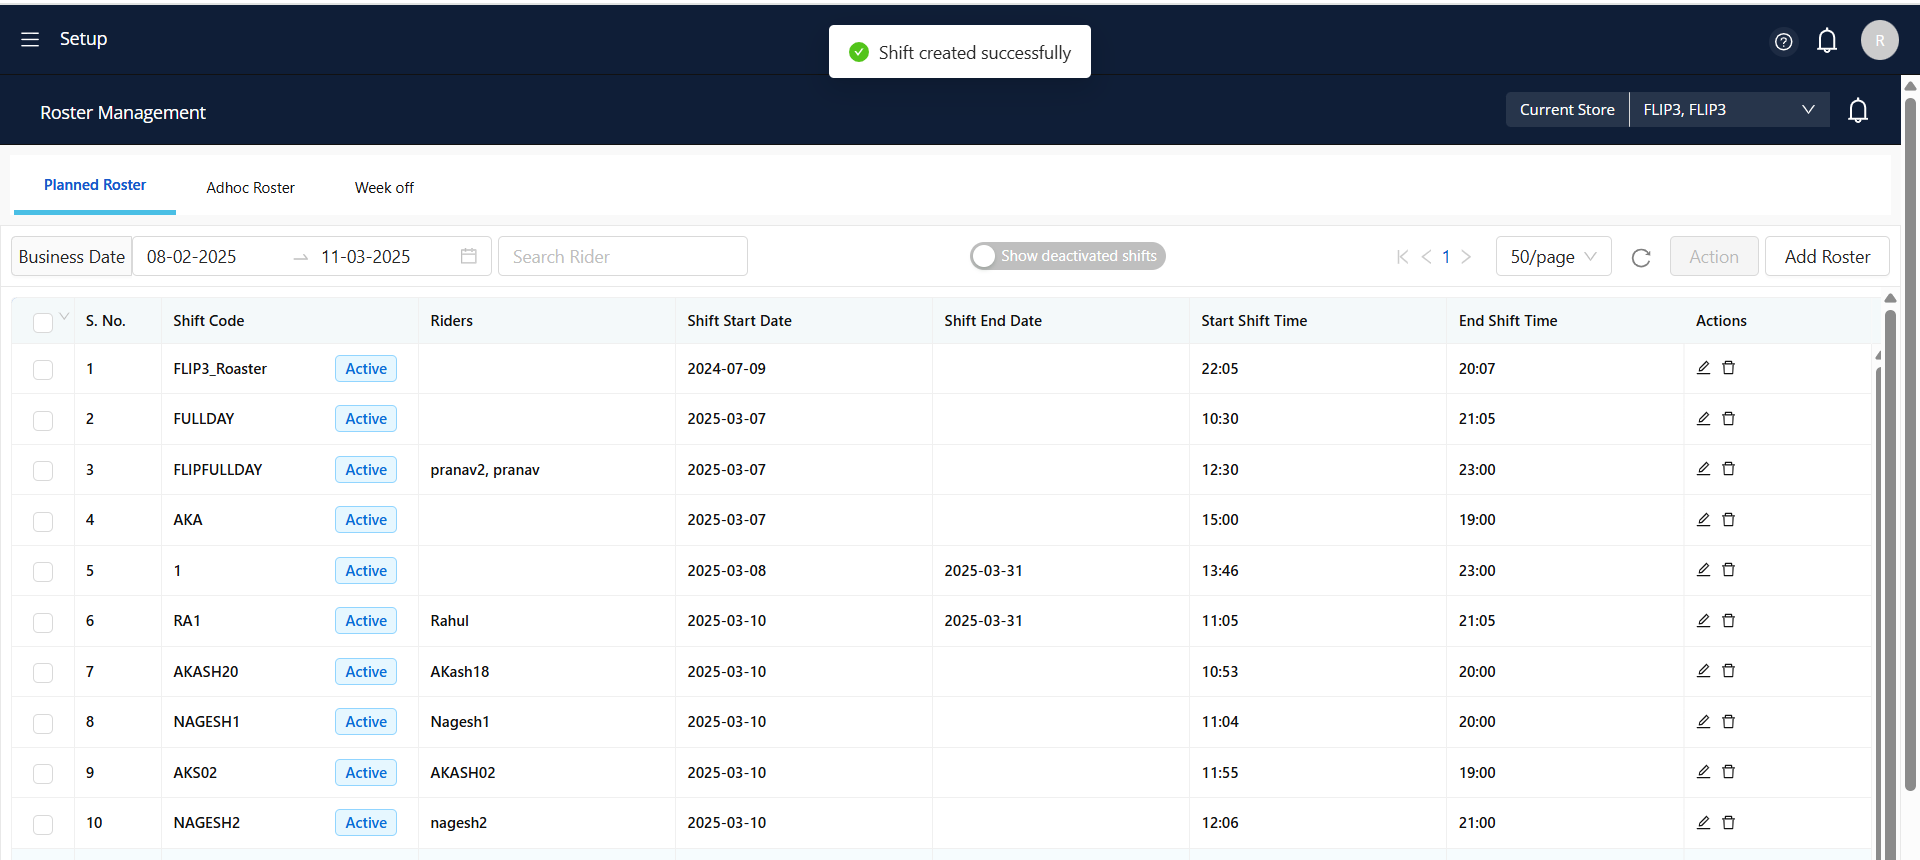
To submit the data, please click on 'Submit' followed by 'Broadcast' after entering the information.
24
Upon submitting the data, the shift will be generated. Subsequently, proceed to the Roster Management page.
25
If the order assign wishes to be onboarded directly by the Hub Manager, they should consult this document