
How to Create a Free Power BI Account Part 1
Step-by-step guide on creating a Zoho Mail account, troubleshooting common issues, and integrating your Zoho email with Power BI for organizational use.
In this guide, we'll learn how to create a Zoho account using a Google ID and set up a Zoho Mail address. We will also see how to use this new email address to sign in to Power BI. This process helps you connect your Zoho Mail with Power BI for organizational use.
Let's get started
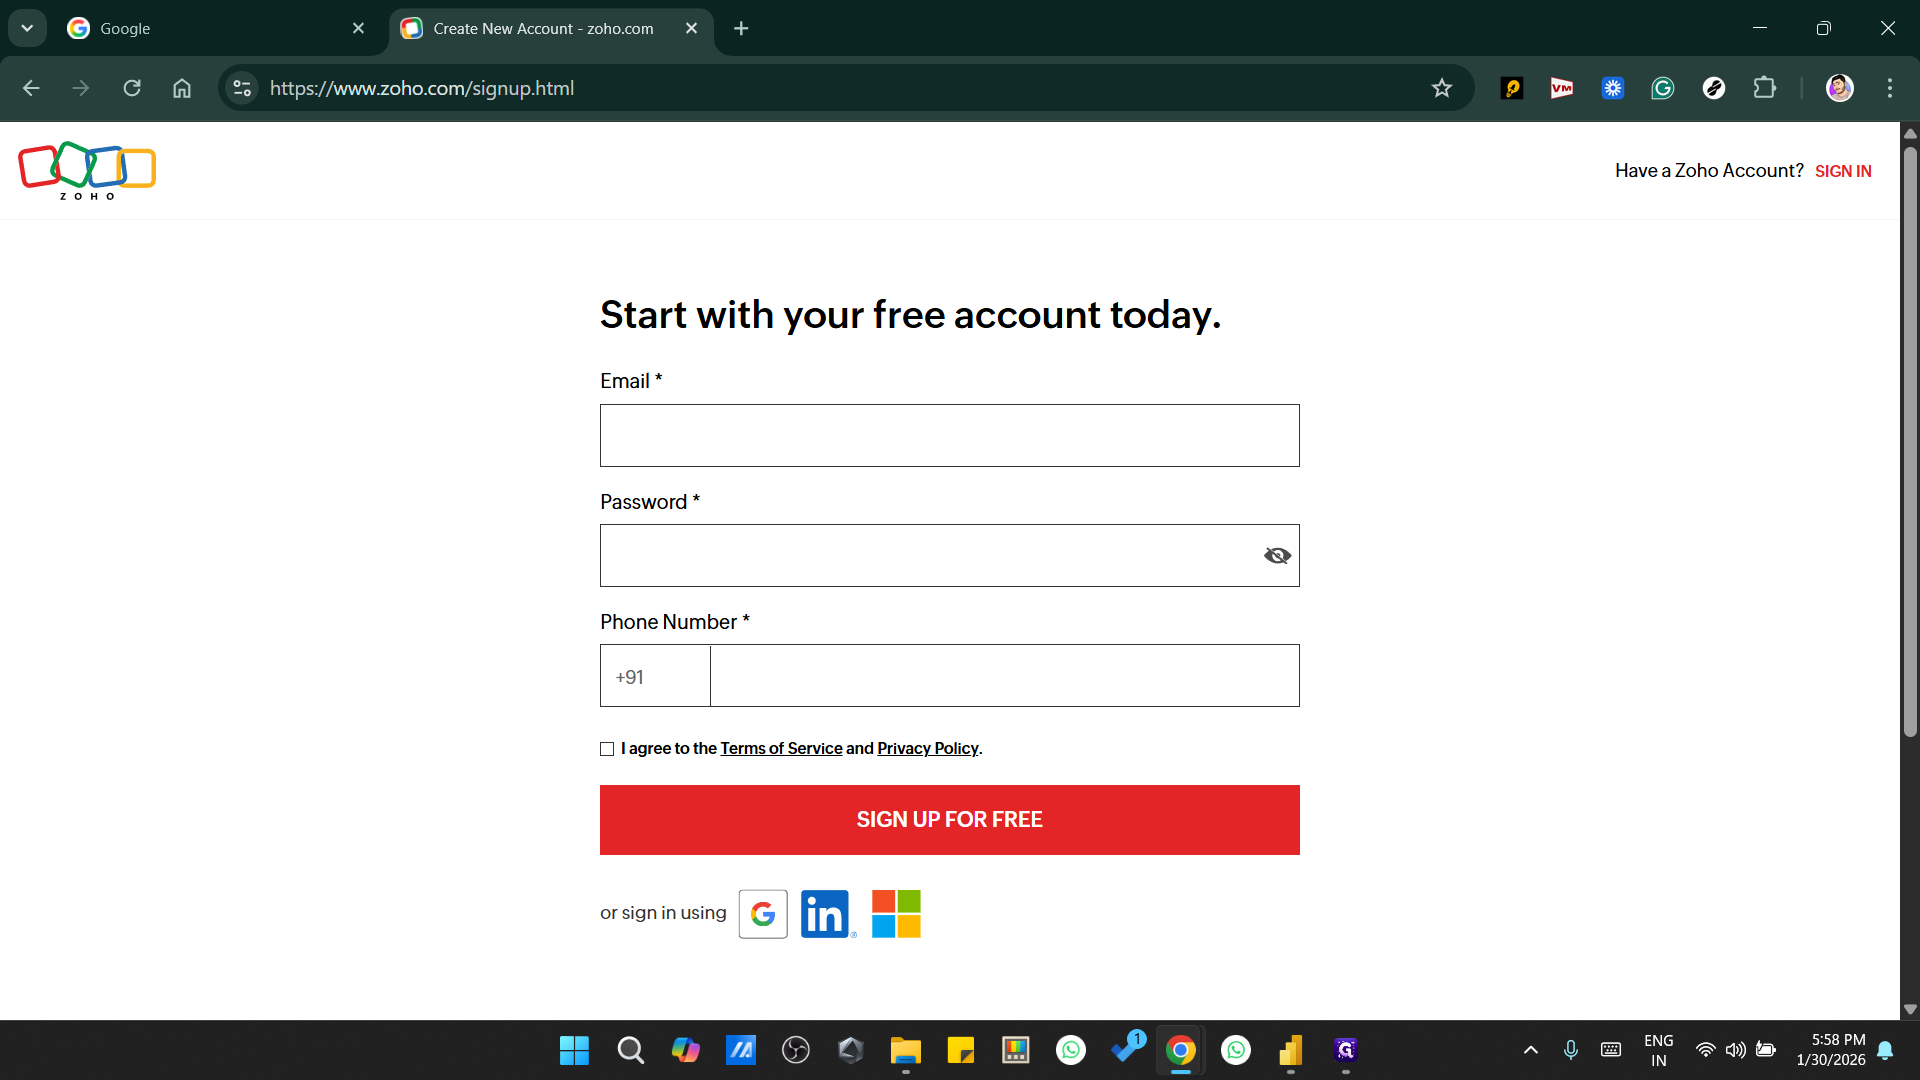
First, we will create an account on Zoho using... https://www.zoho.com/signup.html
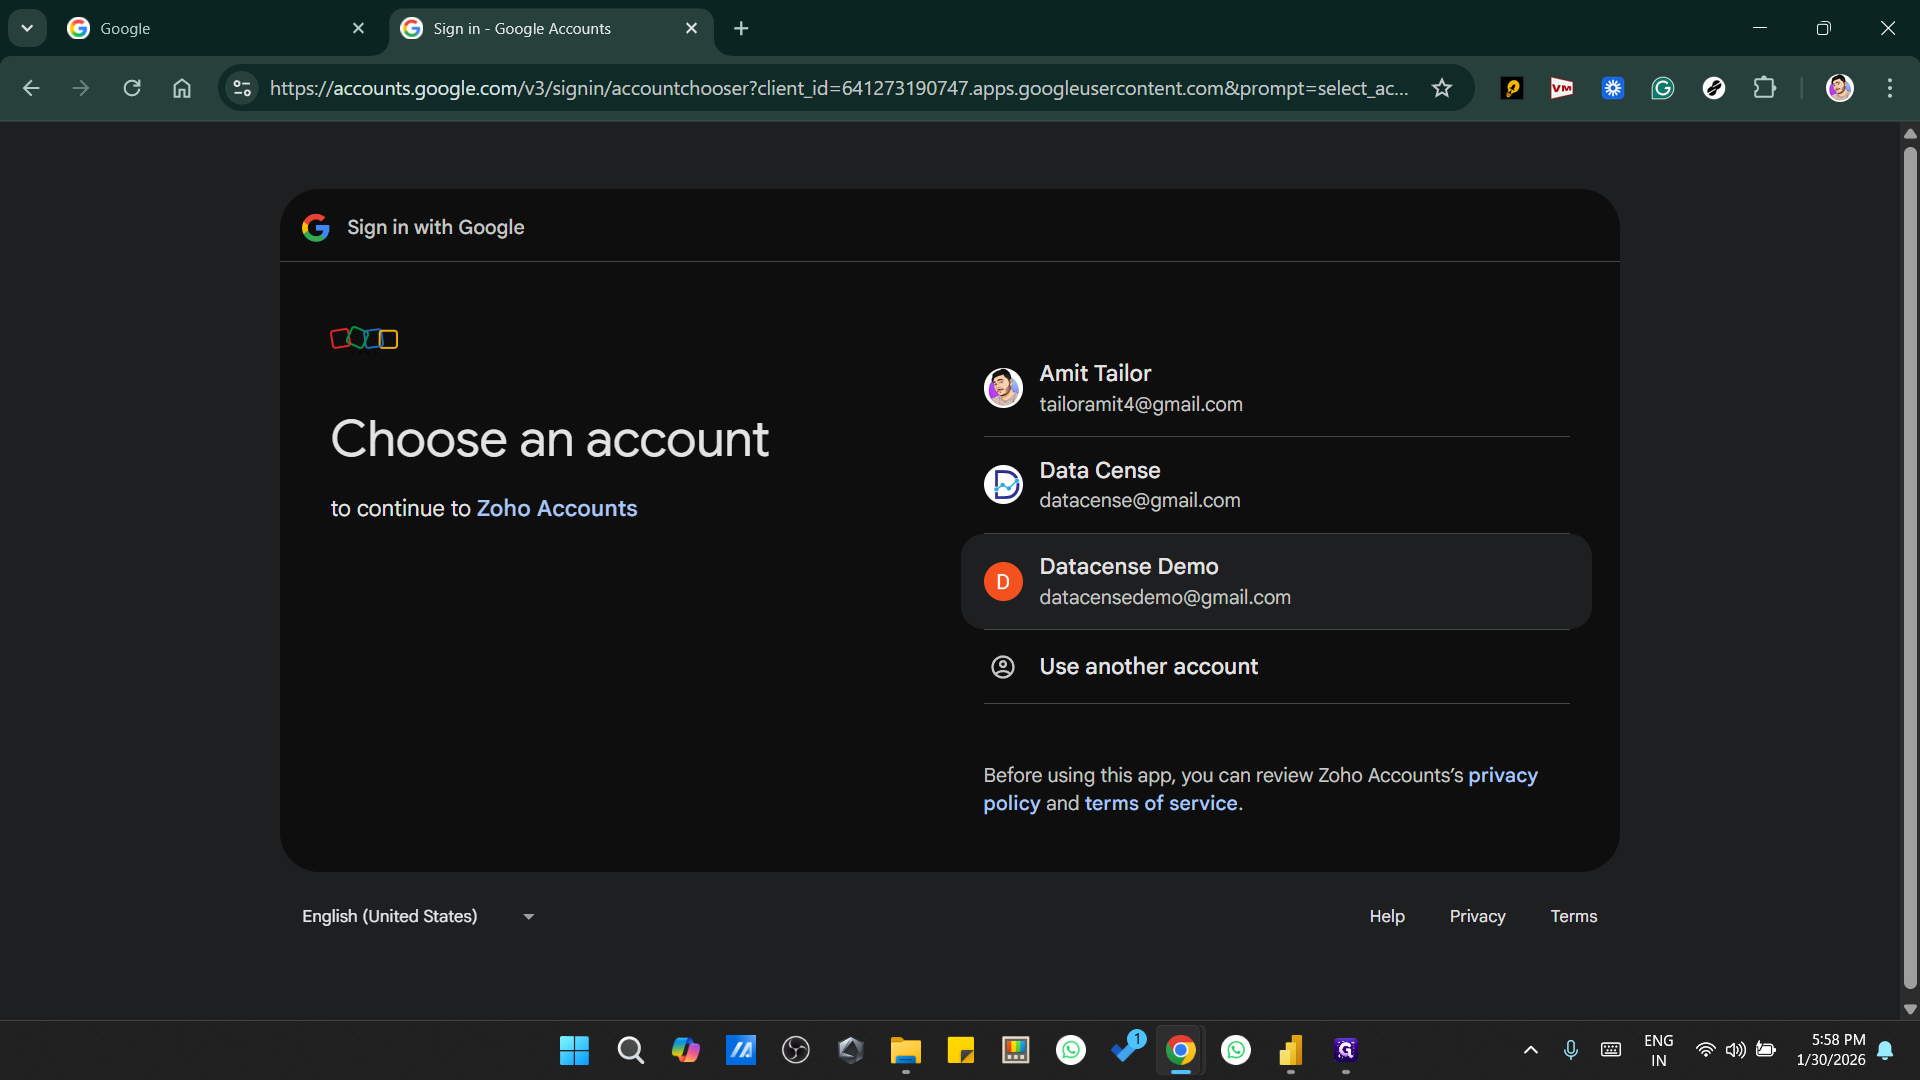
This is the Google button.
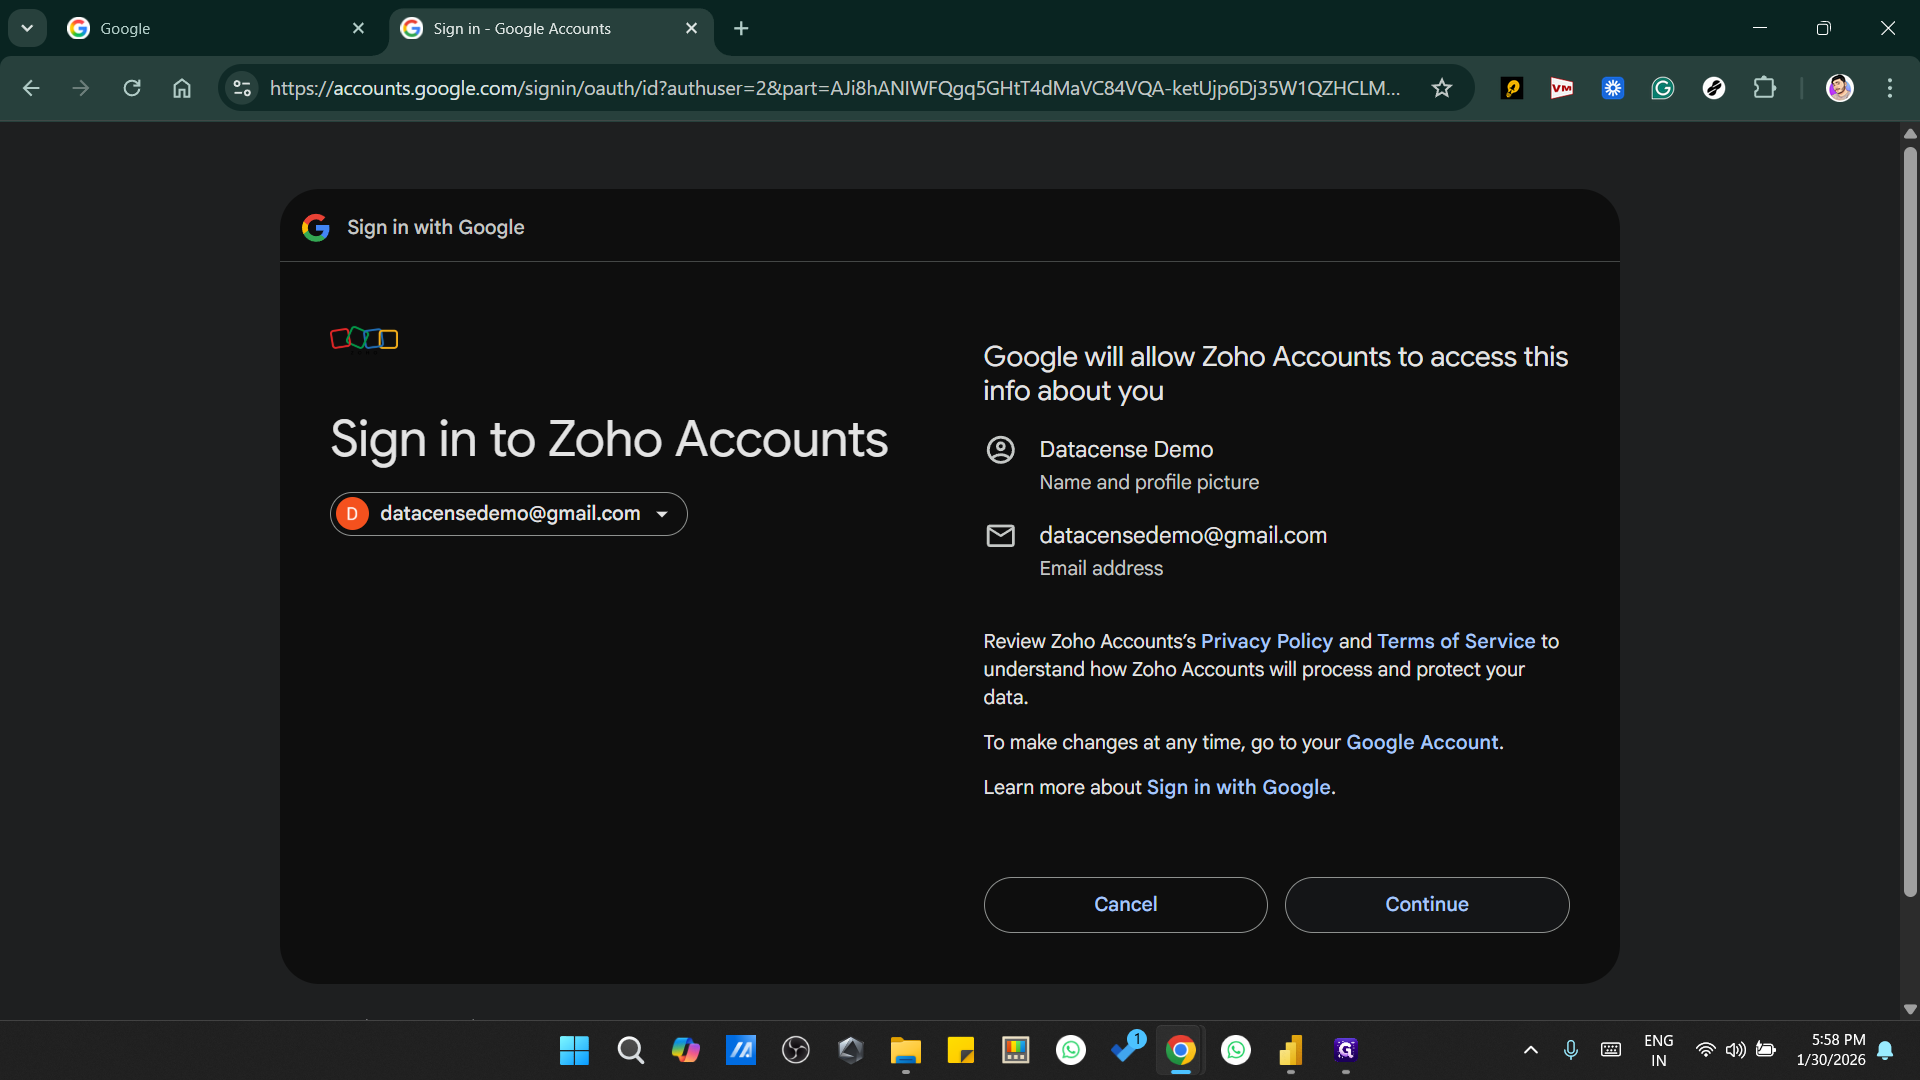
Use your gmail account
Add your First name, Last Name & Phone number & Continue.


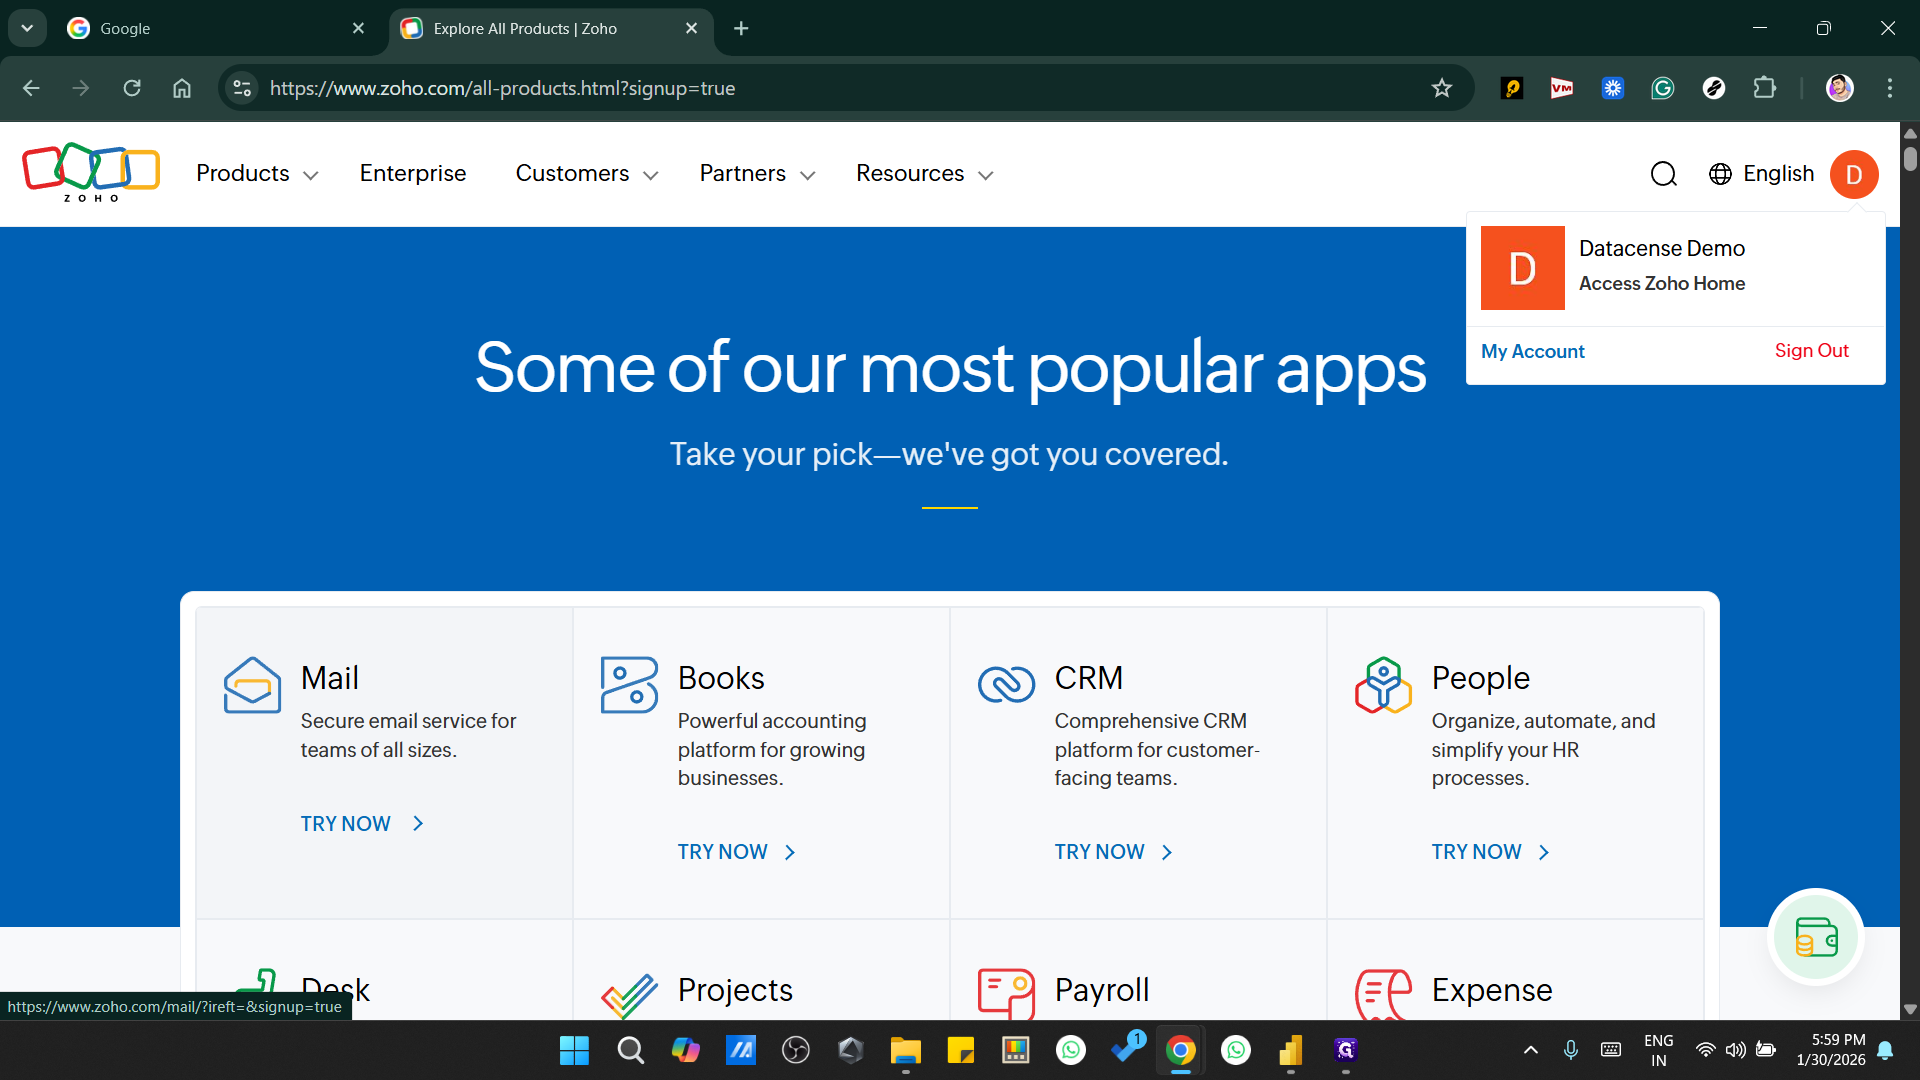
Click Try Now to access Zoho Mail.
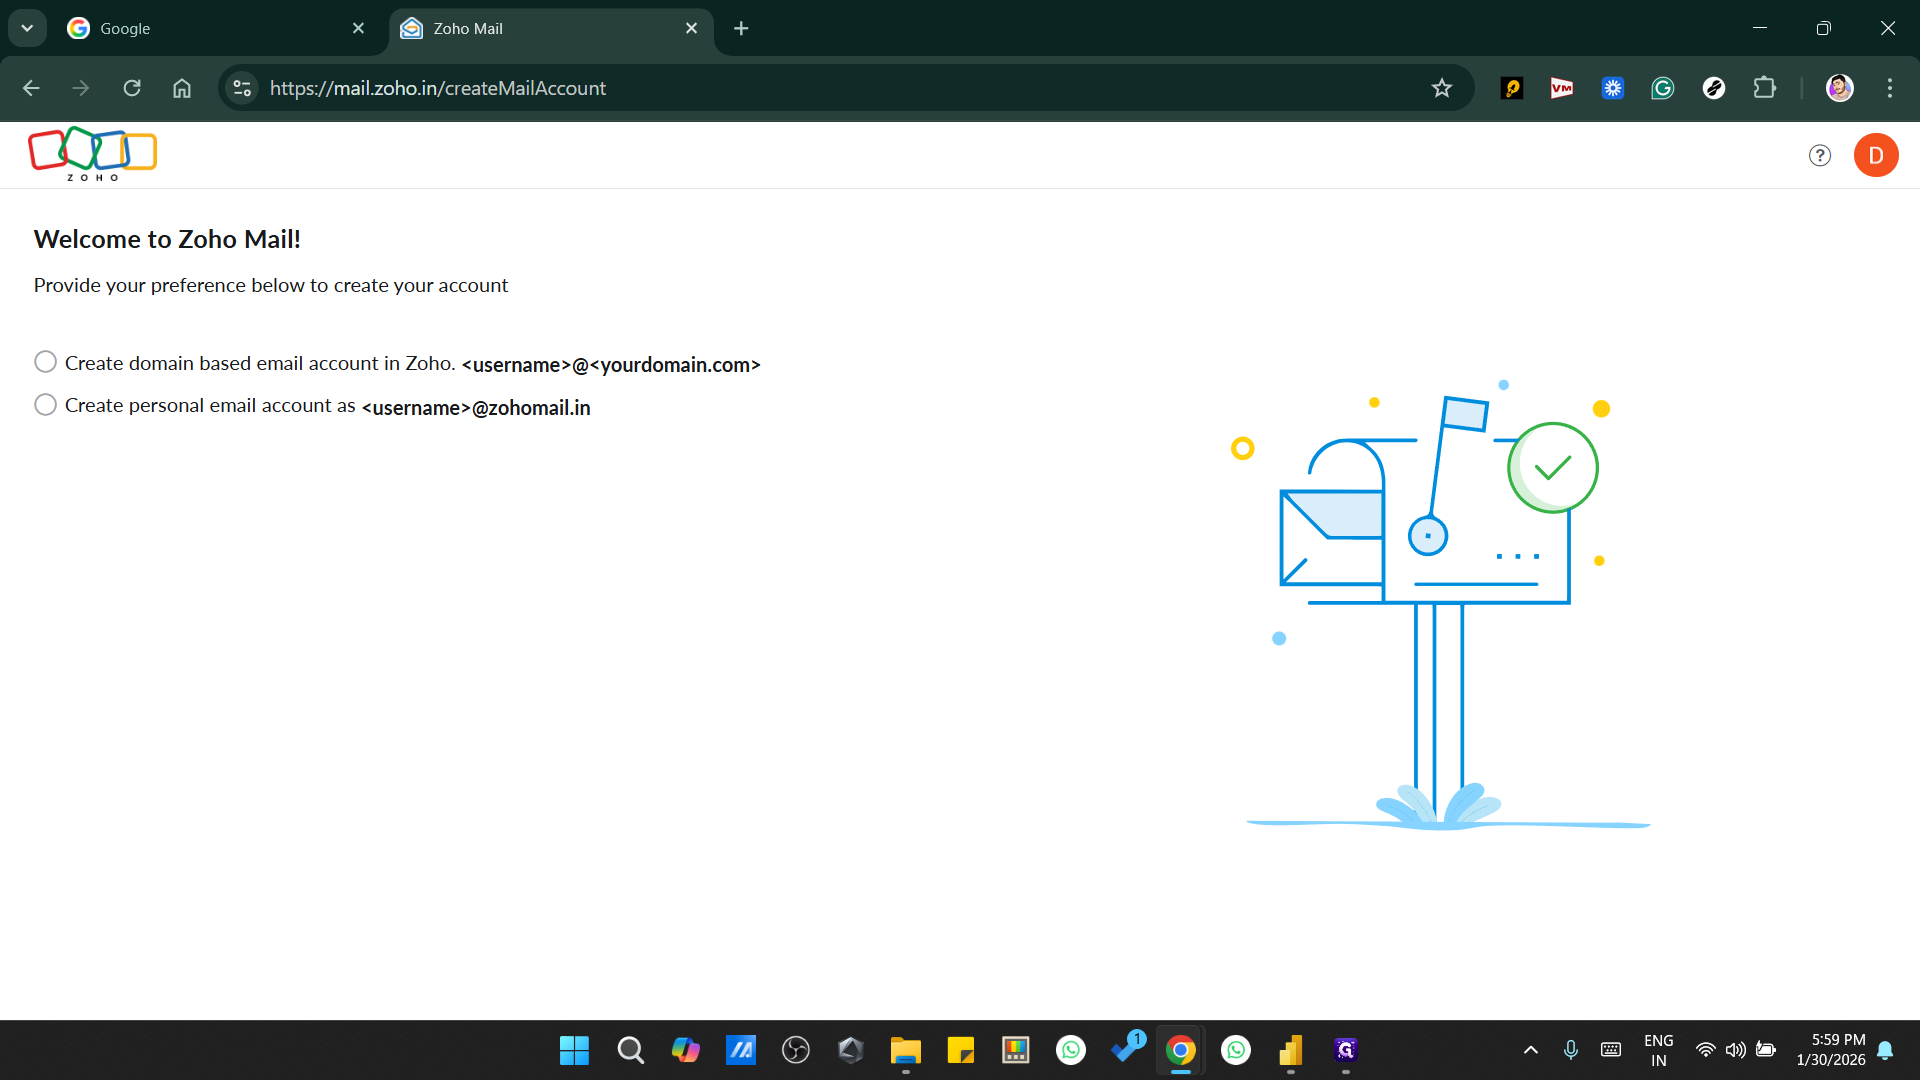
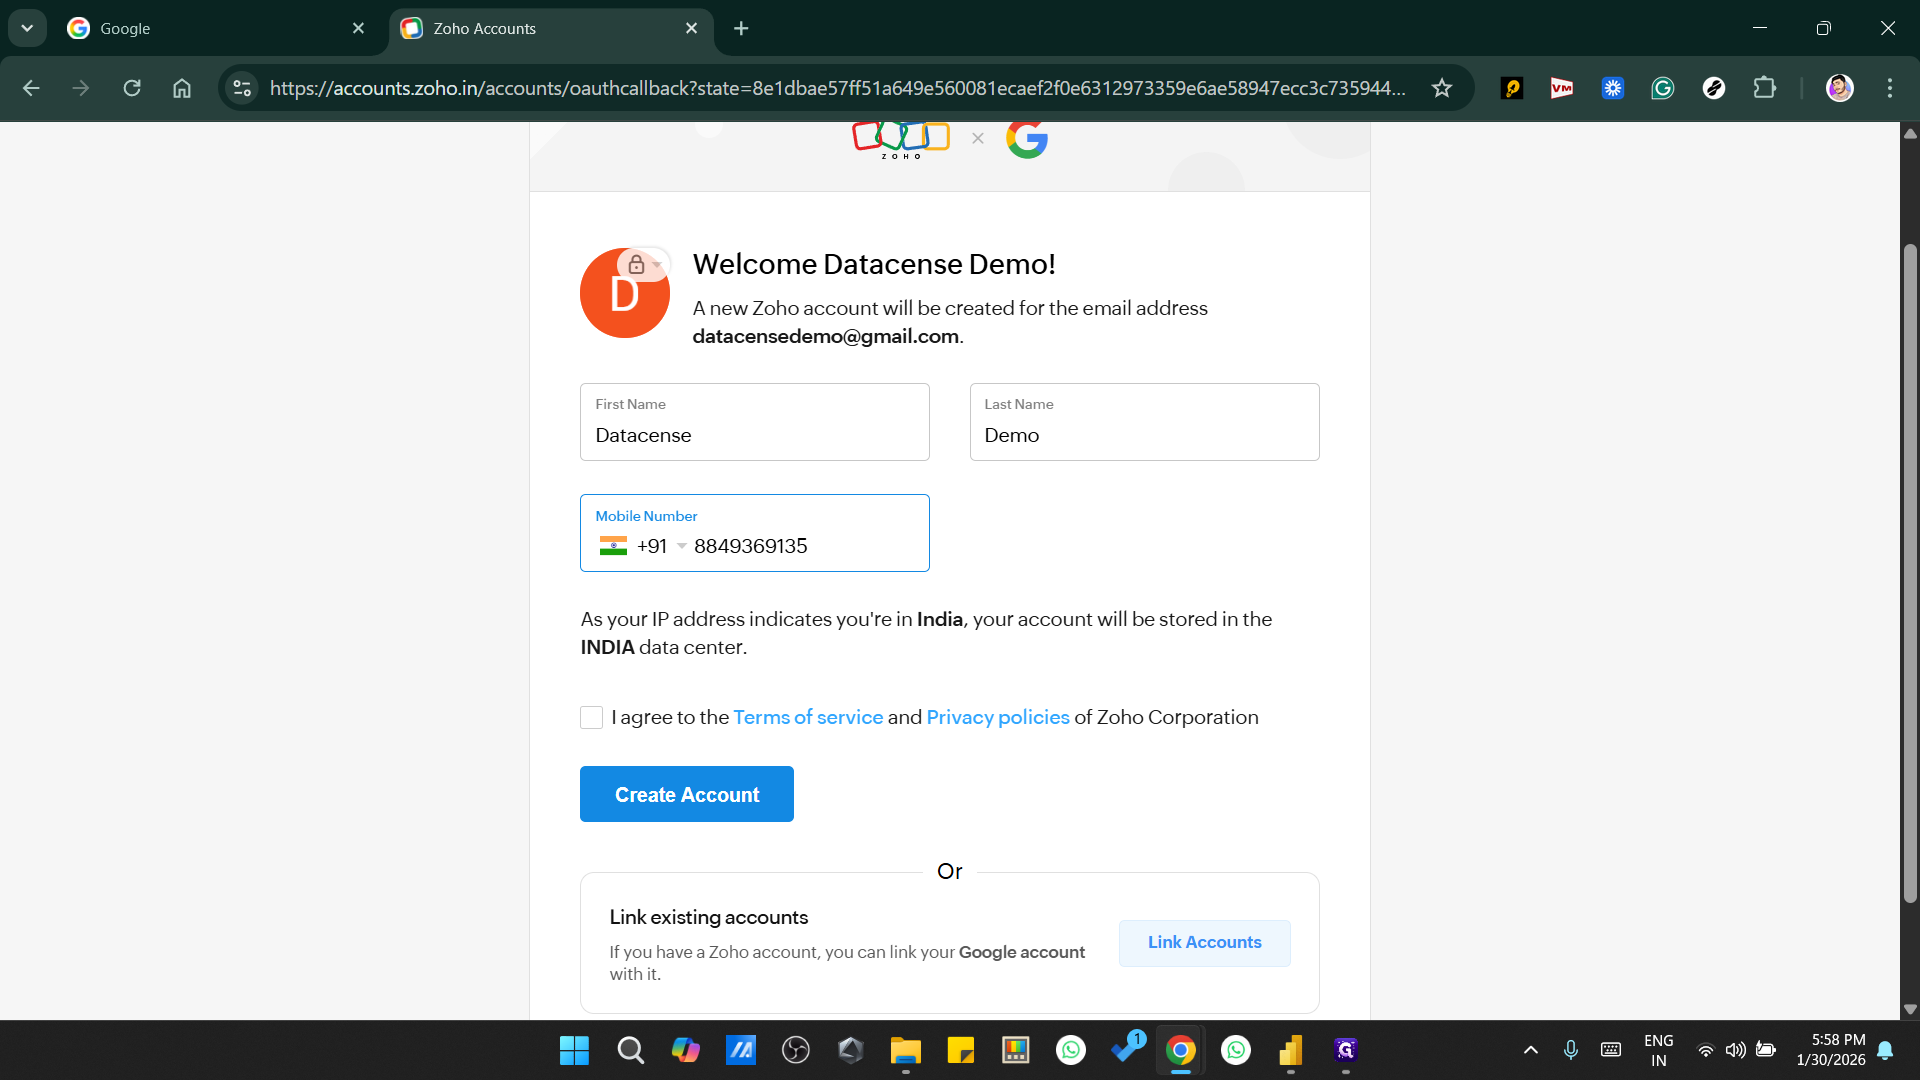
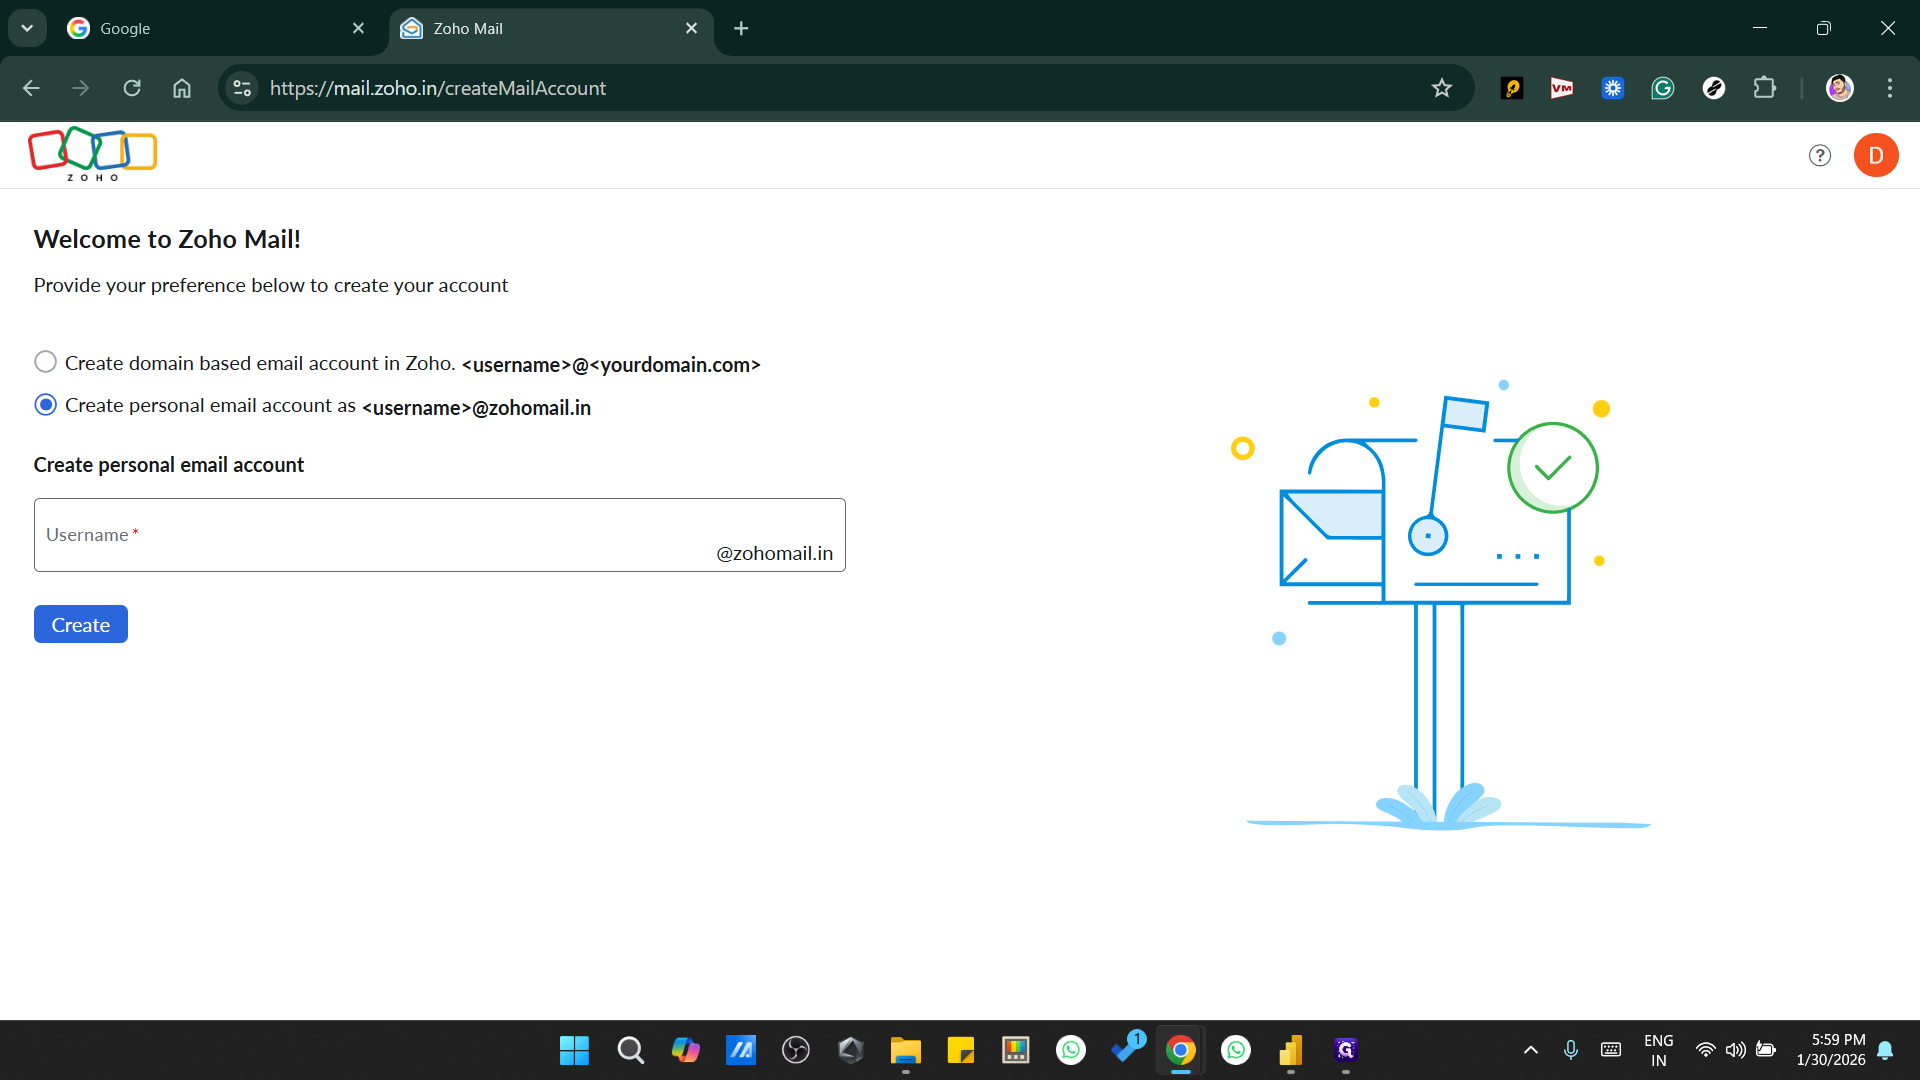
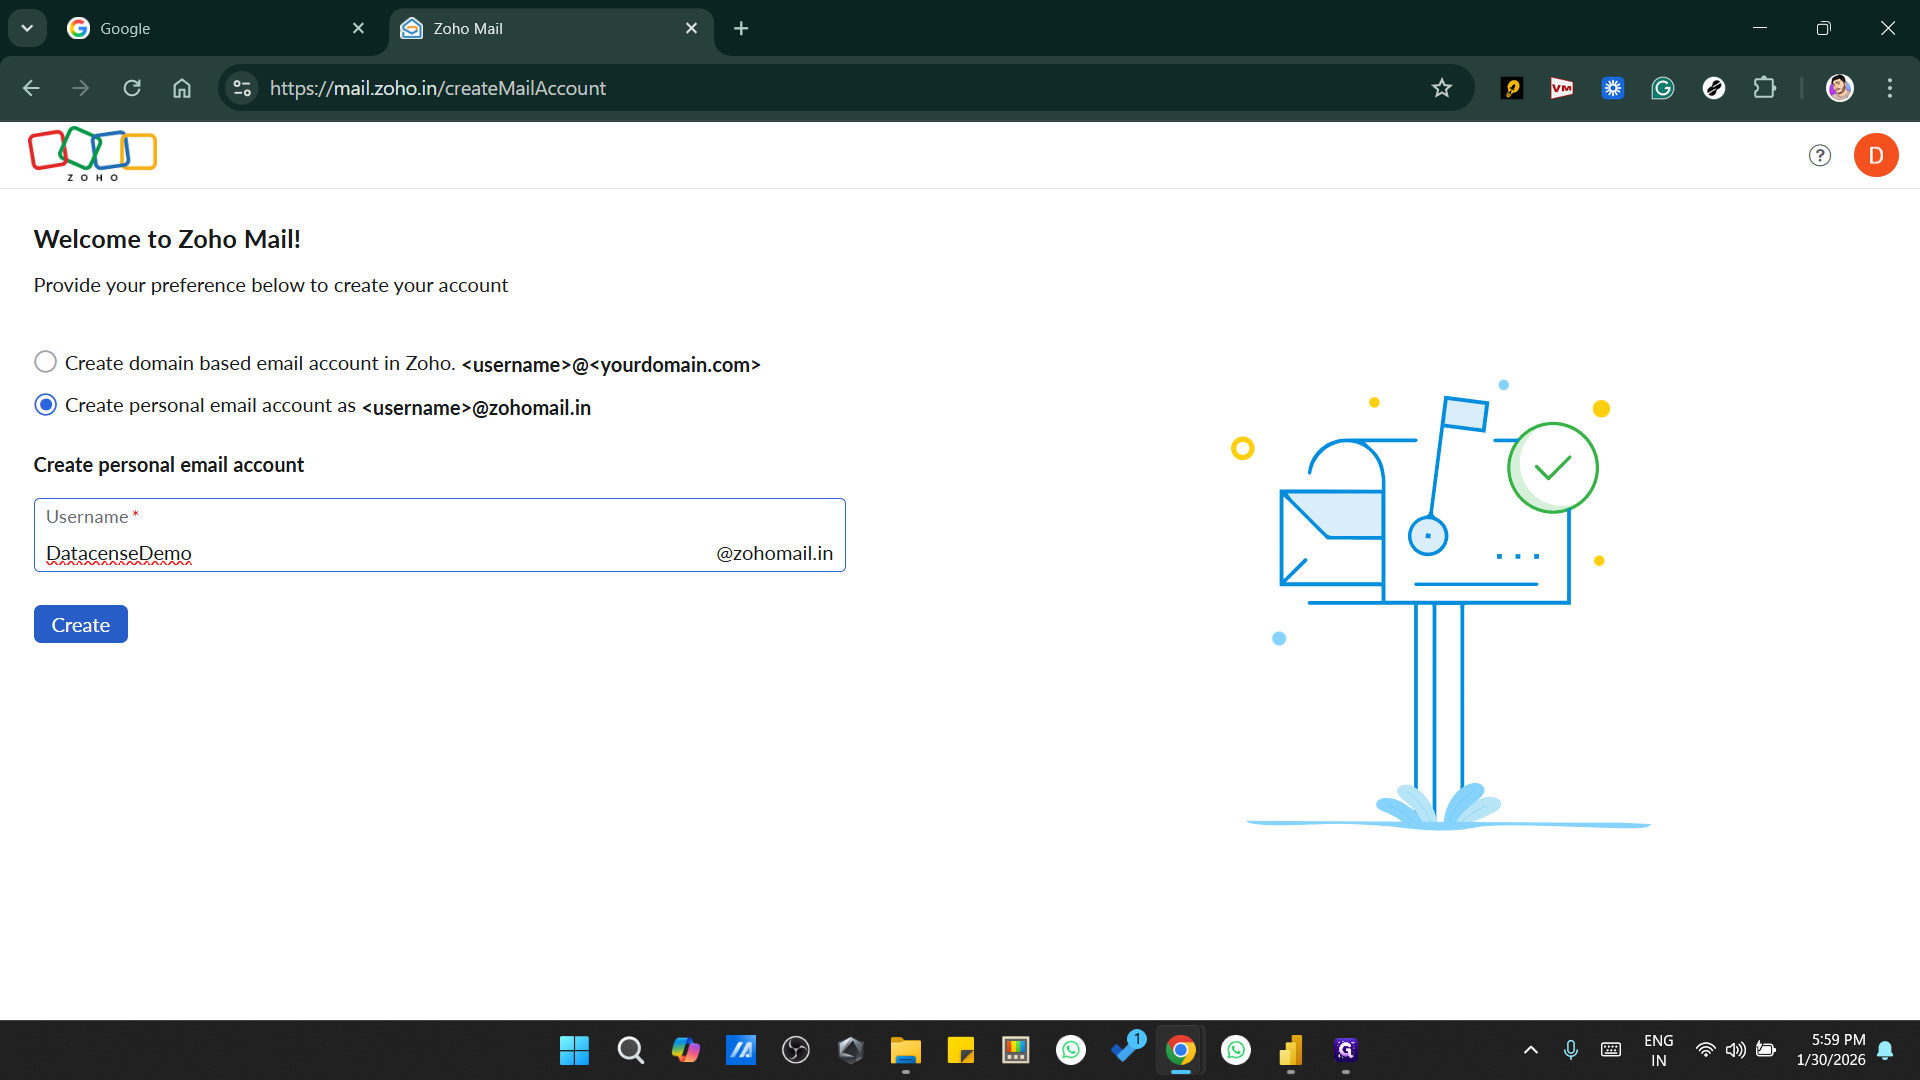
Create your personal account.
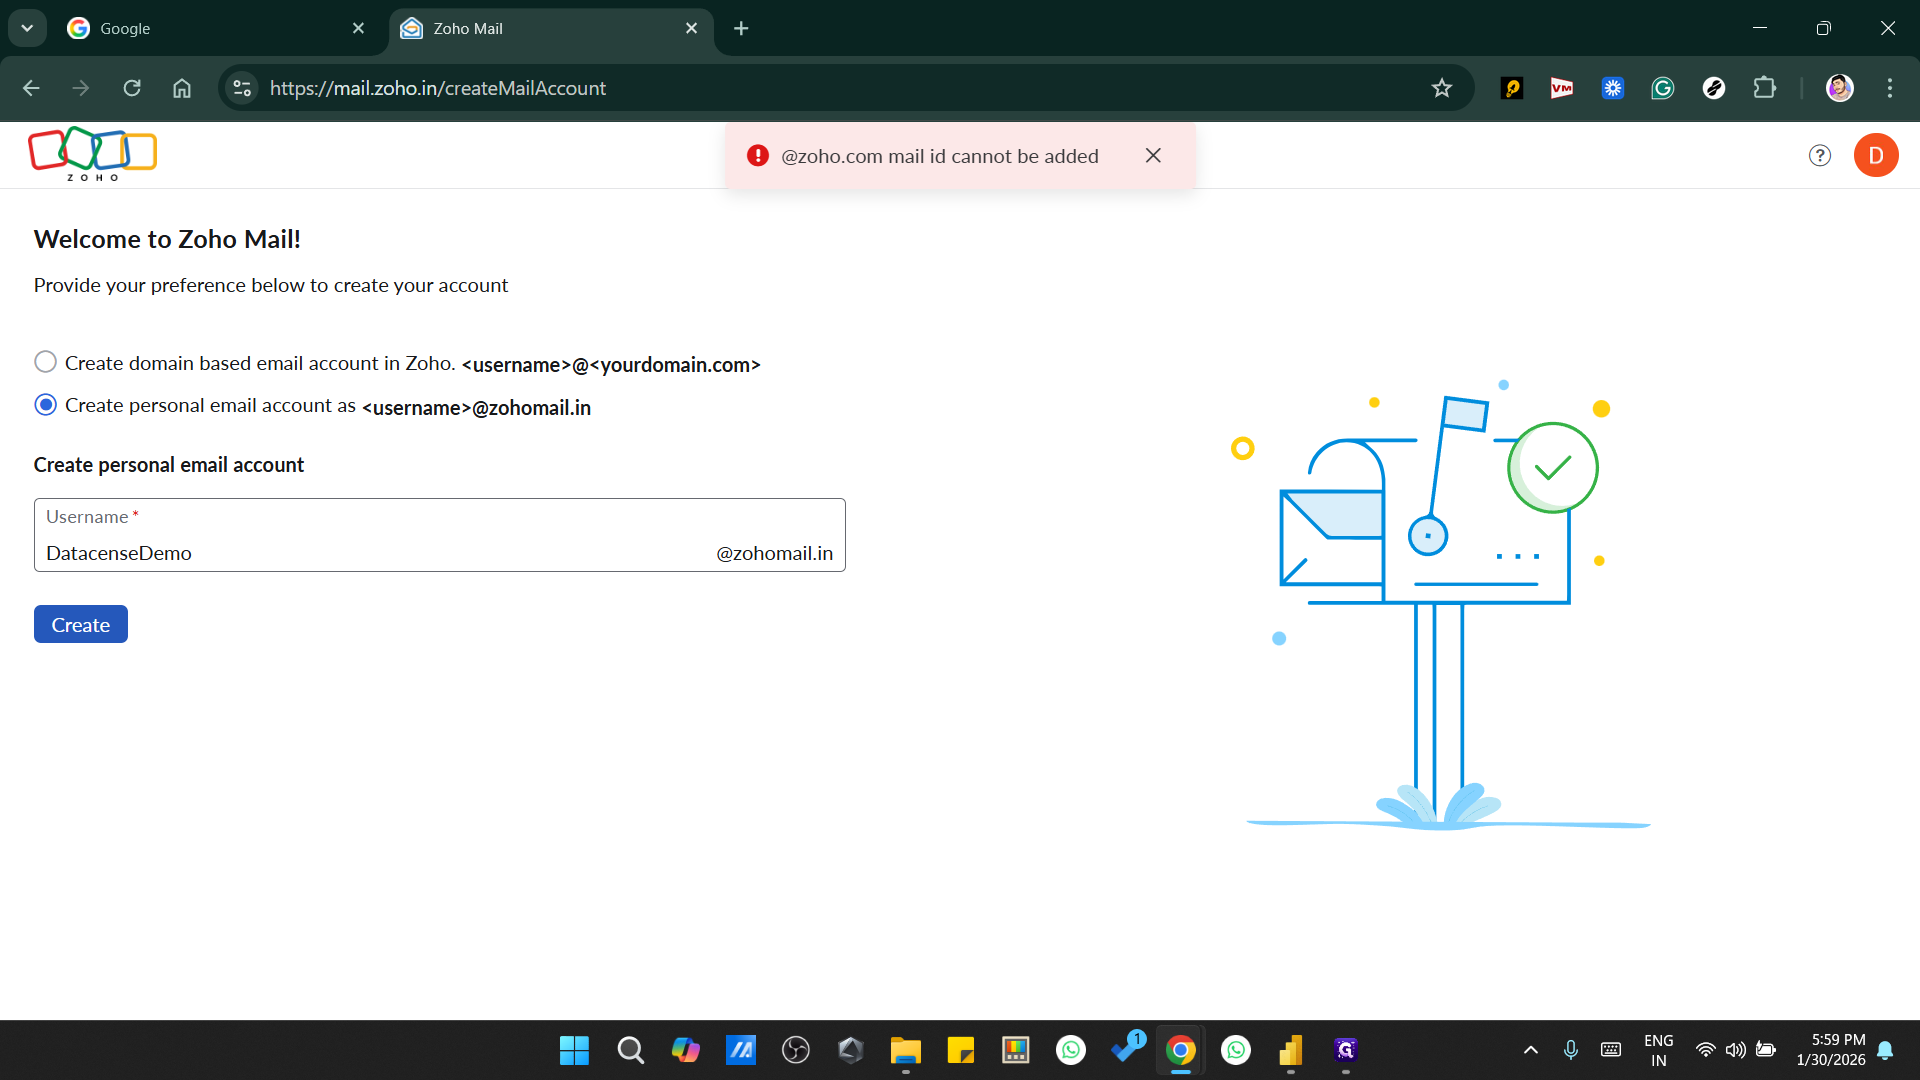
It says that the account has already been created. So, we will click on that account and select Yes.

So, it has...
For the Datacense demo, I received an error, but the account was still created by default.
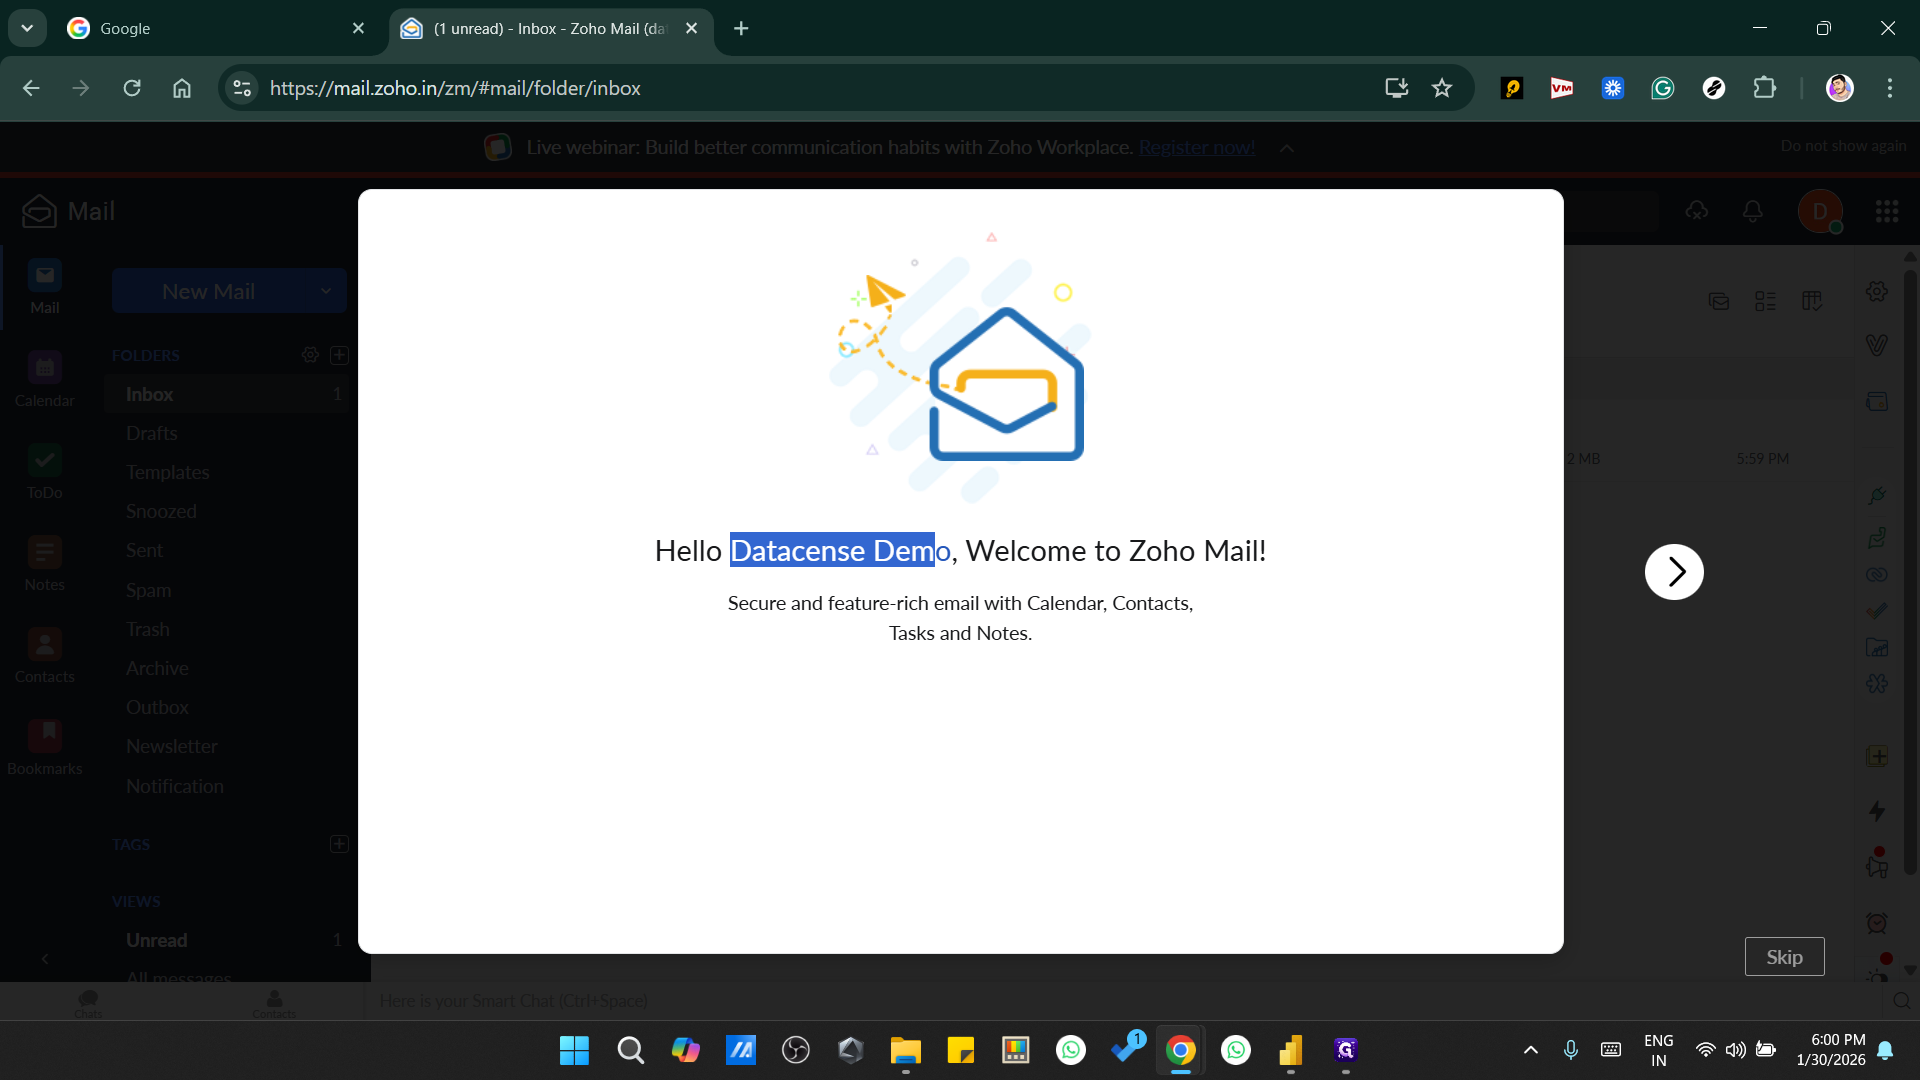
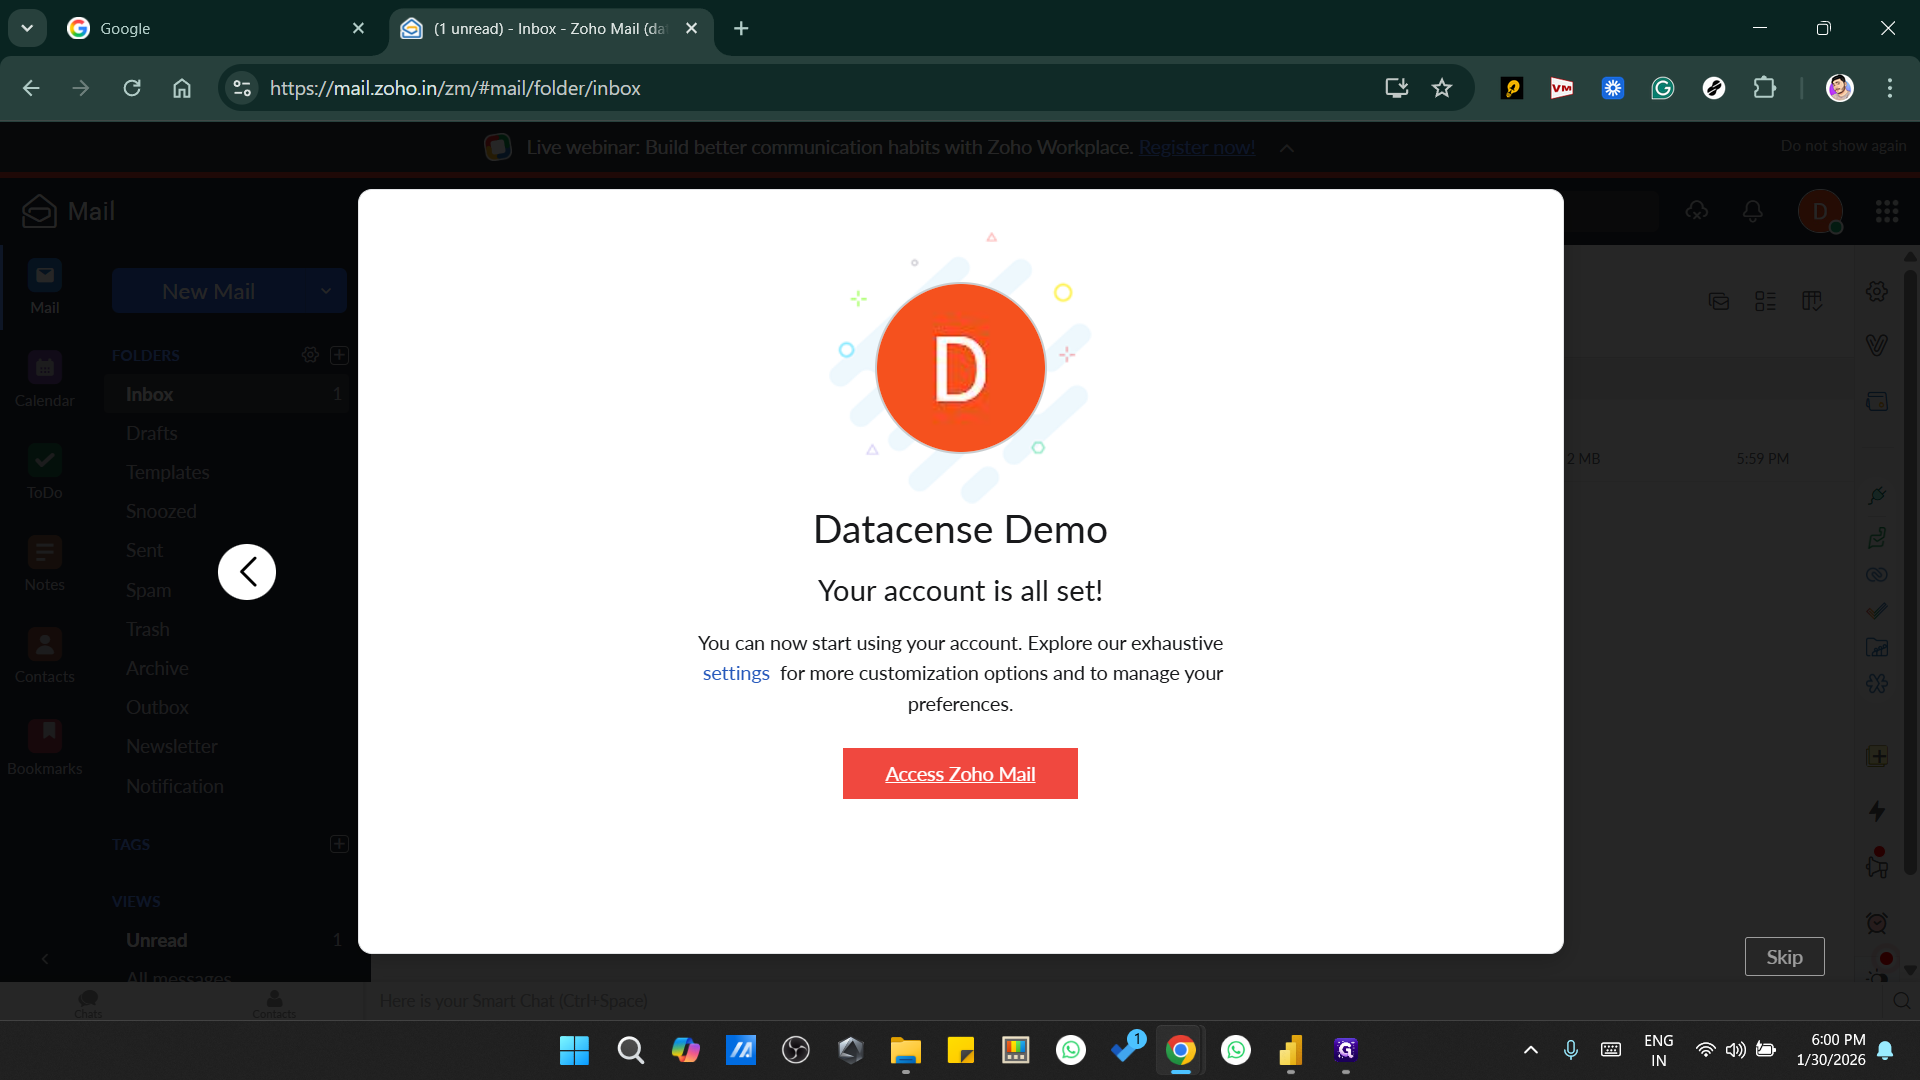
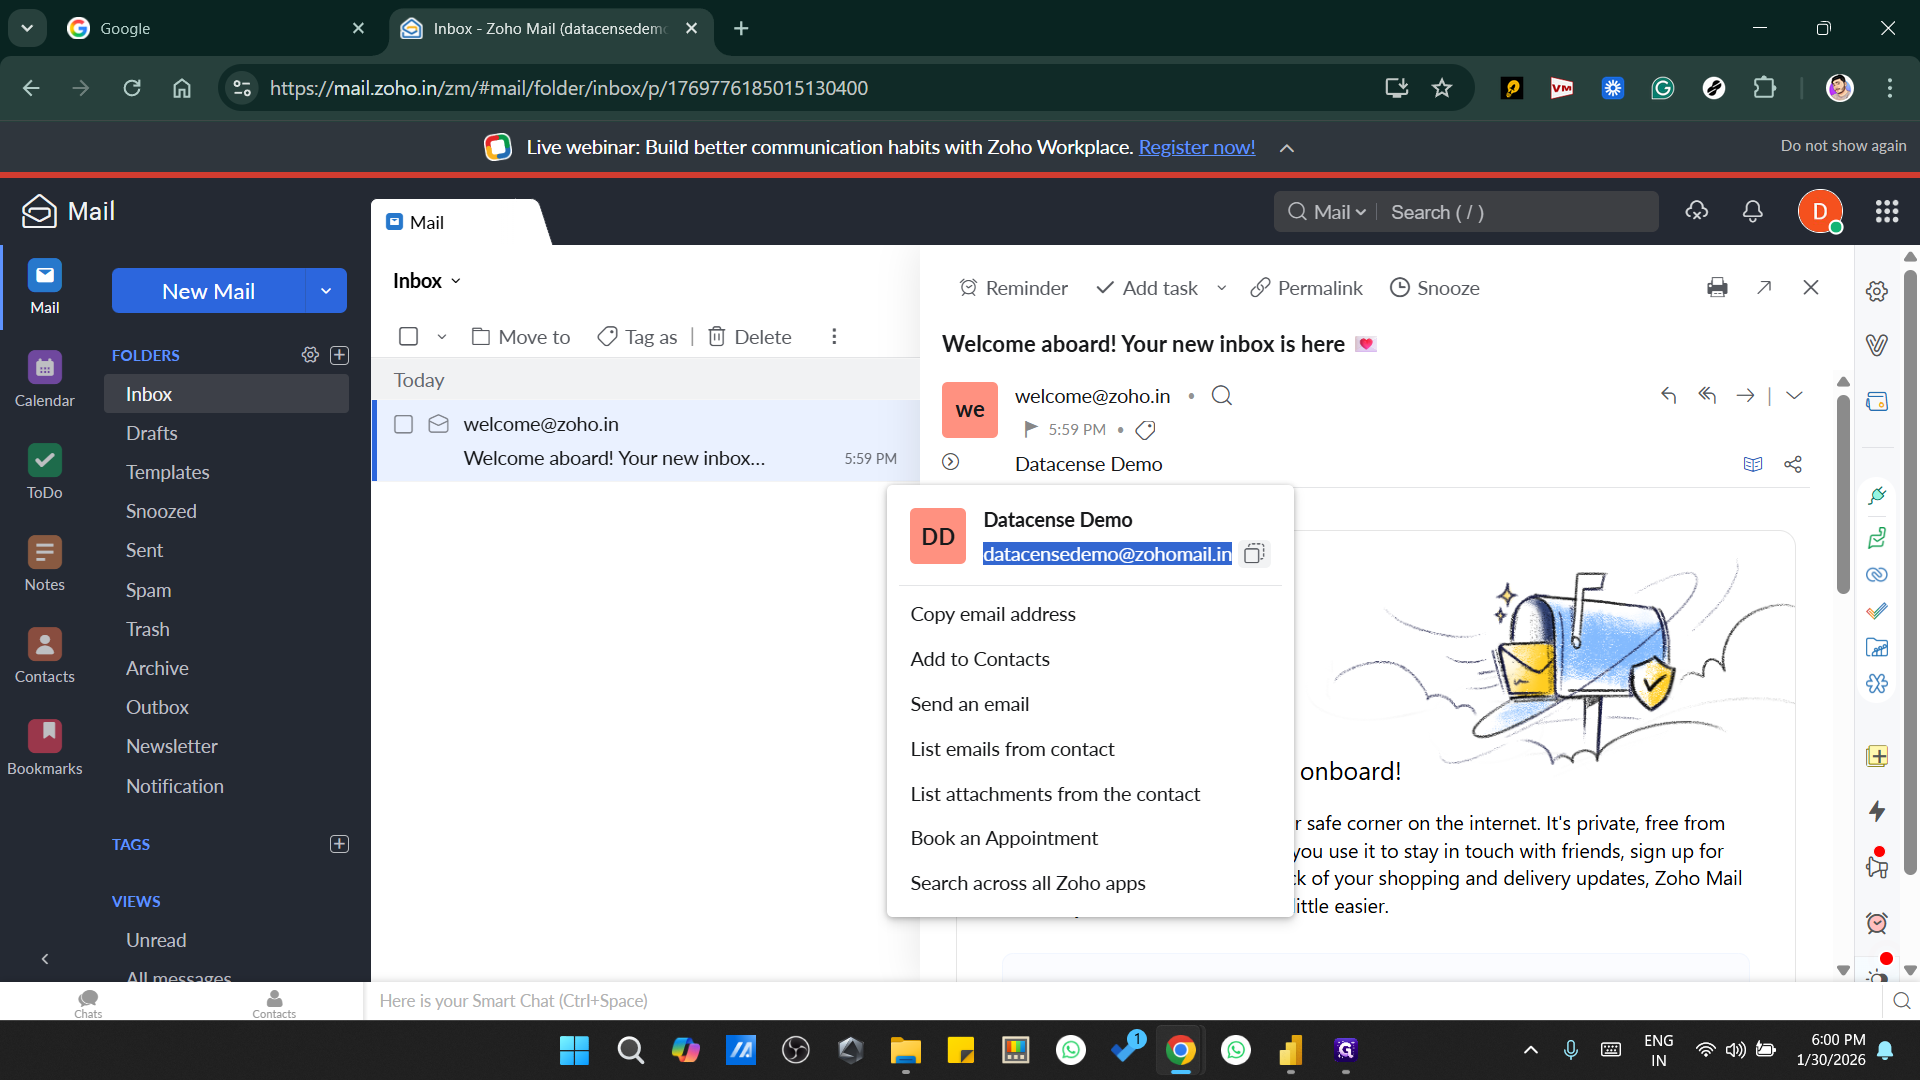
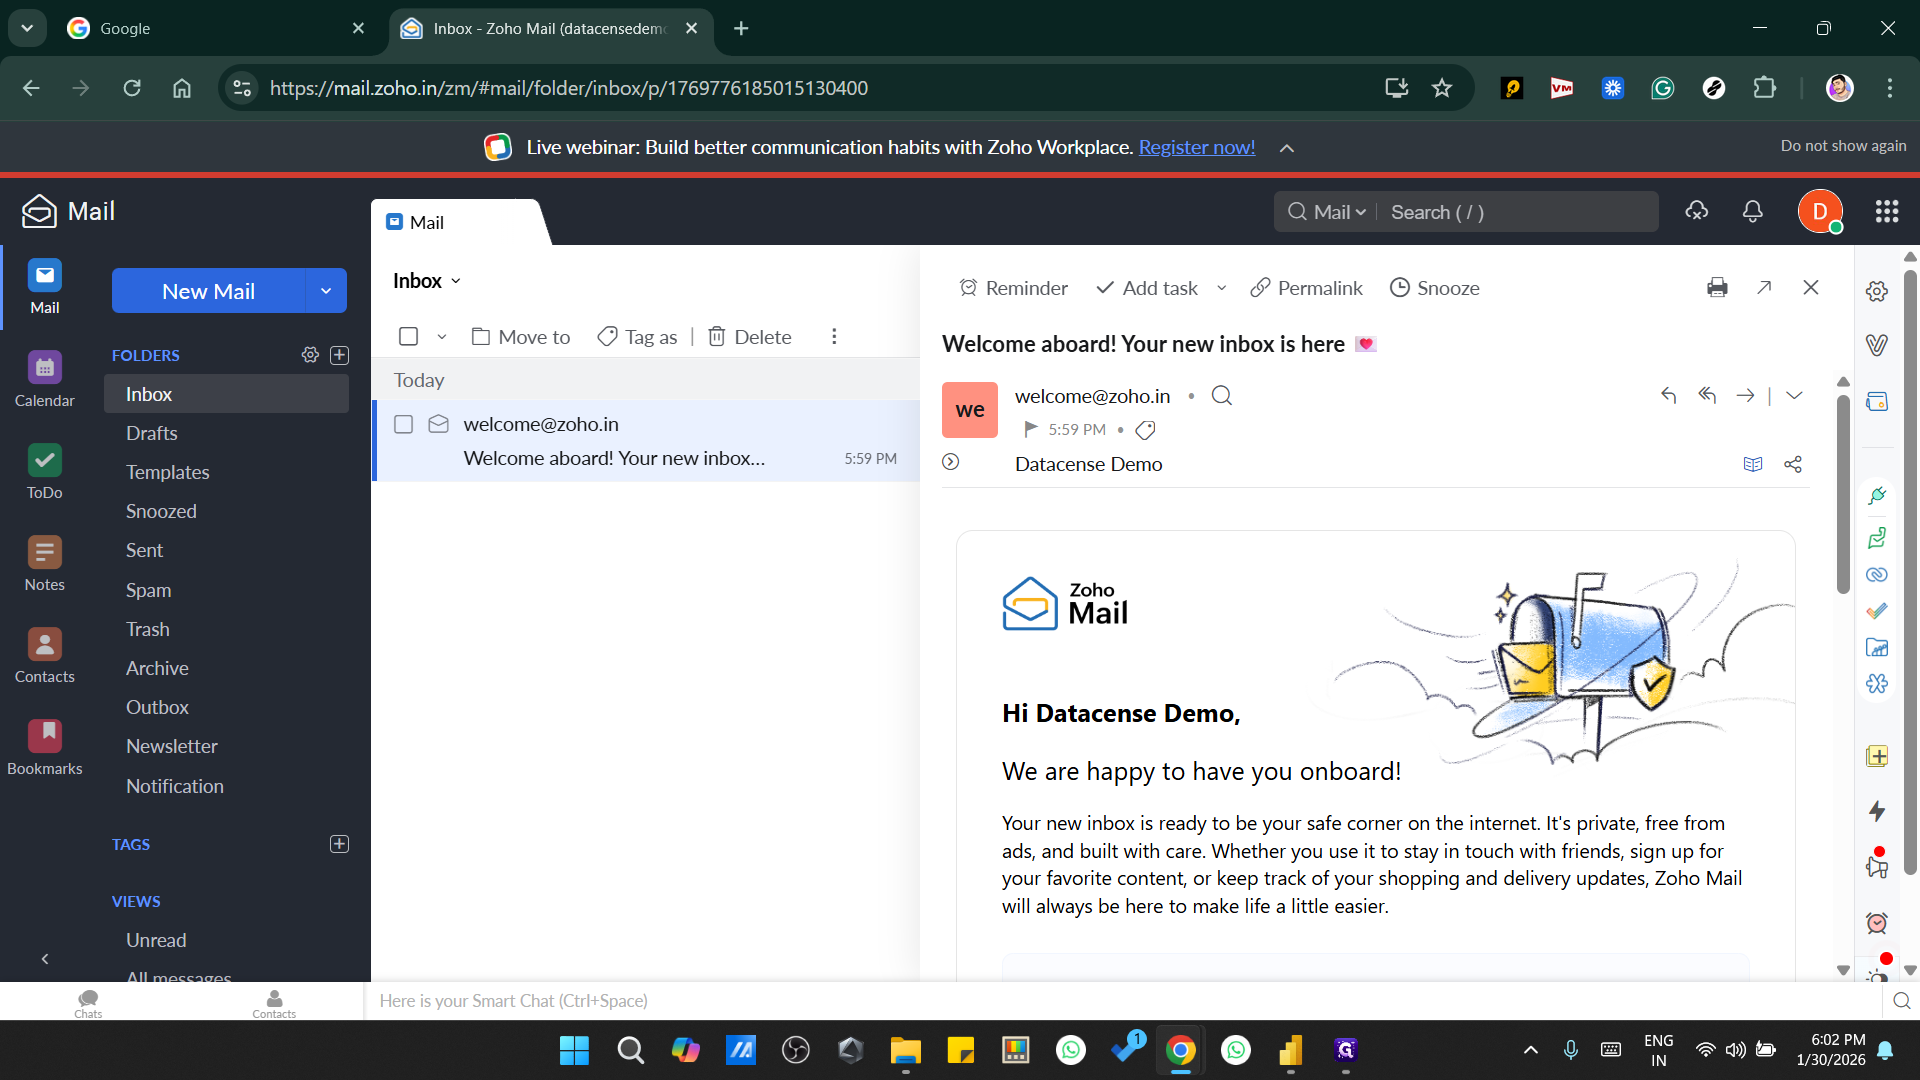
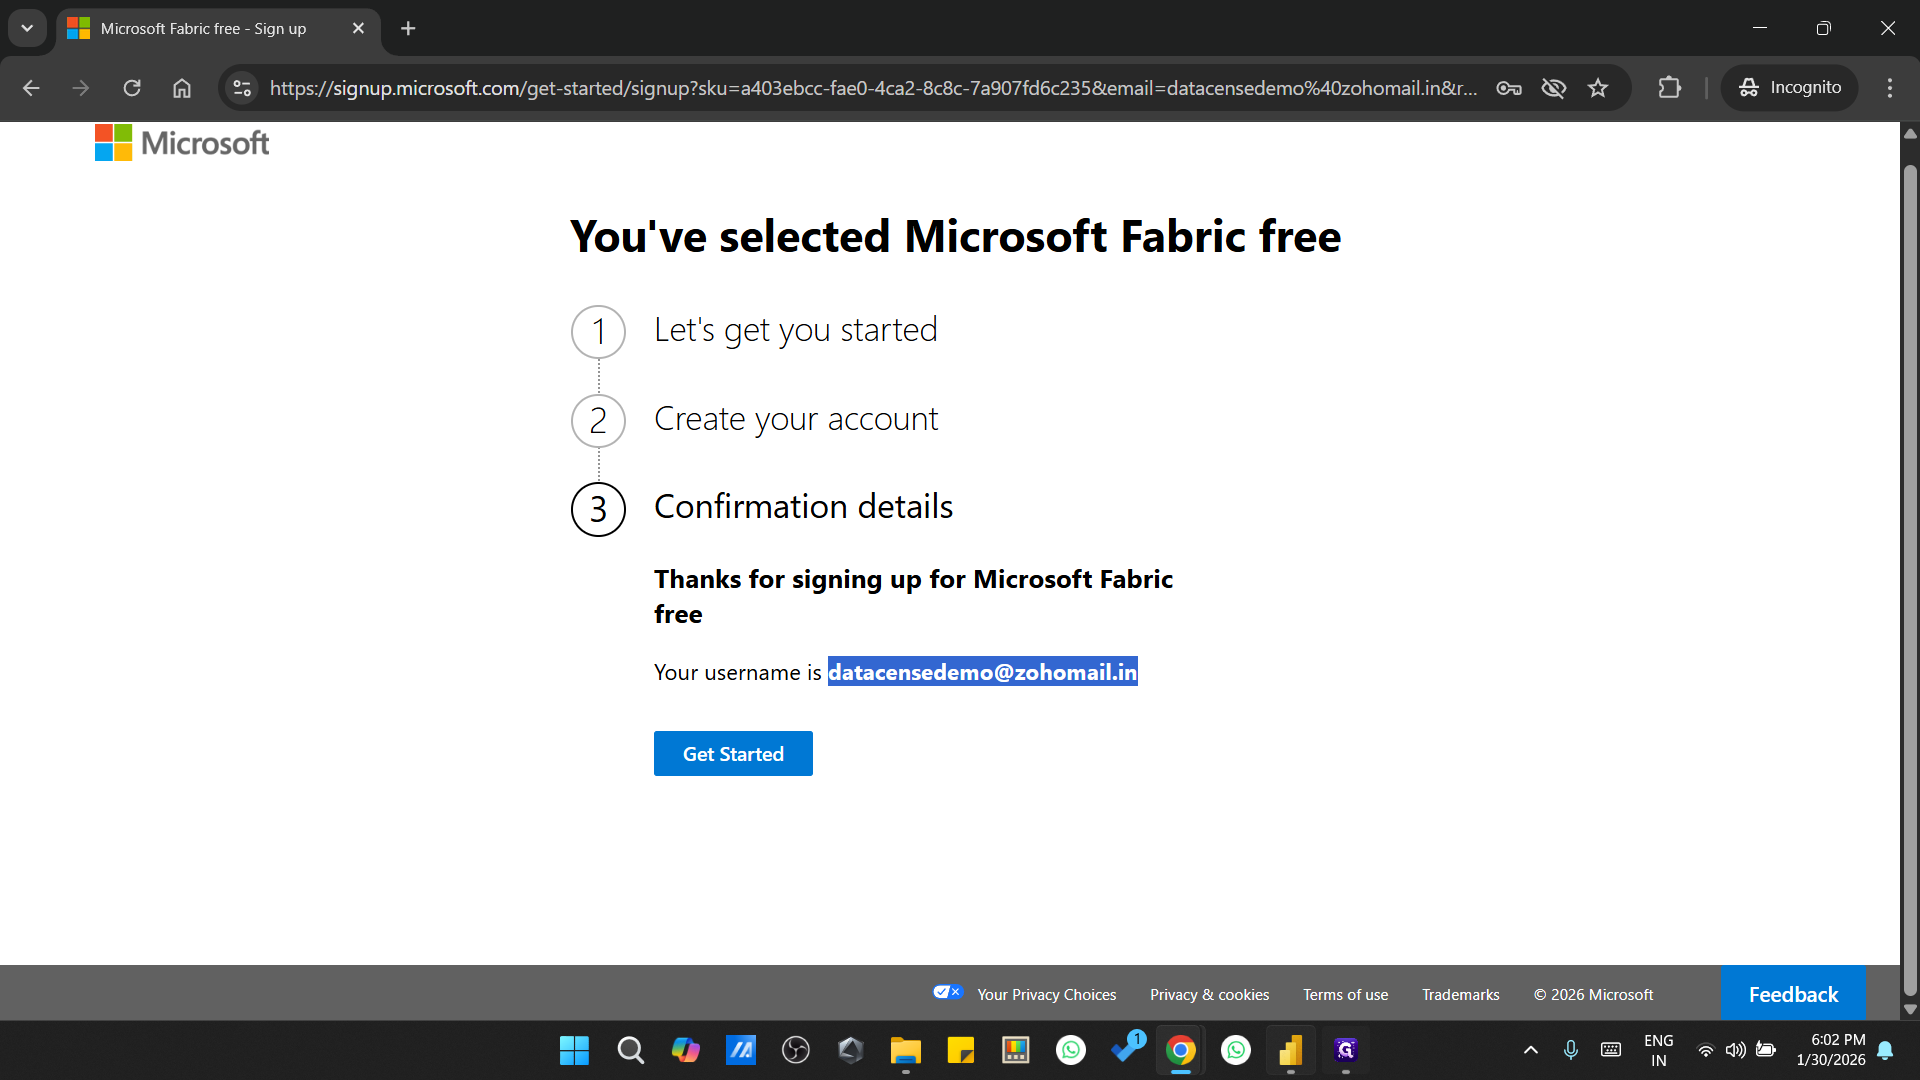
You can skip this step. When you click on the first welcome email that you will receive after creating this account, in the Zoho mailbox, when you click on that email ID You will be able to see your created email account for Zoho mailbox
Let's also check its email ID: datasensedemo@zohomail.com.

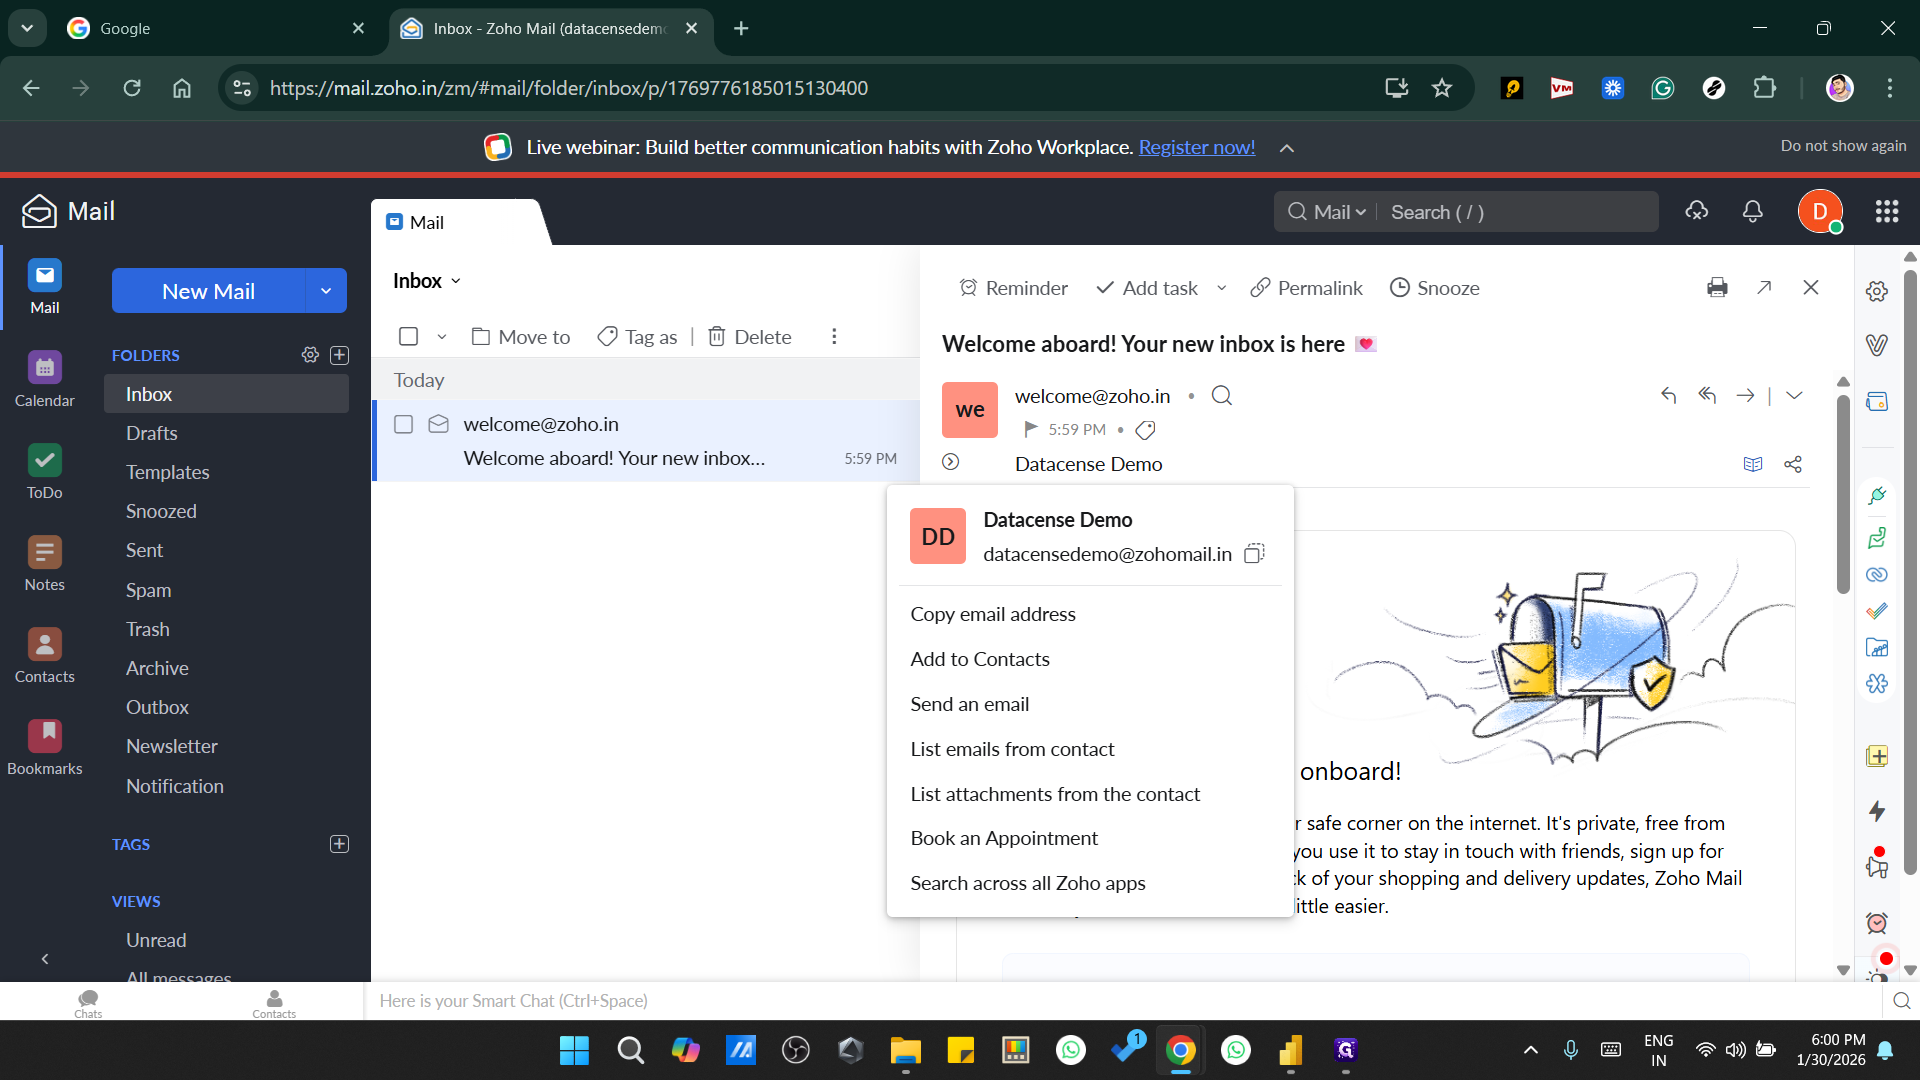
Take this email ID
and open Power BI in your web browser in Incognito mode
using this link: https://app.powerbi.com

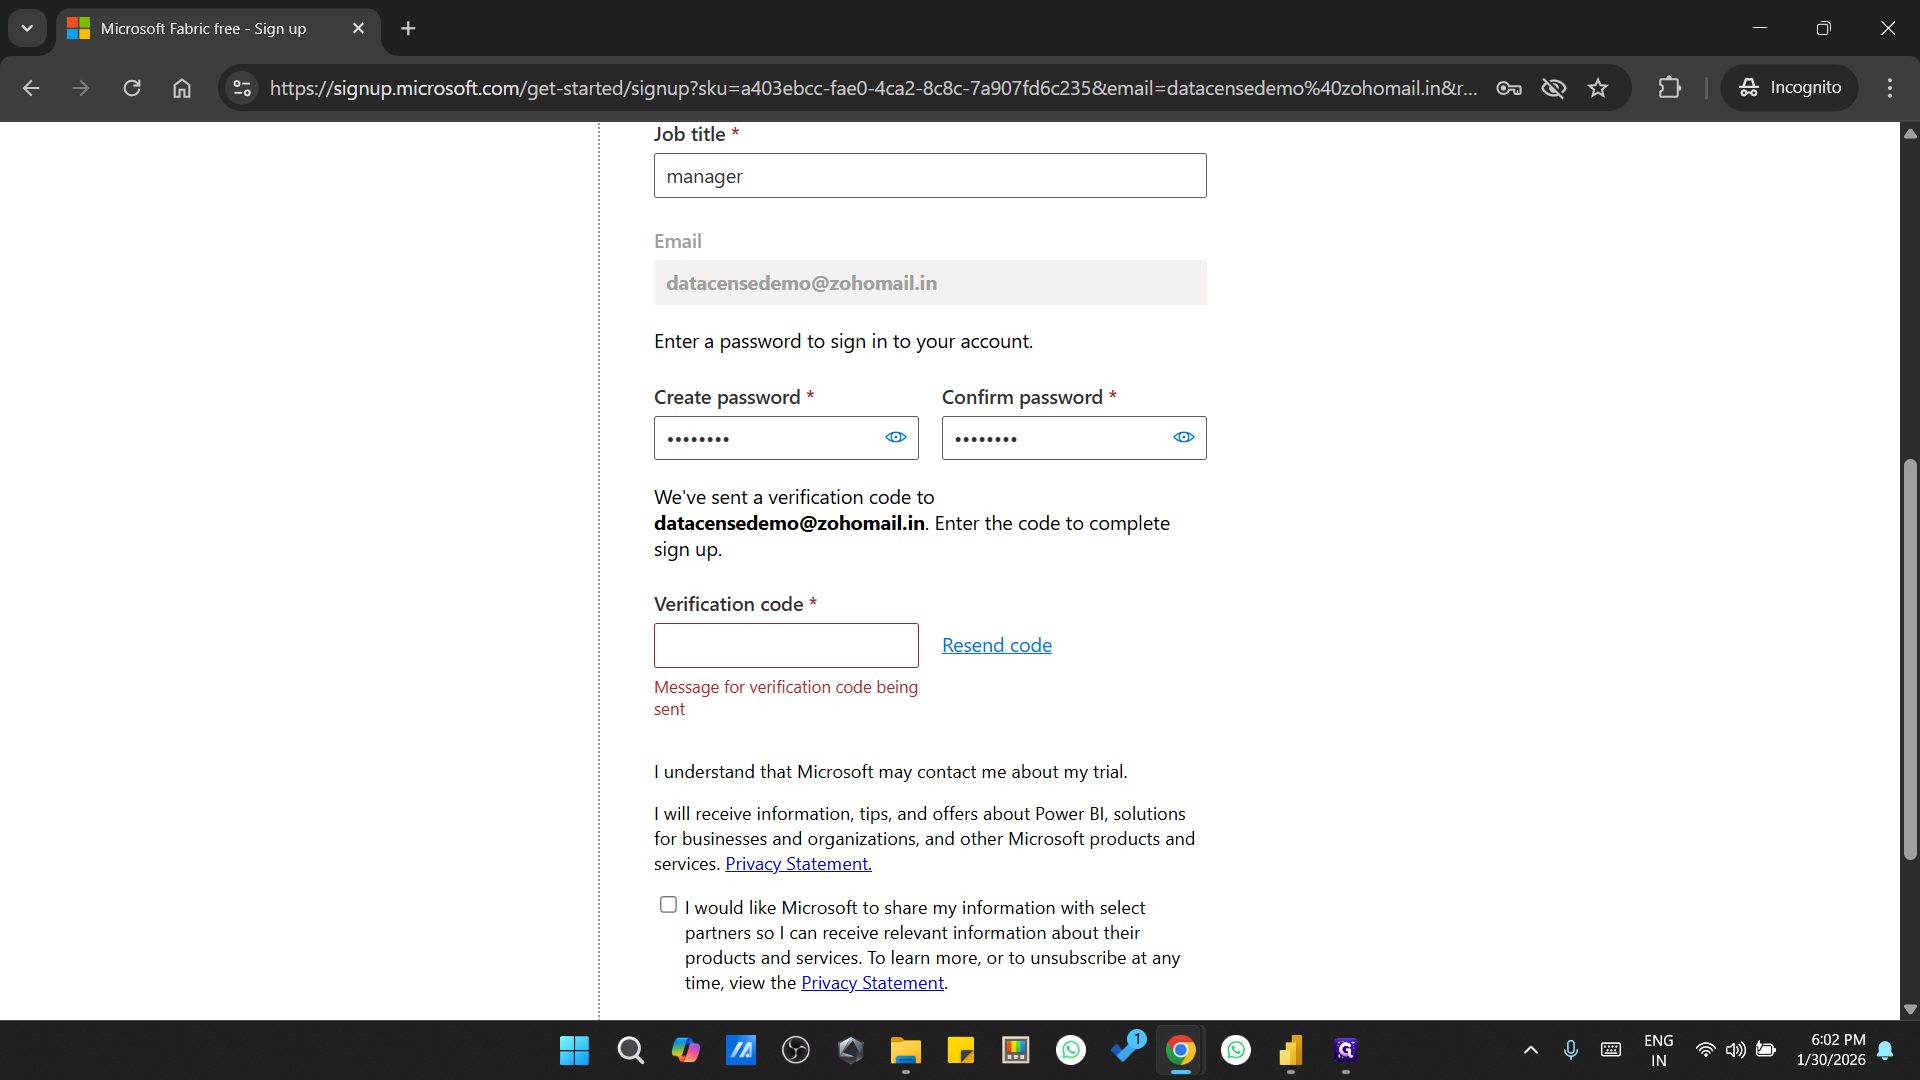
Enter the email ID here.
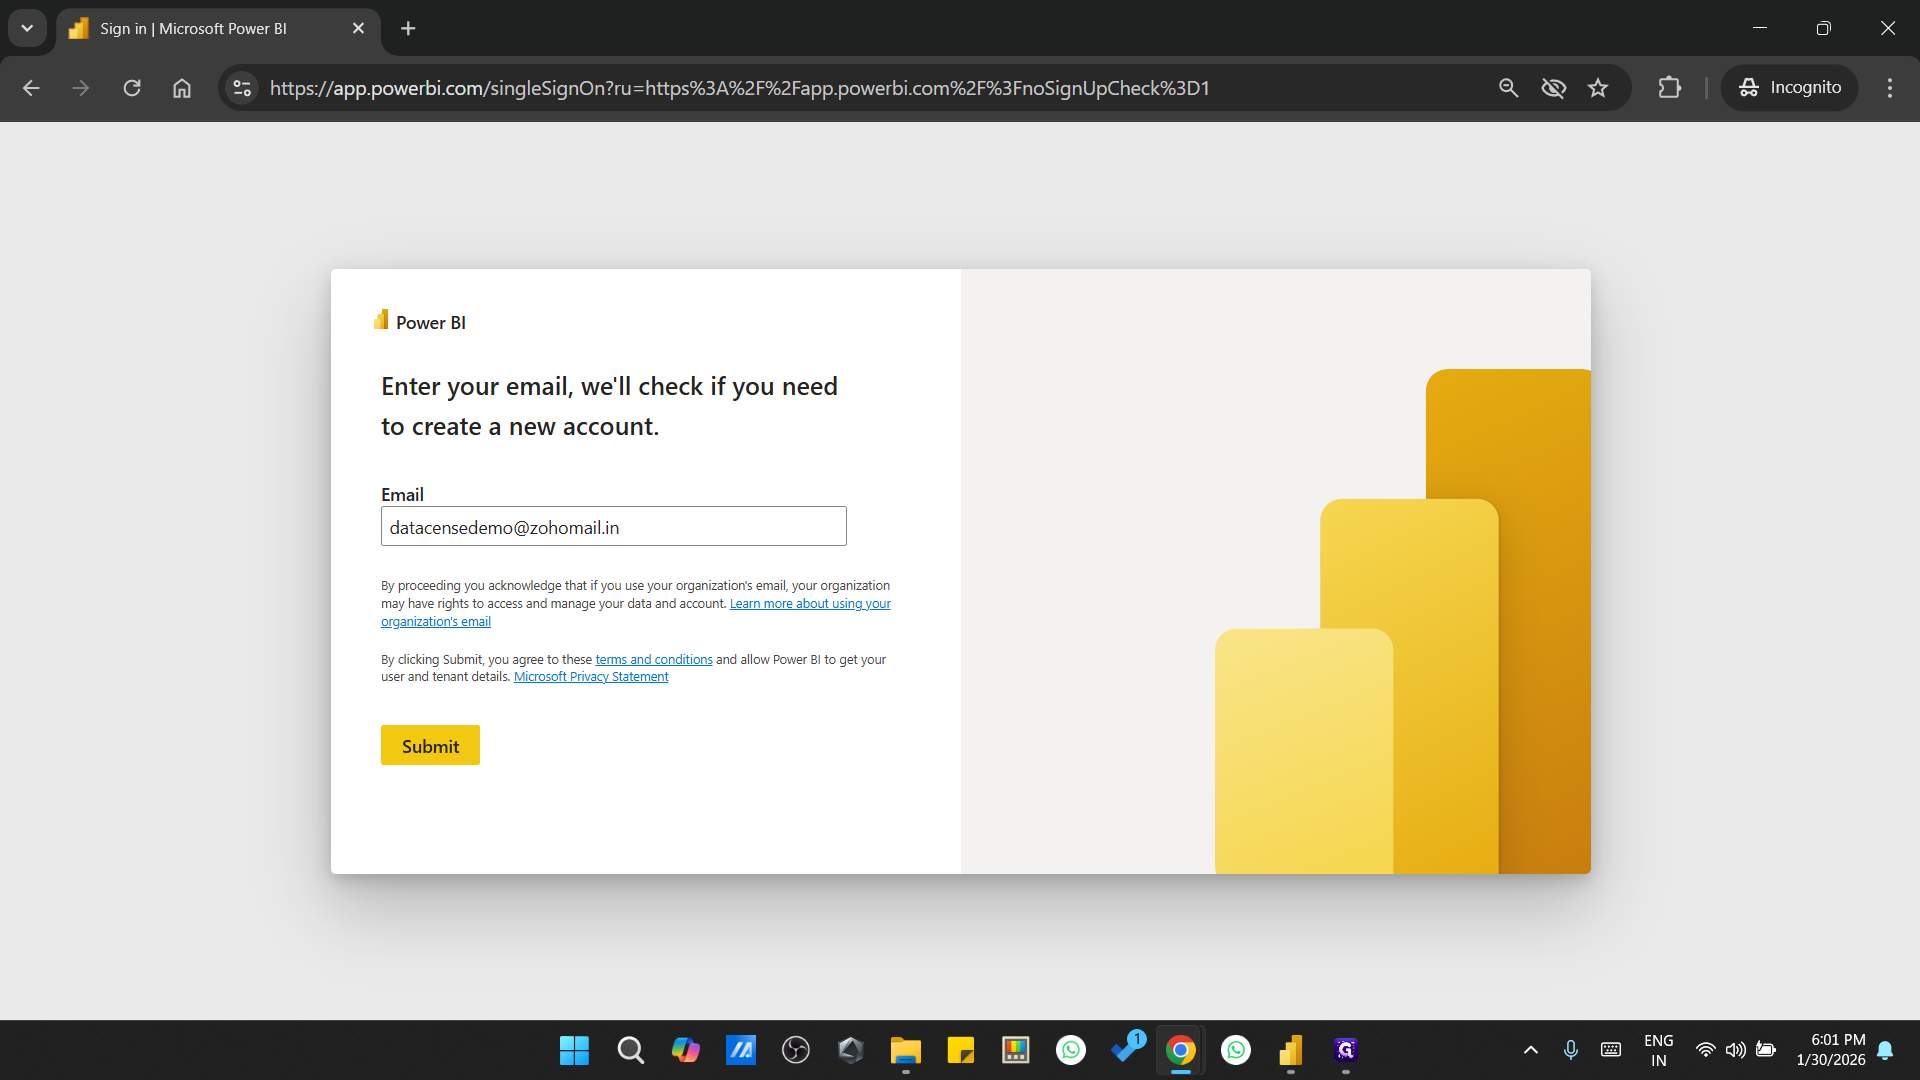

We are creating an organization email ID online in Power BI.
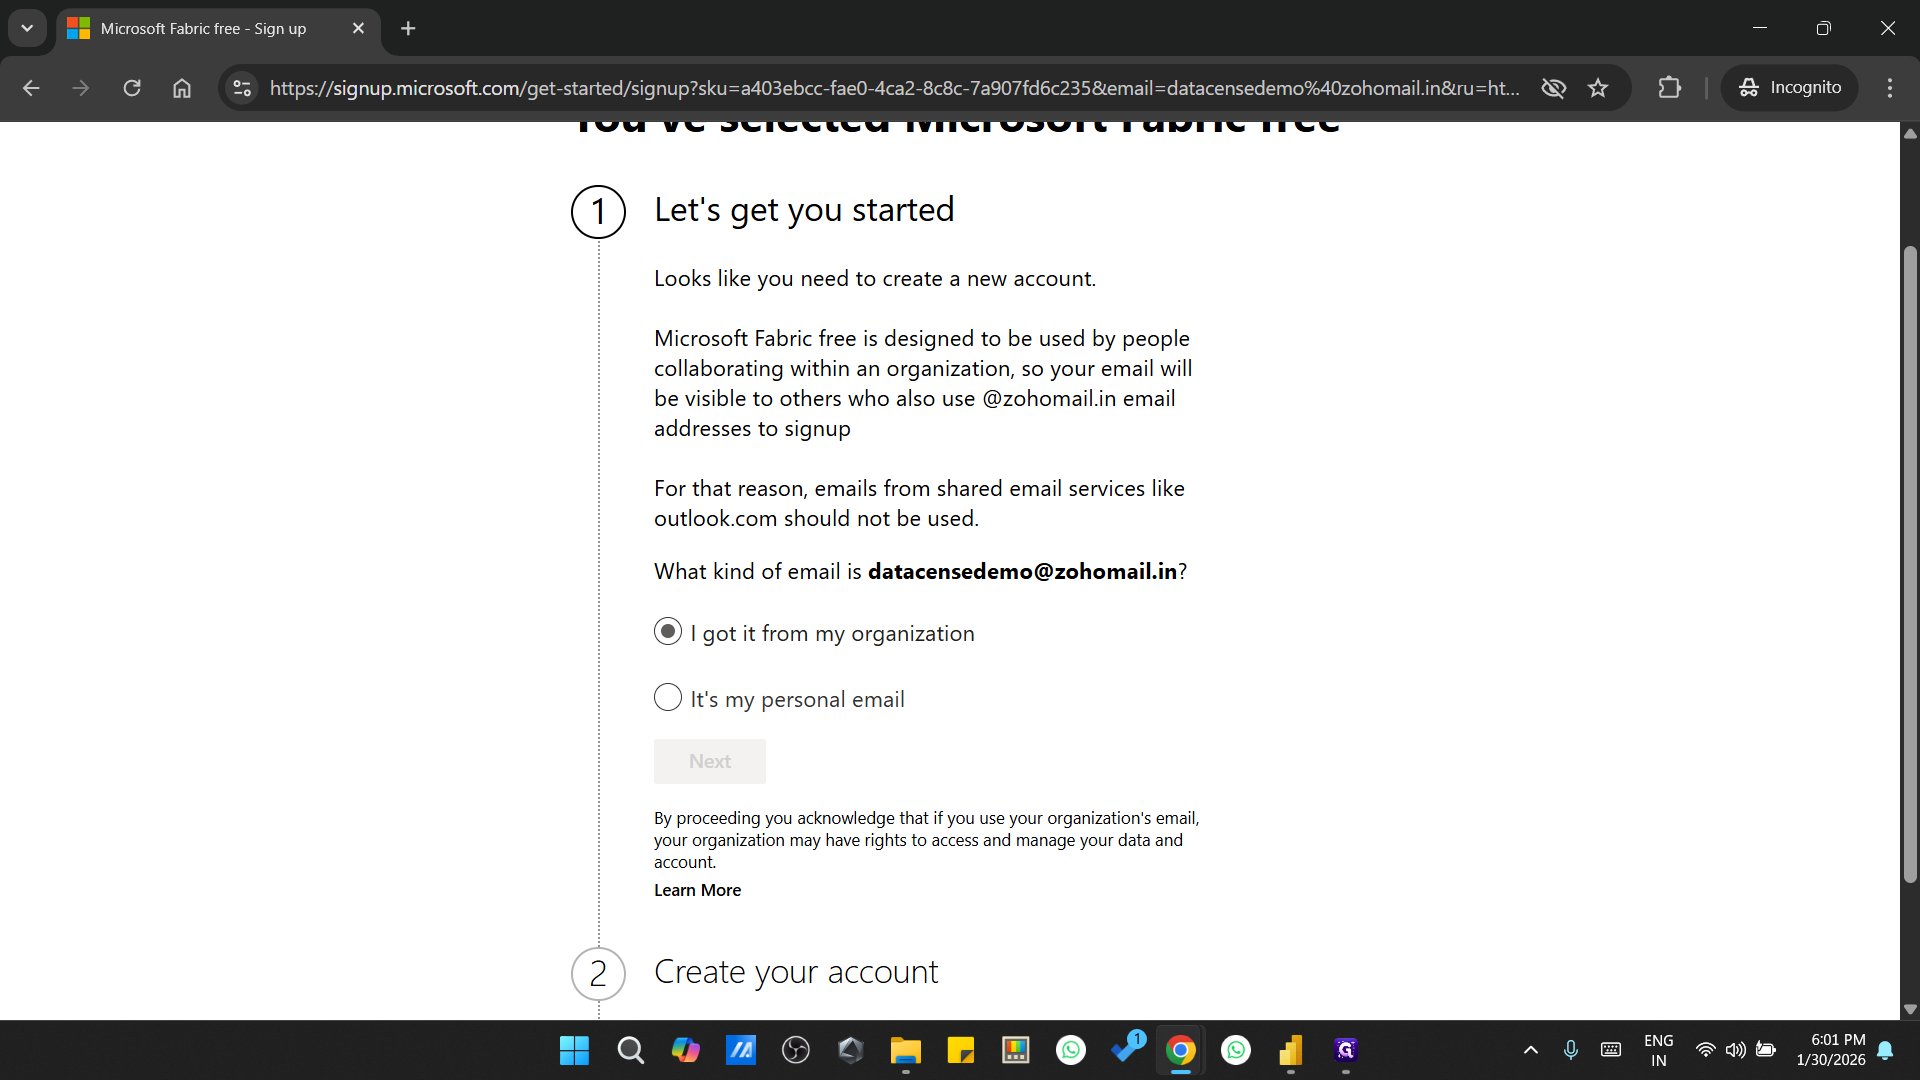
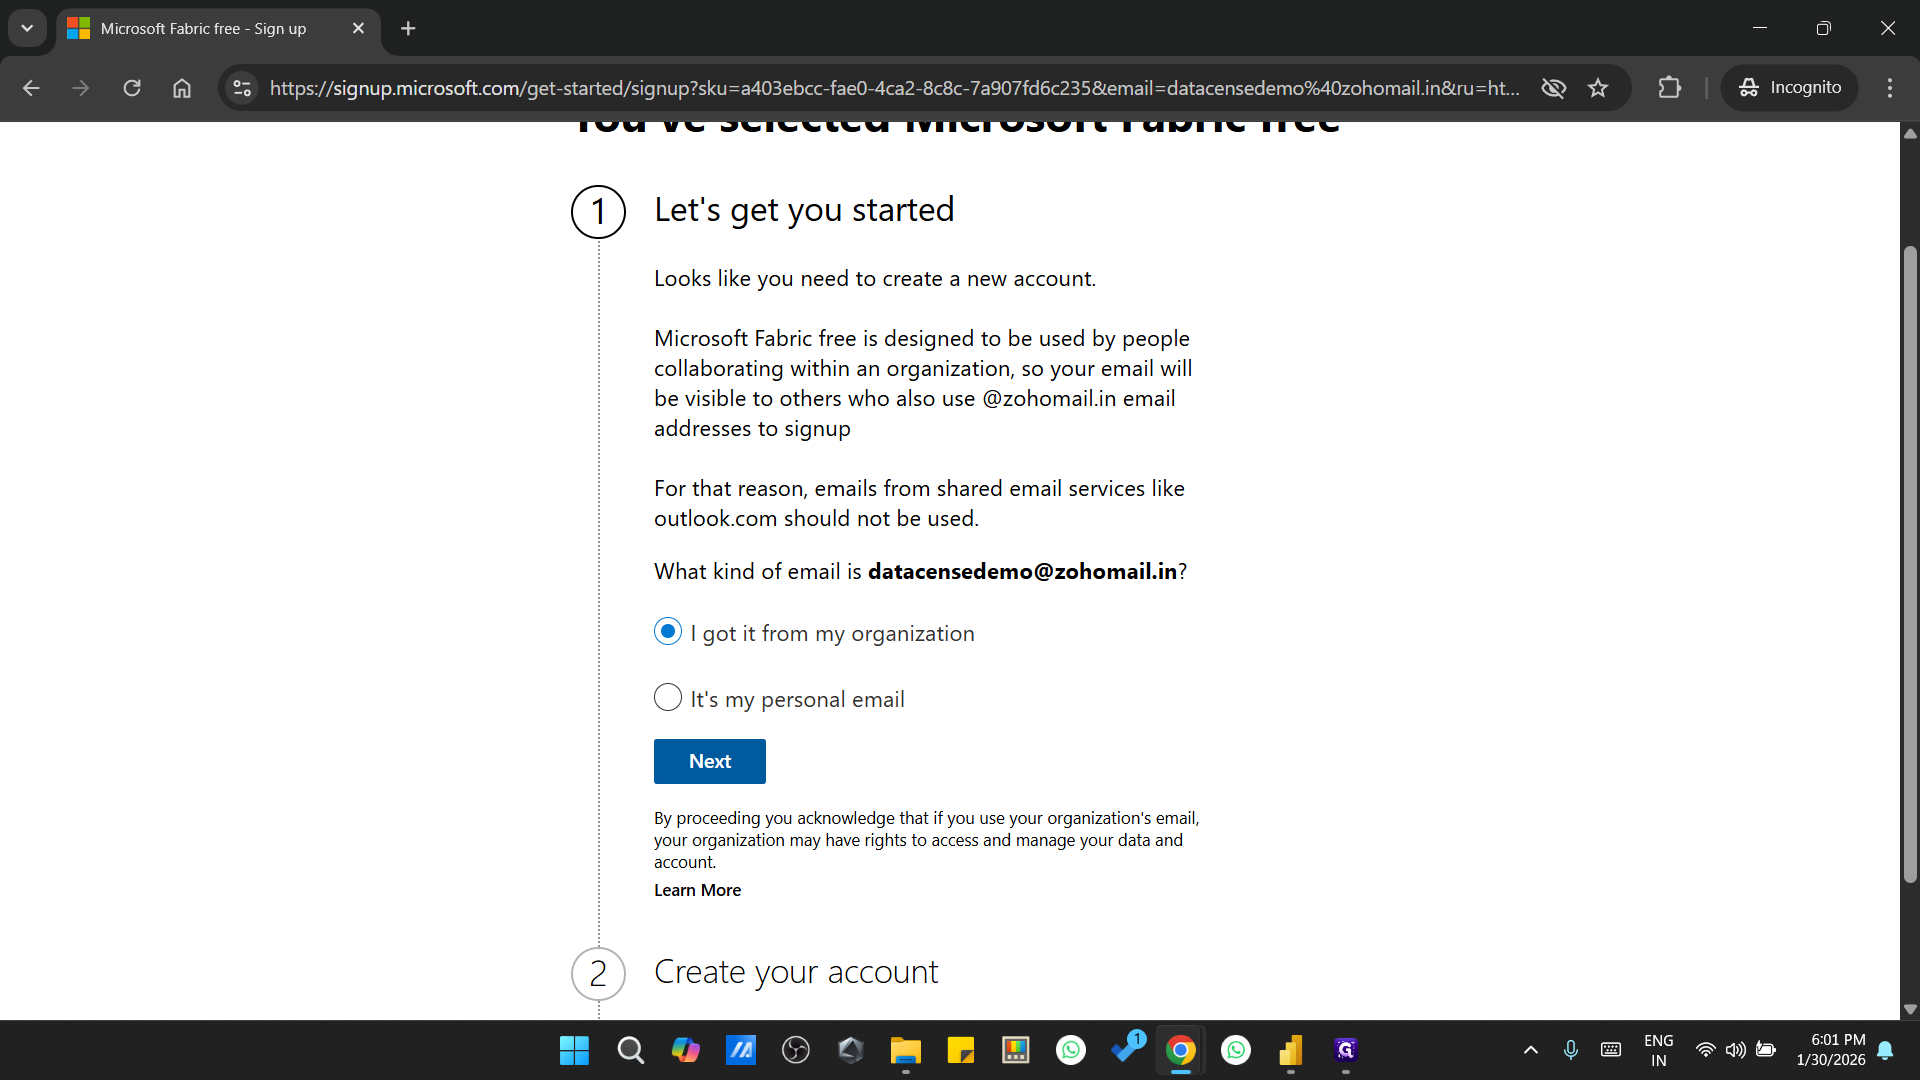
Once this page opens, I received it from my organization.
Once that is done, you can say "Data Sense demo."

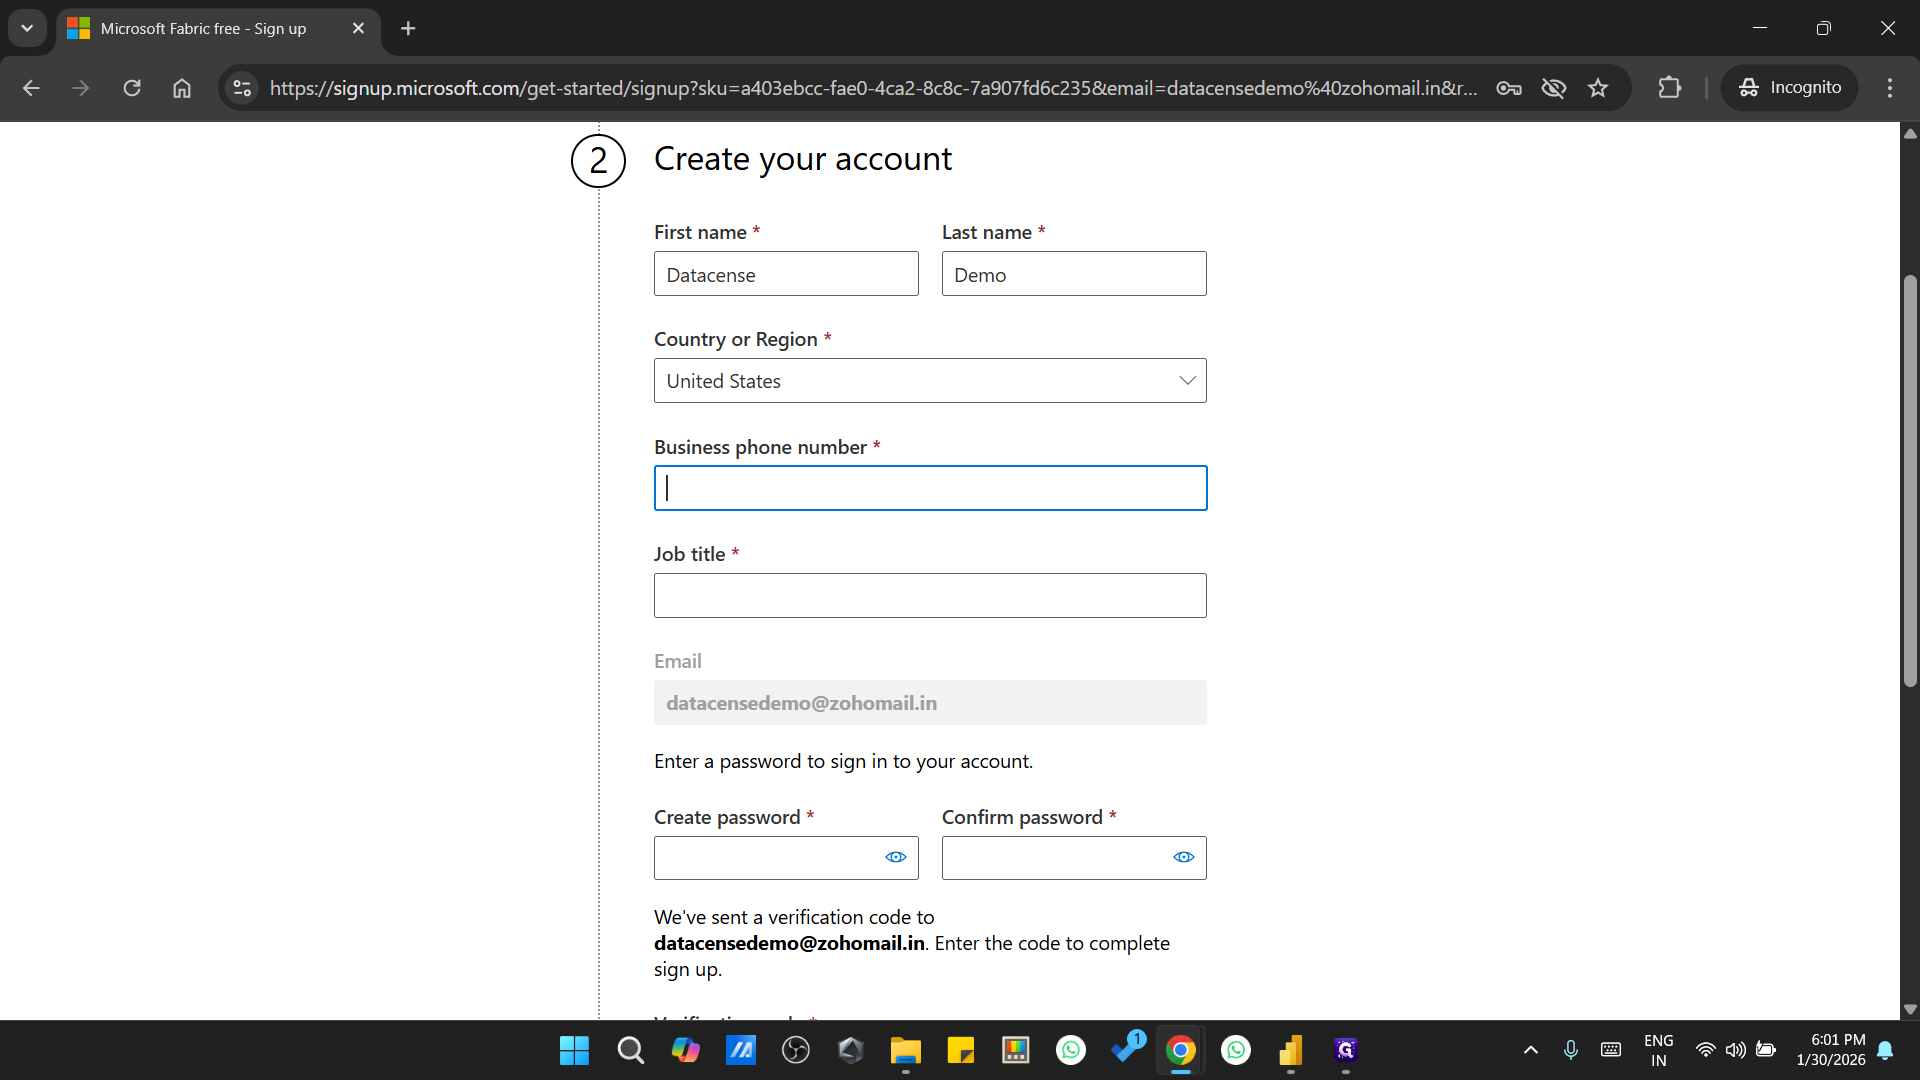

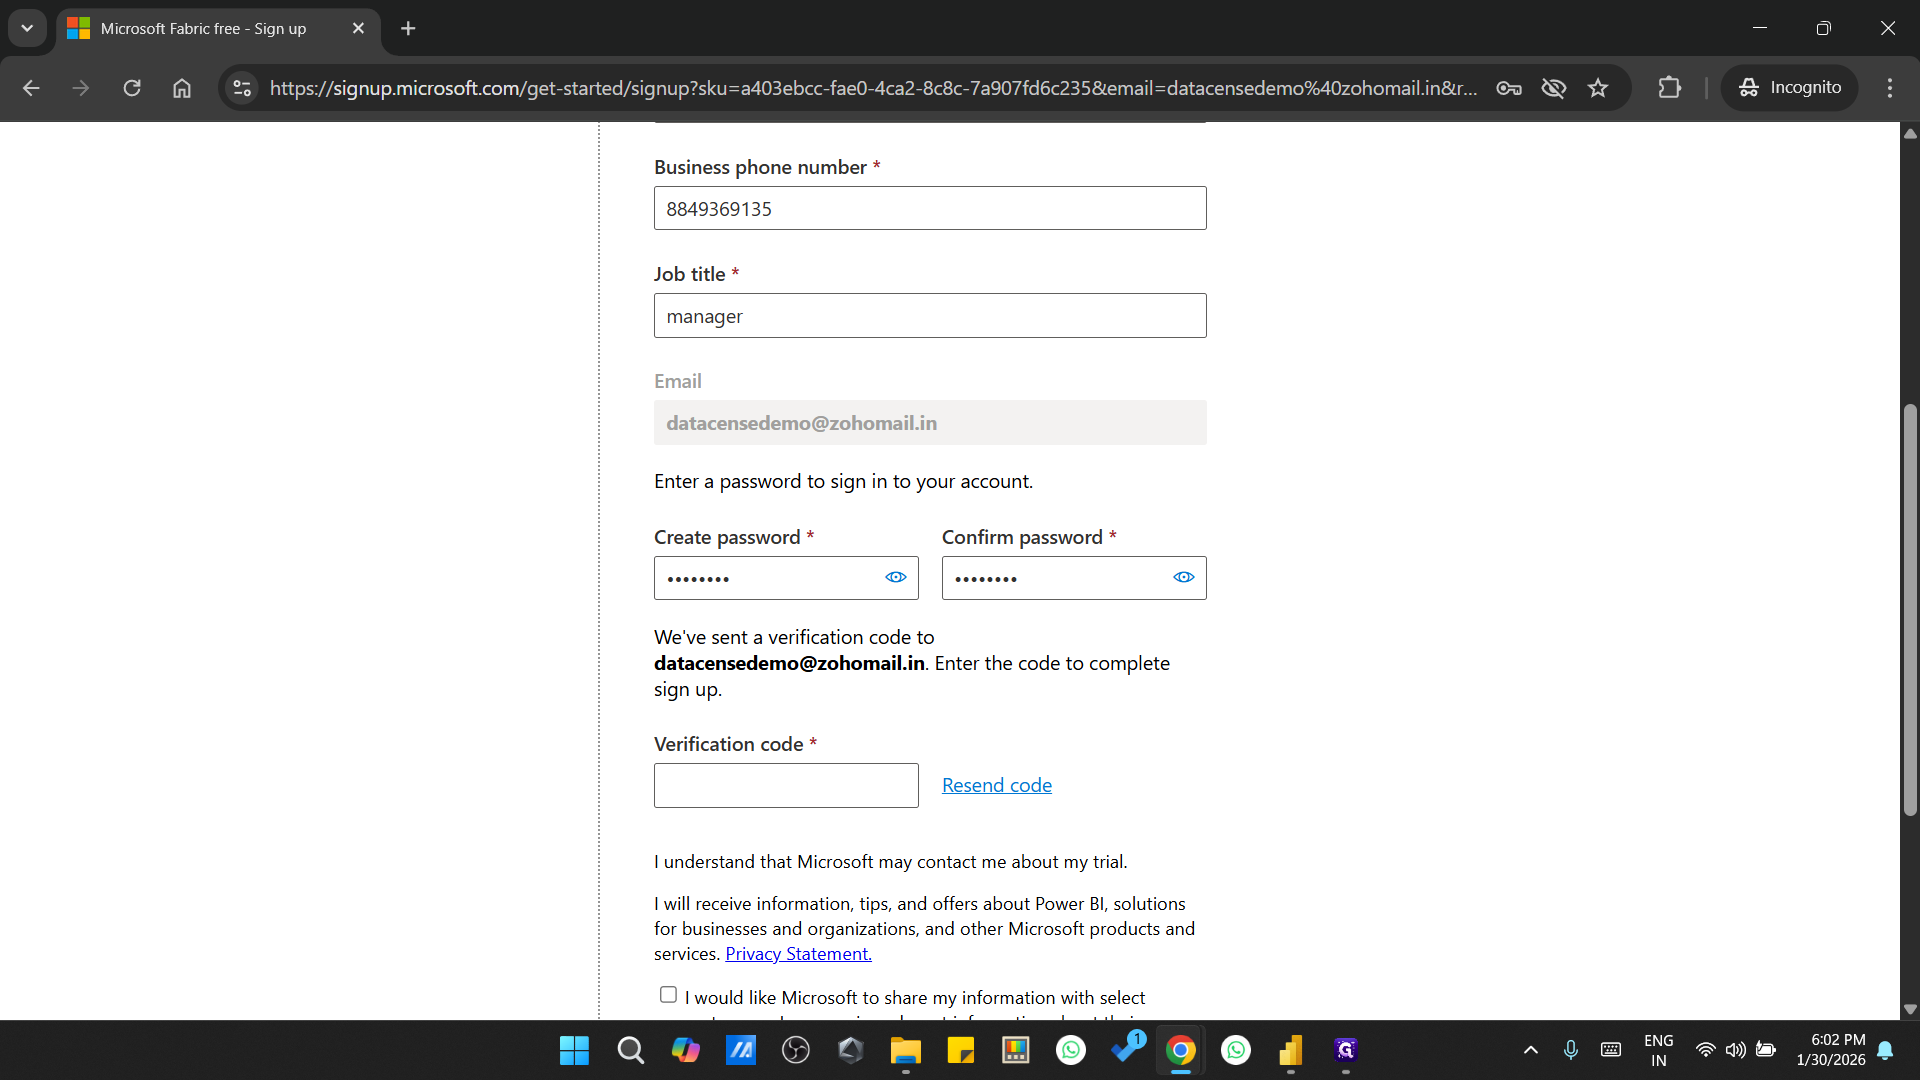
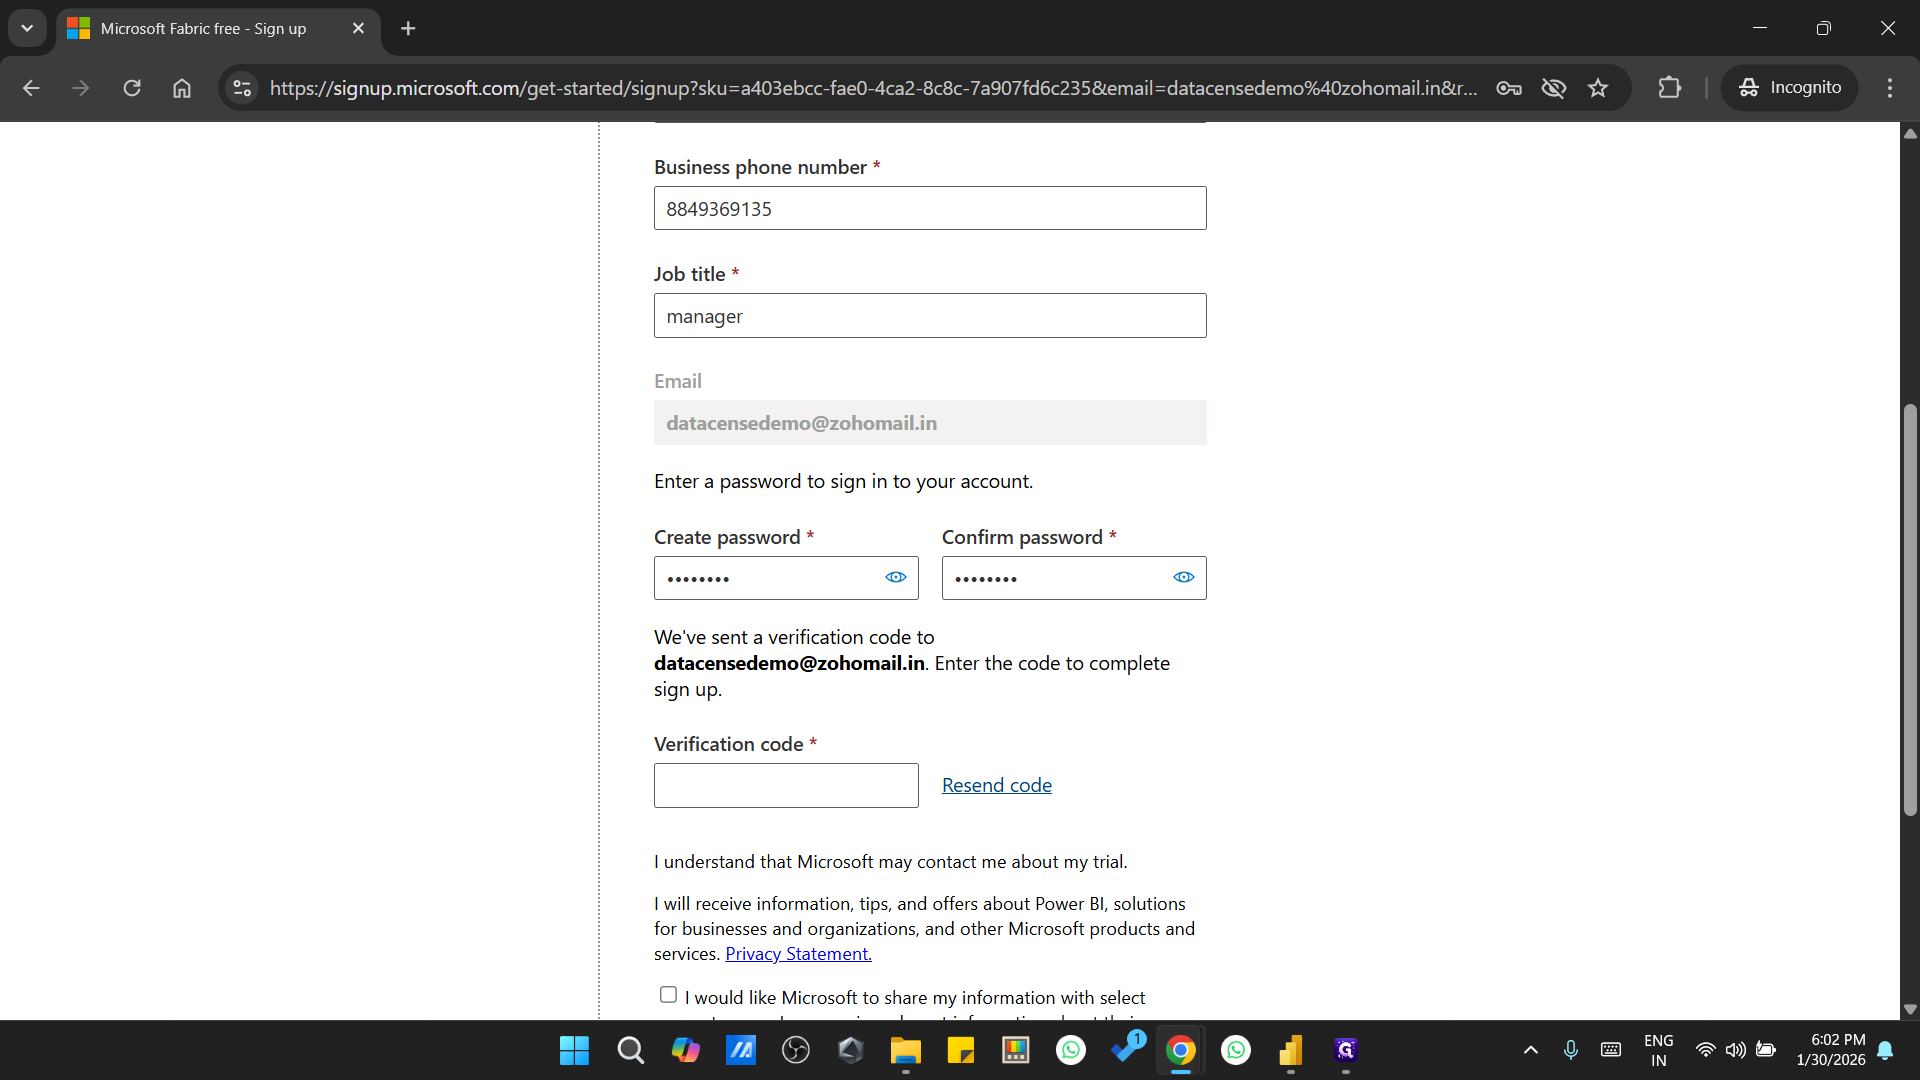
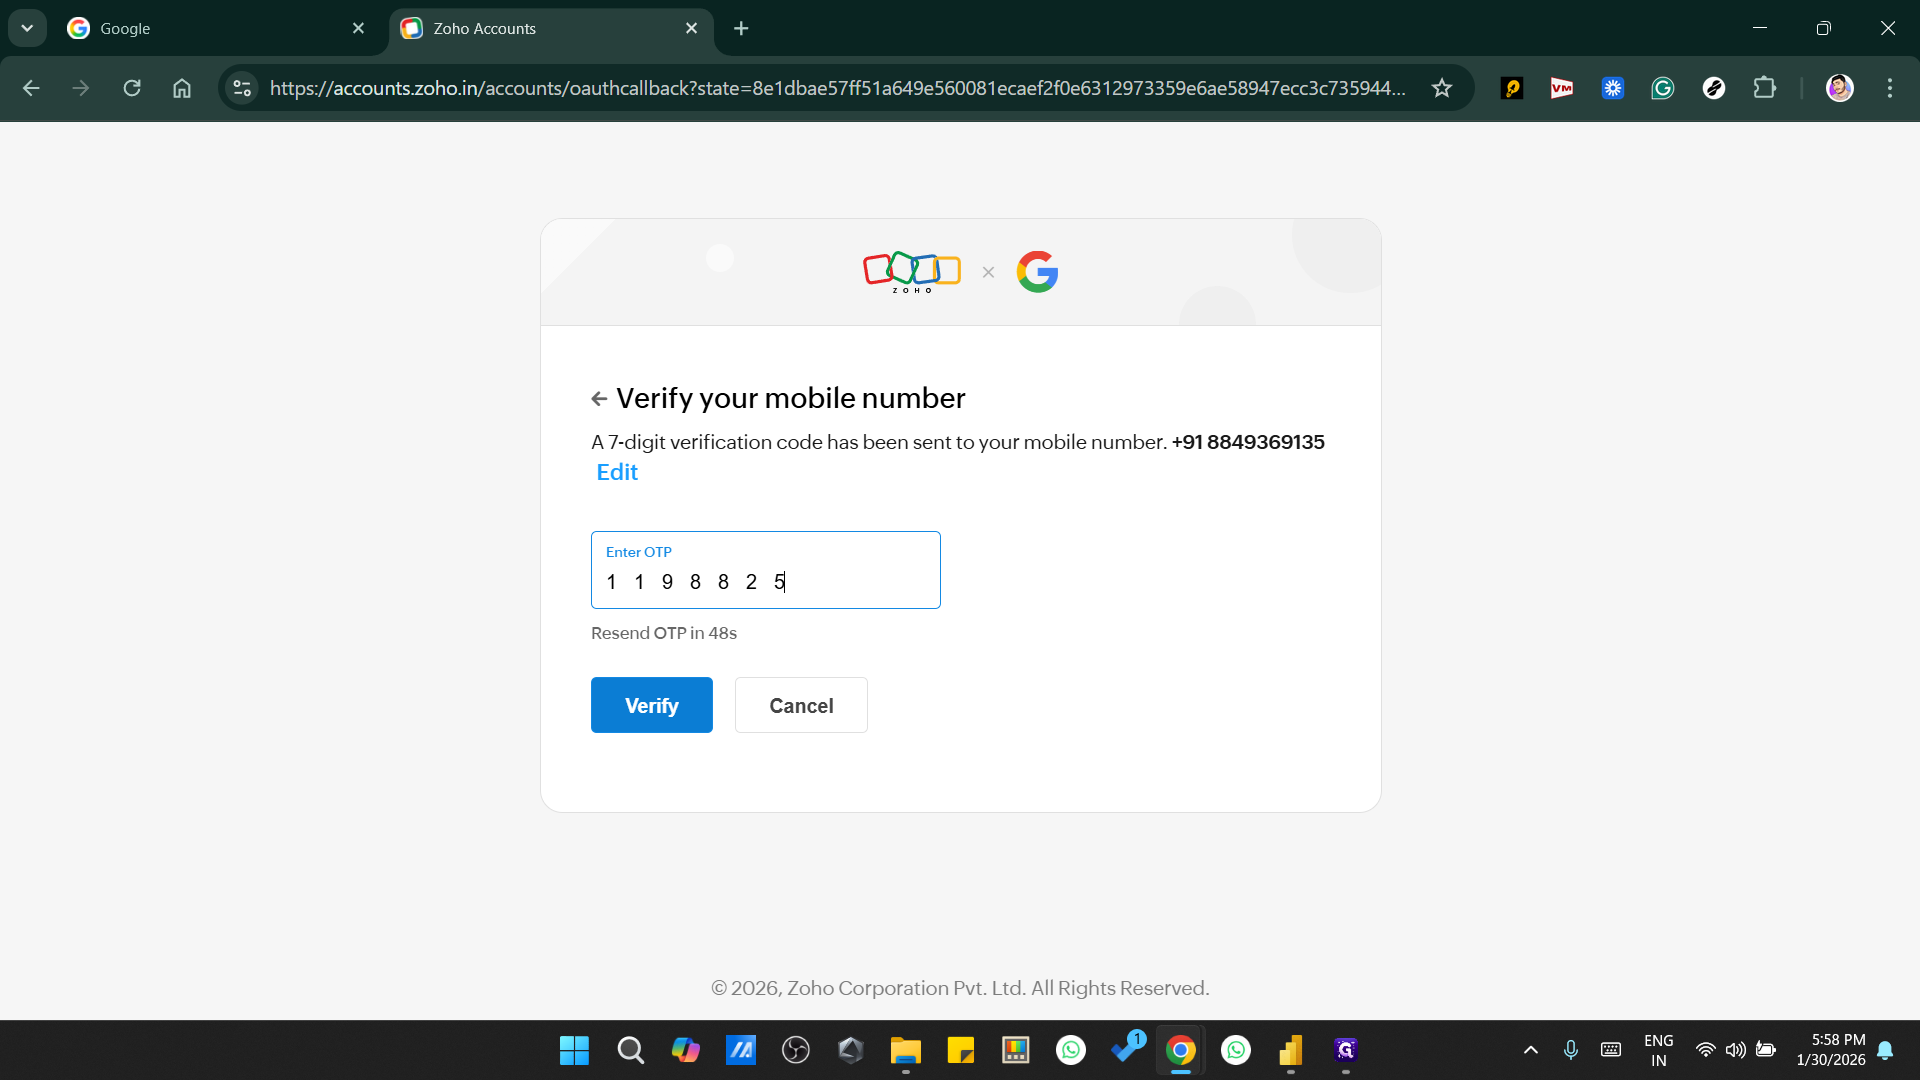
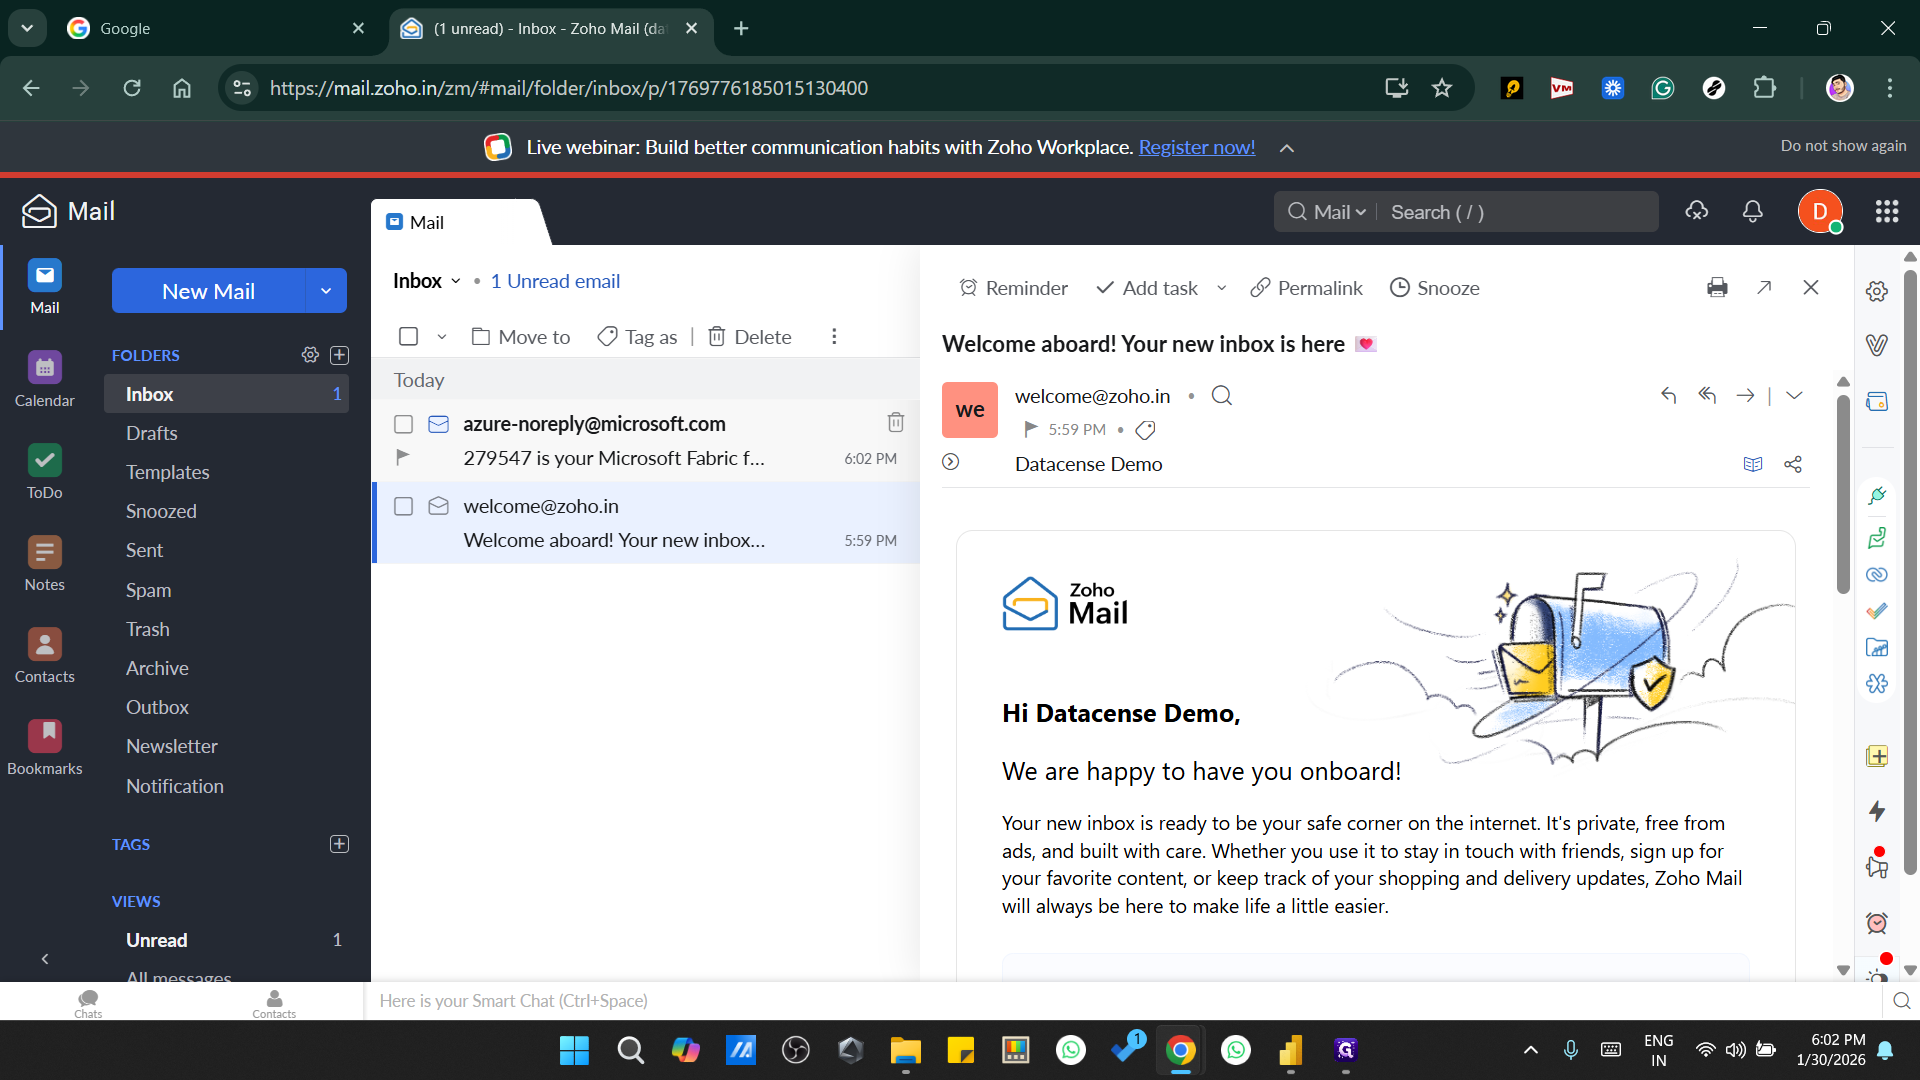
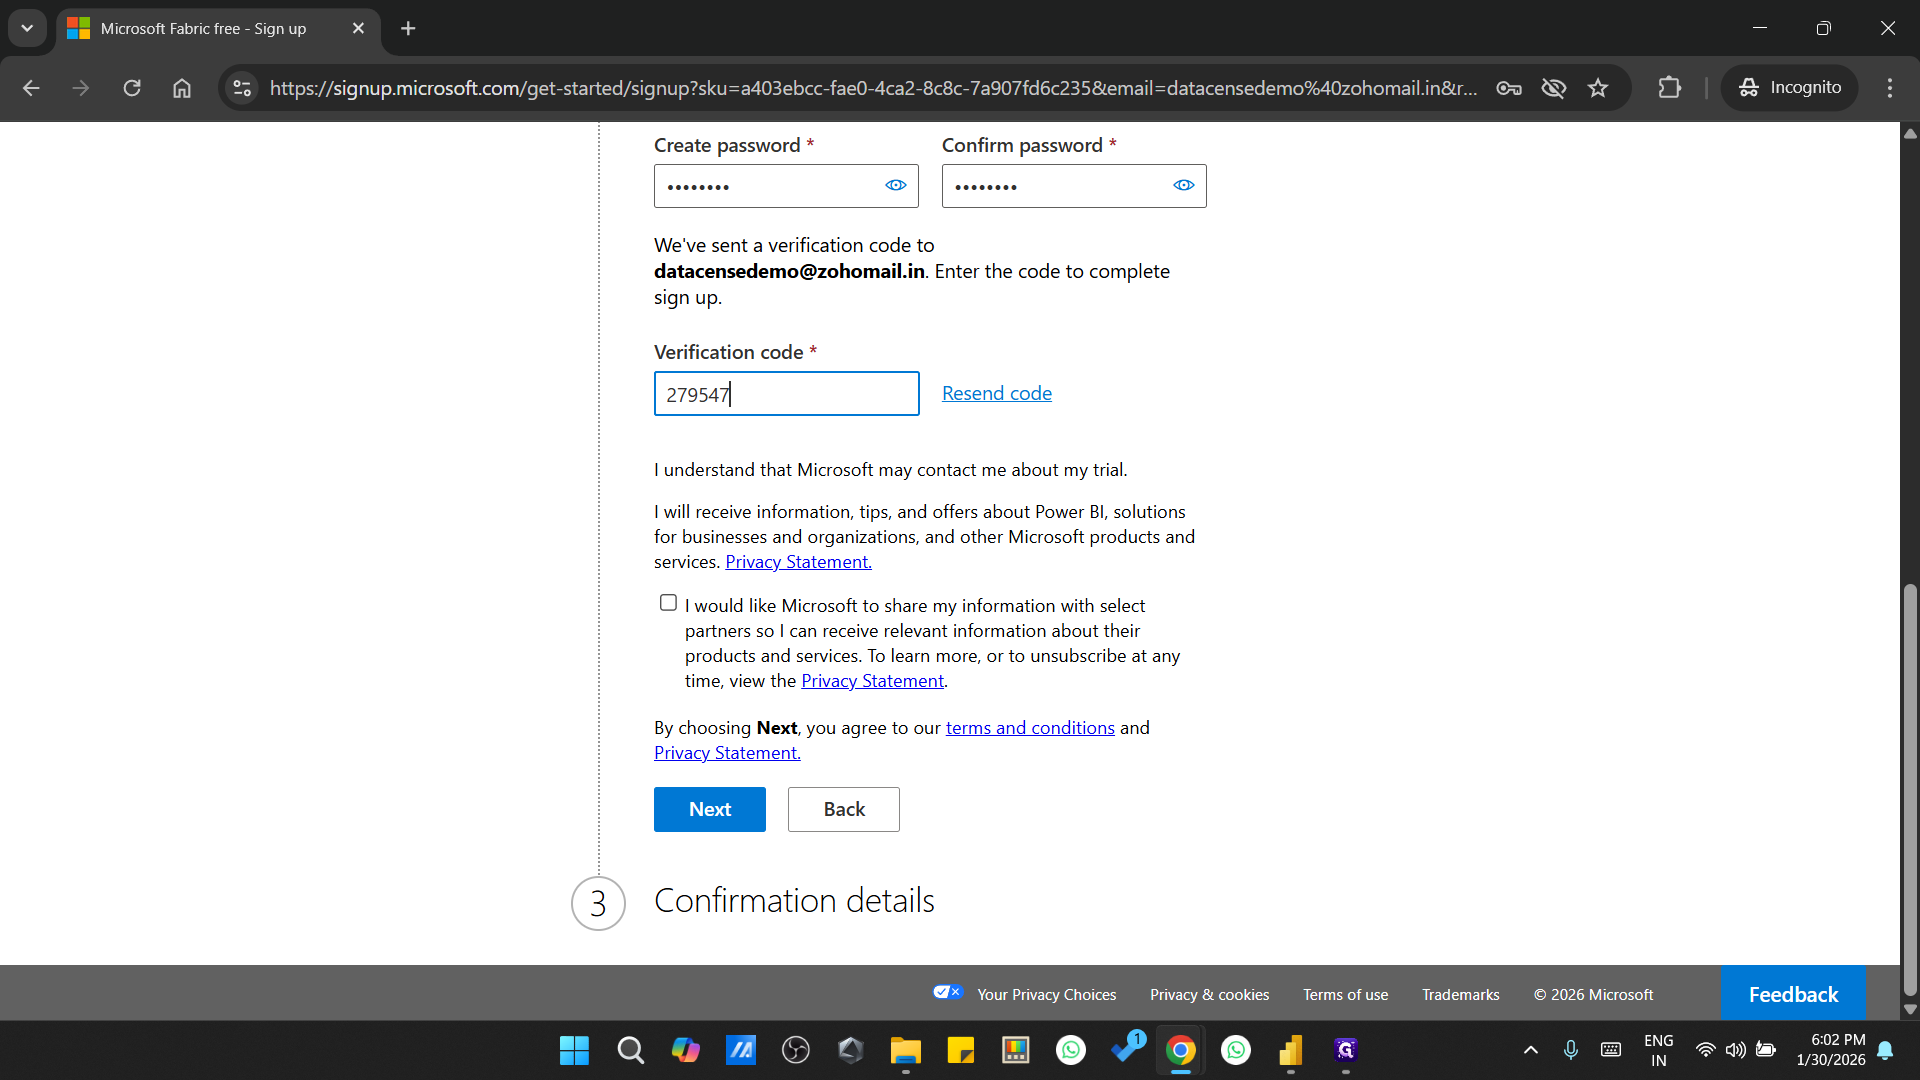
We will click on "Resend" and receive the code.
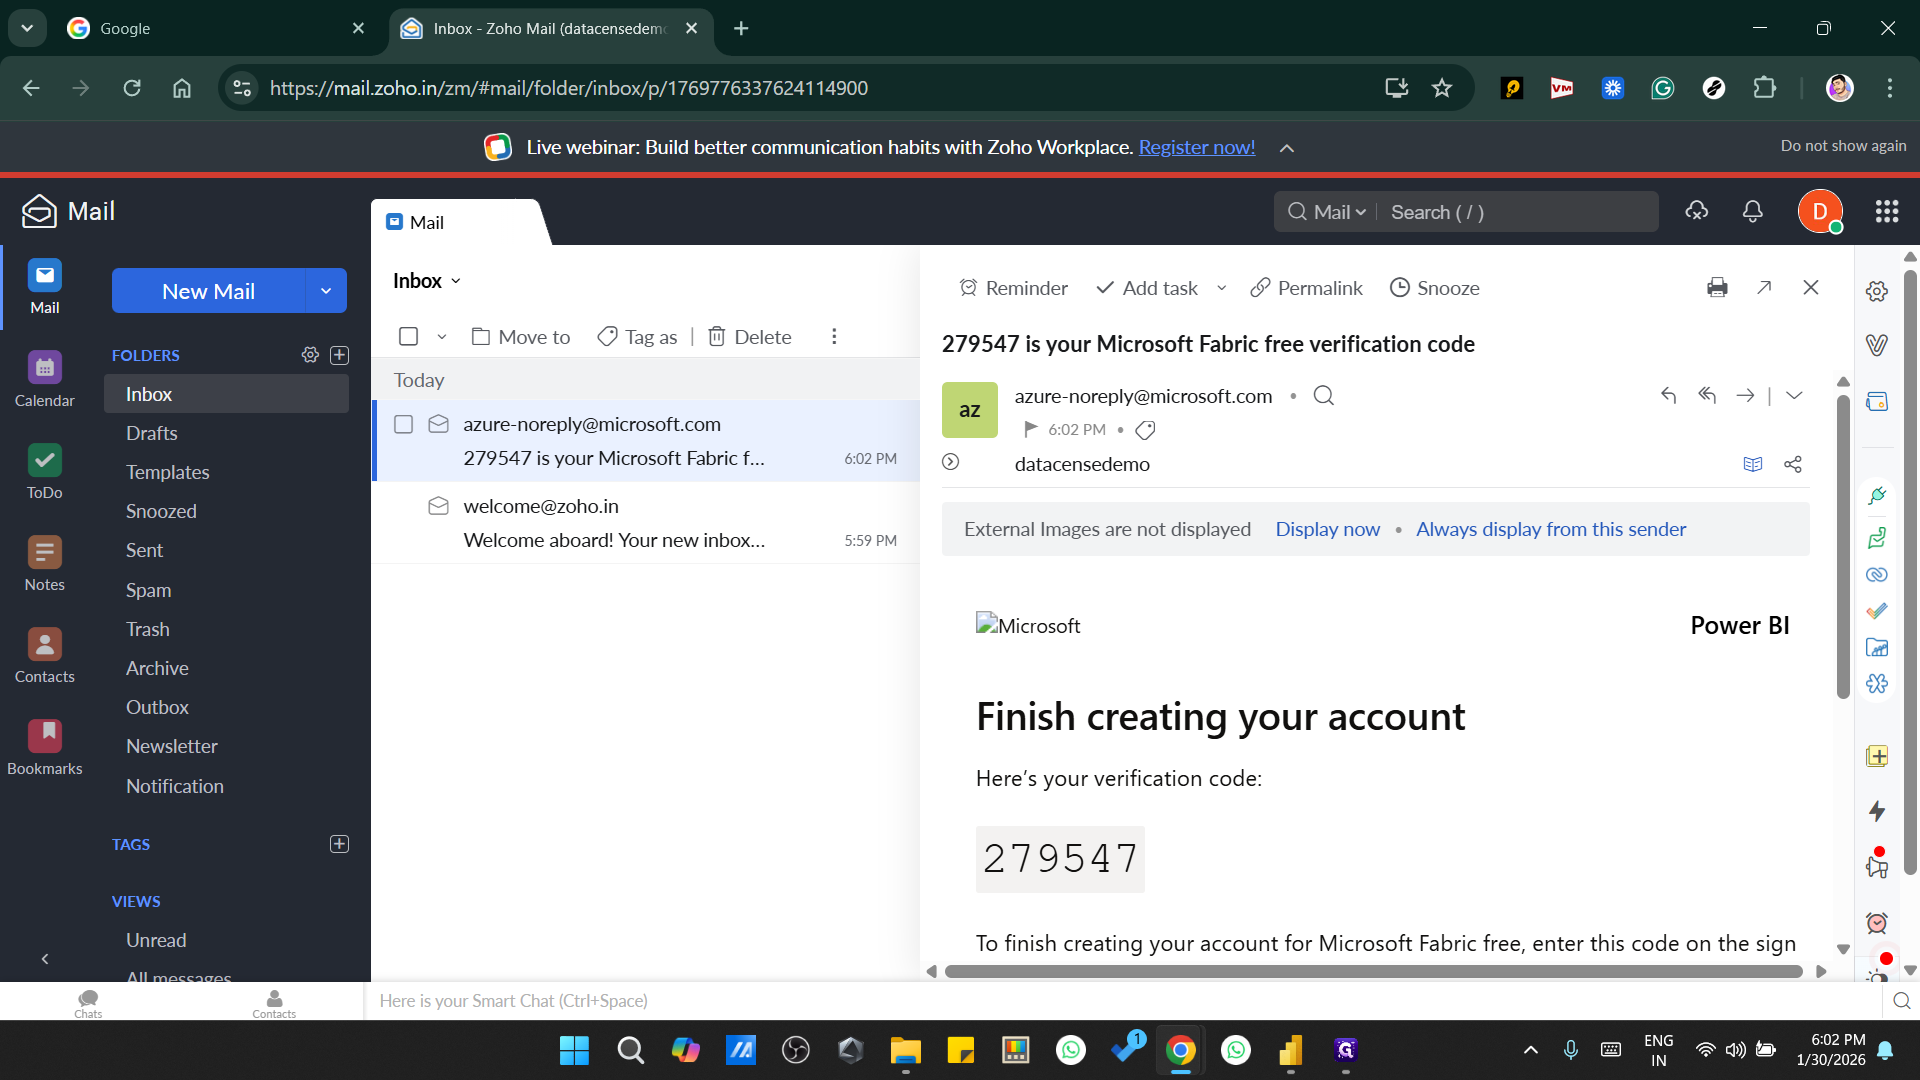
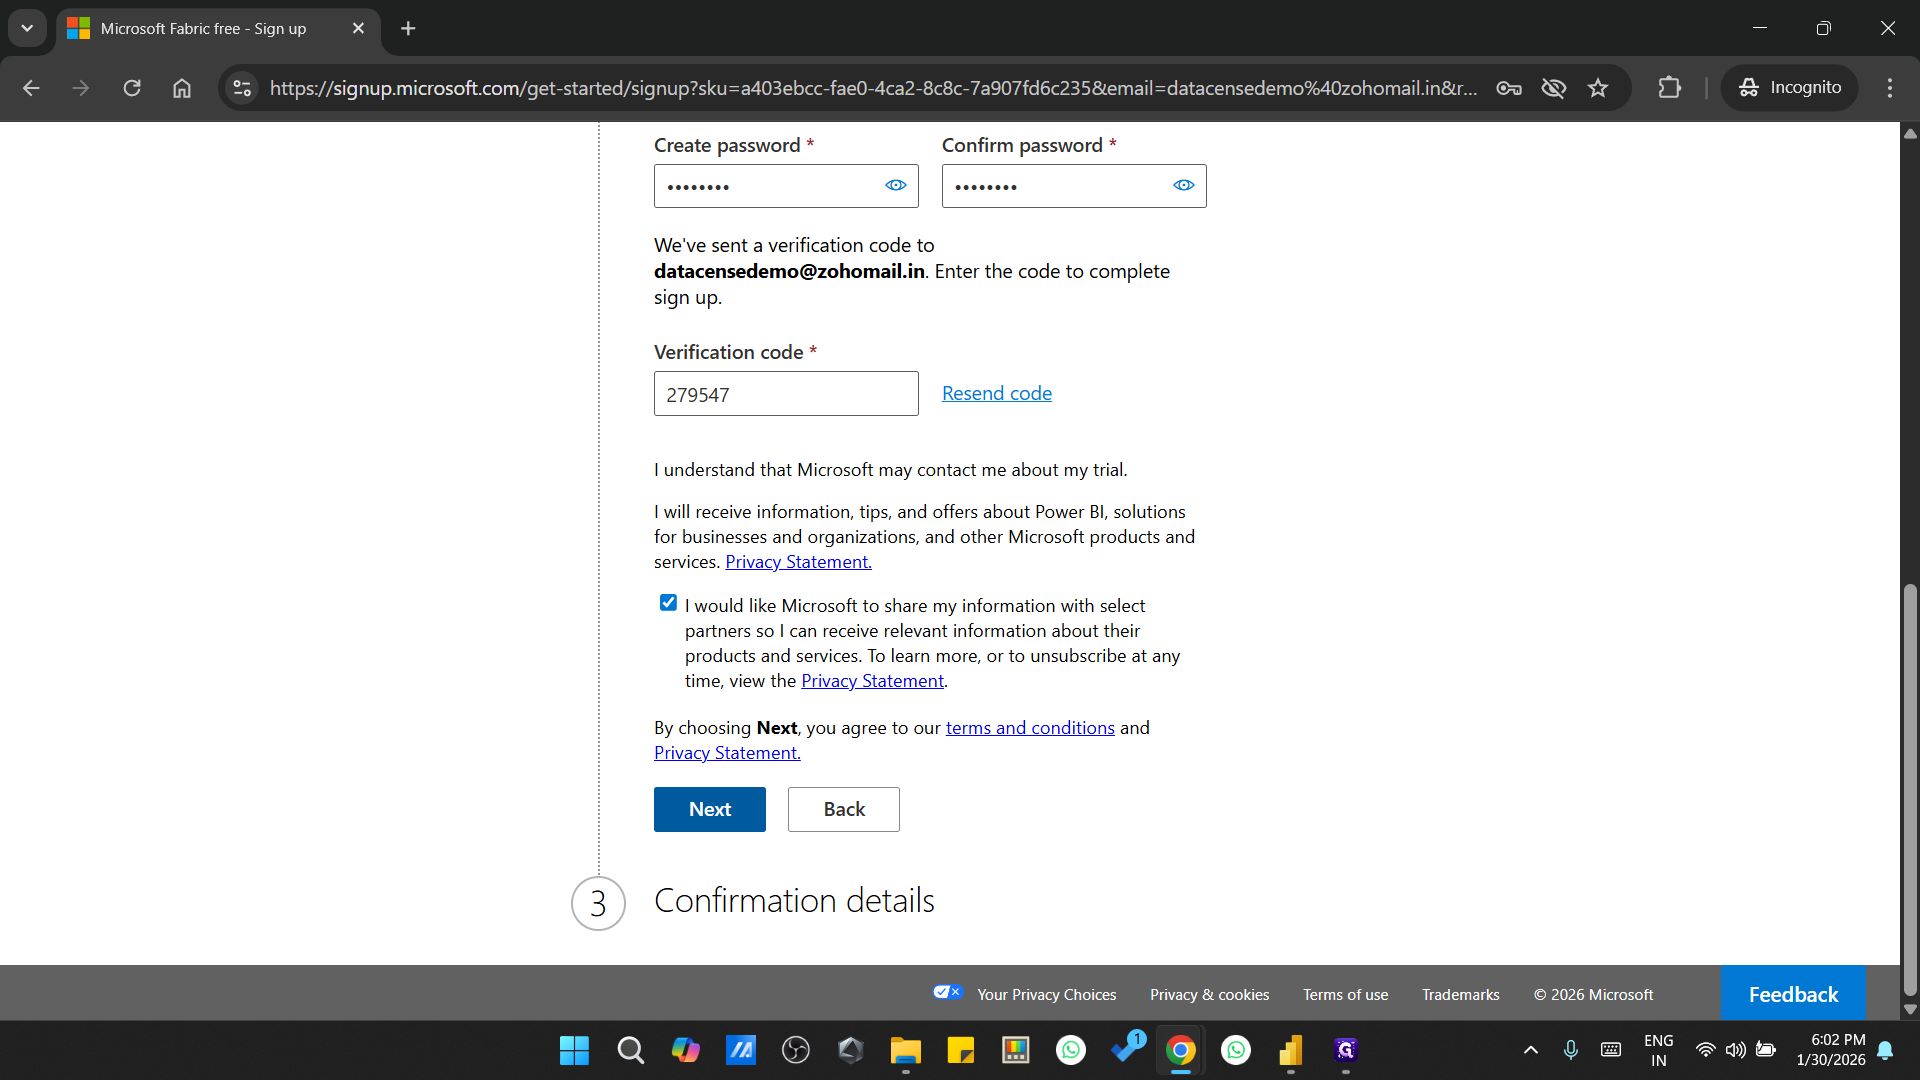
Once we have the code, add it here and proceed to the next step.
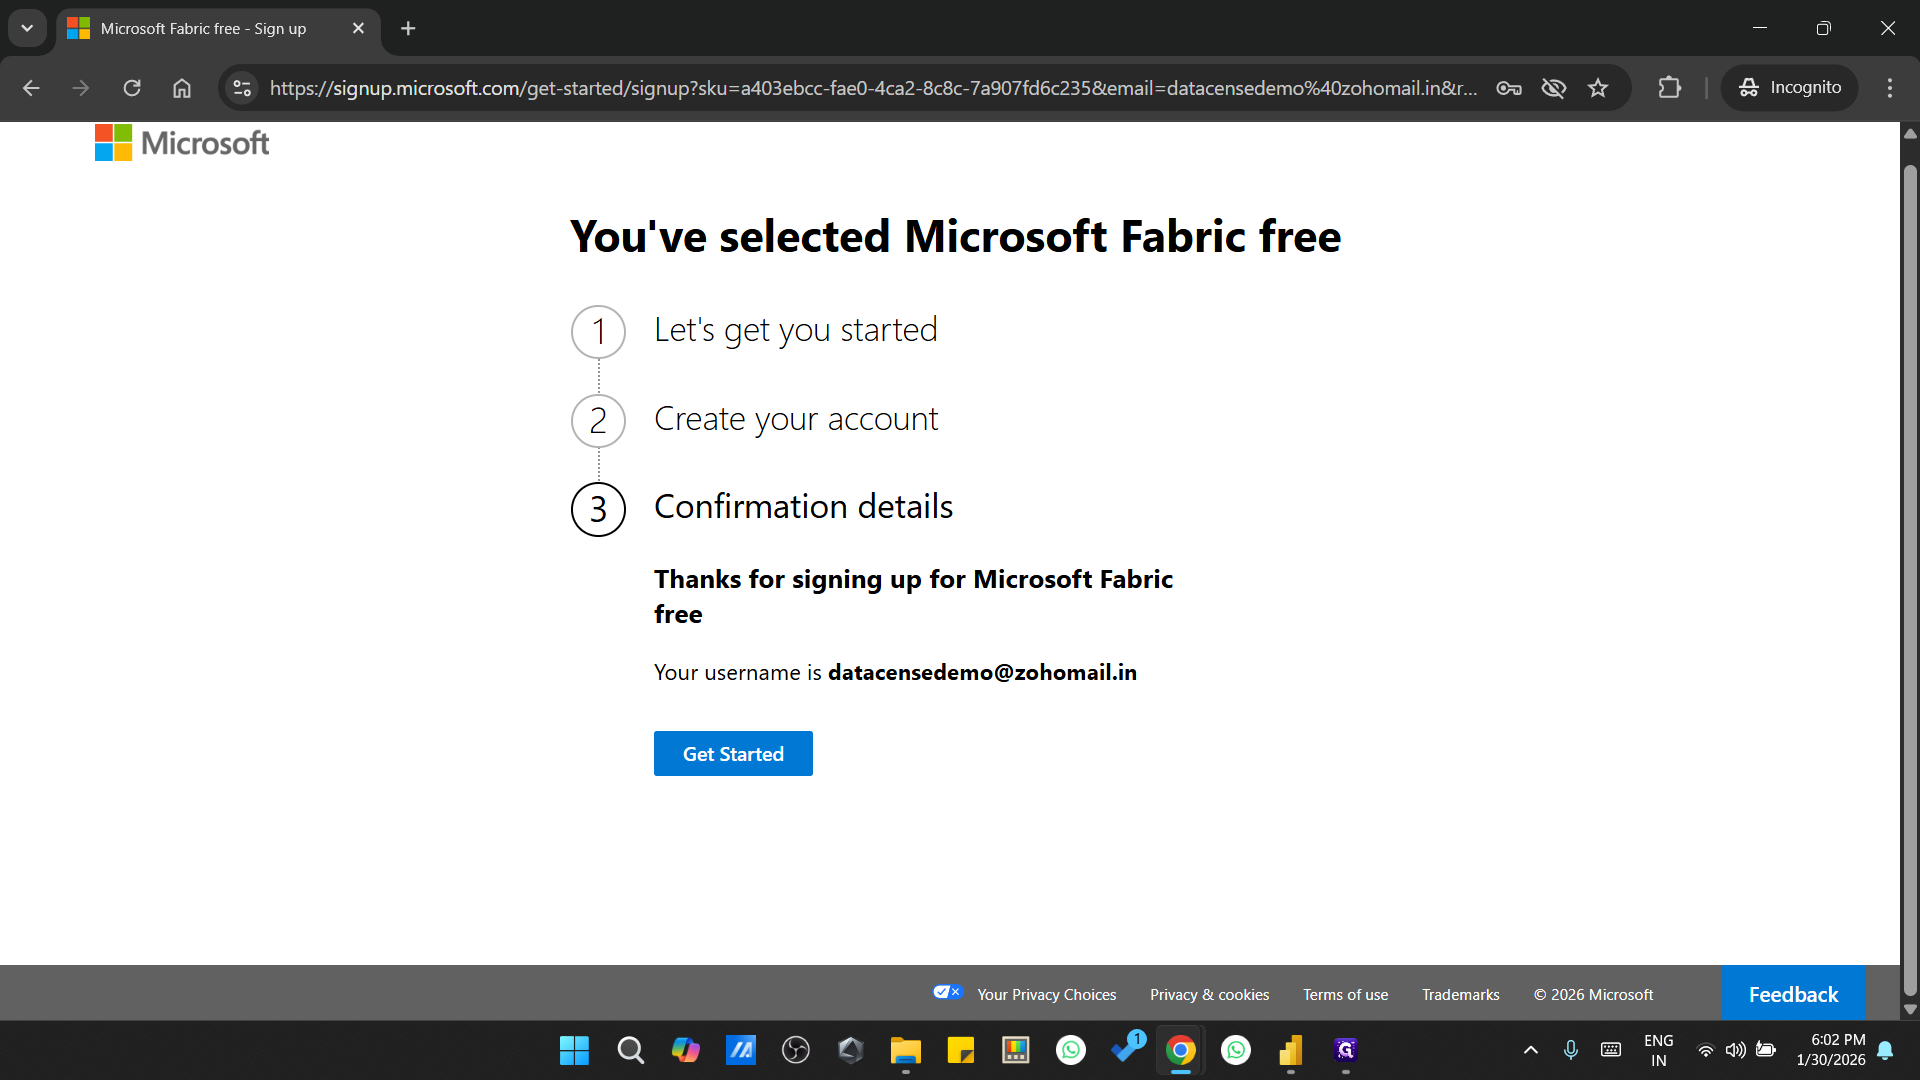
Once the username is created, go to the Power BI App and sign in.
Go through Part 2 for further process, click here - https://www.glitter.io/guides/how-to-create-and-secure-your-datacents-demo-account-step-by-step-guide