
How to Create Provider Schedule Shifts on the Connecteam Mobile App
Creating your Provider Schedule shifts has never been easier. Connecteam has released a new feature that allows you to build your shifts directly from your mobile phone. This makes it possible to manage your cases, update visit details, and publish your schedule from anywhere, without needing a computer.
Let's get started
Connecteam has officially released this new update, and you can now create your Provider Schedule shifts directly from your mobile device.
With this update, you can now create your Provider Schedule shifts directly from your mobile device. This guide shows you how to use the pre-built templates, update visit times and dates, assign yourself as the user, and publish your visits. Everything is done in the Admin view on your mobile phone. The goal is to give you a fast and simple way to keep your schedule accurate while you are on the go, all without using a laptop while in the field.
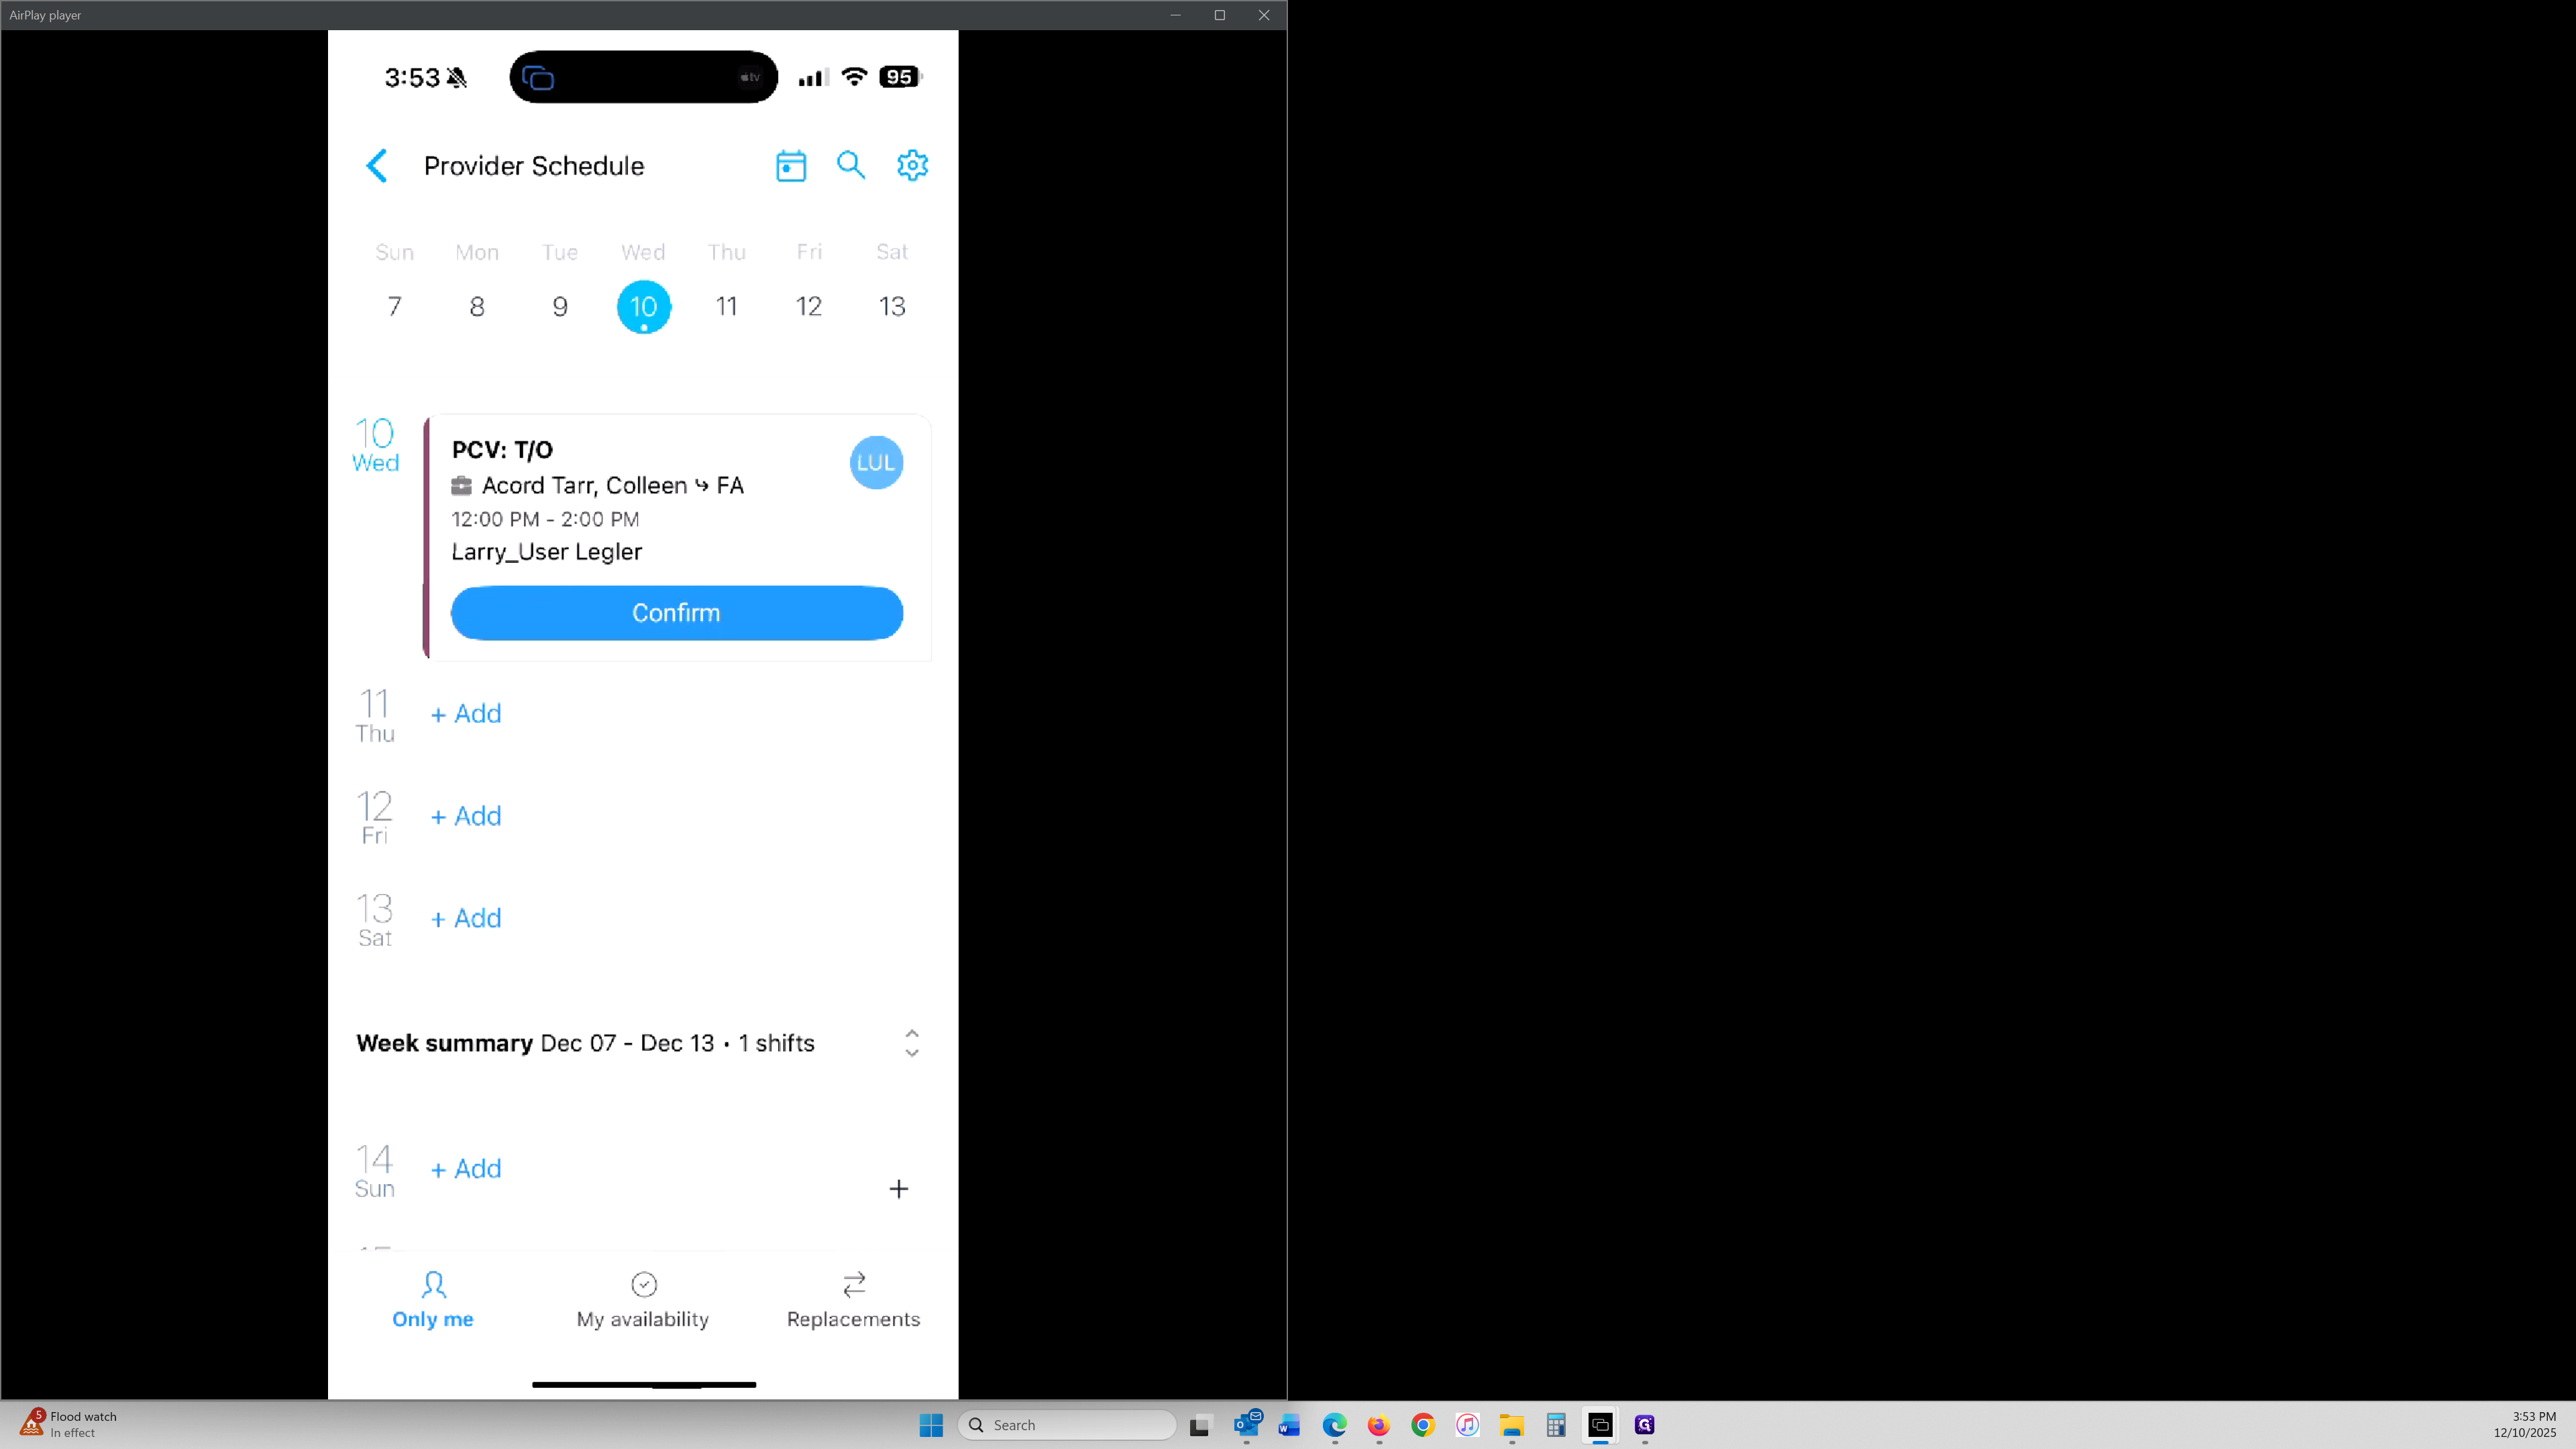
After publishing your shift, you also have the option to confirm it in your User’s view. Each shift is confirmed individually because every visit is its own separate entry, even if the shifts were created using the repeating function. This confirmation step is optional and used only for your own tracking.
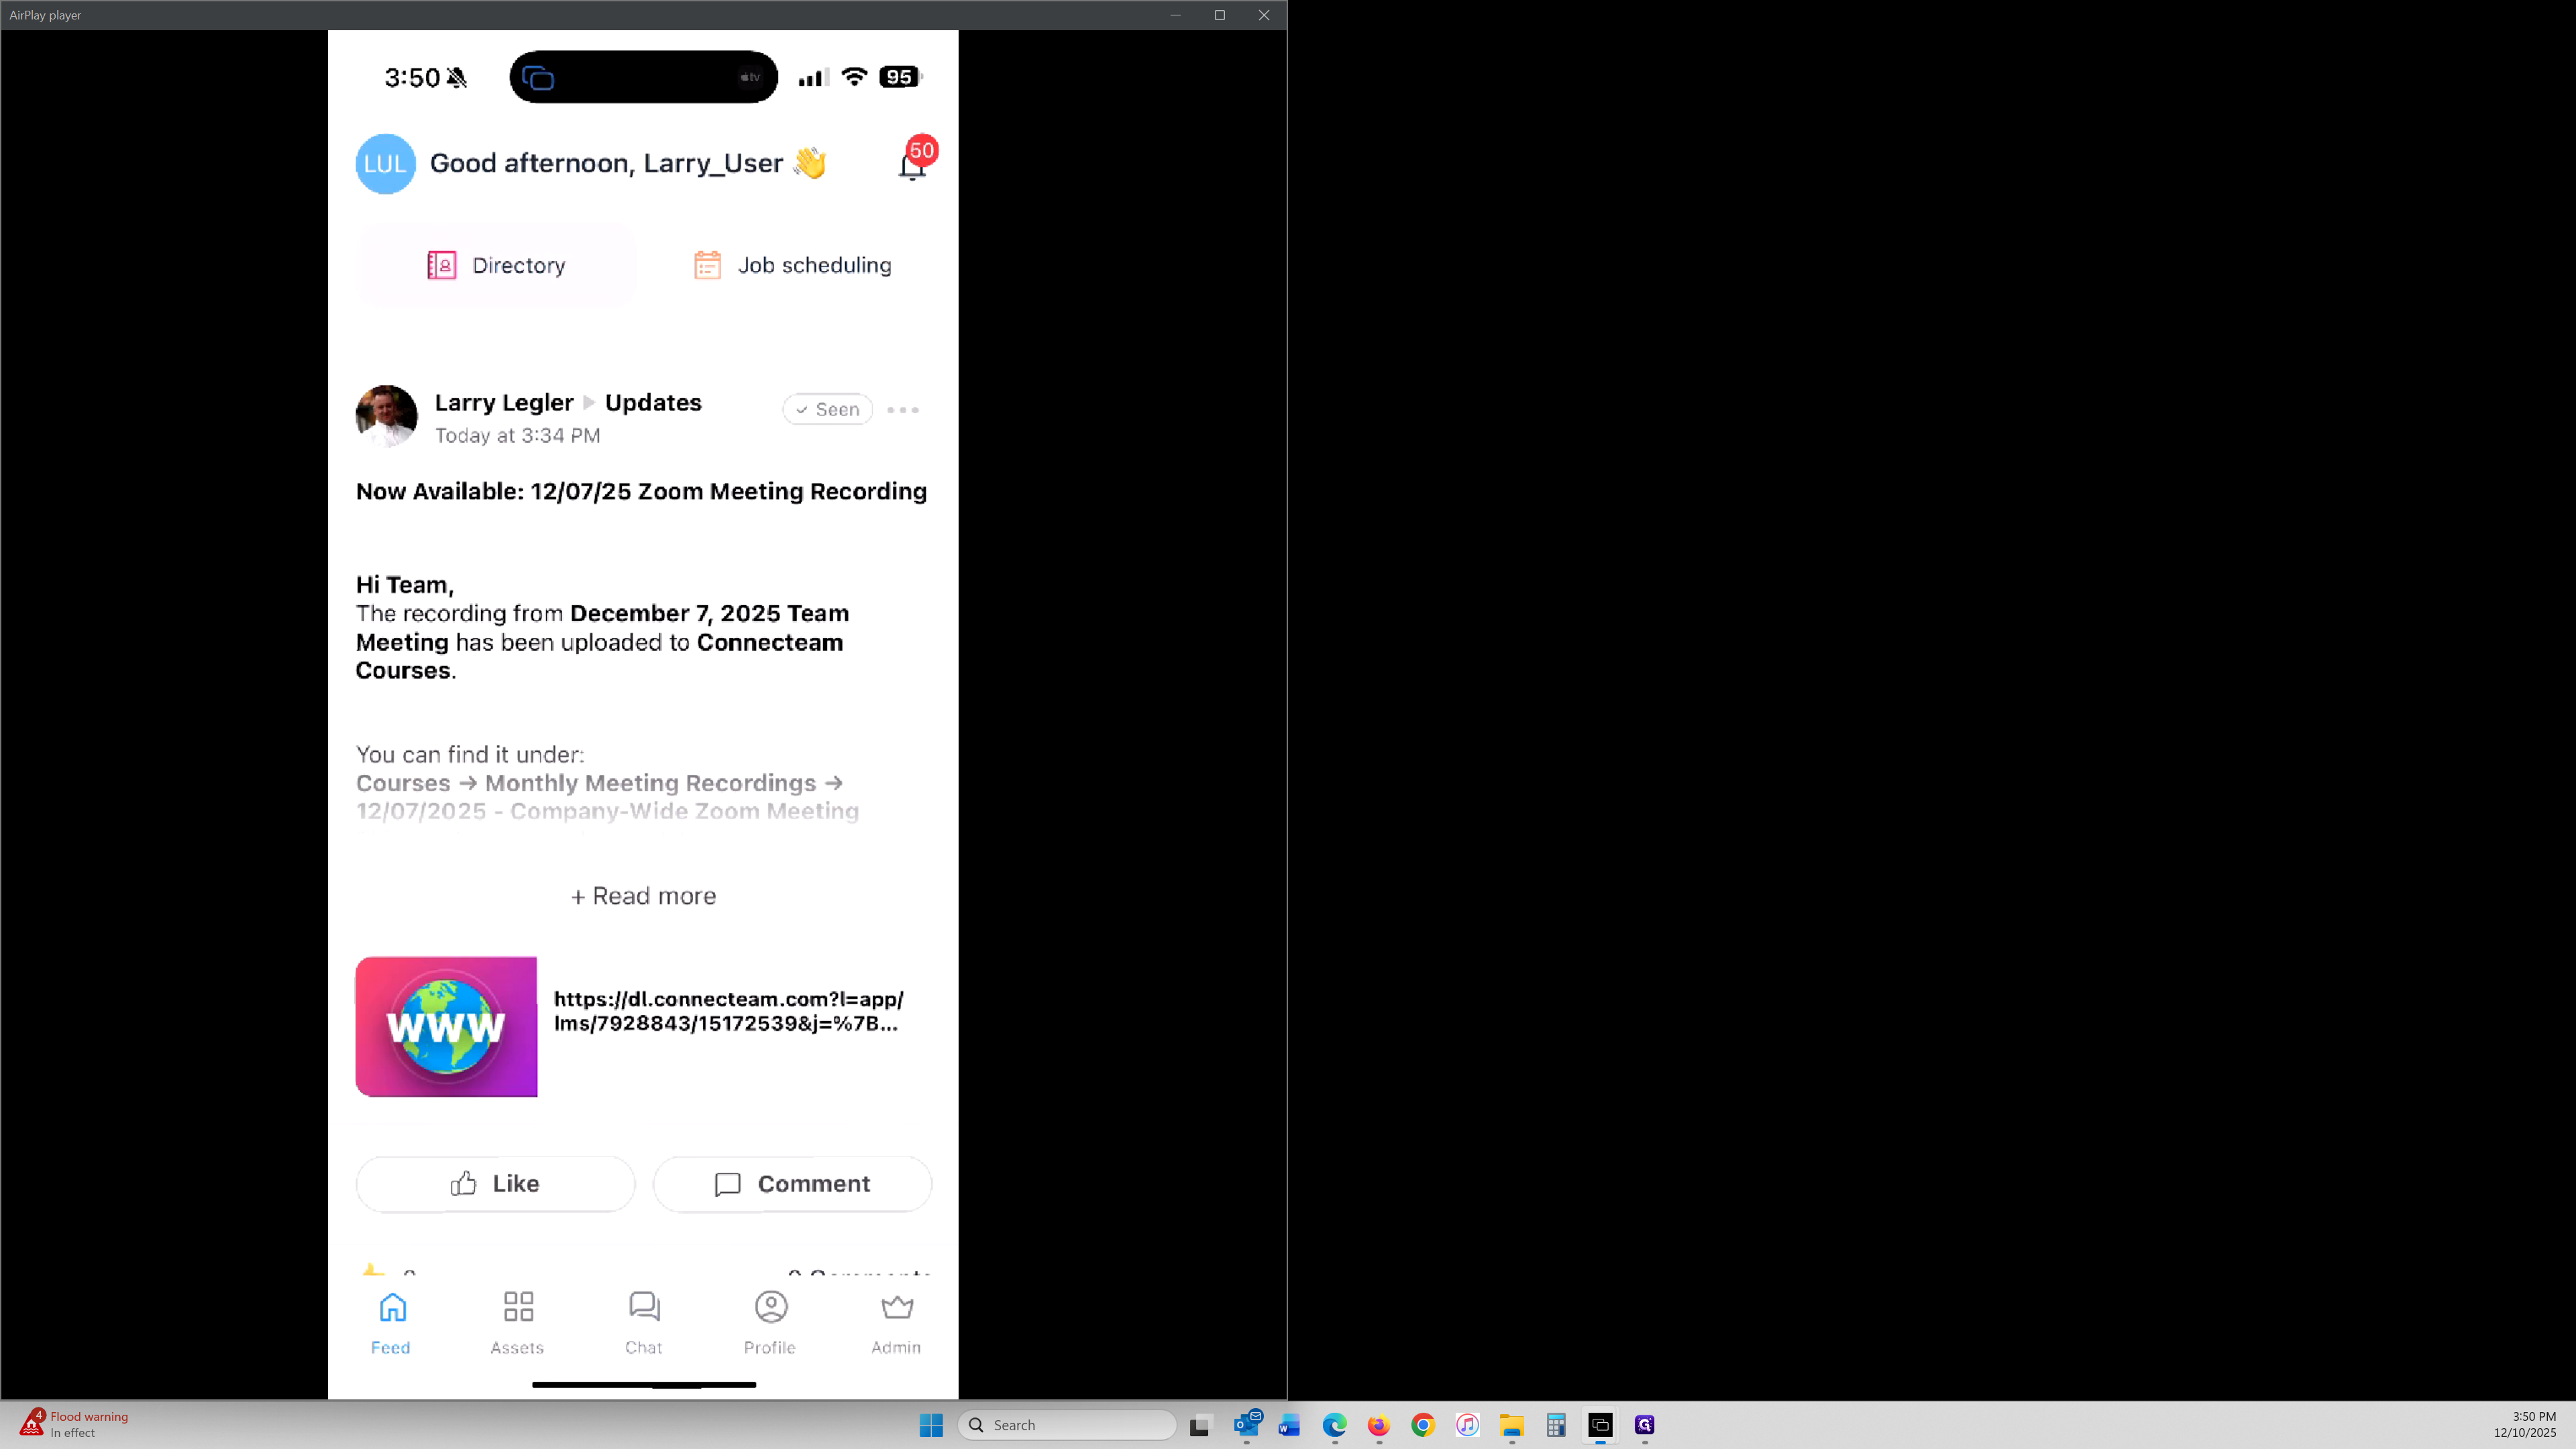
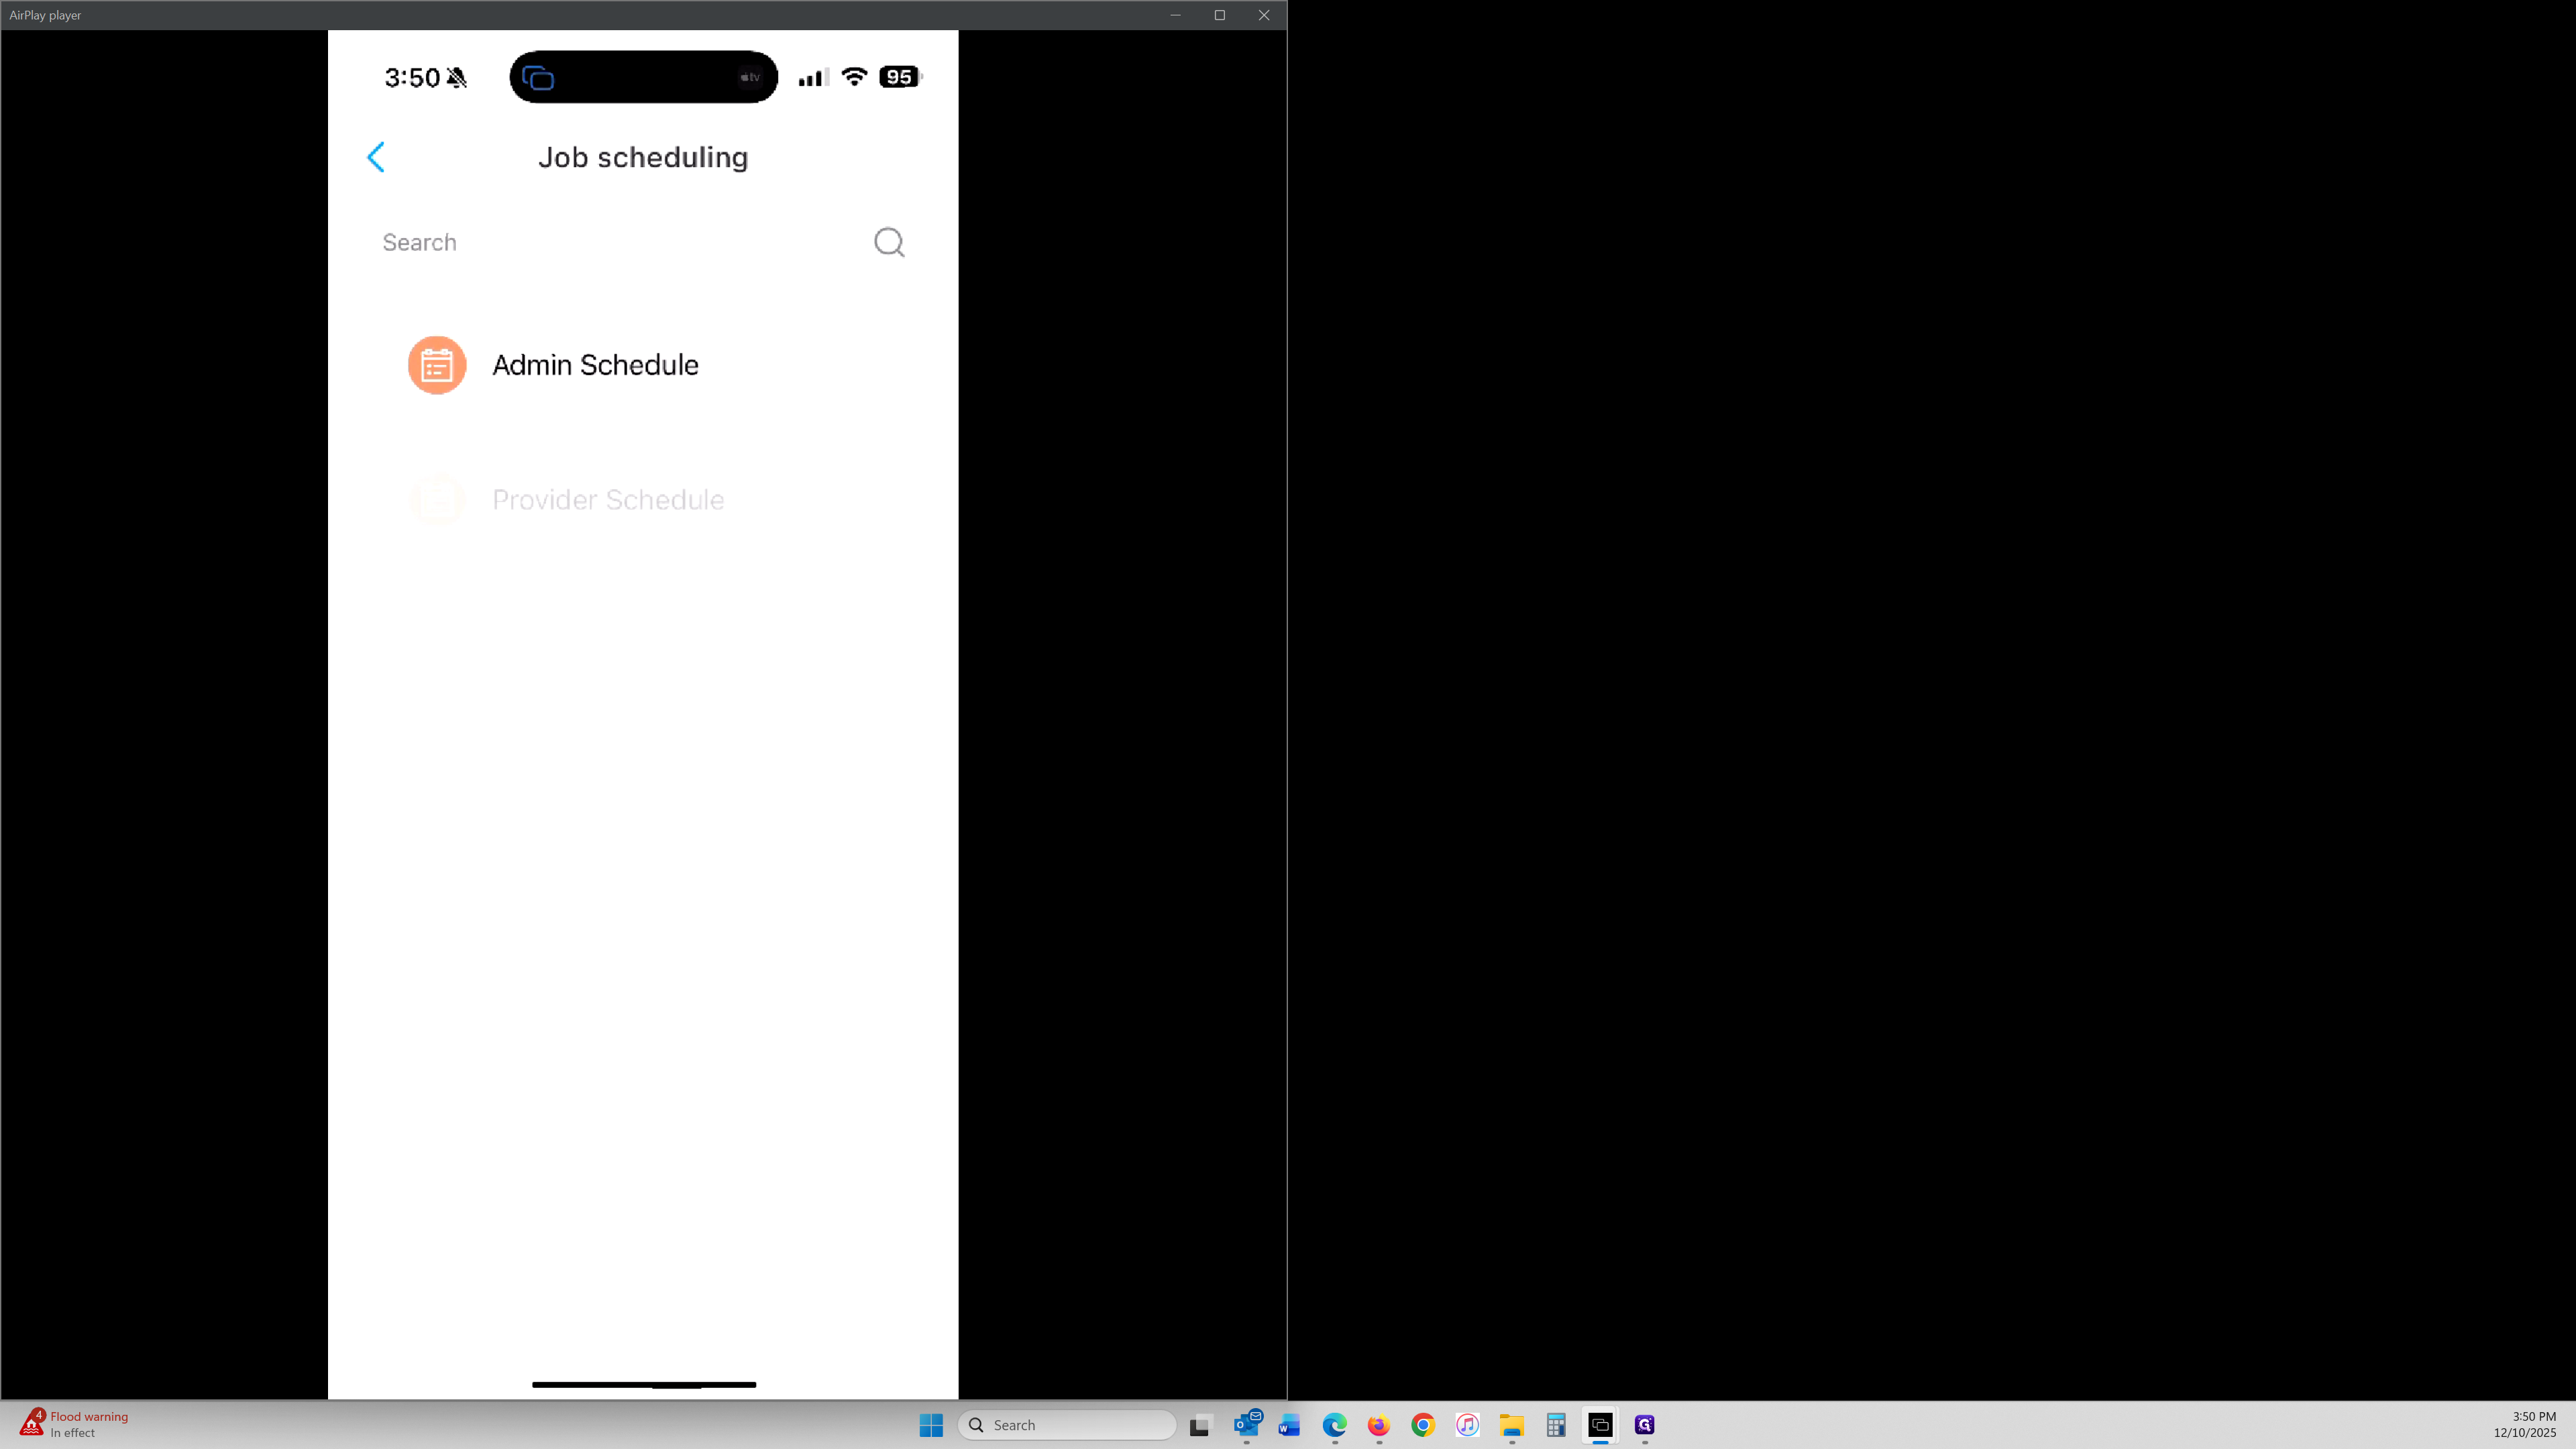
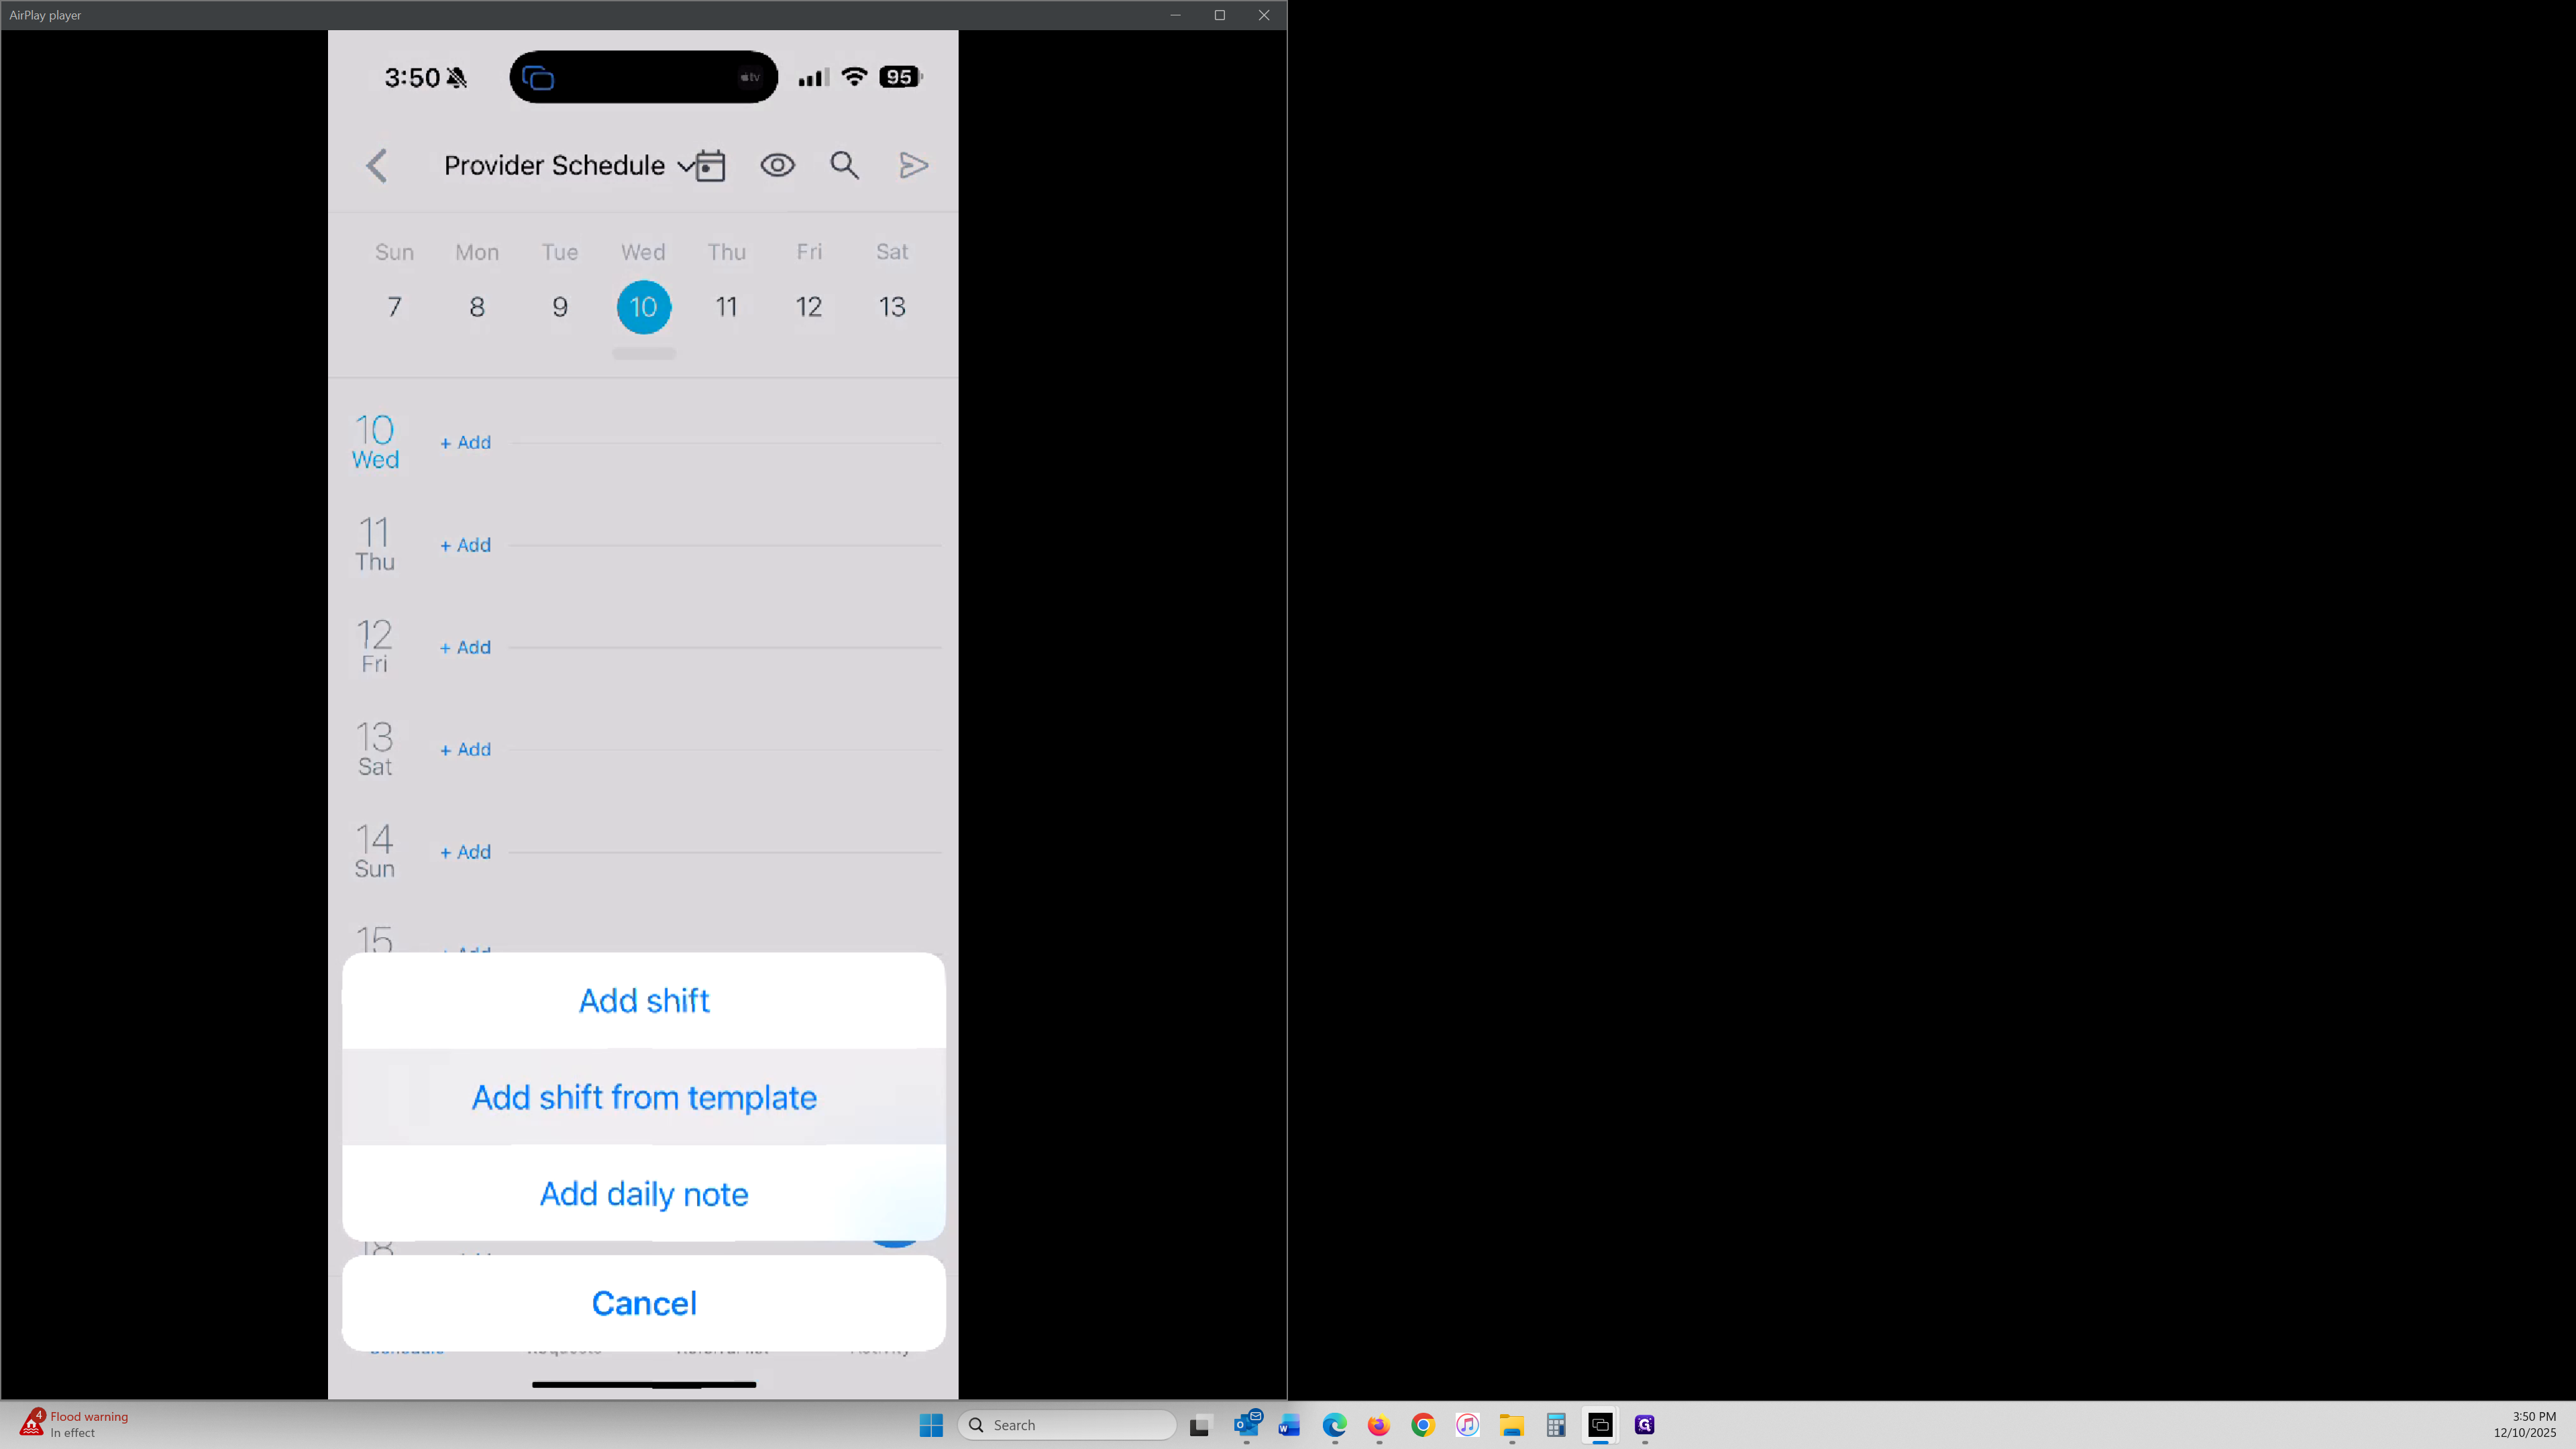
To begin, start from your home screen on your mobile phone, which is your Feed, and tap Admin in the lower right corner to access your schedule and begin creating your shifts.

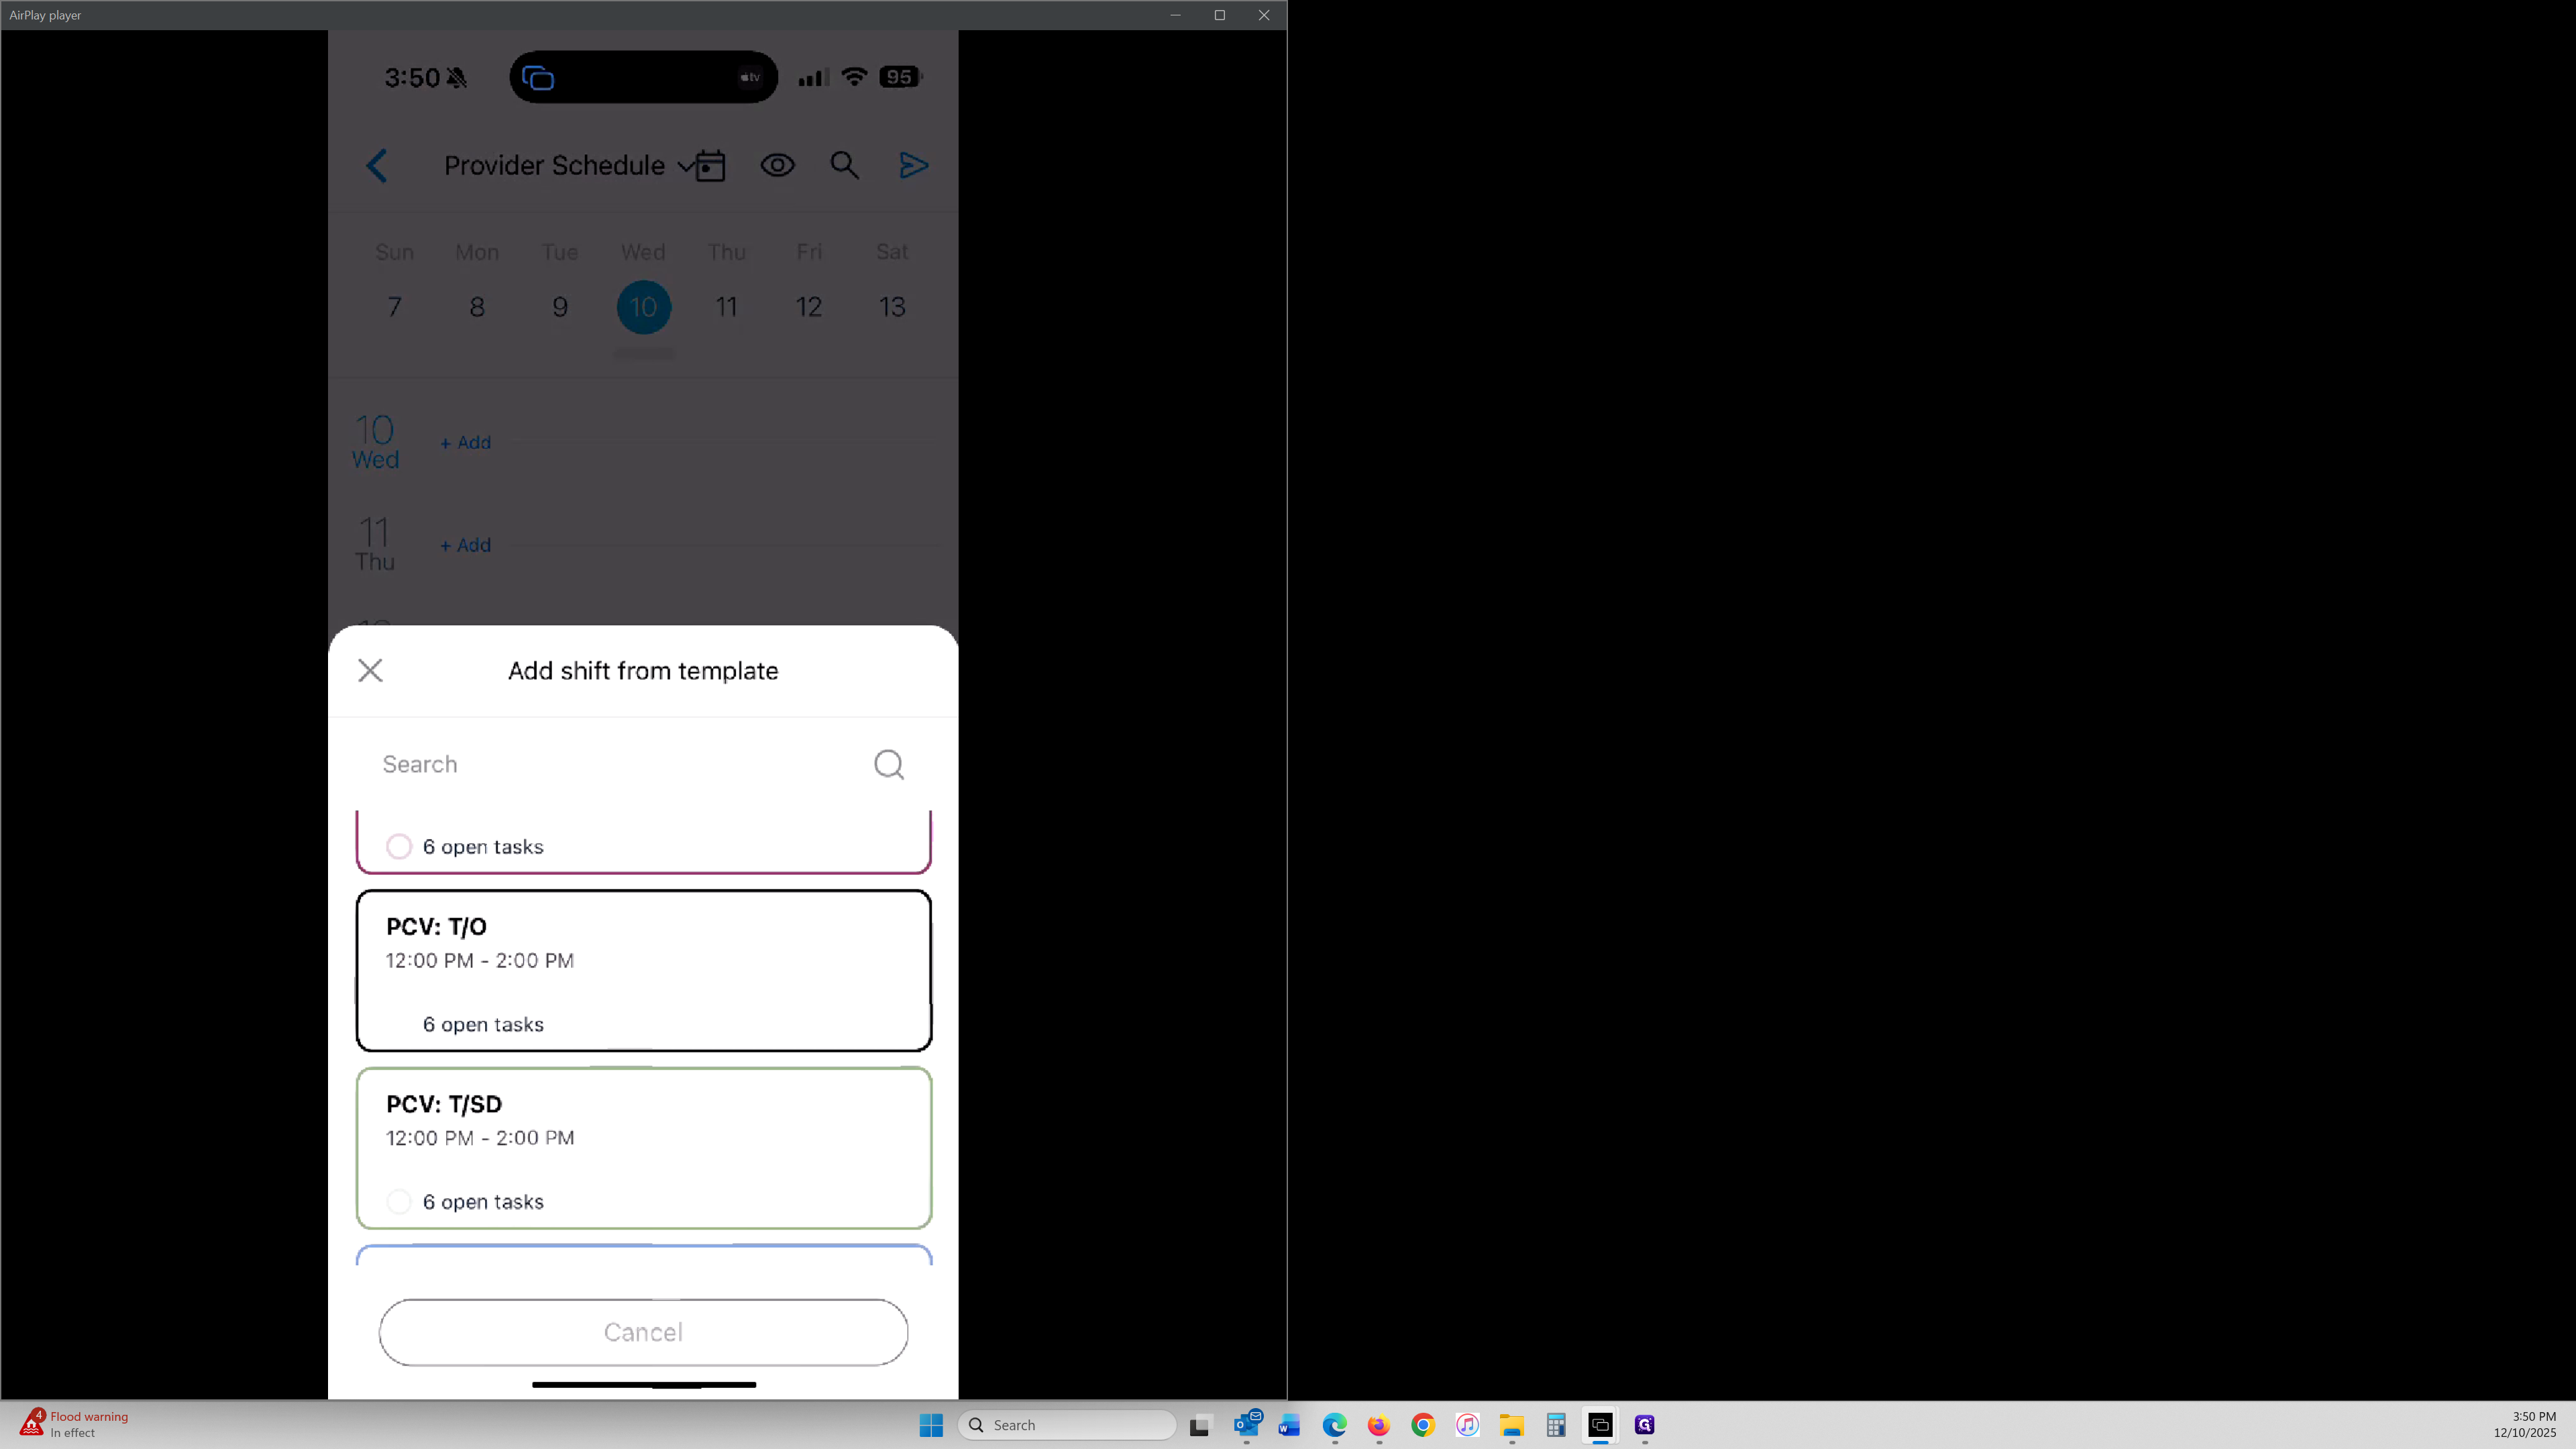
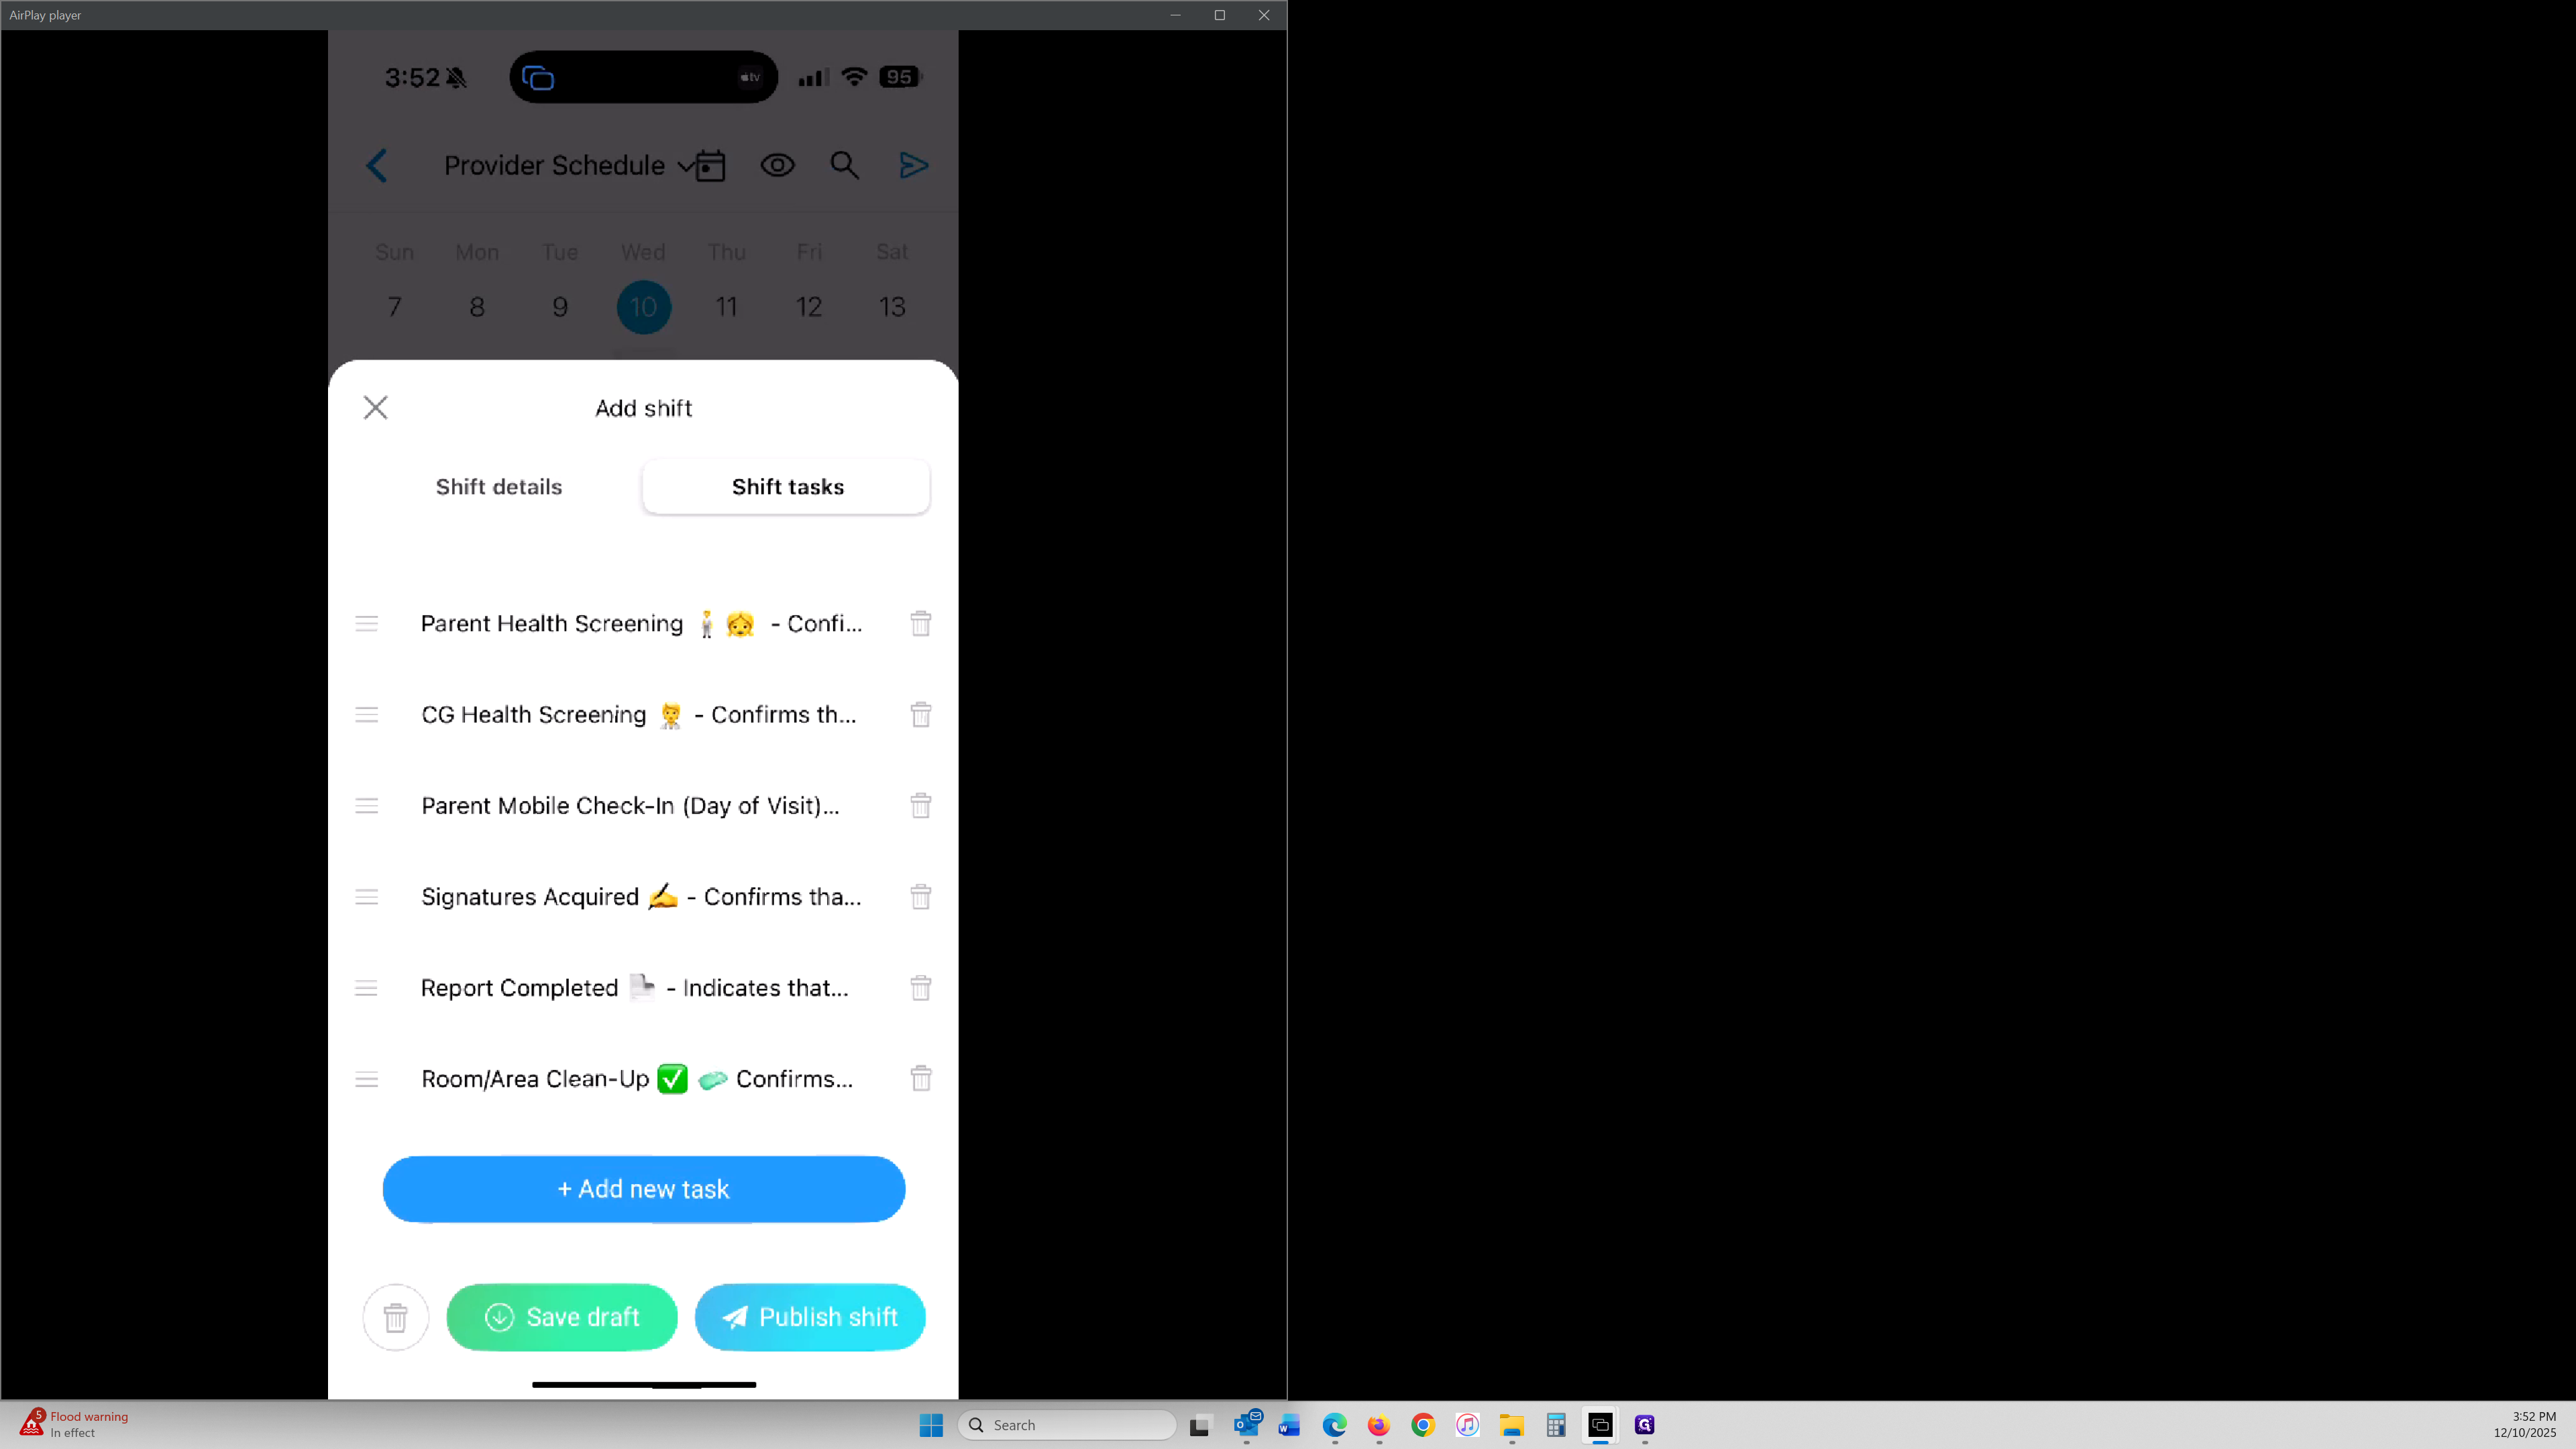
Click the blue plus button in the bottom right corner of your mobile screen. Select "Add Shift From Template." This allows you to choose from the shift templates we have already created.
These templates include the required fields, preset shift tasks, and common visit structures, which saves time and helps keep every shift consistent.
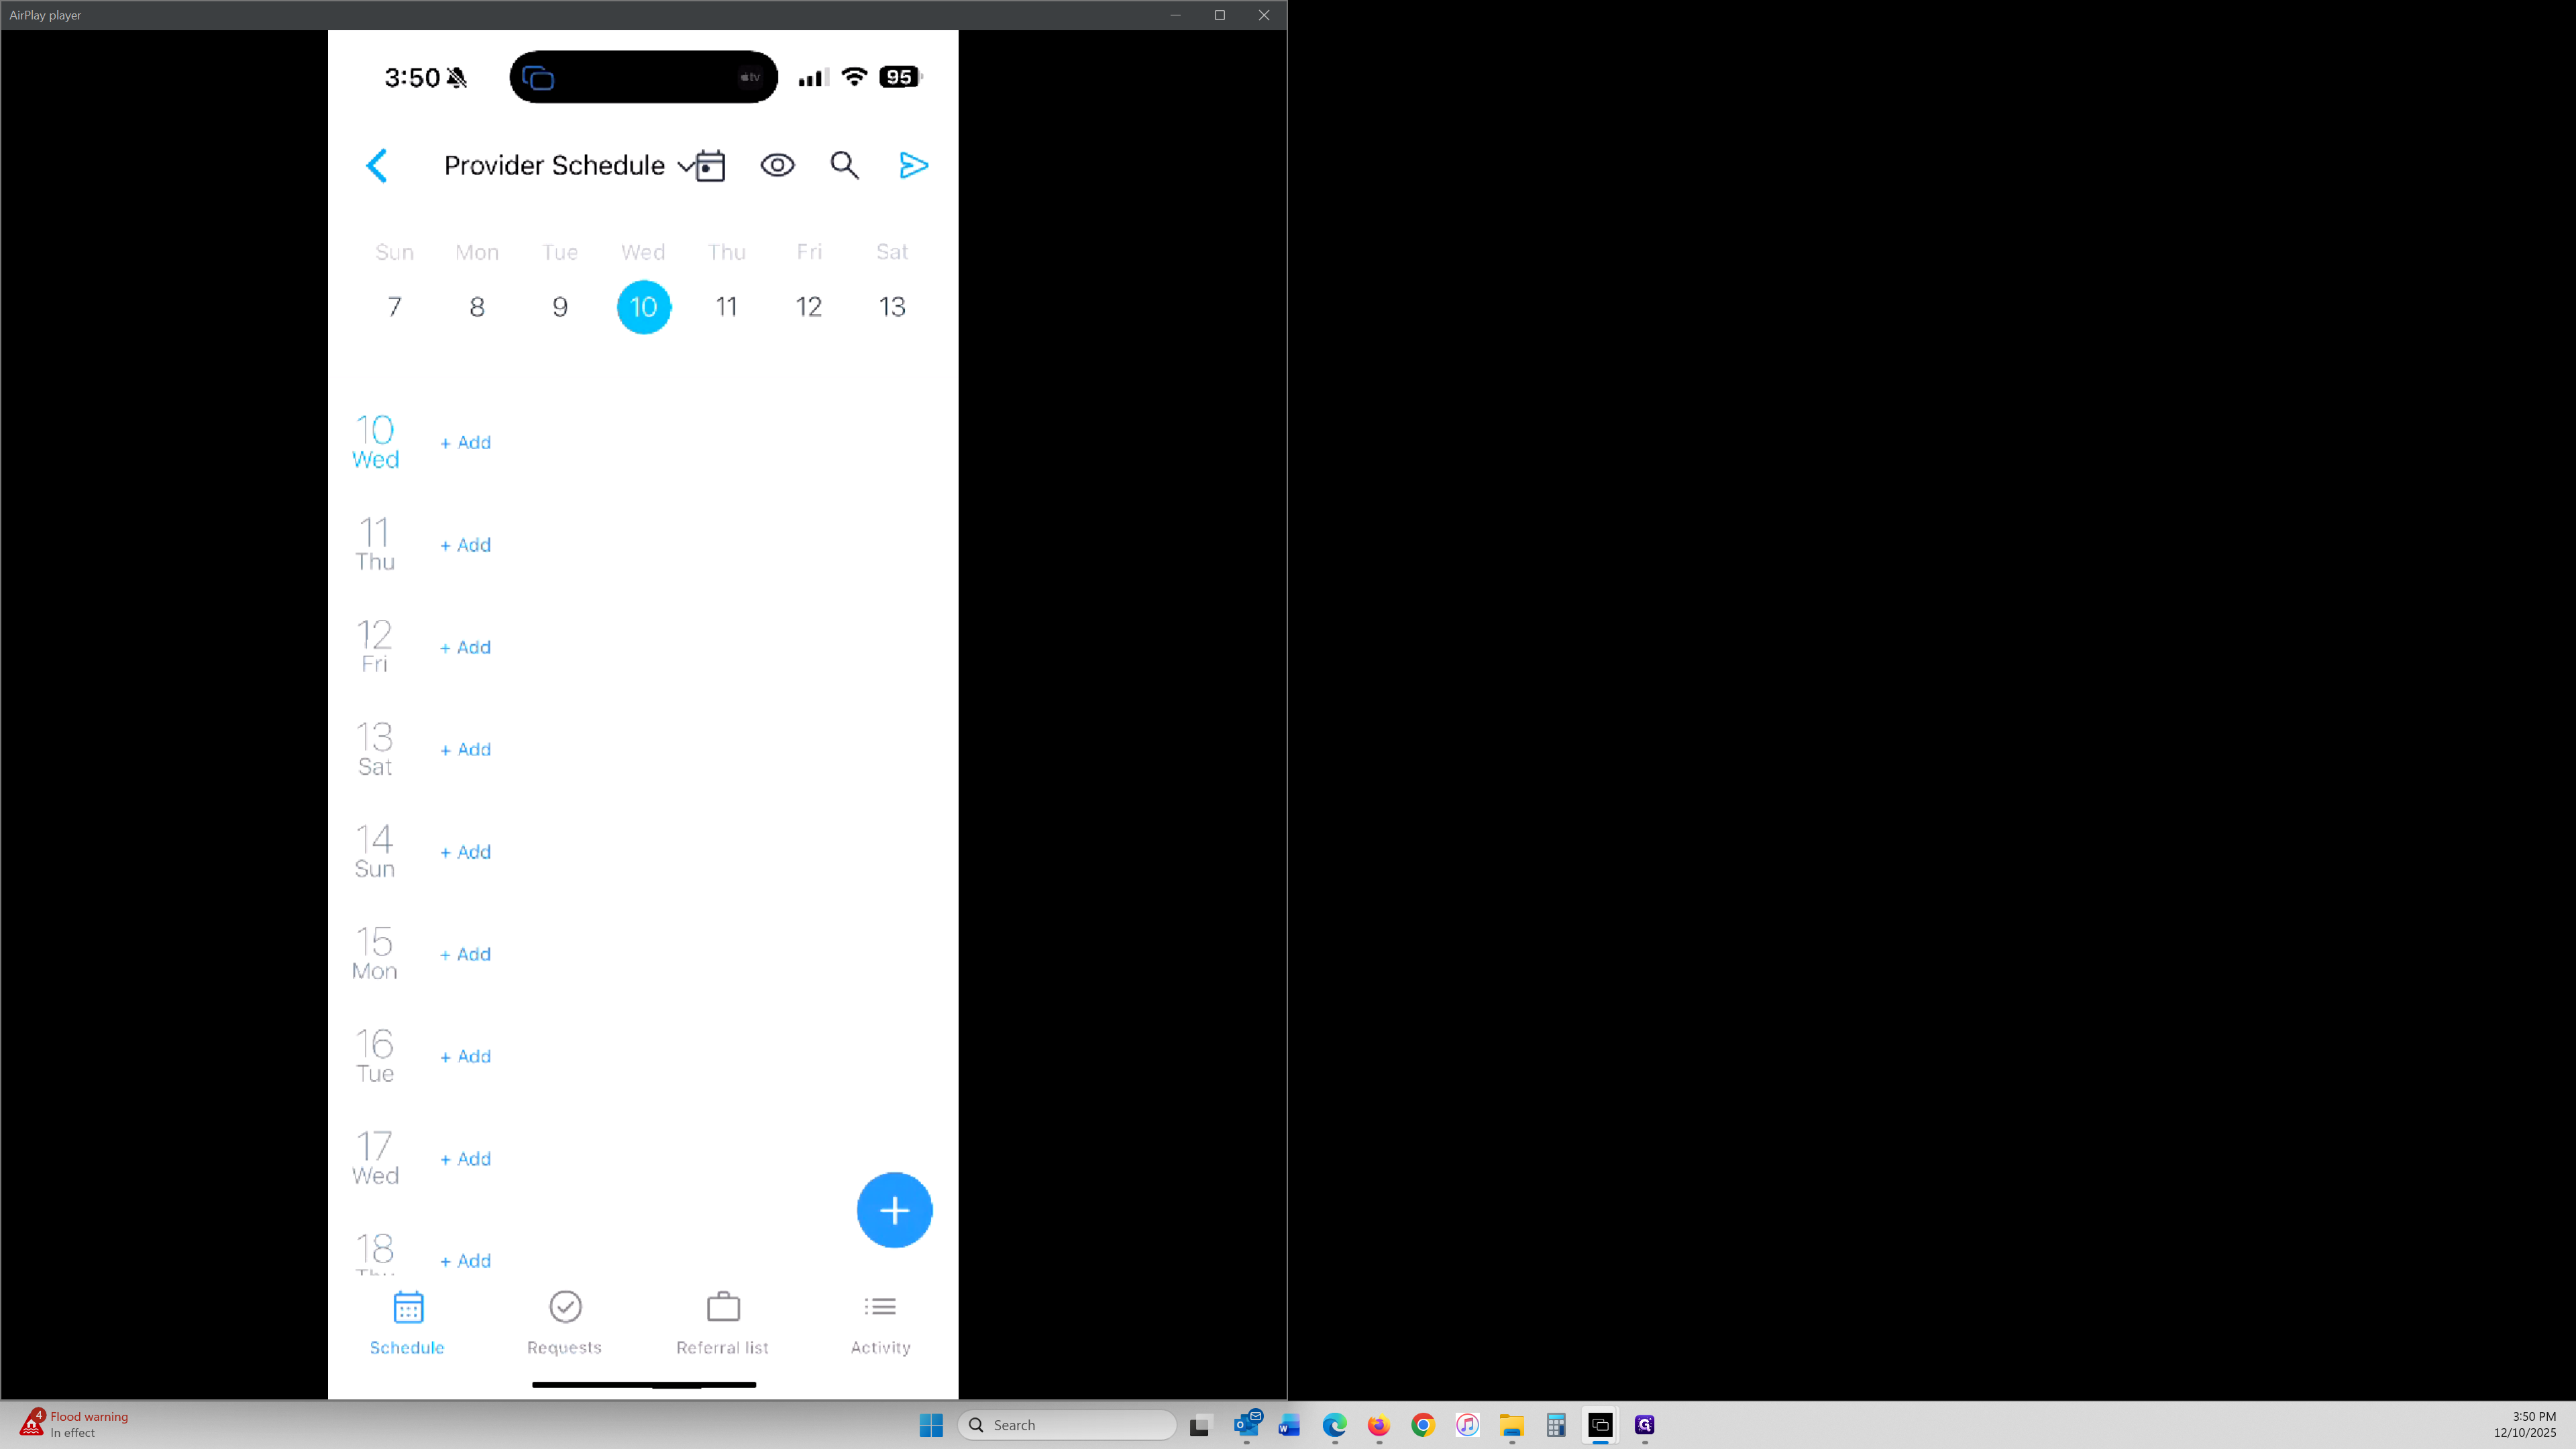
Select one of the template options - there are a total of 10 templates currently to choose from.
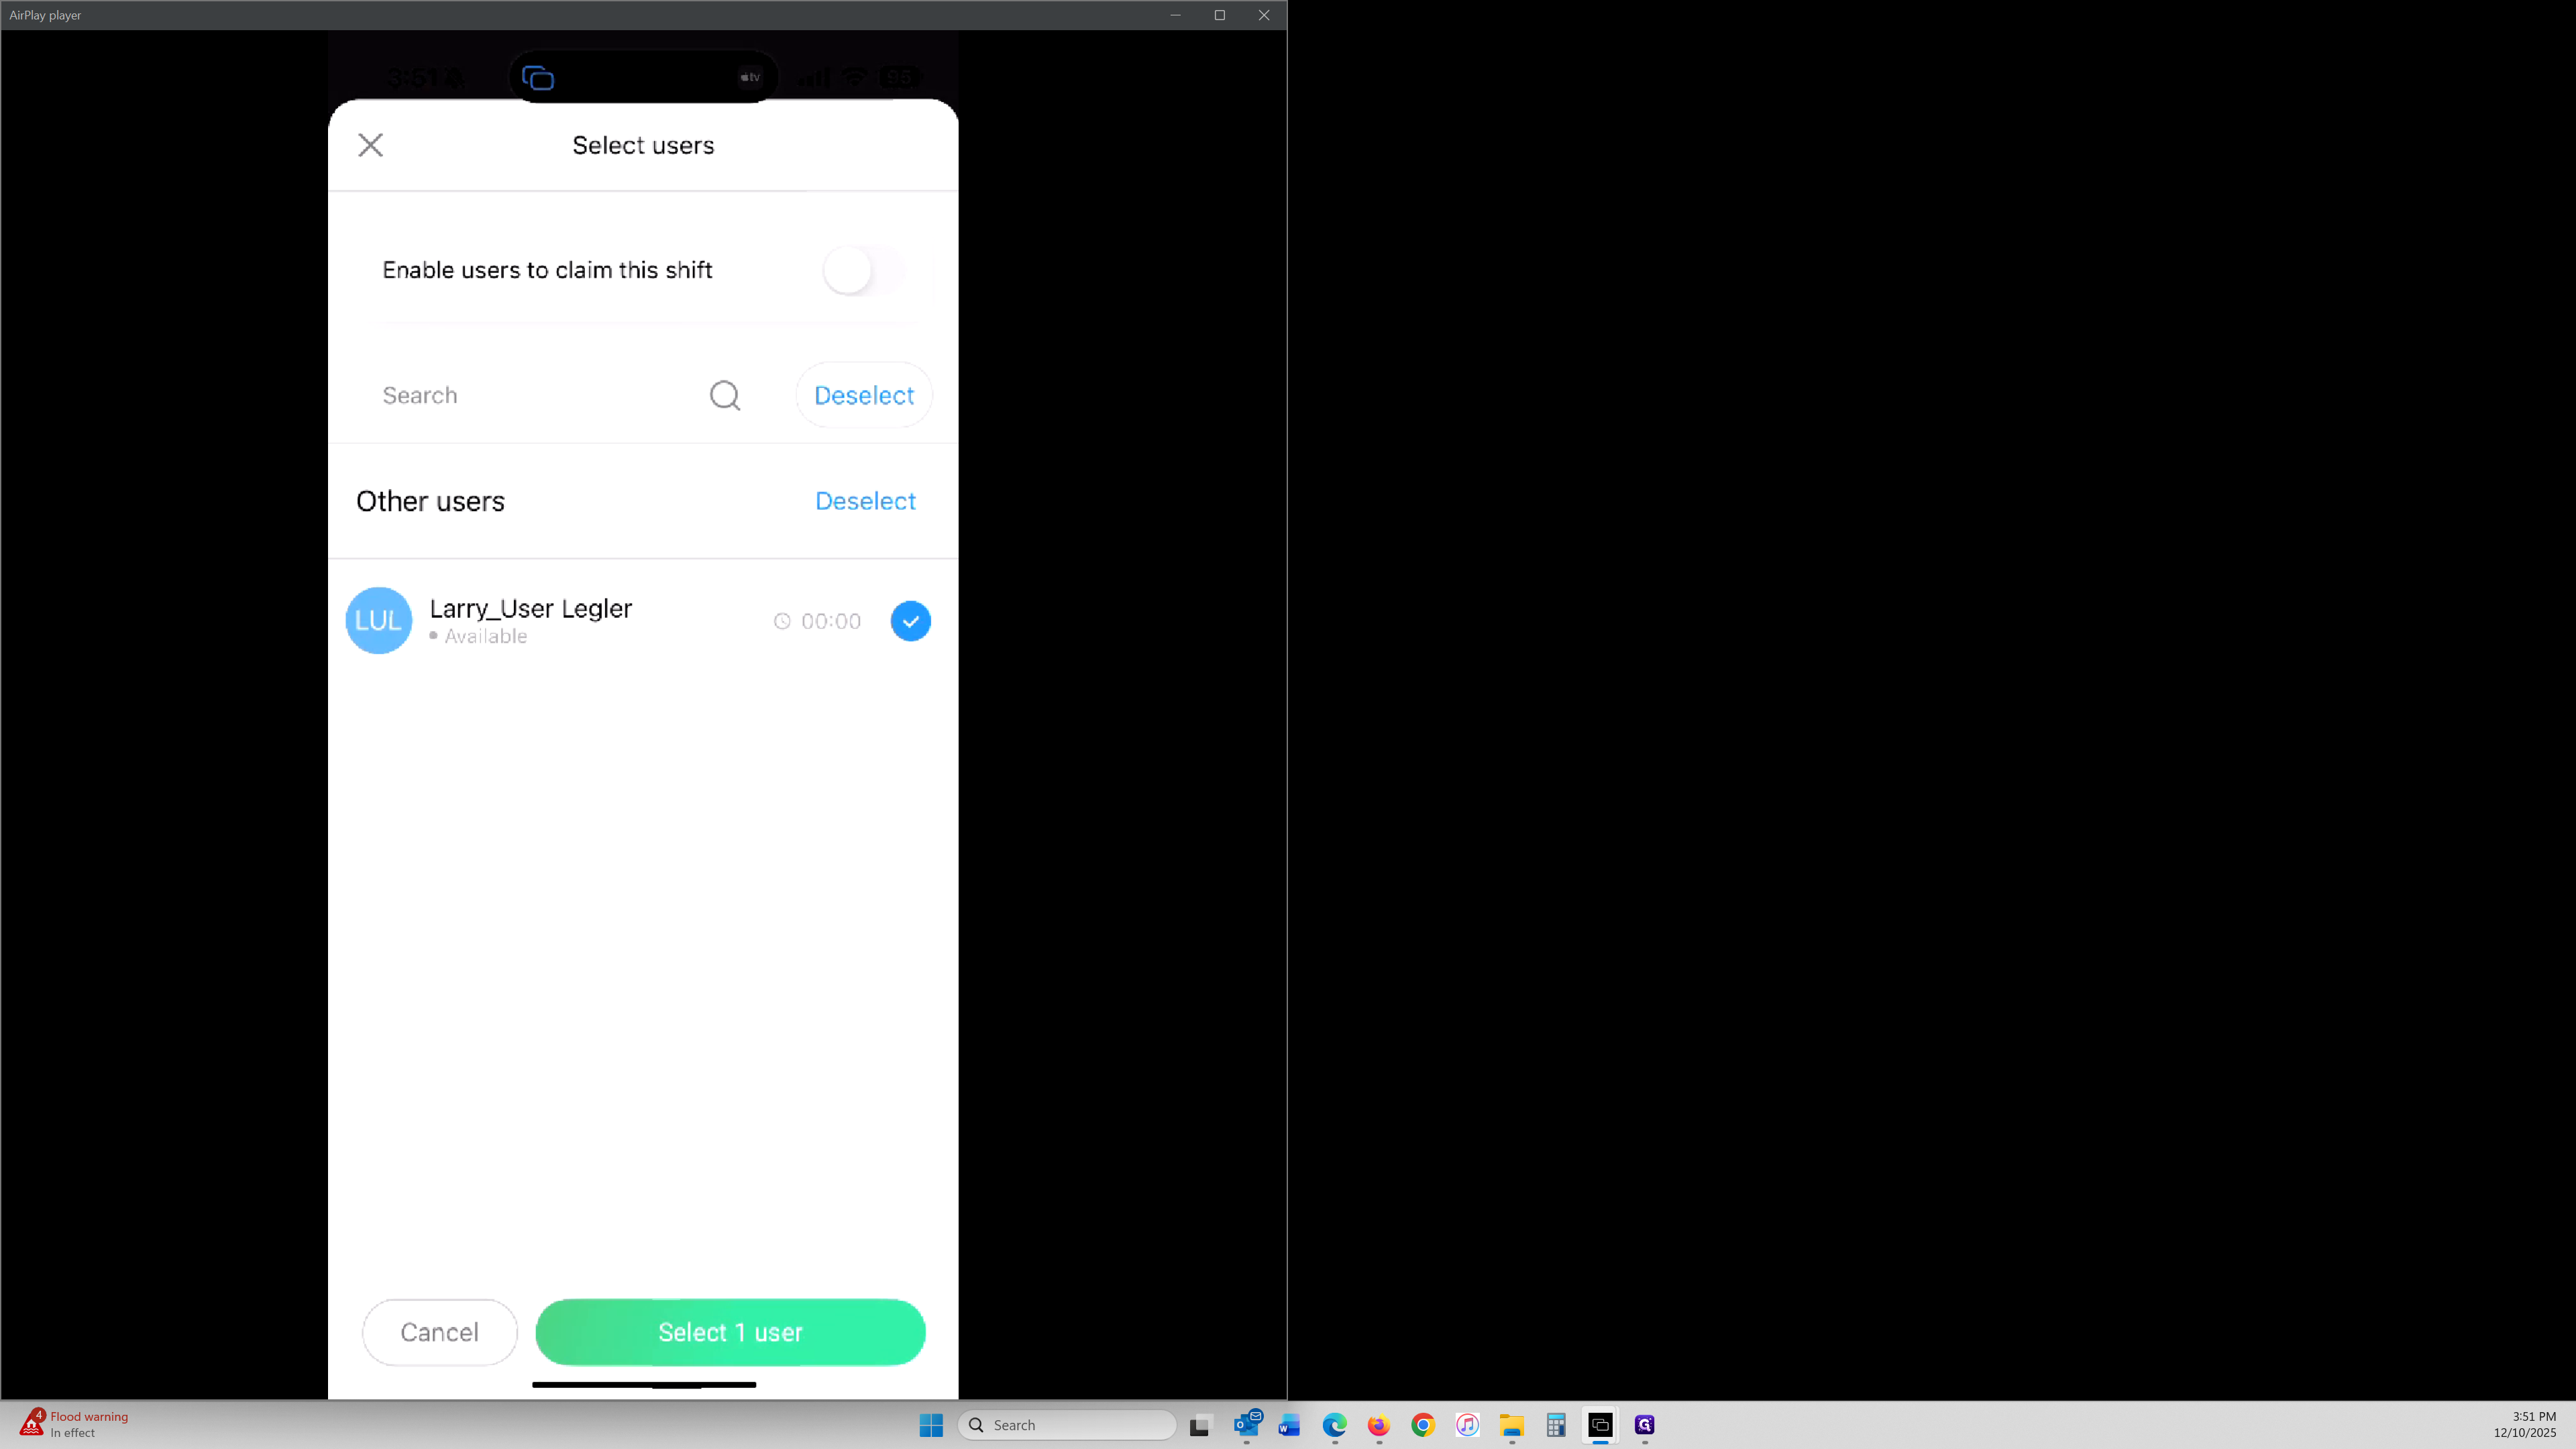
Next, select YOUR users name. Your name should appear in the list.
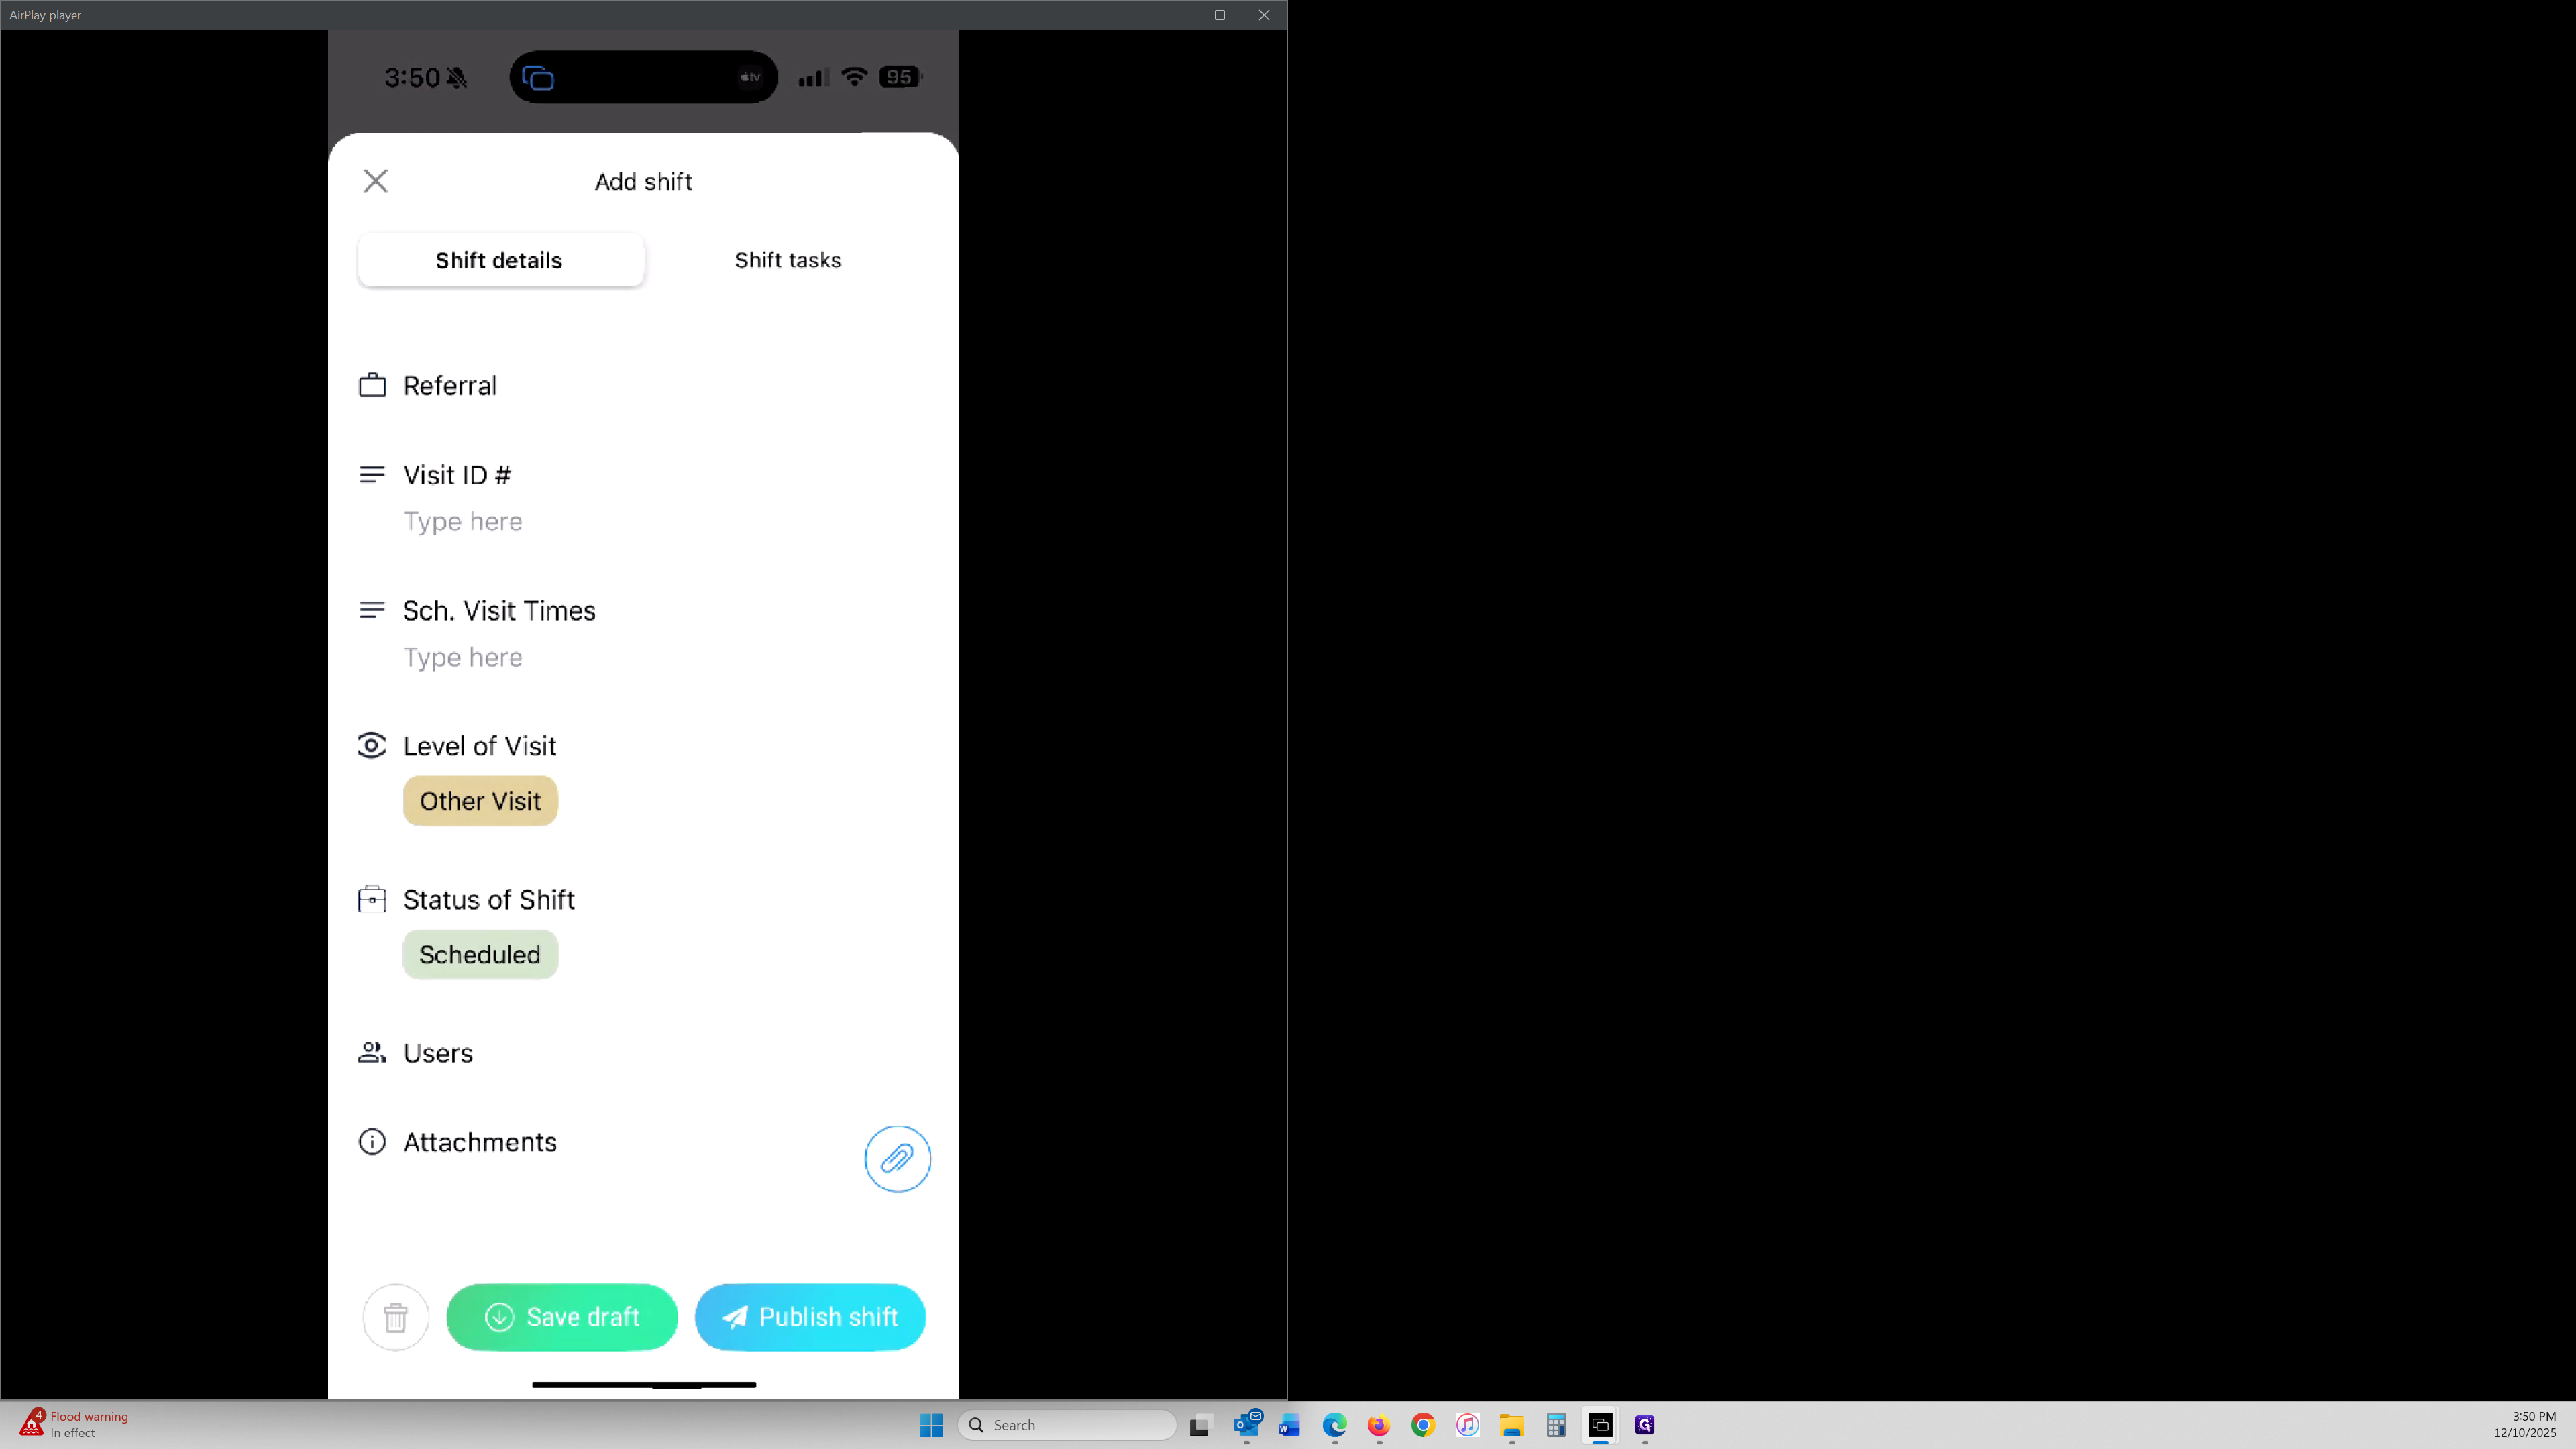
Go ahead and select your own name.
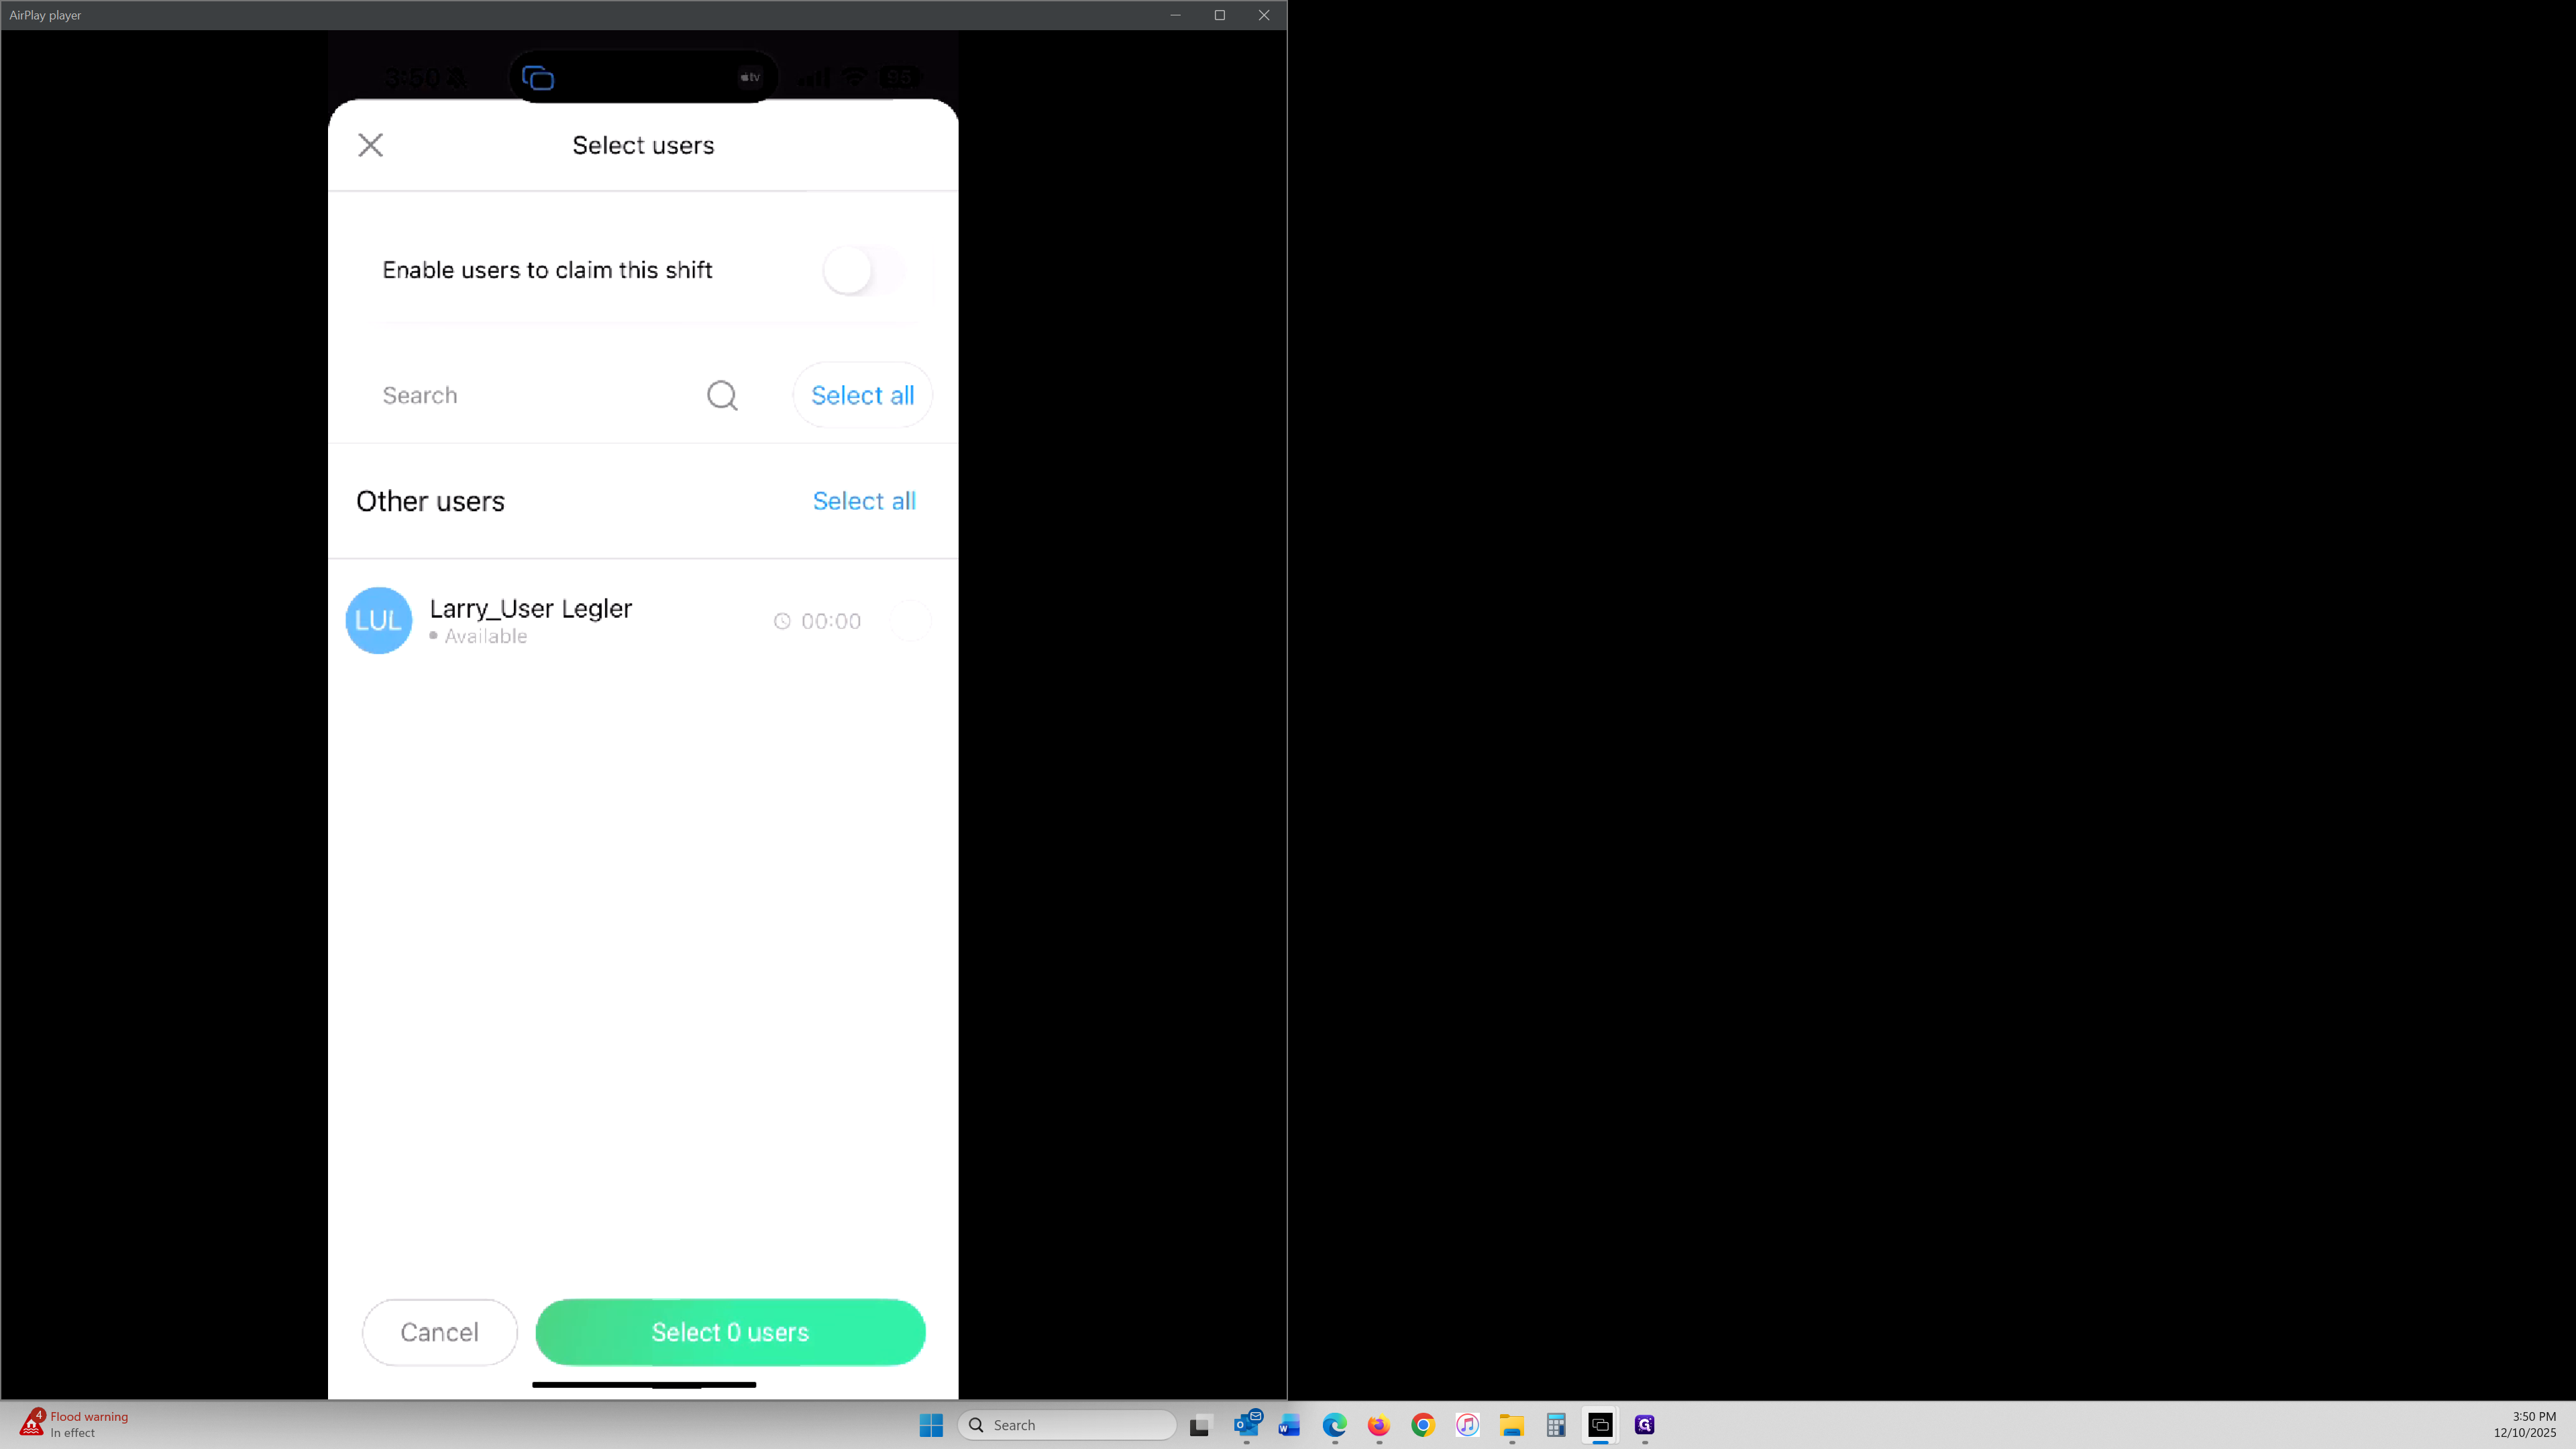
We will select one user. Then, all you have to do is fill in all the required information for this Referral shift.
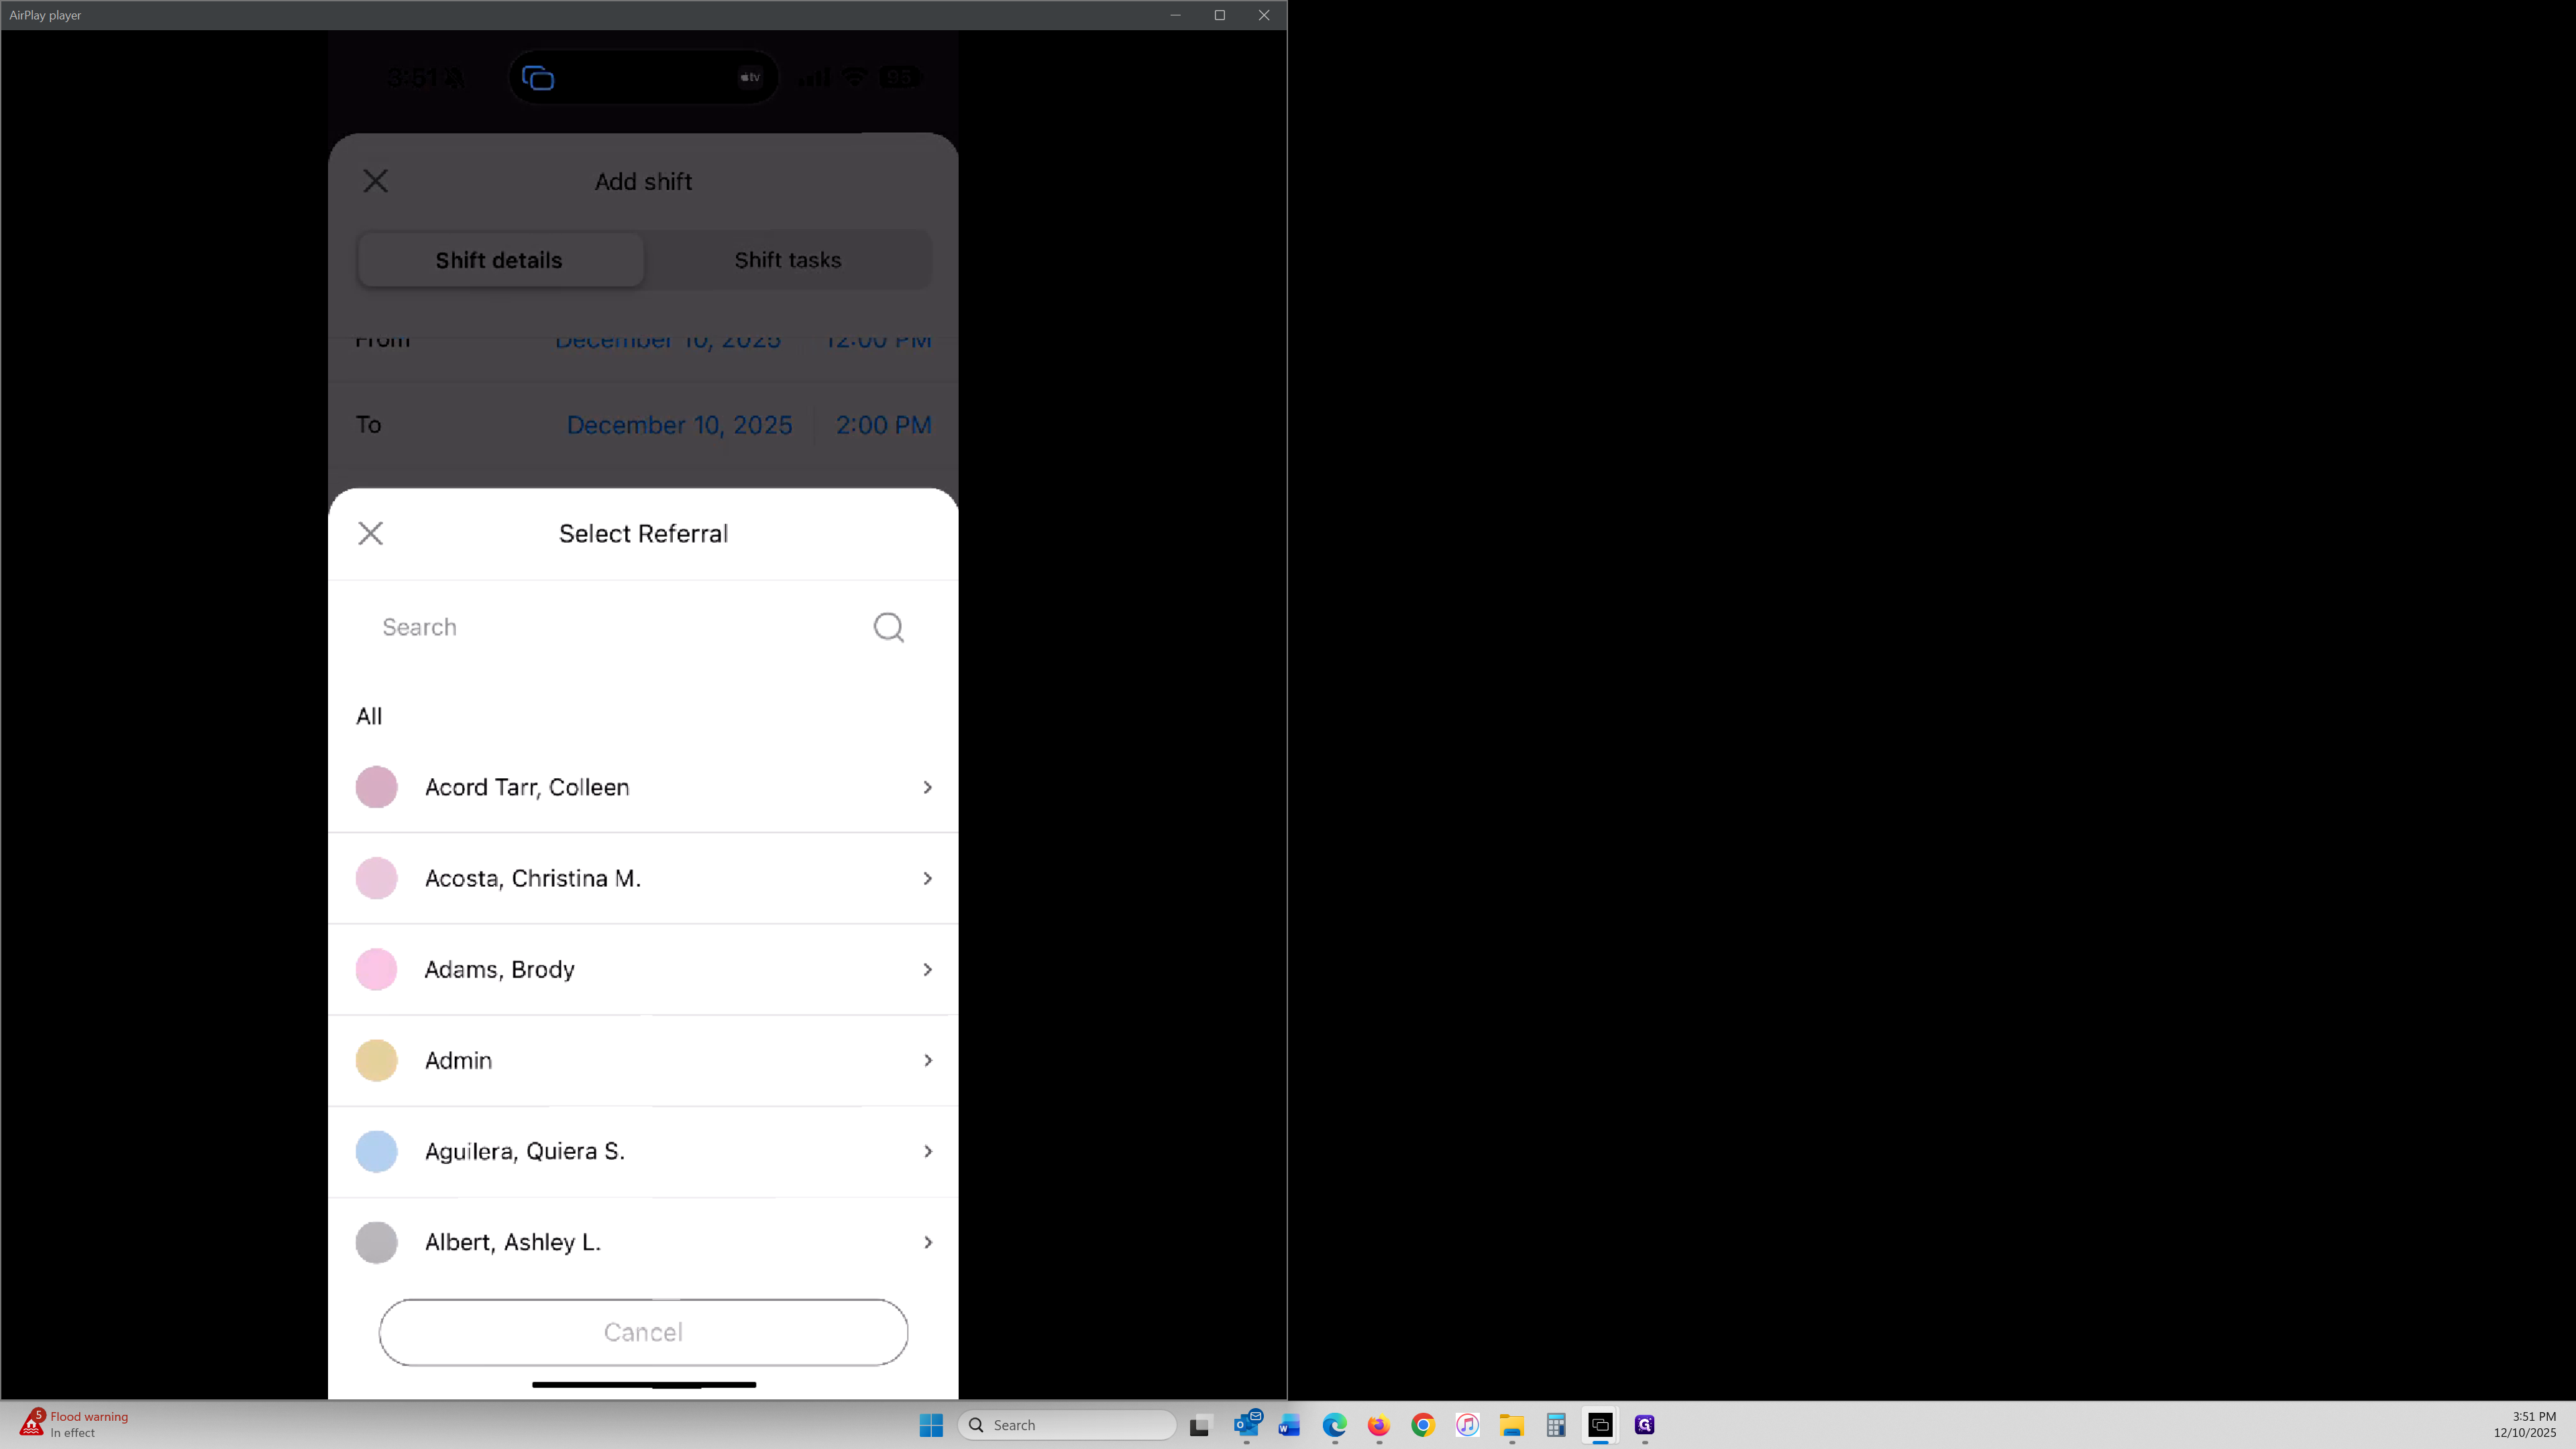
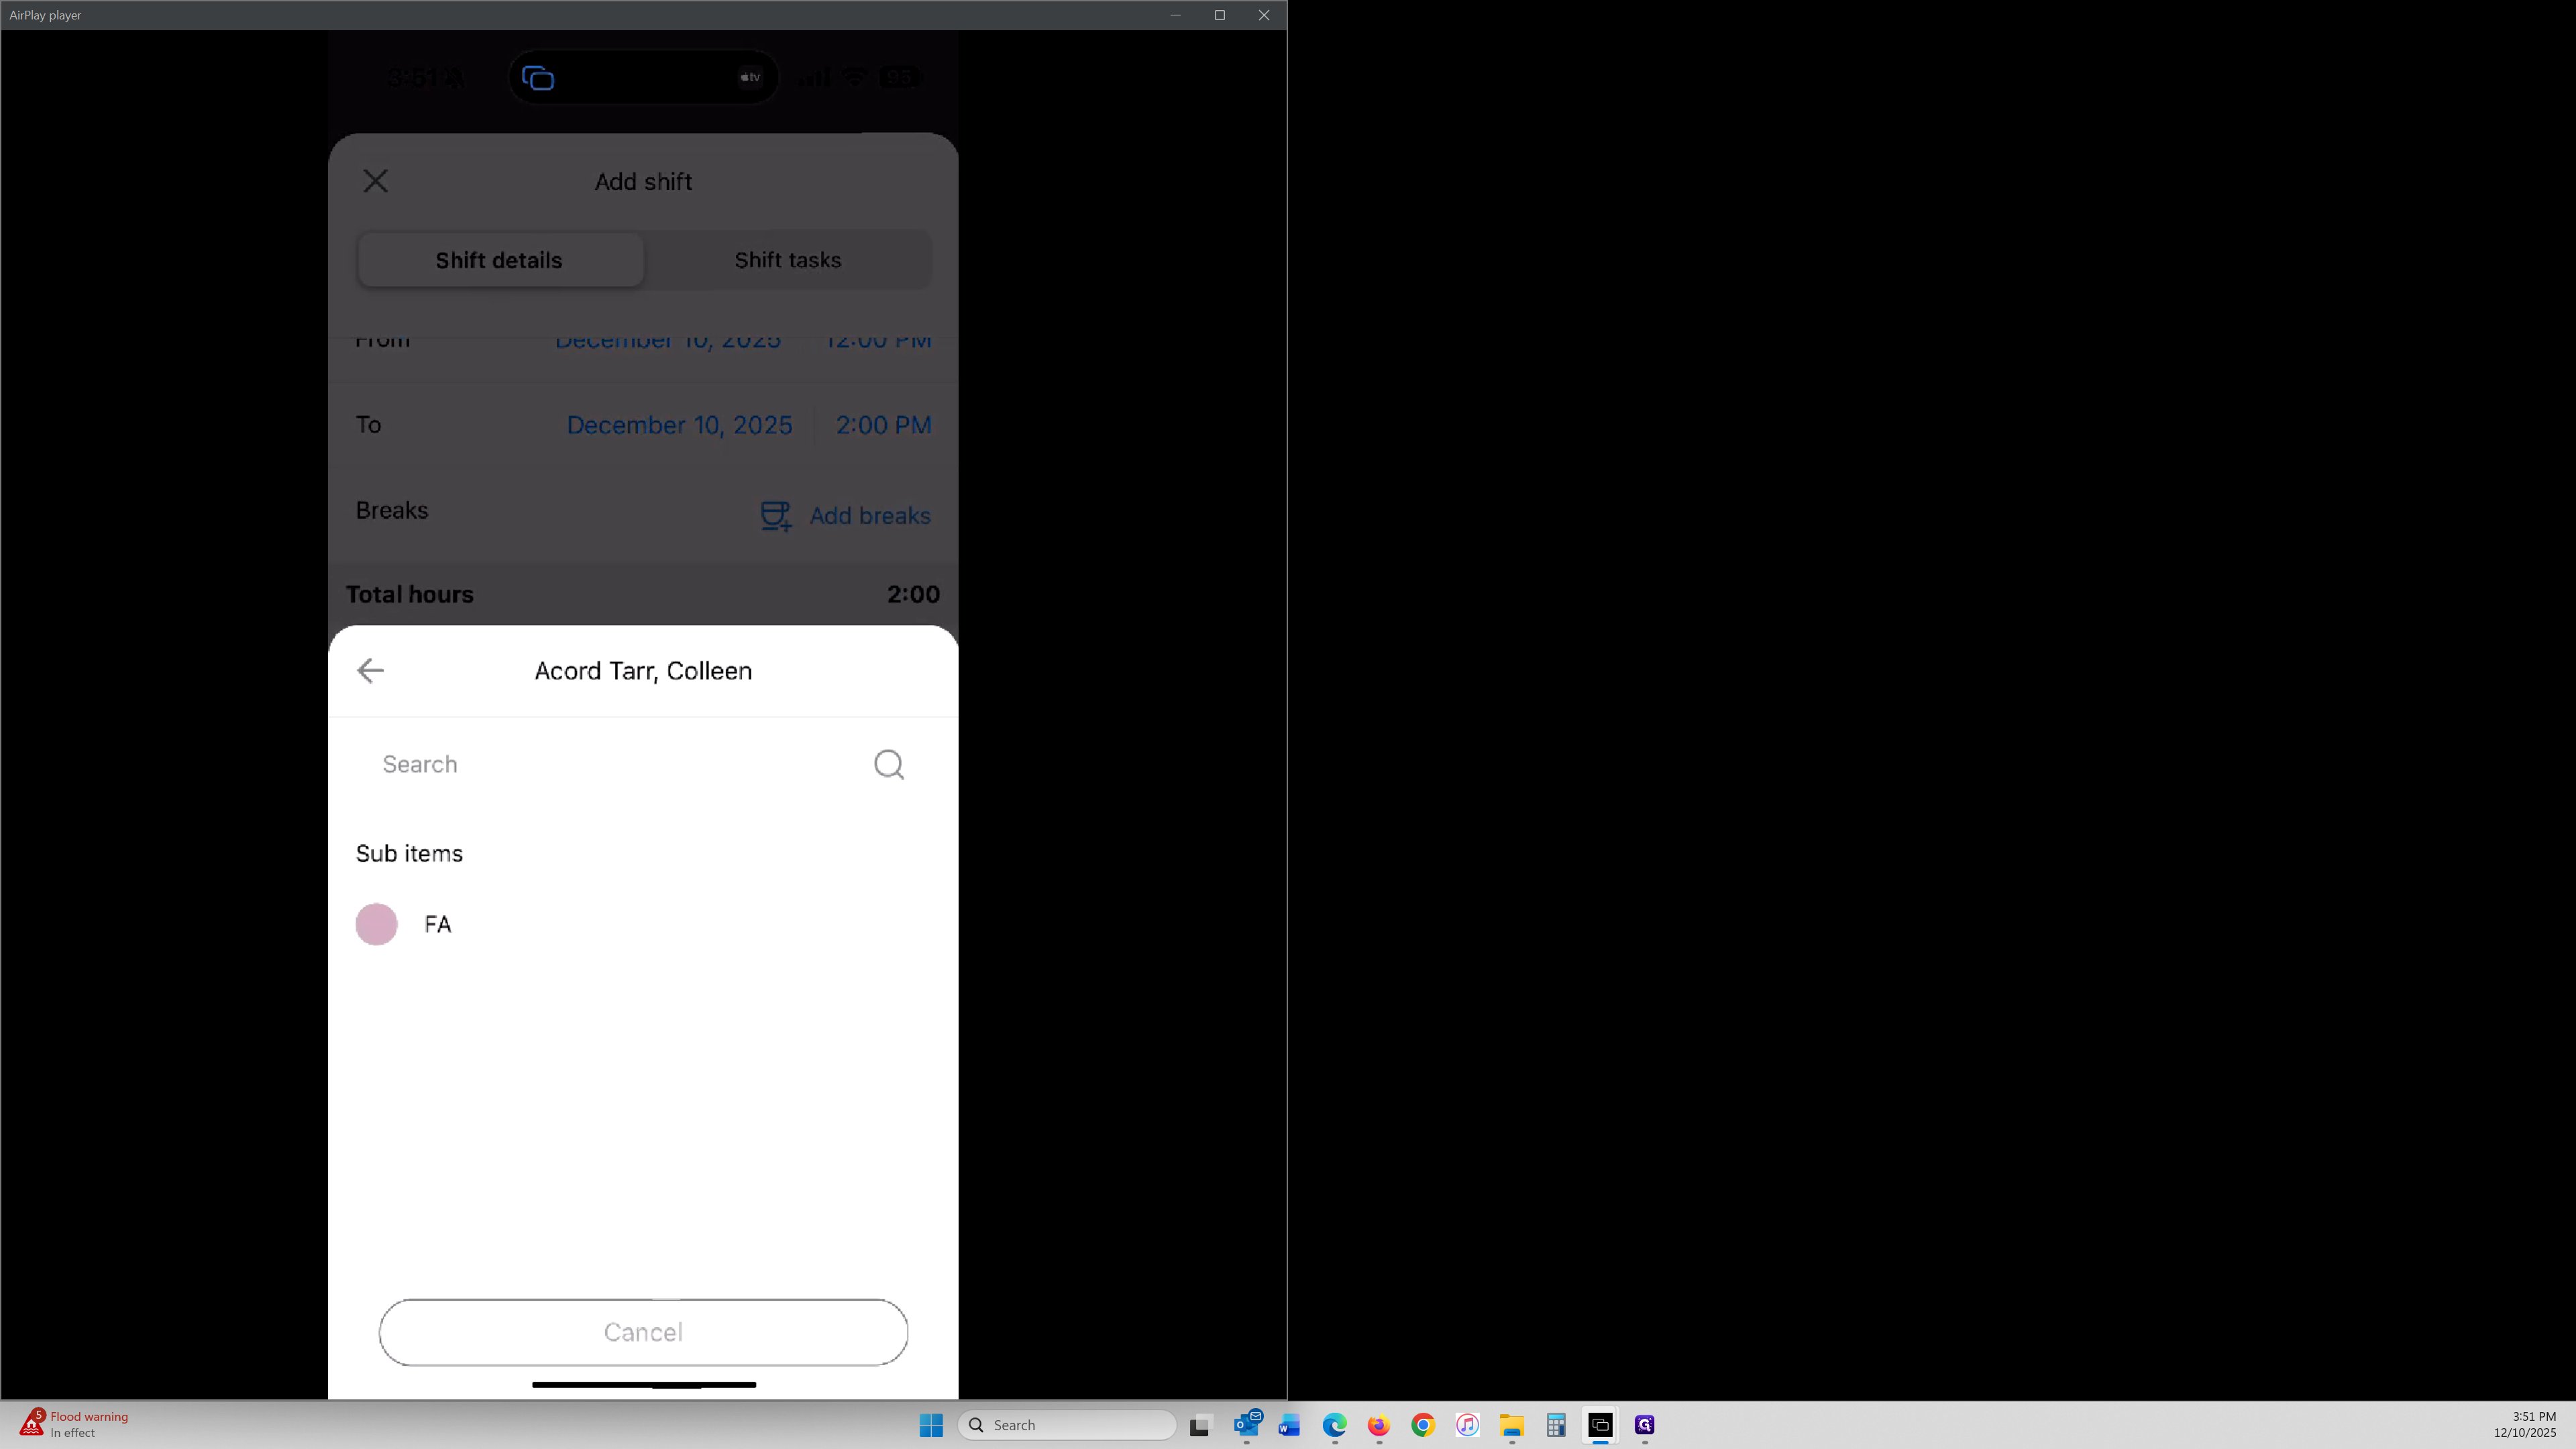
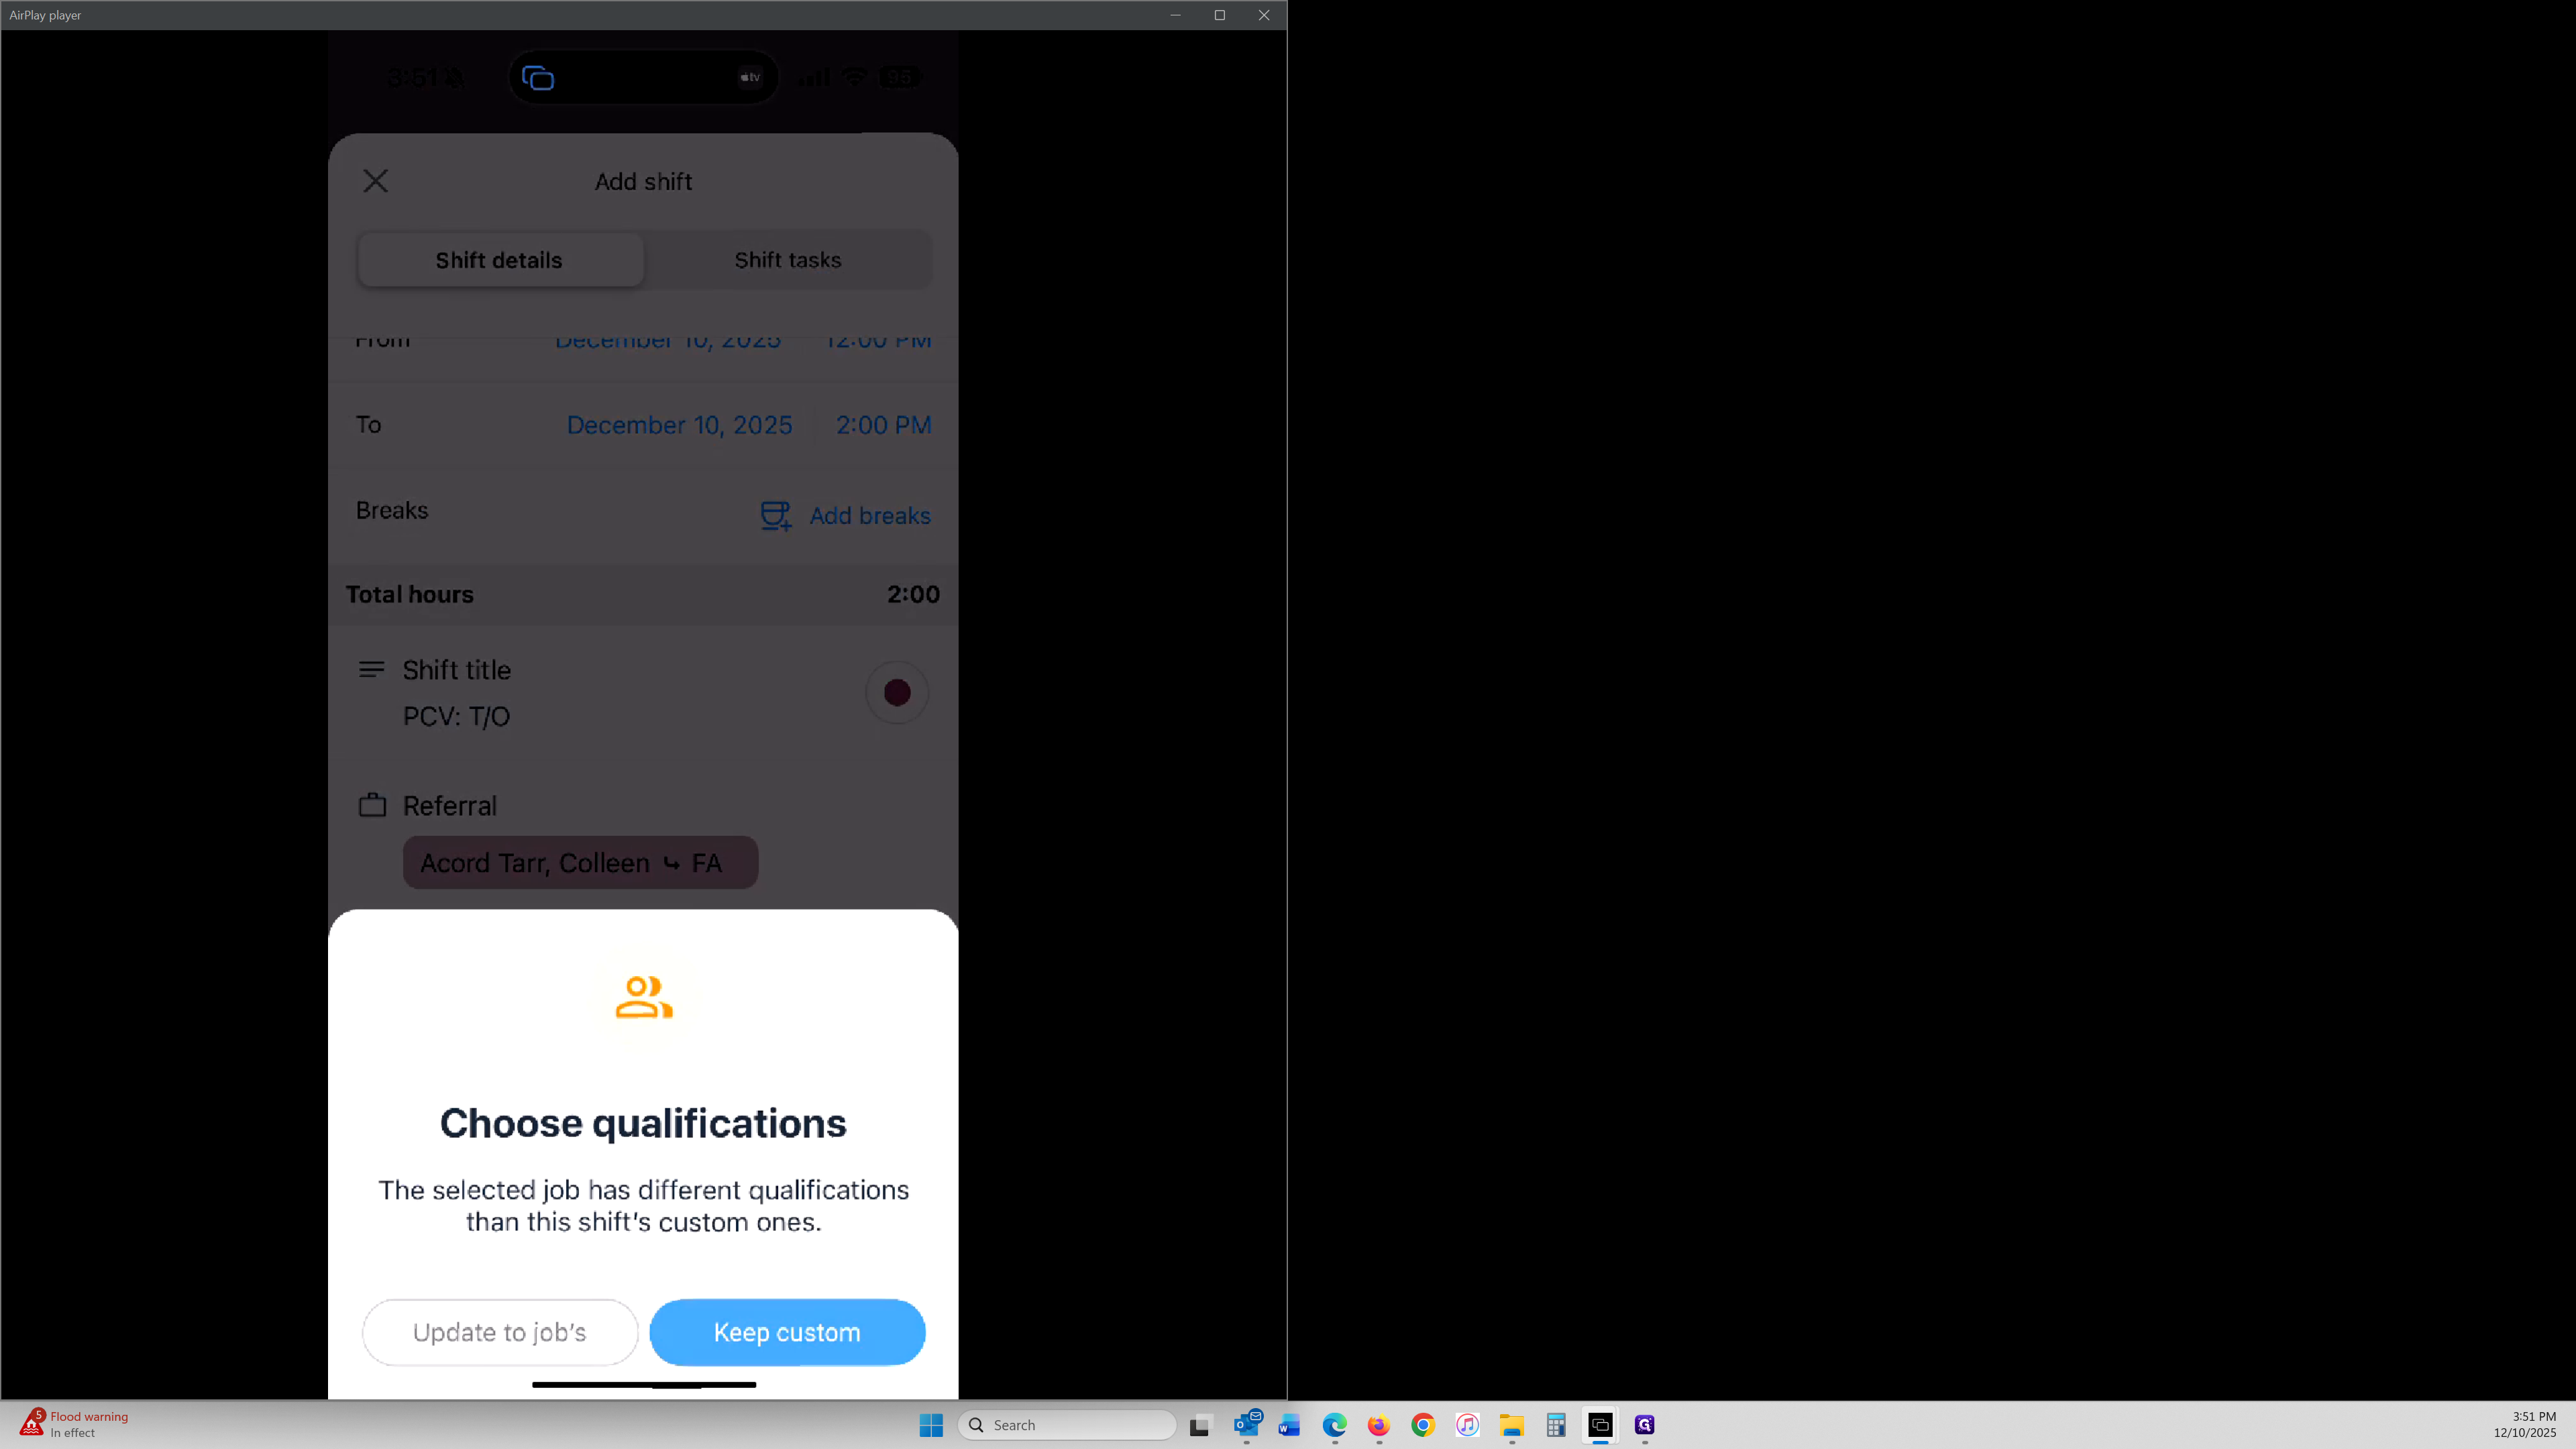
Next, tap on "Referral" to search for and select the correct referral name. After selecting the referral, choose the sub‑job that this shift pertains to, such as MO for the mother’s visit case or FA for the father’s visit case.
I'm using this as account as a placeholder, and because I'm not qualified user for this case, this is why I'm receiving a notification to 'Keep custom' qualification. You should not receive this option if you are already assigned as a user for your case, which happens early on in the process of adding our referral cases into Connecteam when an intake has been completed.
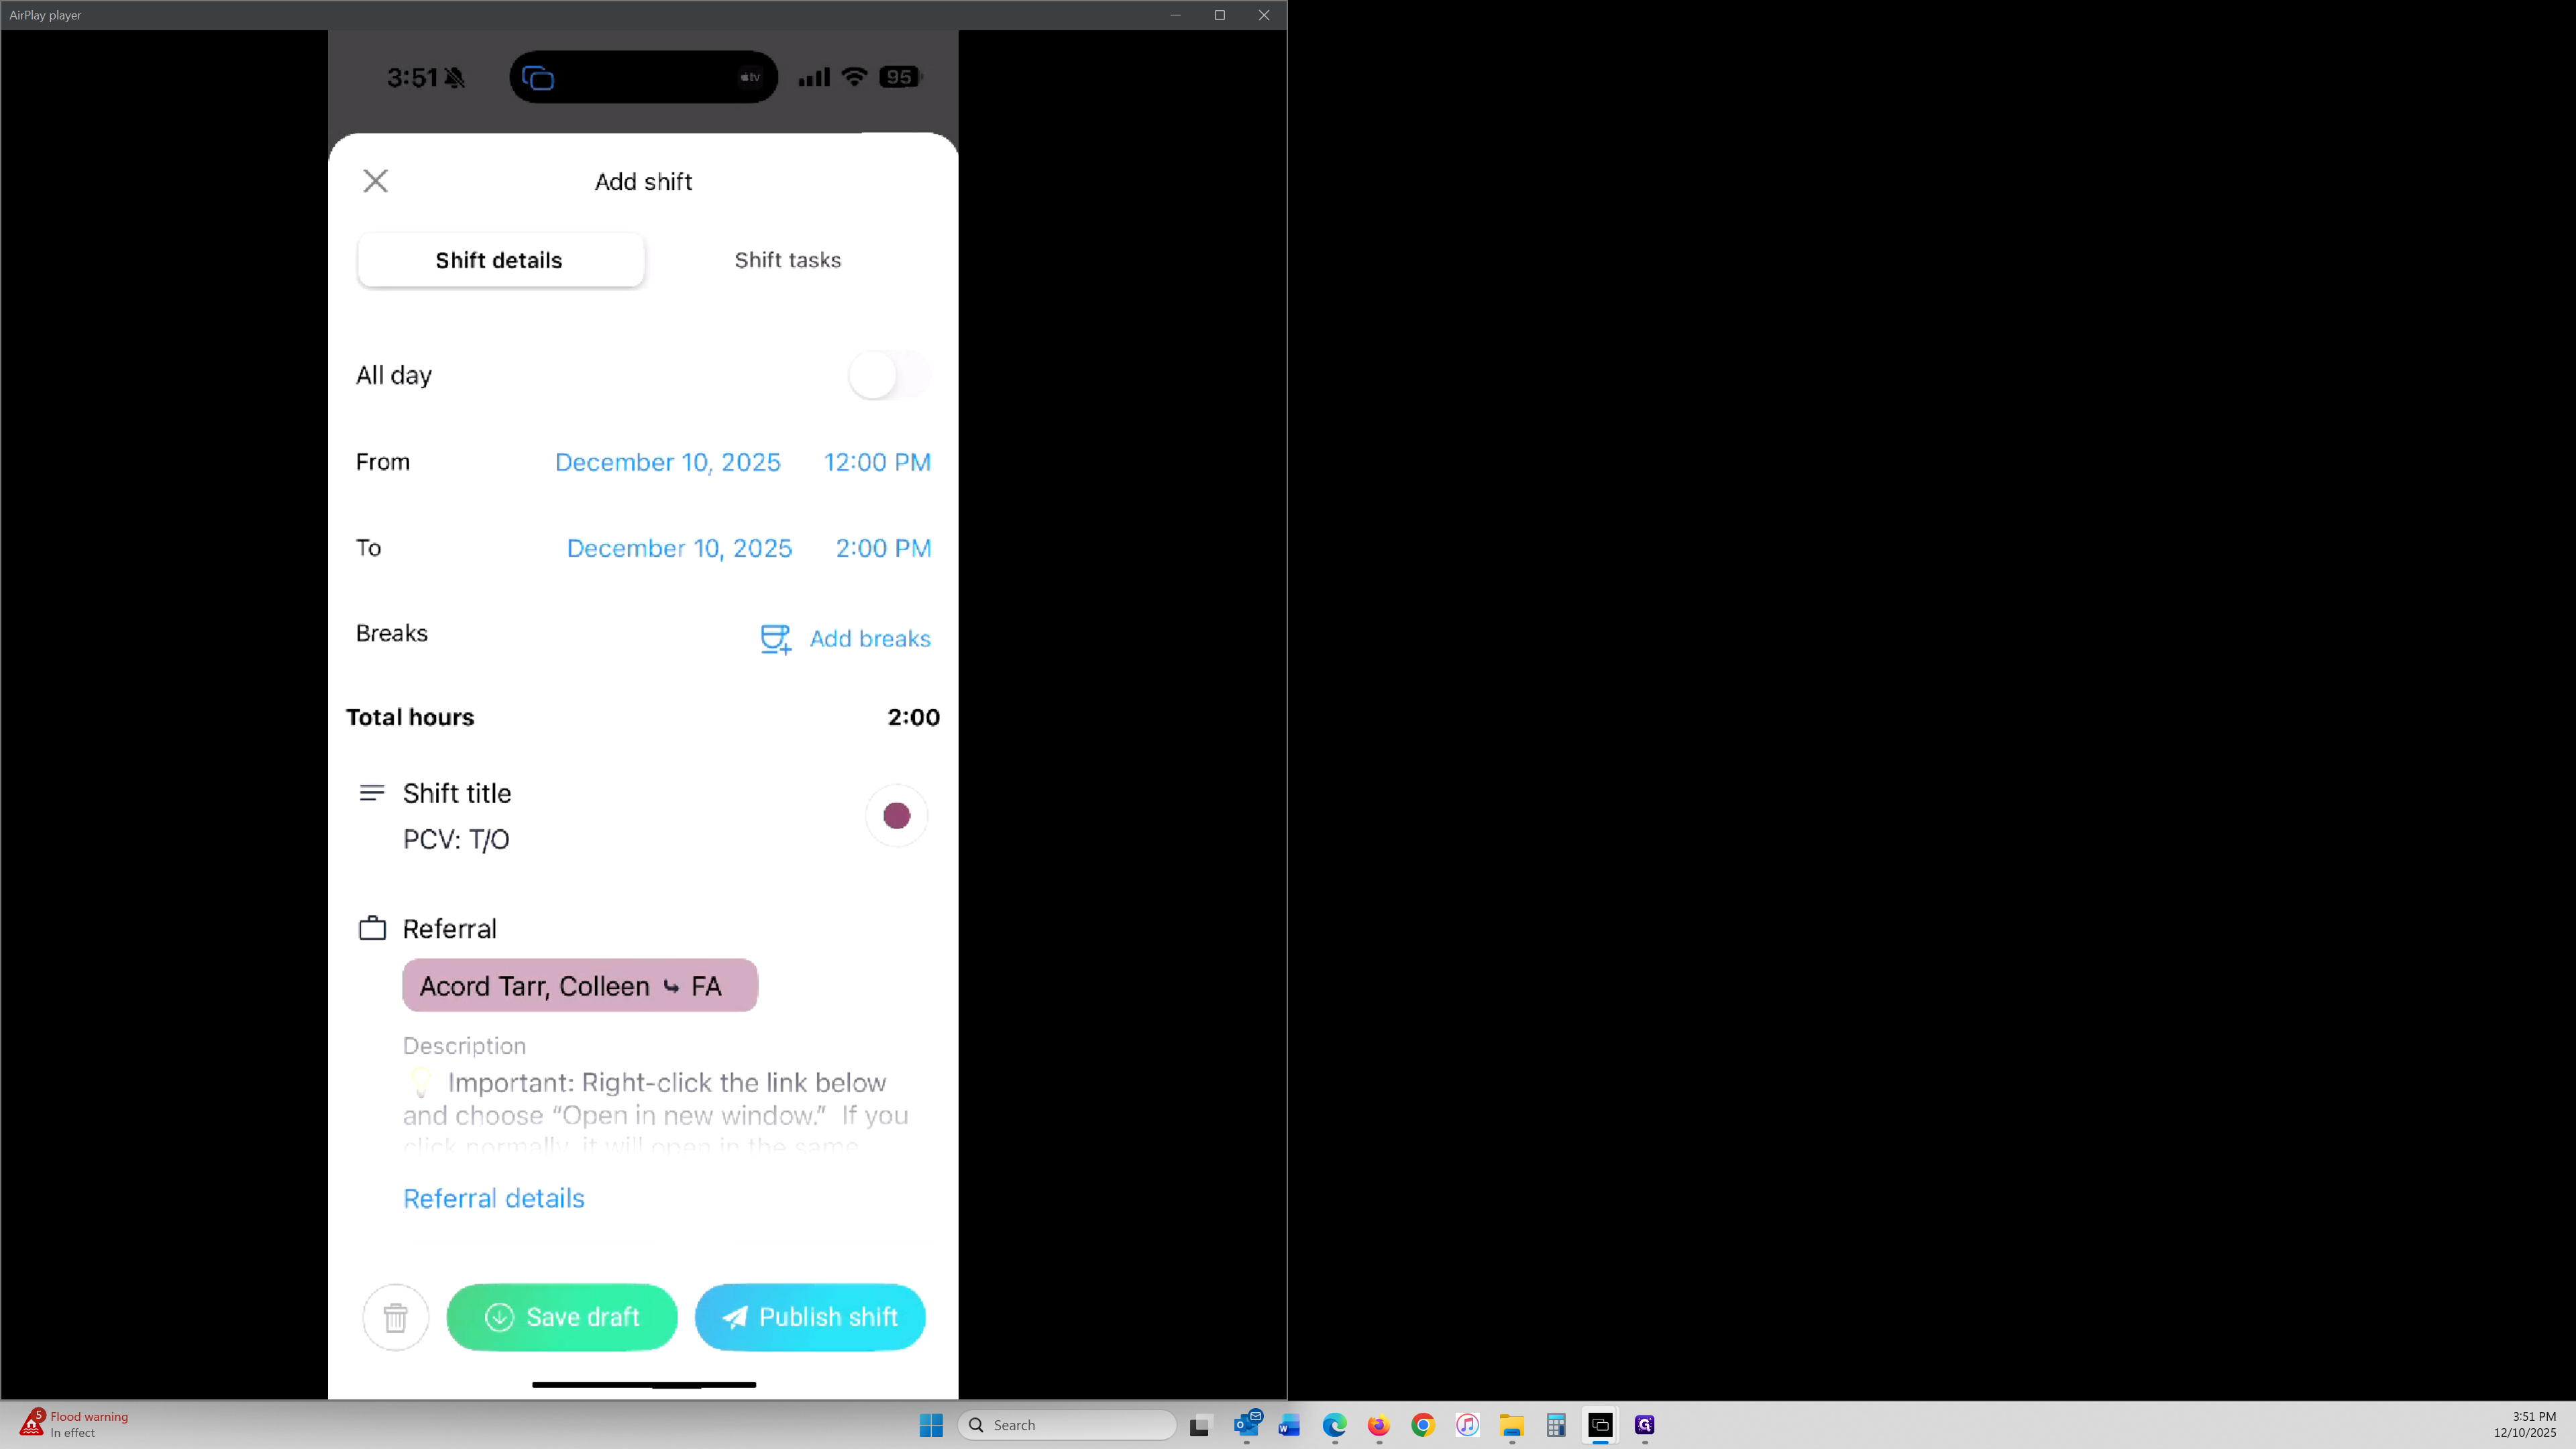
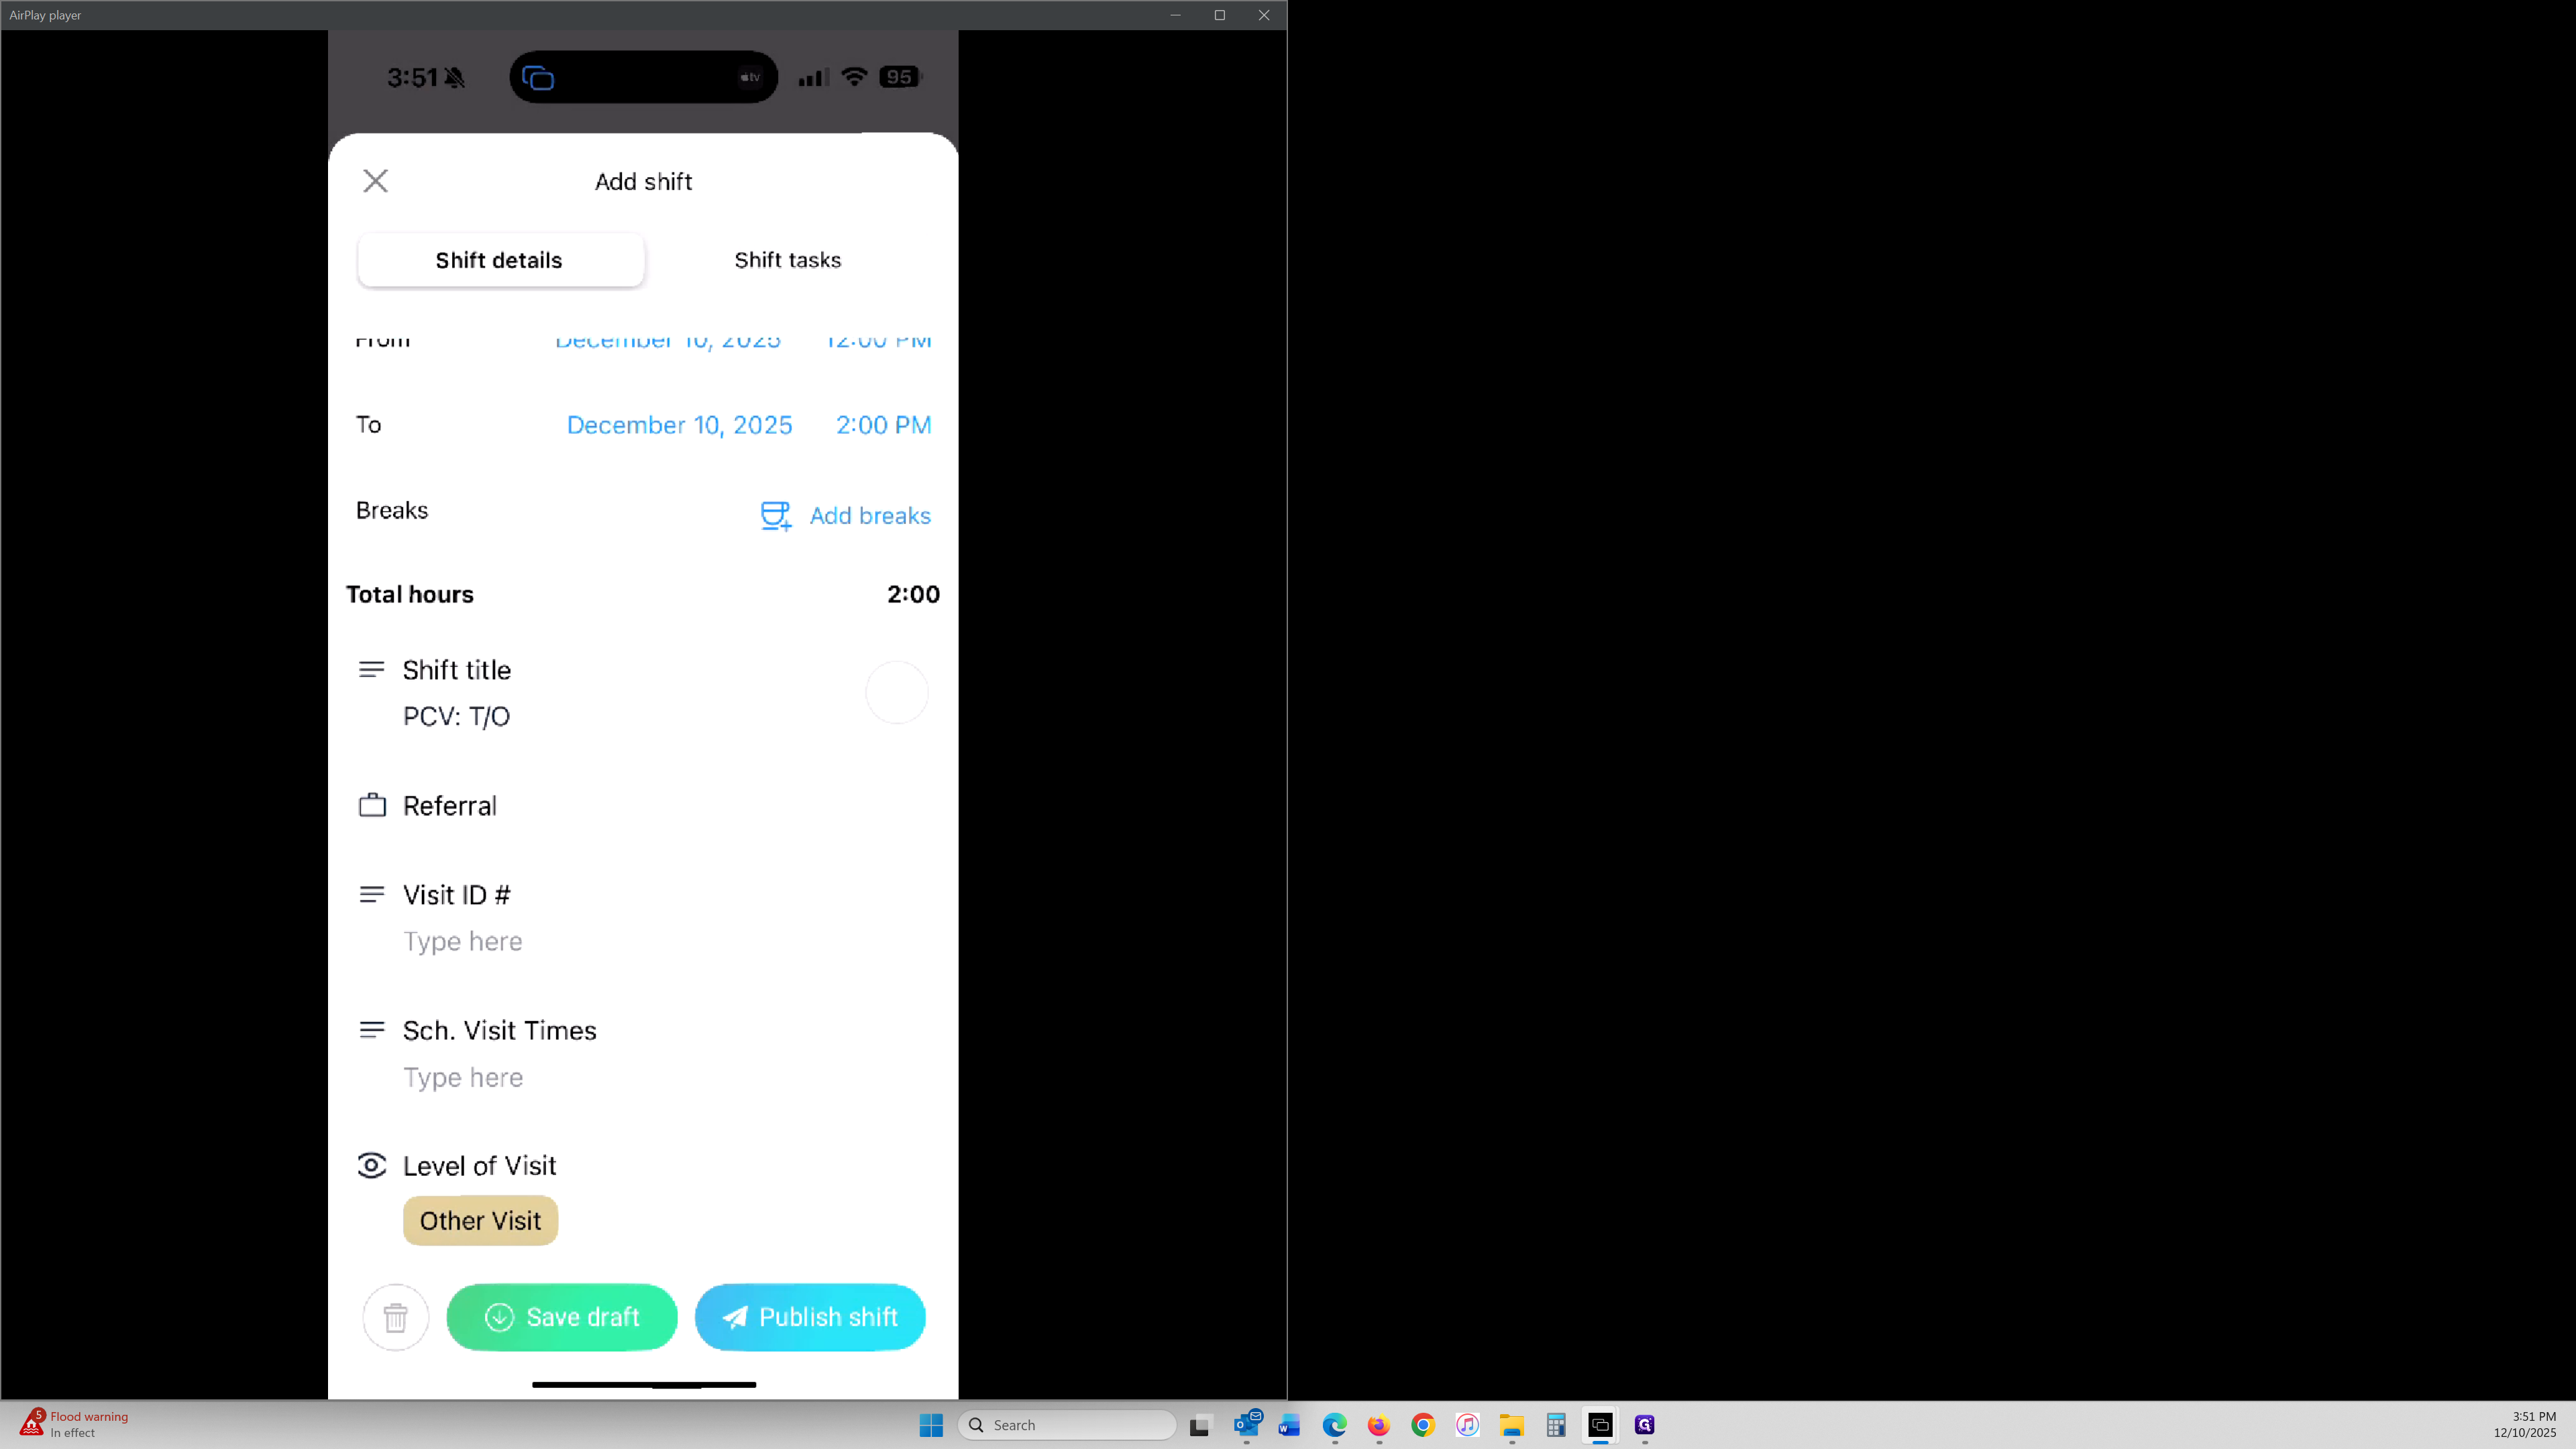
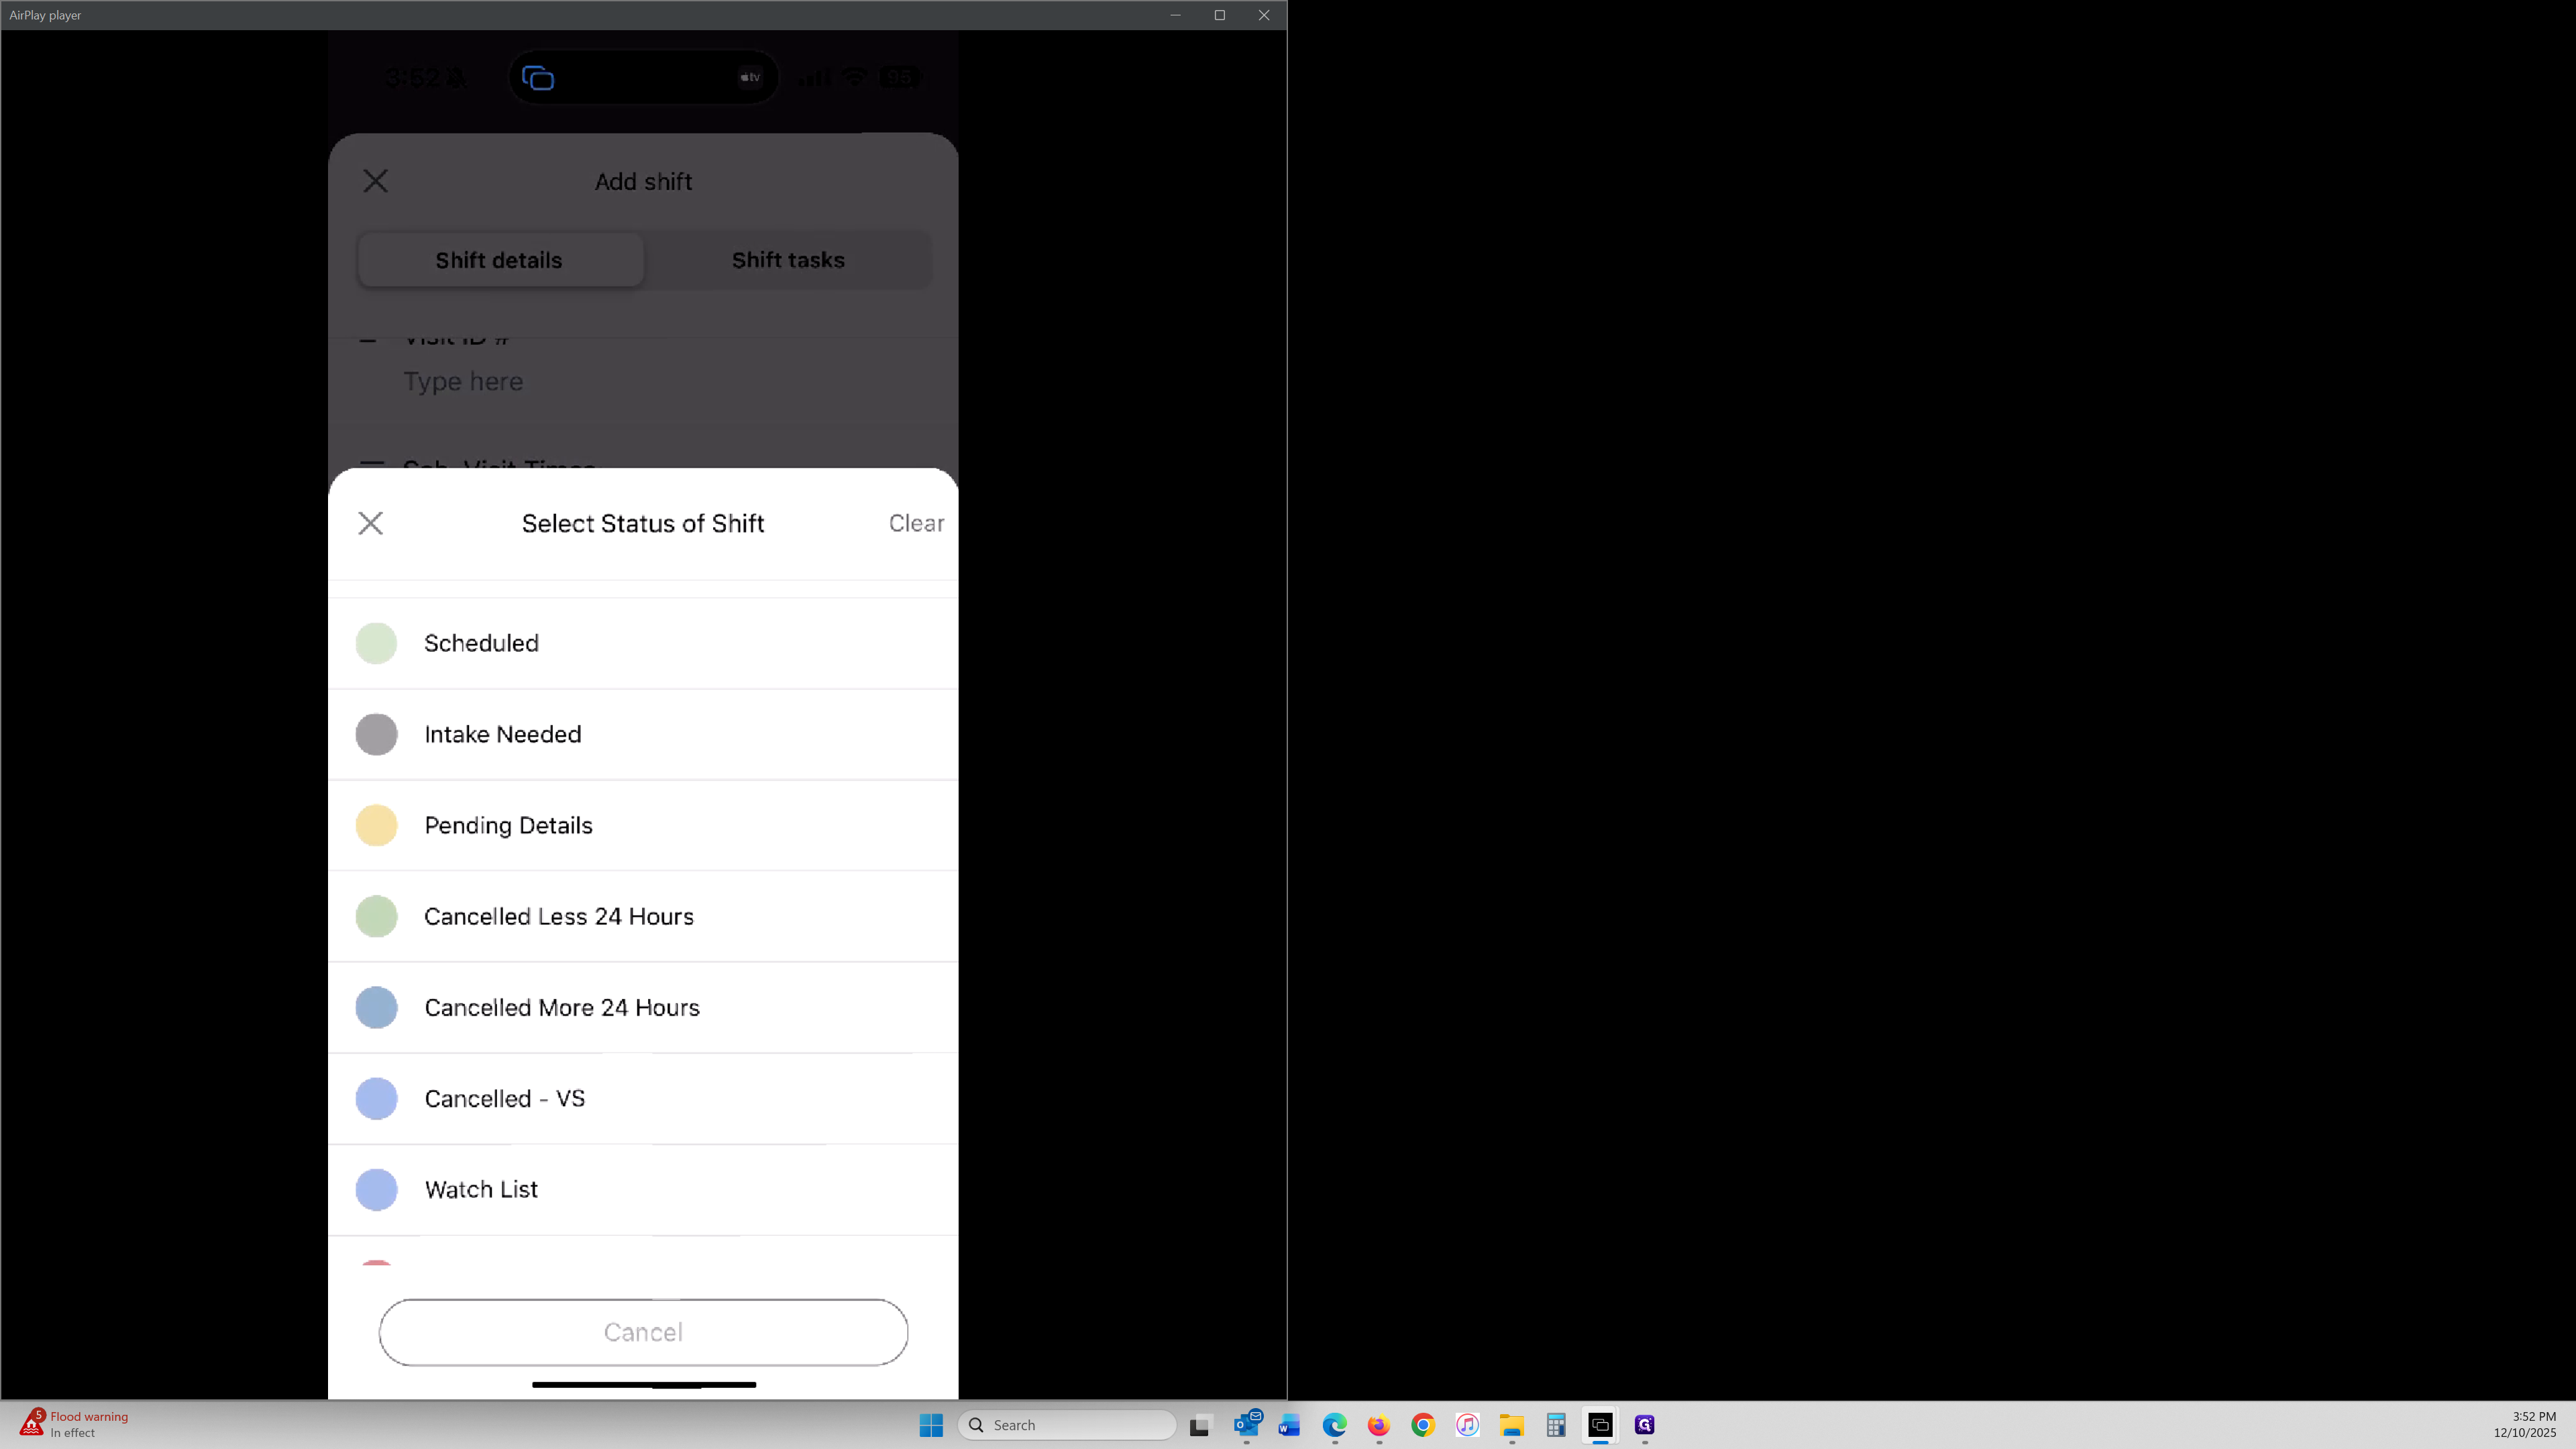
Once you have completed all of these steps, if you have an attachment, you can attach your intake form under Attachments, you can also update the field Status of shift, in this case it will be set to Scheduled.
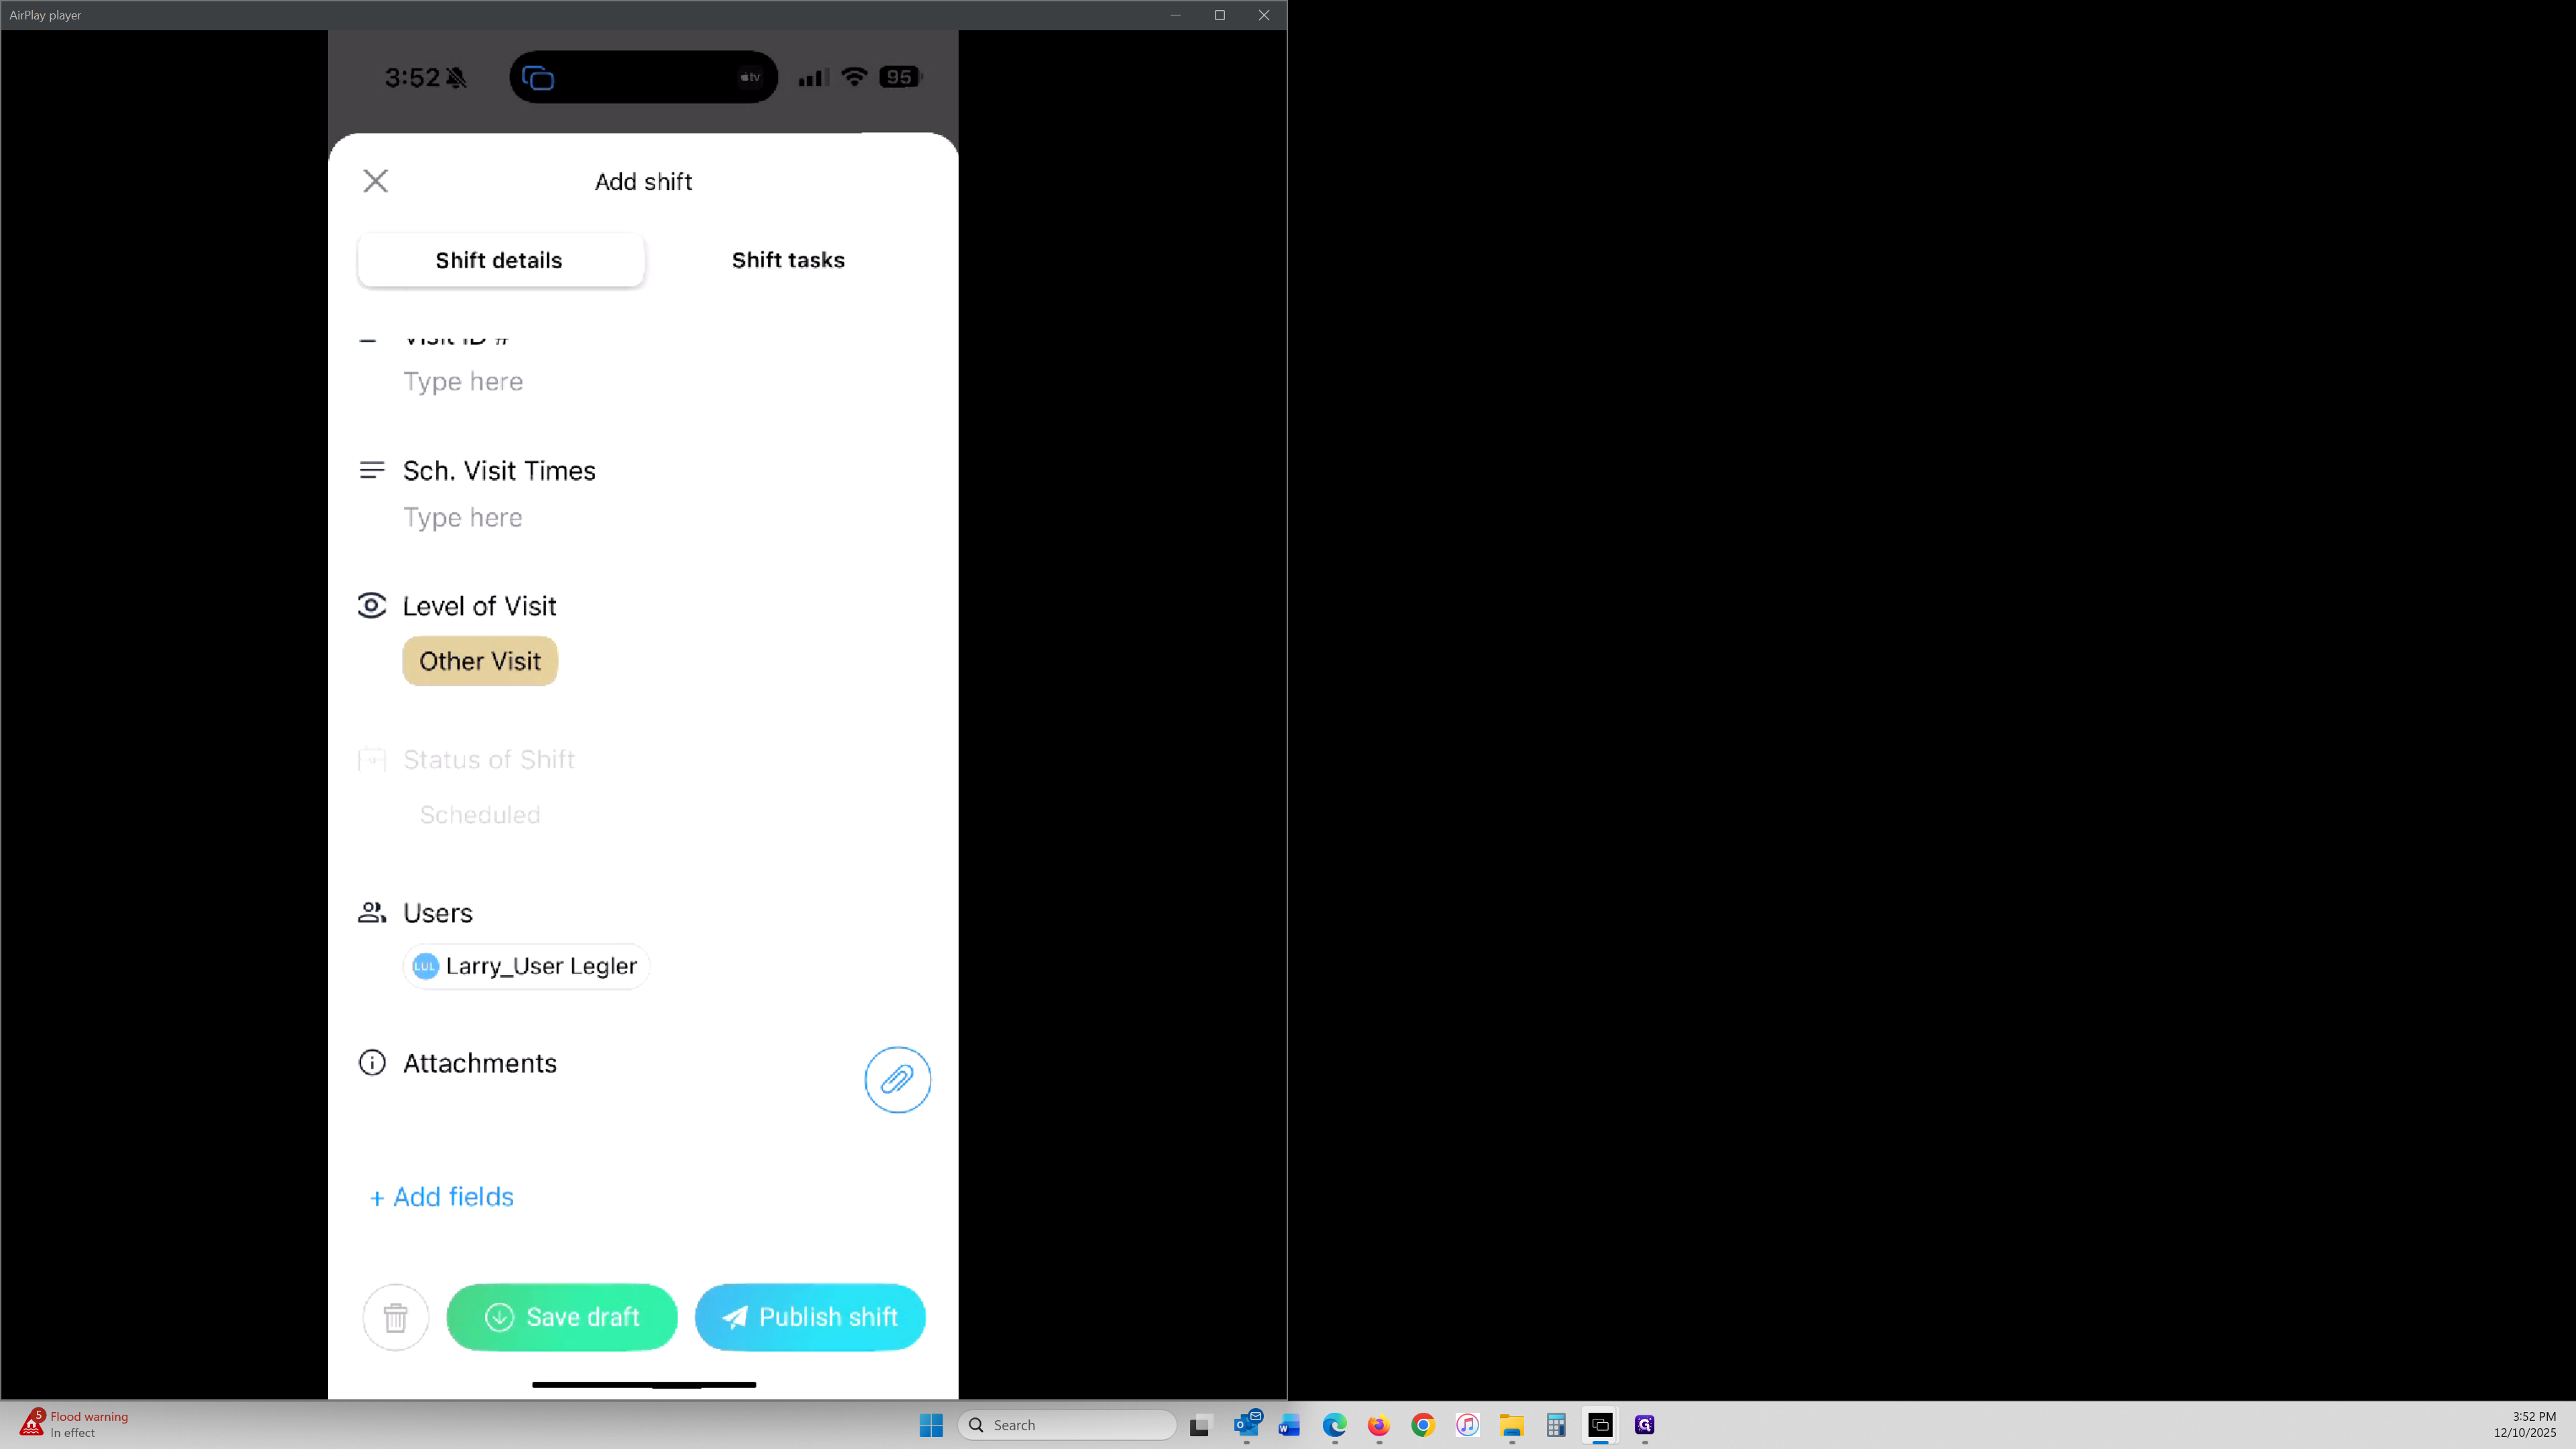
Status of Shift
The Status field is a flexible tool that allows you to track the current state and outcome of each shift. While “Scheduled” is used for shifts that are active and upcoming, you can update this field at any time to reflect how the shift concludes. This becomes your documentation record for what happened with each visit.
Here are the common status options and how they are used:
Completed
Use this when the shift has ended successfully and all visit tasks and notes have been completed.Scheduled
Use this when all shift details are entered, the intake form is attached, and the visit is fully scheduled for a future date.Resolved
Use this when the shift has been closed, or when the referral information has been updated and the Visit ID number has been changed. This is often used for administrative closure.Cancelled more than 24 hours
Use this when the visit was canceled with more than 24 hours notice. This is often used for billing or tracking purposes.Cancelled less than 24 hours
Use this when the visit was canceled within 24 hours of the scheduled start time.No Show
Select this when the referral did not attend the visit and no cancellation was provided.Client Cancelled
Use this if the client or parent contacted you to cancel the visit.Provider Cancelled
Use this if the provider needed to cancel due to illness, emergency, or another approved reason.Other
Use this for any shift that does not fall into one of the categories above. Add a note if clarification is needed.
These statuses help you keep an accurate record of each shift and show how every visit was completed once it has passed.
✅ You can begin using this field now to track your shifts throughout your calendar. Update it as needed to reflect the shift’s outcome or status.
Then to finalize, you want to Publish your shift.

There we go! You can now create shifts directly from your mobile app.
After Publishing Your Shift: How to Confirm It in the User’s View

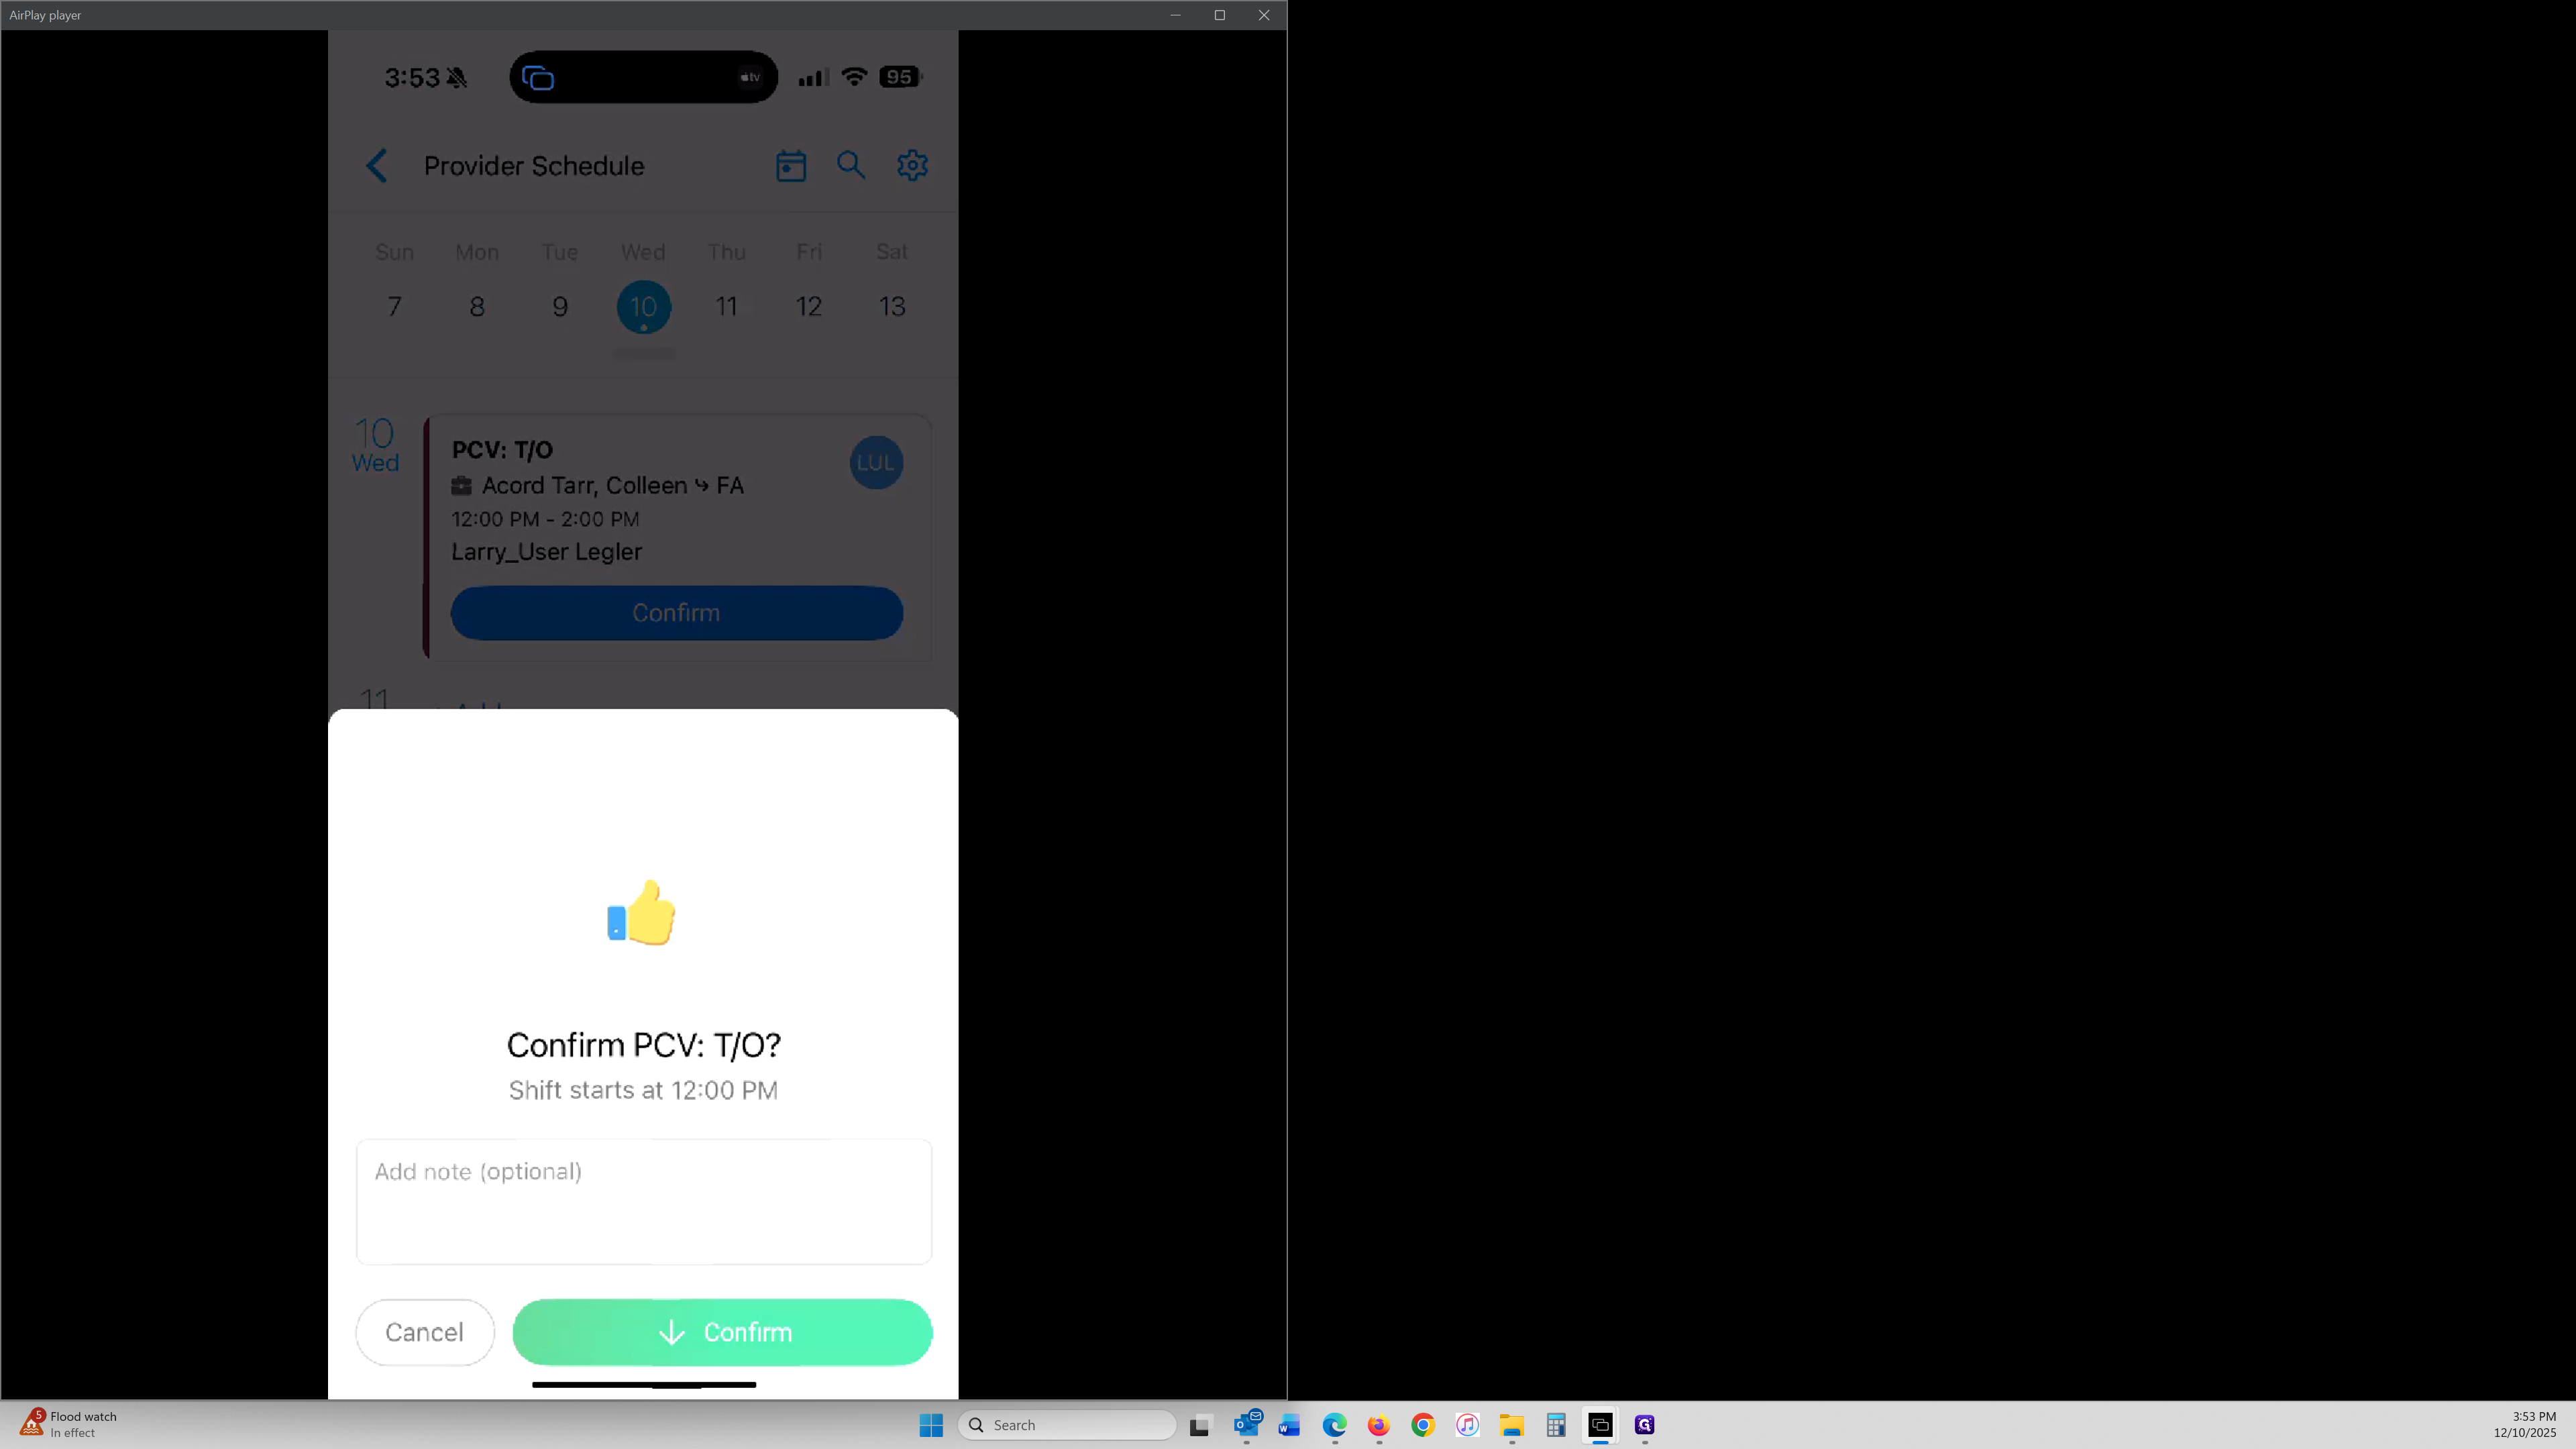
From the User’s view, you will see the option to confirm your shift. If you use this feature to keep track of shifts you have fully entered, tap Confirm, then tap Confirm again at the bottom. Only confirm a shift after you verify that all details are correct. If something is missing, return to the Admin view and finish adding information before confirming.
📘 Need deeper clarification on how repeating shifts work?
Refer to:
Understanding Repeating Shift Behavior in Connecteam
Learn how repeating shifts work on desktop, what limitations exist on the mobile app, and how to create consistent schedules using the repeating options described in the related procedure below.
📘 Are you looking for the full picture on Provider shift setup and scheduling?
This guide is part of the complete walkthrough:
How to Create and Manage Shifts in Connecteam
Learn how to create, assign, and publish shifts using templates, referrals, and documentation tools.