How to Manage Career Exploration Lessons in MemberVault
A guide to making sure every career is there and tracking progress in your spreadsheet.
By Robin Dickinson
We have many different career coloring pages and snapshots.
Locate the Module
1
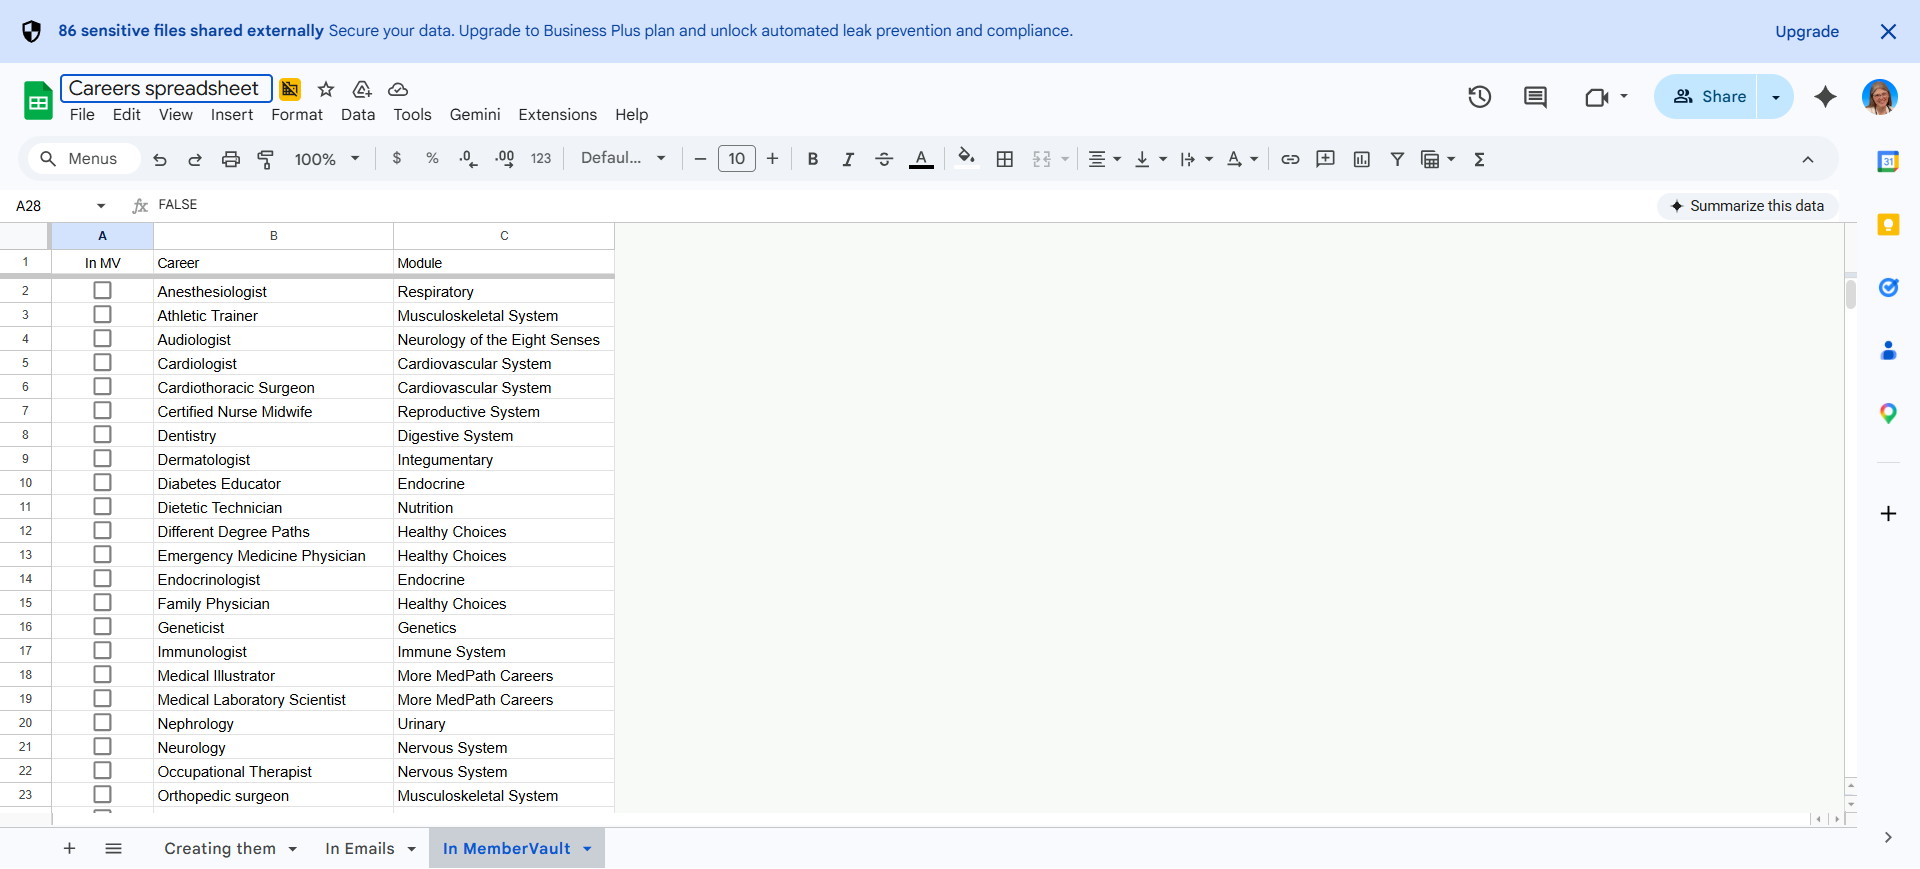
Open the tracking spreadsheet and go to the third tab called "In MemberVault" to identify the career you need to add to your course.
2
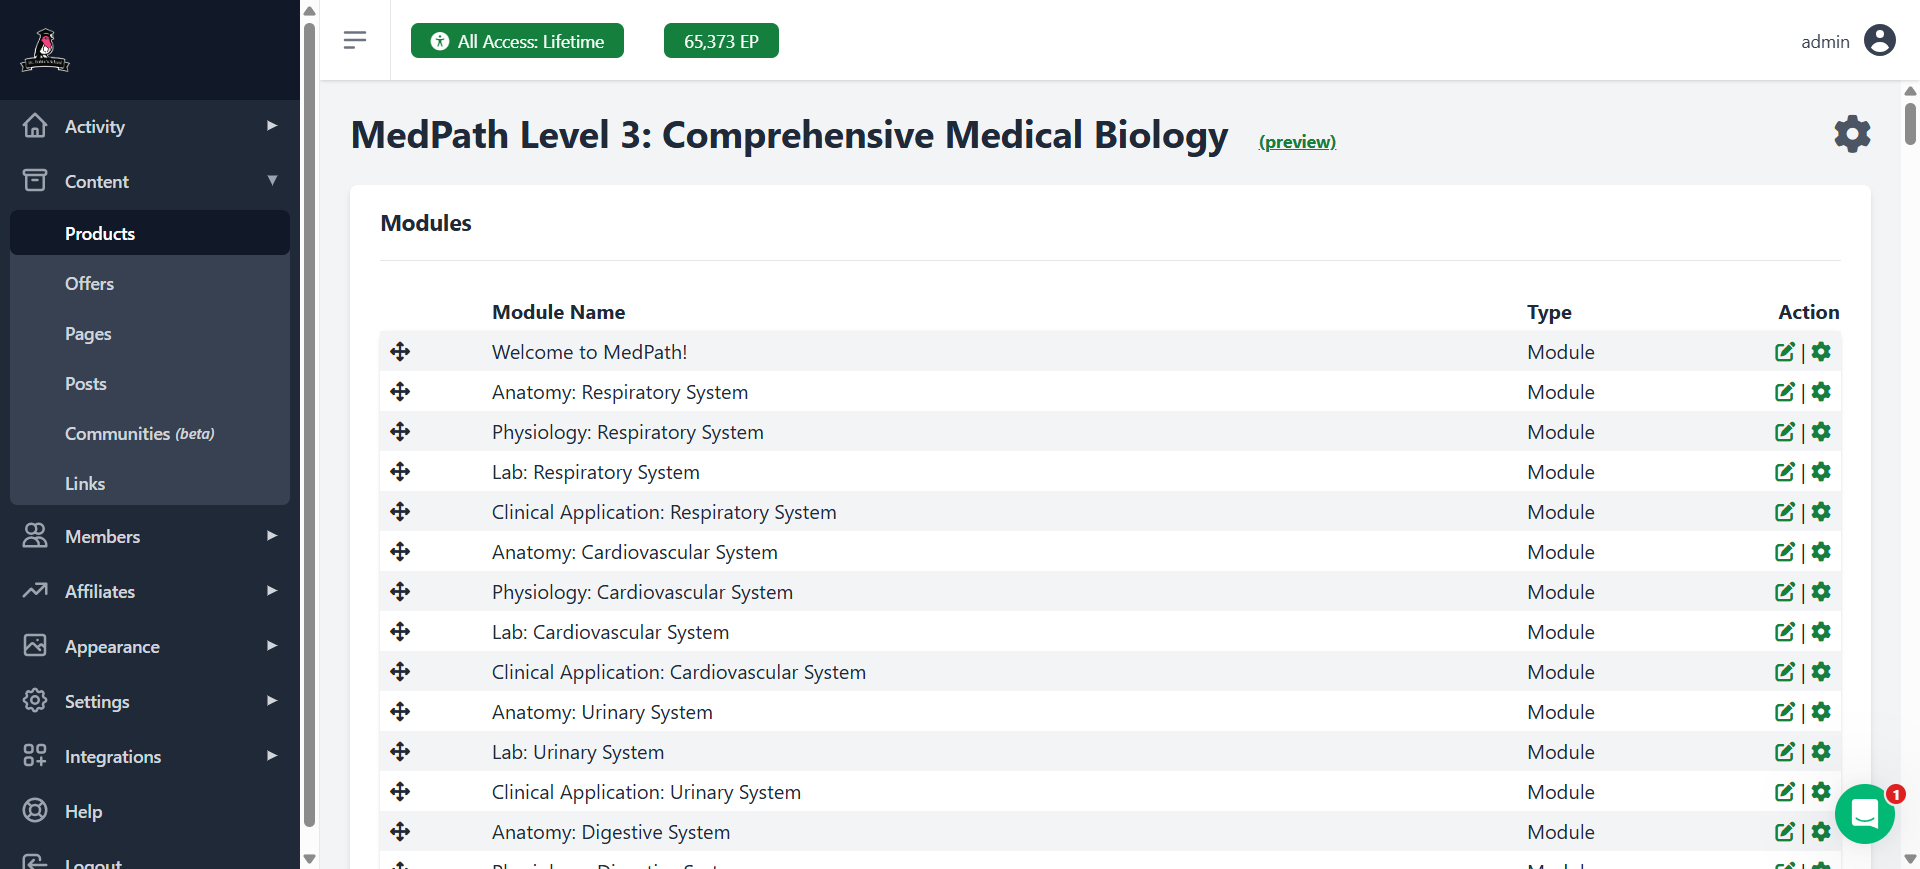
In MemberVault, locate the correct module and click the Edit icon on the far right of the screen. It looks like a pencil.
Create or Check the Lesson
3
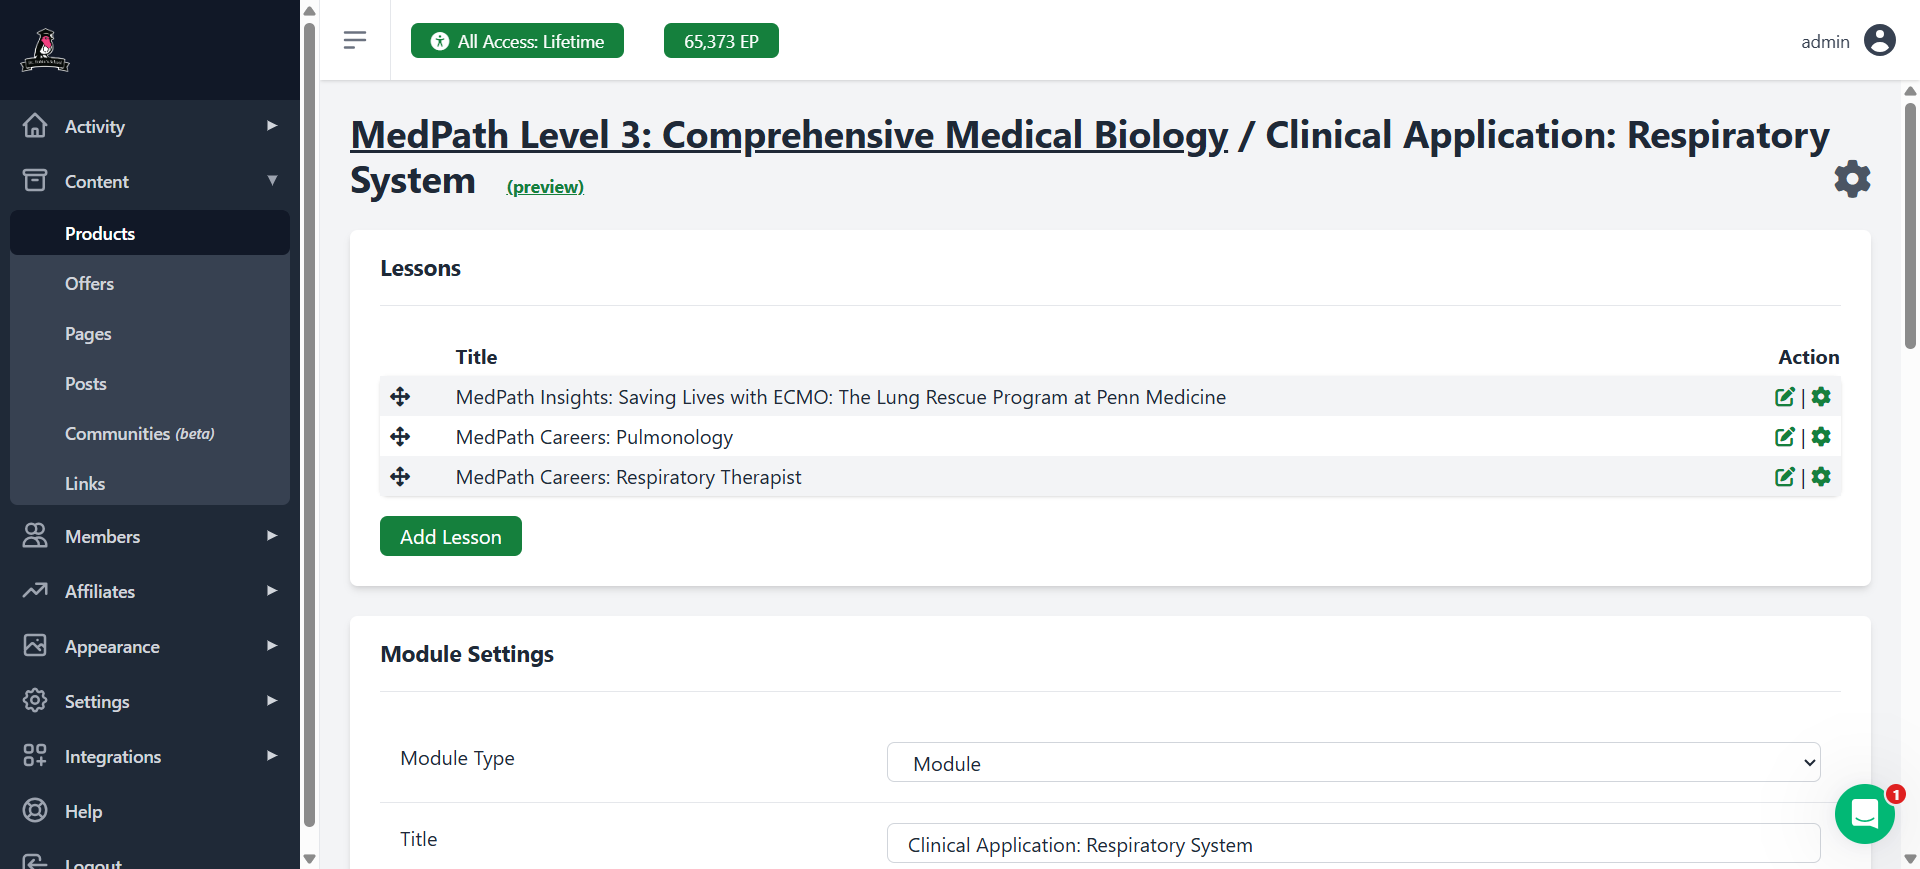
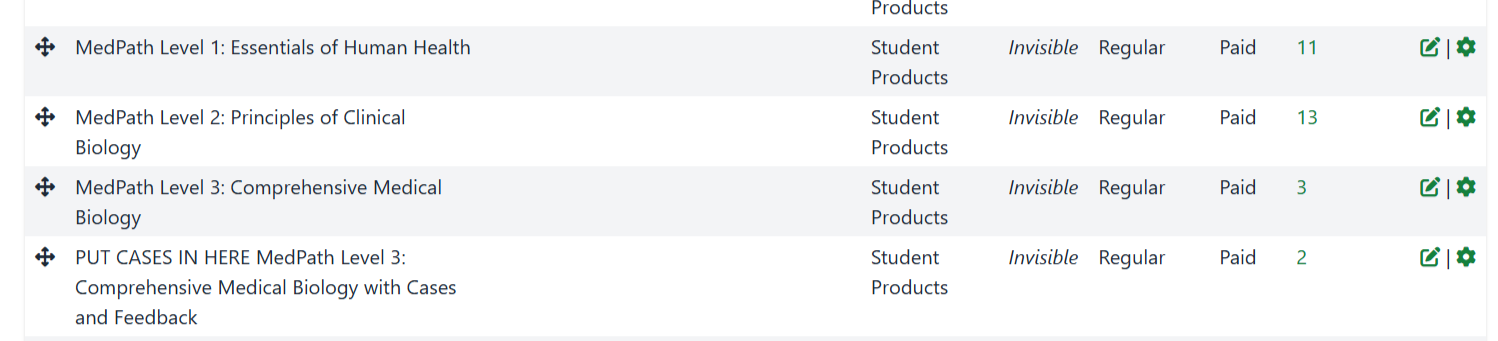
You can see here that in the Respiratory system, we already have pulmonologist and respiratory therapist but we're missing anesthesiologist. To add anesthesiologist, you can either click "Add Lesson" and do it from scratch or you can copy one of the other MedPath Careers and edit it. Either way, we have another guide on how to do that.
4
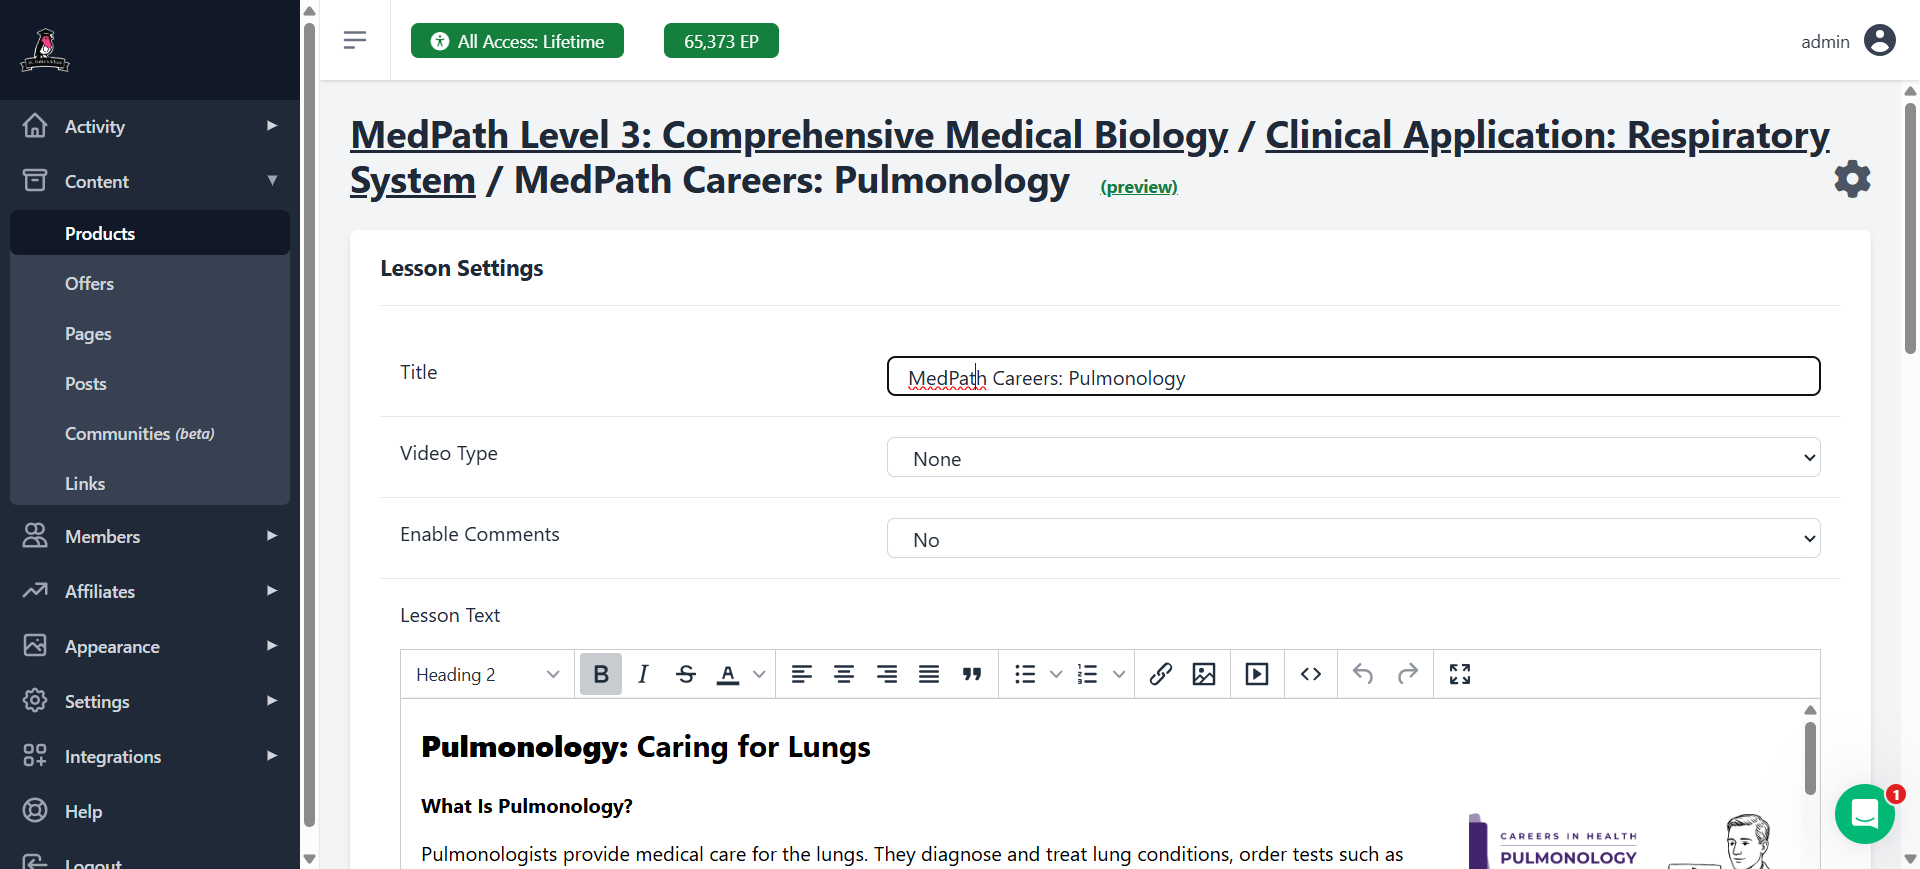
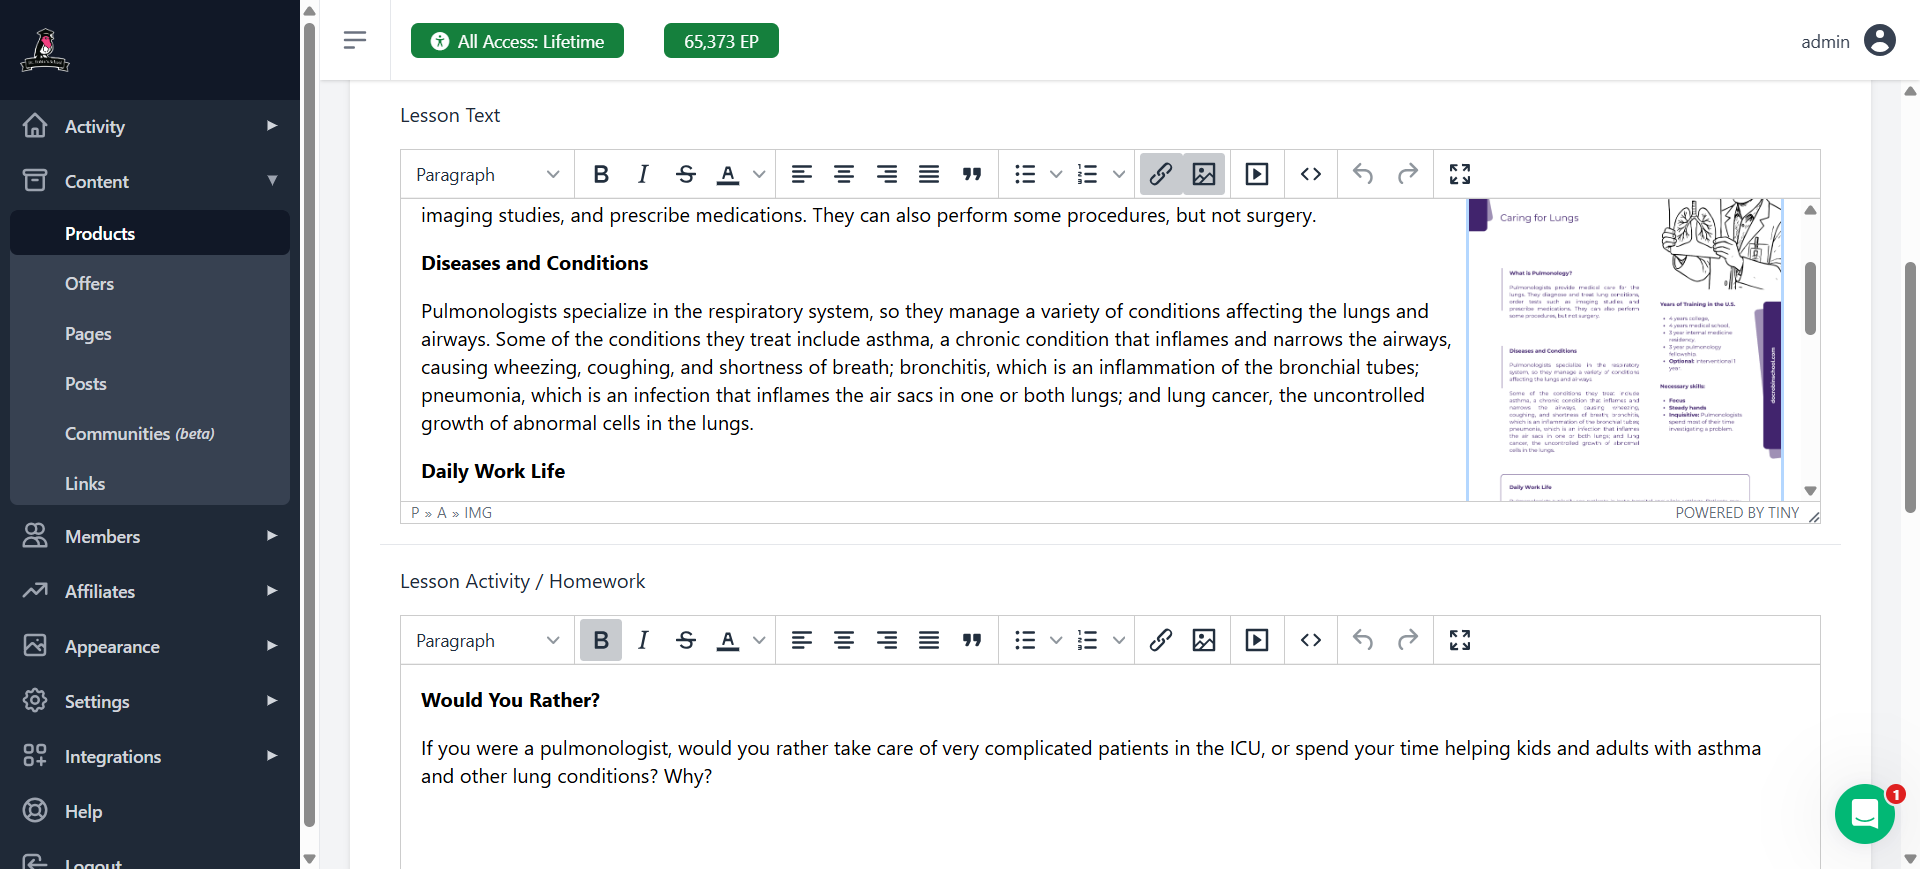
To check an existing lesson, you can either check it in this view or click on "Preview" to see the way it looks for customers.
5
Check that the words and headings are all present and formatted correctly and that each image is 250 pixels wide, set to the right, and has a link to the career snapshot or coloring page, respectively.
6
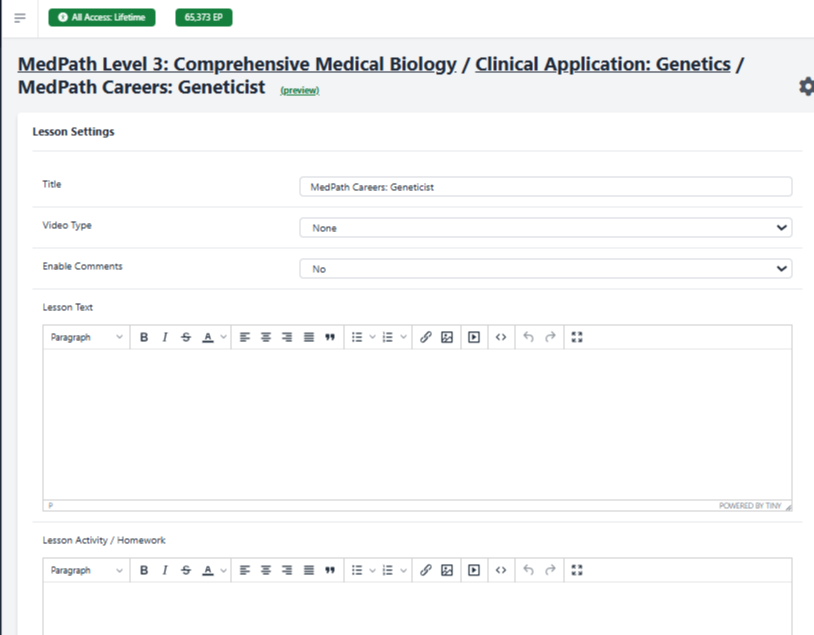
If you see a completely blank appearing career like this, make sure to scroll down and check for an old PDF.
7
This is what the old PDFs look like. Make sure to delete them any time you find them.

Completing the Process
8
Follow the other Glitter Guide on how to set up and copy a MedPath Careers lesson. Step 25 and after covers how to copy it to other courses/levels.
9
These are the ones that should get identical MedPath Careers lessons.
10
Once your lesson is done and copied to all four courses, return to your tracking spreadsheet and check the box to mark the career as successfully added.
