How to Set Up a Campaign in Koddi
Learn how to set up a campaign in Koddi with this comprehensive walkthrough. Discover best practices for campaign naming, budget settings, pacing options, attribution windows, and more.
By Miriam Young
In this guide, we'll learn how to set up a campaign using Koddi. We'll cover steps like naming your campaign, setting flight dates, choosing a budget, and configuring pacing and attribution settings. This process helps ensure your campaign is organized and meets your brand's goals.
Navigate to the right advertiser.
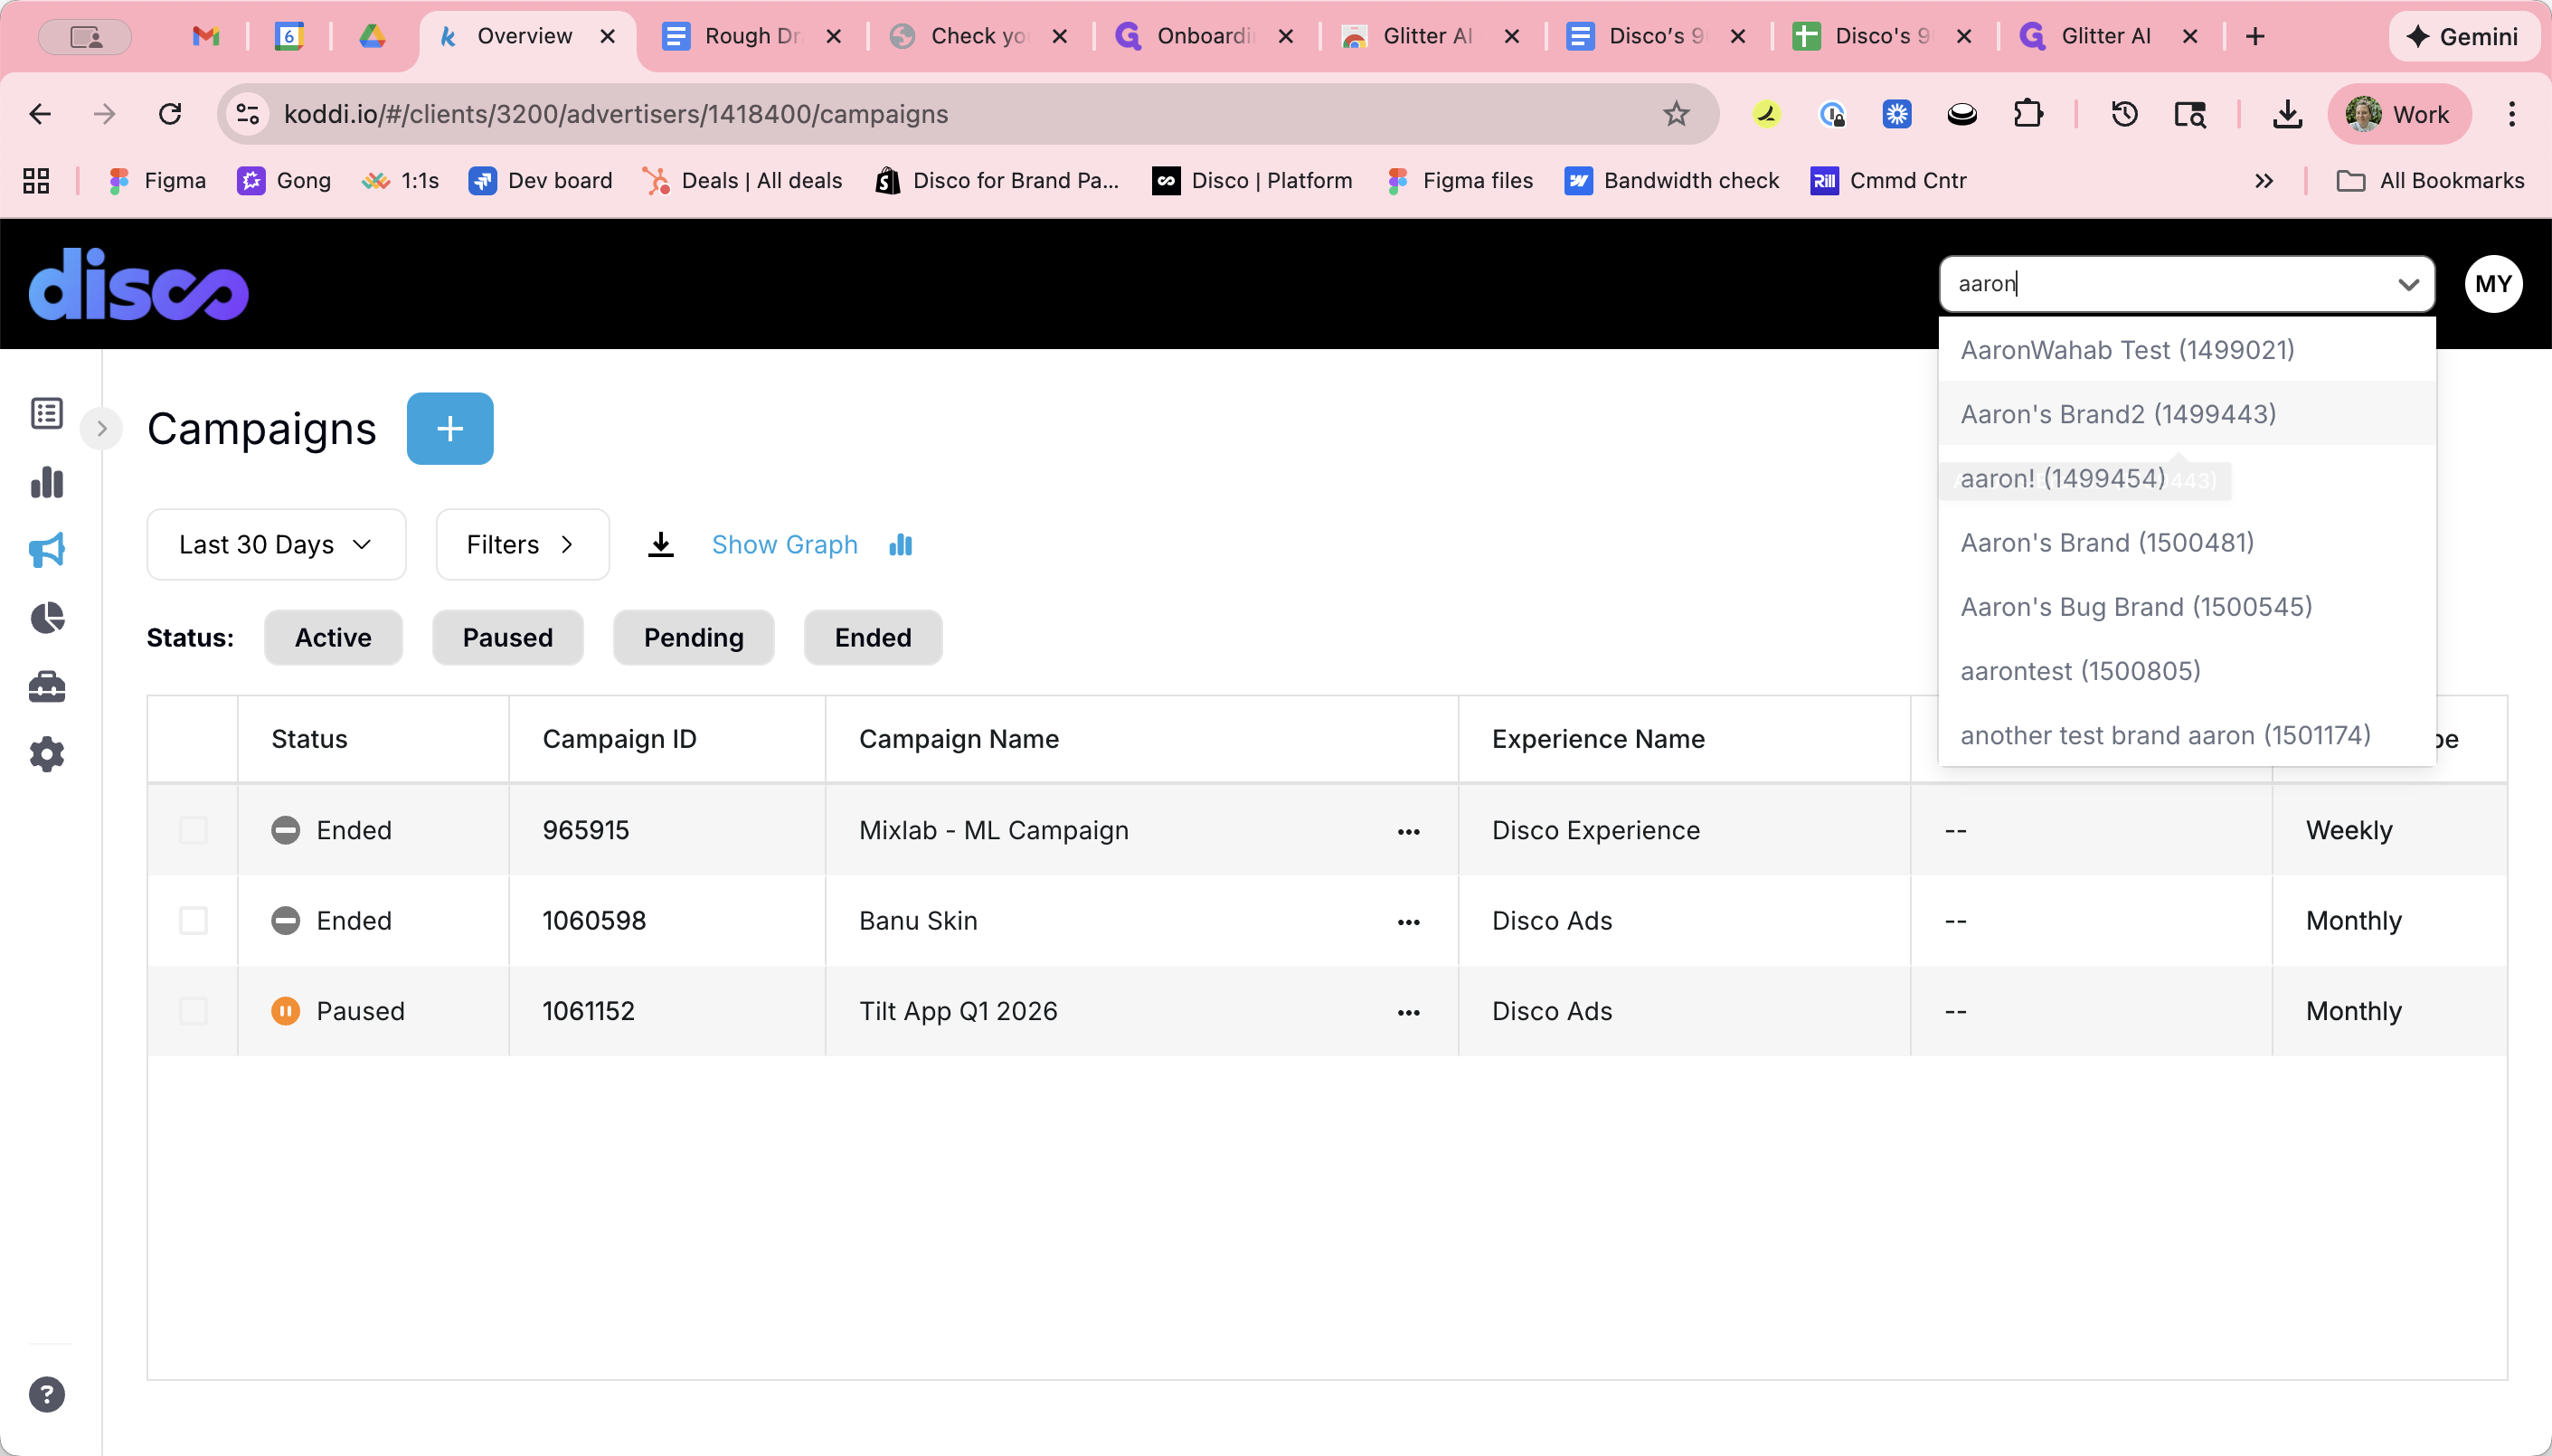
Use the top right search bar to find the advertiser or brand you want to create a campaign for.
1
Click on the drop down and start typing in the name of the brand.
2
Select the brand from the drop down.
3
Click the plus sign to create a new campaign.
Campaign Name
4
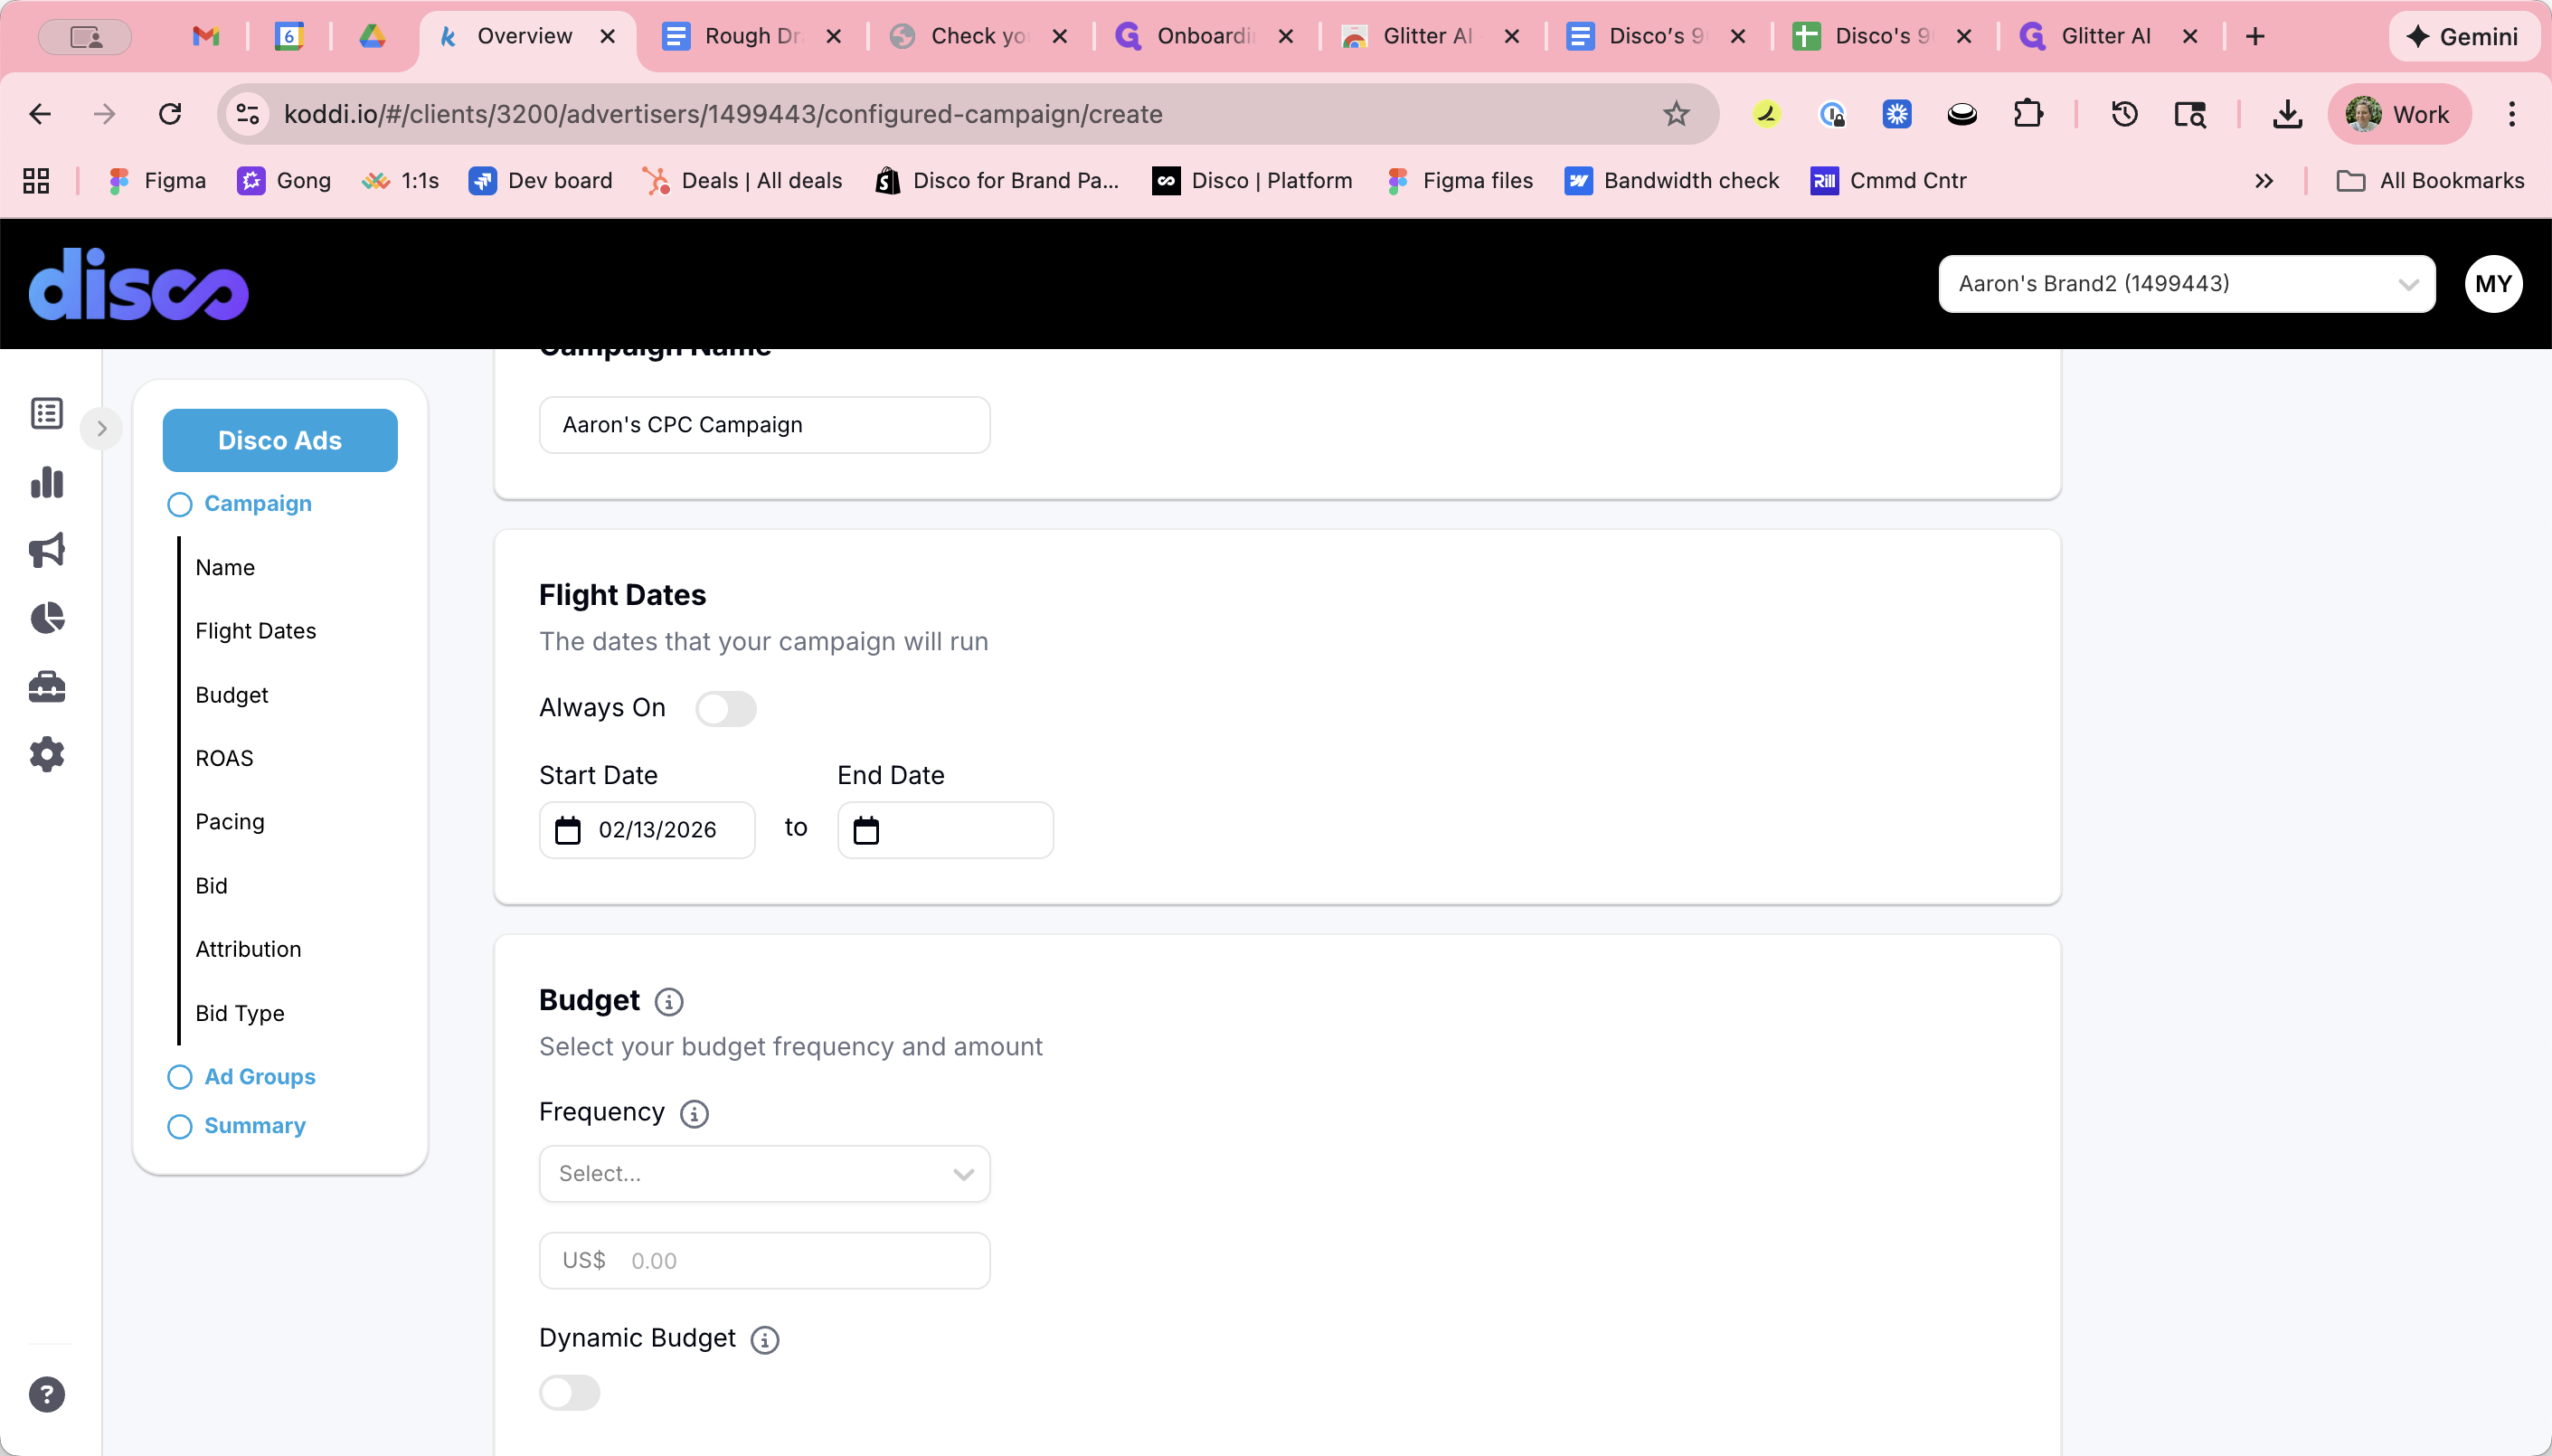
Set the campaign name here.
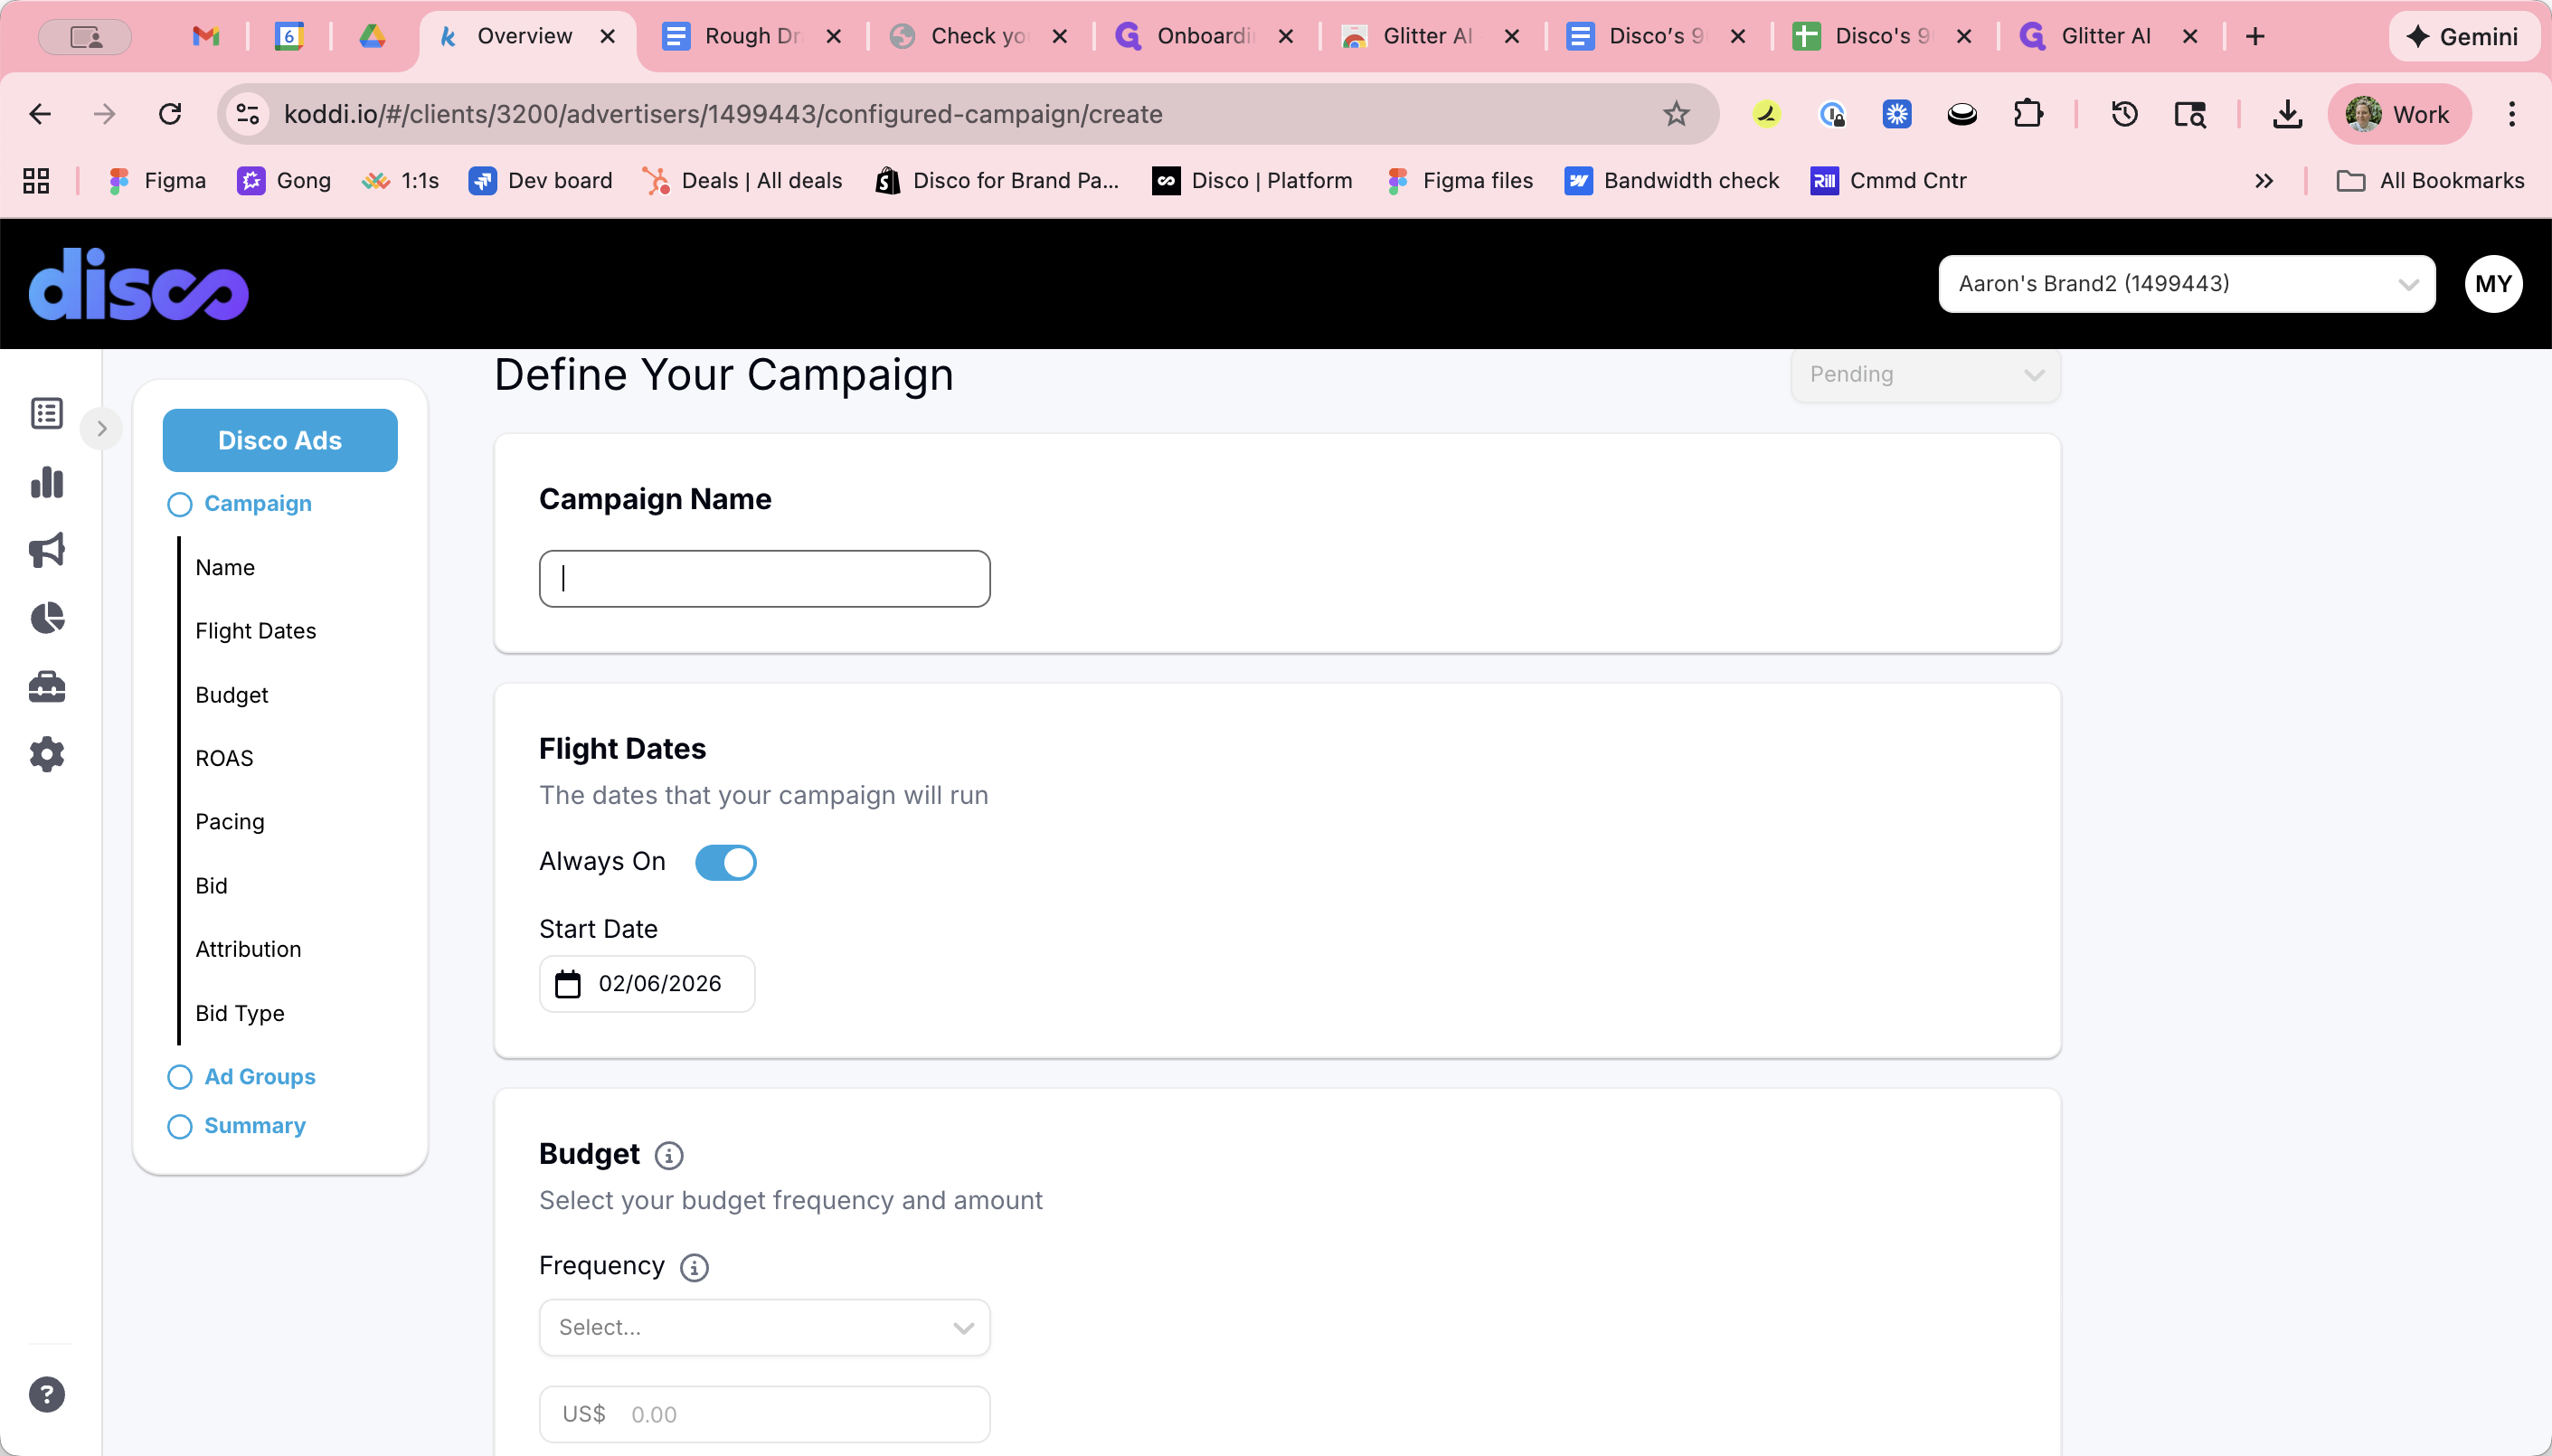
Campaign Flight Dates
5
Click here to set a start date.

6
Toggle off to enter an end date, if needed.

7
Enter the end date.
Campaign Budget
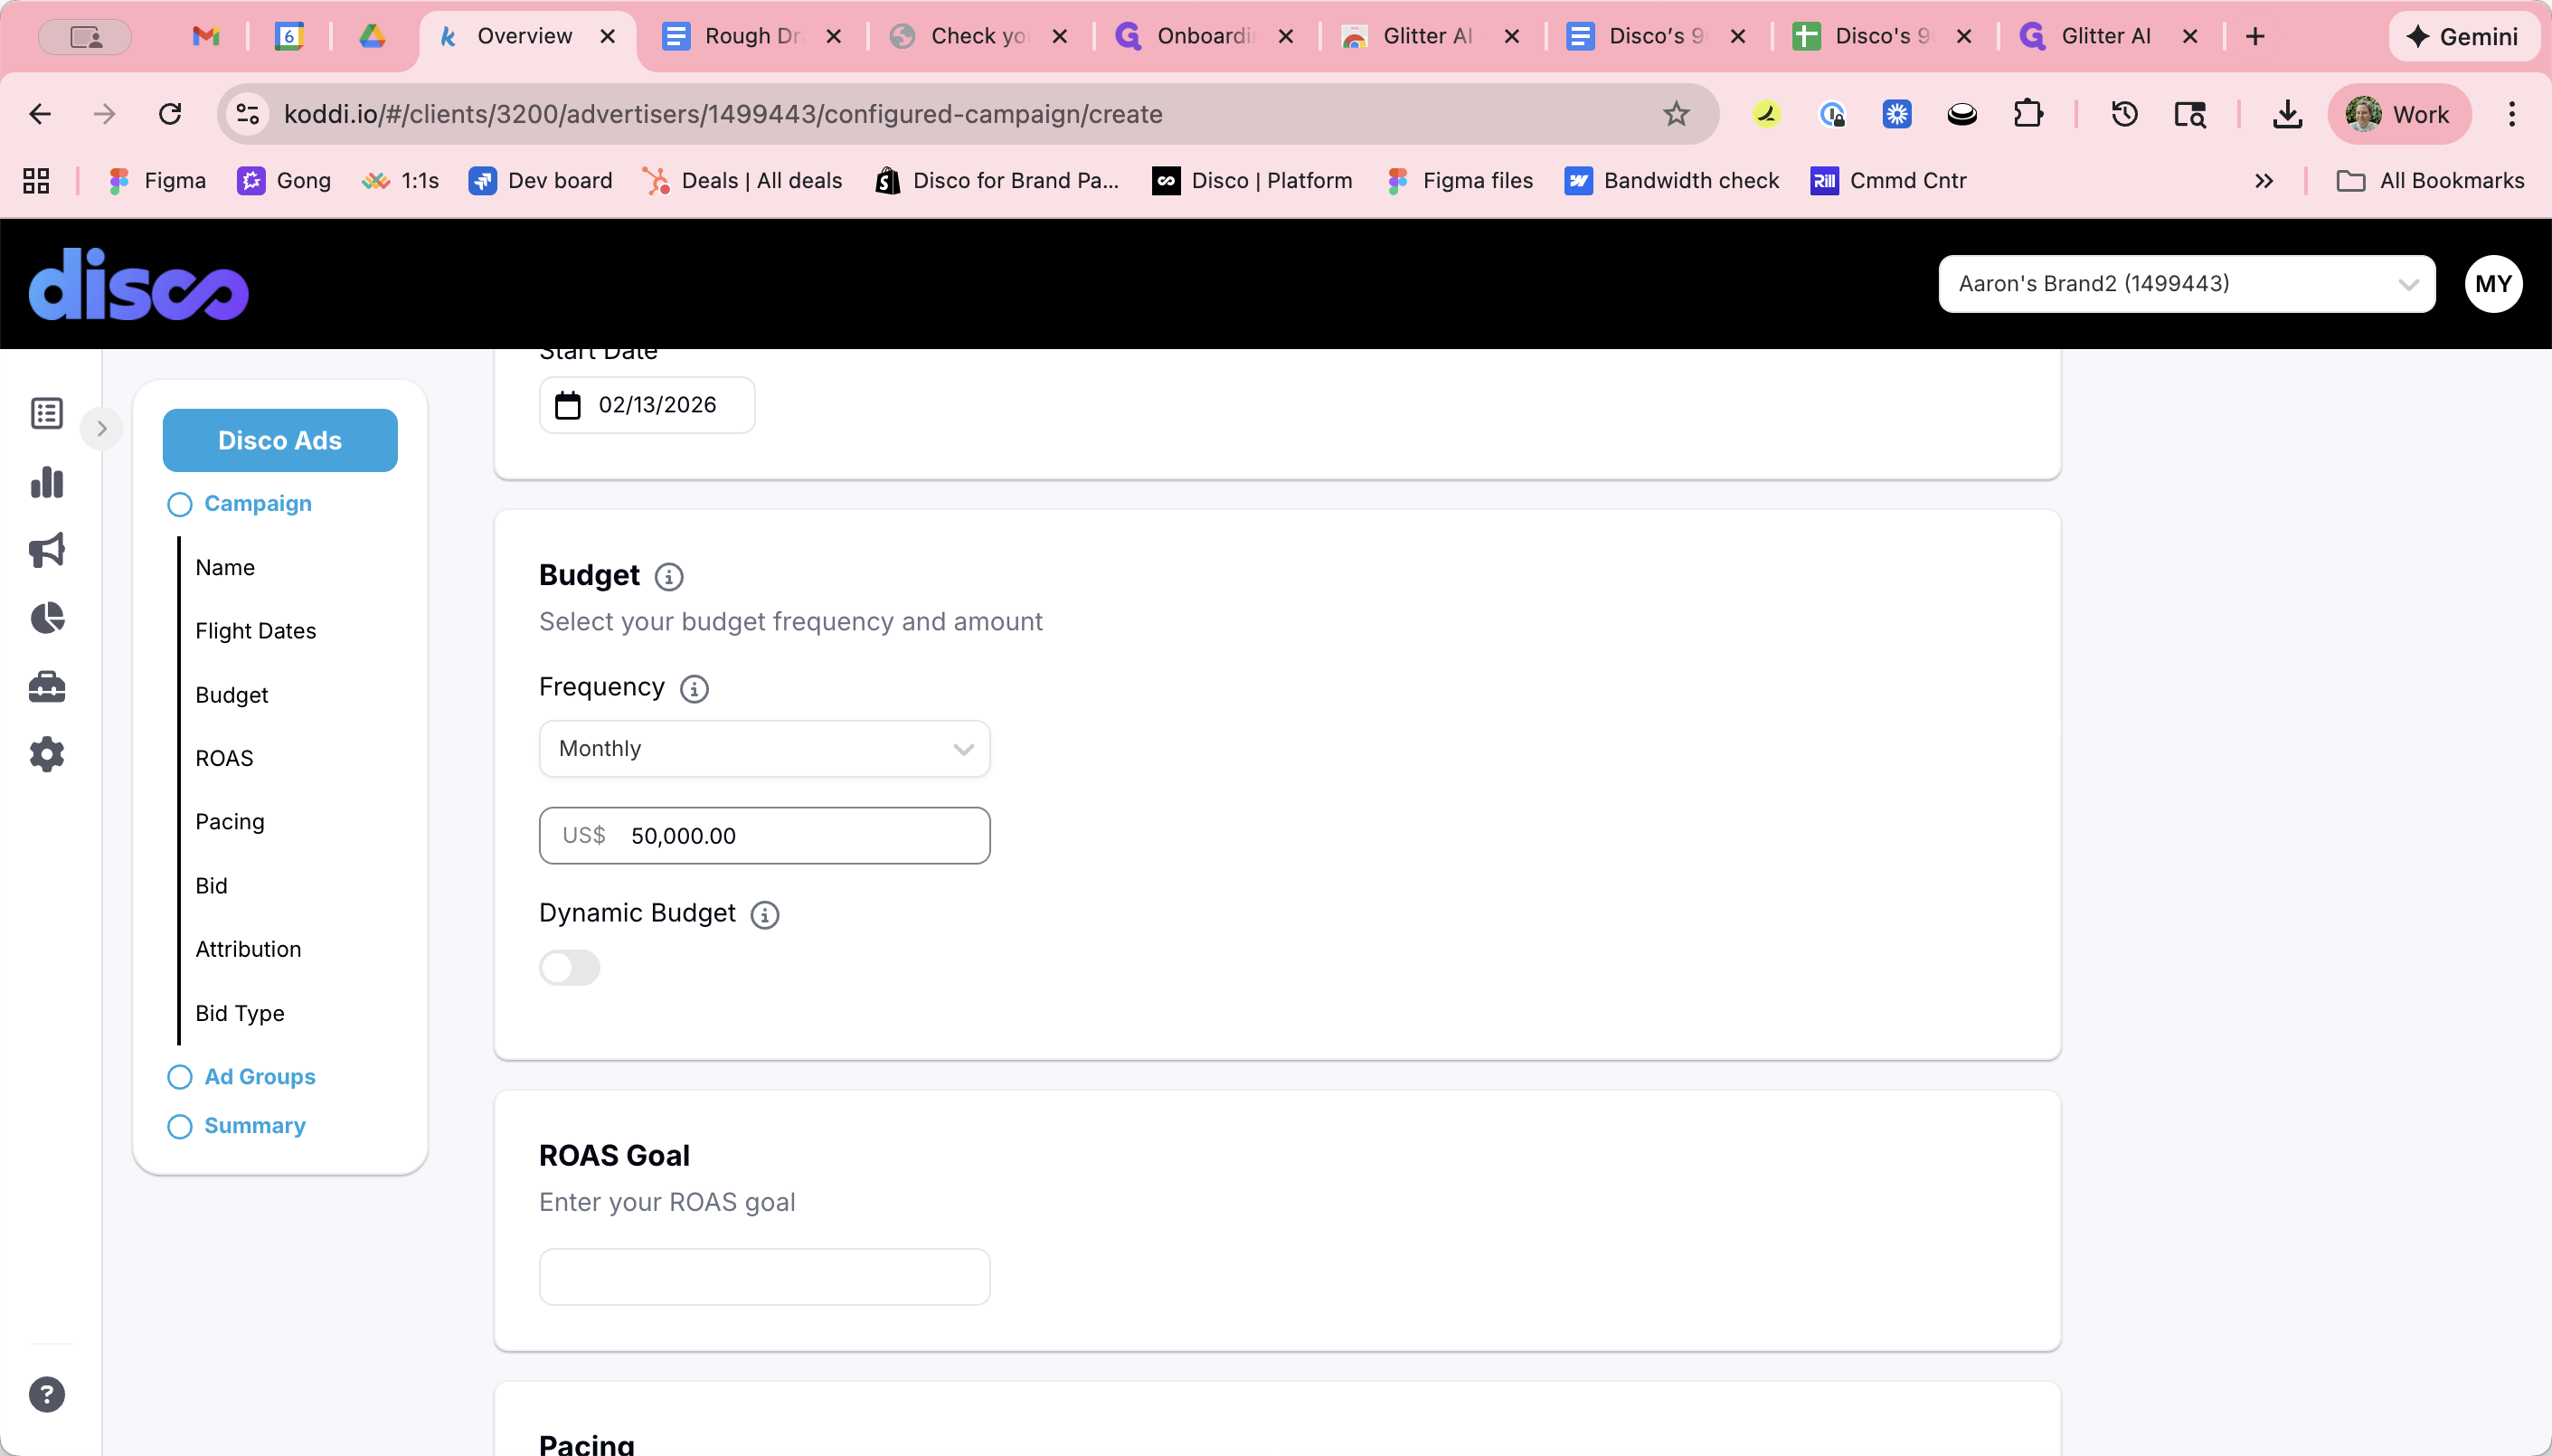
Koddi supports daily, weekly, and monthly budgets. We use monthly budgets.
8
Select Monthly budget.

9
Set the budget amount.
ROAS Target
10
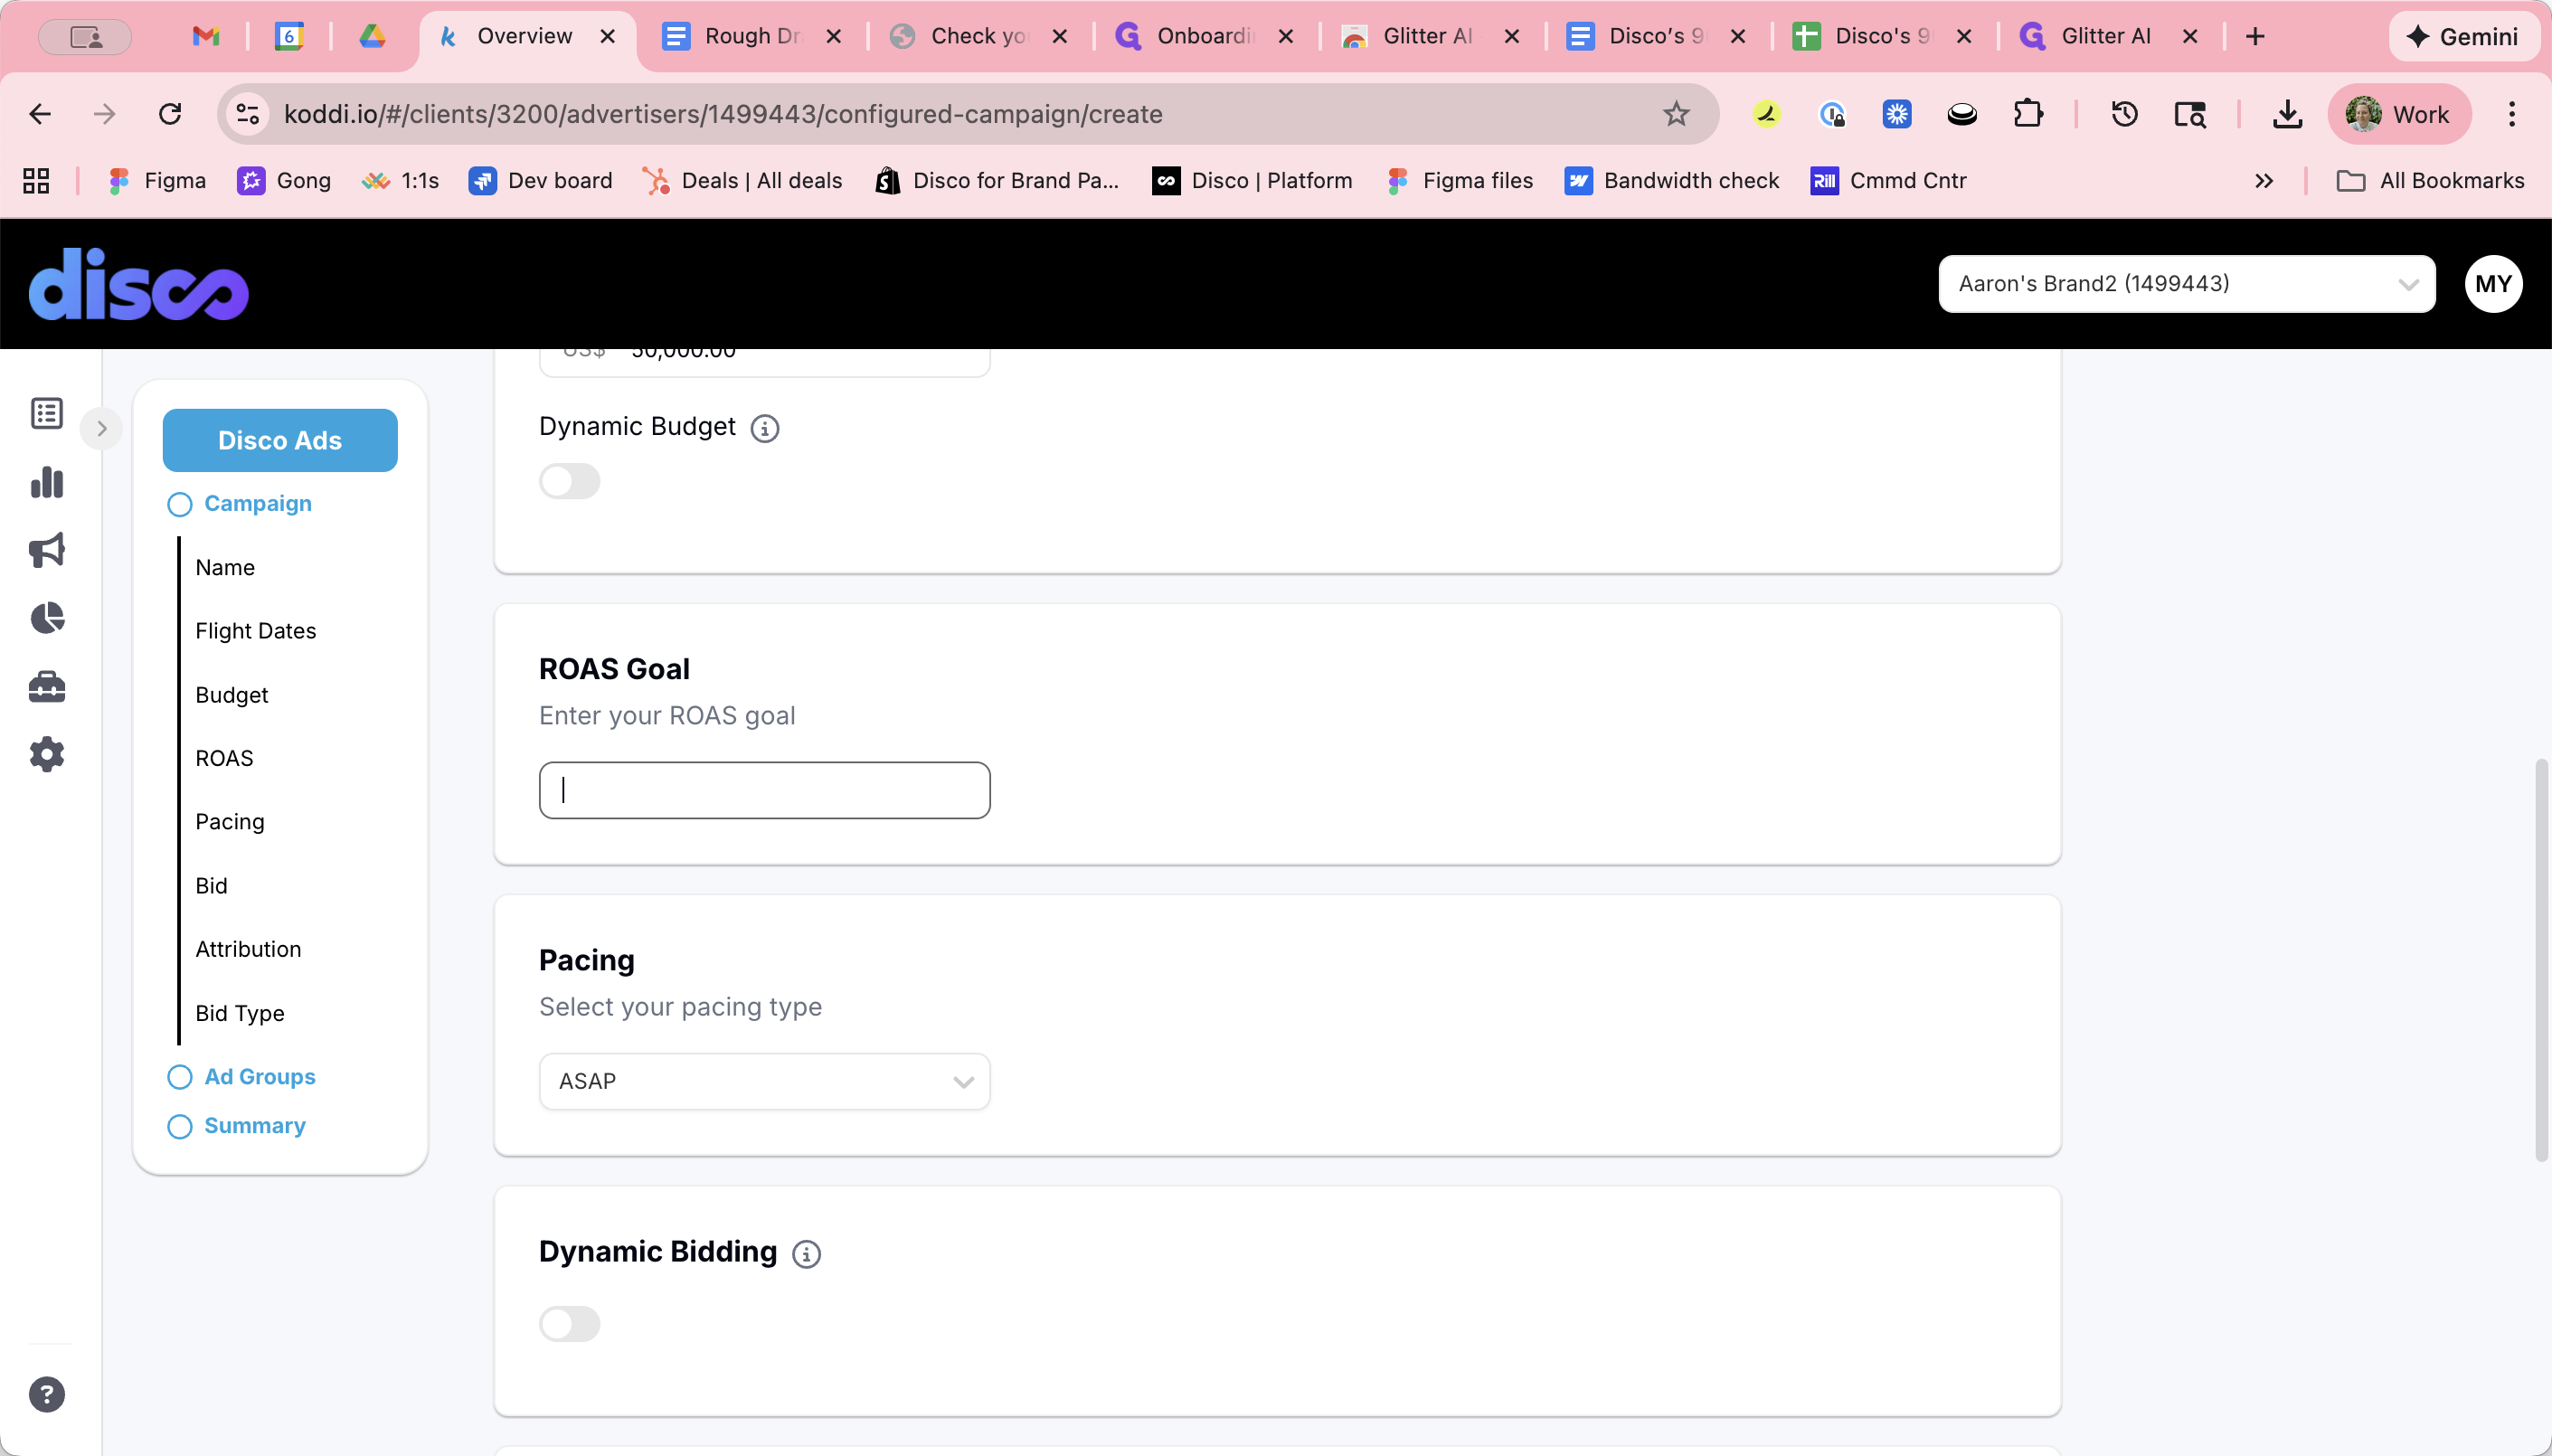
Enter the ROAS target provided by the advertiser.
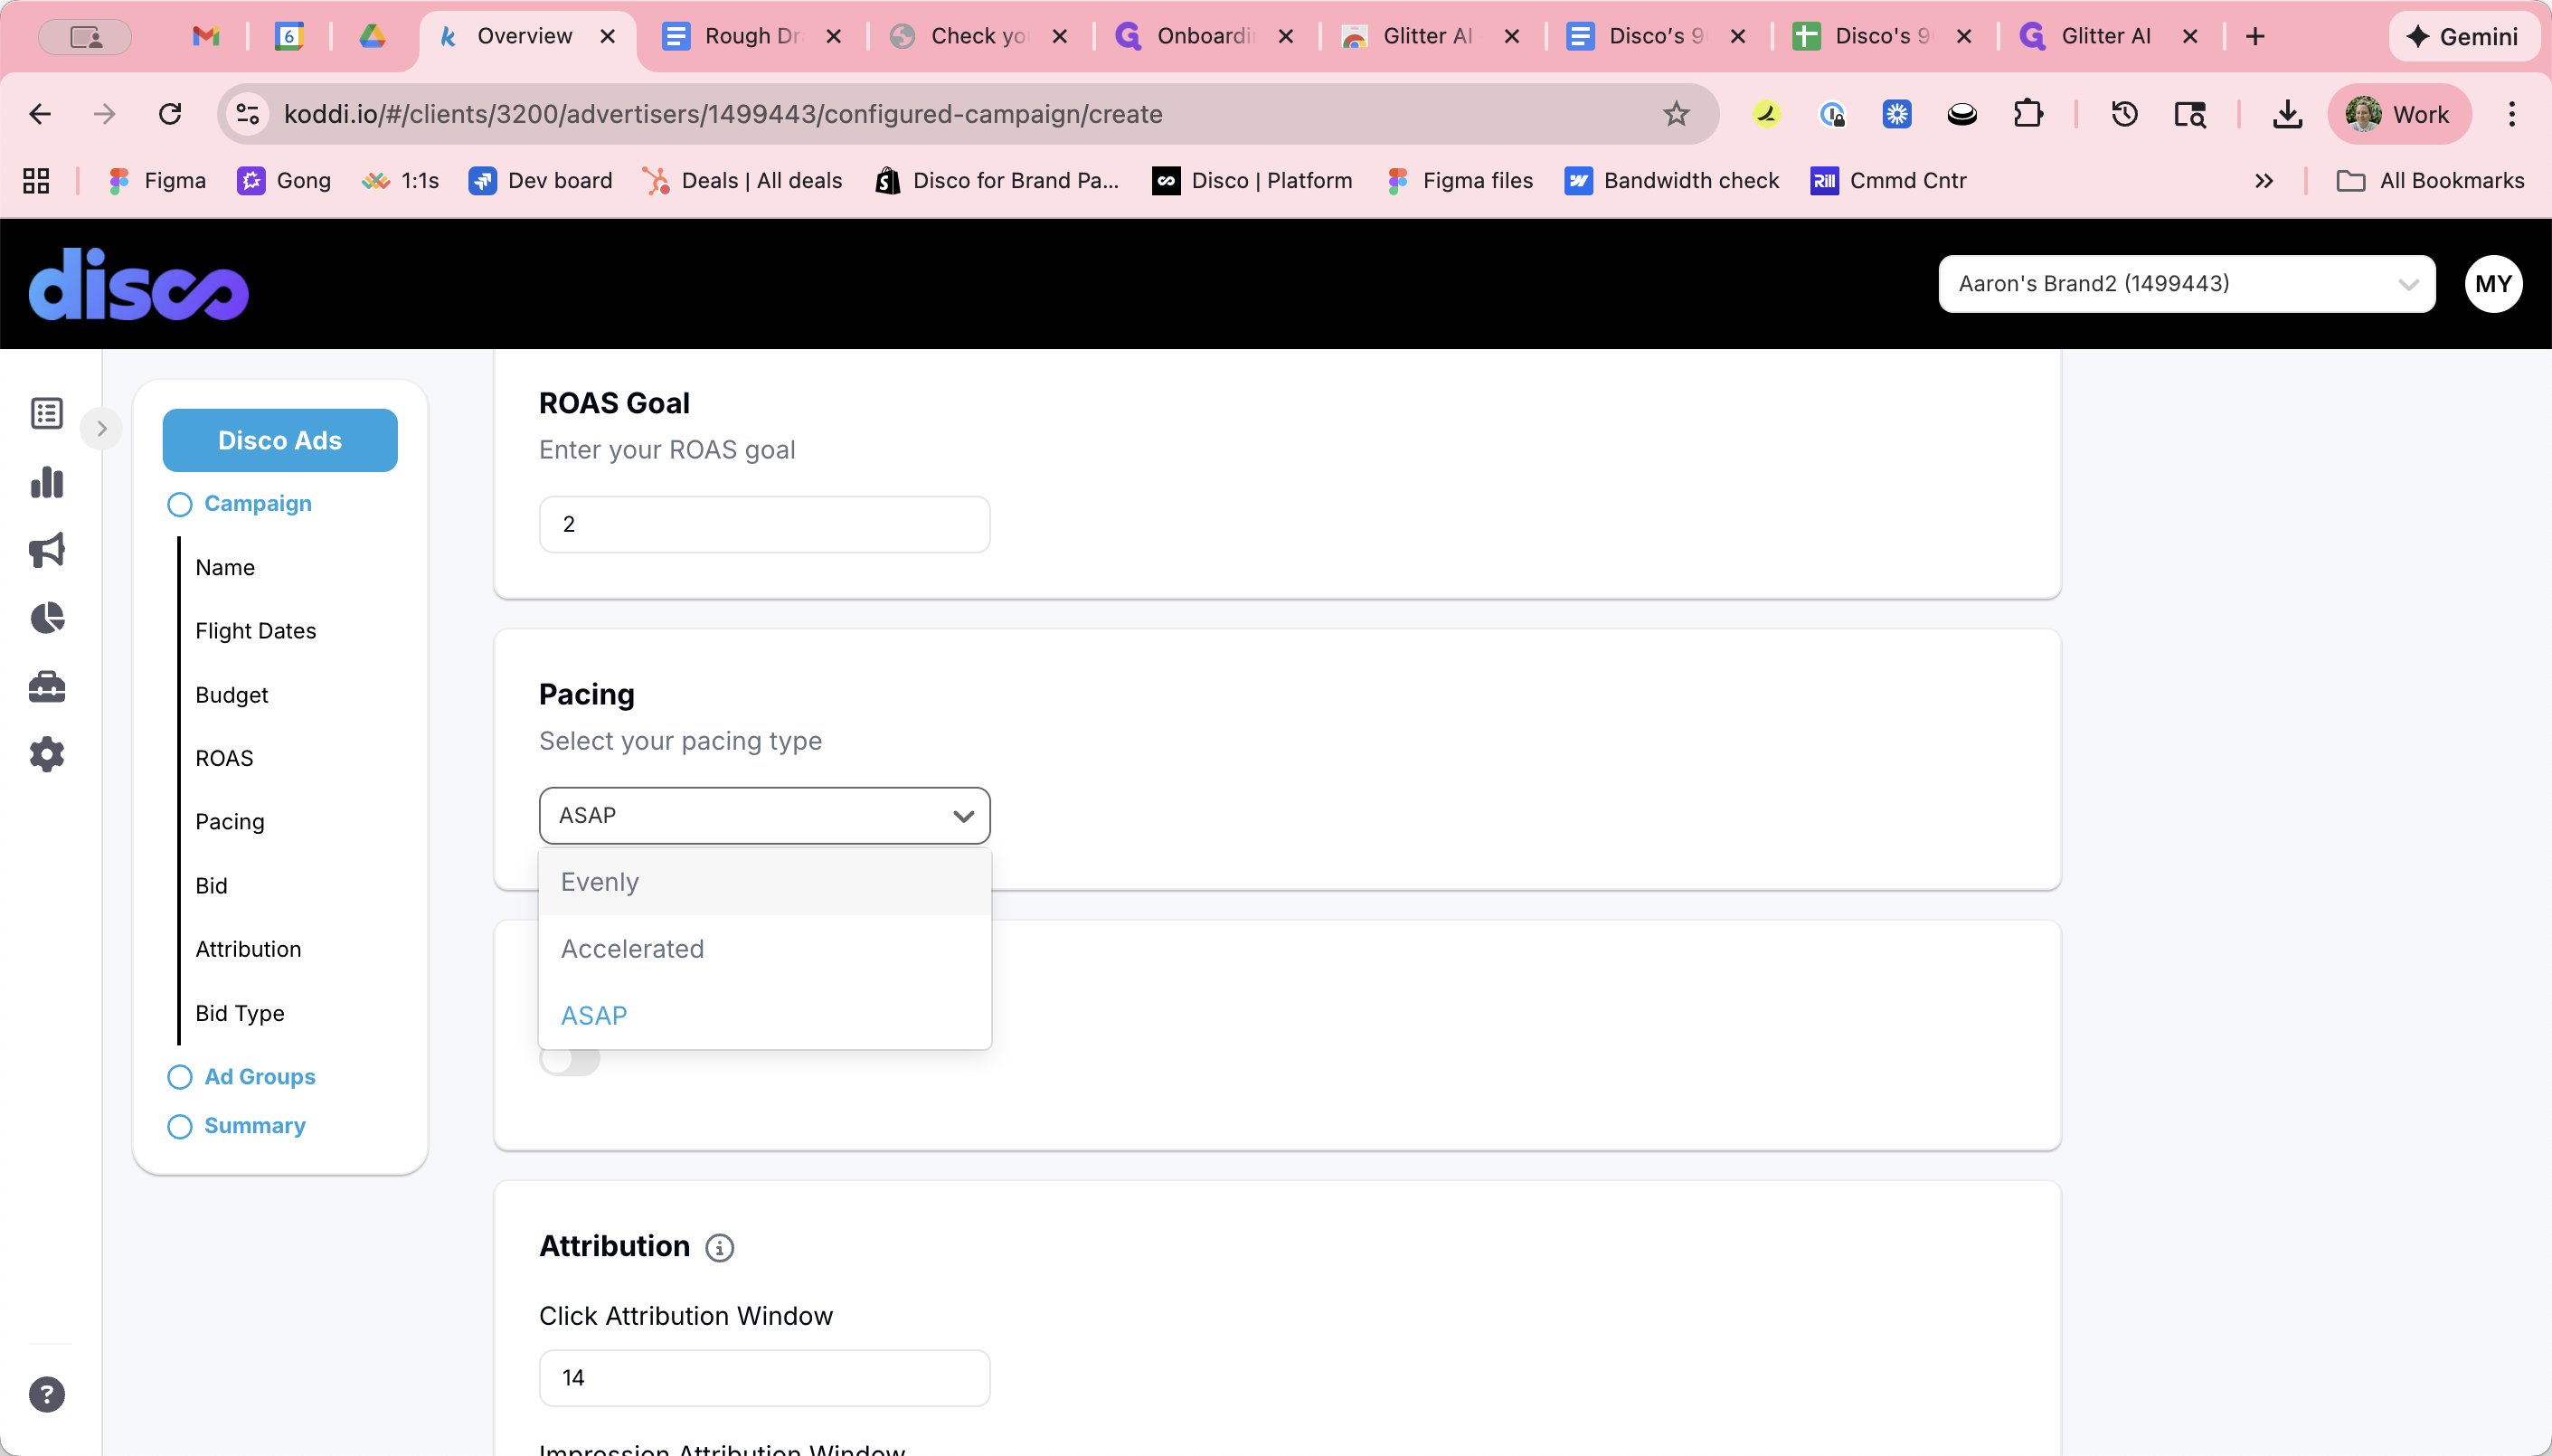
Pacing
11
Click on "Evenly"
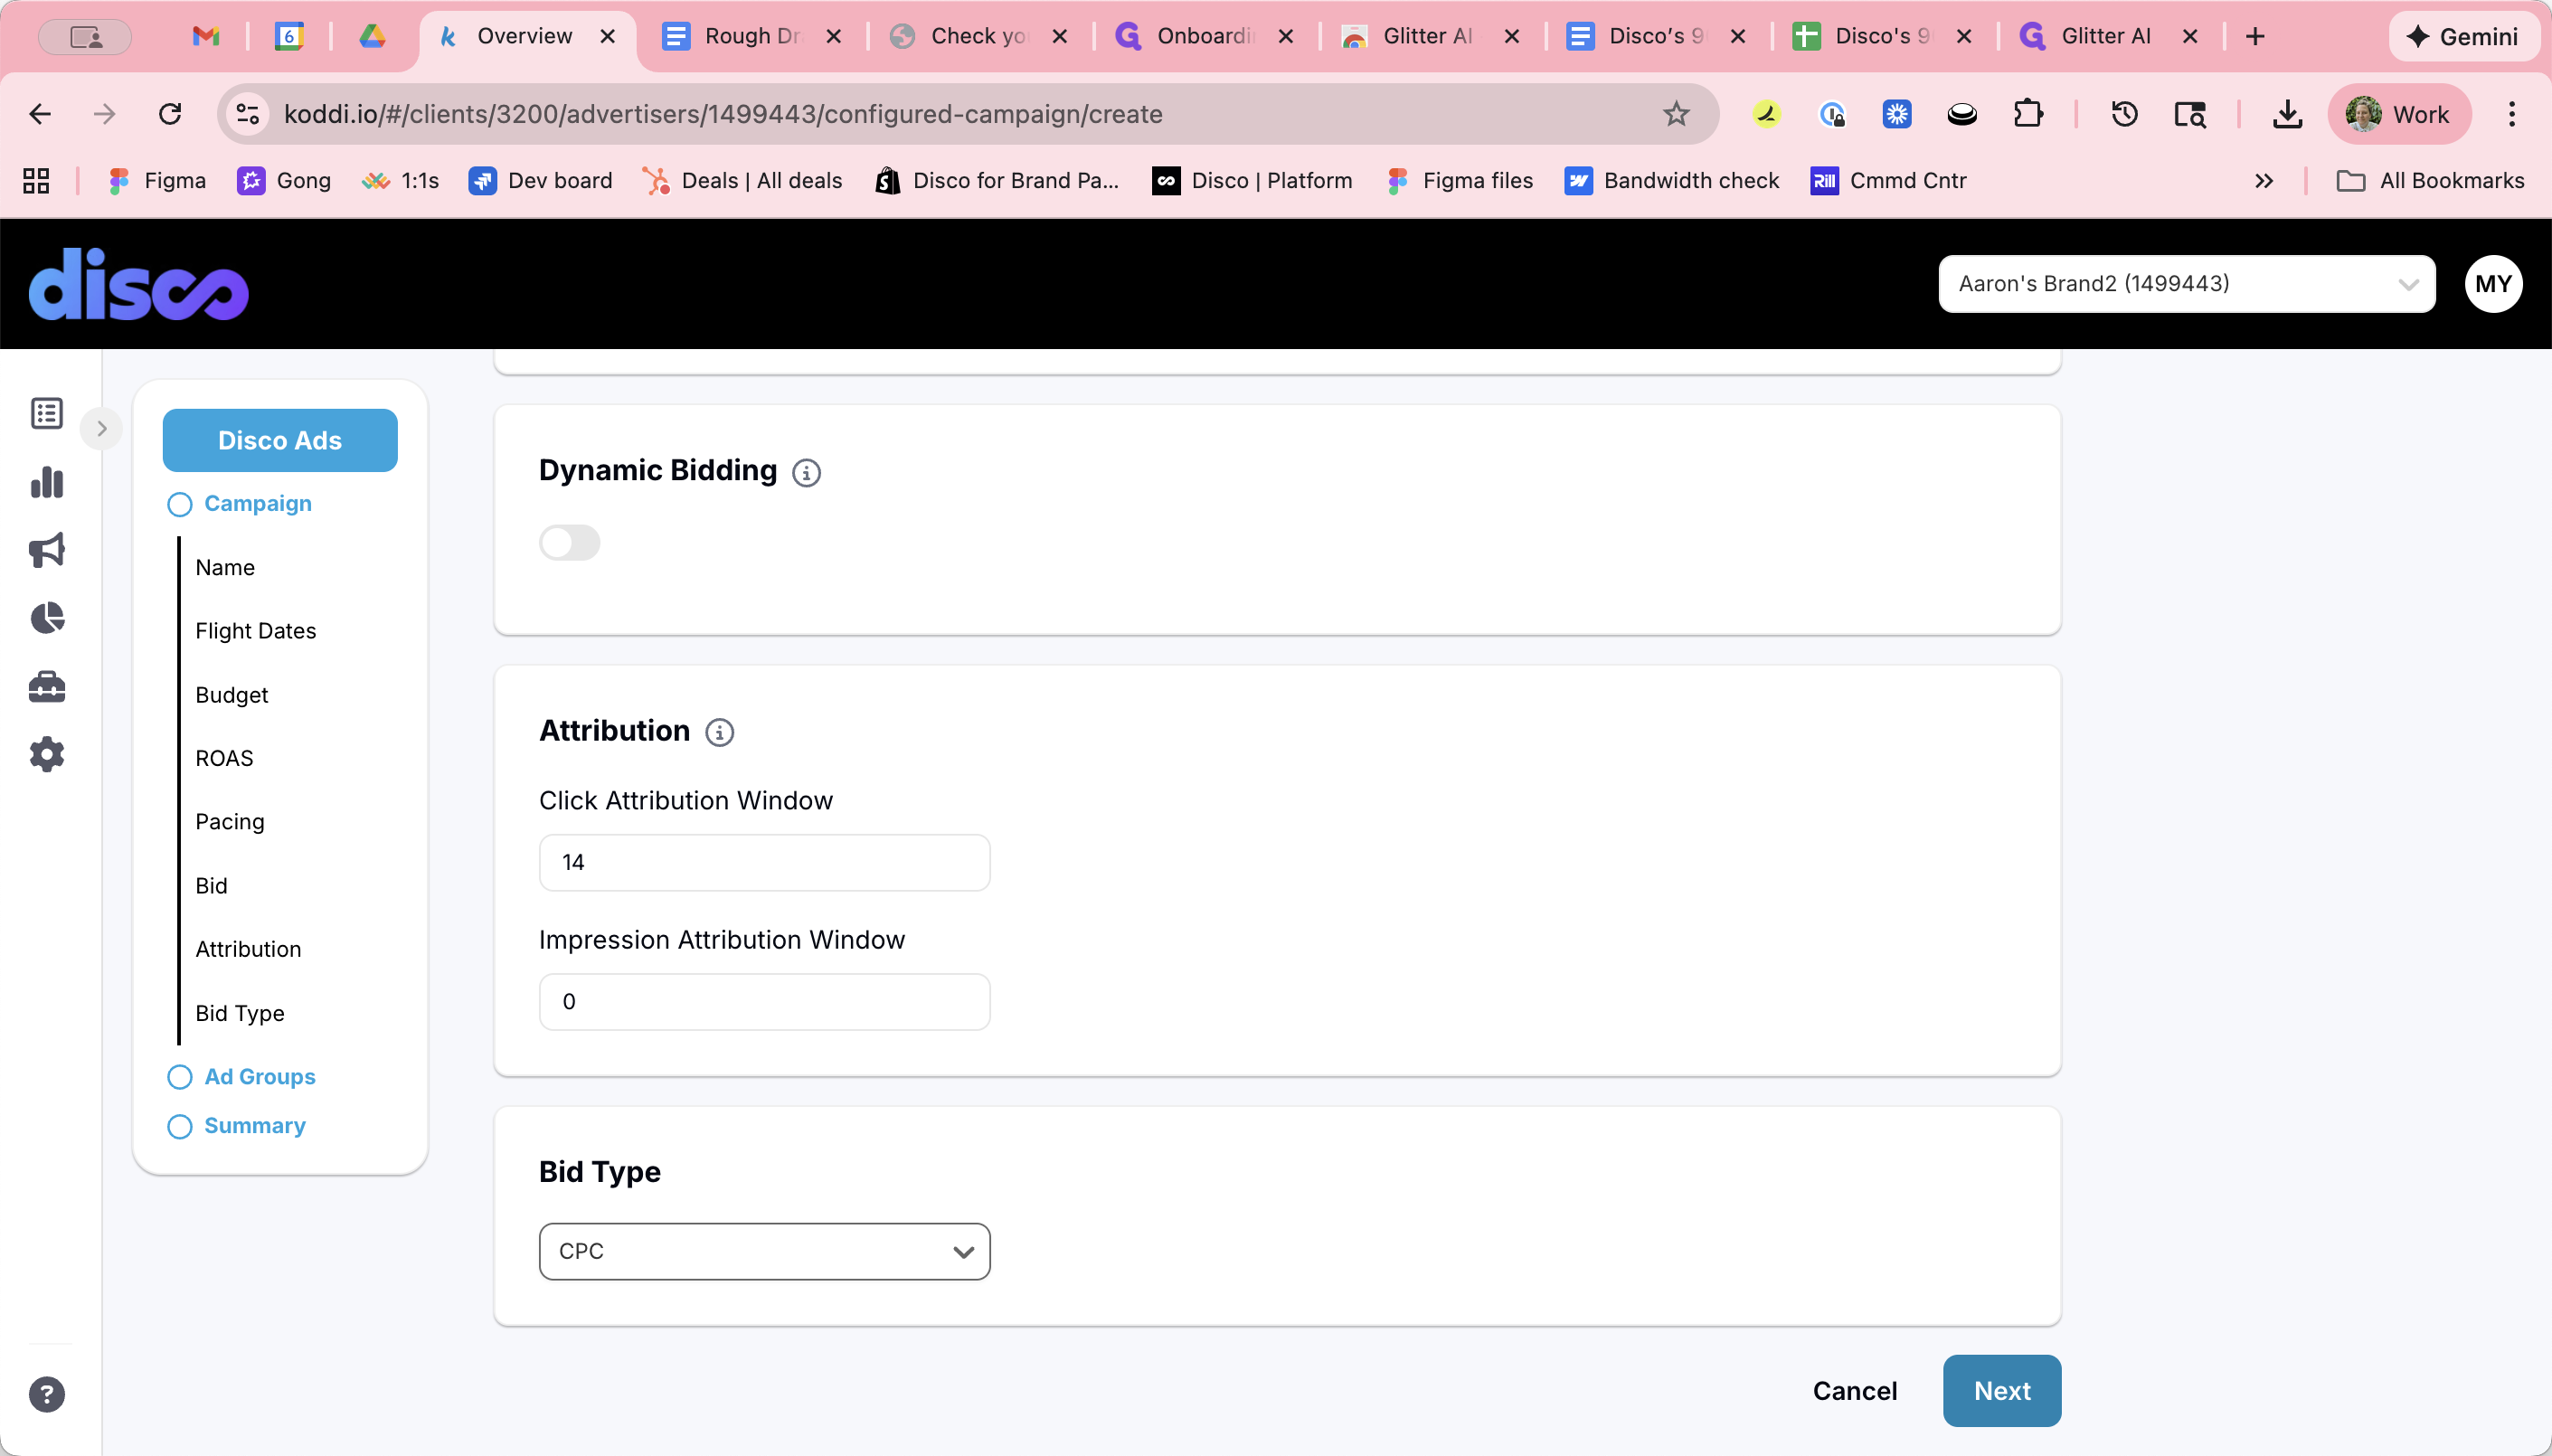
Dynamic Bidding
For now, keep the dynamic bidding toggle off. This is a feature coming soon.
12
Keep this toggled off.

Attribution
Enter an attribution window regardless of bid type—CPC, CPM, or CPA. This allows Koddi to report CPA, even on CPC campaigns.
13
Set click attribution to 14 unless otherwise noted. Note impression attribution as 0.

14
Bid type will be noted by the brand and will typically be CPC.
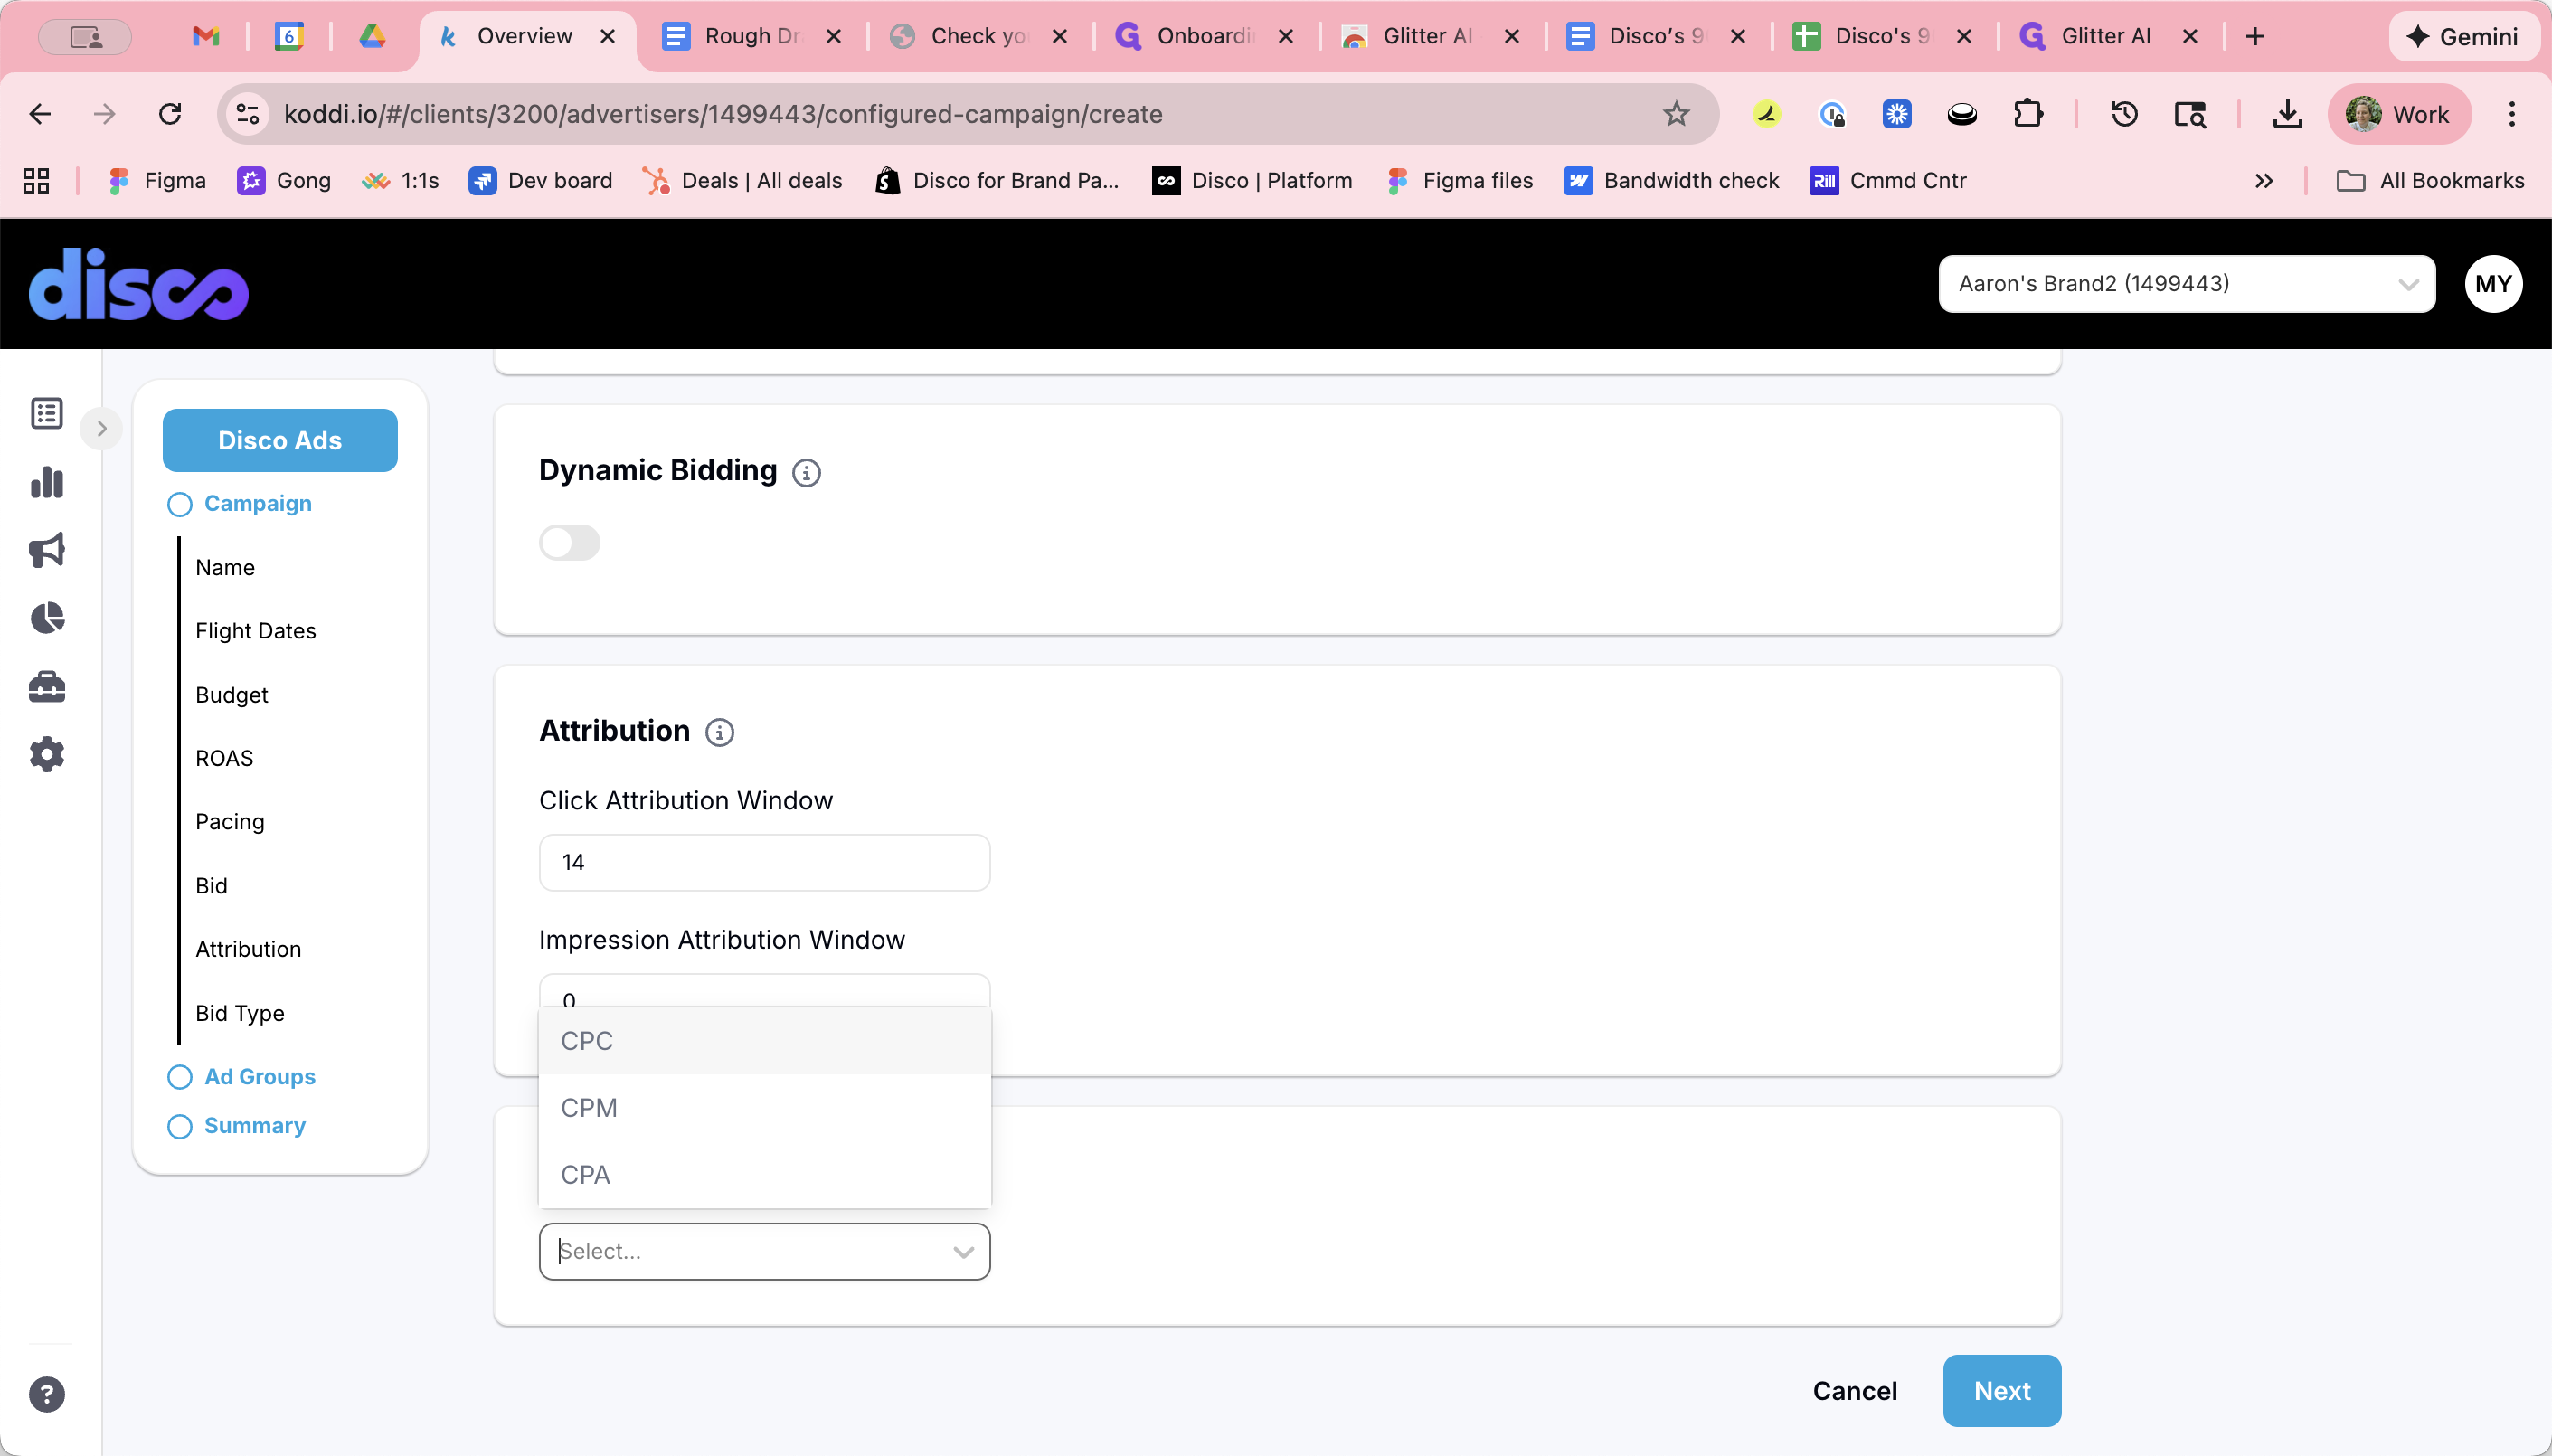
15
Click "Next" to set up the Campaign Ad Groups.