
How to Sync Accruals and Chart of Accounts Between Glide and Google Sheets
Learn the step-by-step process to sync approval data from Google Sheets to Glide and sync the chart of accounts from Glide to Google Sheets.
In this guide, we'll learn how to sync approval data from an approval sheet to Glide and sync the chart of accounts from Glide to Google Sheets. This process involves updating specific sheet IDs and app IDs in your script, as well as configuring actions within Glide. By following these steps, you can ensure that your data remains consistent and up-to-date across both platforms.
Let's get started
Moving on to the third script, two things are happening. First, we are syncing the approval from the approval sheet to Glide. Second, we are syncing the chart of accounts from Glide to the Google Sheets account. The process is similar to how you would handle bank realization.
Almost all the steps are similar to copying the BR and the steps that are different are mentioned below.
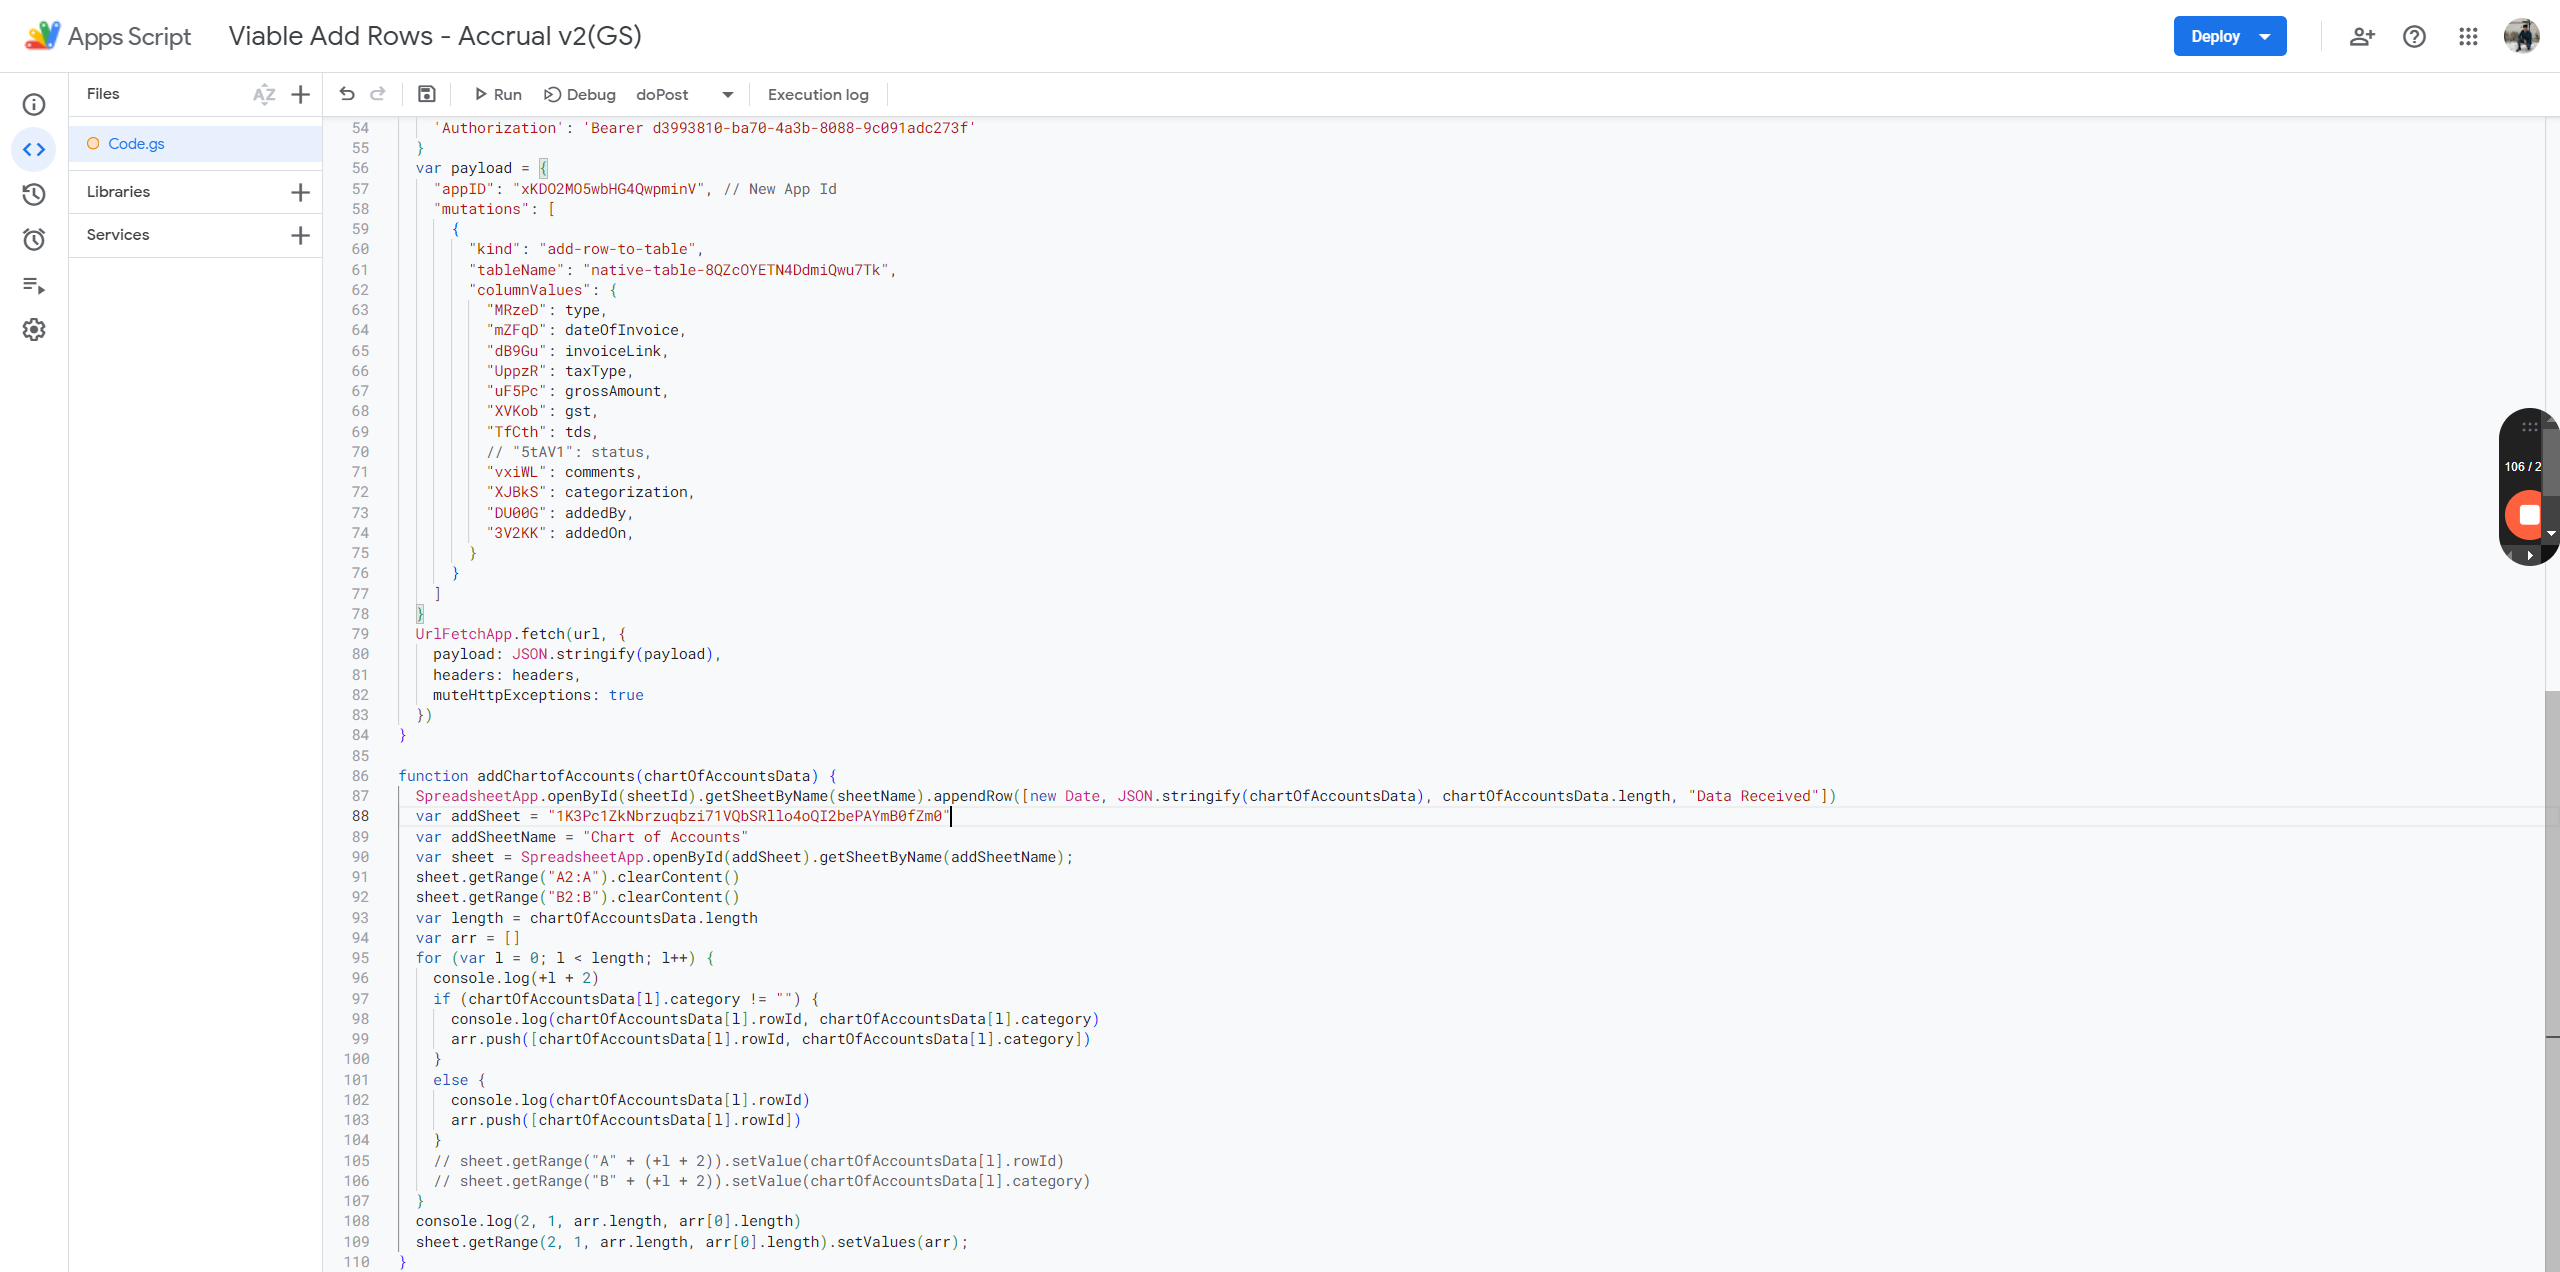
First, you need to make a change for approval. Add the new sheet ID on line 32. Then, change the app ID on line 57.

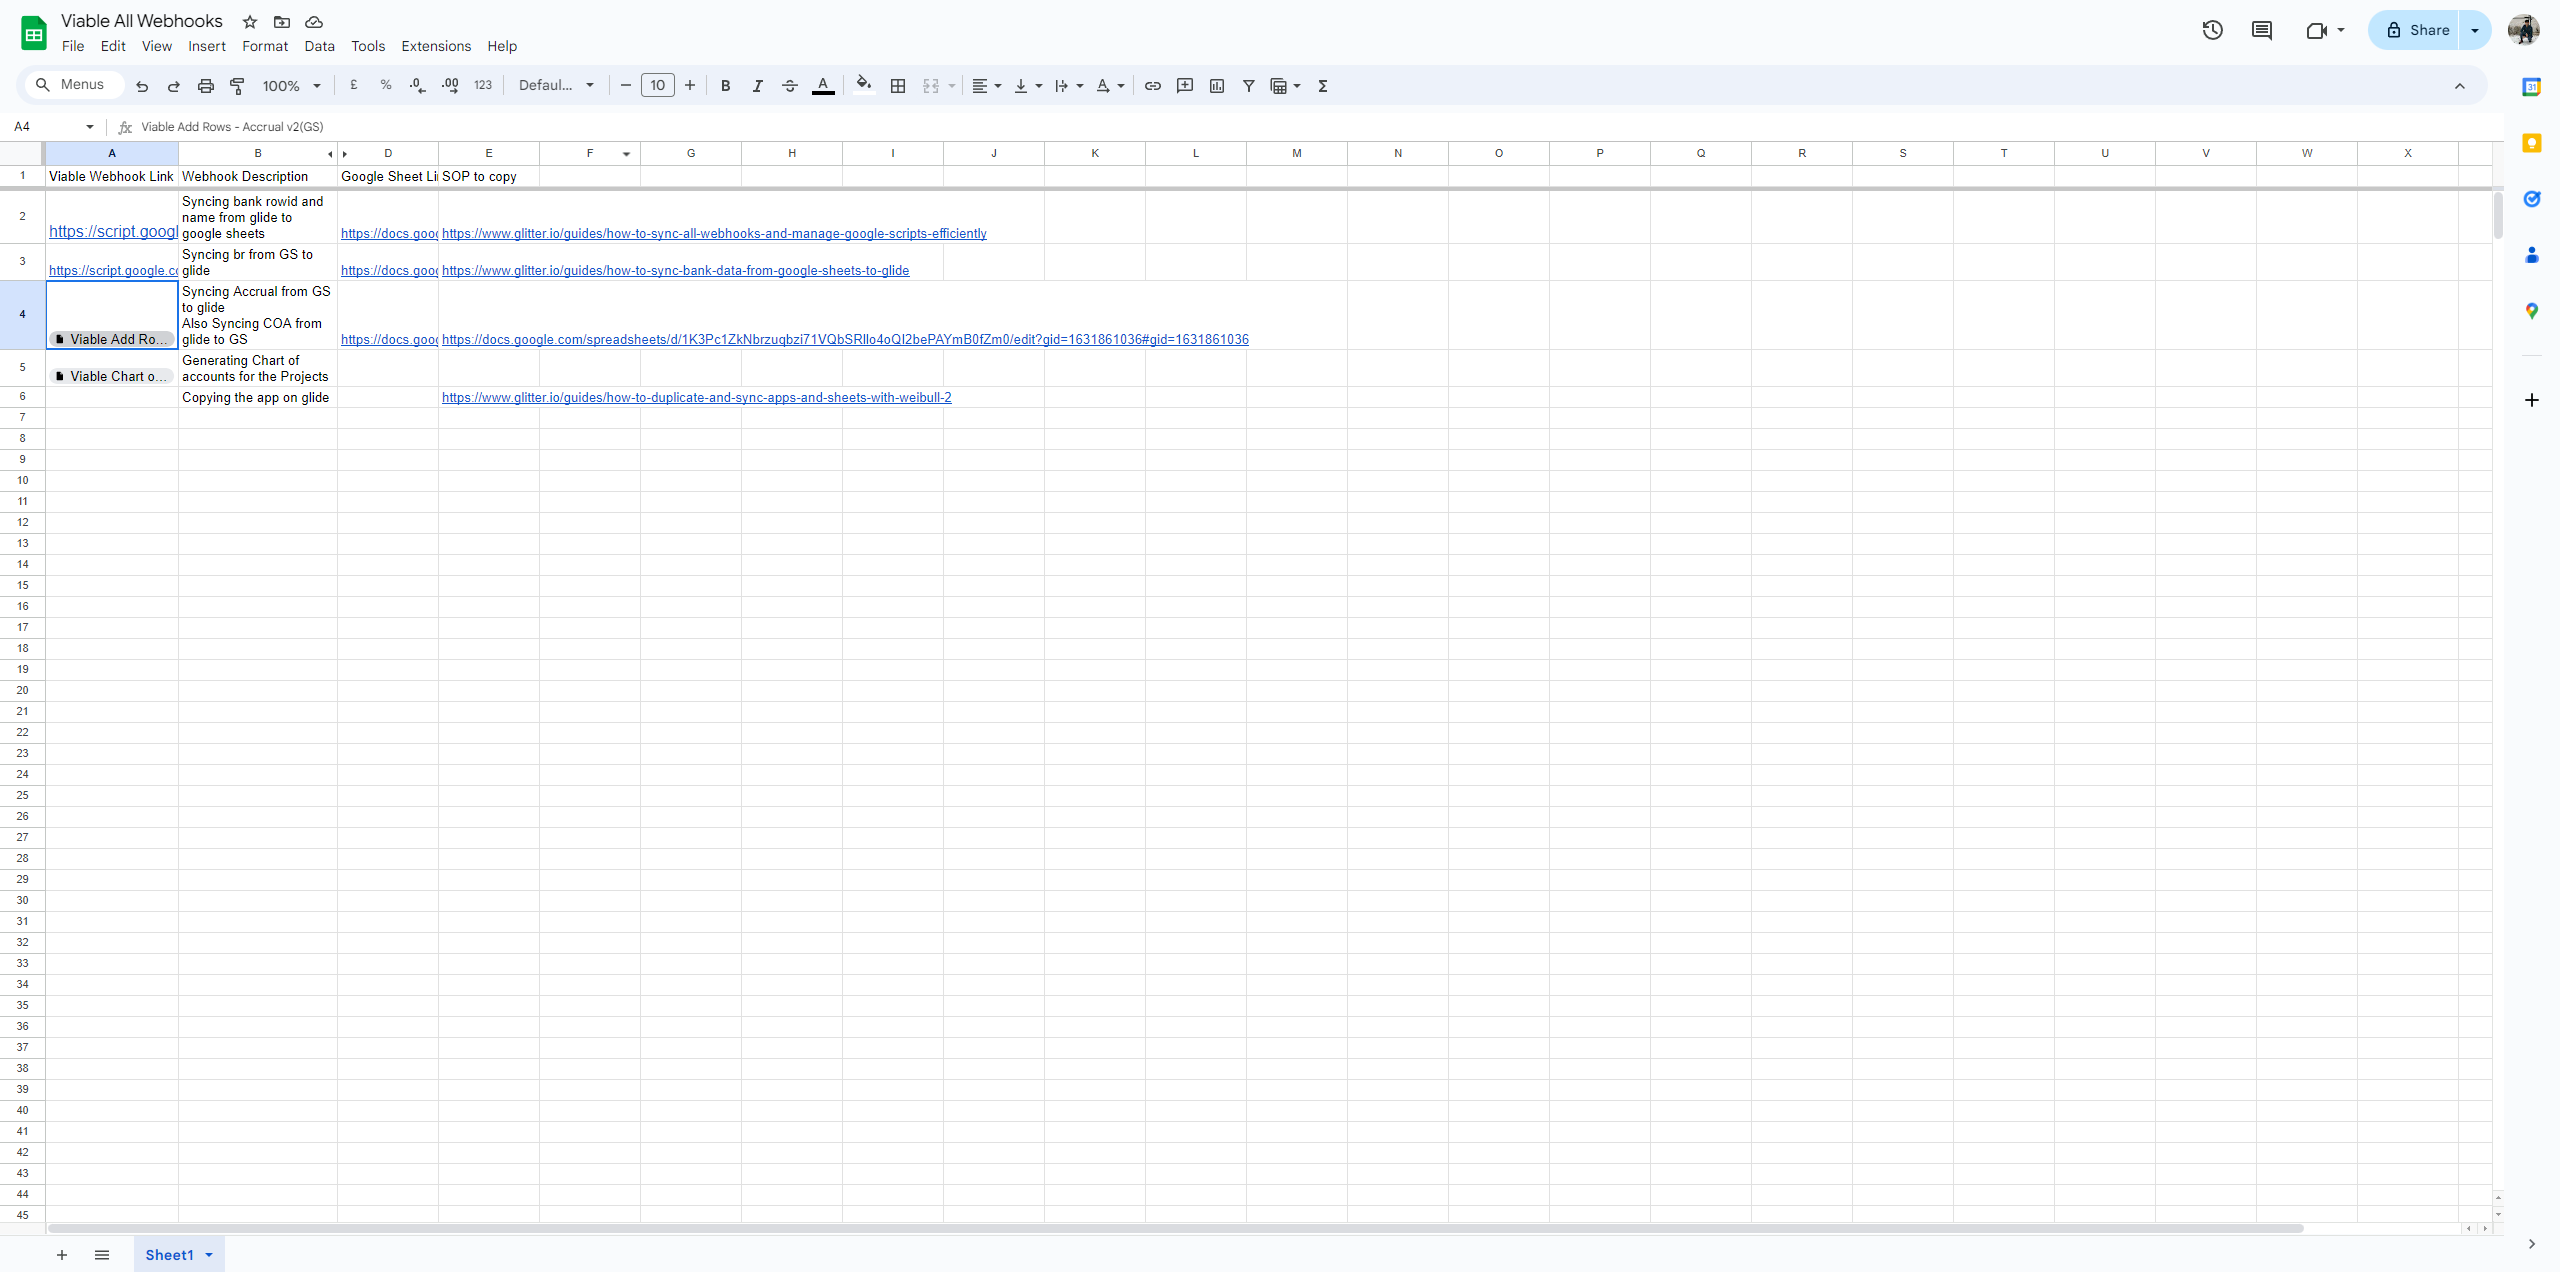
The rest of the steps are the same. One more thing you need to do is use the sheet we created, which is a copy of the "Modernizing Processes" sheet. Remember that.
Paste the new sheet ID for that sheet here.
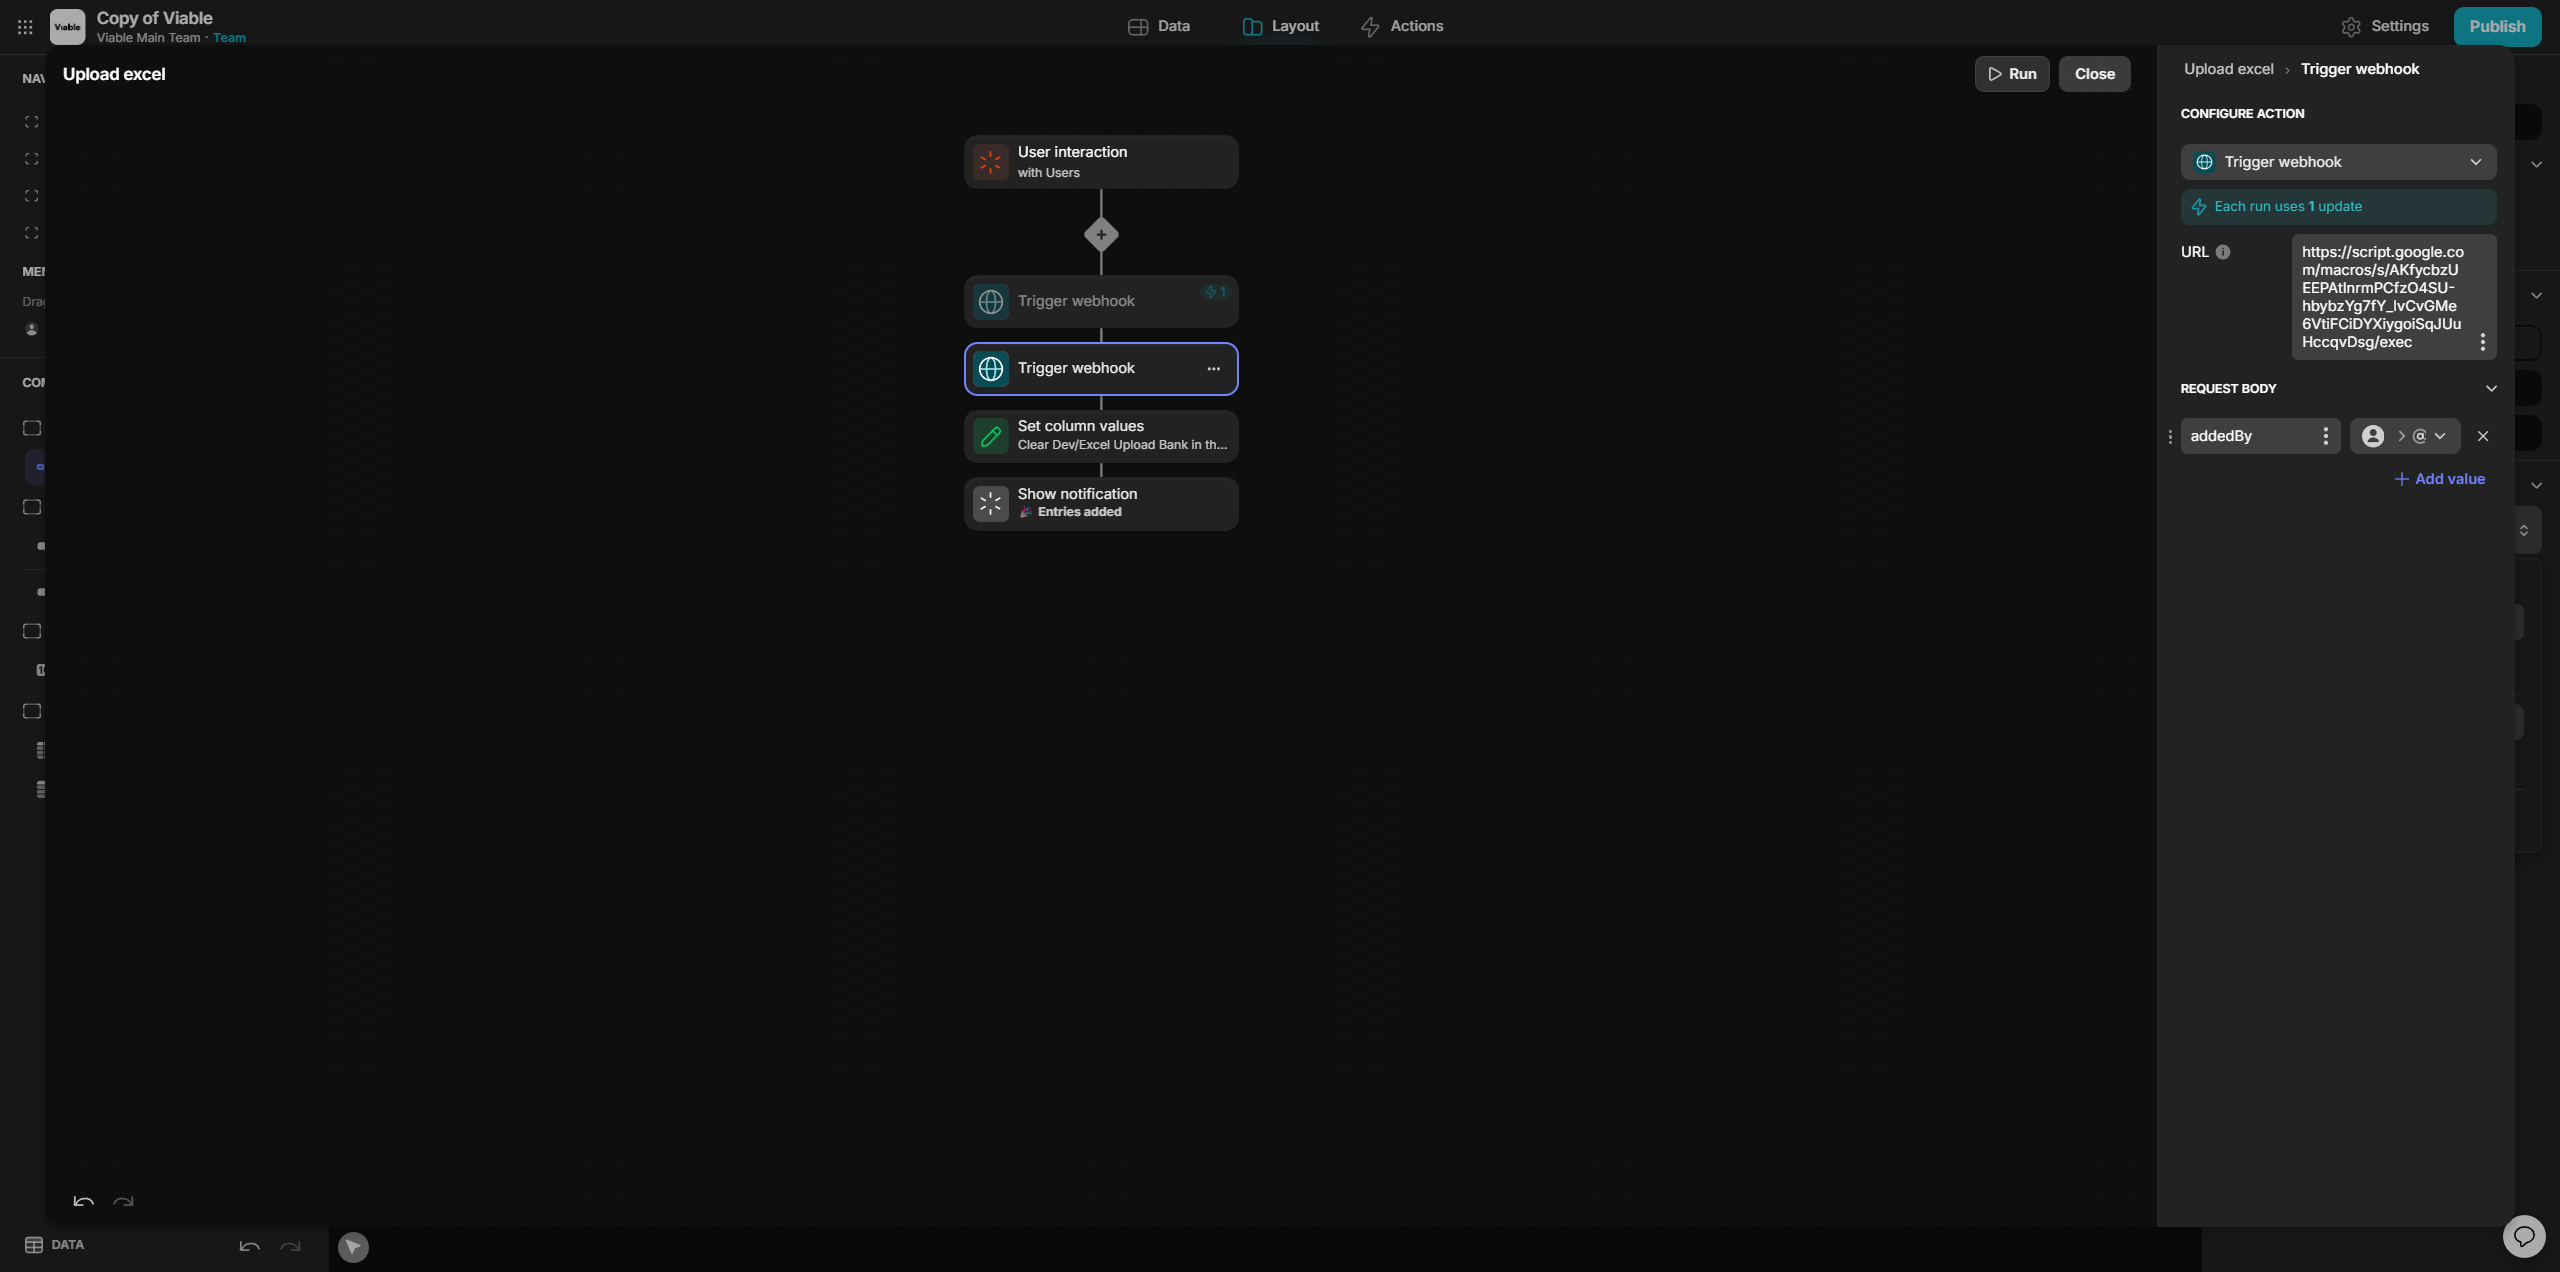
I hope that is clear. Next, go into Glide and open the approval tab.
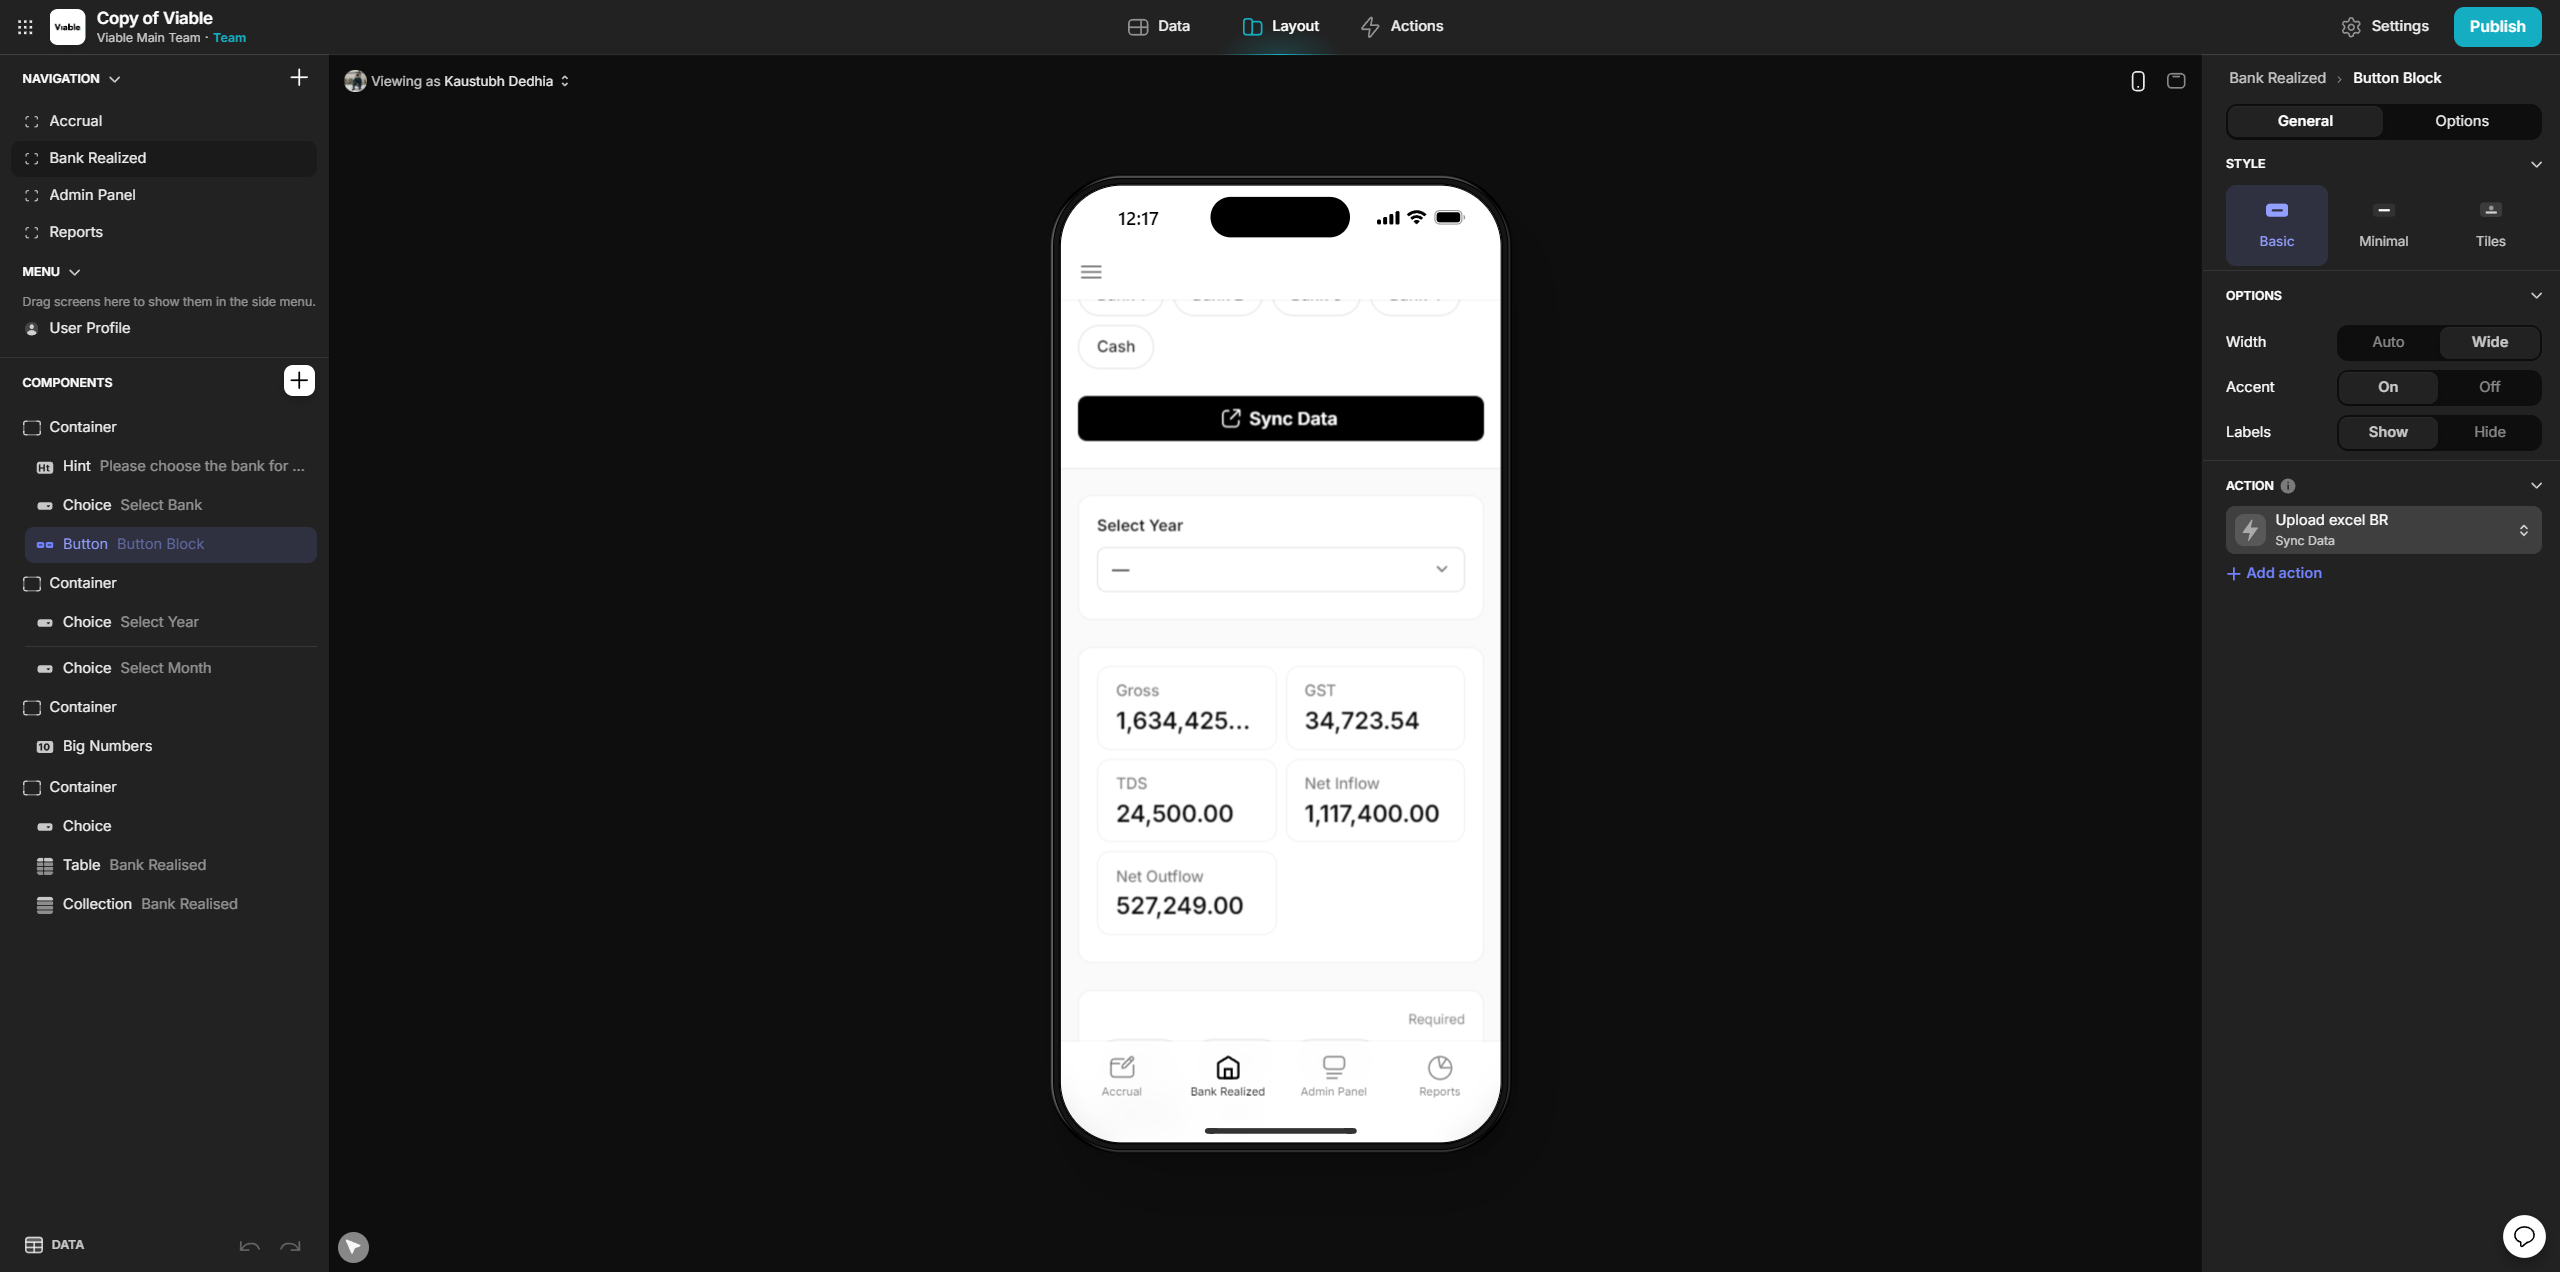
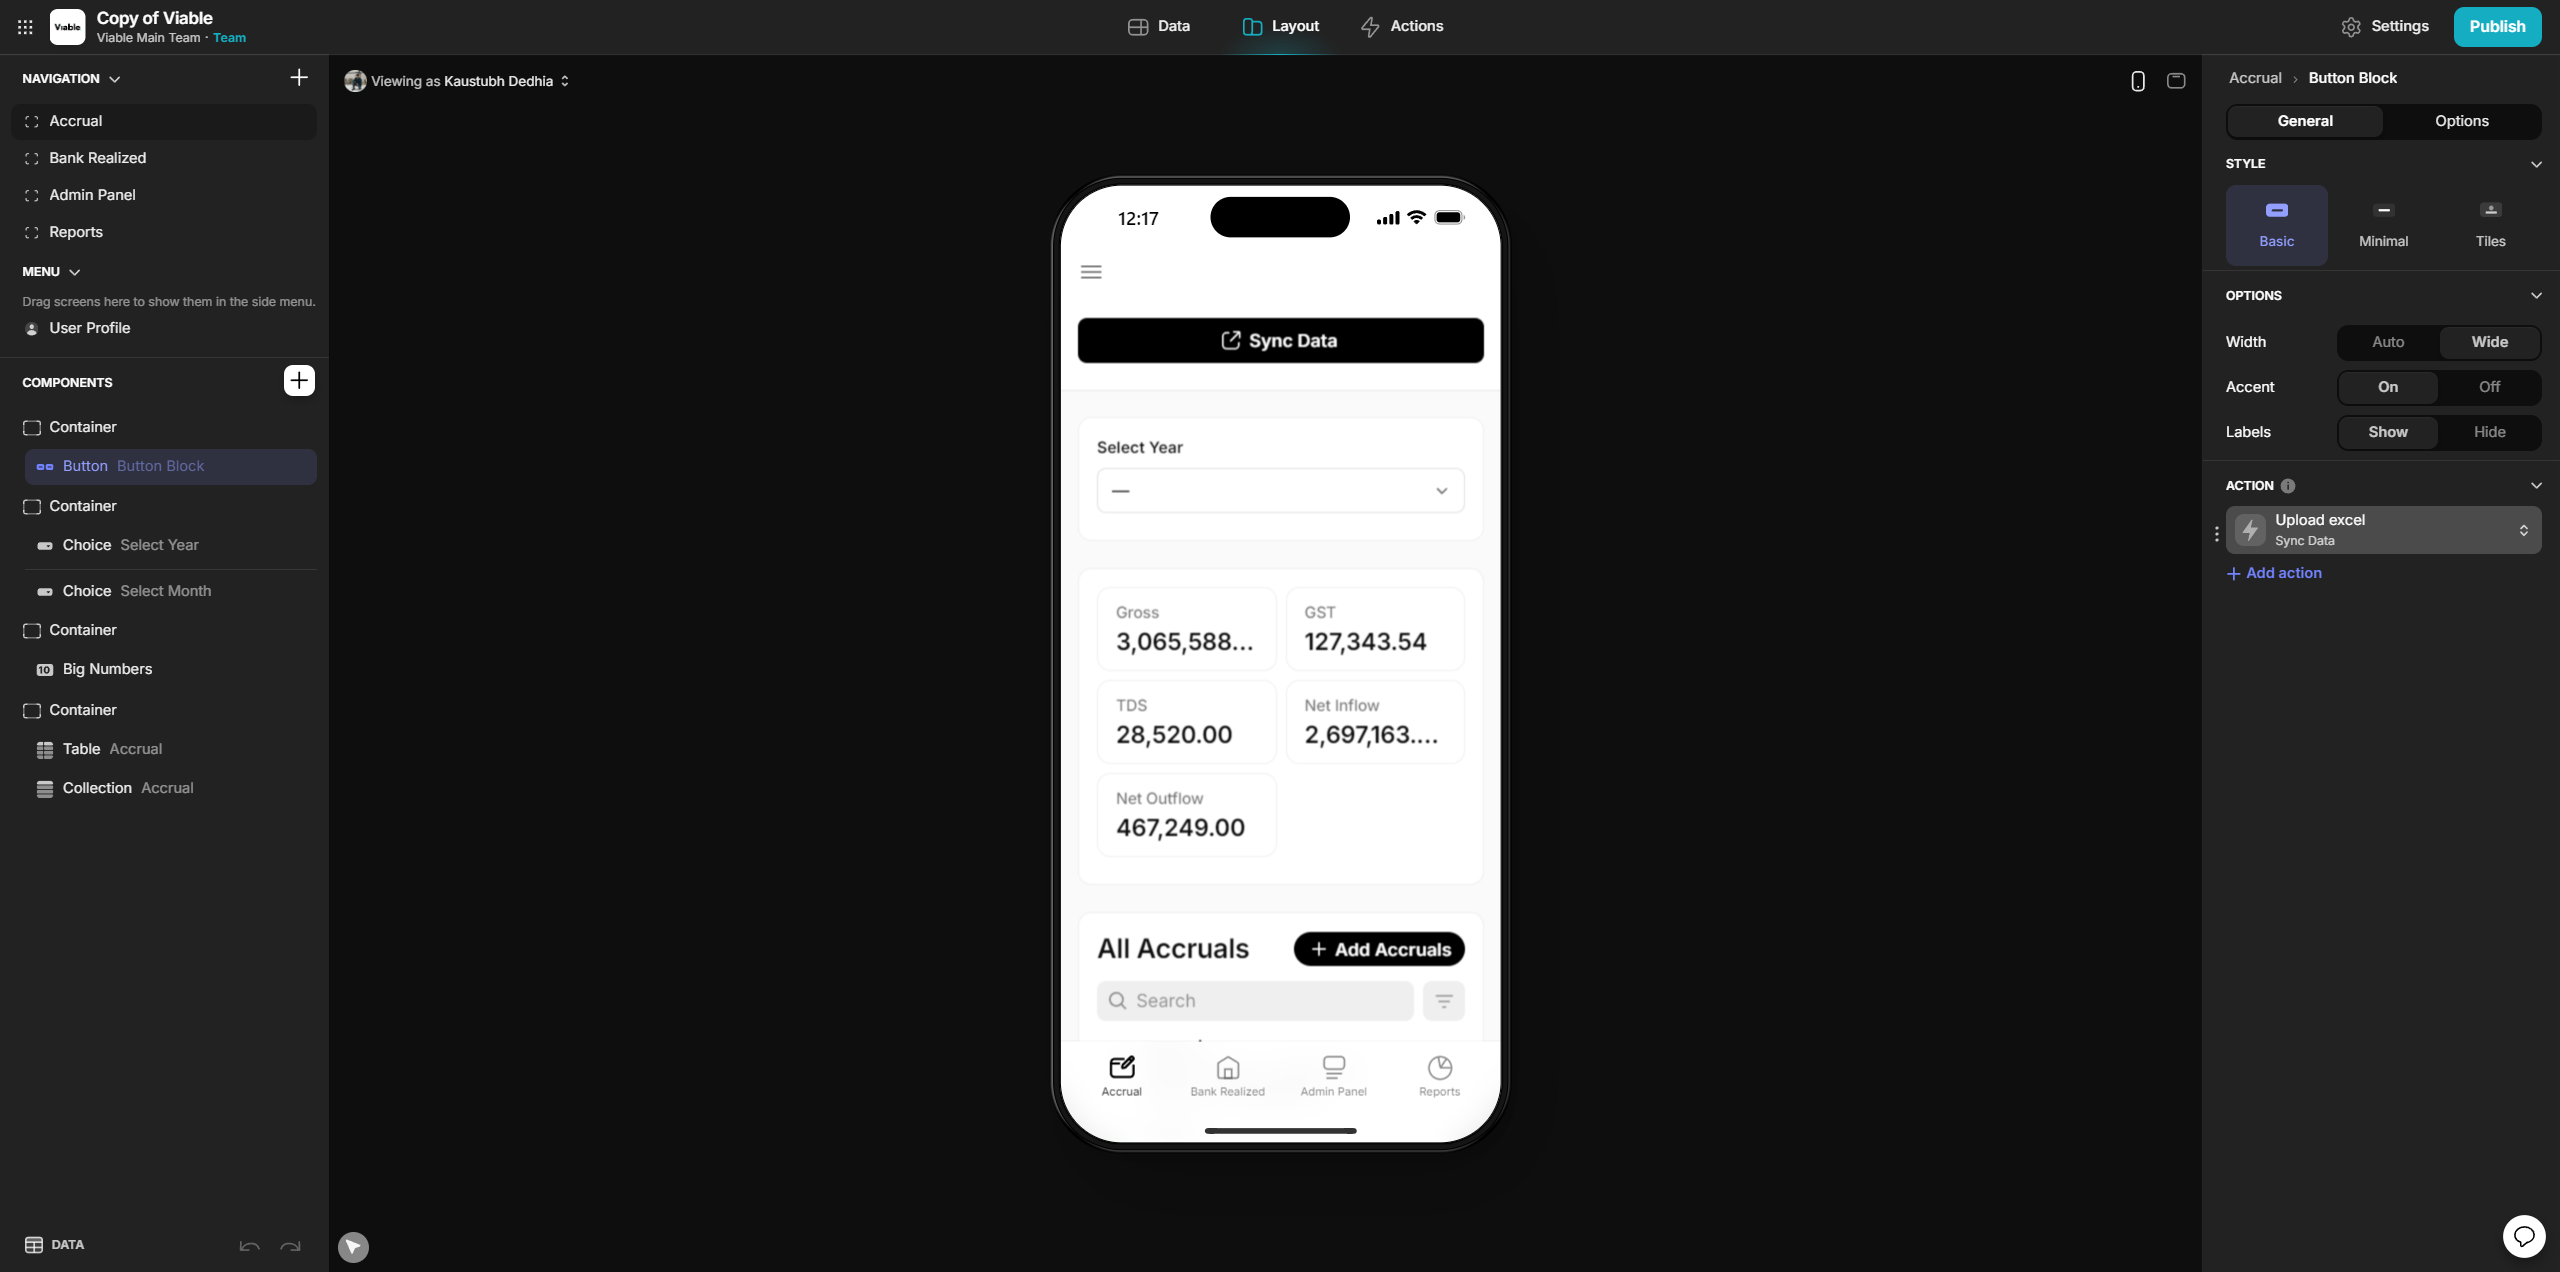
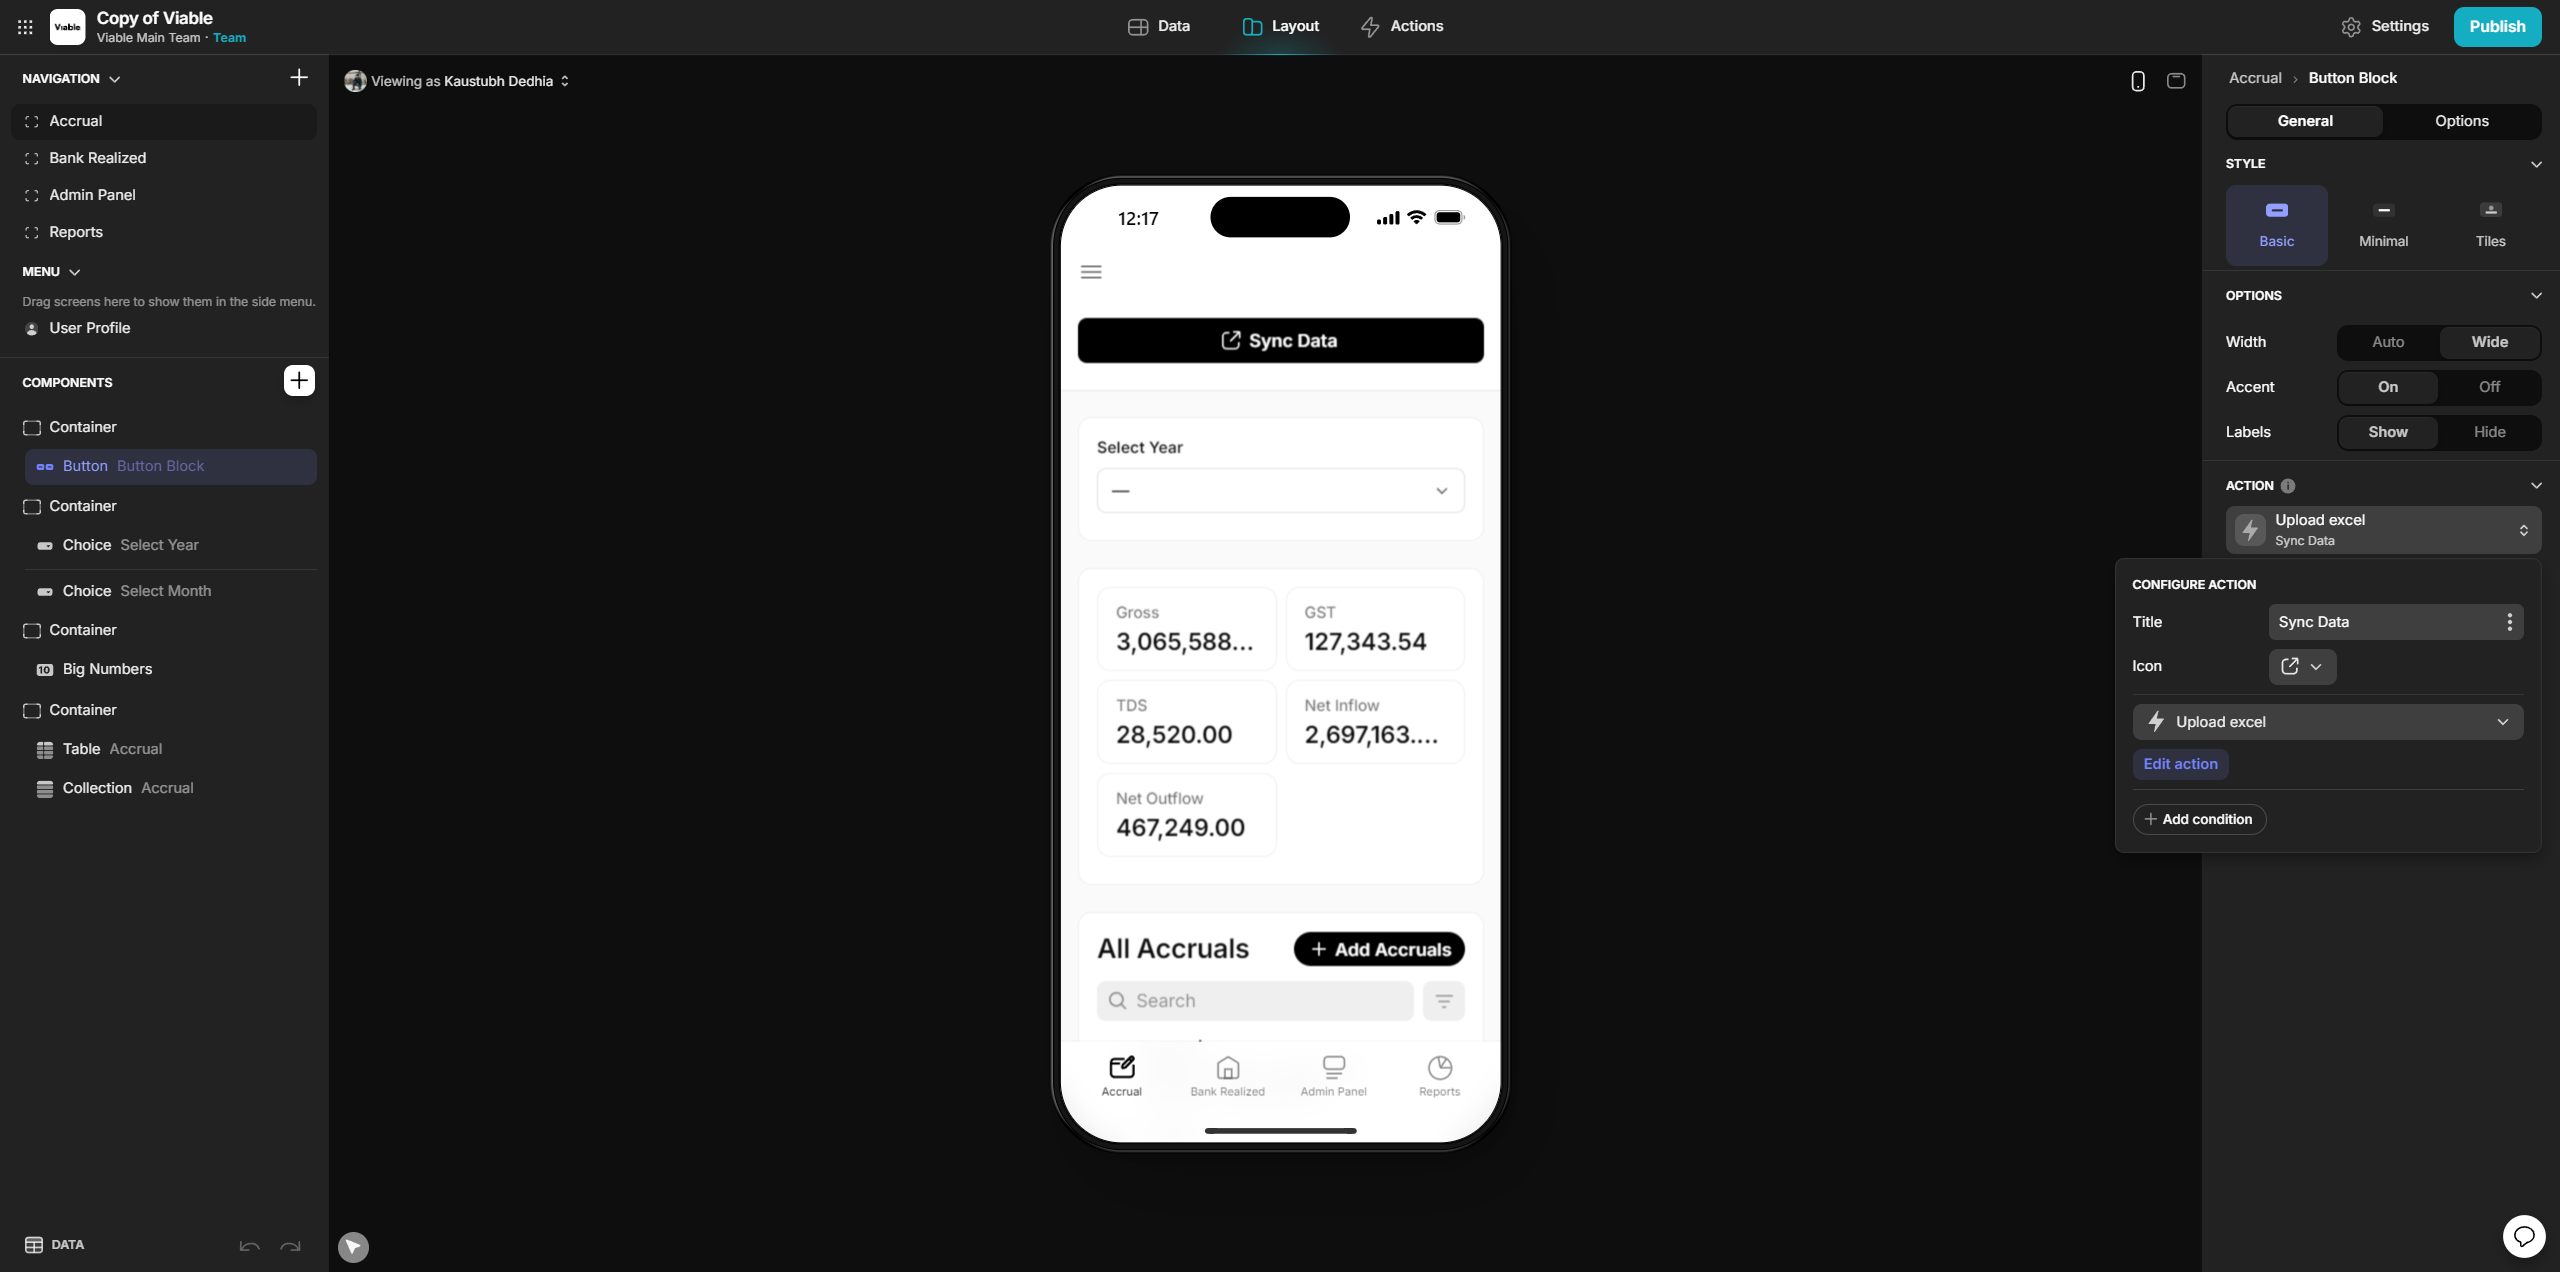
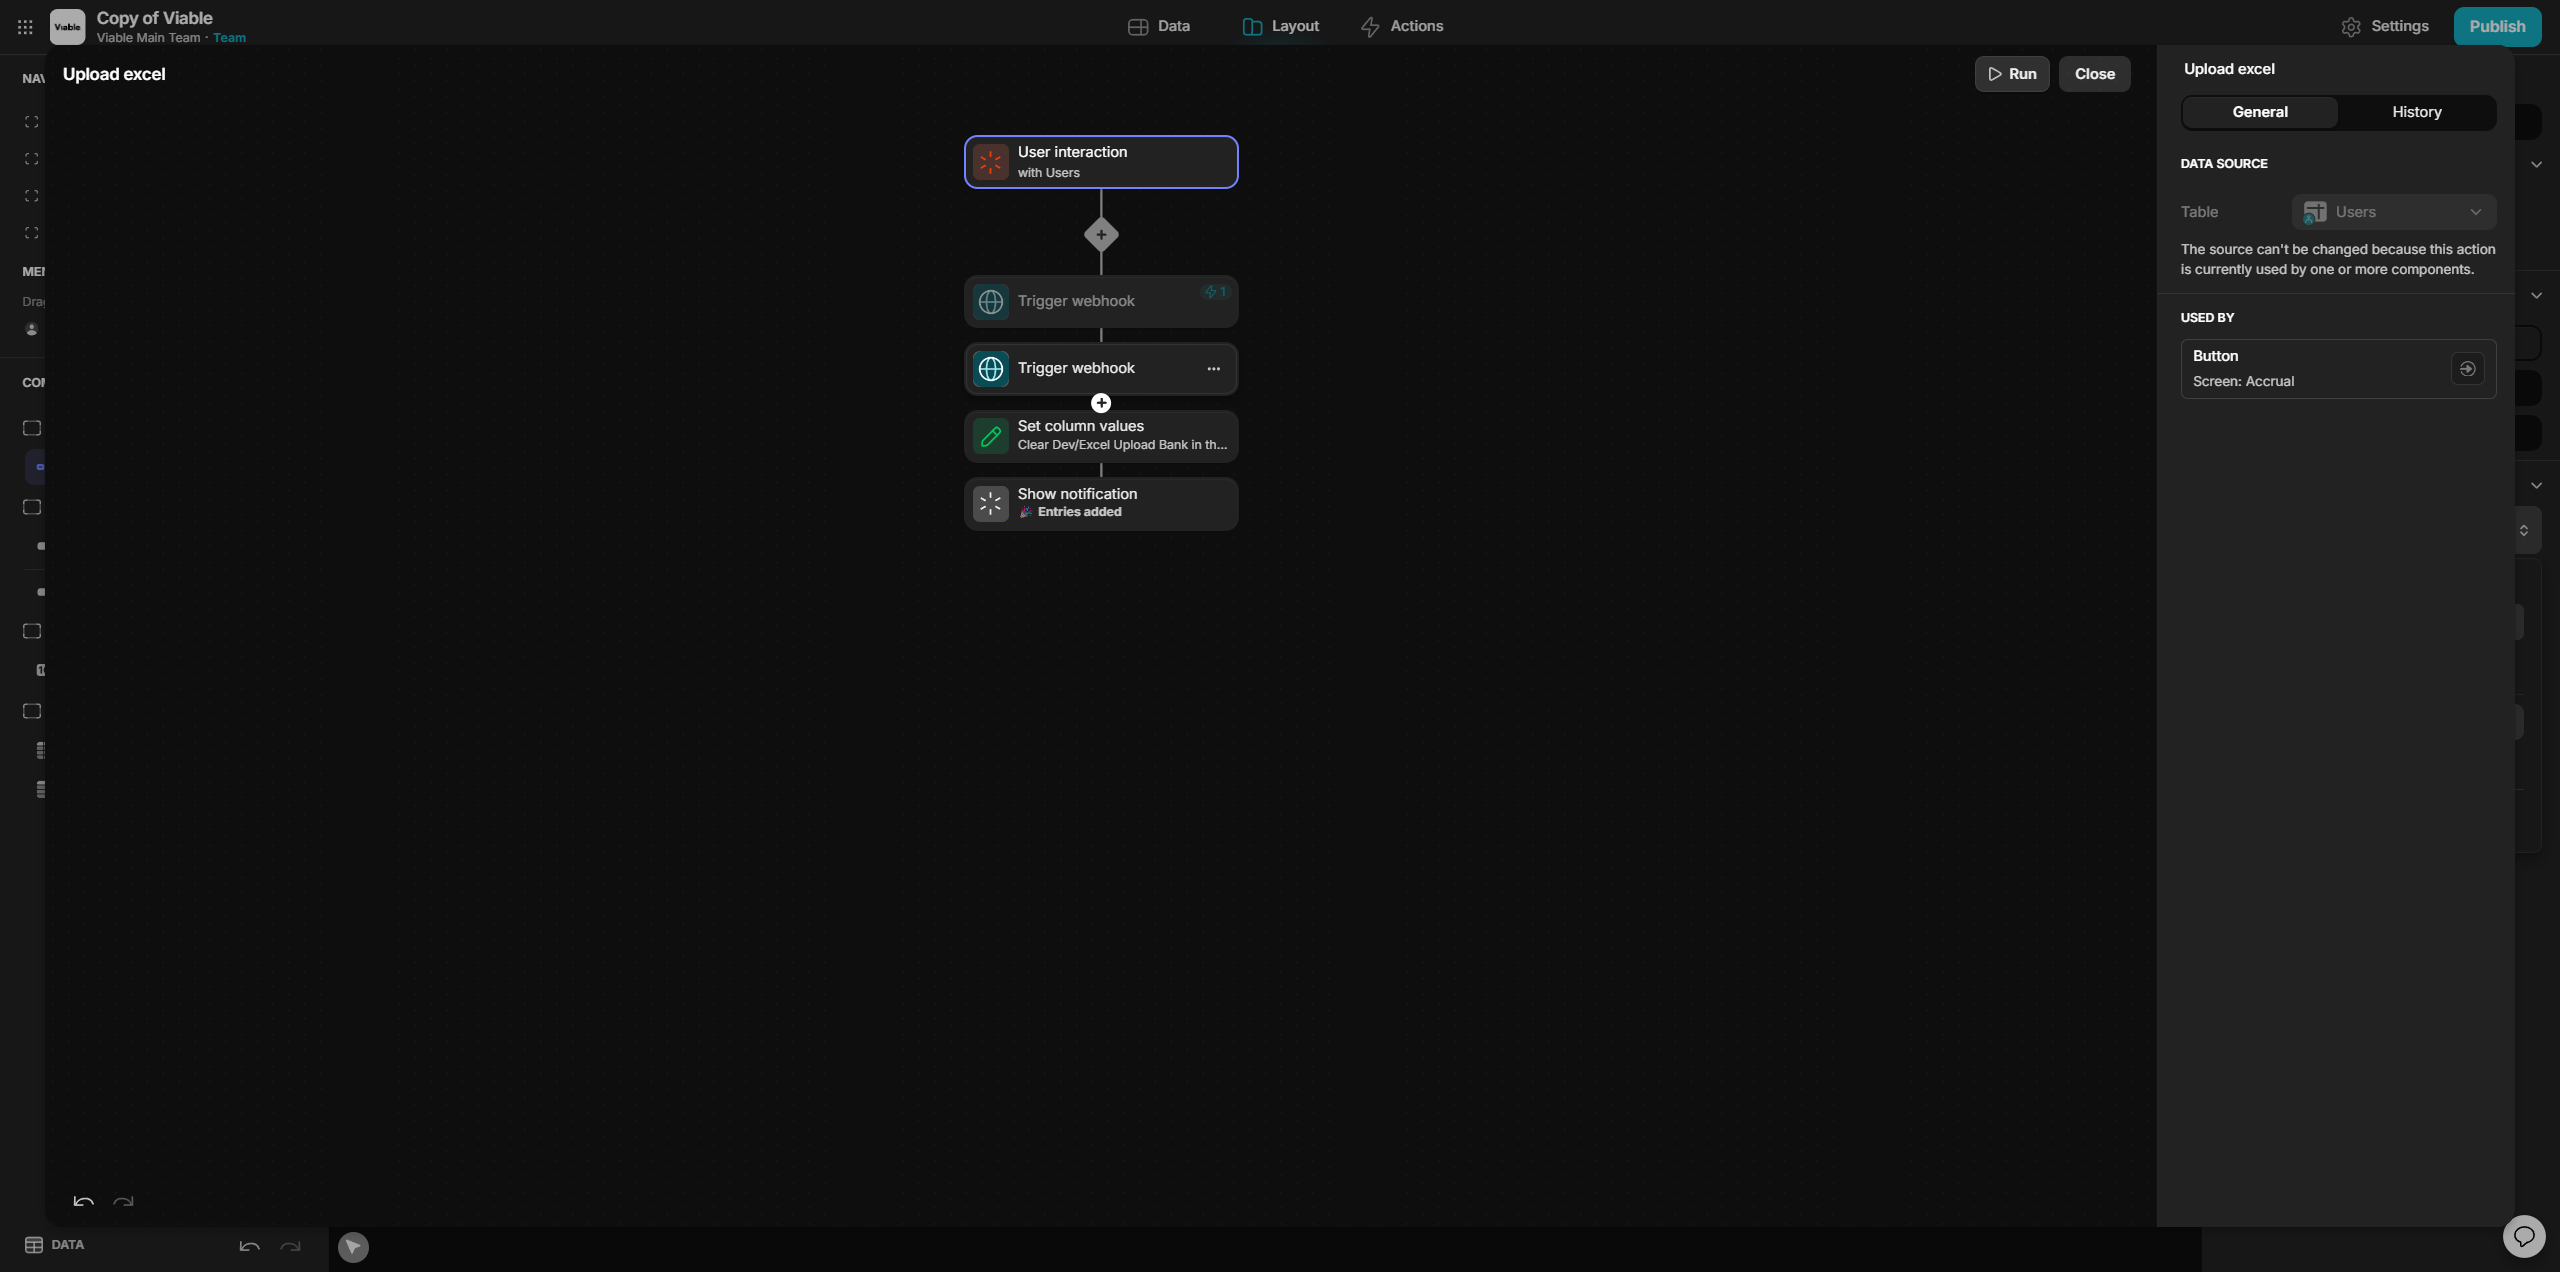
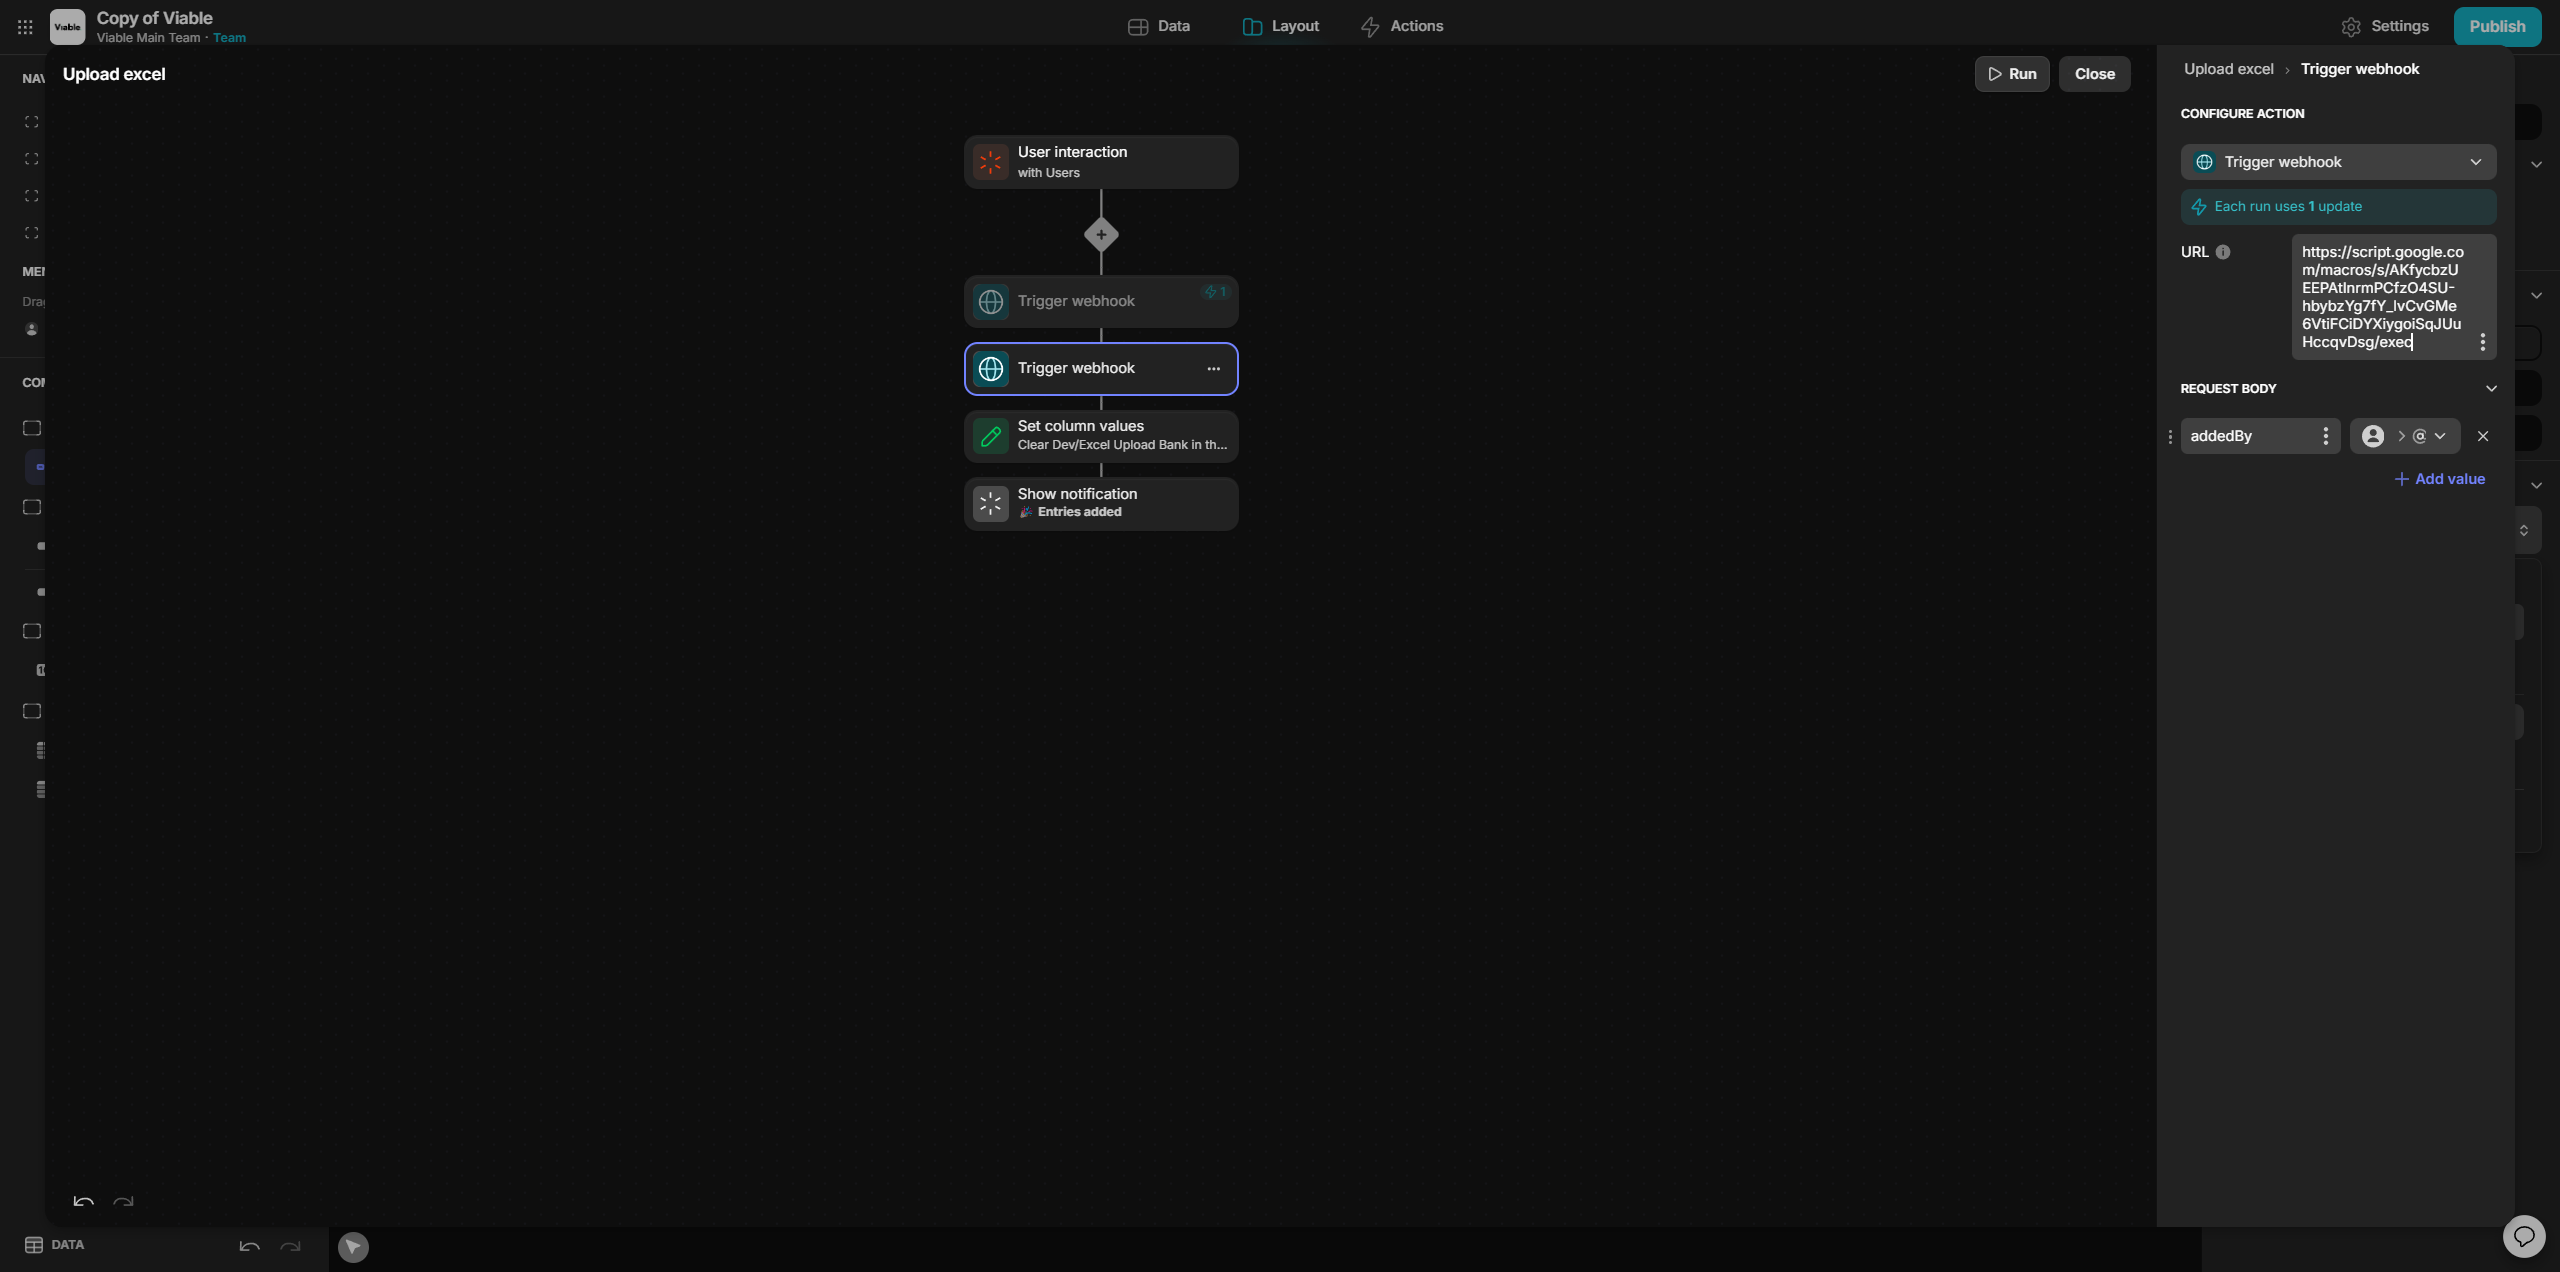
You have sync data here. Click on the button, then click on the action. Next, click on edit action. Paste the new deployed URL that you get here.
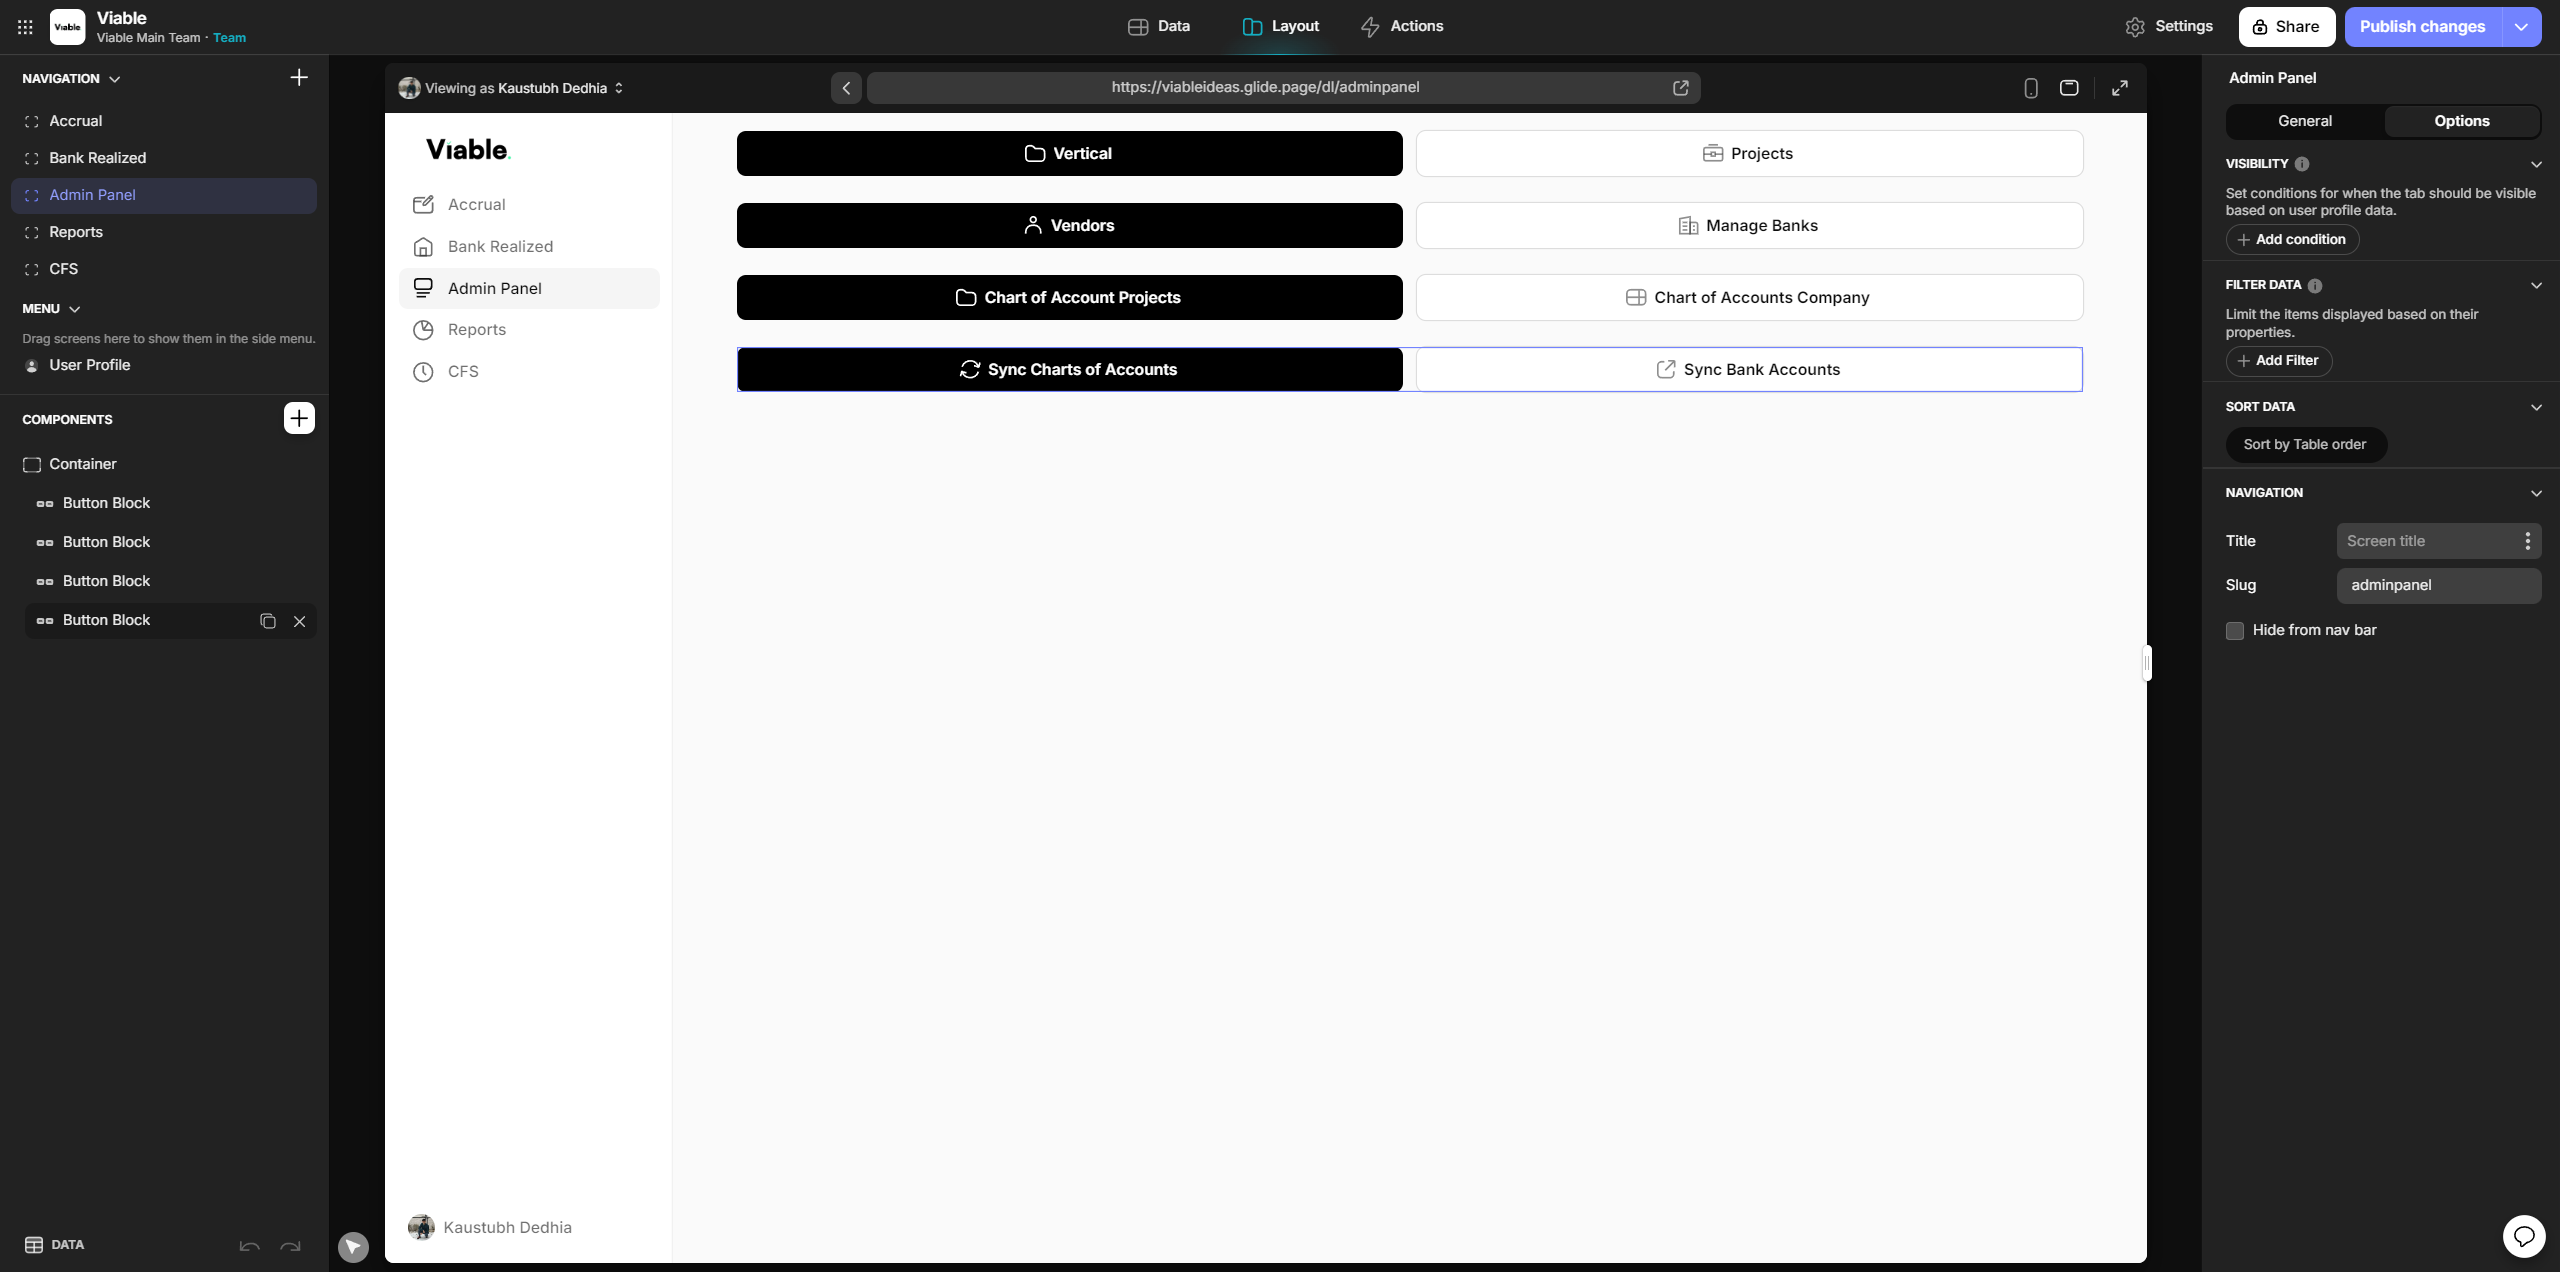
Close the window, then go to the admin panel.
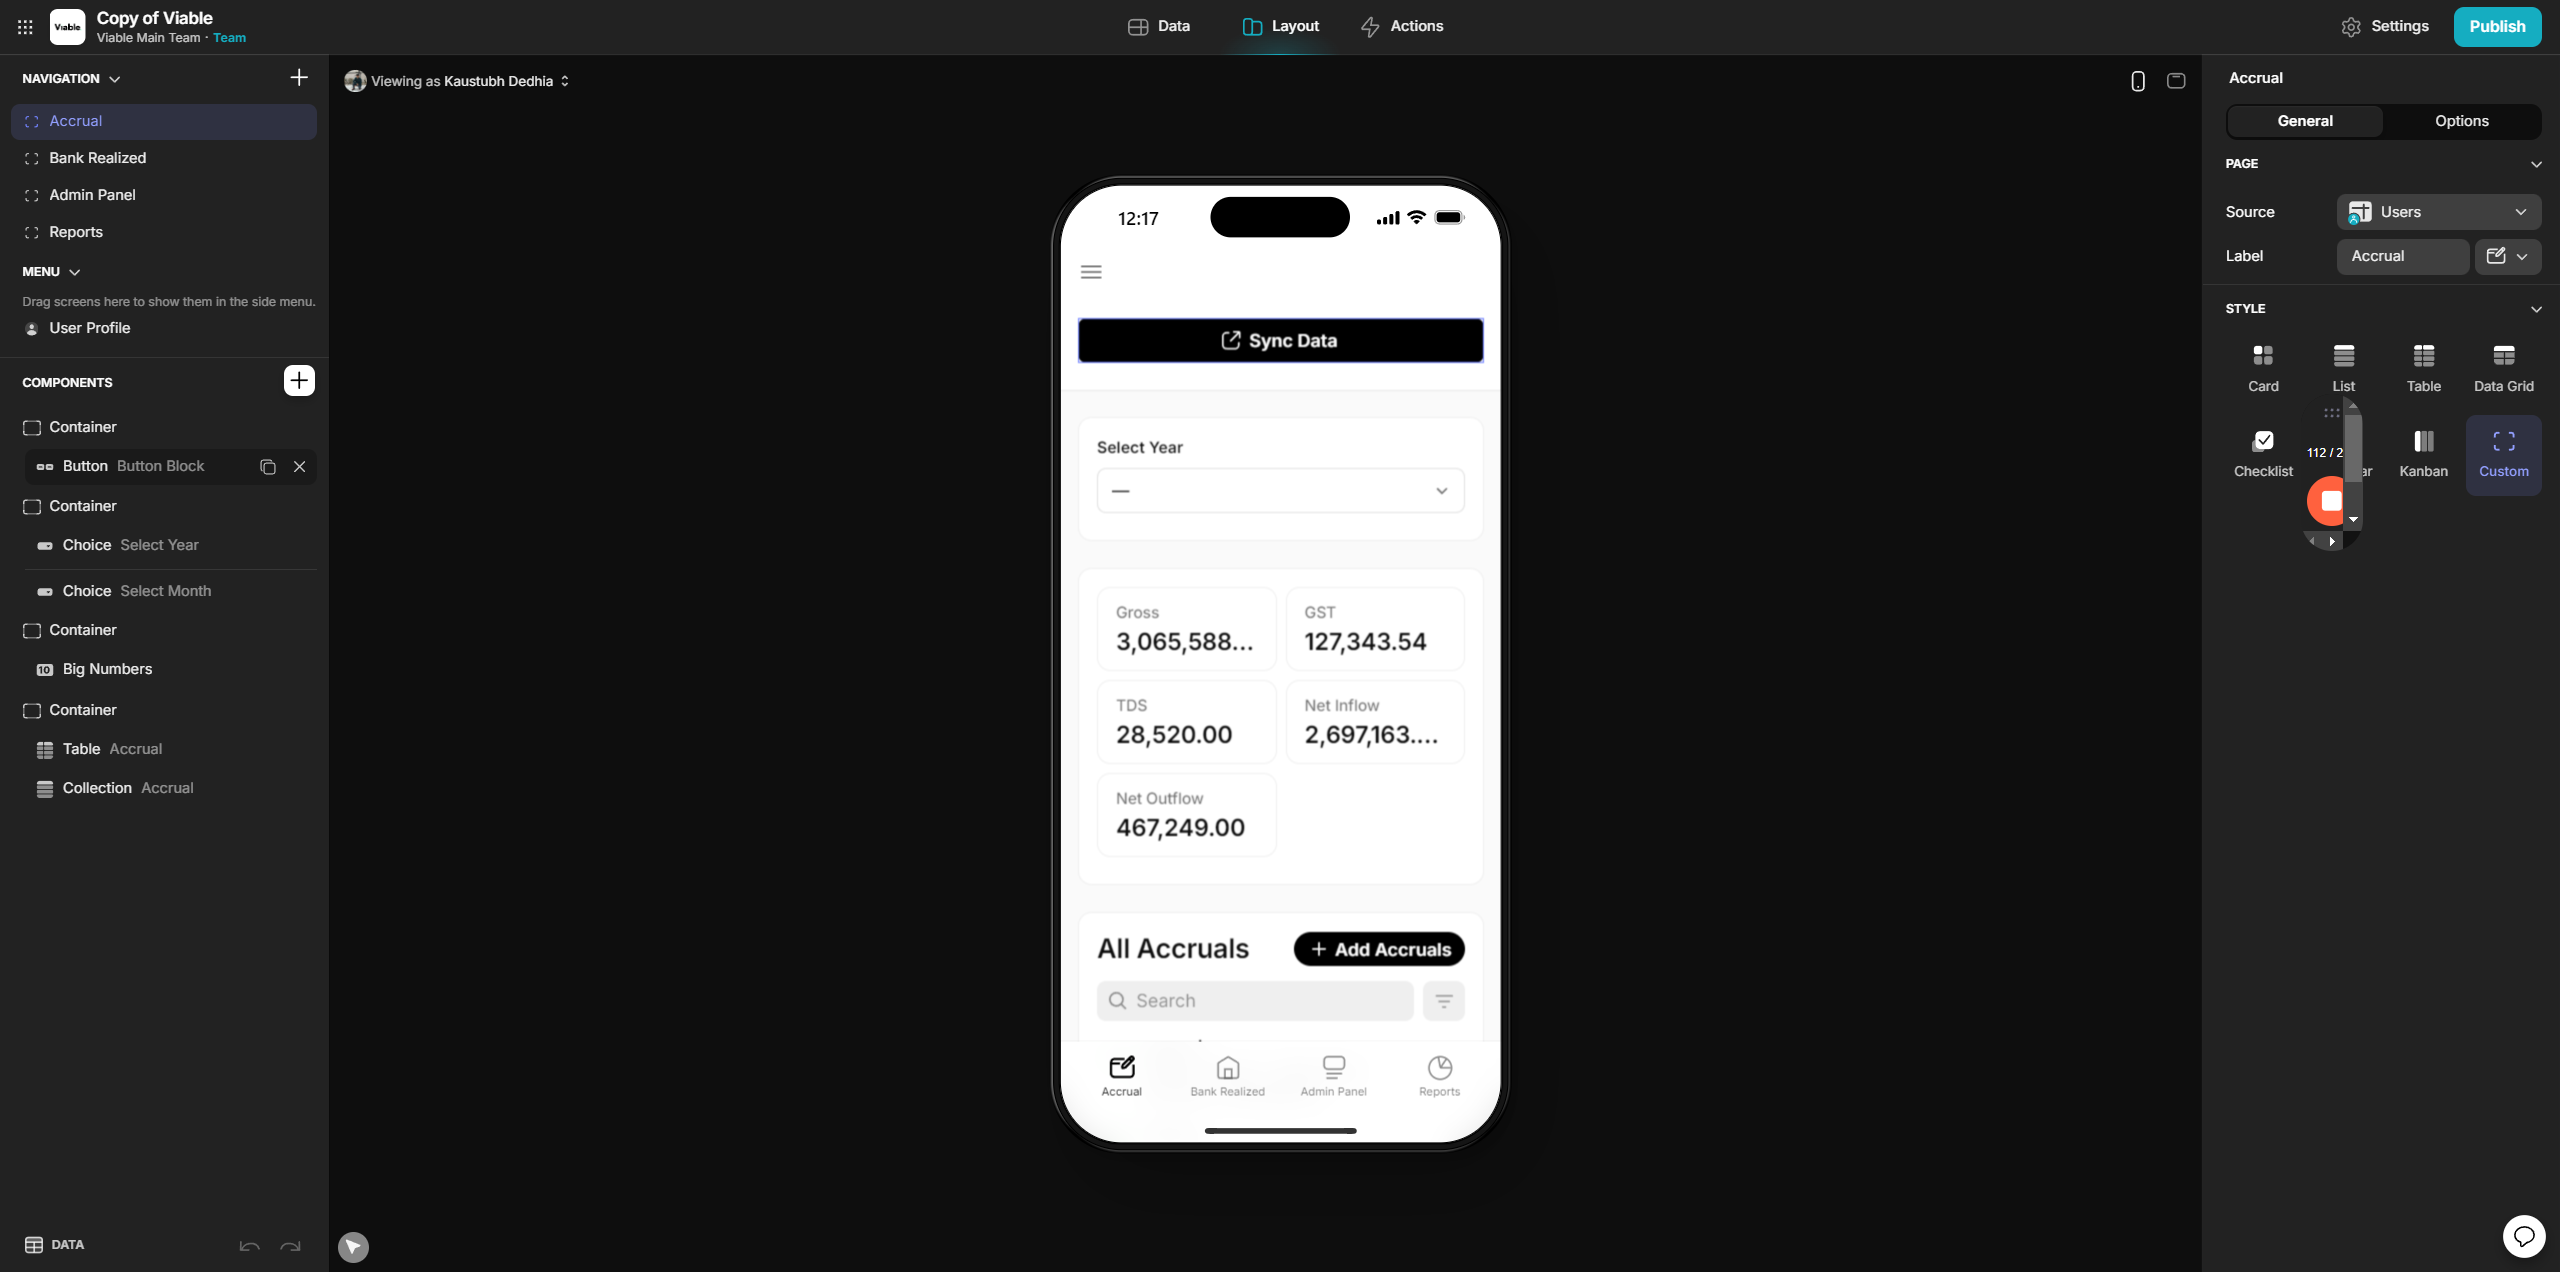
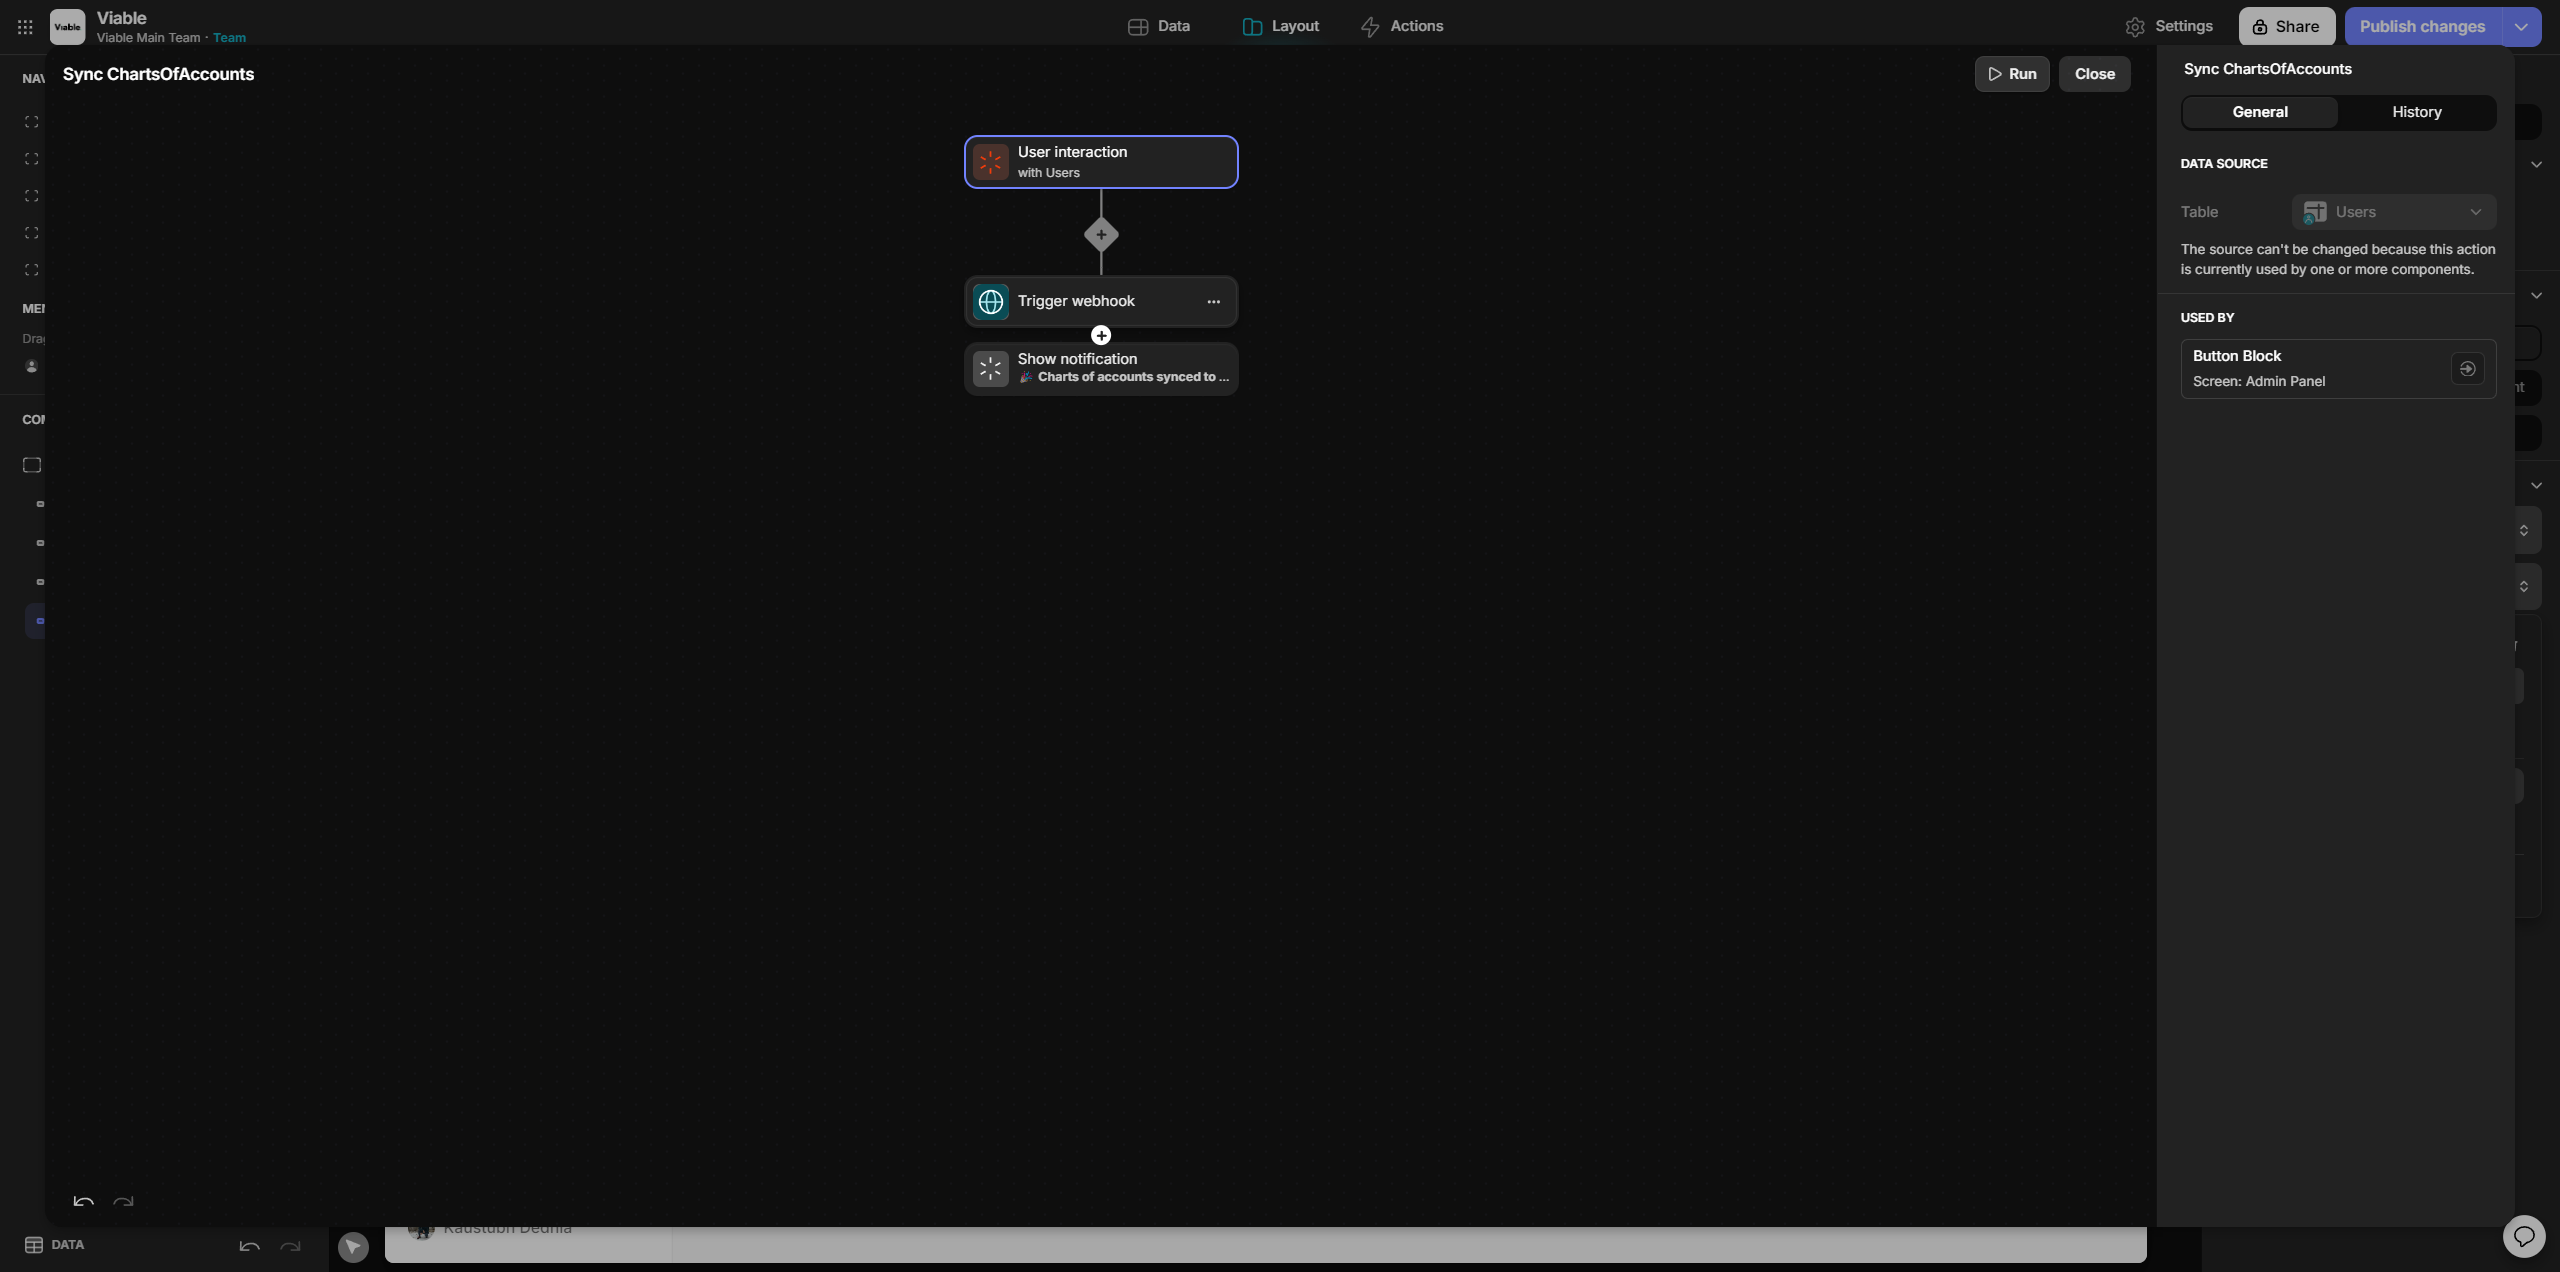
In the admin panel, go to Chart of Accounts and then Projects.
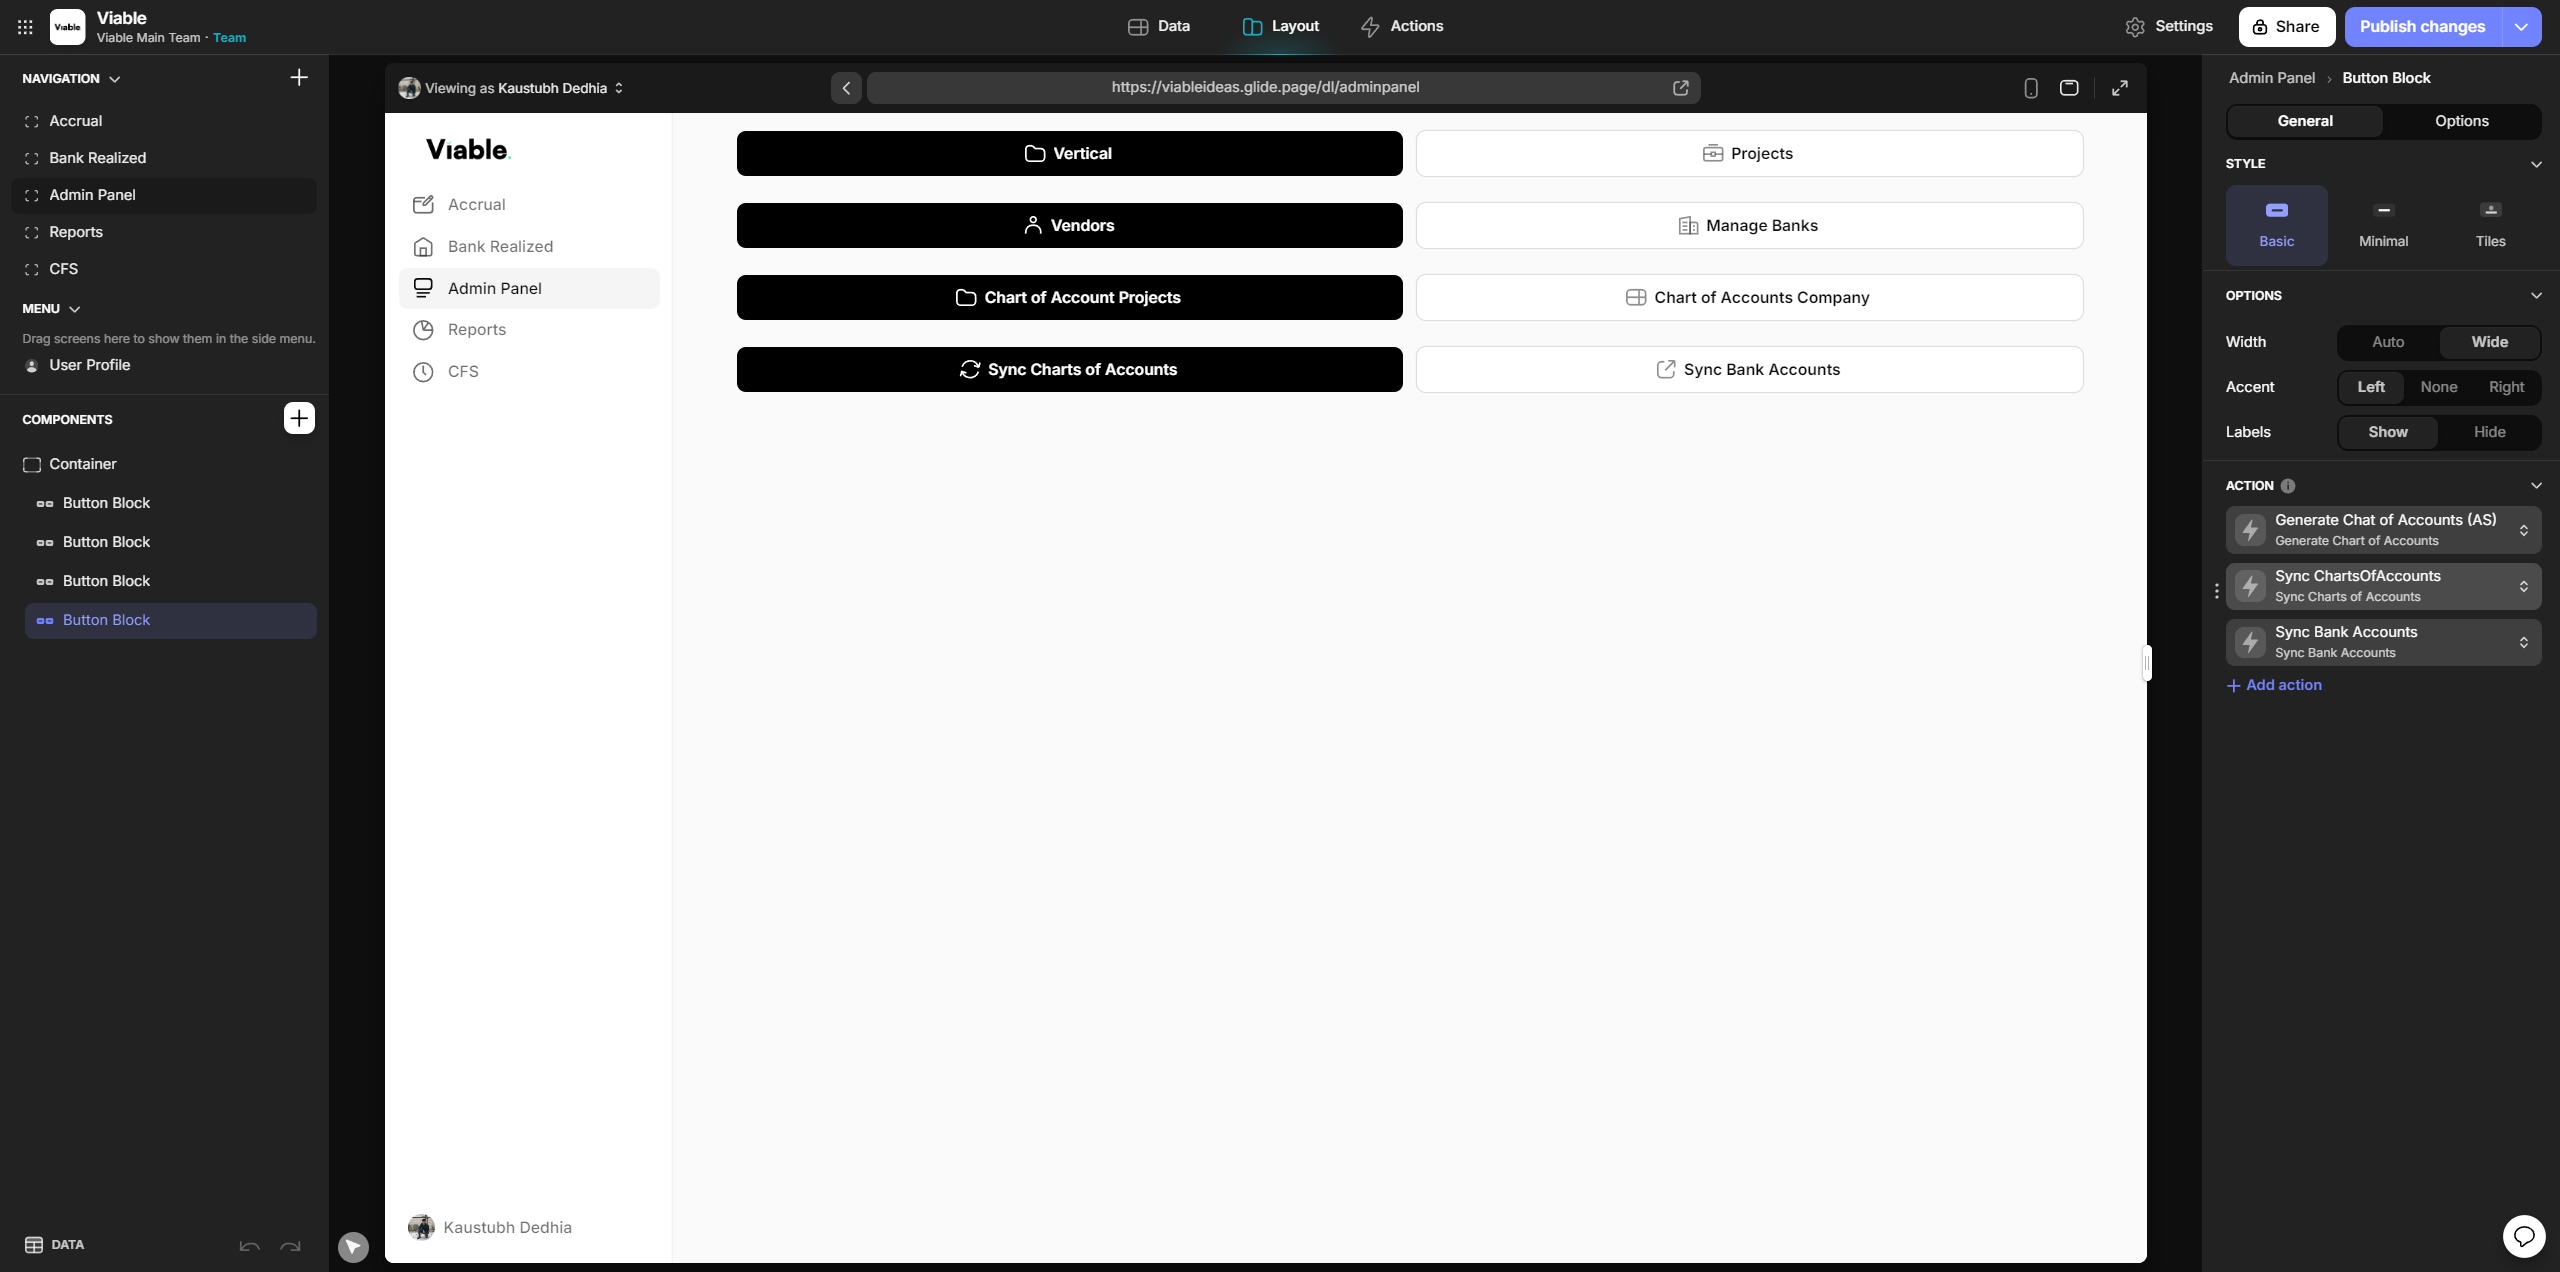
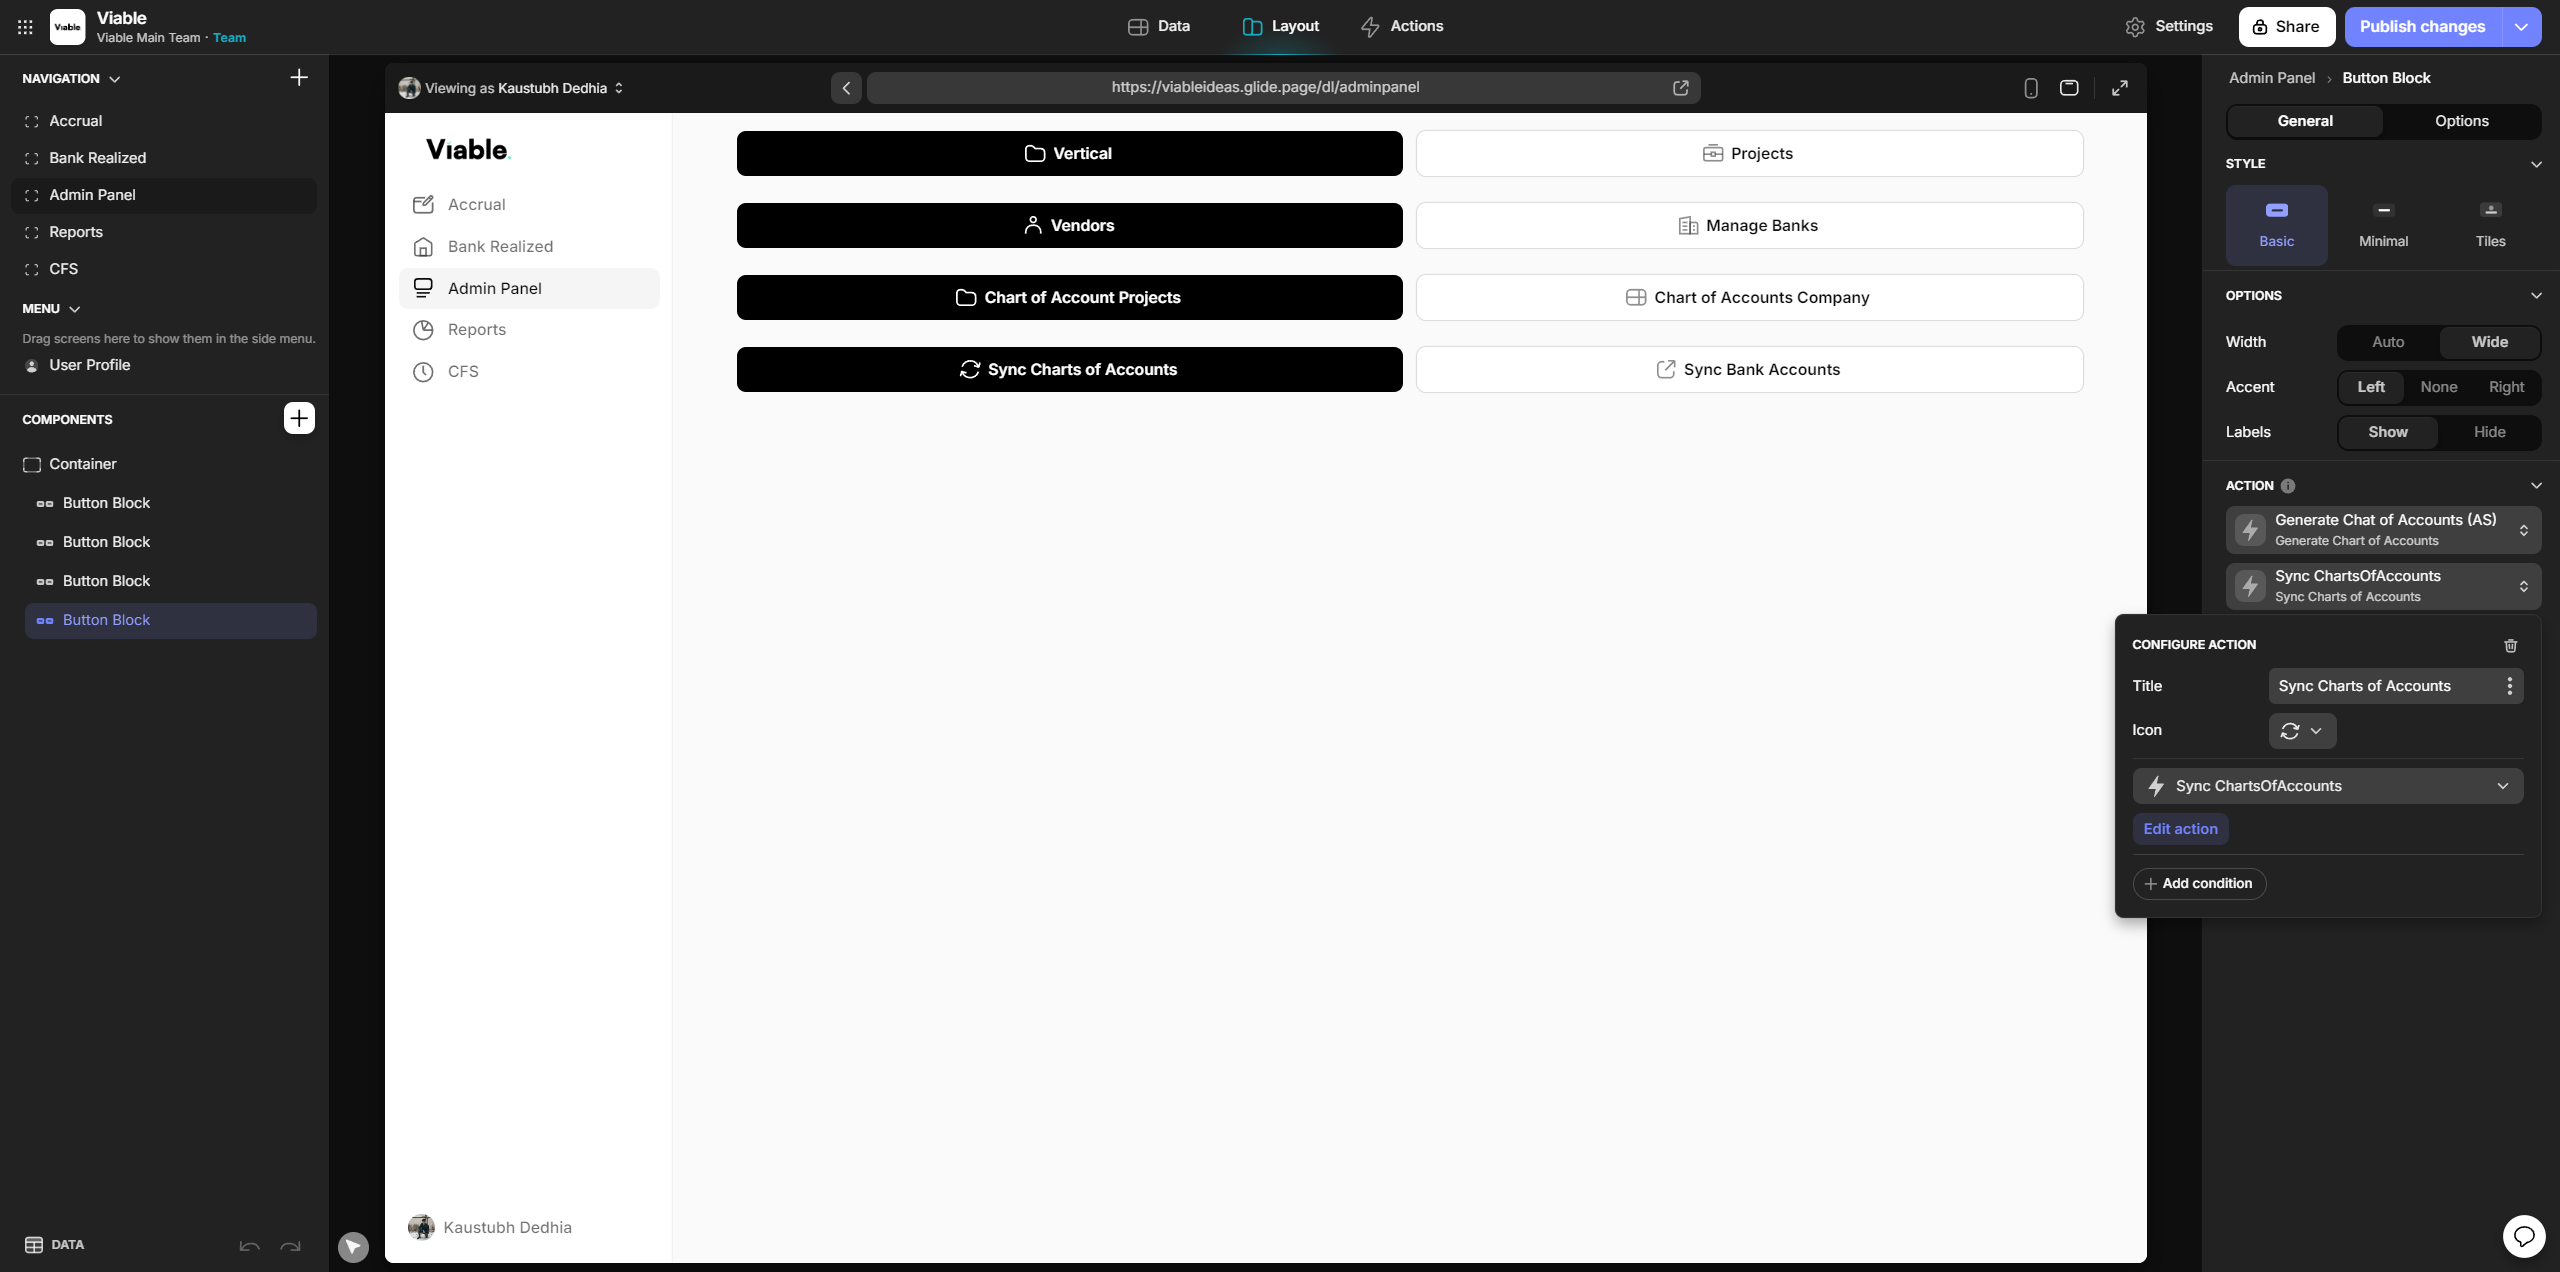
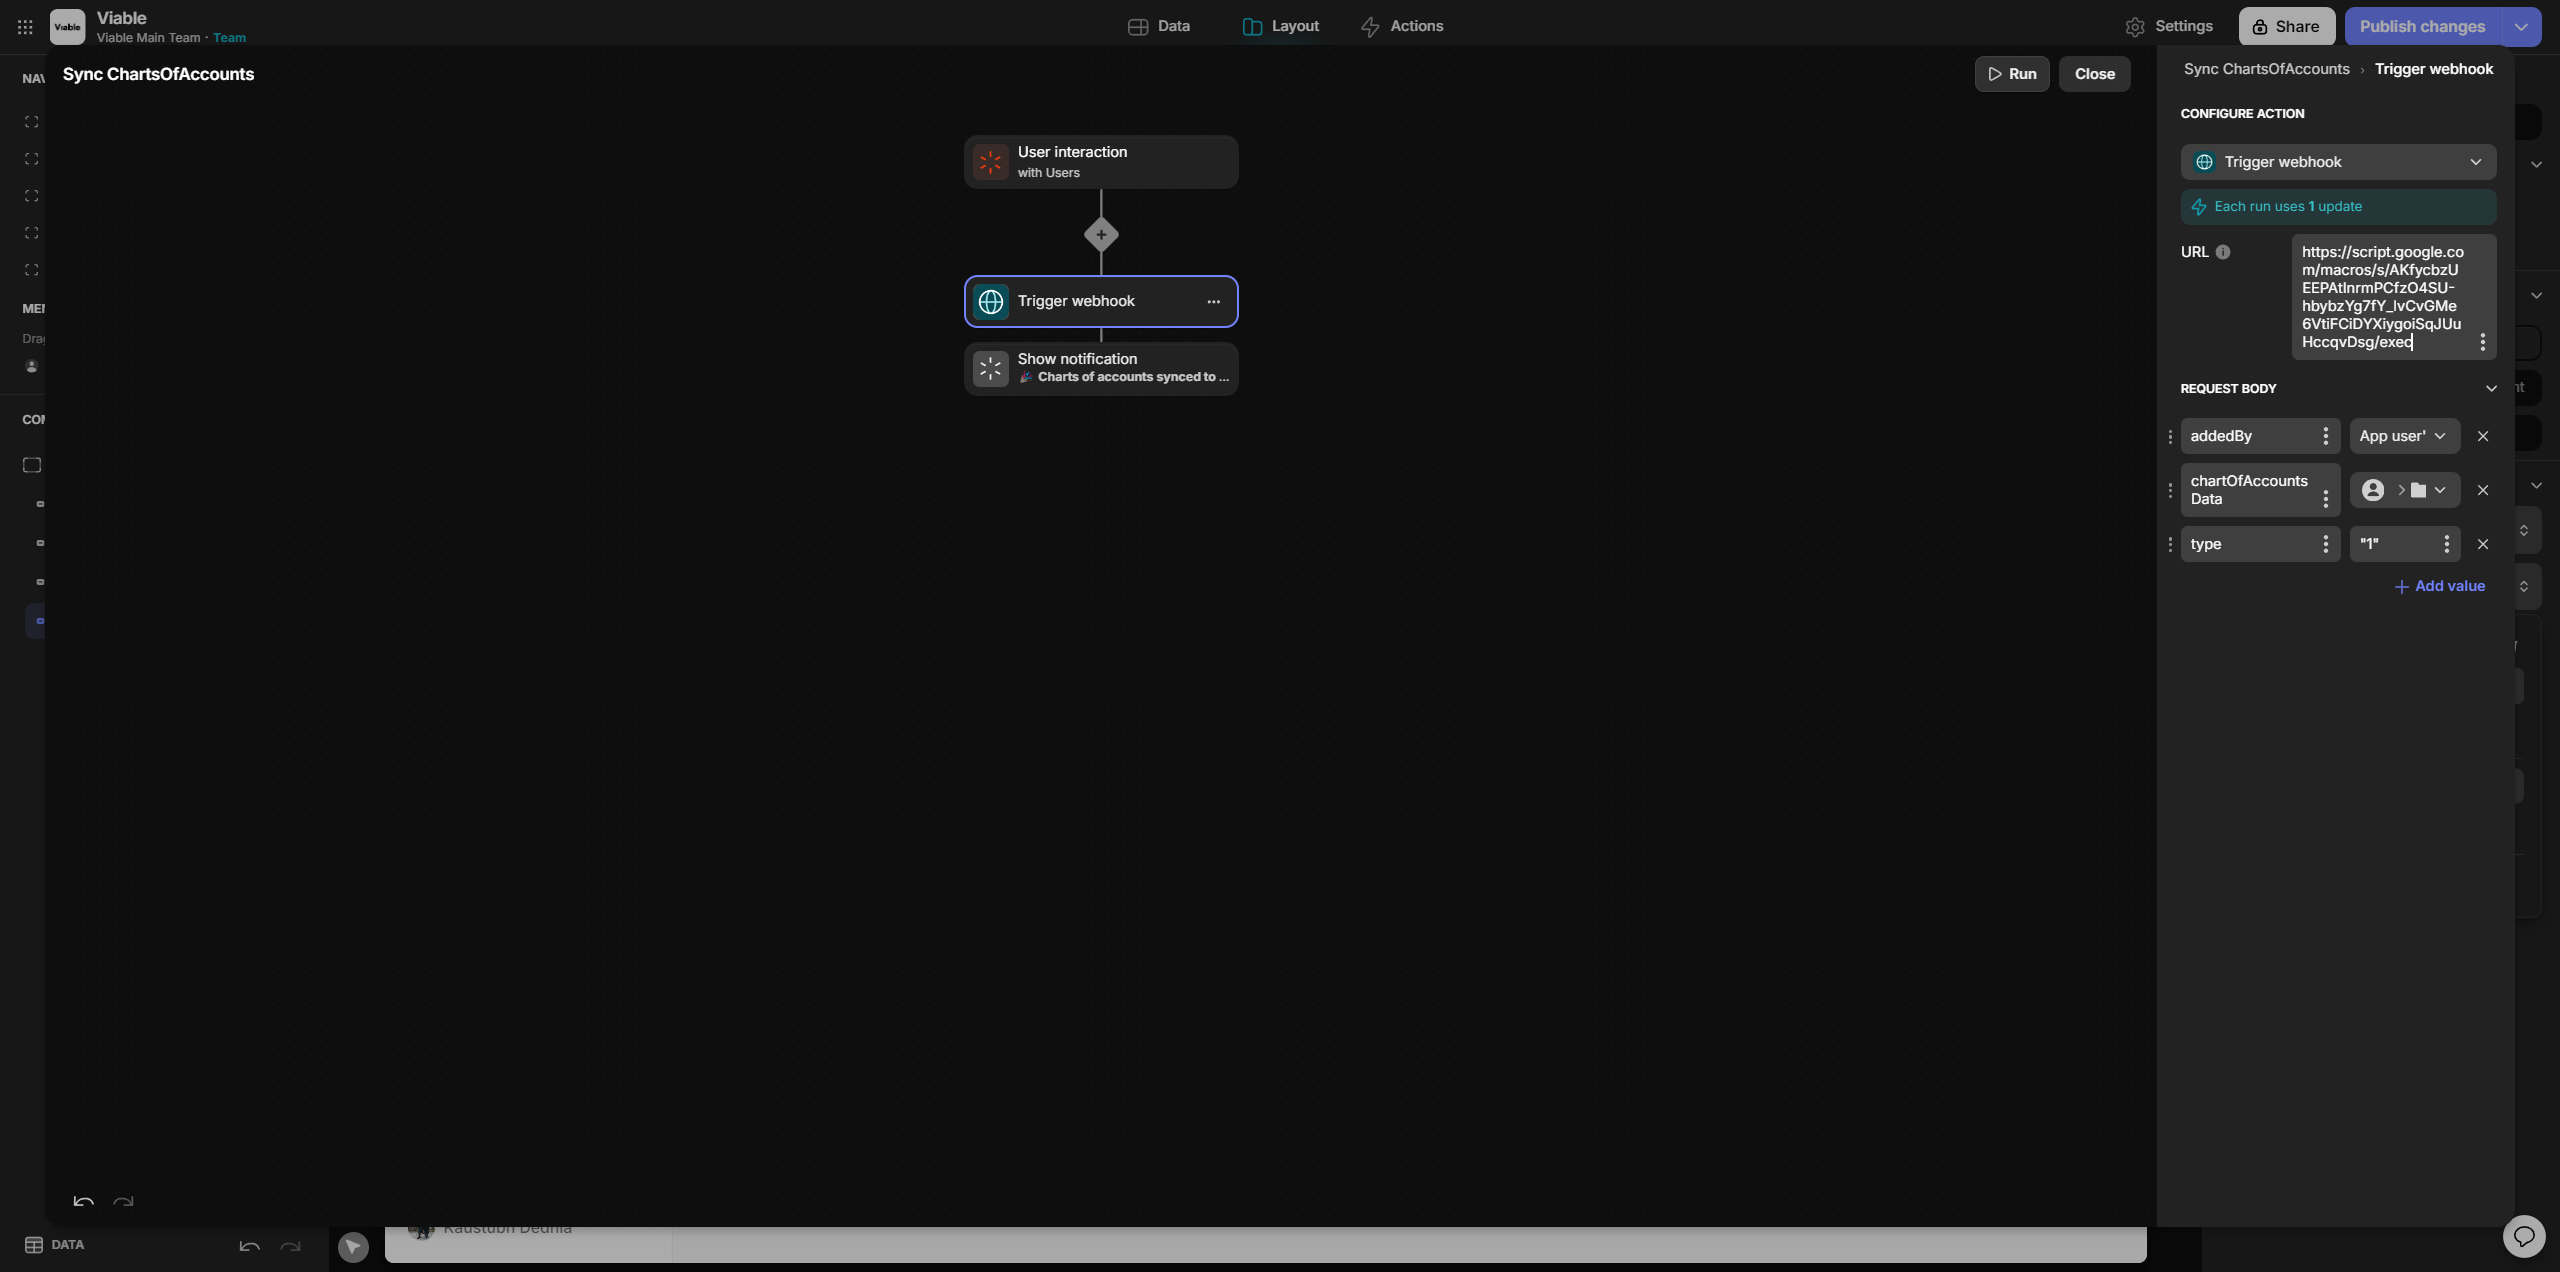
Go to the last button, which is "Sync Chart of Accounts." Click on "Edit Action." In the webhook section, change the URL.
Add the new URL that you pasted in sync data for approval.
You paste the same URL here.
I hope that is clear.

And all is done for copying the accrual