Order Assignment
To effectively manage your orders, it’s important to start by accessing the login page of your order management system. Here, you will be prompted to enter your username and password. It is crucial to ensure your login information is accurate; incorrect credentials can lead to access problems. If you cannot remember your password, use the “Forgot Password?” link to initiate a reset via your email. After entering the right details and successfully logging in, you should be taken to the Dashboard, displaying your ongoing orders, product statuses, and the assignment of available riders. If you do not reach the Dashboard, double-check your login information or reset your password to regain access. Once you are logged in, look for the Orders section on the menu bar, which may contain tabs like Dispatch Management, Settings, and possibly Reports or Inventory. By clicking on the Orders option, you will enter the order management area where you can see all pending and completed orders. From this section, locate Dispatch Management to assign orders to the appropriate riders. It’s essential to select the correct store tied to the order to prevent any mix-ups. Within the list of orders in that store, you should be able to find the specific product you need. Click on the ellipsis for further options related to that order. This organized approach aids in efficient order management. Managing orders efficiently requires attention to detail, especially when assigning them to riders. Once you navigate to the Orders section and select Dispatch Management, take your time to review the list of orders. Here, you will see all active orders that need to be delivered. By ensuring you select the right store and verify the order details, you reduce chances of errors or delays. Always make sure that the riders understand their assignments clearly. This will help maintain a smooth workflow and improve customer satisfaction, ultimately ensuring that every order reaches its destination promptly. After successfully assigning riders to their respective orders, keep an eye on the order updates from the Dashboard. Monitoring ongoing orders in real time allows you to stay informed about any changes, such as delays or delivery confirmations. If issues arise, such as a rider being delayed, you can quickly reassign orders or inform customers about the updates. Additionally, using the reporting features within the system can help you analyze delivery times and rider performance, allowing you to make informed decisions for future orders. With careful management of the process, you ensure a seamless experience for both your team and customers.
By Nagesh A P
1
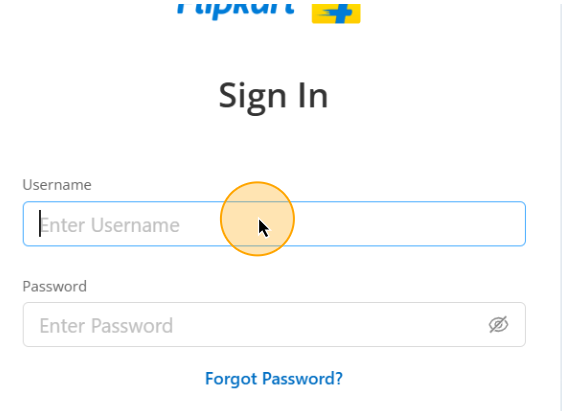
Go to Dashboard
2
To access your account, please provide the correct username and password.
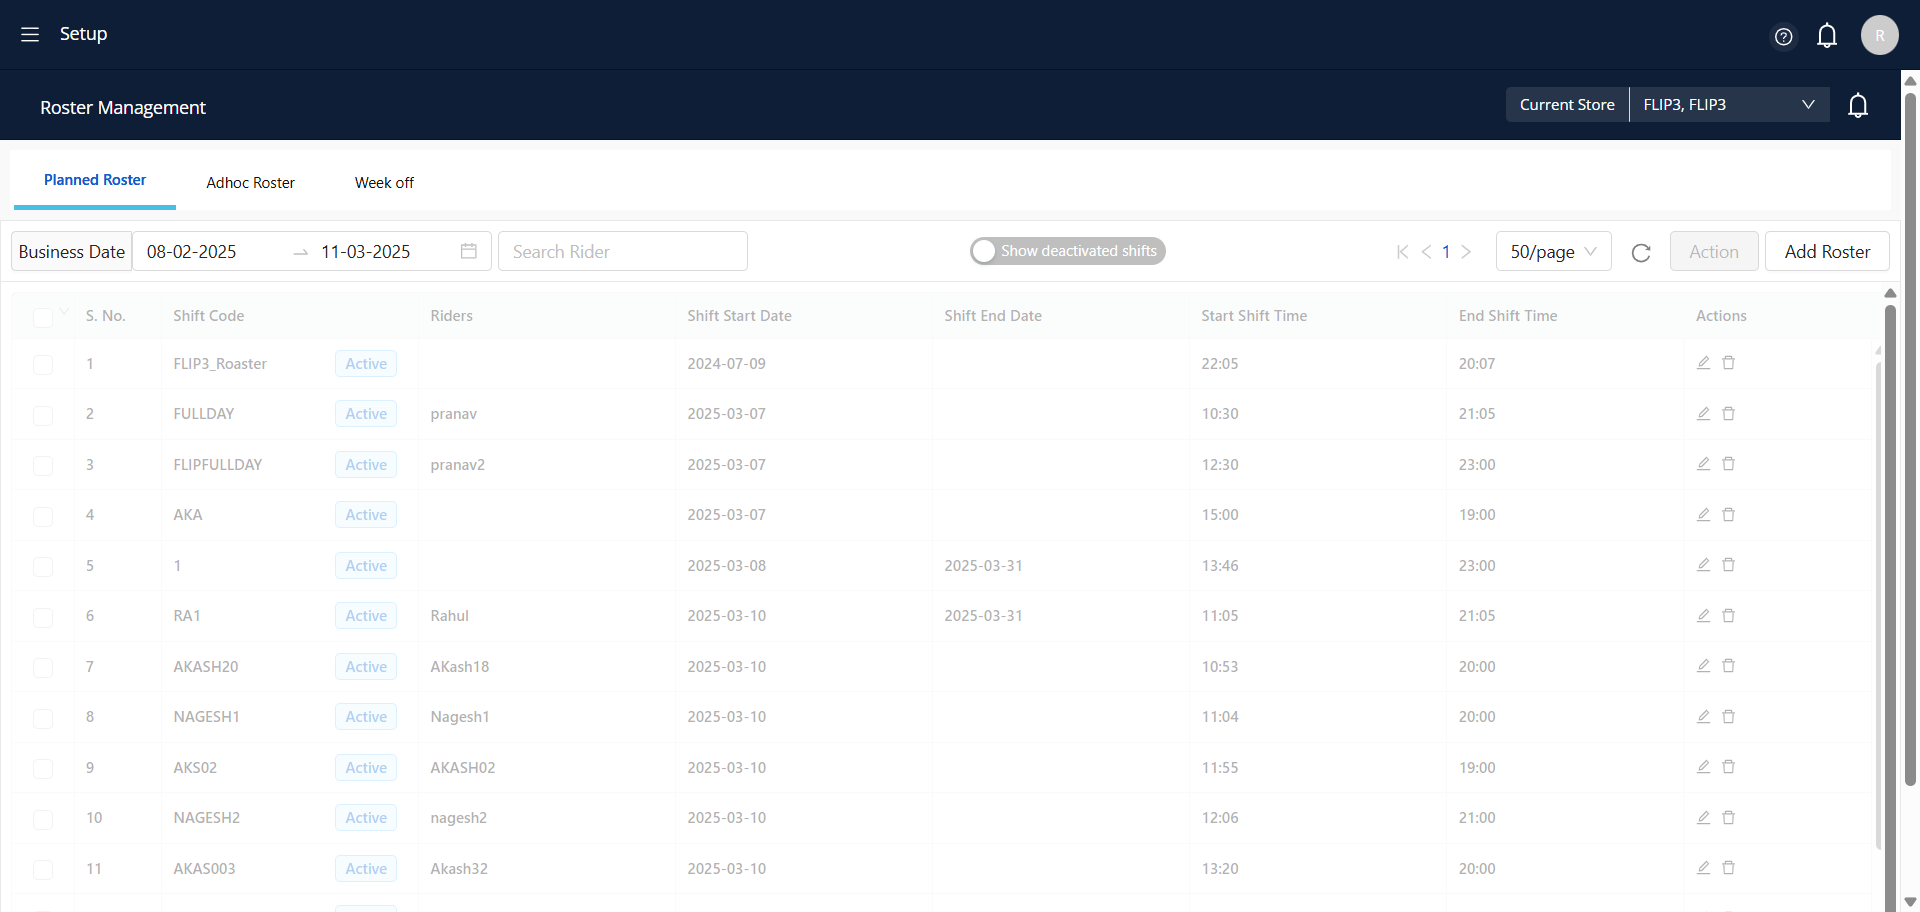
3
Upon successful login, the system will take the user to the dashboard page. Next, the user must select the menu bar.
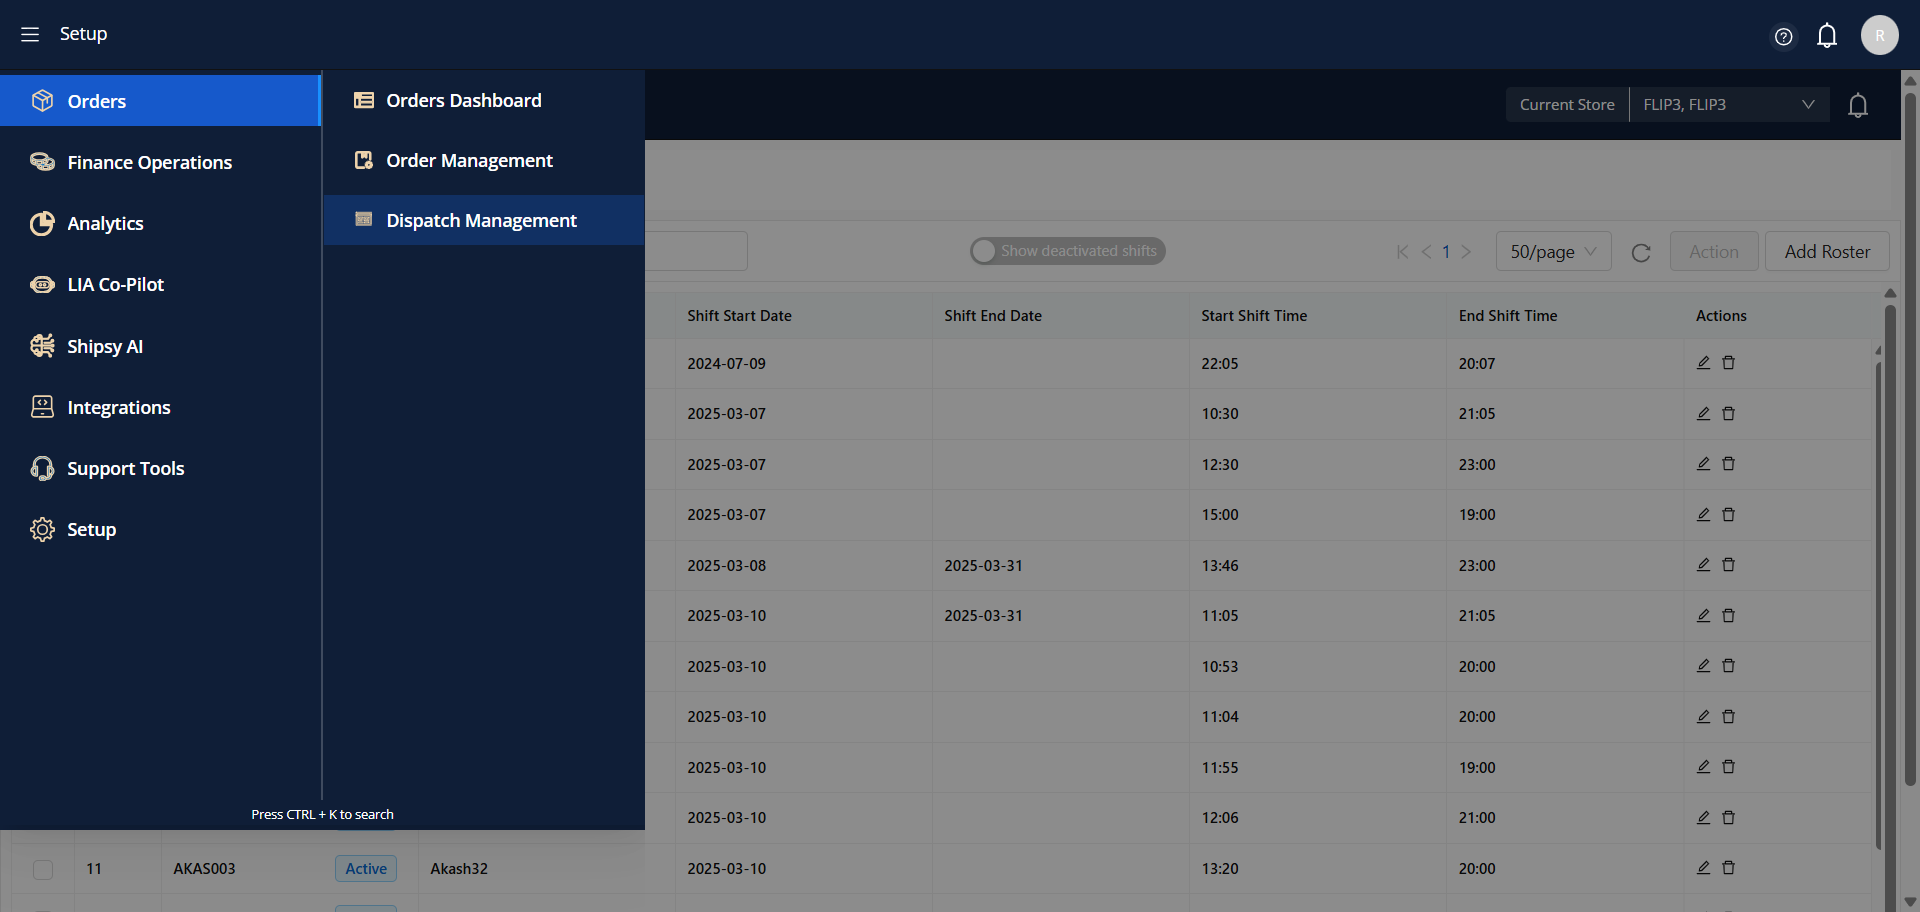
4
In the Orders area, choose the Dispatch Management section.
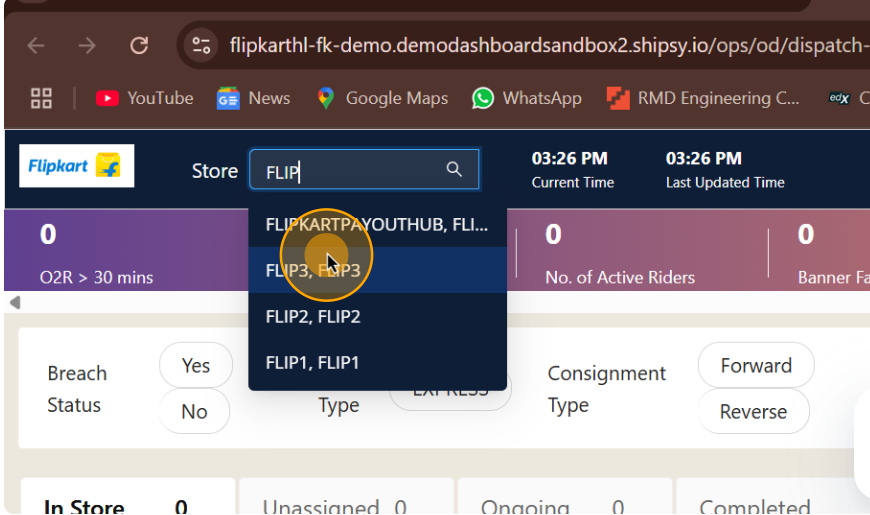
5
Choose your store name from the list available in the store.
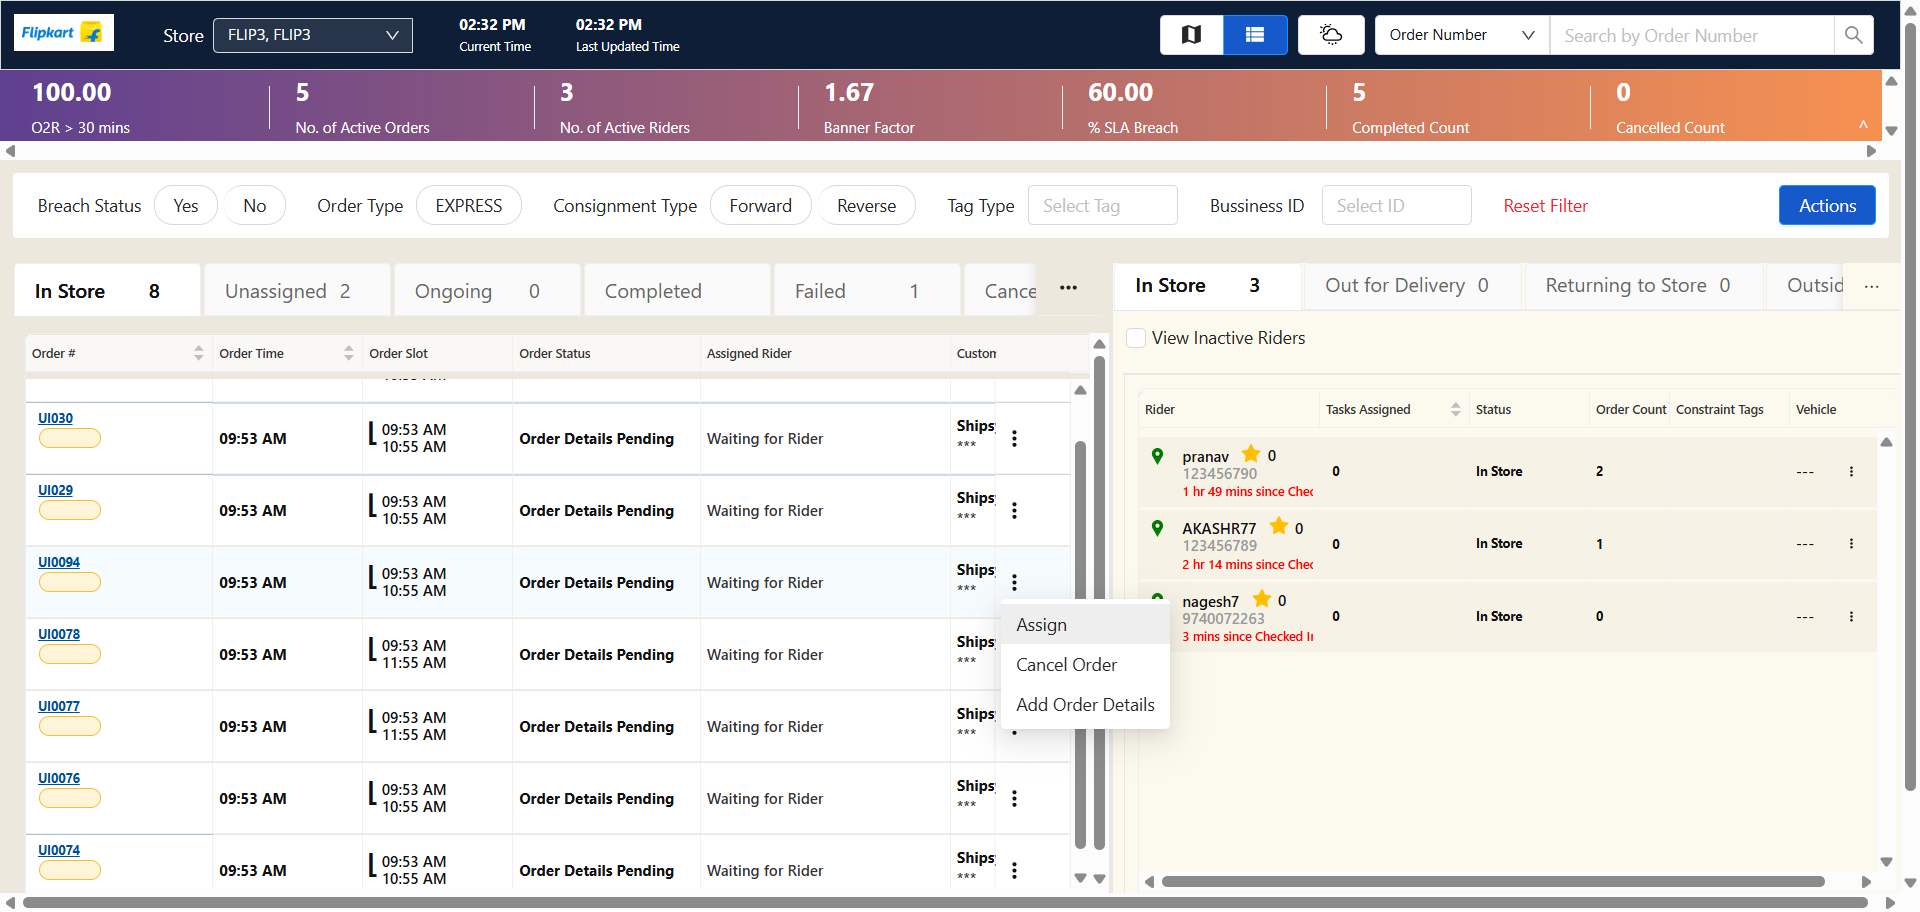
6
Choose the product and click on the ellipsis

7
Select the Assign button.
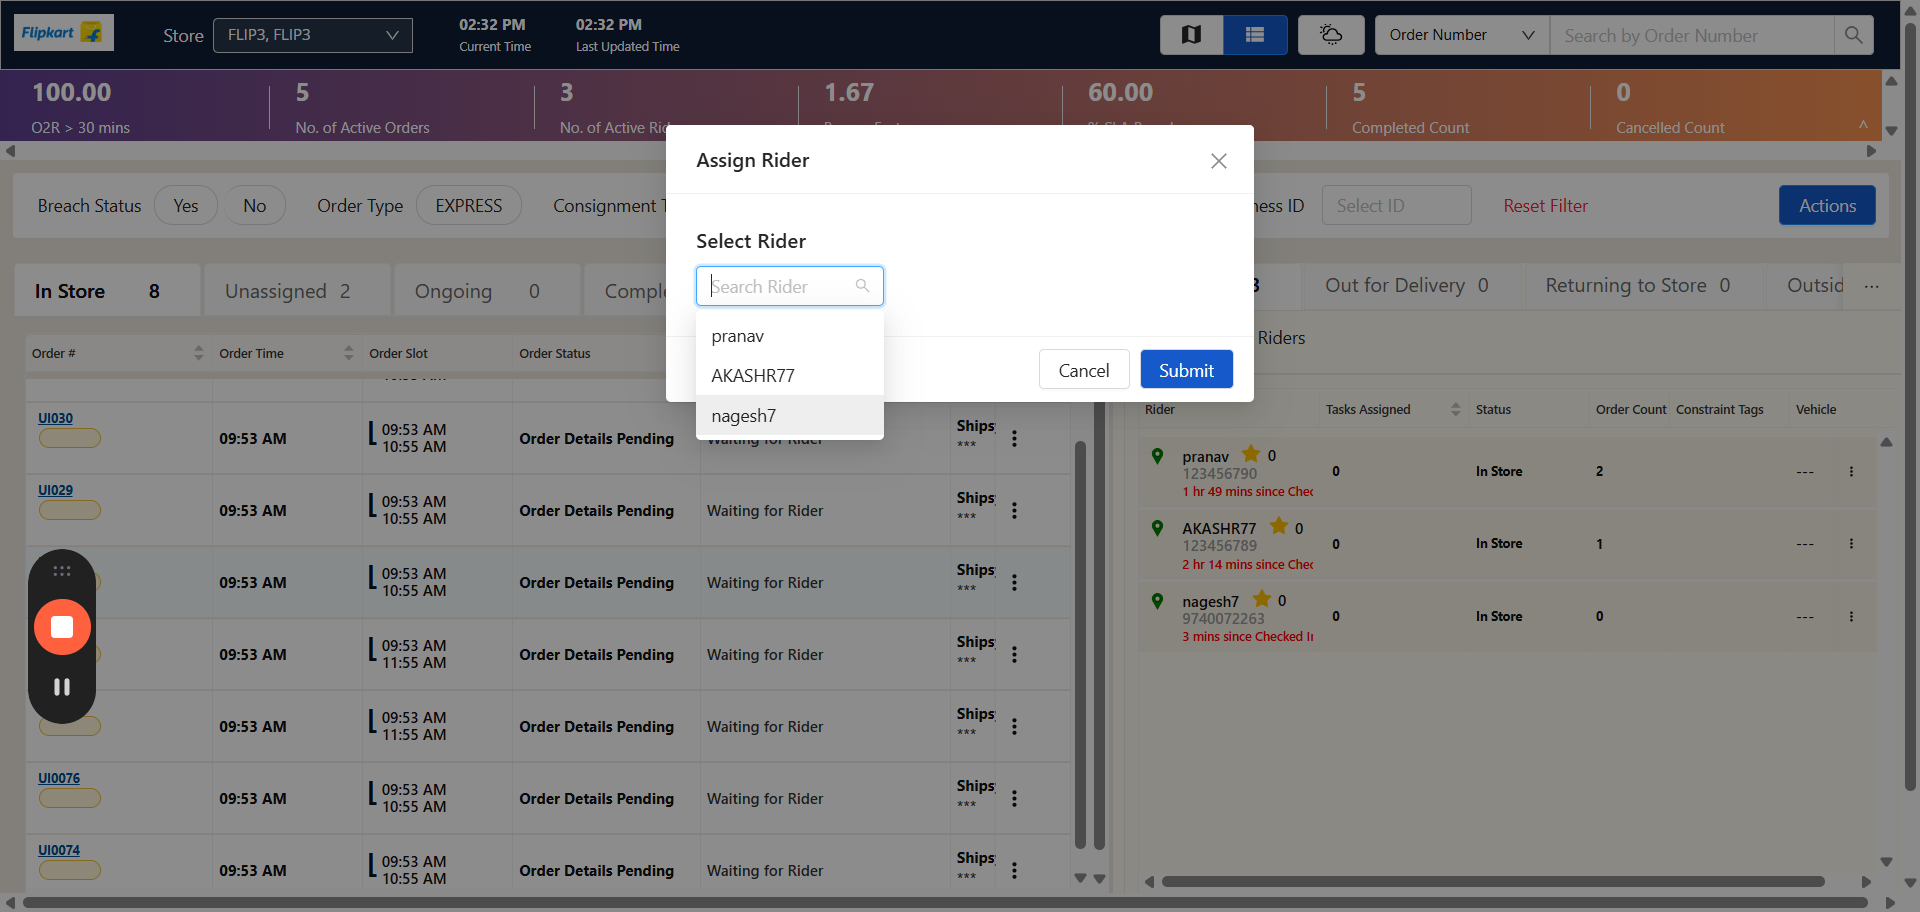
8
Select the rider to whom you would like to assign the product.
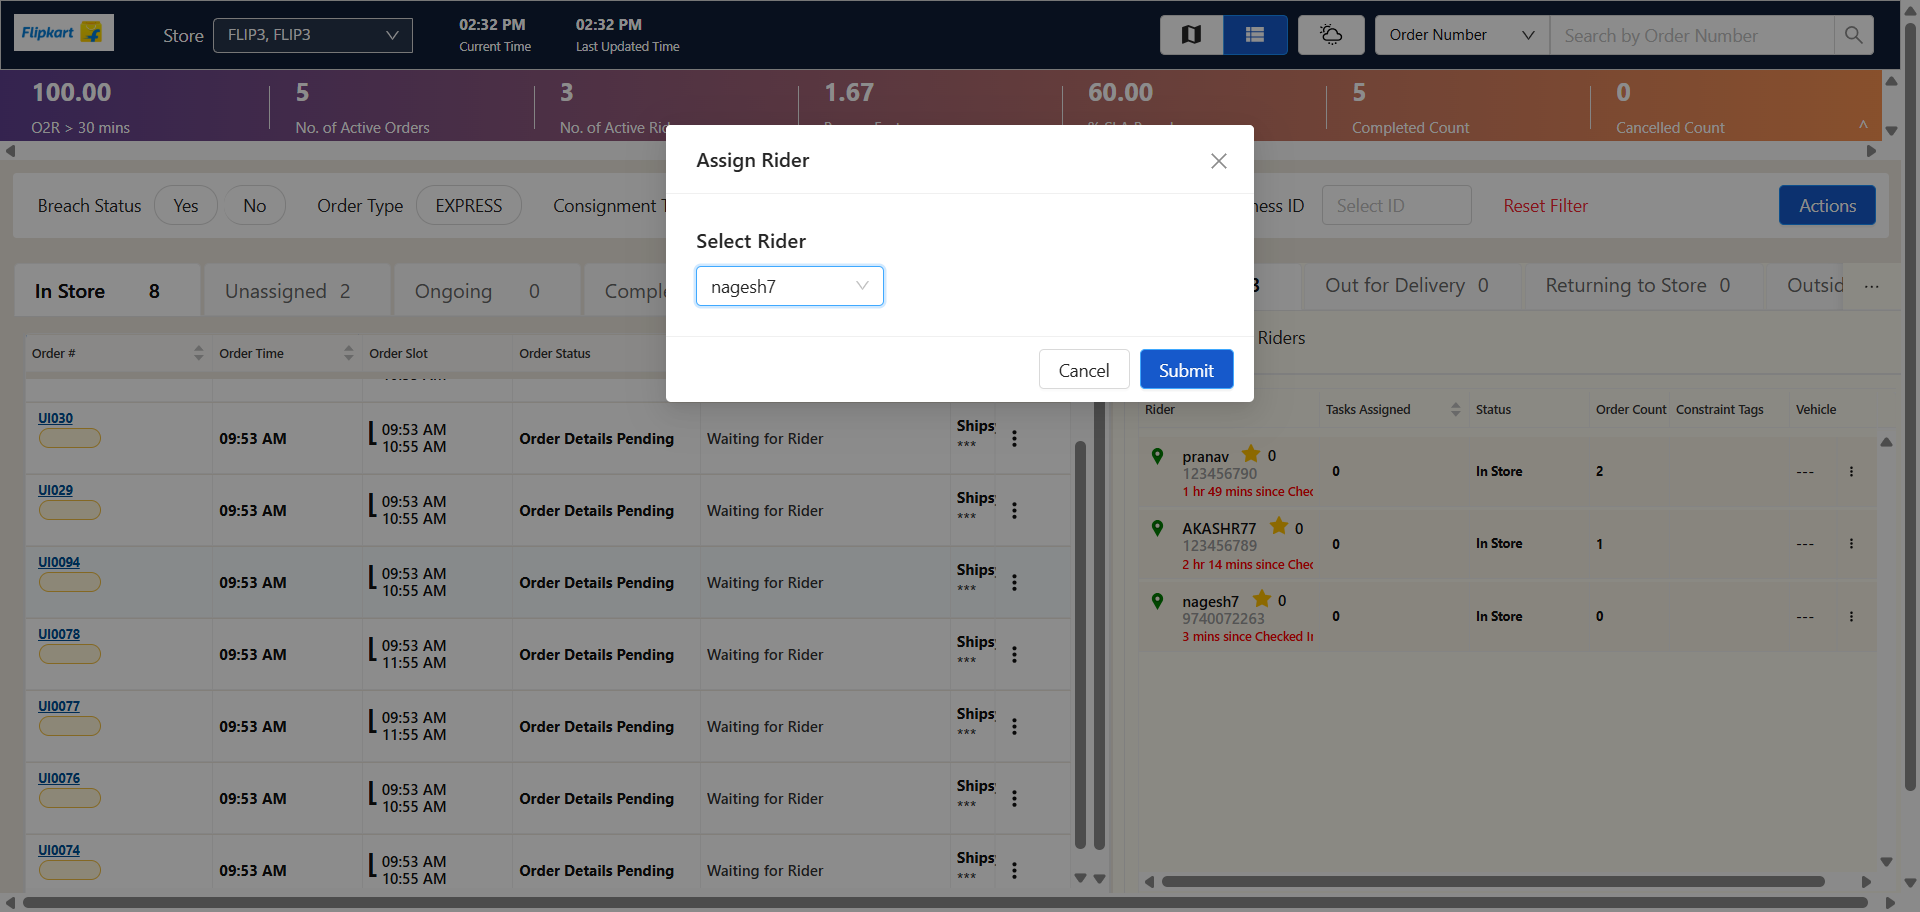
9
Select the rider to whom you would like to assign the product, and then click on 'Submit.'
10
Launch the Postman application.
11
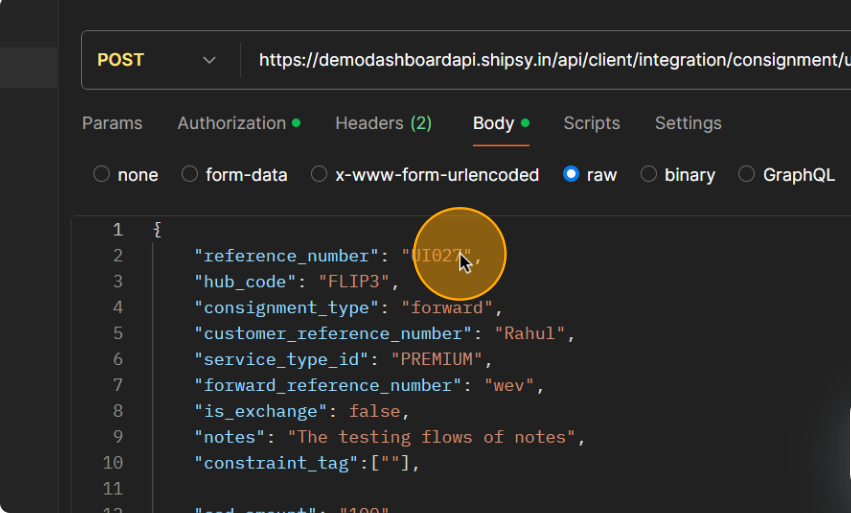
Incorporate the reference number to ensure the product is included.
12
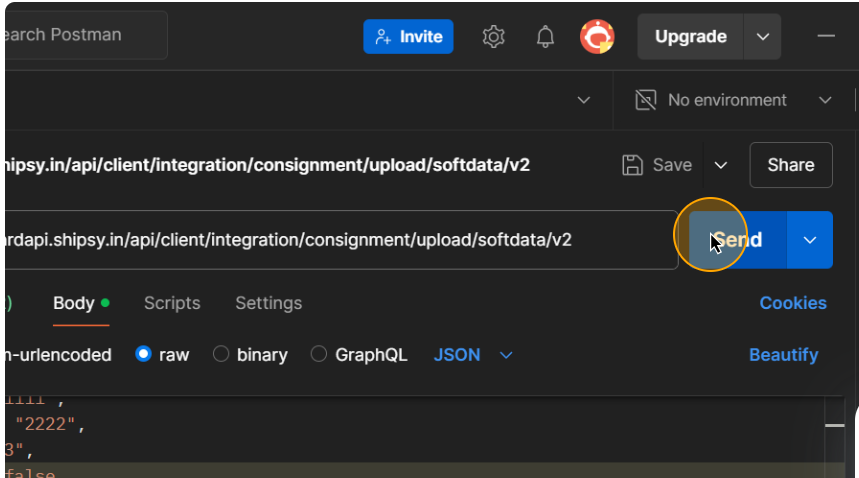
Select 'Send' to transmit the product information to the order management system.
13
To access the application on the rider's mobile device, please log in using the provided credentials. For information regarding the login details, consult this document
14
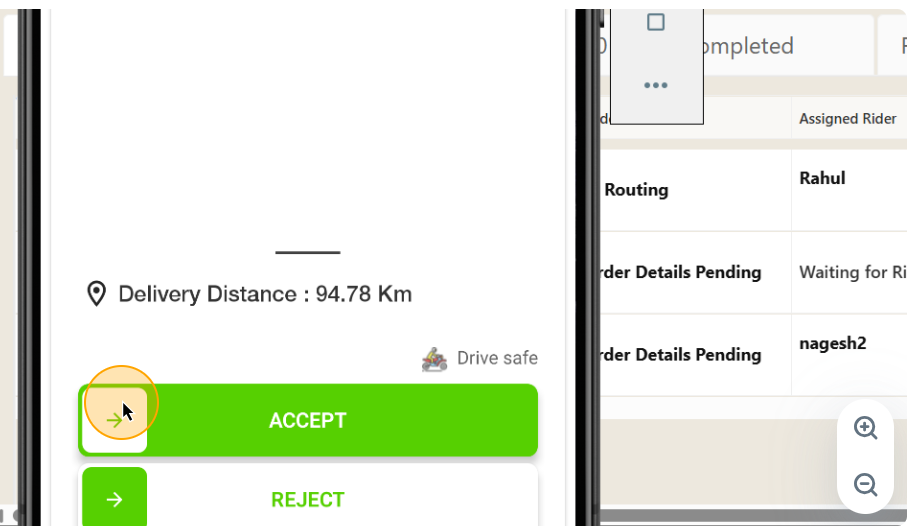
To confirm the delivery, slide the 'Accept' option from the left to the right. Conversely, to decline, slide the 'Reject' option from the left to the right.
15
To verify that the pickup process has commenced, please move the 'Pickup Started' toggle from the left position to the right.
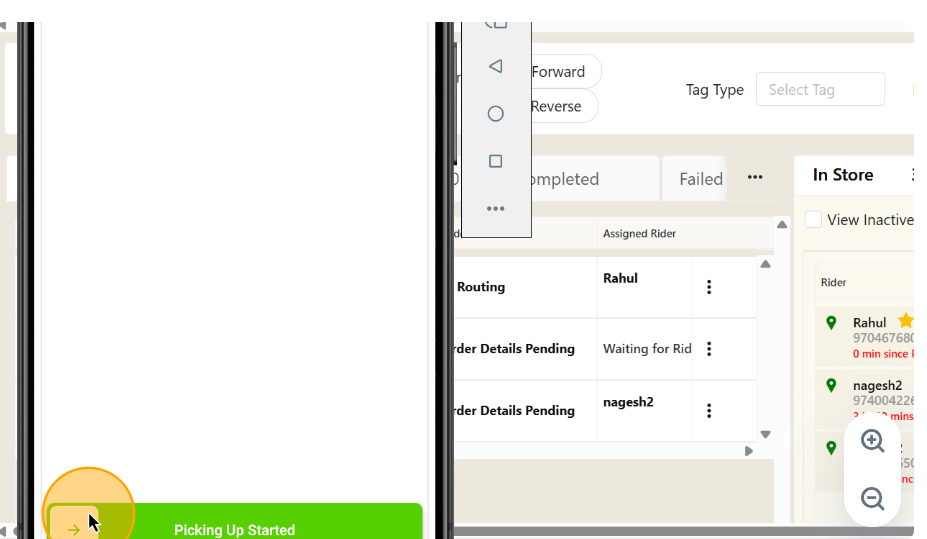
16
Please choose the 'Scan' option to confirm that the pickup has been successfully Started.
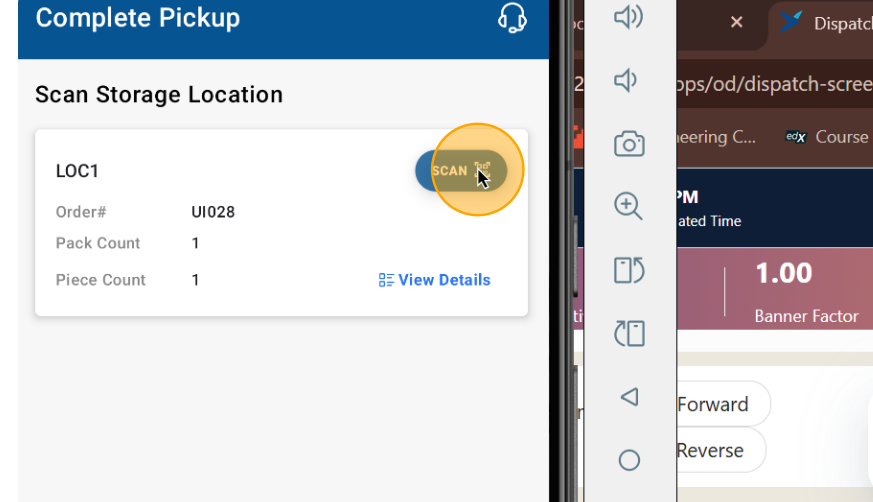
17
To confirm the initiation of the pickup, kindly input the storage location code in the specified field and then continue by selecting 'Next.'
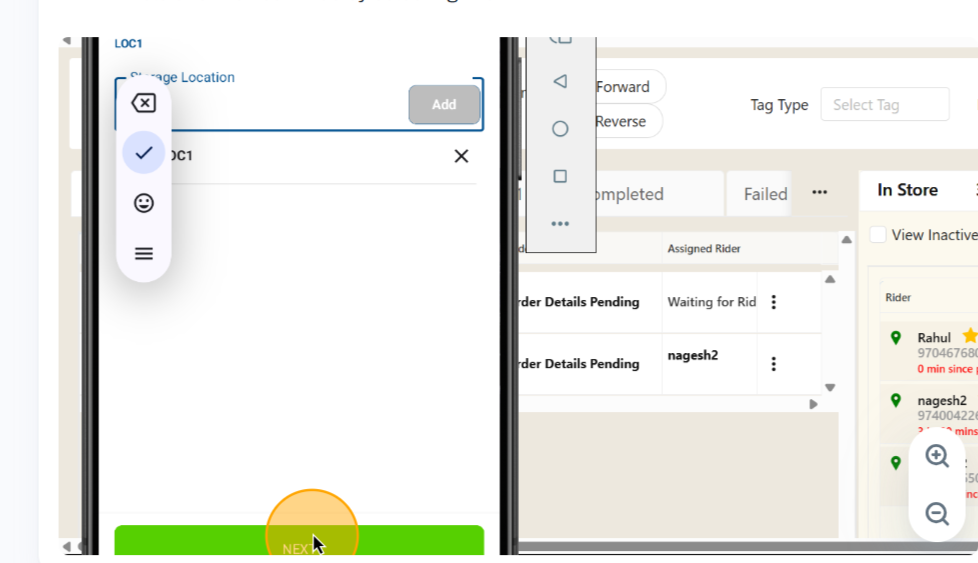
18
Move the slider from left to right to verify that the rider has successfully collected the products.
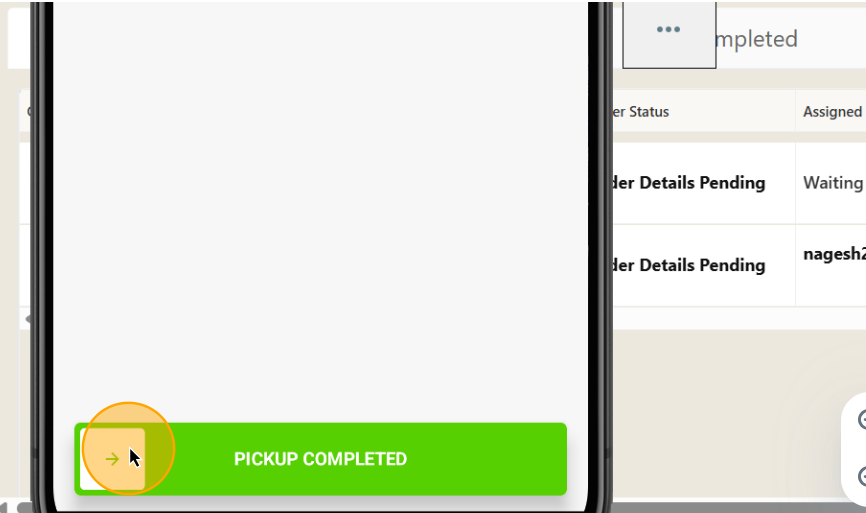
19
Move the slider from left to right to verify that the rider has successfully collected the products.
20
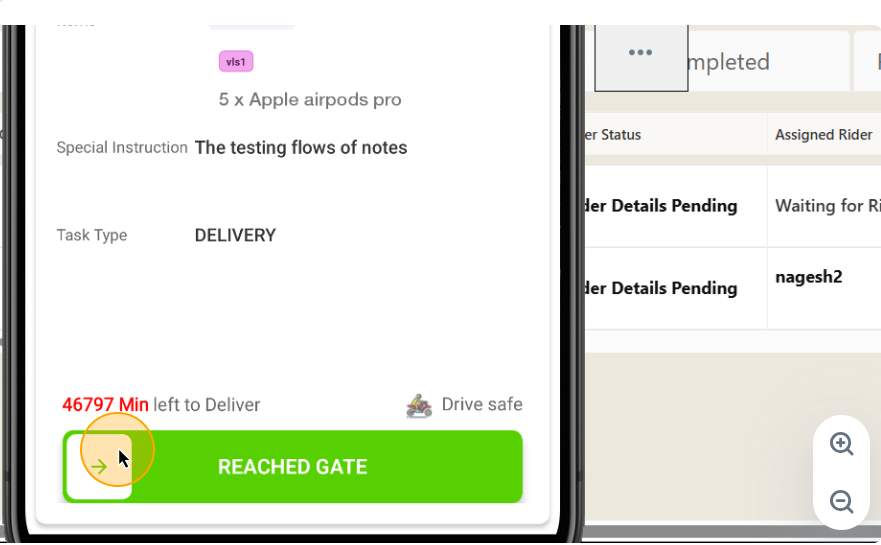
Adjust the slider from left to right as you move forward with the delivery process.
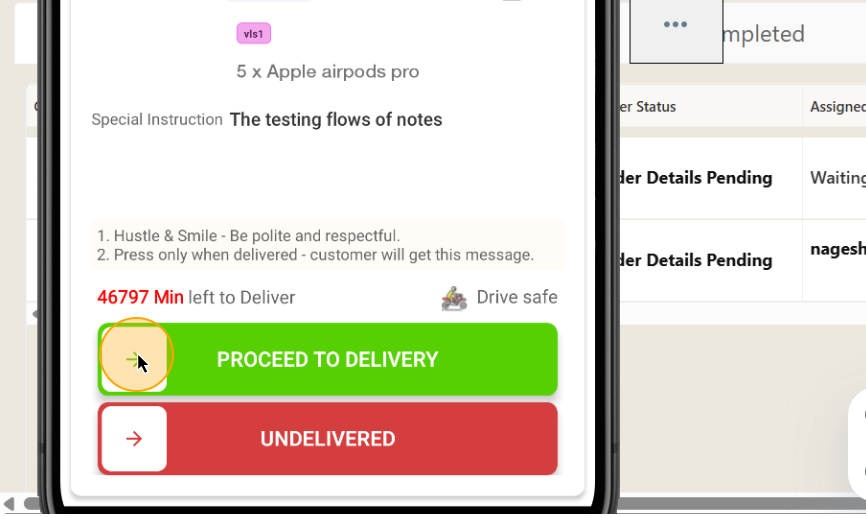
21
Verify the total number of products and proceed by clicking on 'Next.'

22
If the total number of products in the list is correct, please click 'Next' to continue. If there is a discrepancy in the items, select 'Go Back' to modify the quantity.
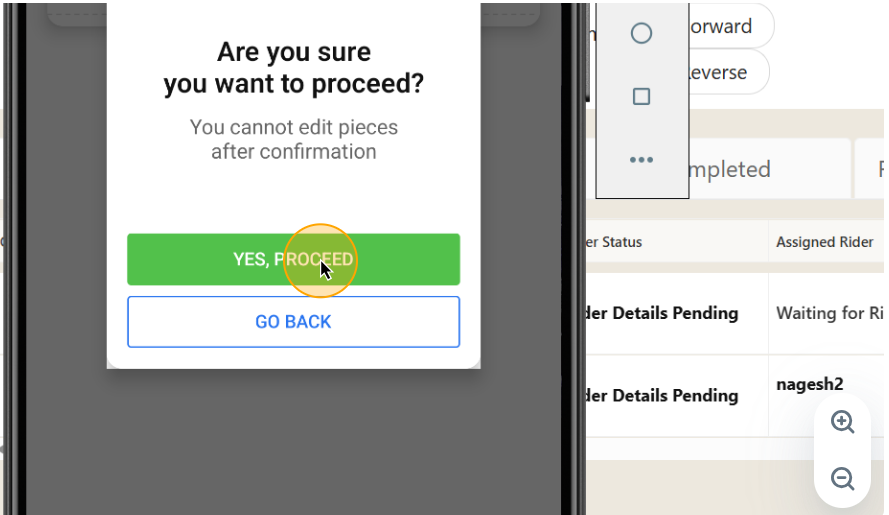
23
Verify the total amount due from the customer and proceed by clicking on 'Next.'
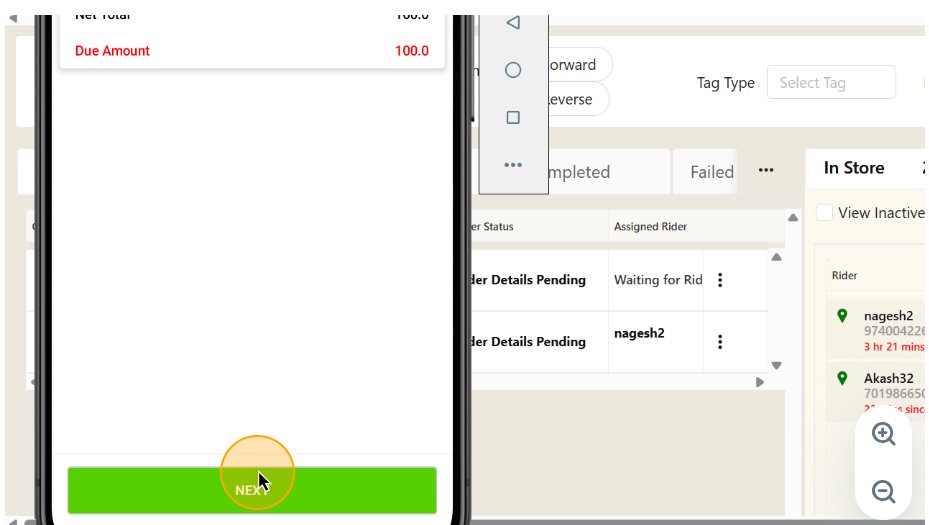
24
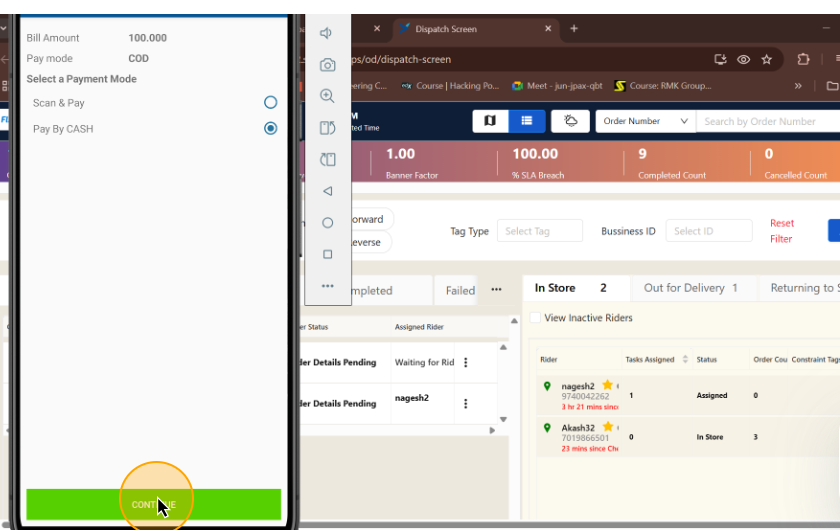
Once the payment has been confirmed, choose the payment method and proceed by clicking on 'Continue.
25
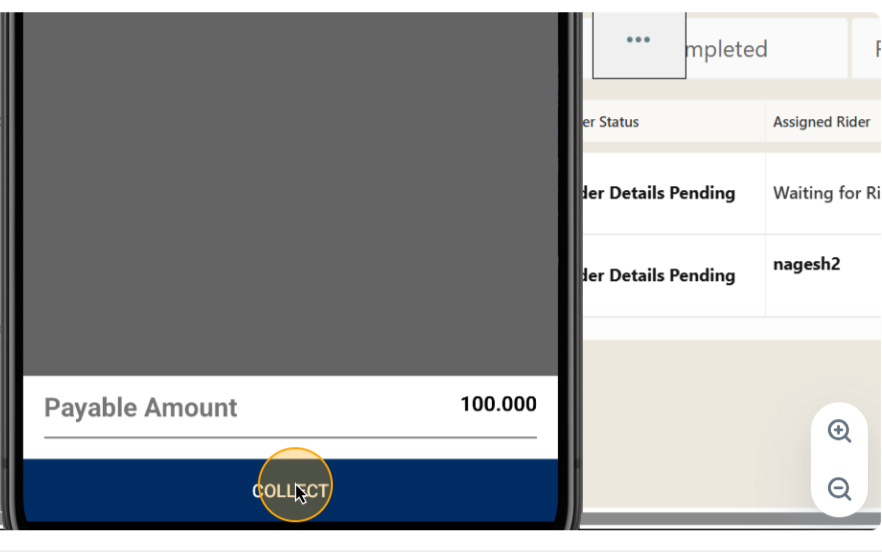
Choose 'Collect' once the amount is verified
26
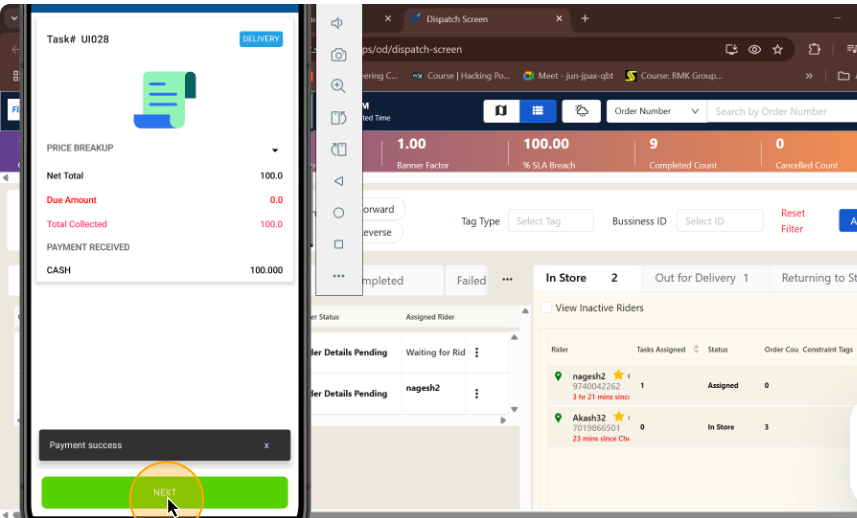
Once you have gathered the total, proceed by clicking on 'Next.'
27
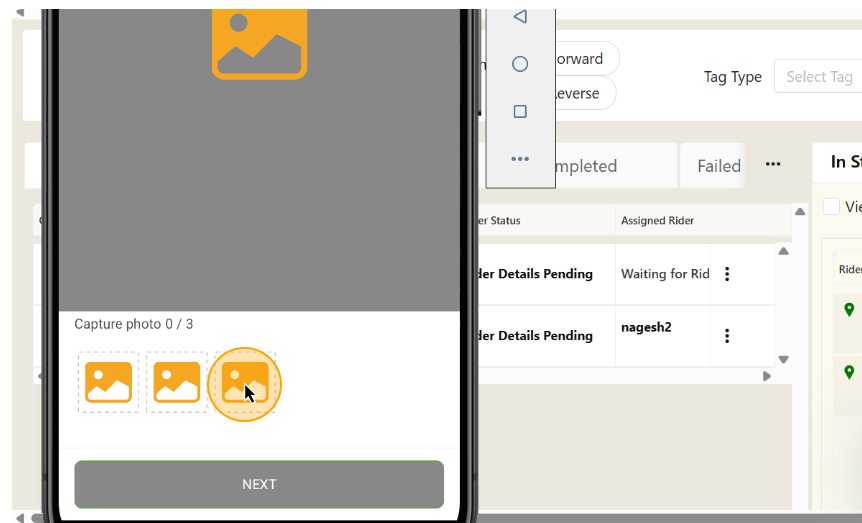
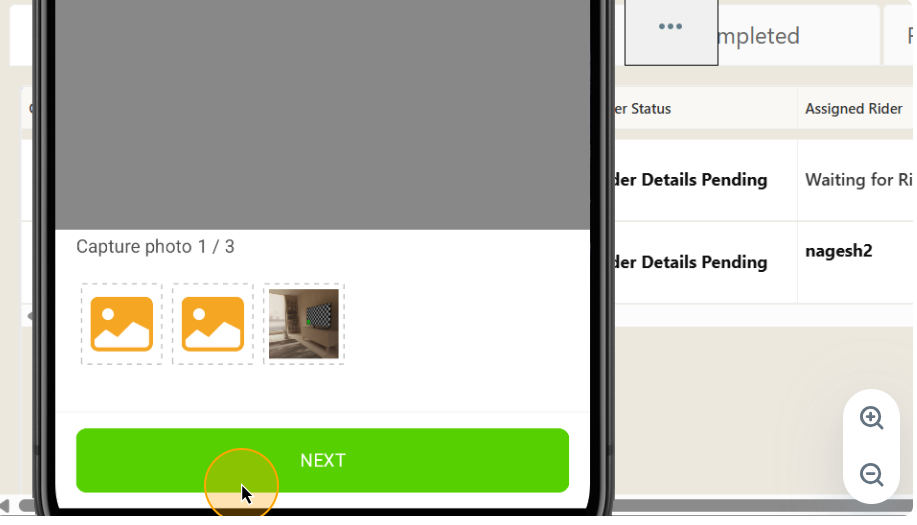
Submit photographs of the items to verify that the product is undamaged and that all items listed have been successfully delivered.
28
Kindly provide photographs of the items to confirm that the product is intact and that all listed items have been delivered successfully, then proceed by clicking on 'Next.'
29
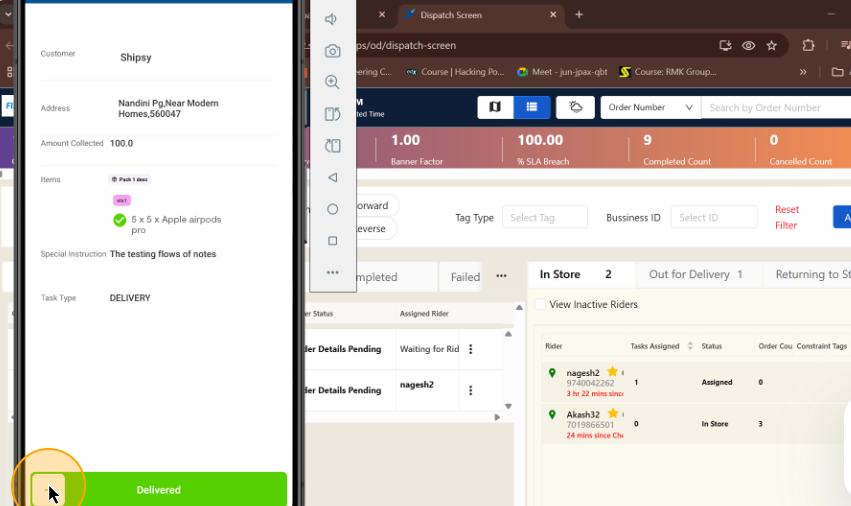
Move the slider from left to right to verify that the products have been successfully delivered to the customer.
30
Check the amount that the rider has received and click 'OK,' or click 'View Payout' to check the full payout details."

31
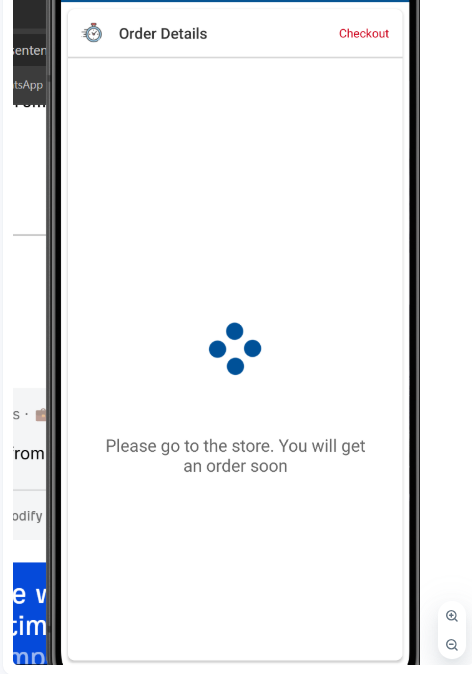
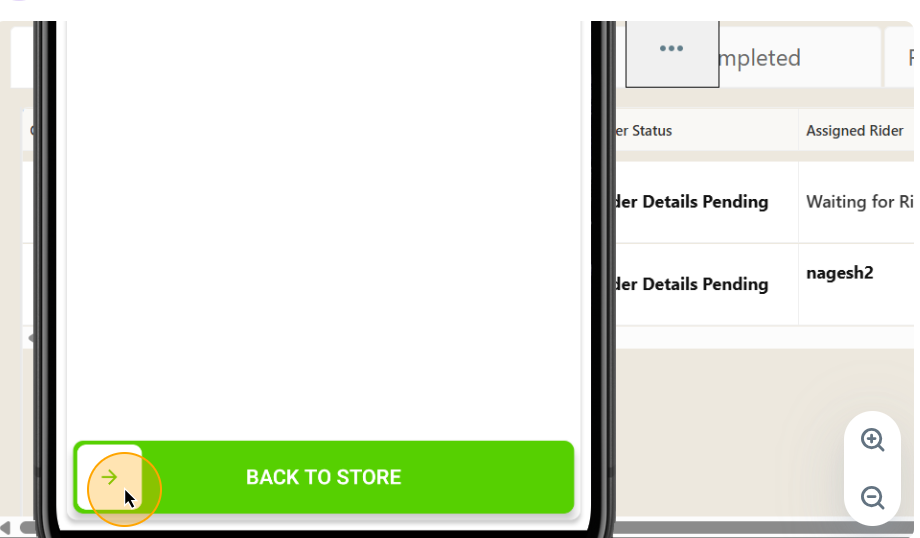
Adjust the slider from left to right to reflect that the rider has returned to the store.
32
Upon successfully finishing the process, the rider returns to the store and awaits the allocation of the order.