Rider Login
To log into your Rider account, begin by accurately entering your username and password in the respective fields on the login screen. Double-check the entered information to ensure that both the username and password are correct, as incorrect credentials will prevent you from accessing the system. If you’ve forgotten your password, you may be prompted with an option to reset it. Once you've verified the credentials, click the ‘Sign-in’ button to proceed. After successfully logging in, the system will automatically direct you to the main dashboard, which serves as the central hub for all your tasks, orders, and settings. On the dashboard, you will find an overview of your current activities, including upcoming deliveries, active orders, and notifications. From this dashboard, navigate to the menu bar located at the top of the screen, where you will find several options related to your rider account and tasks. Click on the 'Setup' option to proceed to the configuration settings. In the setup section, locate and click on the ‘Users’ option to access the user management interface, which allows you to manage your rider profile and preferences. Within this section, find the 'Roster Management' option, which will allow you to select and manage your store assignments. After selecting the 'Roster Management' option, you will be prompted to choose a store from the list of available stores that are associated with your account. Select the appropriate store to continue. Following your store selection, you will be guided through the process of setting up your Roster account. This may involve verifying your details and following instructions provided in a related document, ensuring that your account is properly configured for task assignments and management. Once your Roster account is set up, you can proceed by launching the Shipsy application on your Rider’s mobile device. Upon opening the app, you will be prompted to enter the name of your organization in the specified field. Make sure to input this correctly and click the ‘Submit’ button to confirm the details. After submitting the organization name, the system will ask for your consent to allow video recording. This step is necessary for verification and security purposes. By agreeing to video recording, you help ensure that your identity is verified, and the system functions correctly. After consenting to video recording, the next step is enabling location permissions on your device. This is crucial for tracking your location during deliveries, allowing the system to assign orders to you based on your proximity to delivery points. The system will also request permission to send push notifications for real-time alerts about incoming orders, order status updates, and important announcements related to your duties. In addition, the app will ask for permission to manage phone calls, which is required for handling incoming customer calls, support calls, and order-related communication. To ensure optimal app performance, navigate to your device’s 'Settings' and select the ‘Permissions’ section. Under the ‘Location’ settings, ensure that the app is granted permission to access your location 'All the time.' This will ensure that your location is always accessible for routing and delivery tracking. Once all necessary permissions are granted, press the back button to return to the previous screen. You will then be asked to input your employee ID and password again to continue the login process. This secondary authentication step adds an extra layer of security to ensure that only authorized riders can access the system. If you prefer to remain logged in for future sessions, select the ‘Remember Me’ option, which will securely store your login credentials and allow you to skip the login process in the future. Finally, to activate your rider status, move the check-in toggle from the left to the right side of the screen. This action will mark you as ‘active’ and available for tasks. Once the check-in process is complete, the system will automatically redirect you to the order details dashboard. The dashboard will display a list of your current orders, including detailed information such as customer addresses, delivery times, special instructions, and order statuses. From this page, you can manage your tasks efficiently, accept new orders, mark deliveries as completed, and track your progress in real-time. You may also view your performance metrics, including the number of deliveries completed, ratings from customers, and other performance-related data. This dashboard helps you stay organized and ensures that all deliveries are made on time. Throughout the process, if any technical issues arise or if you need help, you can access the help and support section from the menu bar for troubleshooting assistance.
By Nagesh A P
1
Go to Dashboard
2
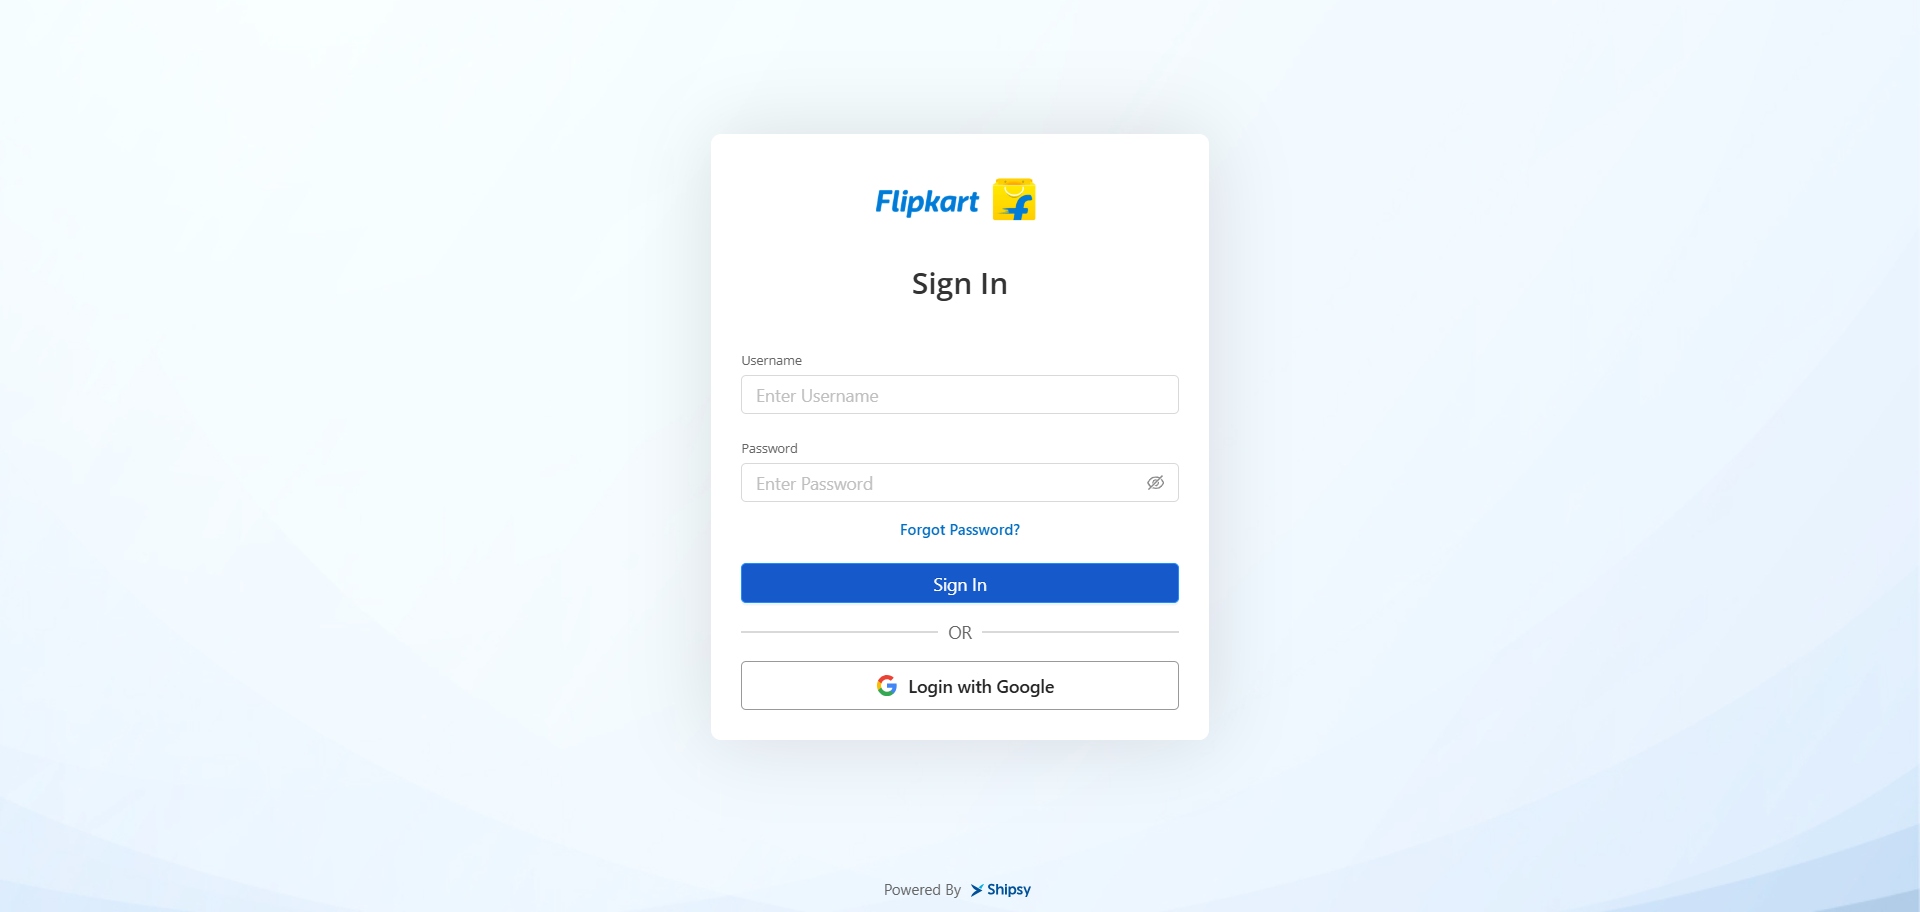
To access your account, please enter your correct username and password, then click on the sign-in button.
3
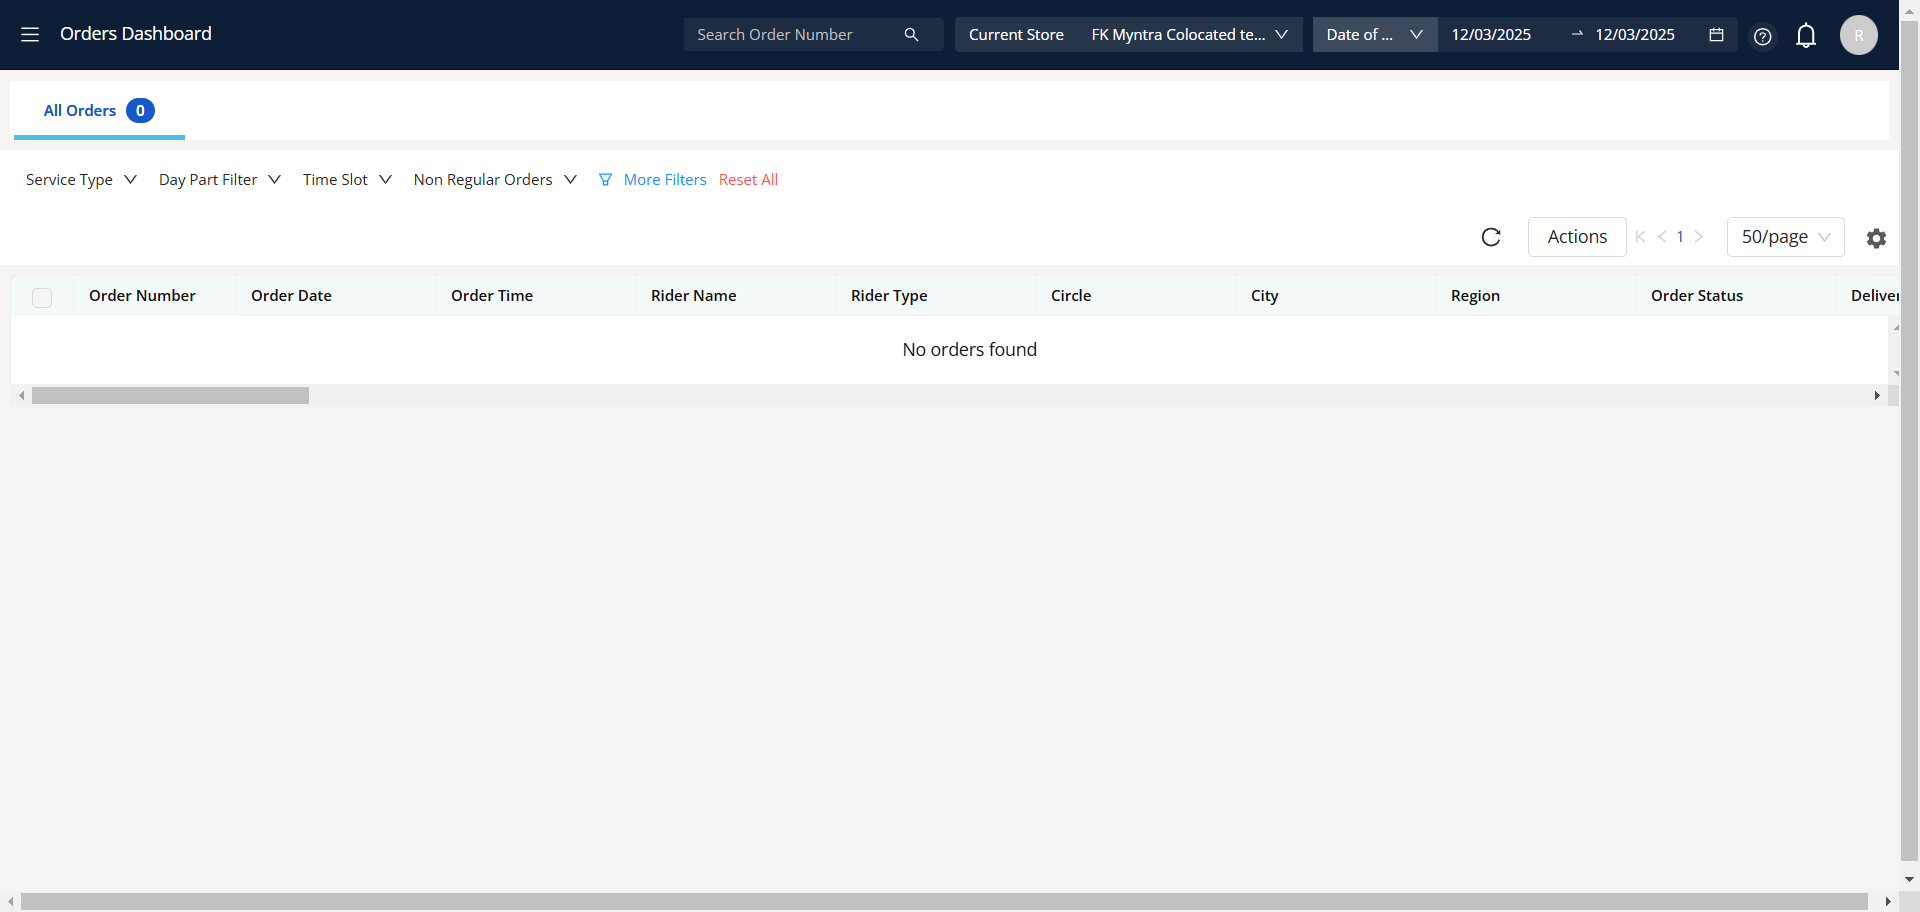
Go to Orders Dashboard
4
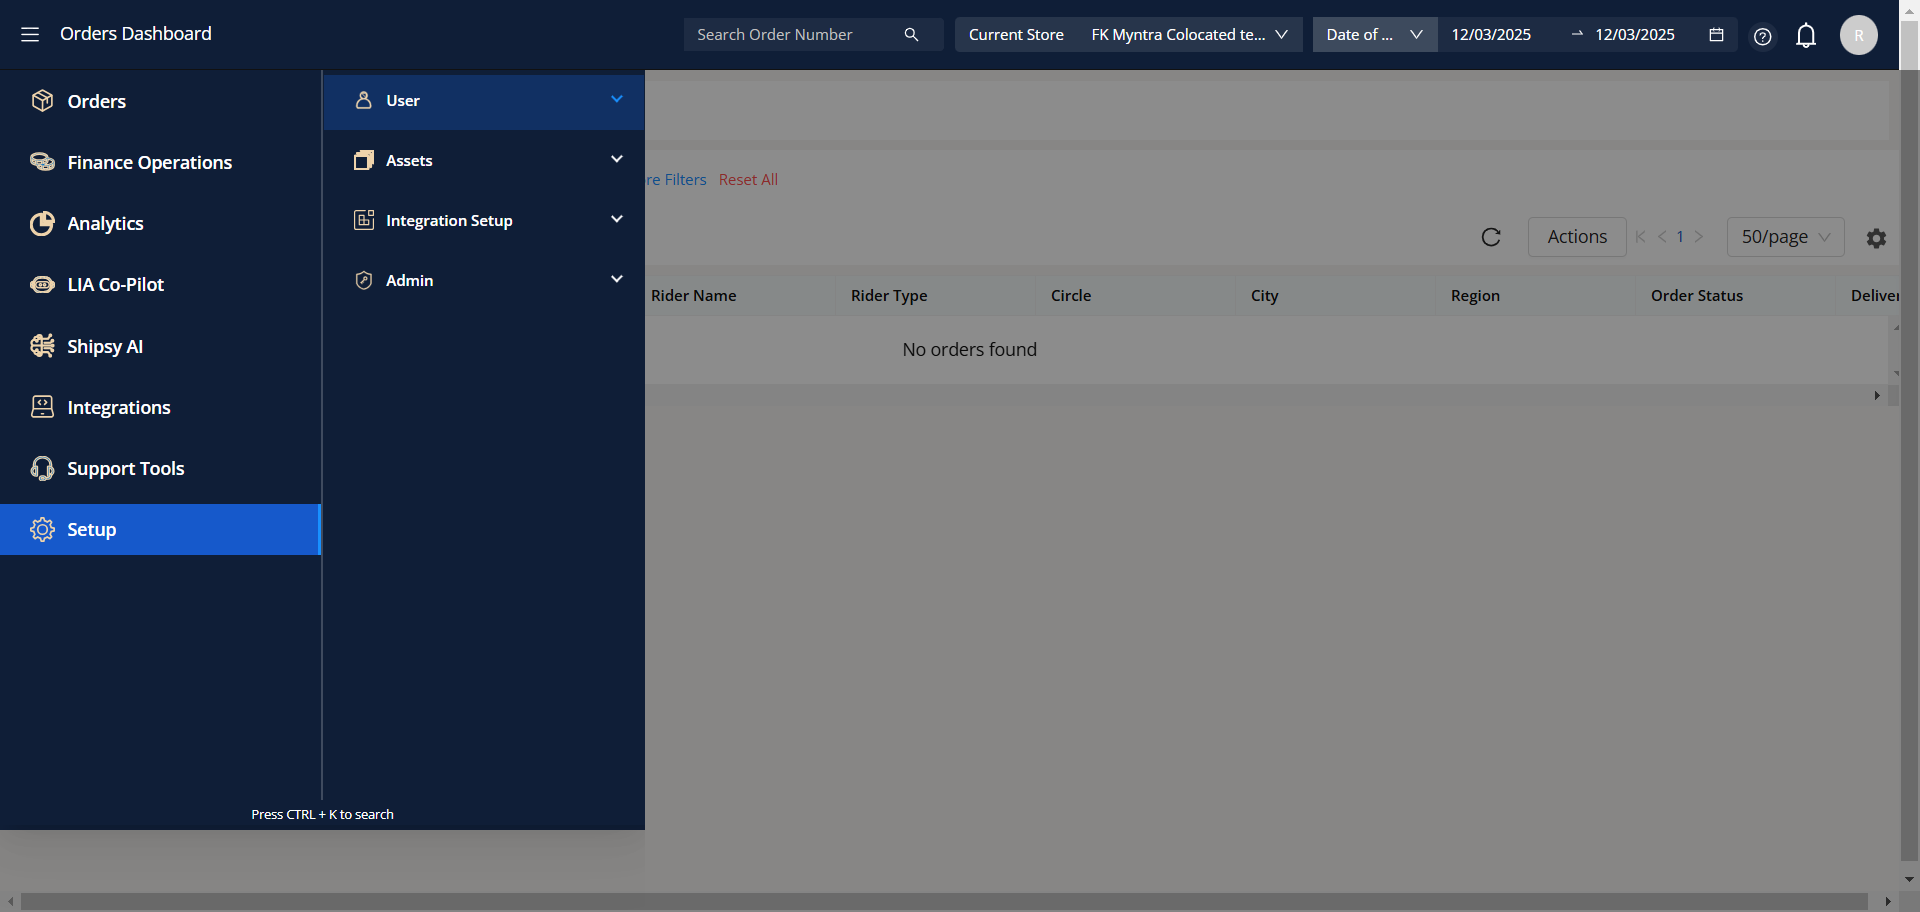
After logging in successfully, the system will direct the user to the dashboard page. The next step is for the user to choose an option from the menu bar.
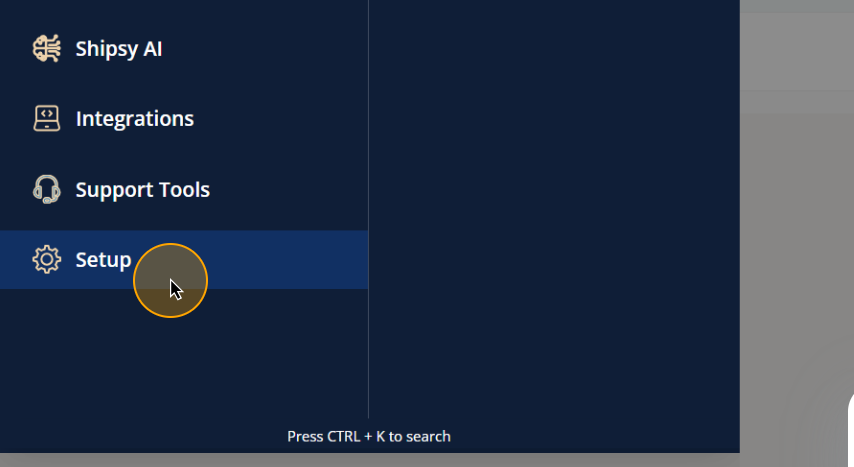
5
Access the setup filed by selecting it from the menu bar.
6
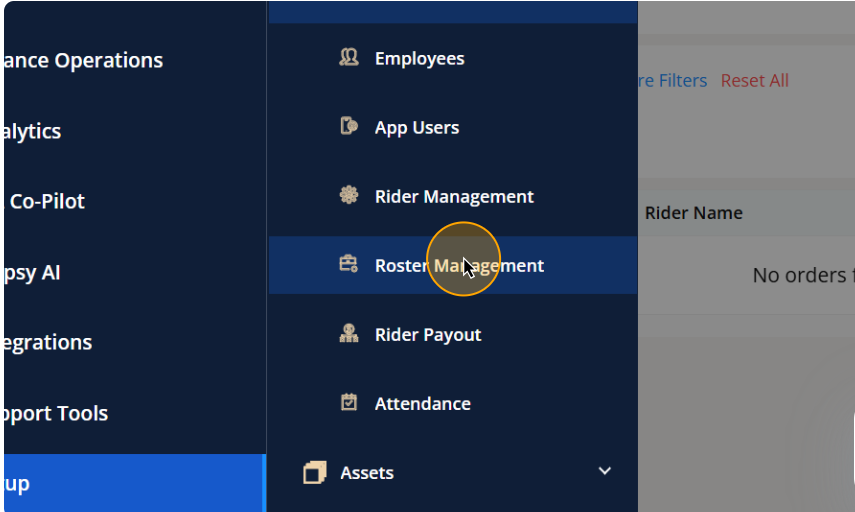
In the setup section, kindly choose the 'Users' option.
7
To reach 'Roster Management,' navigate to the 'Users' section and choose it.
8
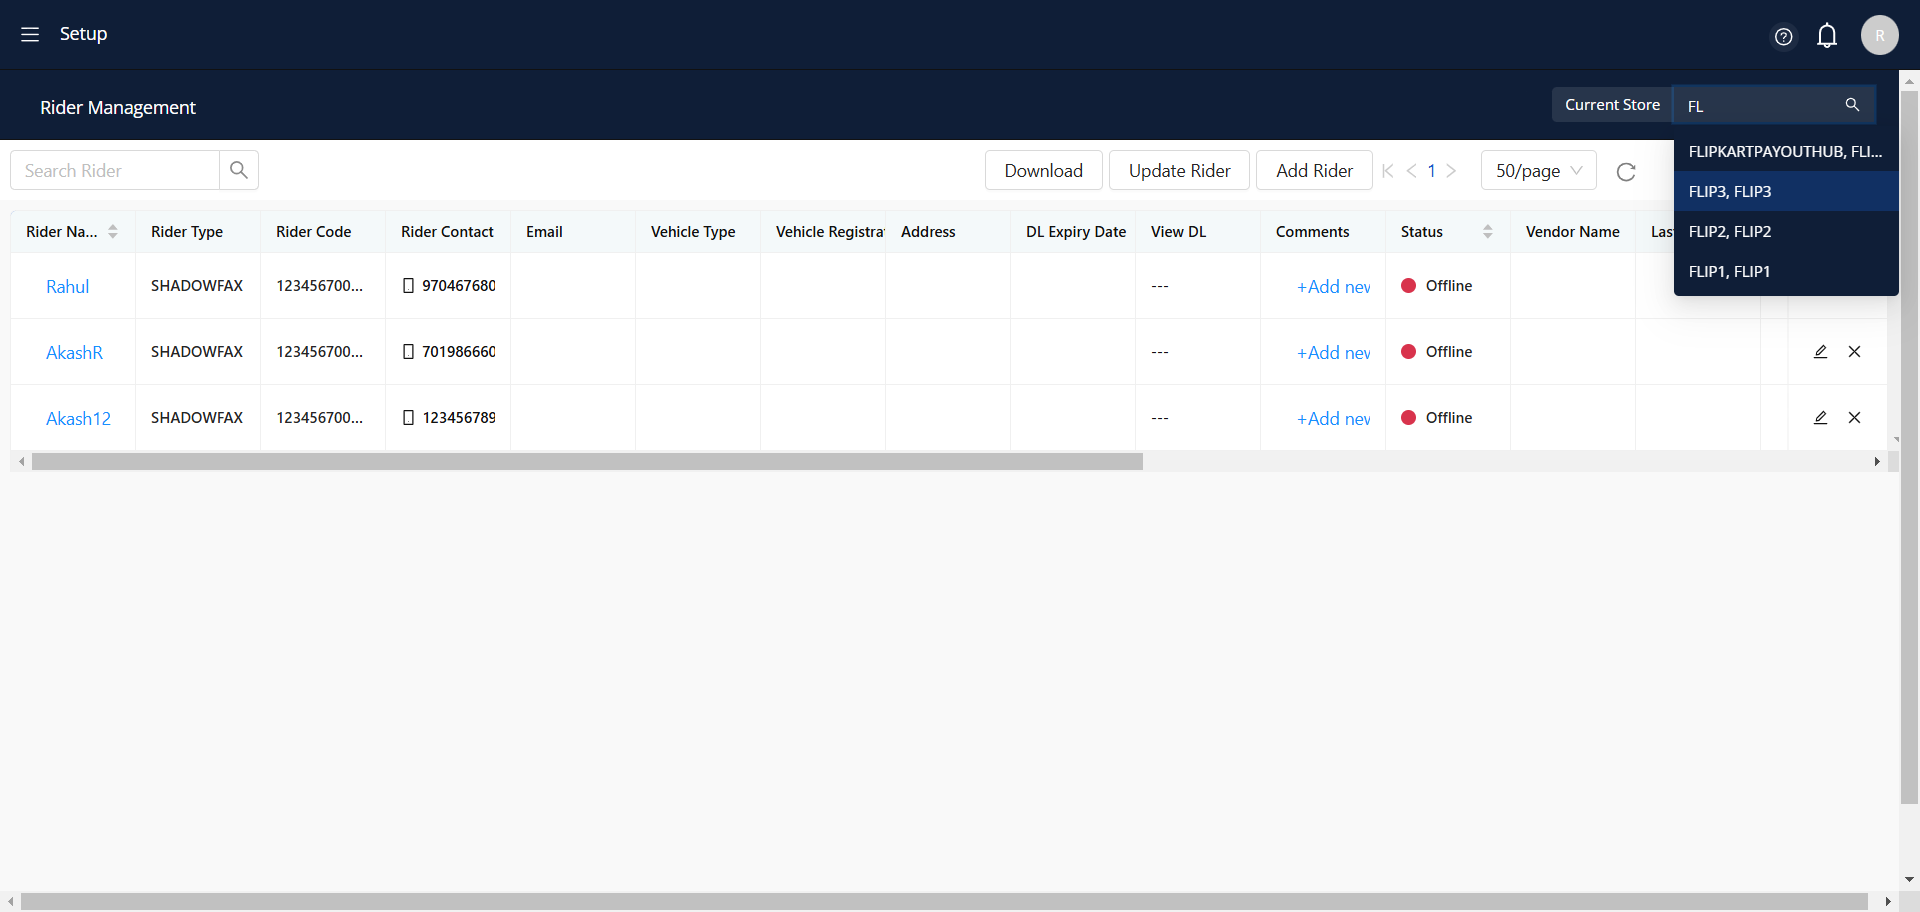
Choose a store from the options provided.
9
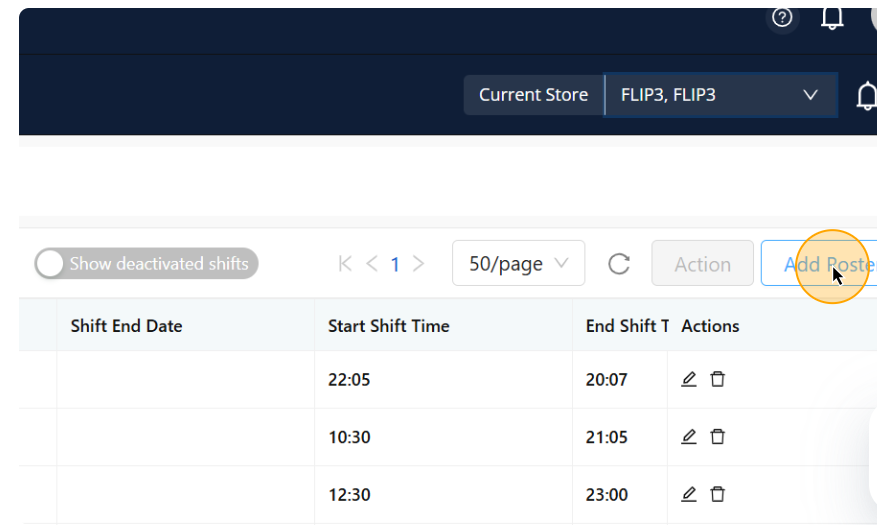
To establish your Roaster account, kindly consult this document
10
Launch the Shipsy application on the Rider's mobile device.
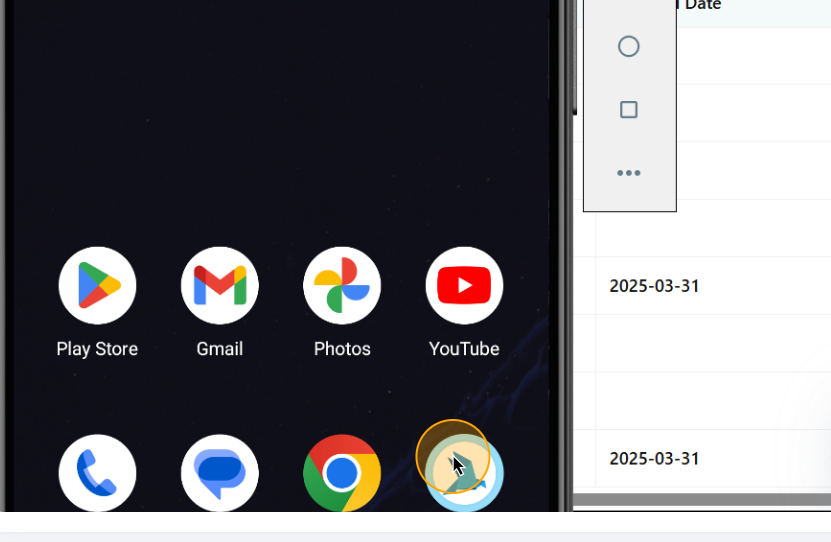
11
Kindly enter the name of the organization and then click on 'Submit.'
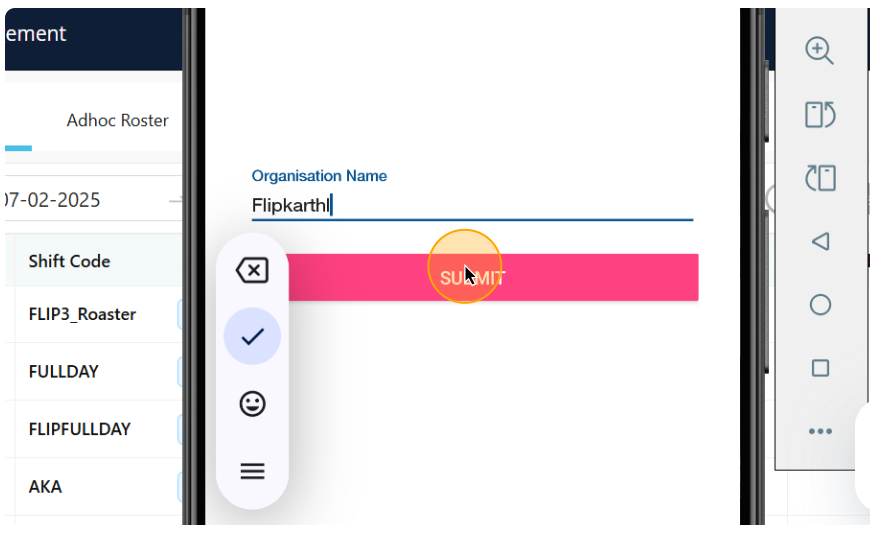
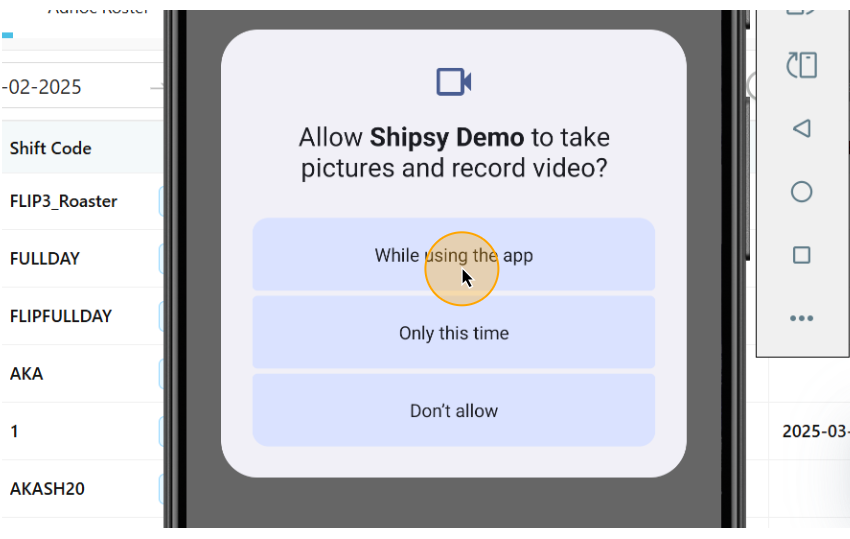
12
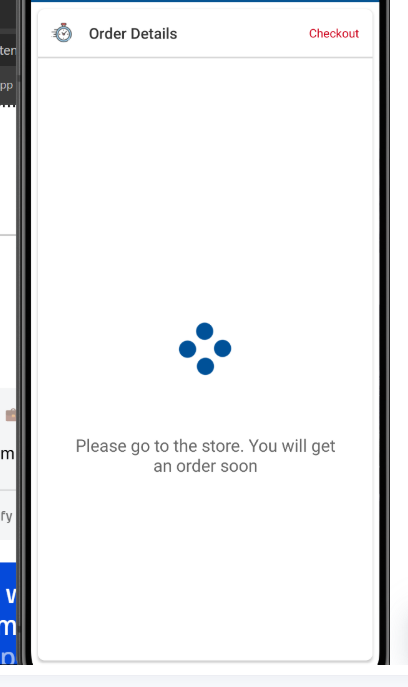
Kindly provide your consent to record the video.
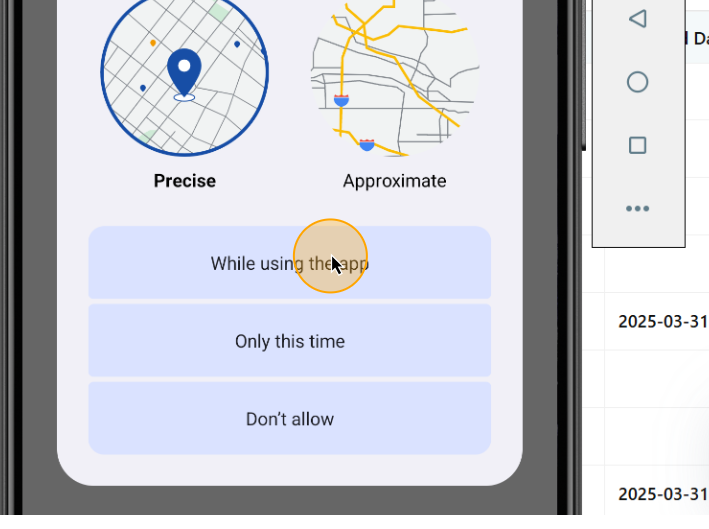
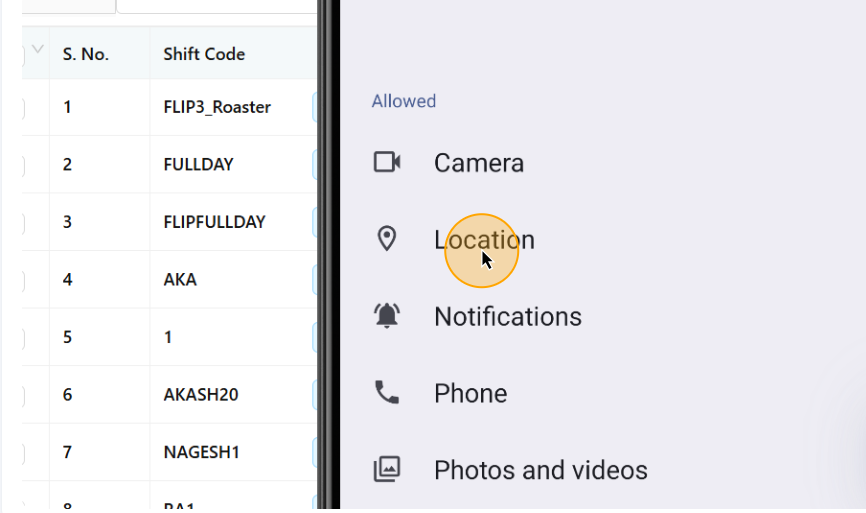
13
Kindly enable location permissions to allow access to your current location.
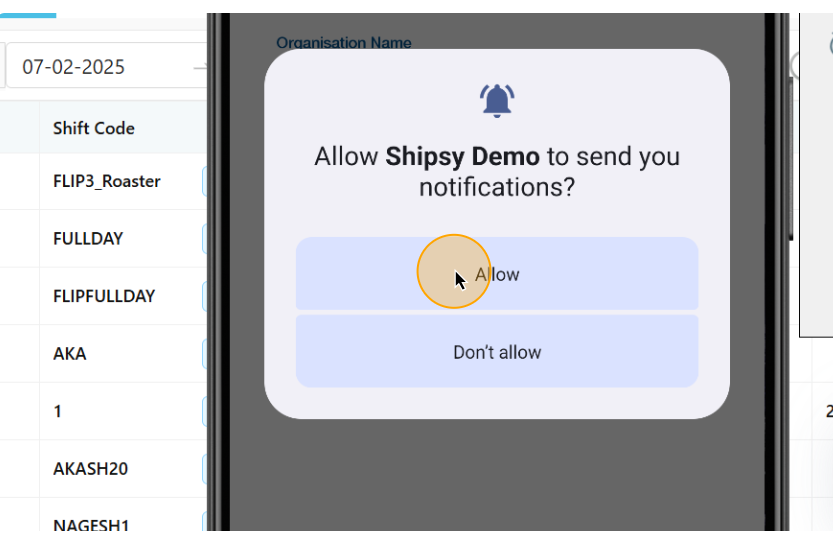
14
Please select 'Allow' to enable notifications.
15
Please select 'Allow' to enable management of phone calls.
16
Enable location services to allow access to your current location.

17
To allow the app to operate in the background, please select 'Settings.'
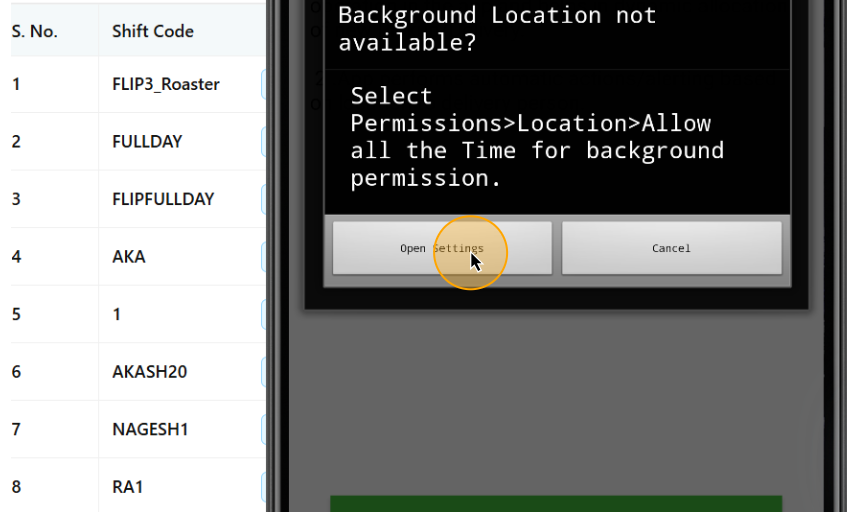
18
Access the settings and select 'Permissions.'
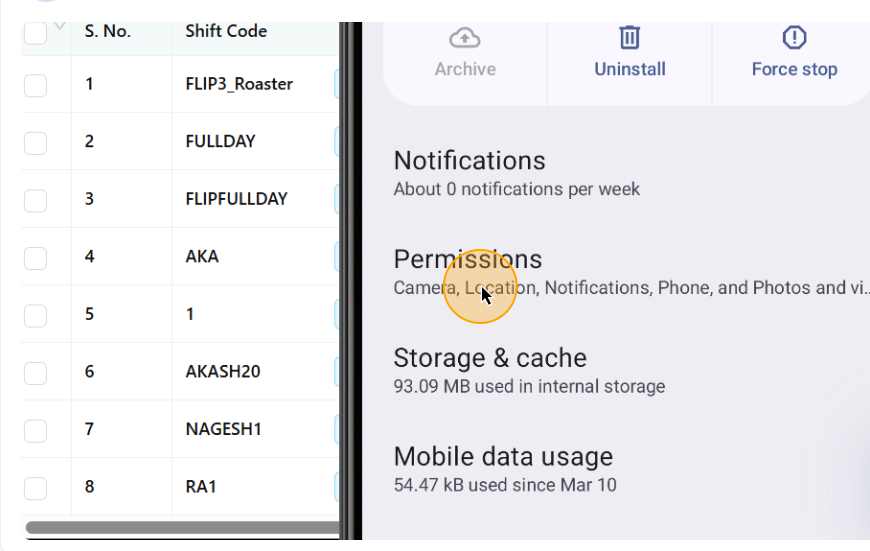
19
Select 'Location' under the 'Permissions' section.
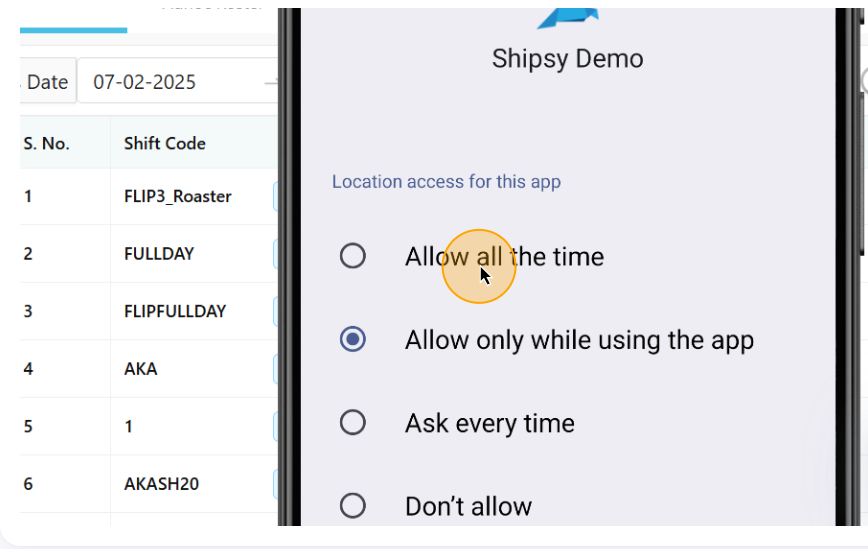
20
In the 'Location' settings, please provide authorization to 'Allow all the time.'
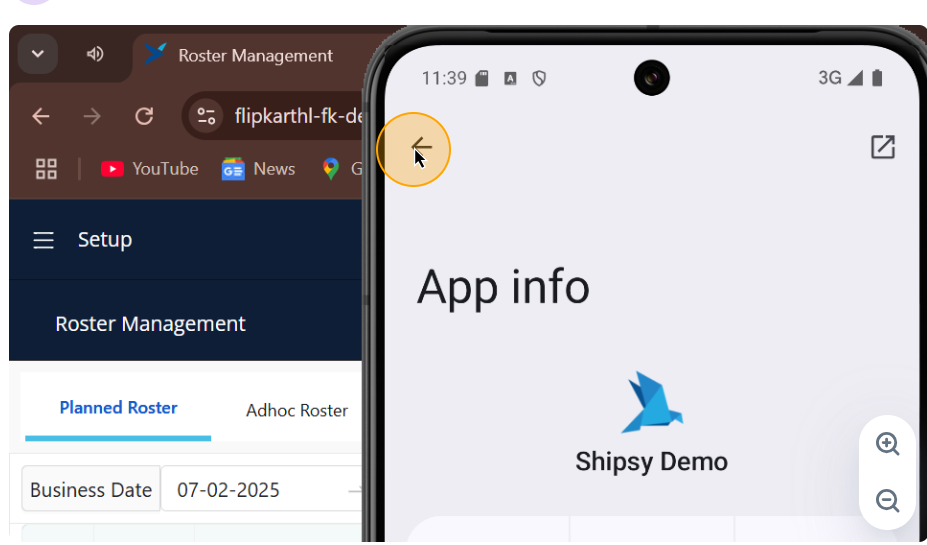
21
Once you have granted all the necessary permissions, please click the back button.
22
Kindly share the employee ID associated with the rider.
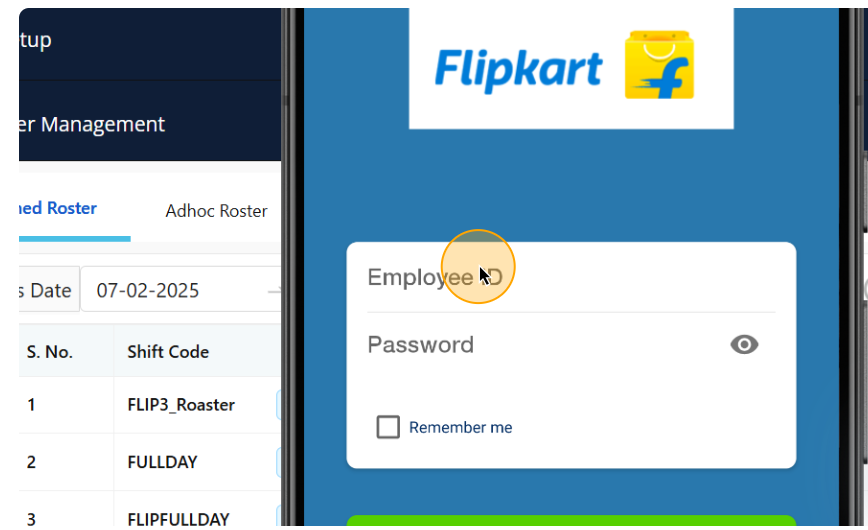
23
Please share the password required for login.
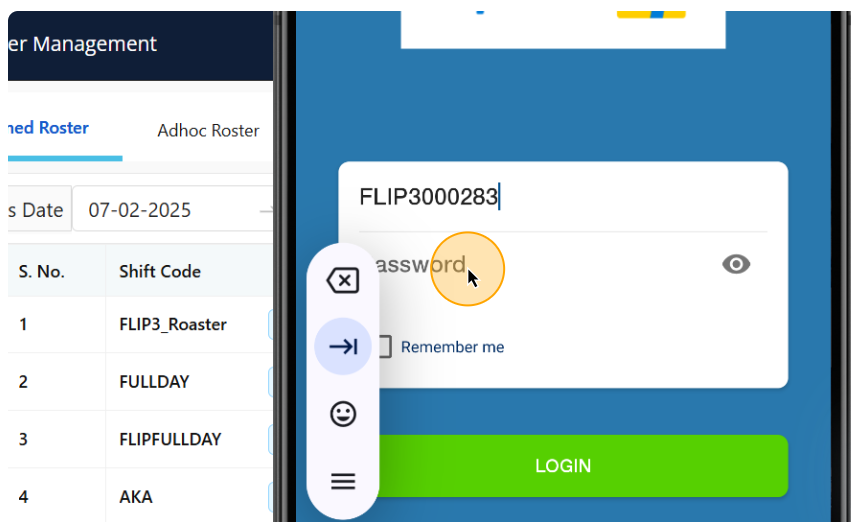
24
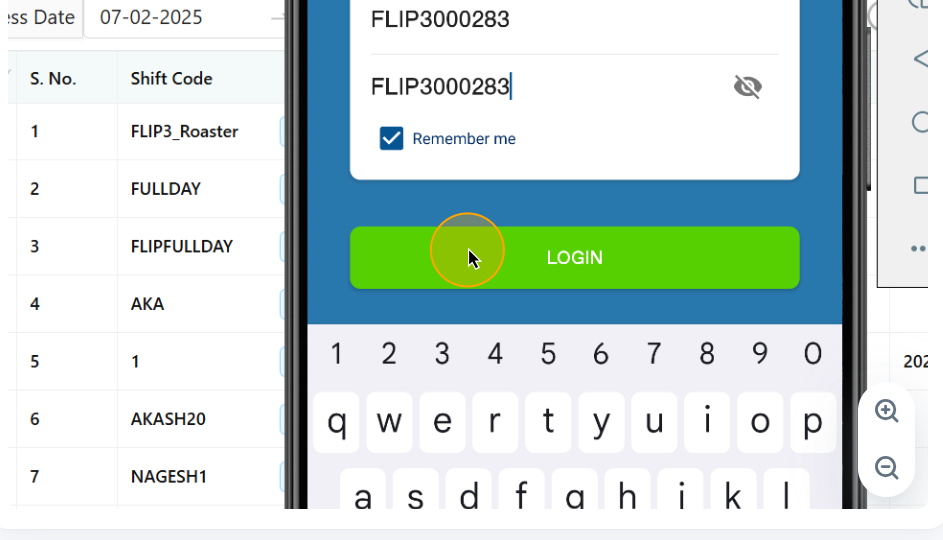
To continue, please enter your valid employee ID and password, then select 'Login'.
25
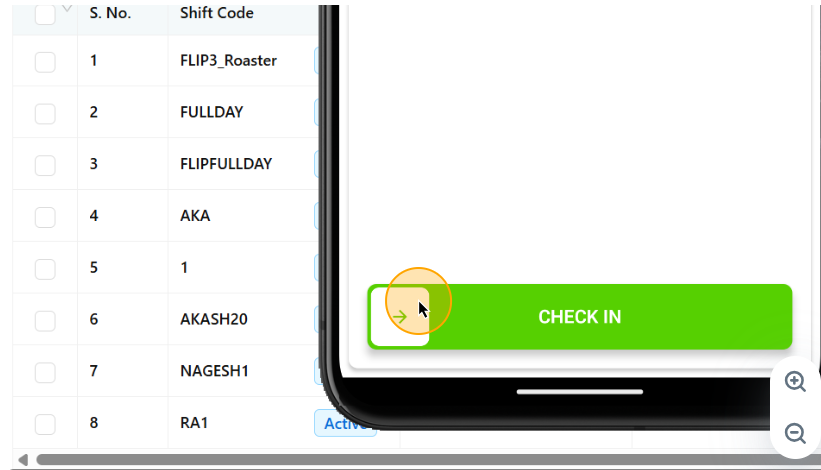
Move the check-in from the left side to the right to enable the rider.
26
Upon completing the check-in process, the rider will be presented with the order details dashboard.