Icon

How to Order Office Supplies in the Warehouse System

Learn how to browse the product catalog, add items to your cart, and submit an internal office supply request through the Warehouse Supply Request System.

By City of Pittsburgh mailroom

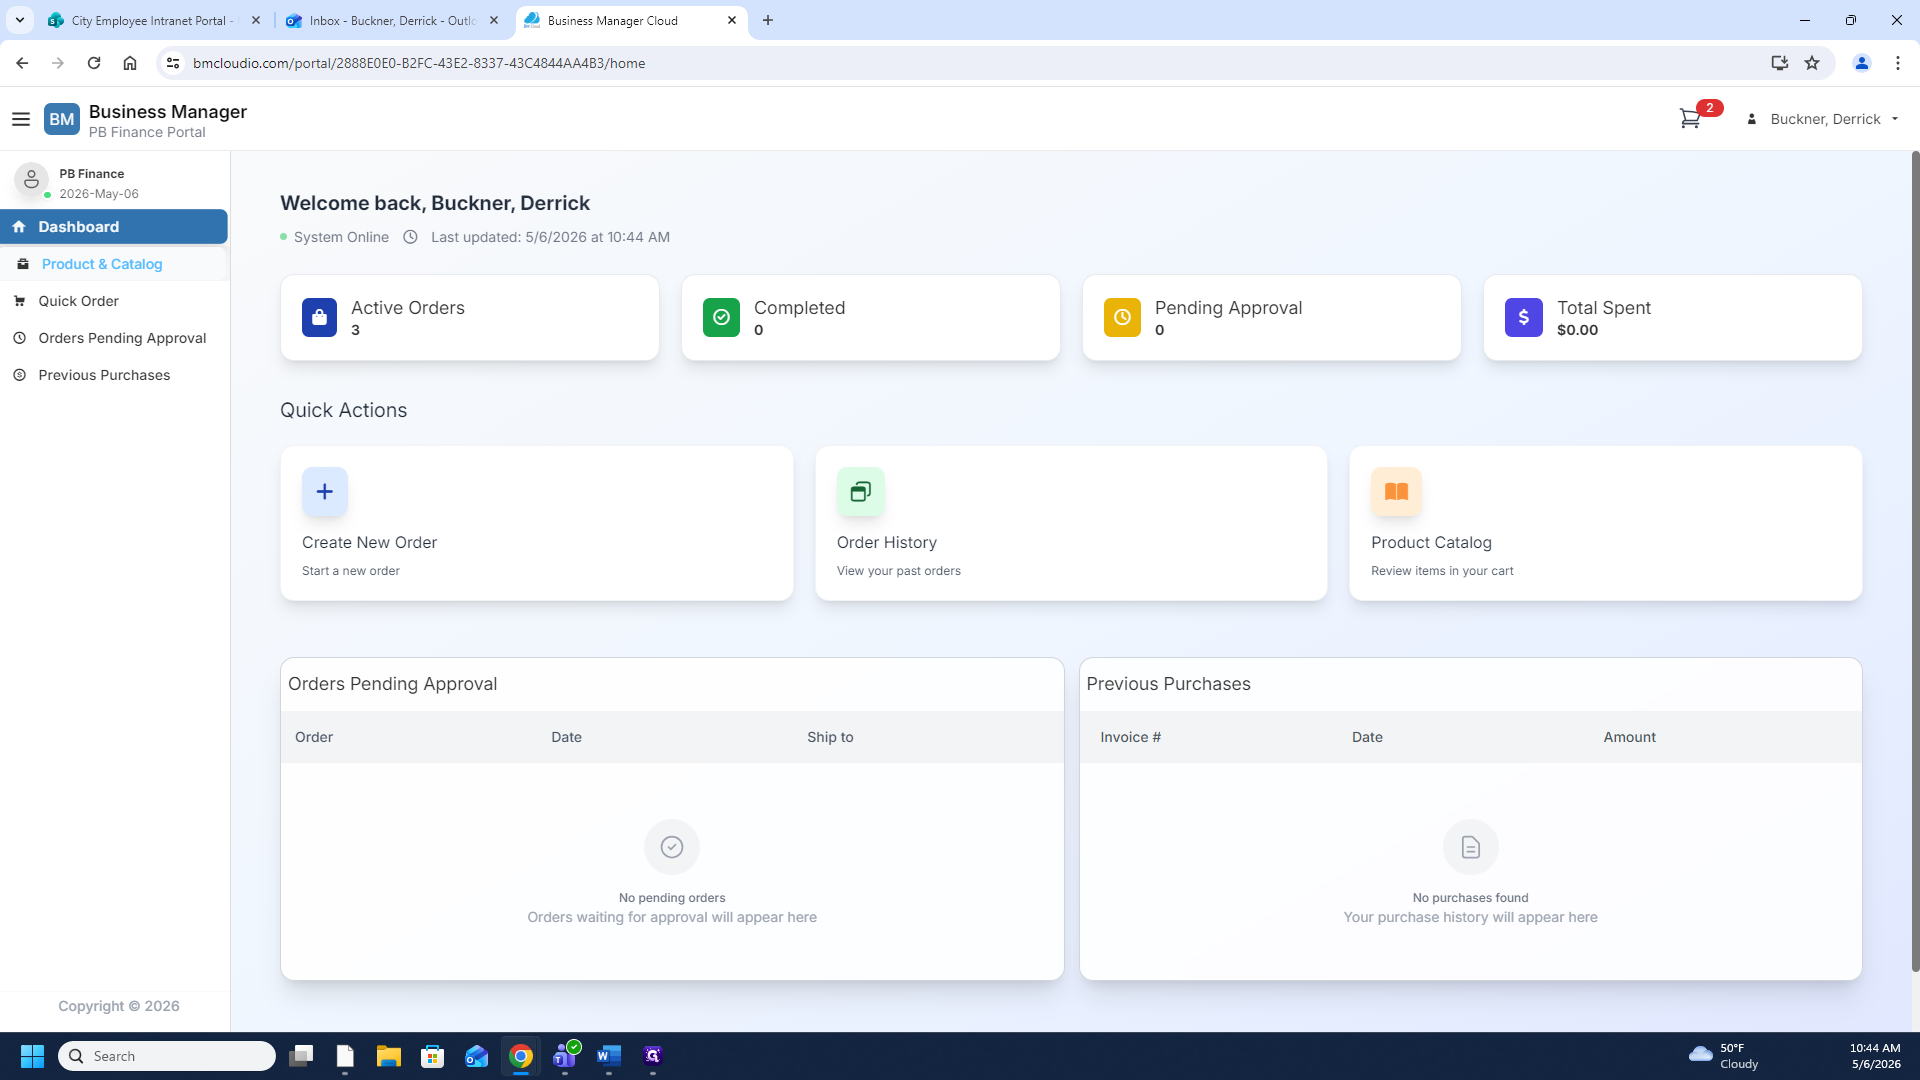
Welcome to the Warehouse Supply Request System. This platform works similar to typical e-commerce storefronts but is designed for internal office supply ordering. This guide walks you through finding items, adding them to your cart, submitting your request, and understanding the post-submission process.

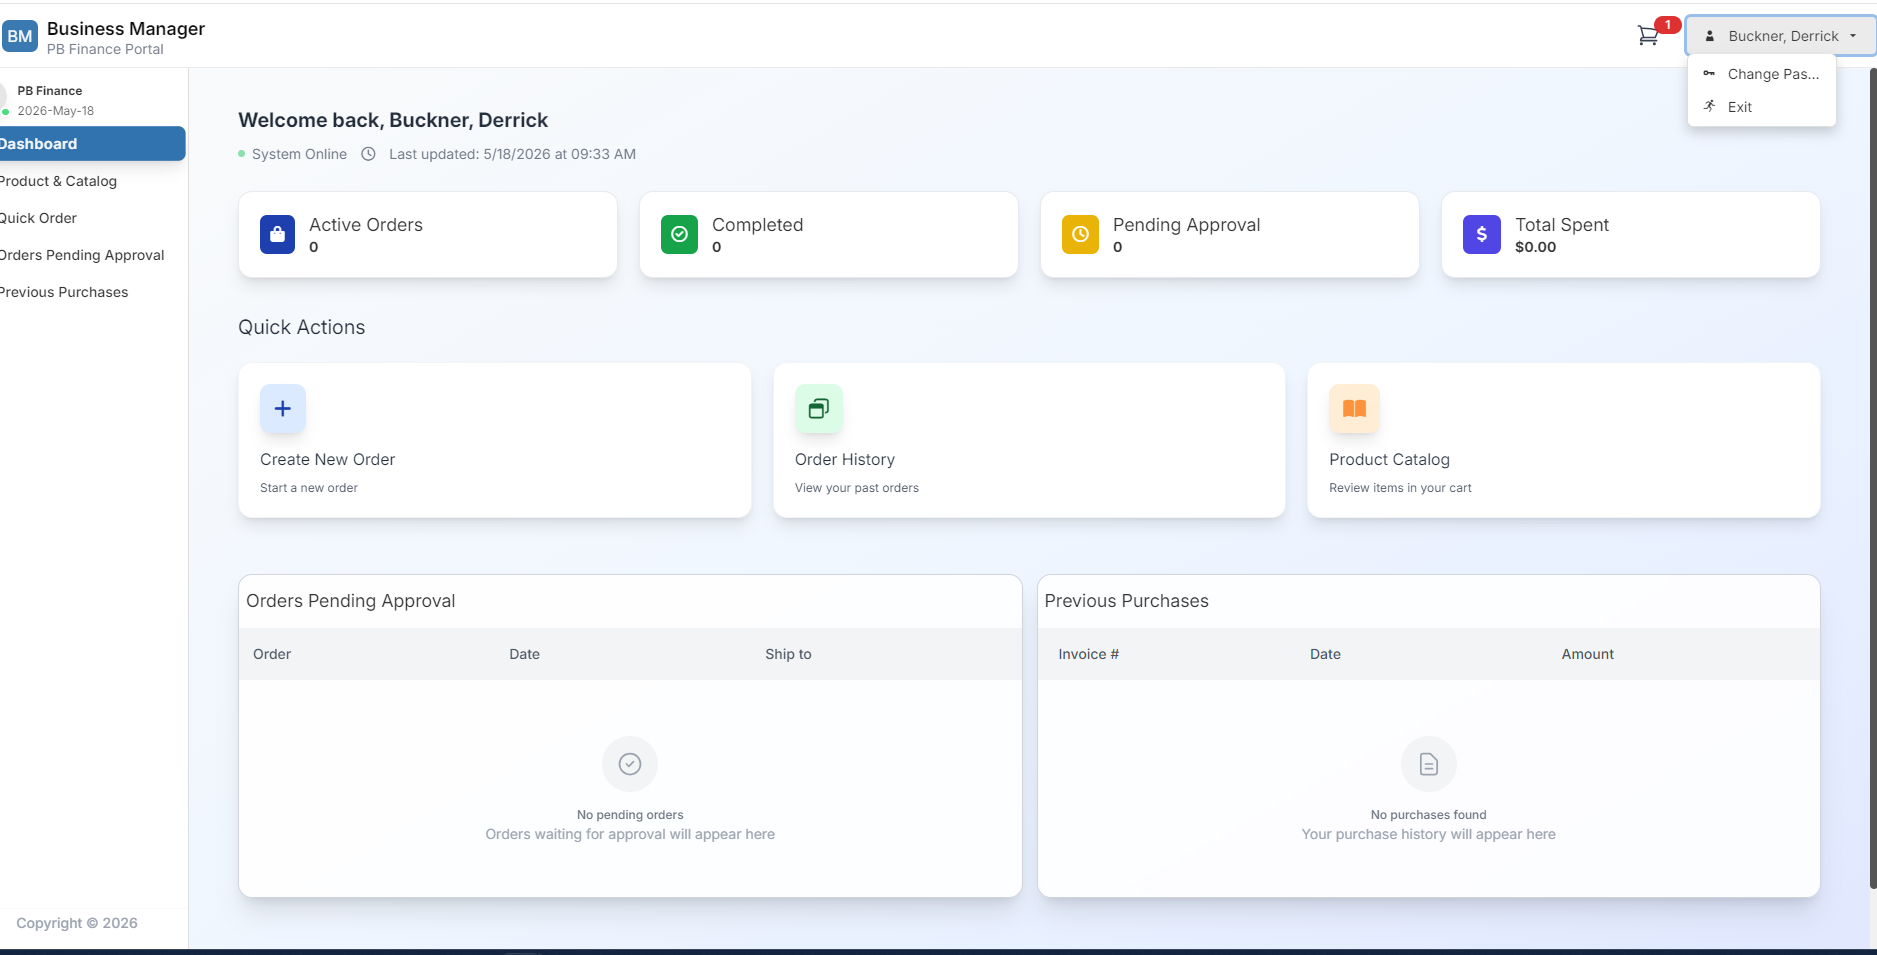
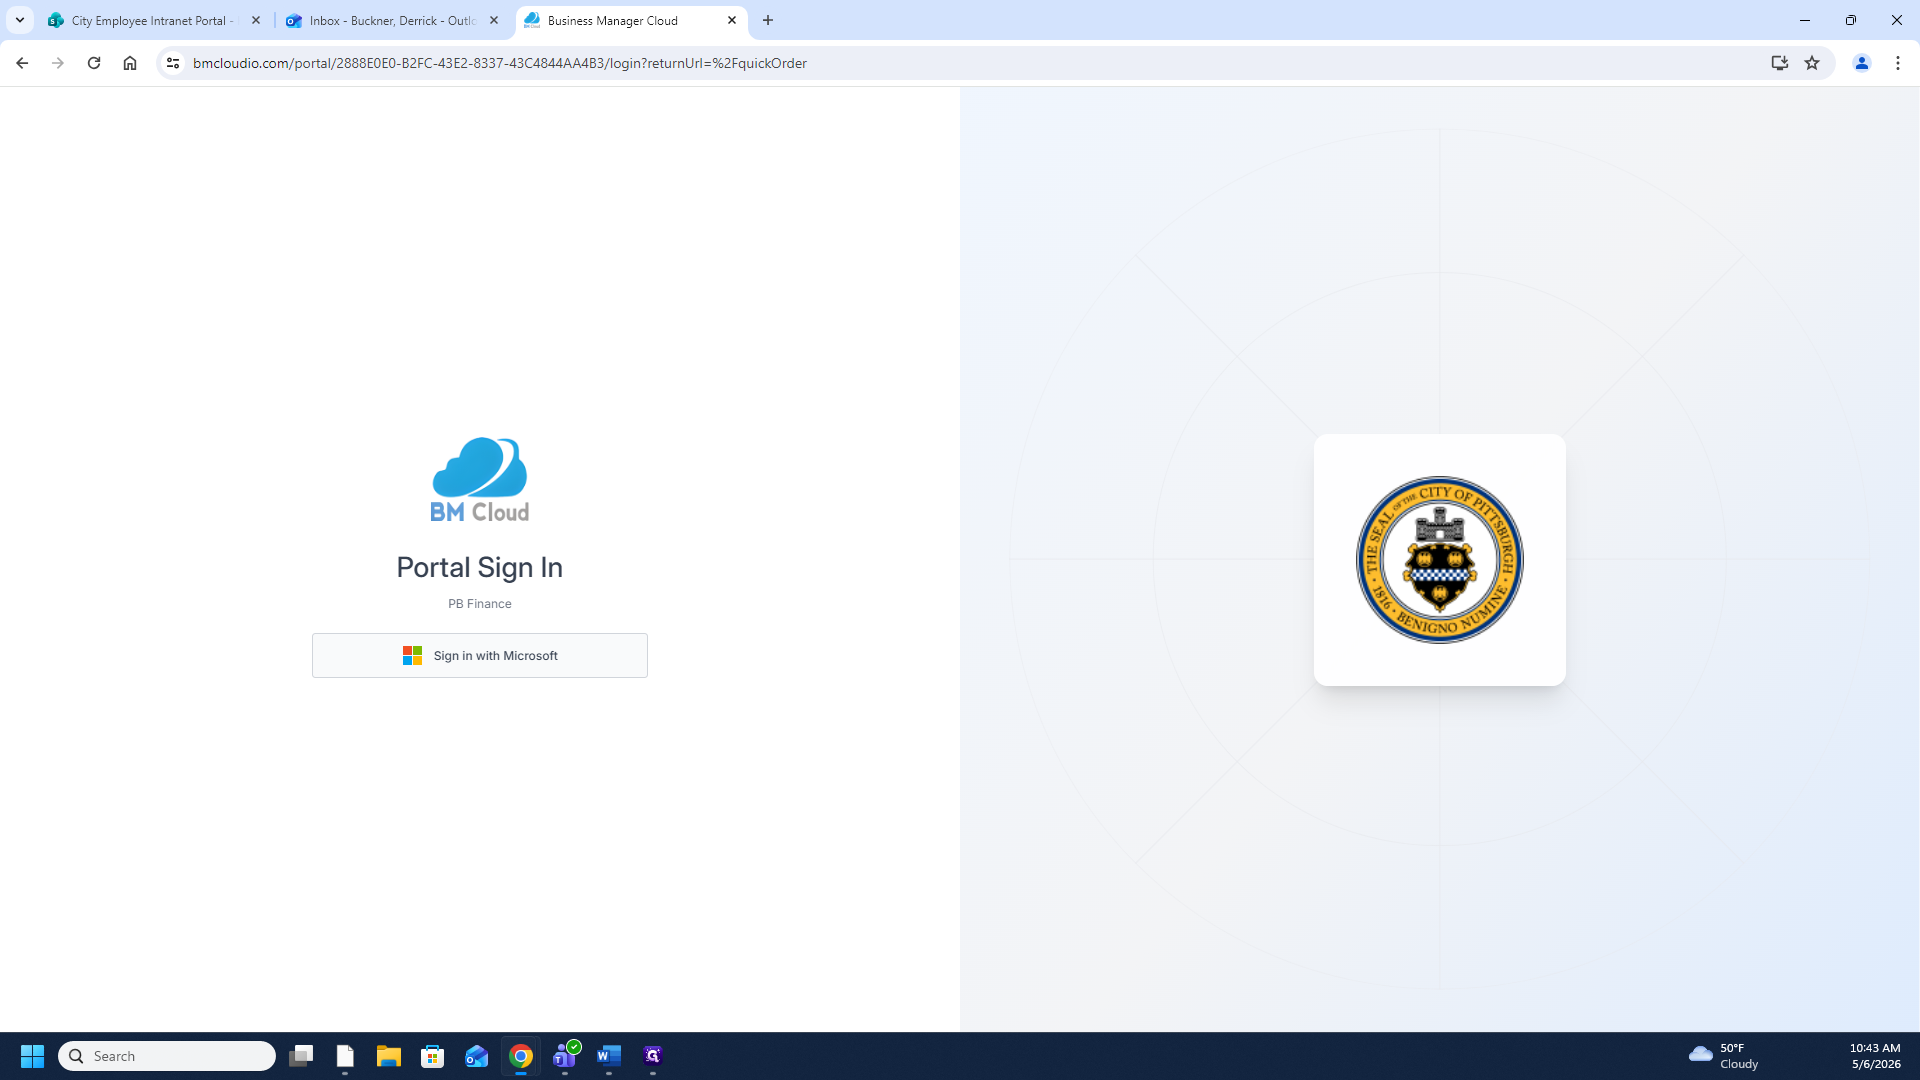
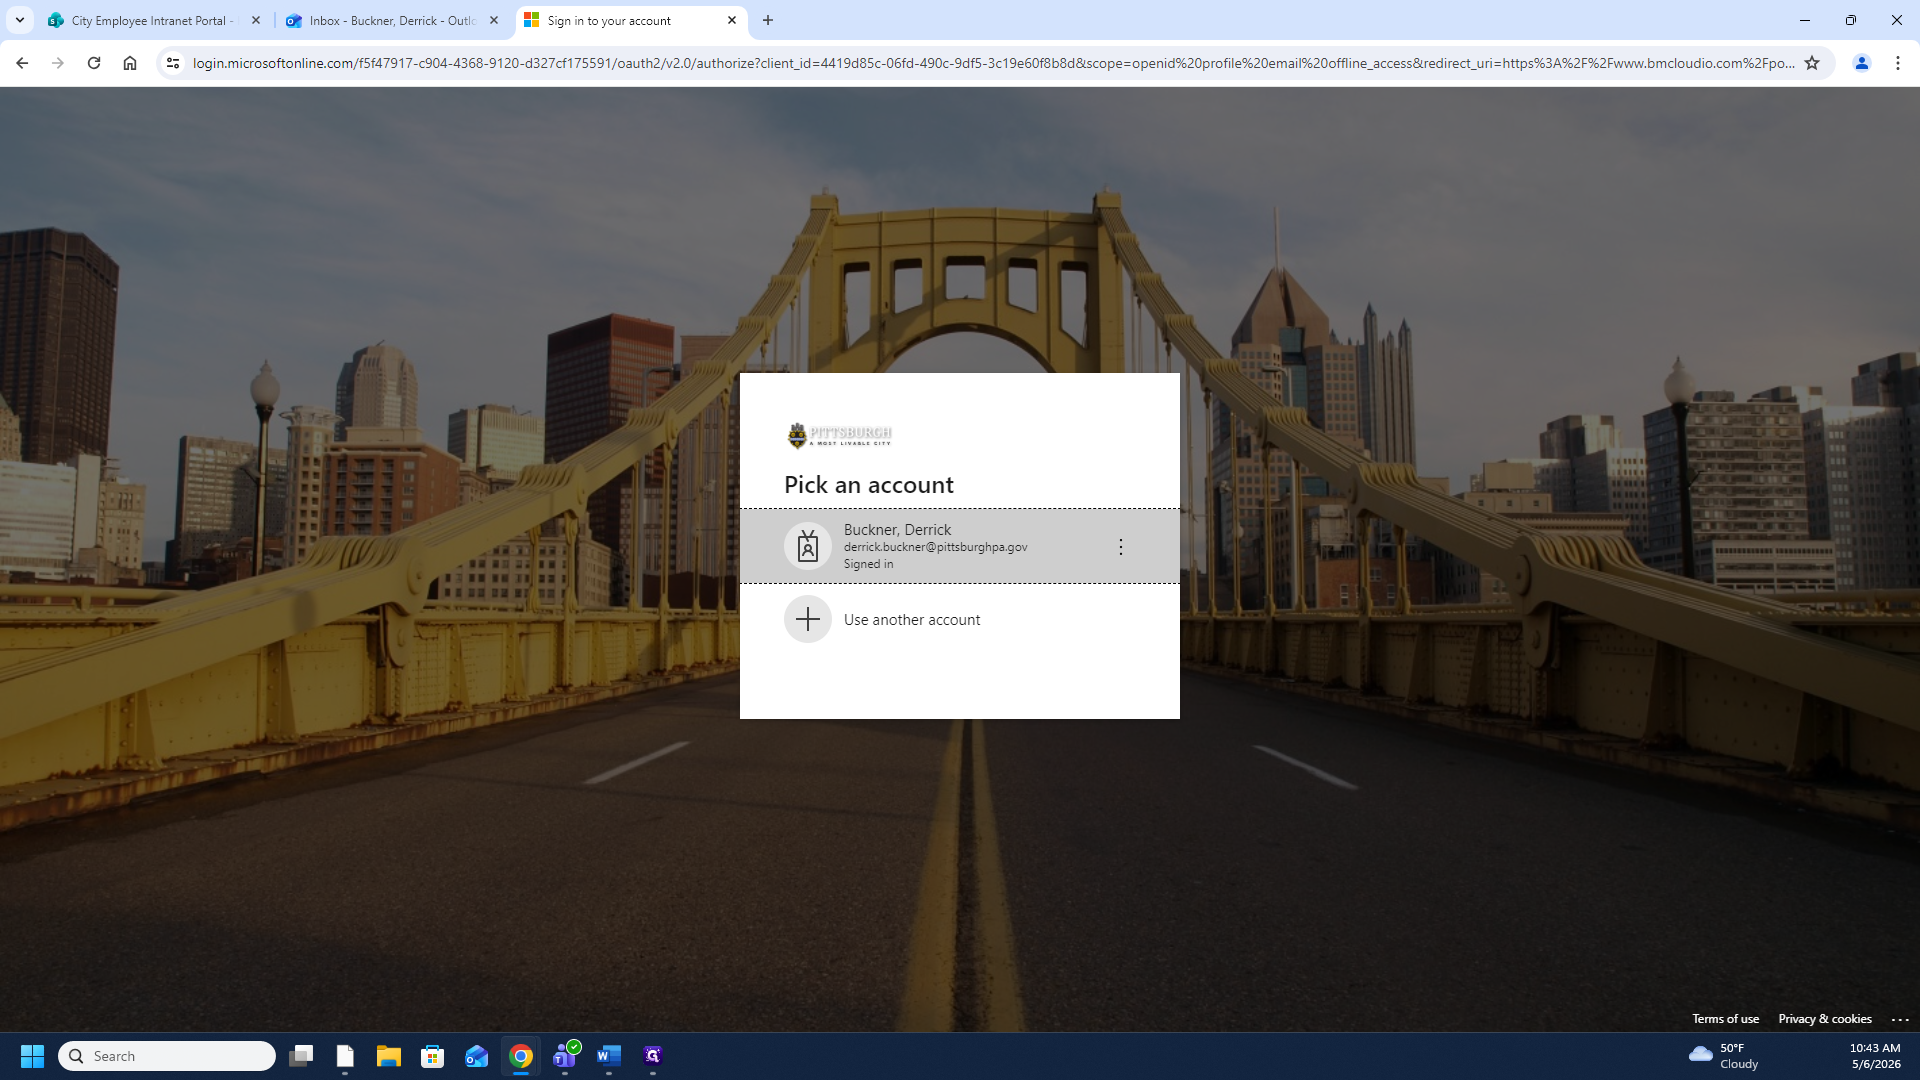
Accessing the Product Catalog

  1. Click Sign in with Microsoft on the Atlantis portal login page which can be found here: PB Finance Orders
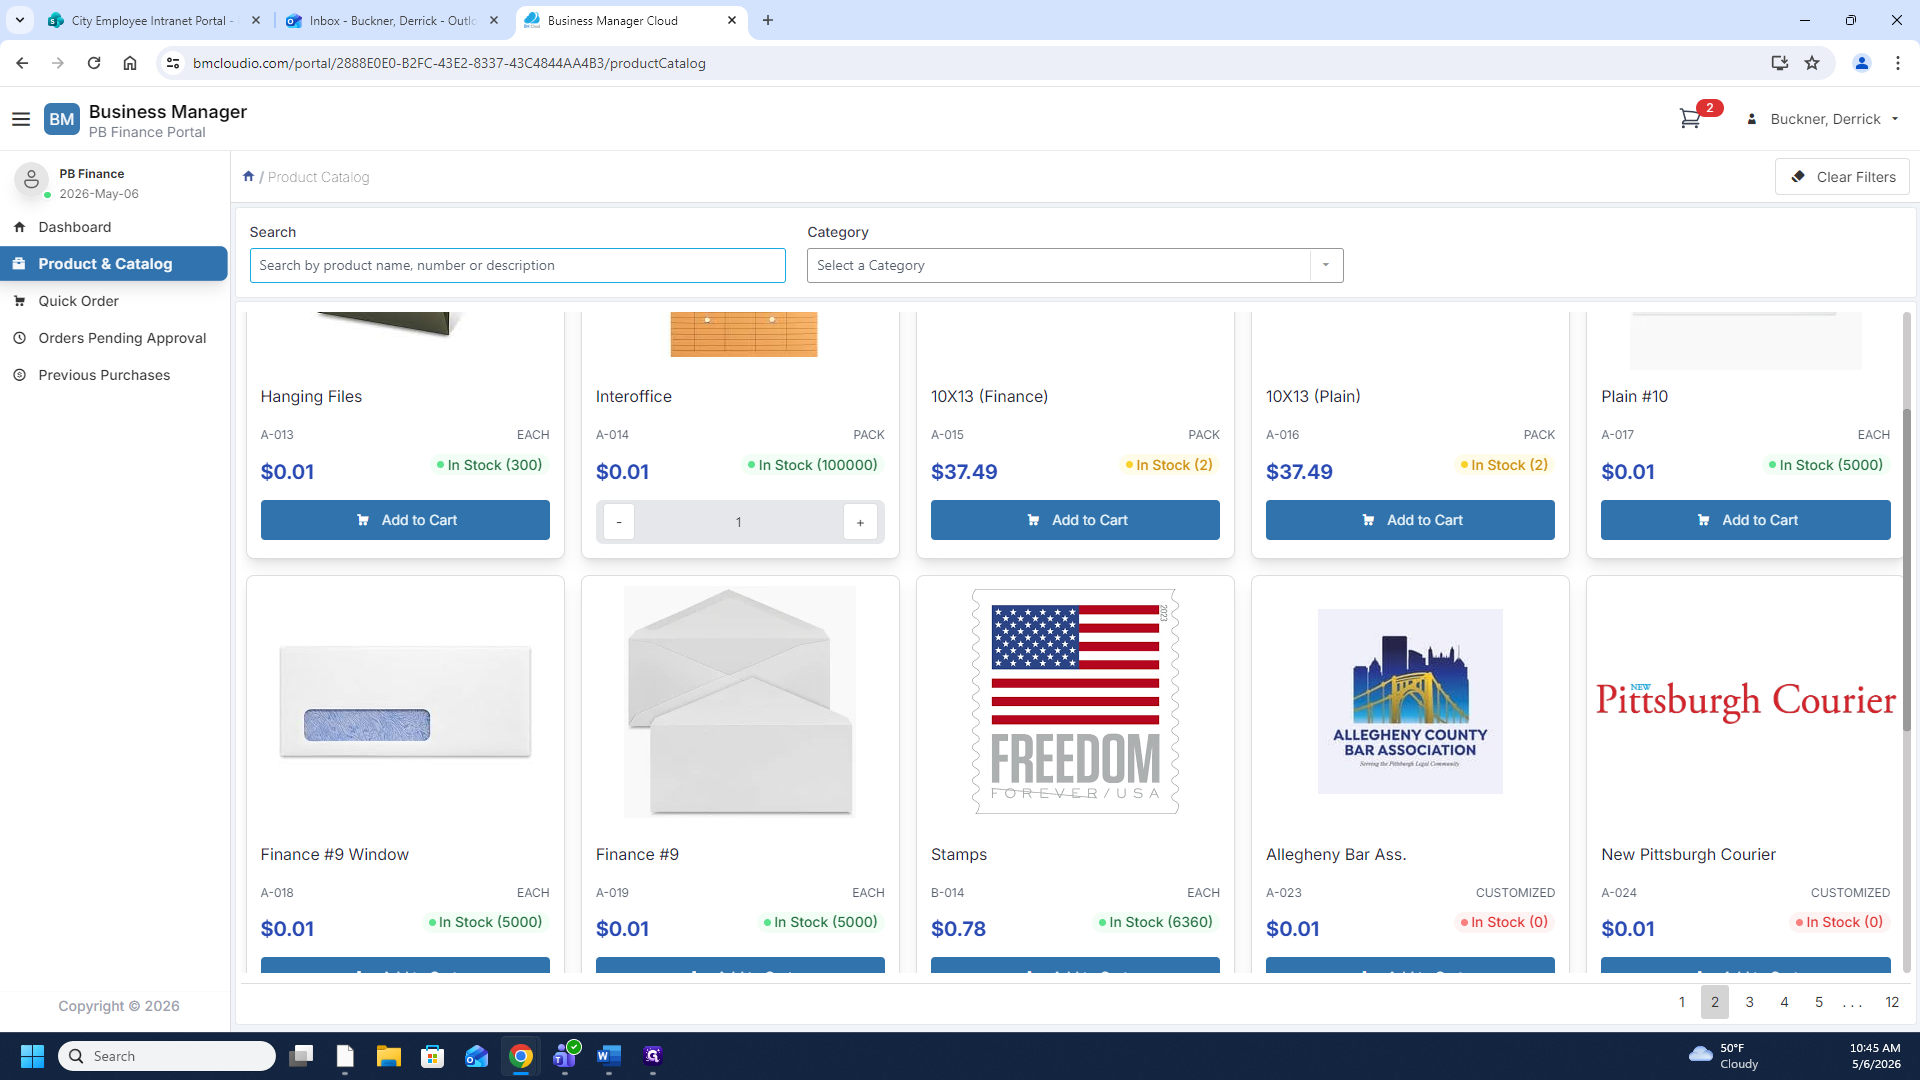
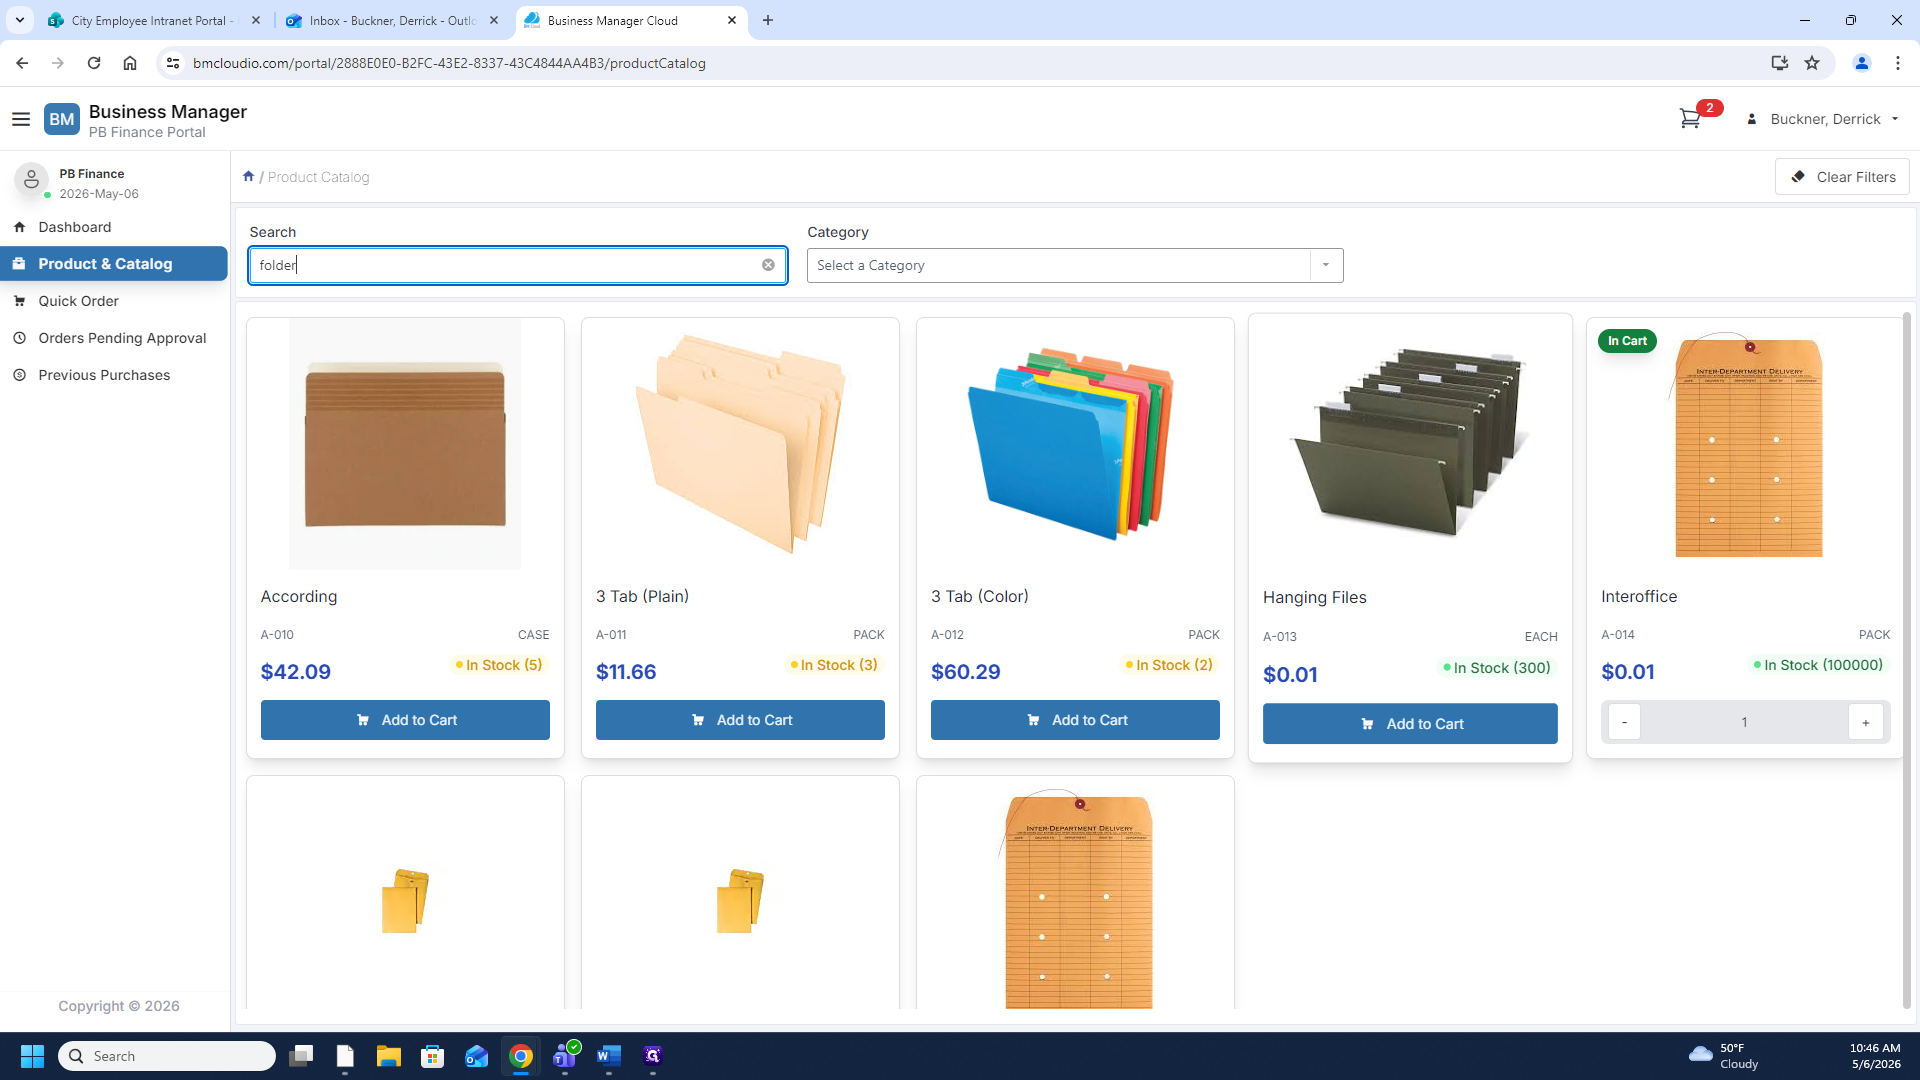

1
Click Sign in with Microsoft on the portal login page.
Step #1: Click Sign in with Microsoft on the portal login page.
2
Select your account from the prompt to log into the product dashboard.
Step #2: Select your account from the prompt to log into the product dashboard.
3
In the left-hand menu, click Product & Catalog to access the central hub for available office supplies.
Step #3: In the left-hand menu, click Product & Catalog to access the central hub for available office supplies.

Searching for Items

You can browse for items by scrolling to the bottom of the page and clicking the page numbers. However, the fastest method is to simply use the search bar.

4
Click the Search by product name field.
Step #4: Click the Search by product name field.
5
Type the name of the product you need (for example, "folder").

Adding Items and Checking Out

Once your search results populate, you can begin selecting products for your order.

6
Click Add to Cart on the items you wish to request.
Step #6: Click Add to Cart on the items you wish to request.
7
When you are ready to complete your order, click Checkout at the bottom of the shopping cart panel.
Step #7: When you are ready to complete your order, click Checkout at the bottom of the shopping cart panel.

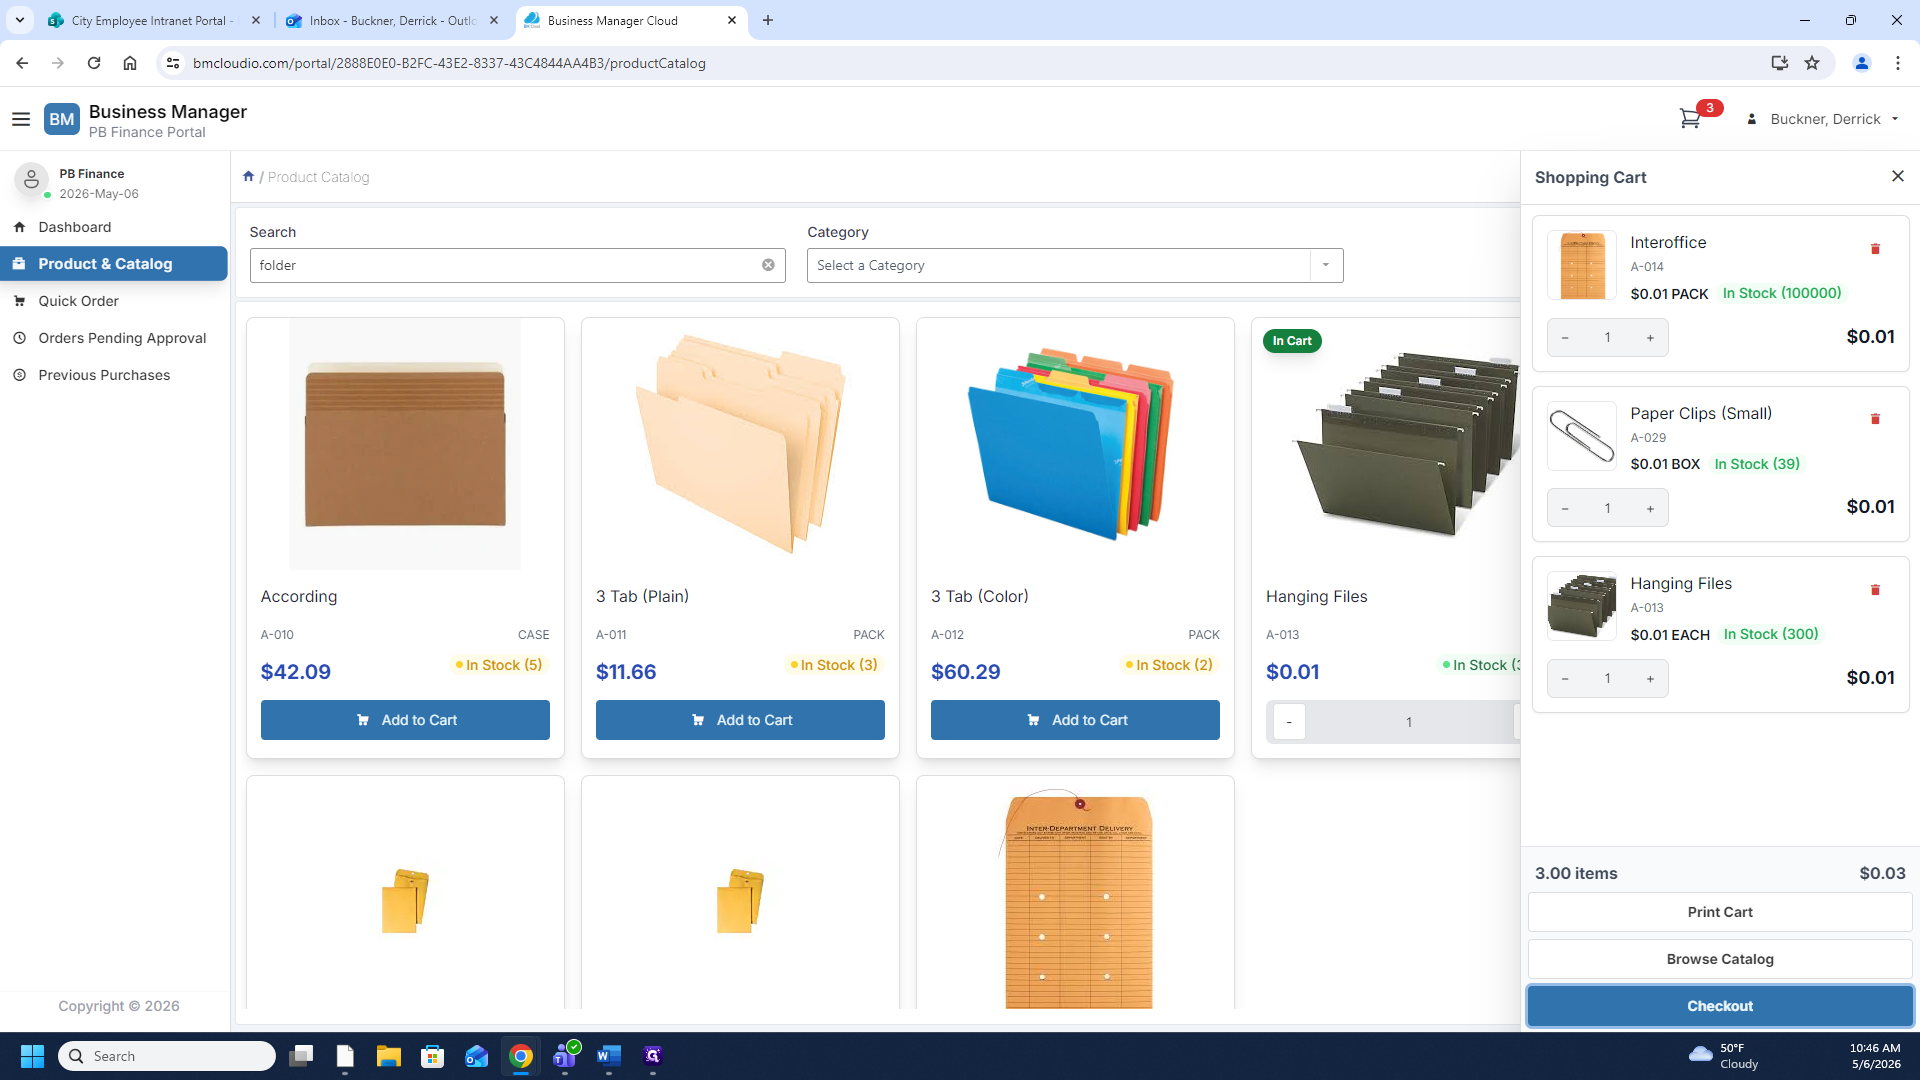
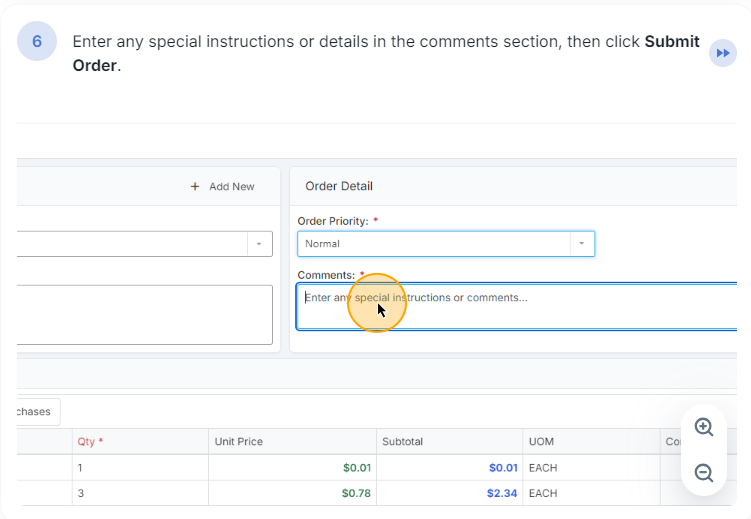
Finalize and Submit Order

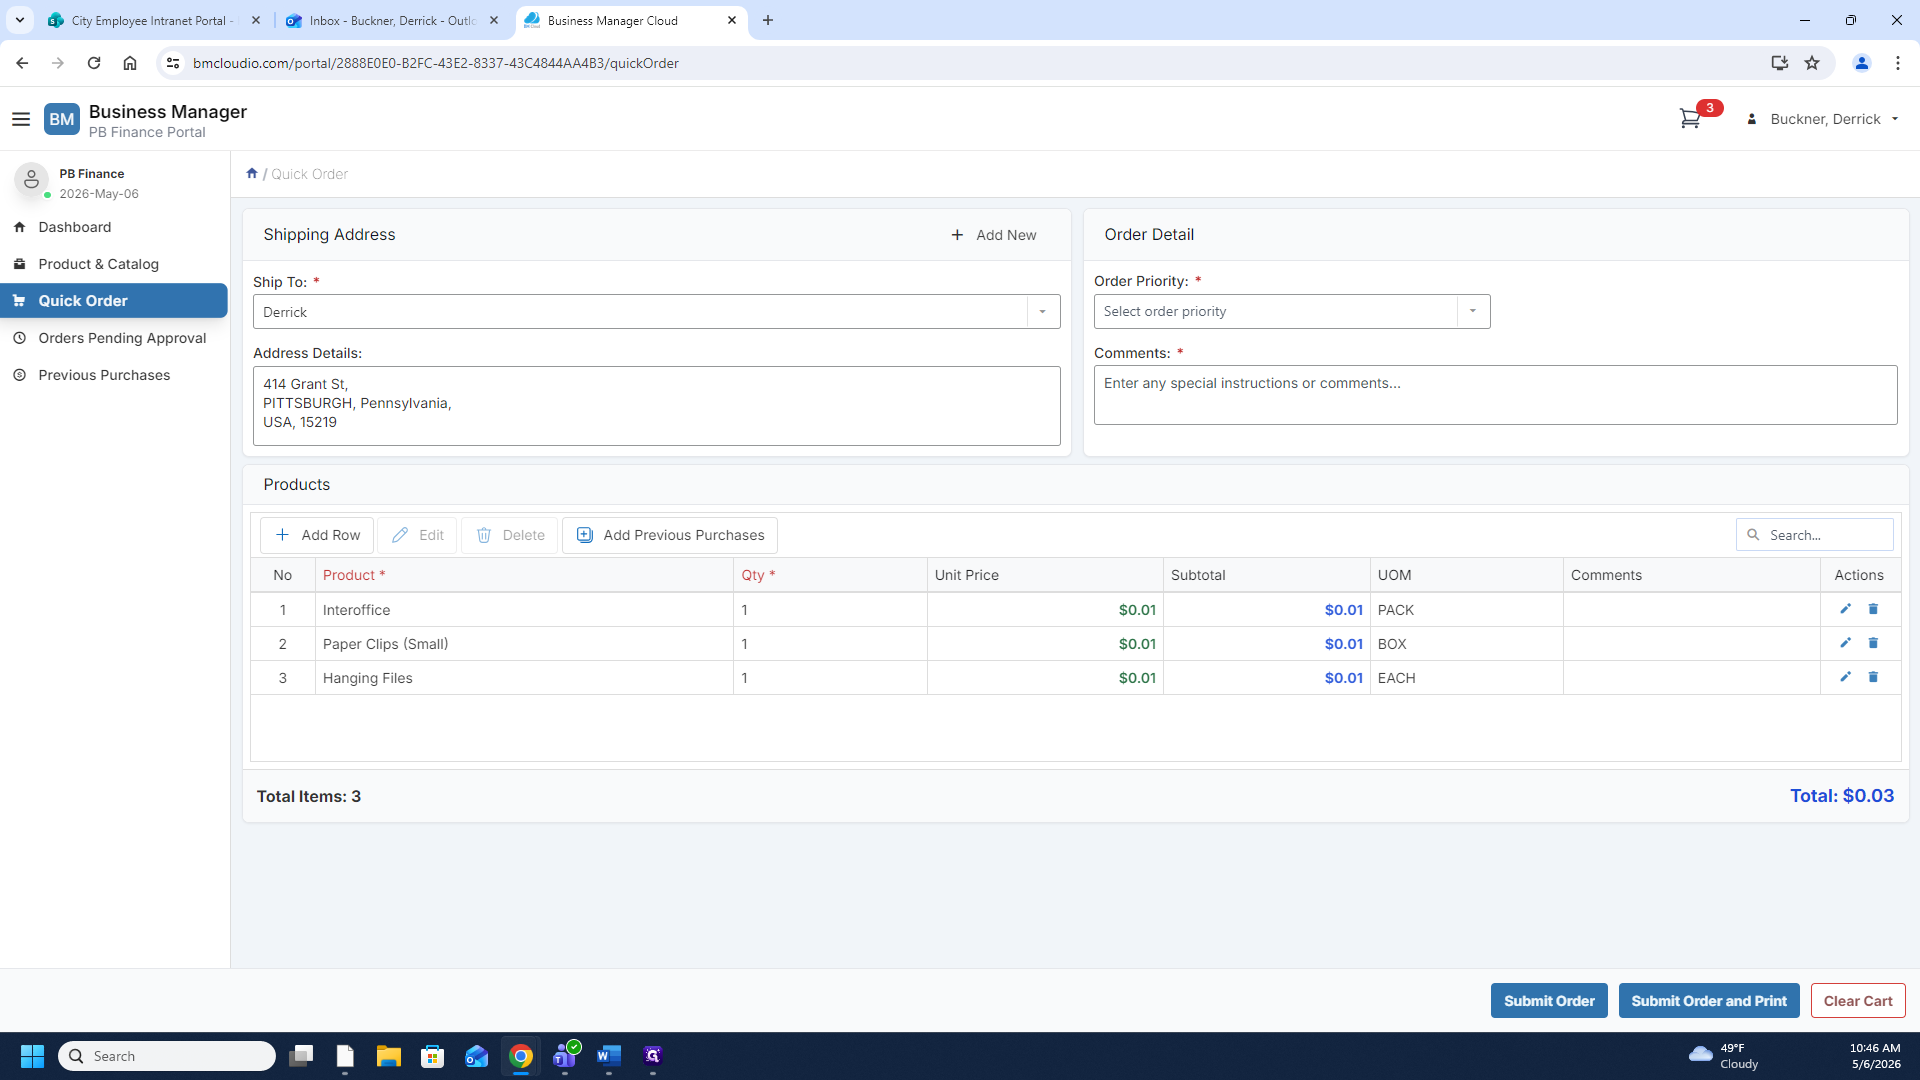
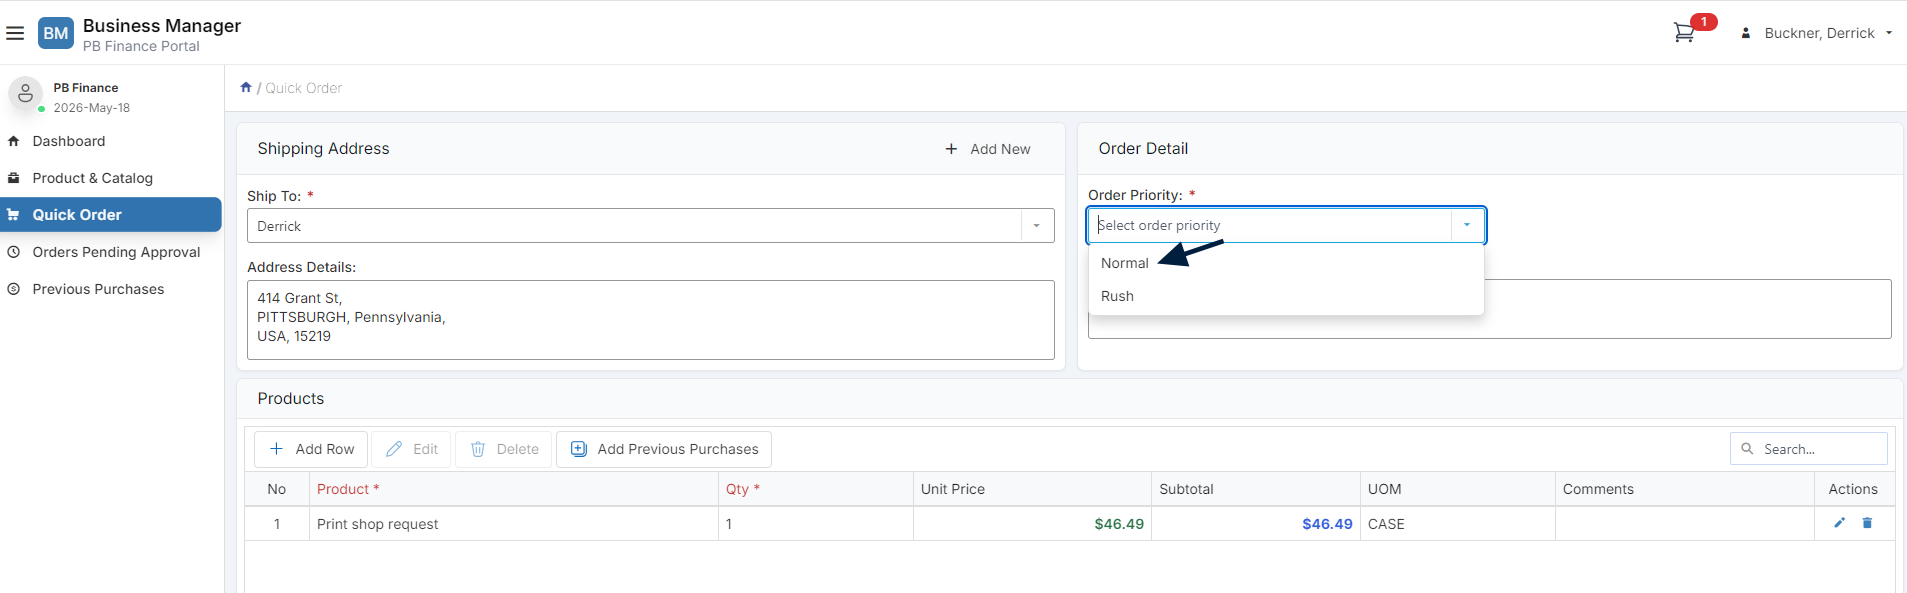
You will be brought to the order details page to review your requested items.
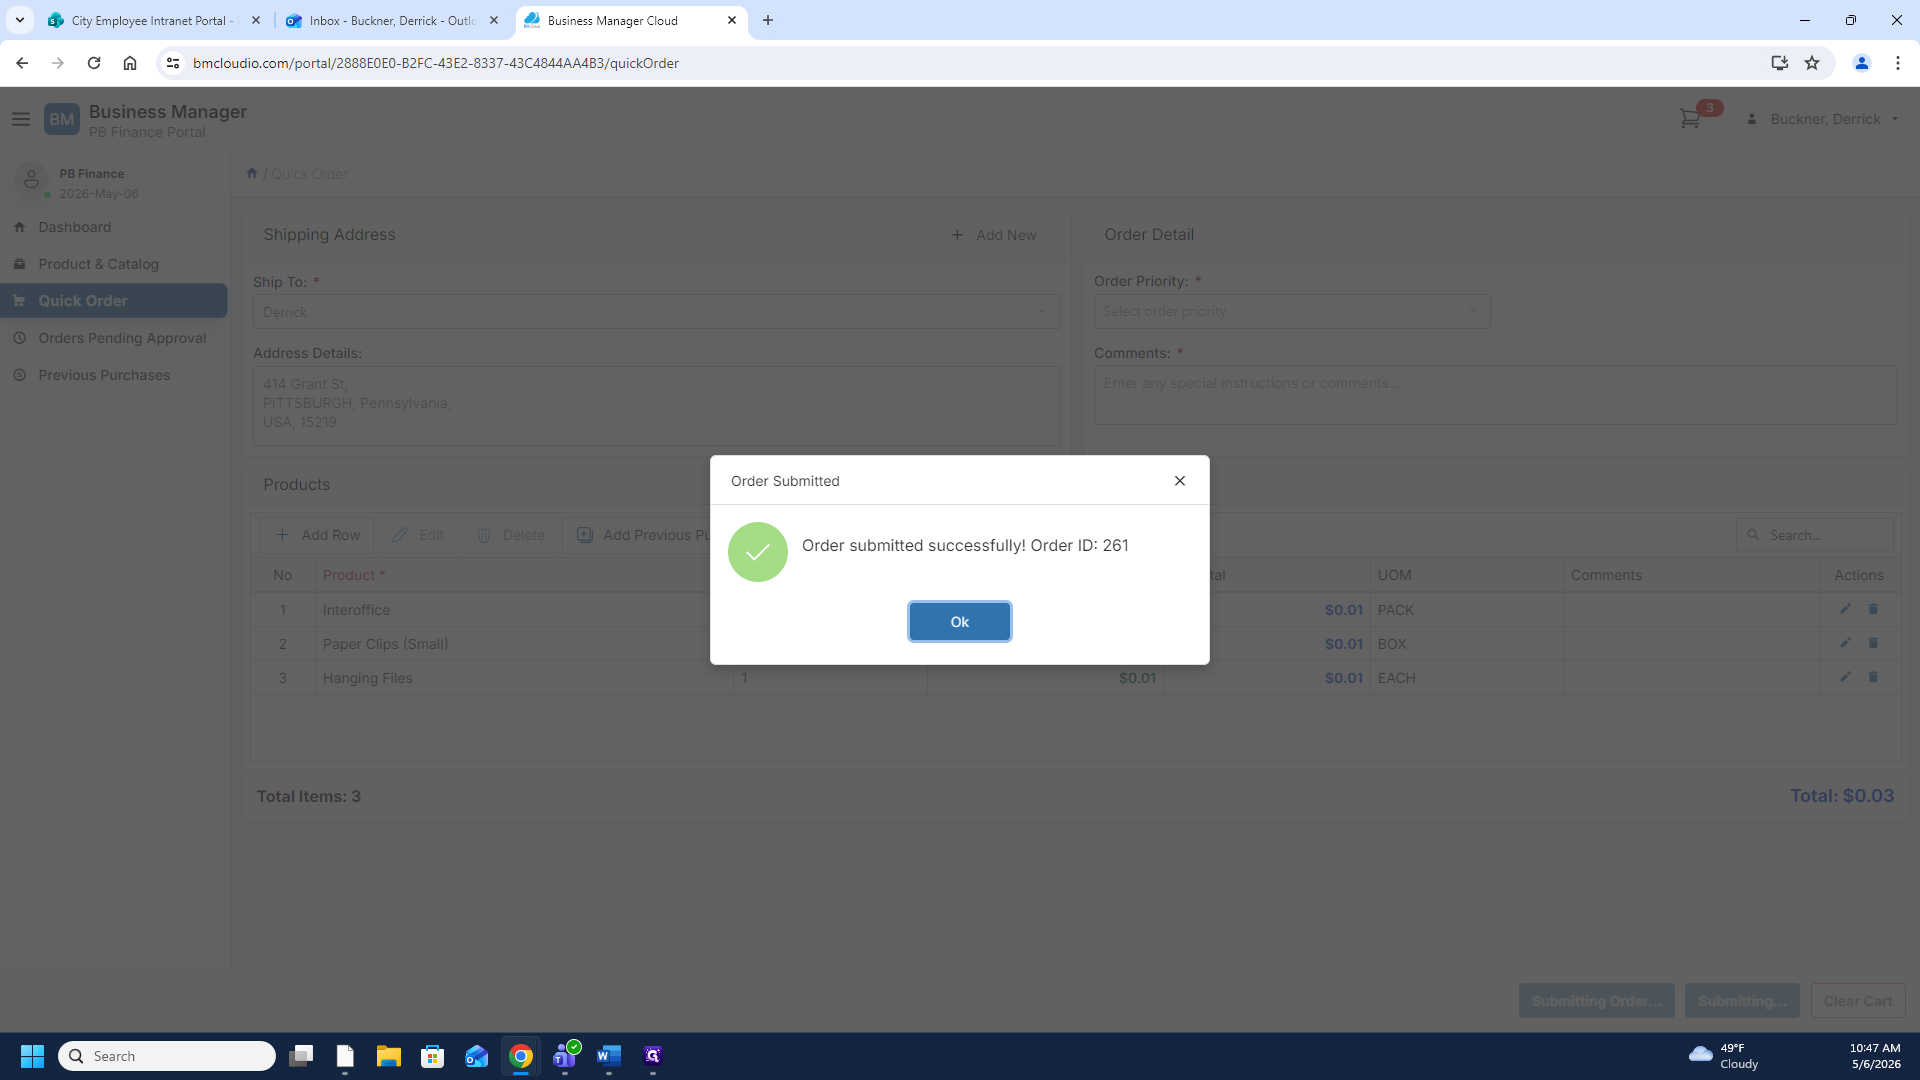
8
Review your items and click Submit Order.
Step #8: Review your items and click Submit Order.

9
Address details and Order Priority- Address details will always be the same. Please only chose the rush option if the item you are requesting is preventing you from doing your work.
Step #9: Address details and Order Priority- Address details will always be the same. Please only chose the rush option if the item you are requesting is preventing you from doing your work.
10
Step #10:
11
Step #11:
12
containing your order ID, click Ok.
Step #12:  containing your order ID, click Ok.

What Happens Next?

Your request has been successfully submitted and is now pending approval from your immediate supervisor. Once approved, the warehouse staff receives a notification and begins picking the items for your order.

When your order is complete, you will receive an email notifying you that your items are ready for pickup. This email will also include an invoice detailing your selected products and their costs.

13
Click you name in the upper right hand corner and then click exit.
Step #13: Click you name in the upper right hand corner and then click exit.
14
Trouble shooting fetch code
Step #14: Trouble shooting fetch code
15
Single Sign on Screen- Please click video link at the bottom "Resolving the Failed Fetch Error in Business Manager Cloud"
Step #15: Single Sign on Screen- Please click video link at the bottom "Resolving the Failed Fetch Error in Business Manager Cloud"

How to Order Office Supplies in the Warehouse System