How to Create a Rider: Step-by-Step Guide
Learn how to create a rider with our step-by-step guide. From providing credentials to verifying the rider, follow these easy instructions.
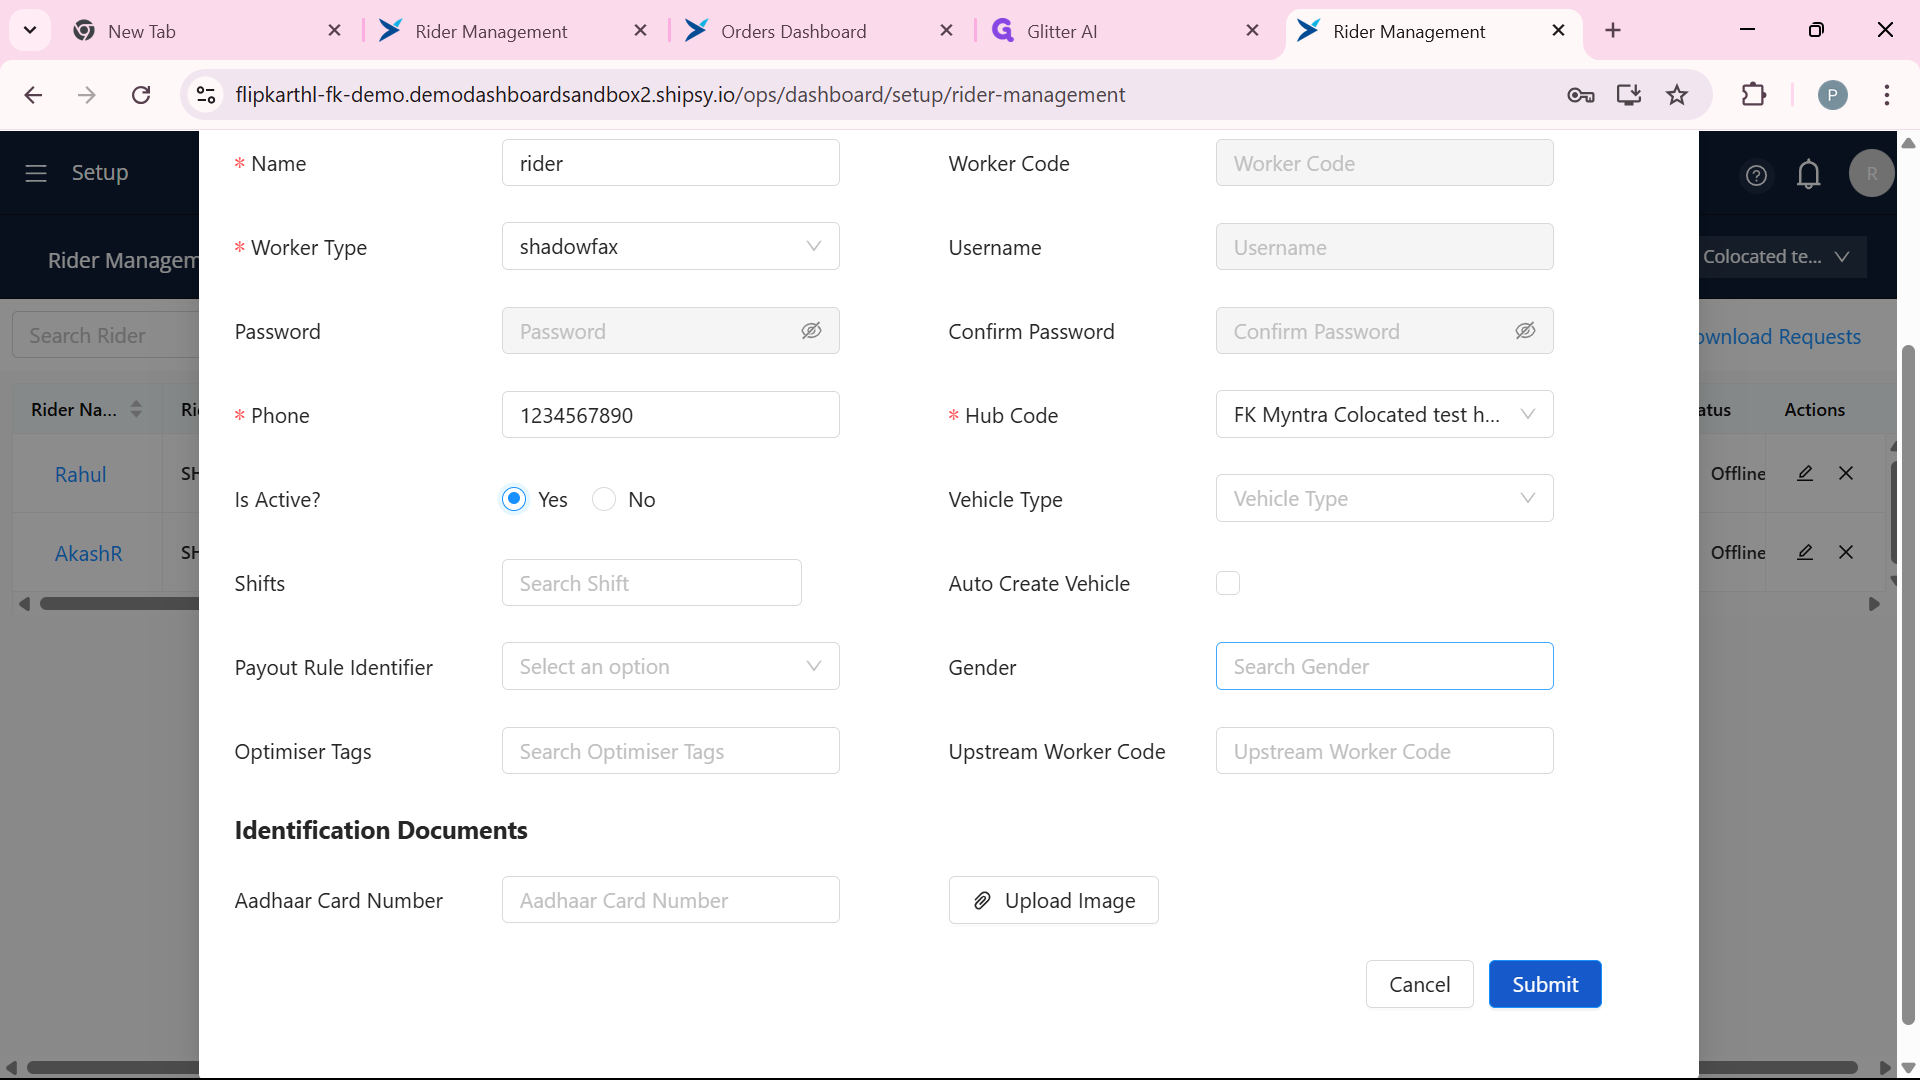
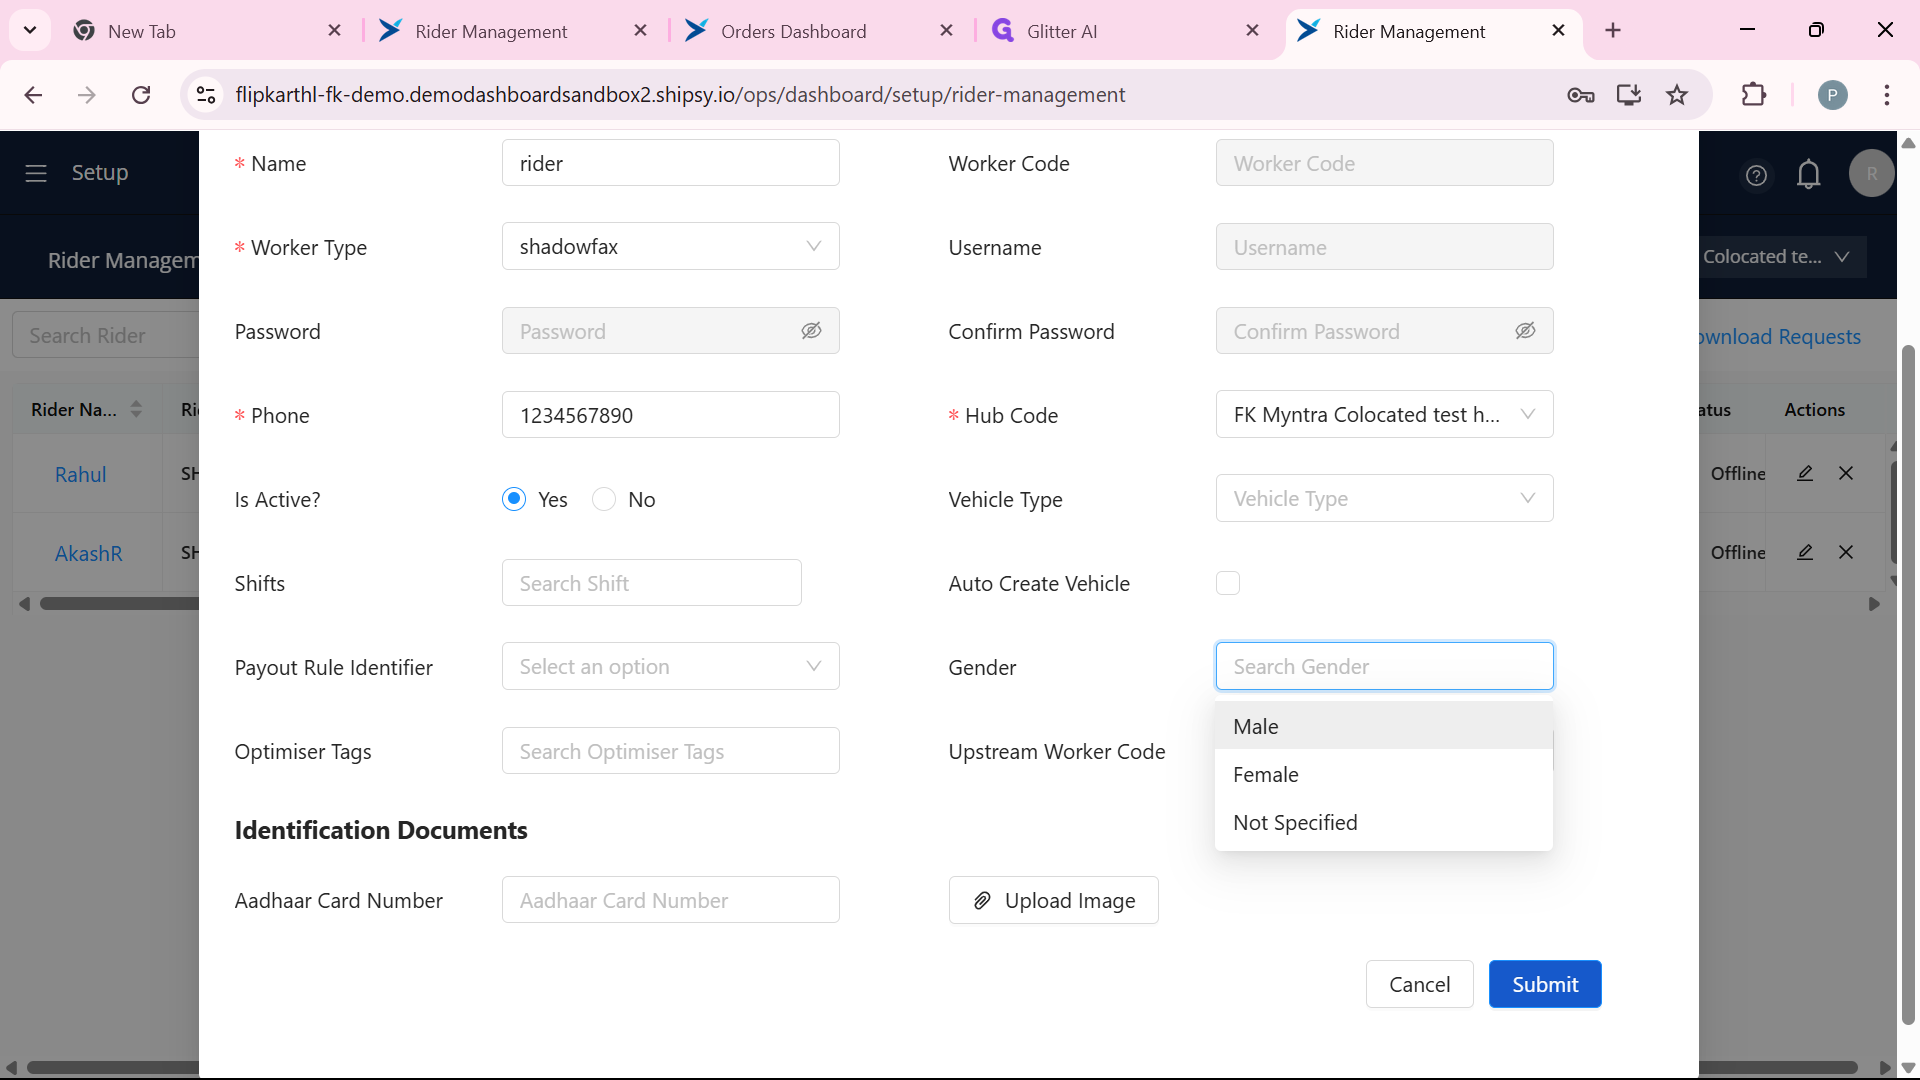
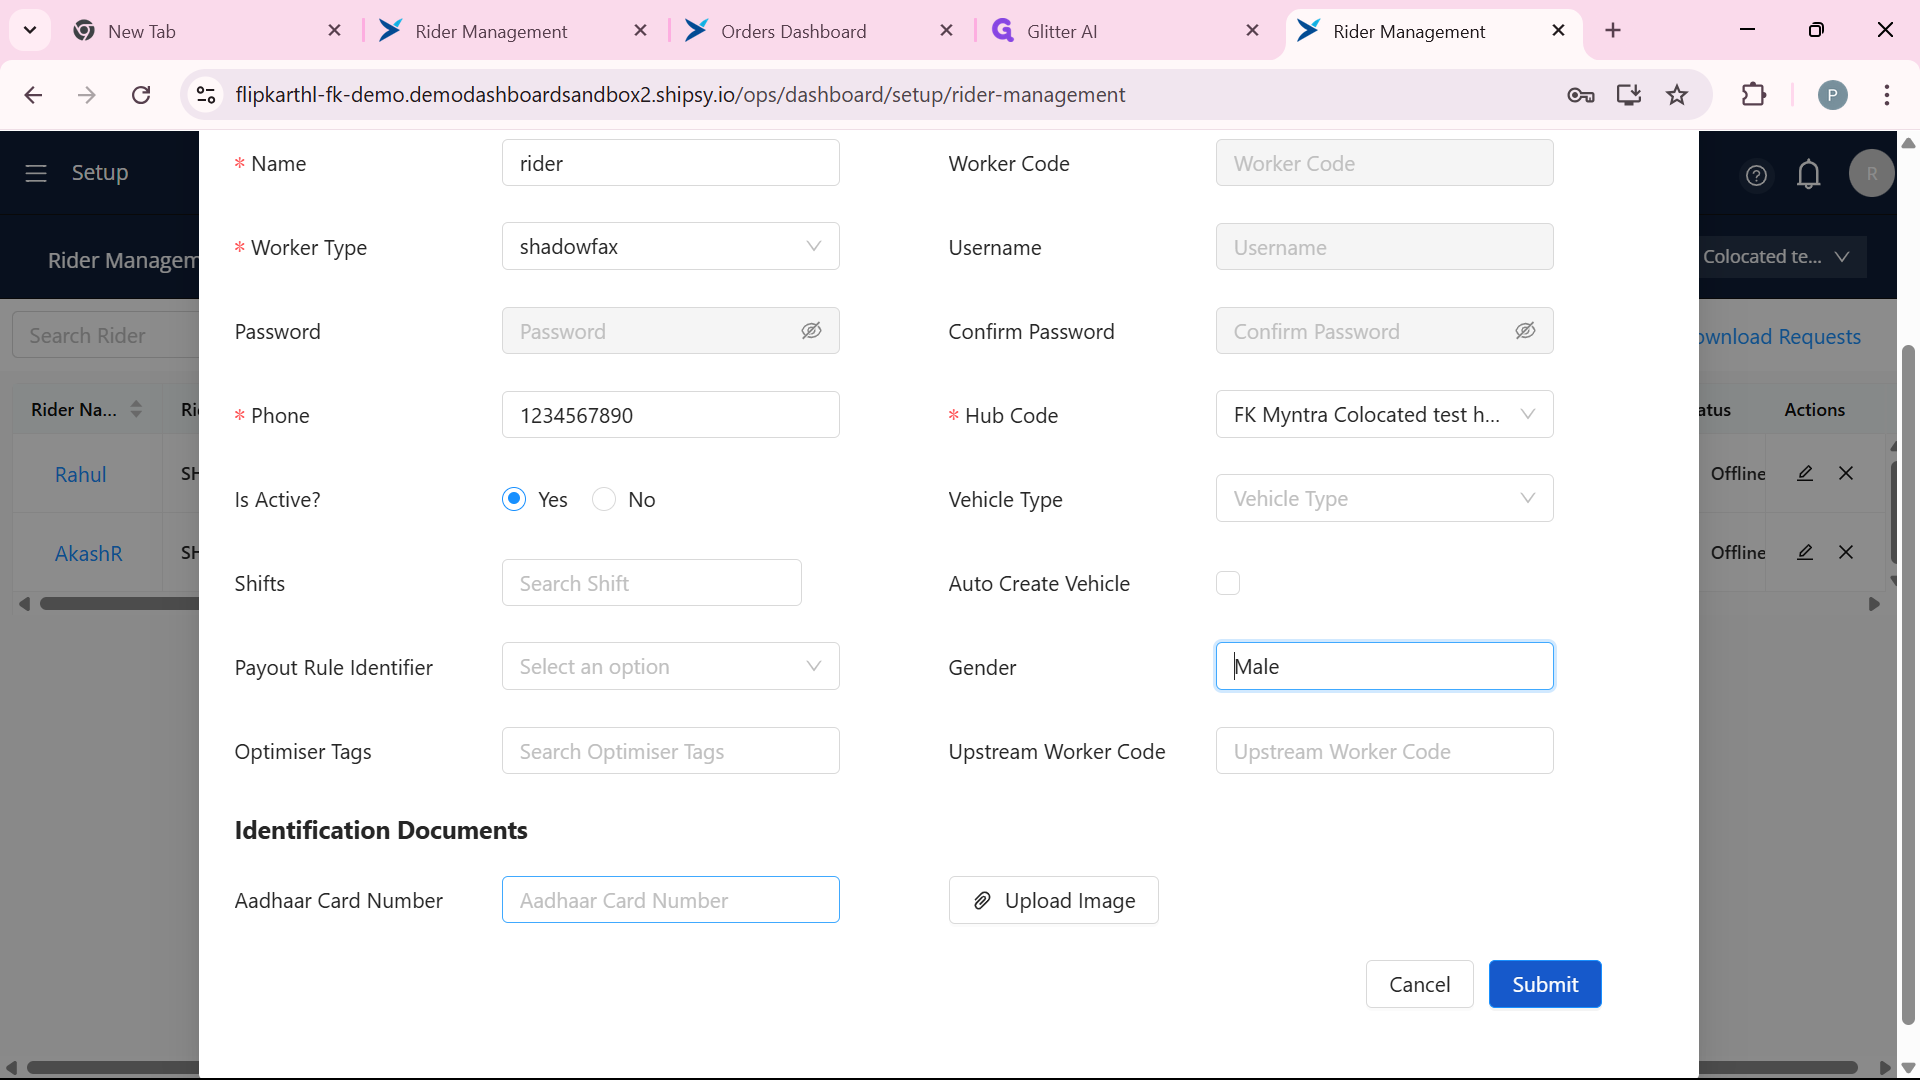
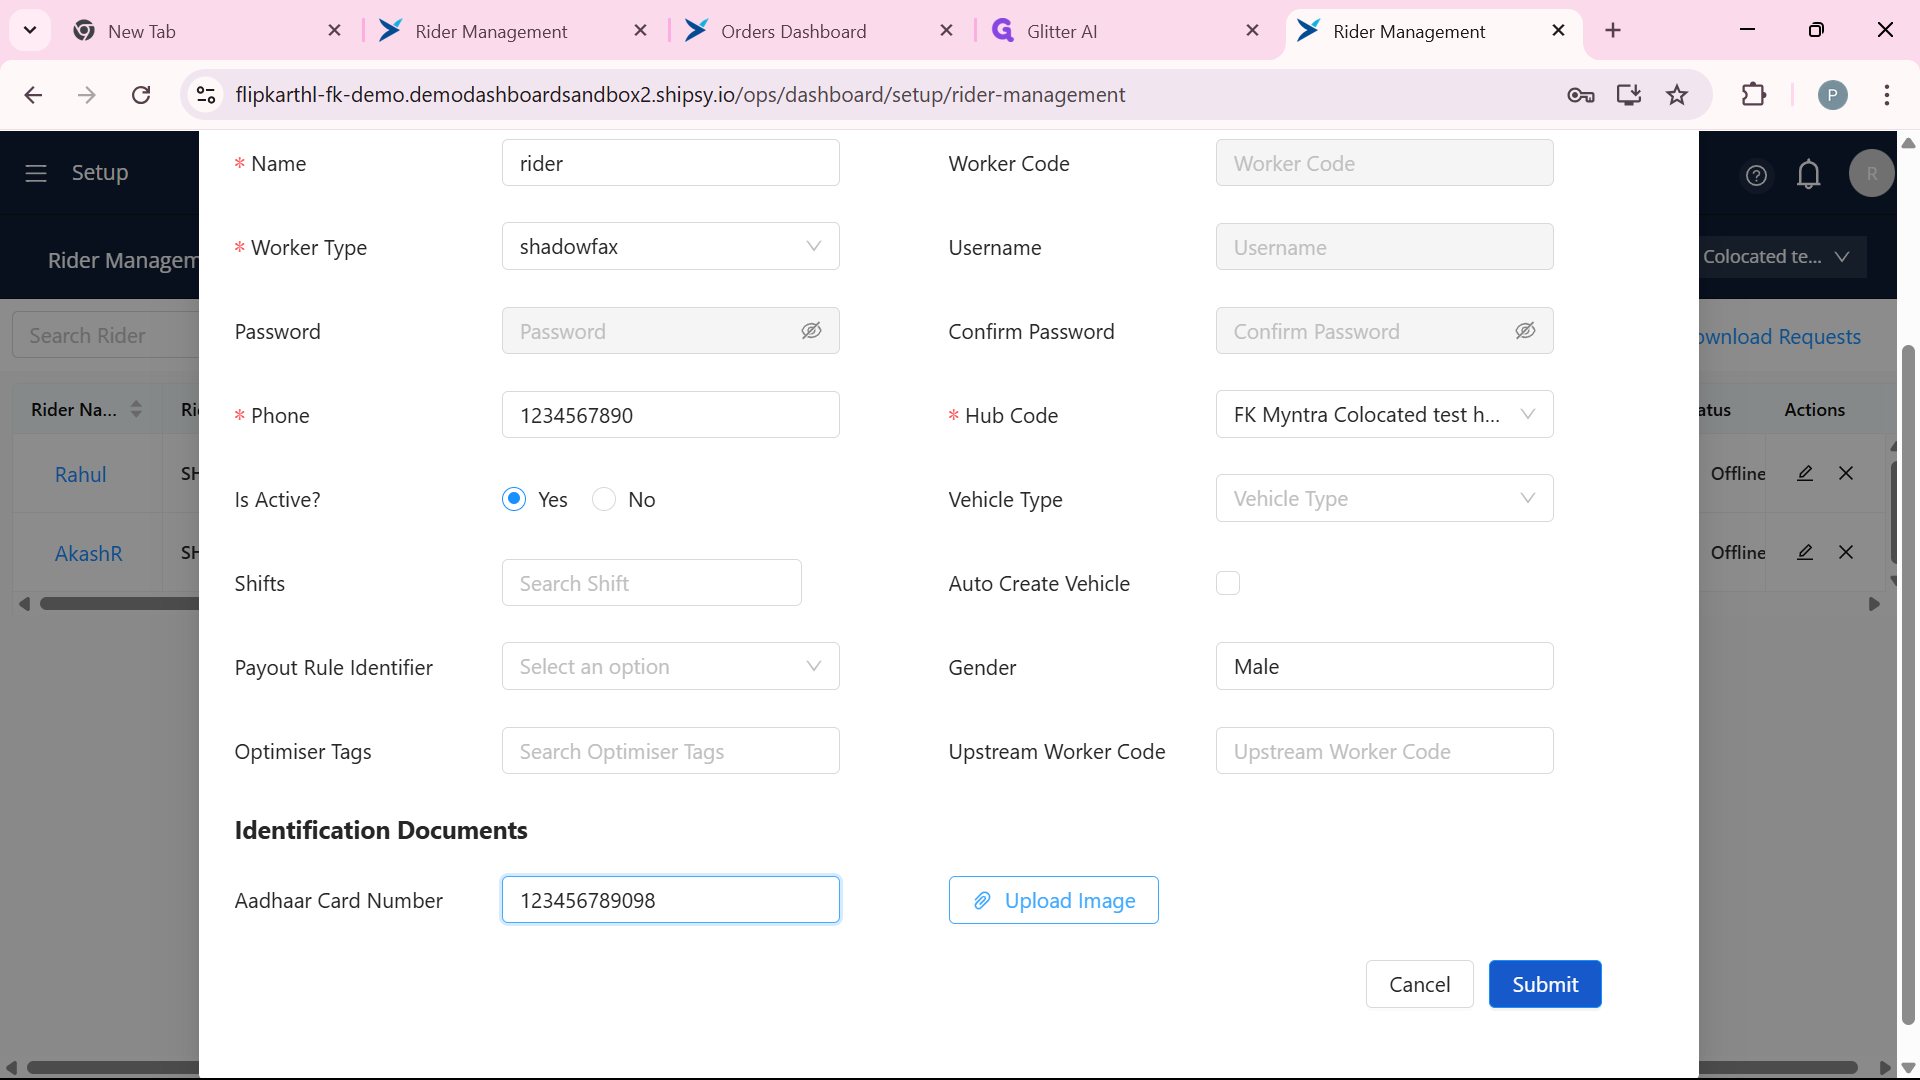
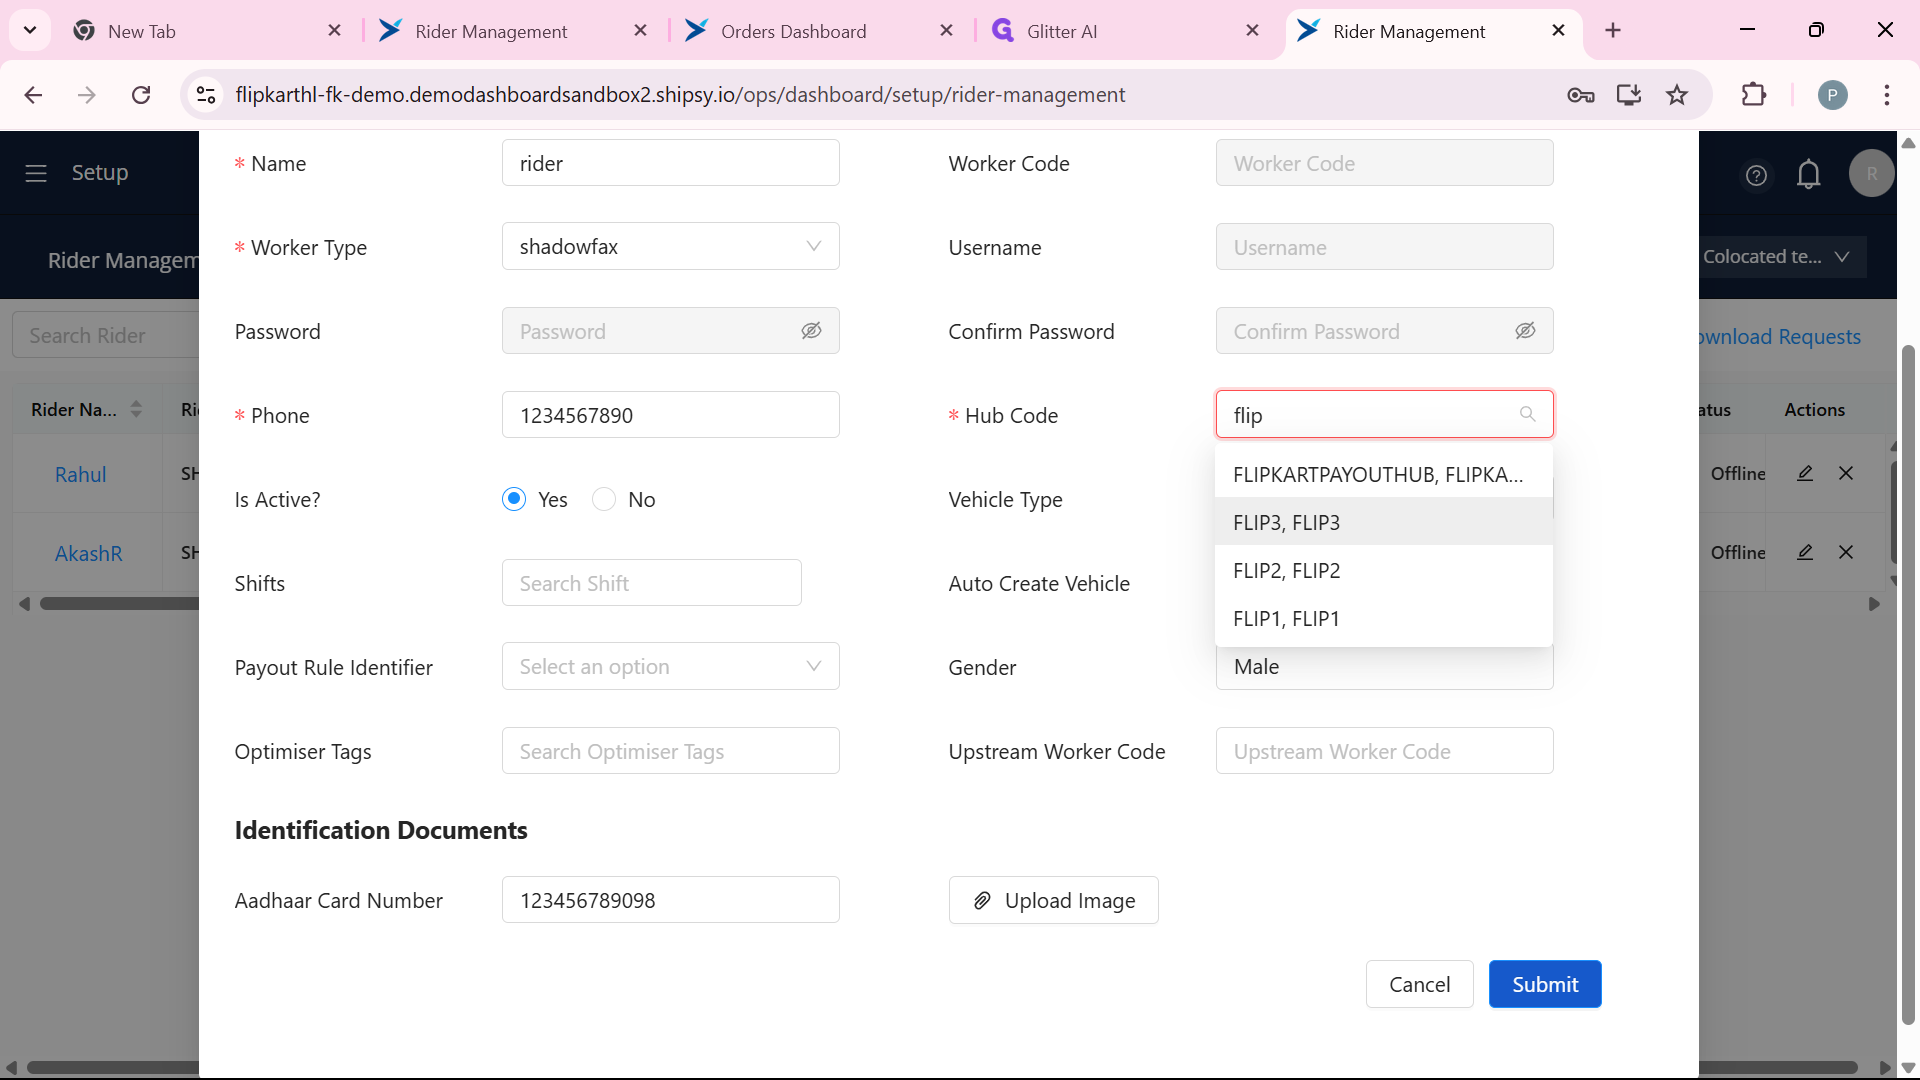
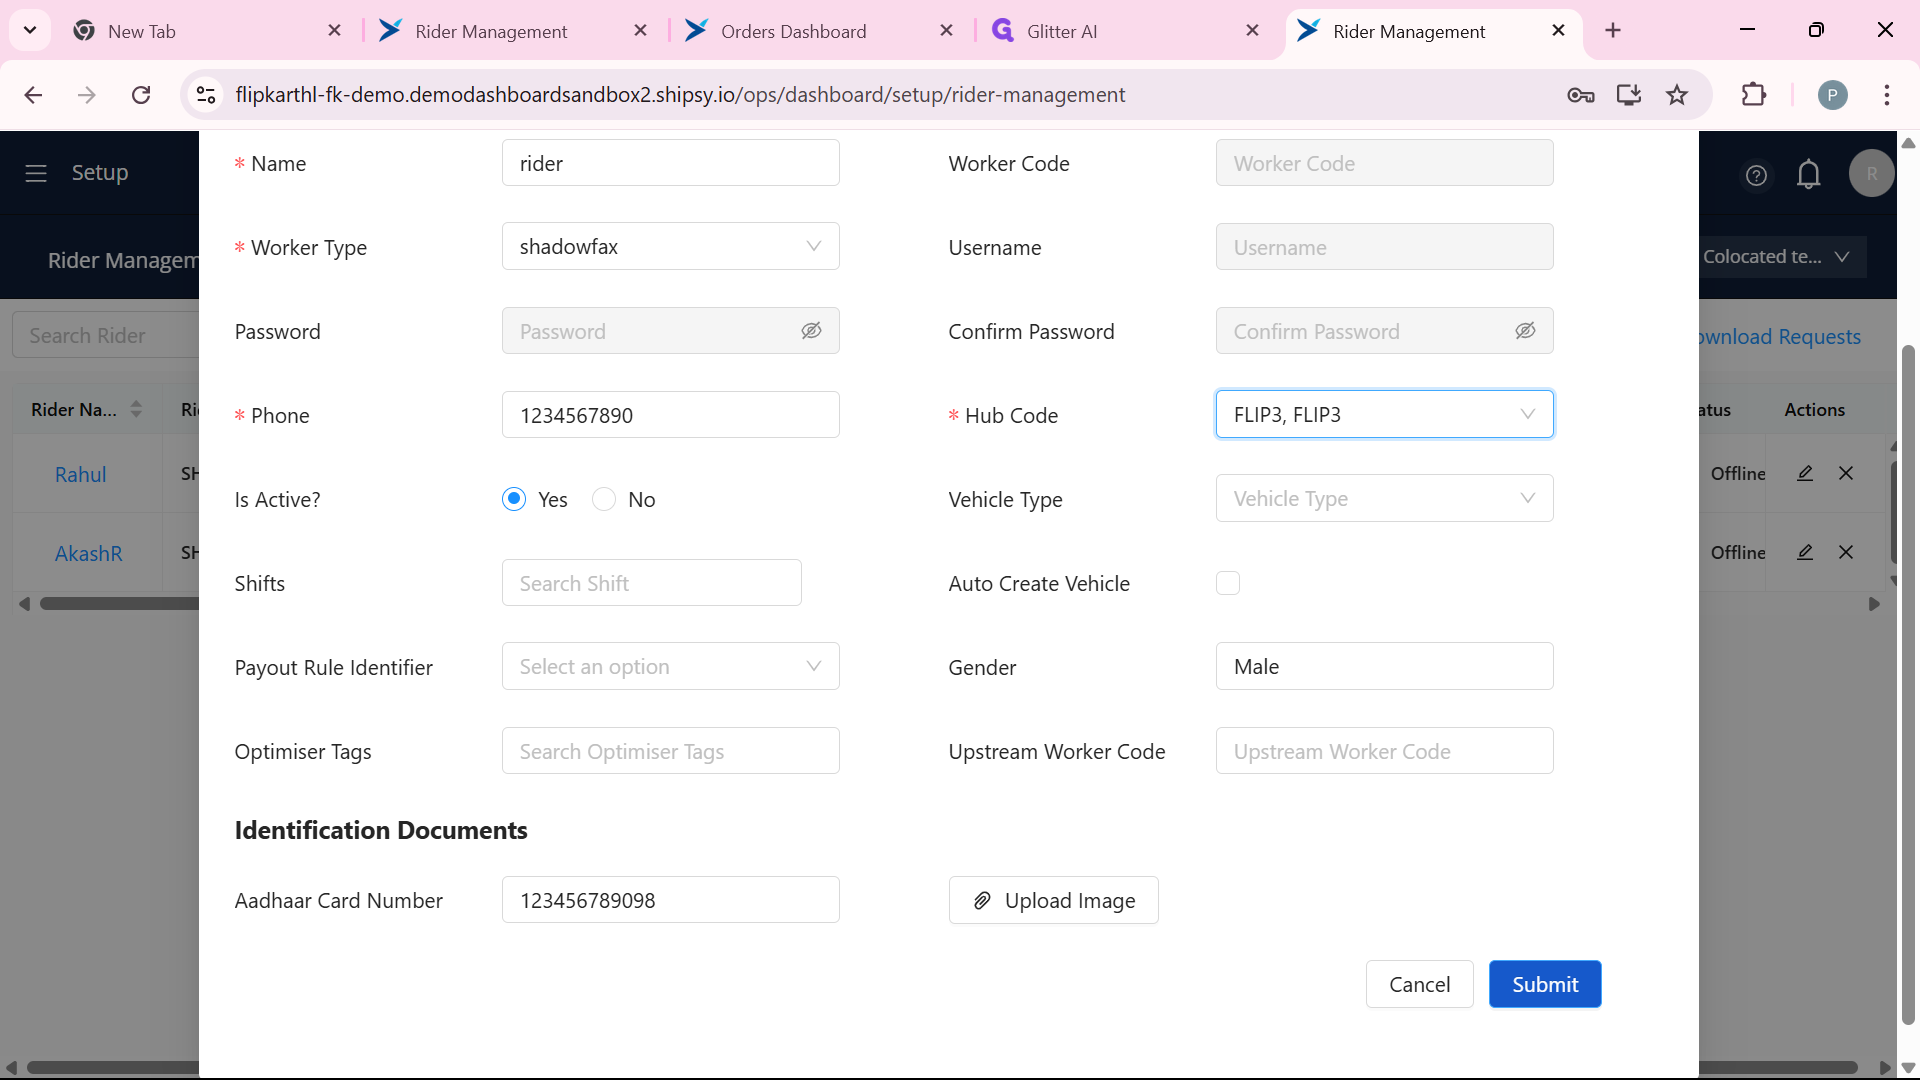
In this guide, we'll learn how to create a rider account in a management system. The process involves logging in with Hub manager credentials, navigating through the menu to access the setup, and using the rider management feature to add a new rider. You'll need to provide details such as the rider's name, phone number, gender, ensure the account is active and provide aadhaar card number and upload aadhaar card photo . Finally, you'll submit the information to successfully add the rider. You can verify the addition by checking the hub.
Quick Steps
First Hub Manager has to login
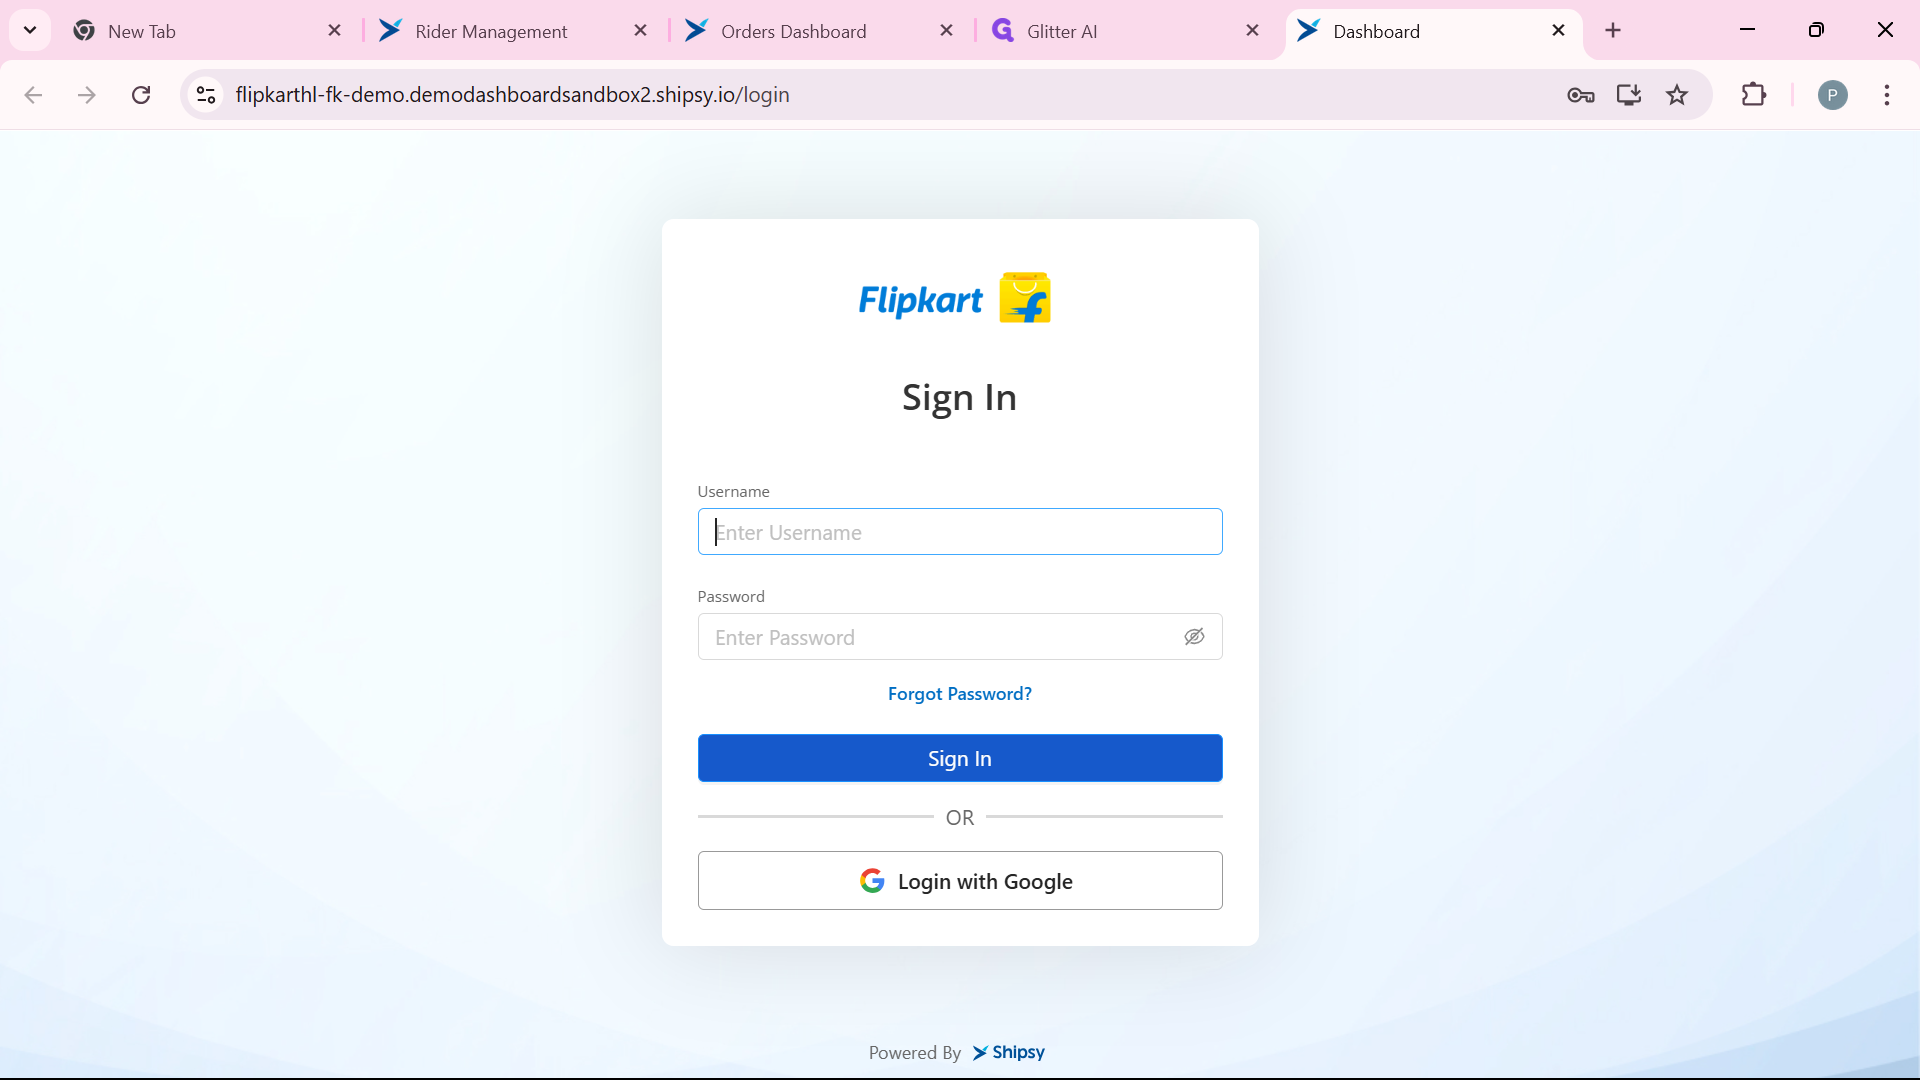
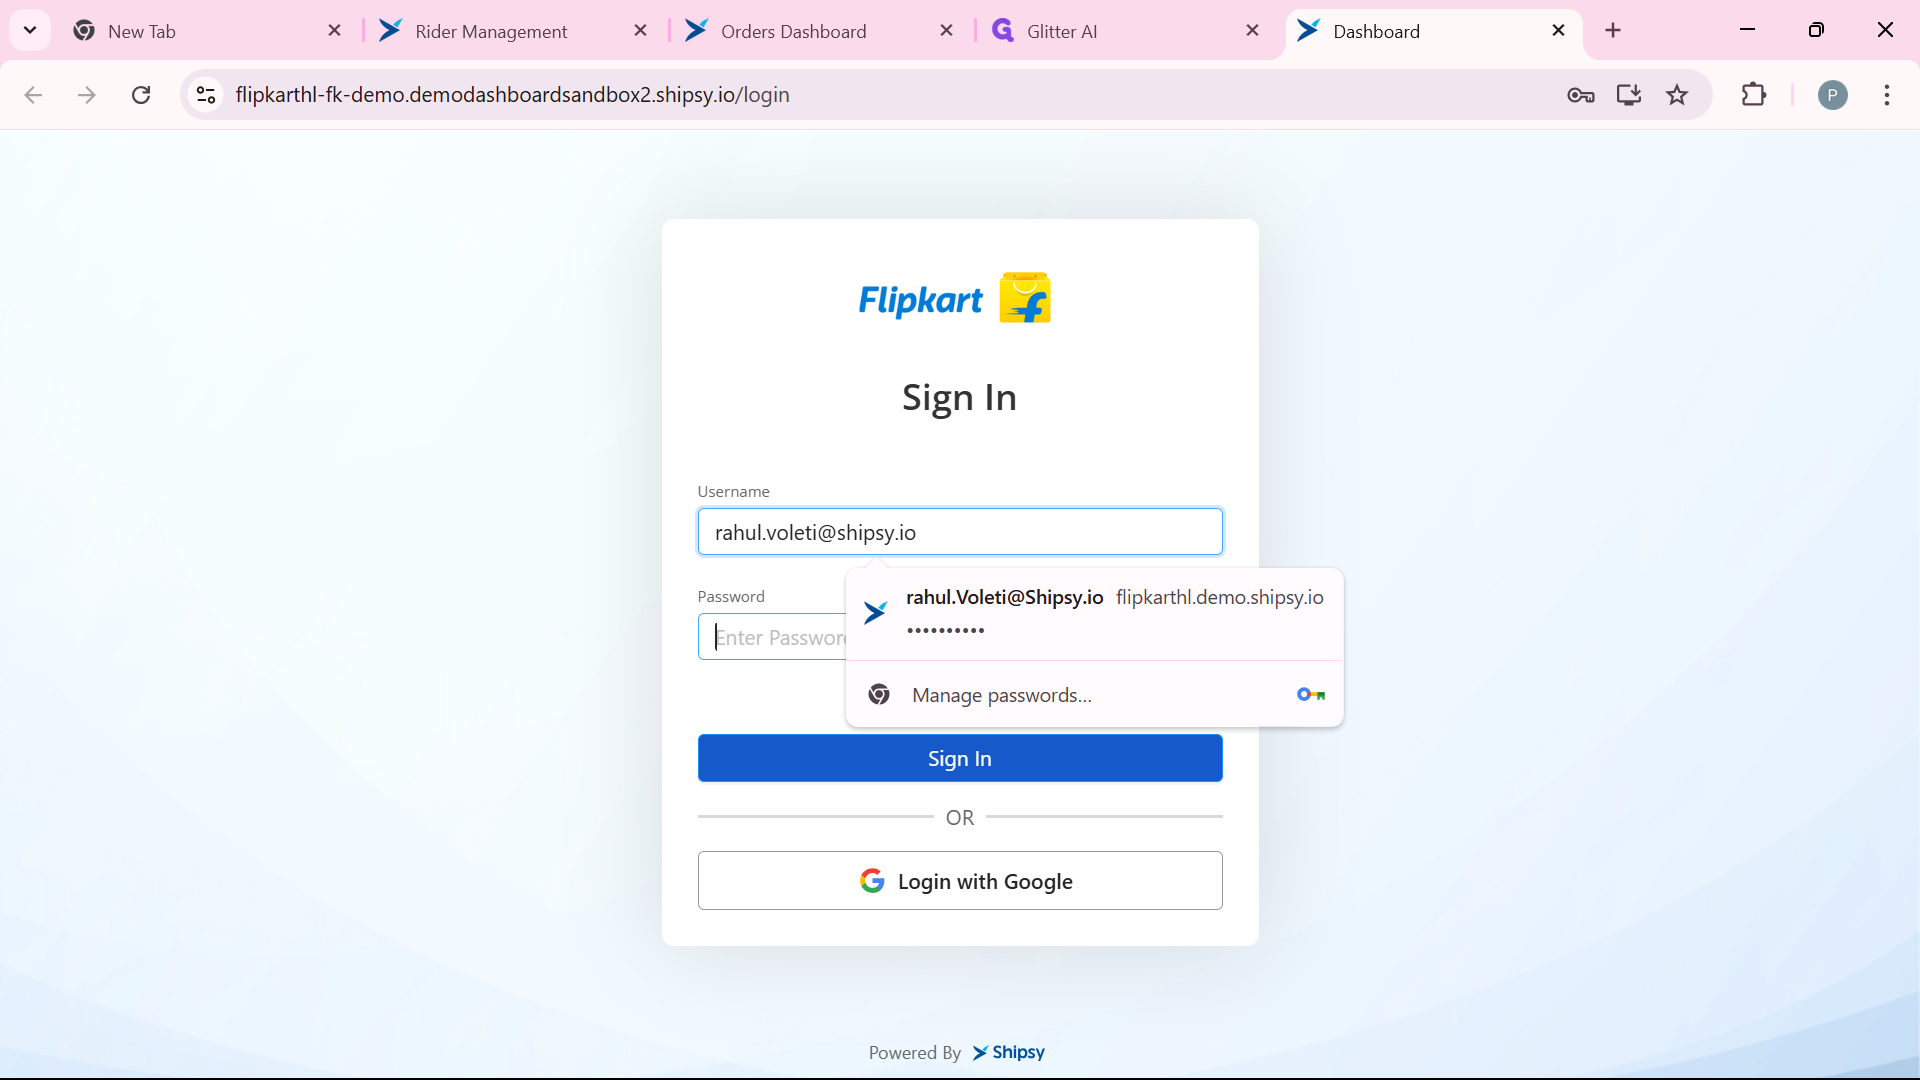
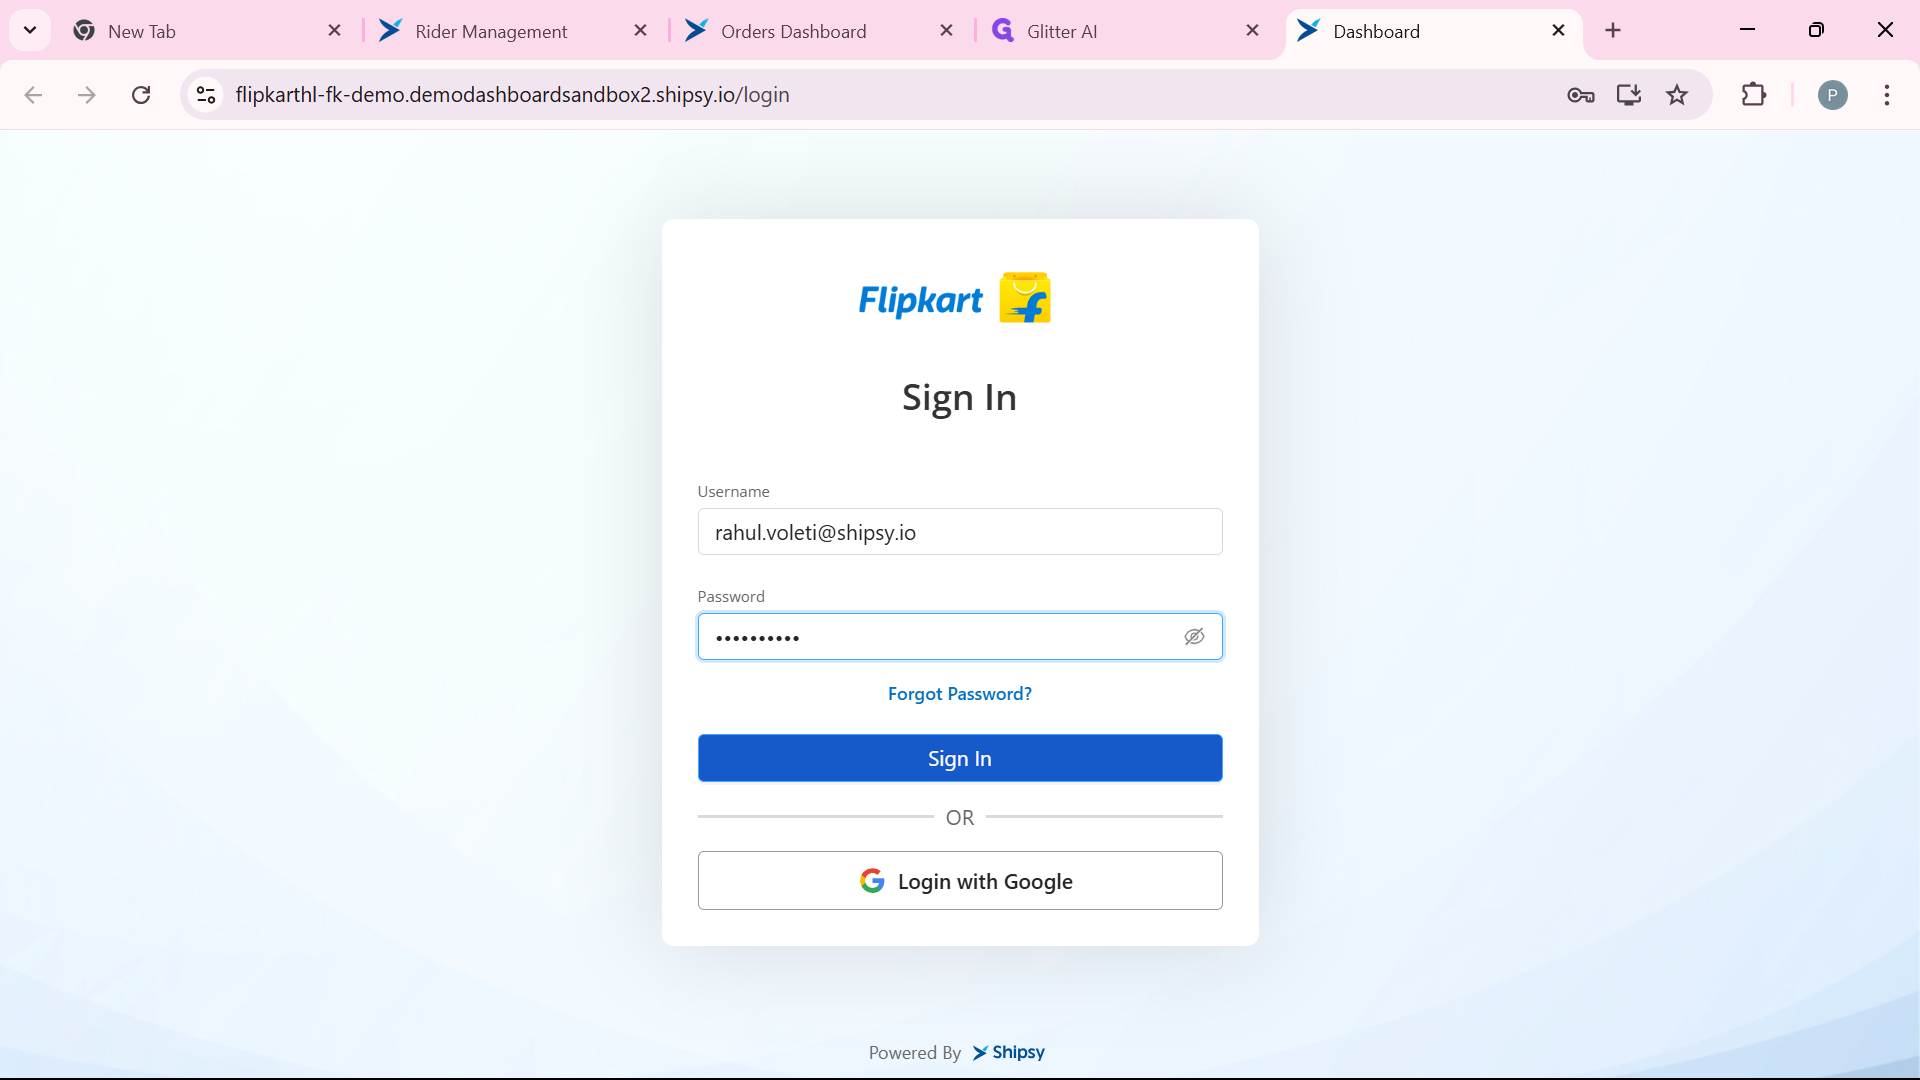
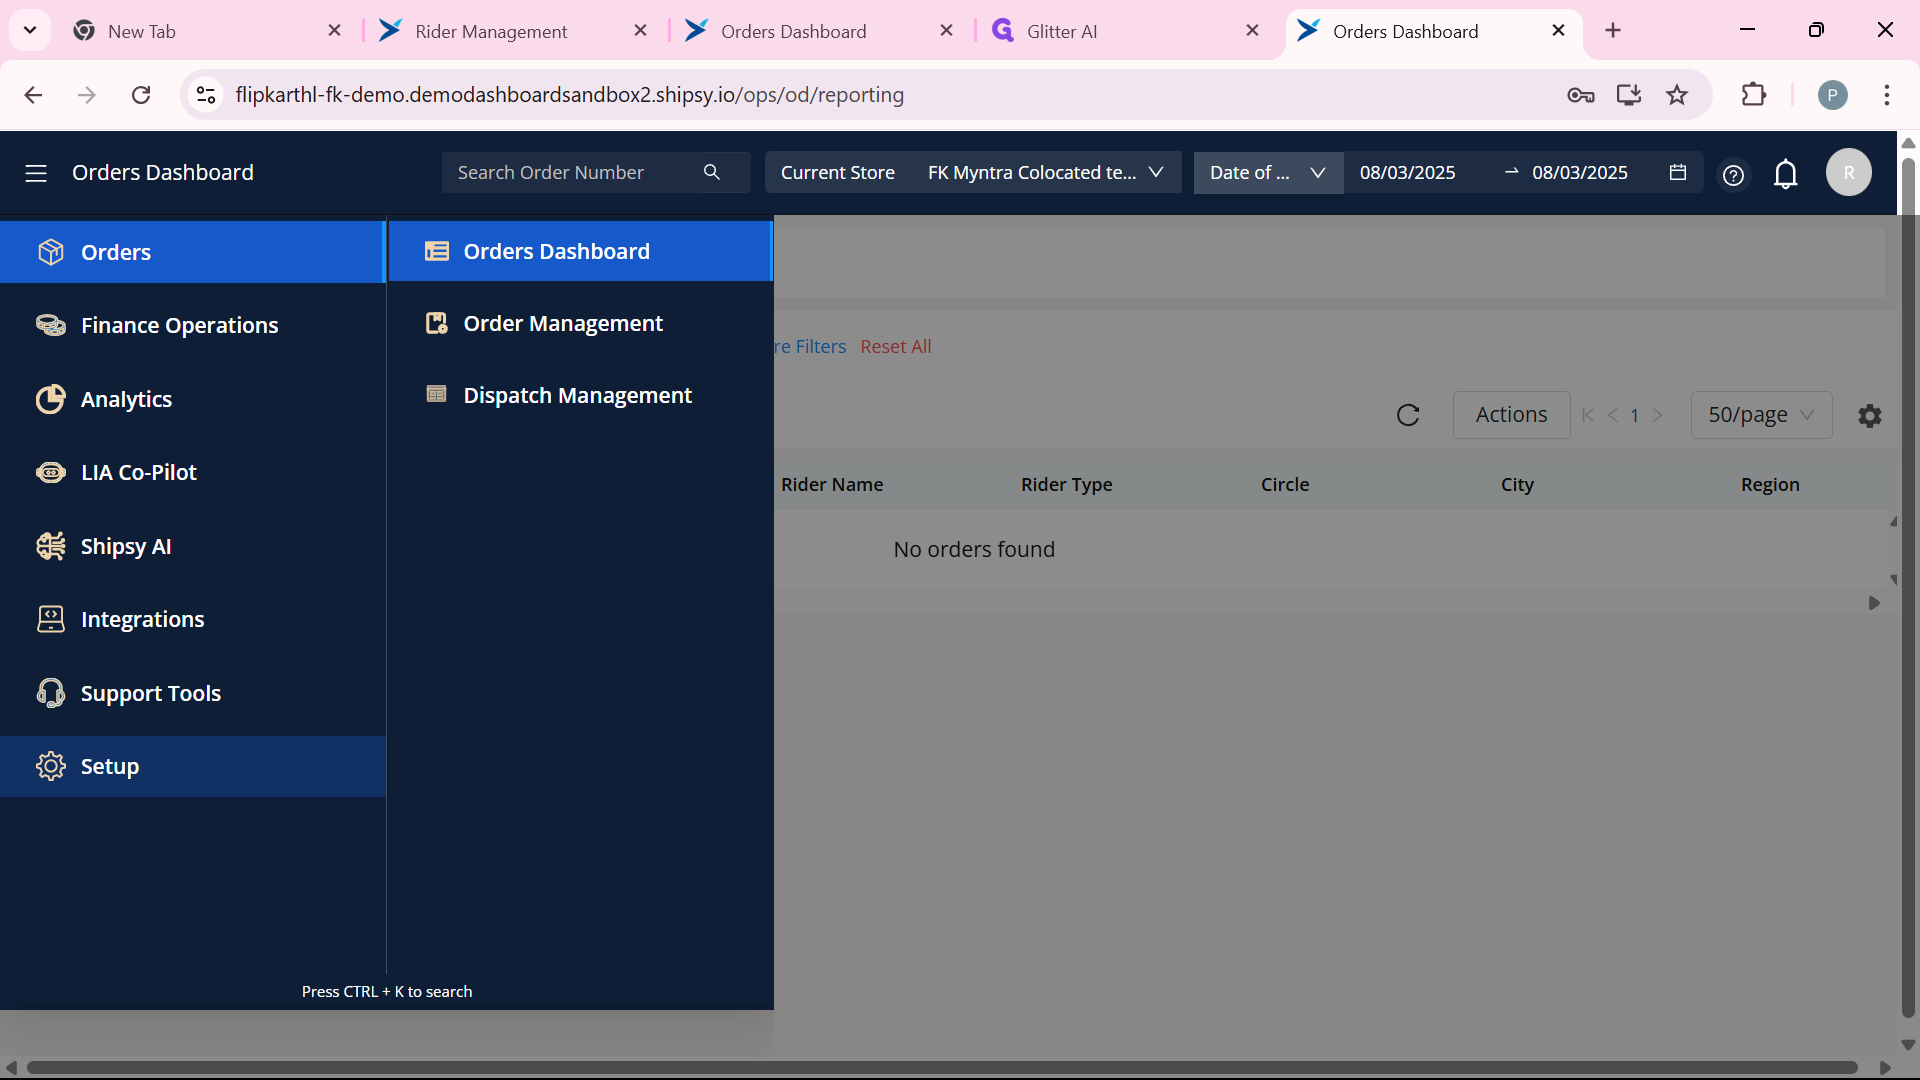
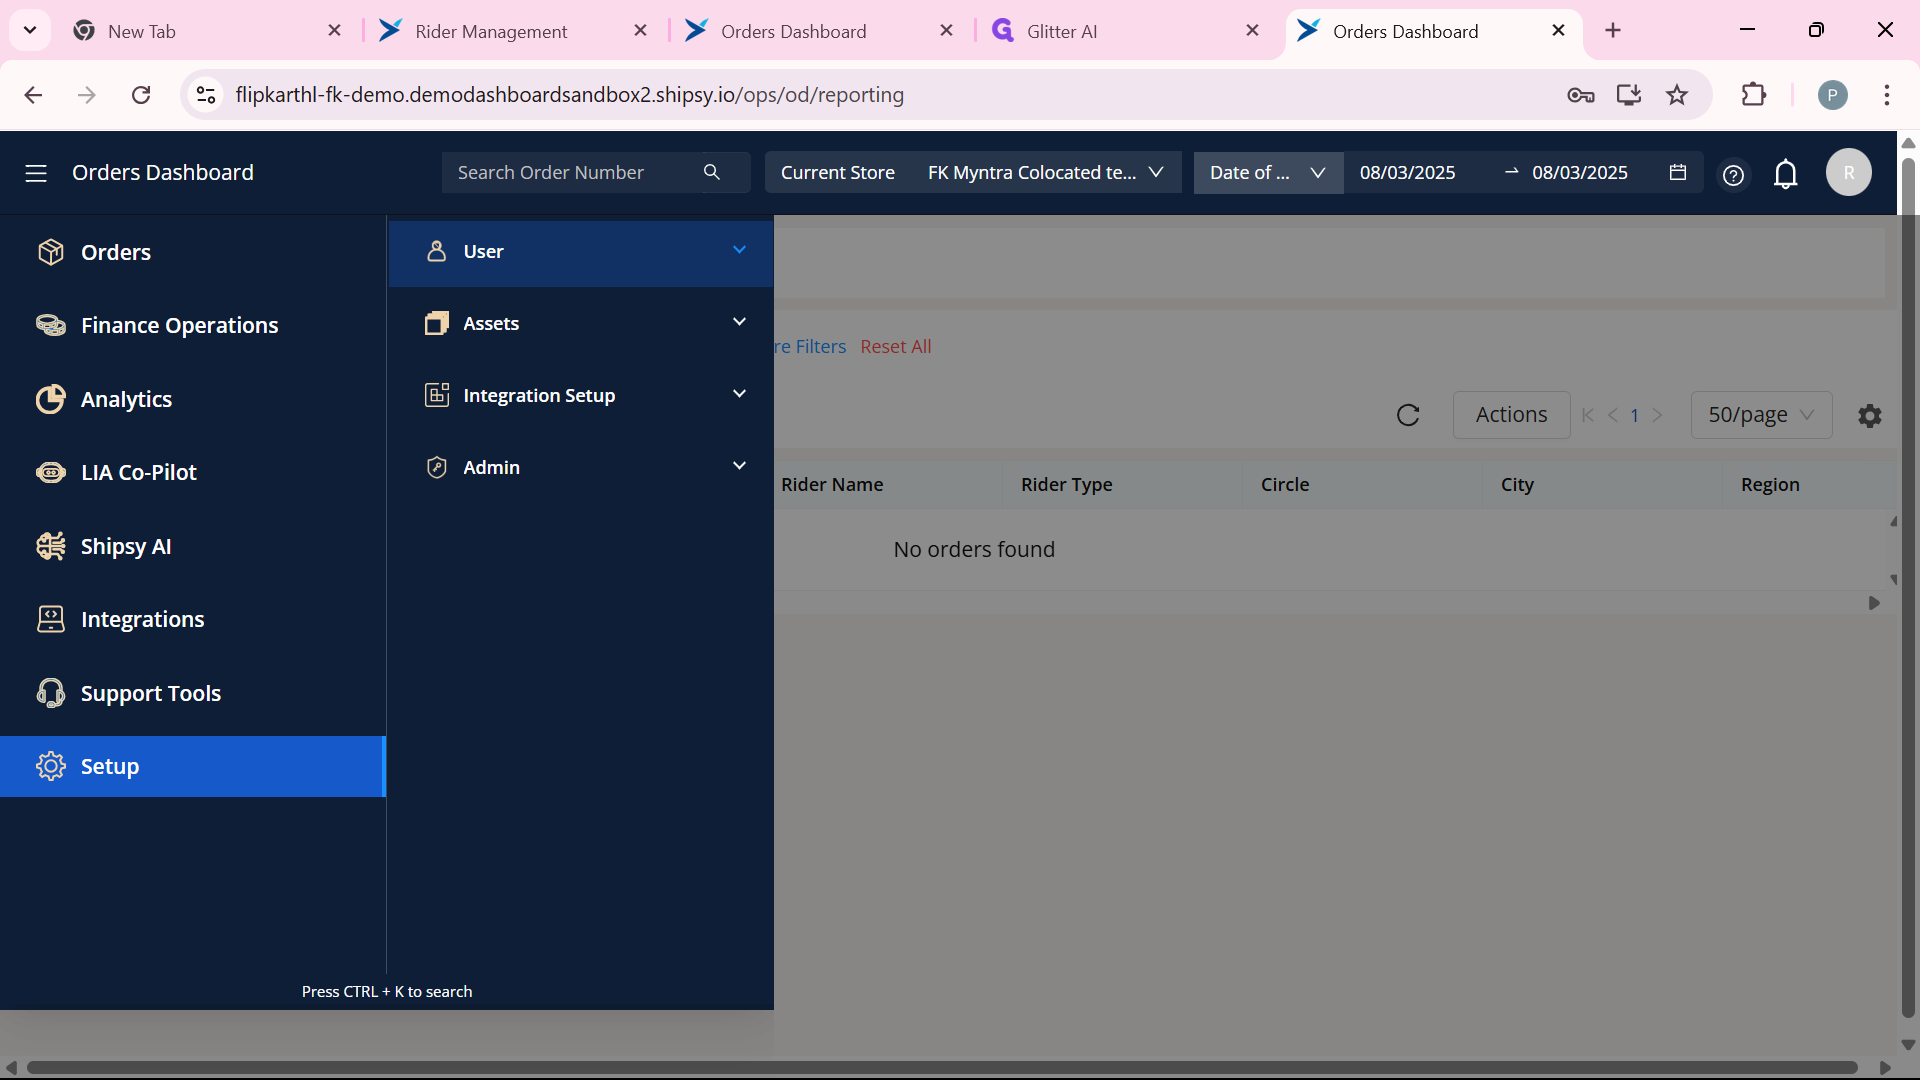
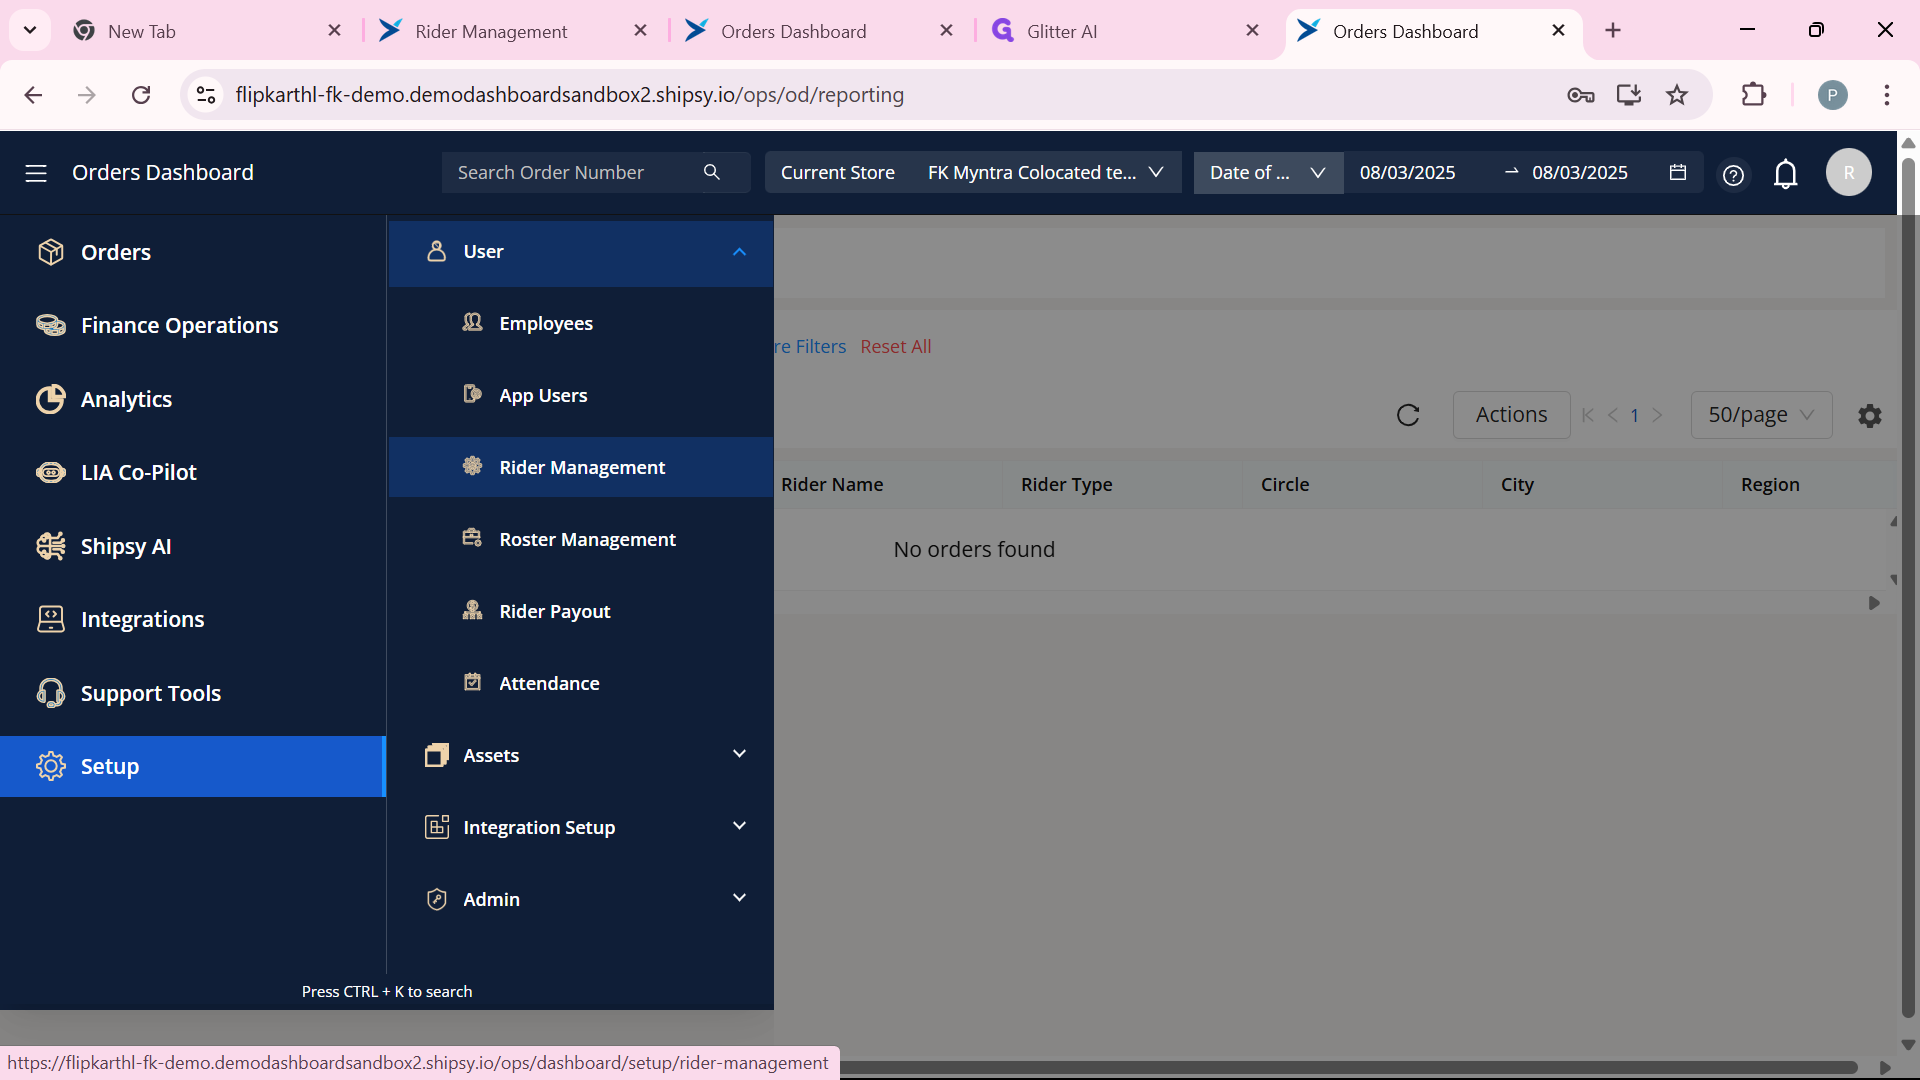
Start: Here's the link https://flipkarthl-fk-demo.demodashboardsandbox2.shipsy.io/login and login using credentials and in the menu navigate to setup in there choose the rider management. In here you can add a new rider.
Personal Info: Enter your full name, phone number, and select your gender.
Location: Pick your state (e.g., Maharashtra) and city (e.g., Mumbai).
Rider Details: Choose a company (e.g., shadowfax) if applicable, and set your hours (e.g., "10:00 to 18:00").
Aadhaar: Input your Aadhaar number (e.g., "2134-3122-1212") and upload a clear file.
Submit: Review and hit "Submit."
Verify: Check your email for a verification link or OTP.
Use Case: Adding a Rider in a Transport Management System via OPS DASHBOARD
Actors:
Admin / Hub Manager – Manages rider accounts and create/assigns them to hubs.
Rider – Delivers orders after registered.
Steps in Real-World Scenario:
New Rider Onboarding
A delivery company hires a new rider.
The hub manager logs in to register the rider.
Adding Rider Details
The manager enters the rider’s personal details (name, phone, ID, etc.).
Uploads necessary documents for verification.
Assigning to a Hub
The assigns the rider to a specific hub.
The rider gets linked to a supervisor who oversees operations.
Verification and Activation
Verifies details and activates the rider’s account.
The rider receives login credentials.
Rider Starts Receiving Orders
Once active, the rider starts receiving delivery requests.
The rider’s performance and availability are tracked in the OPS Dashboard(Operational Dashboard).
Real-World Benefits:
✅ Faster onboarding – Riders can start working quickly.
✅ Better organization – Each hub manages its own riders efficiently.
✅ Accurate tracking – Admins can monitor riders and optimize operations.
✅ Scalability – The company can add more riders as demand grows.
This kind of use case is seen in food delivery (Zomato, Uber Eats), courier services (FedEx, DHL), and ride-hailing (Uber, Lyft).
Let's get started
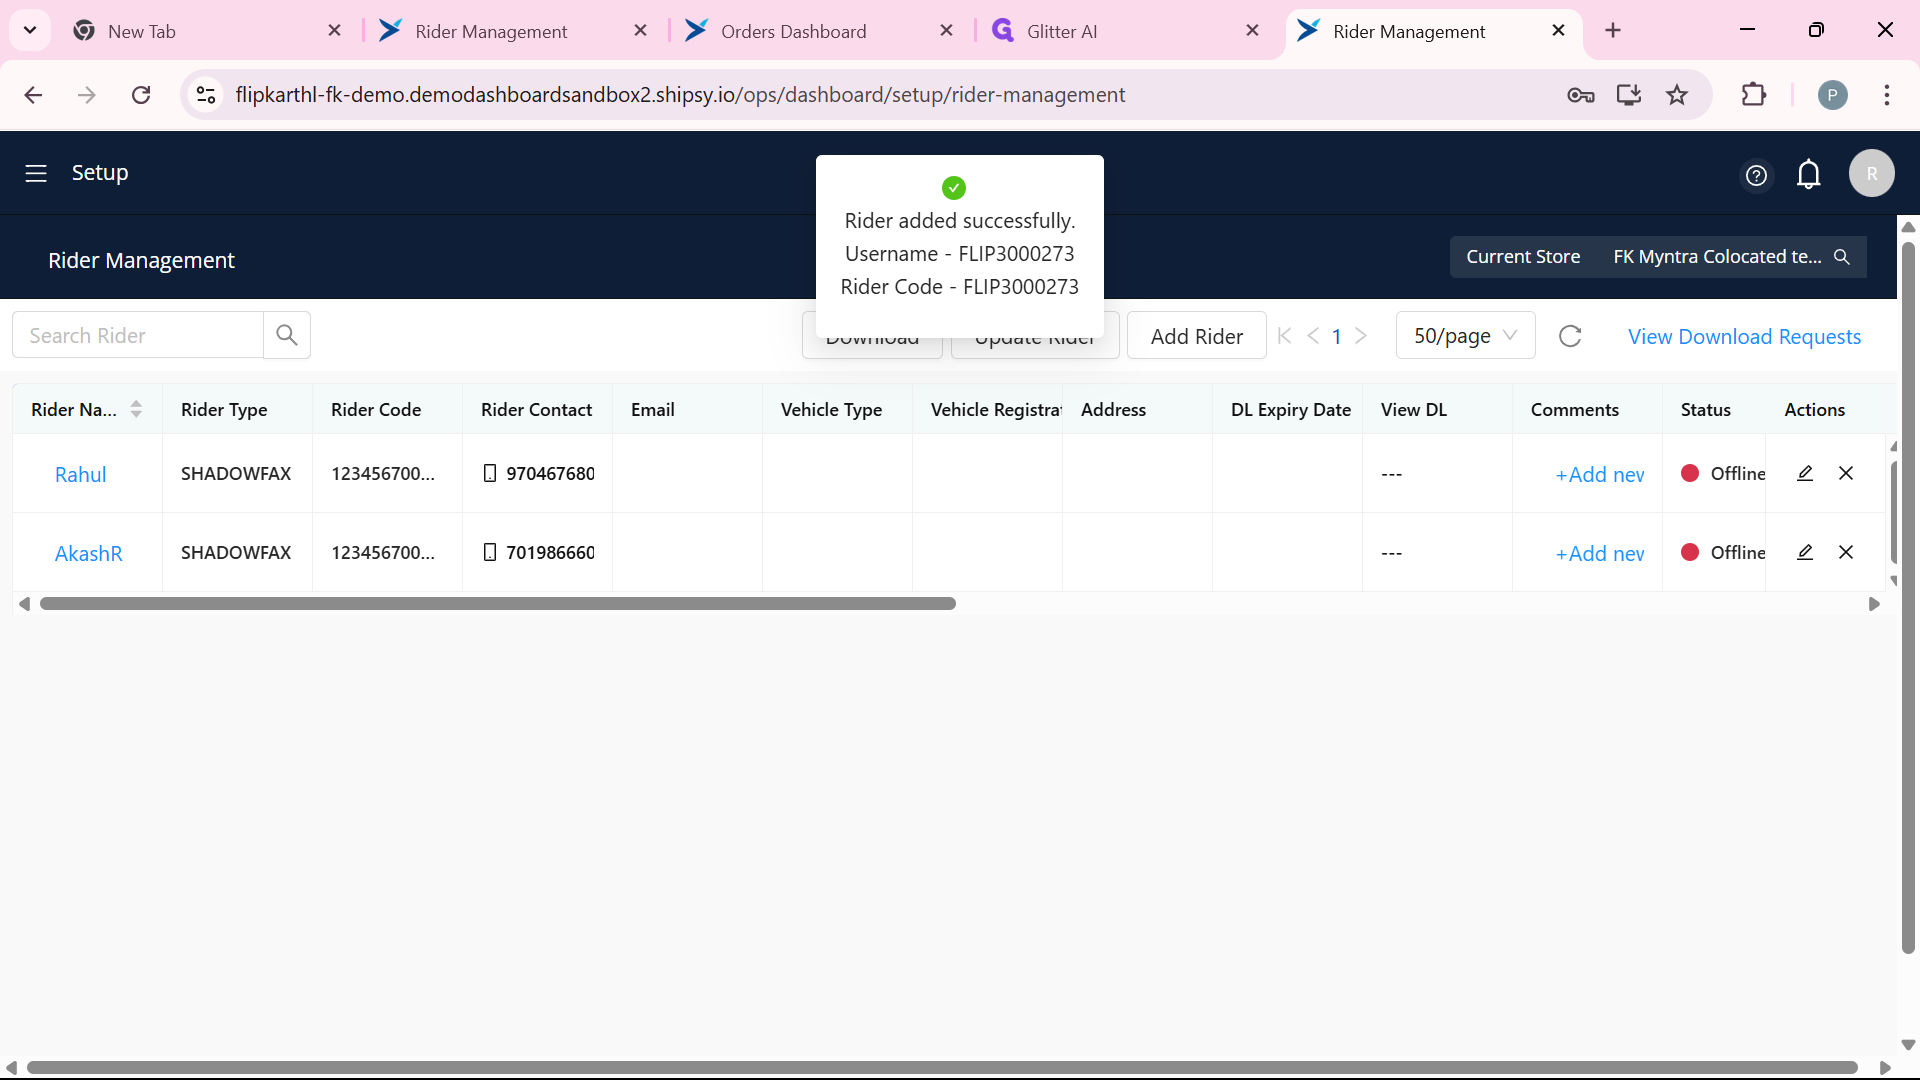
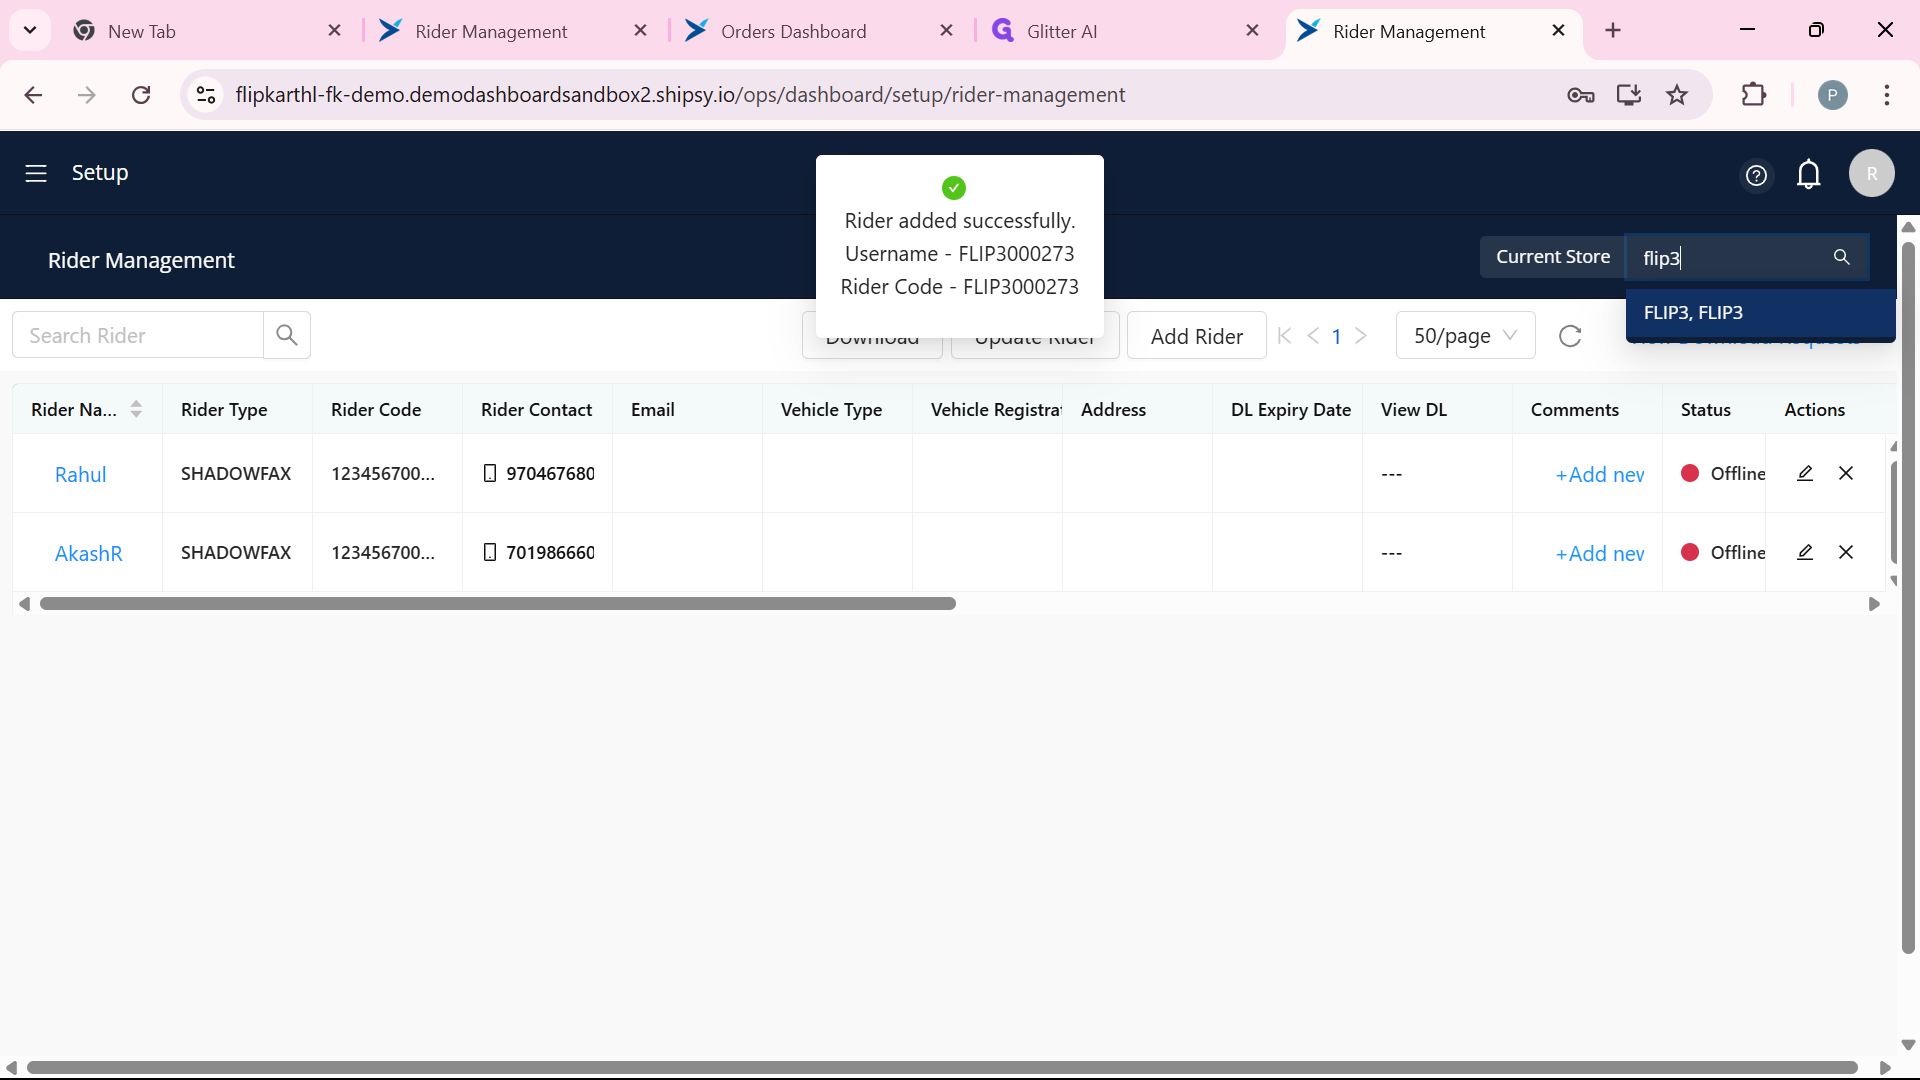
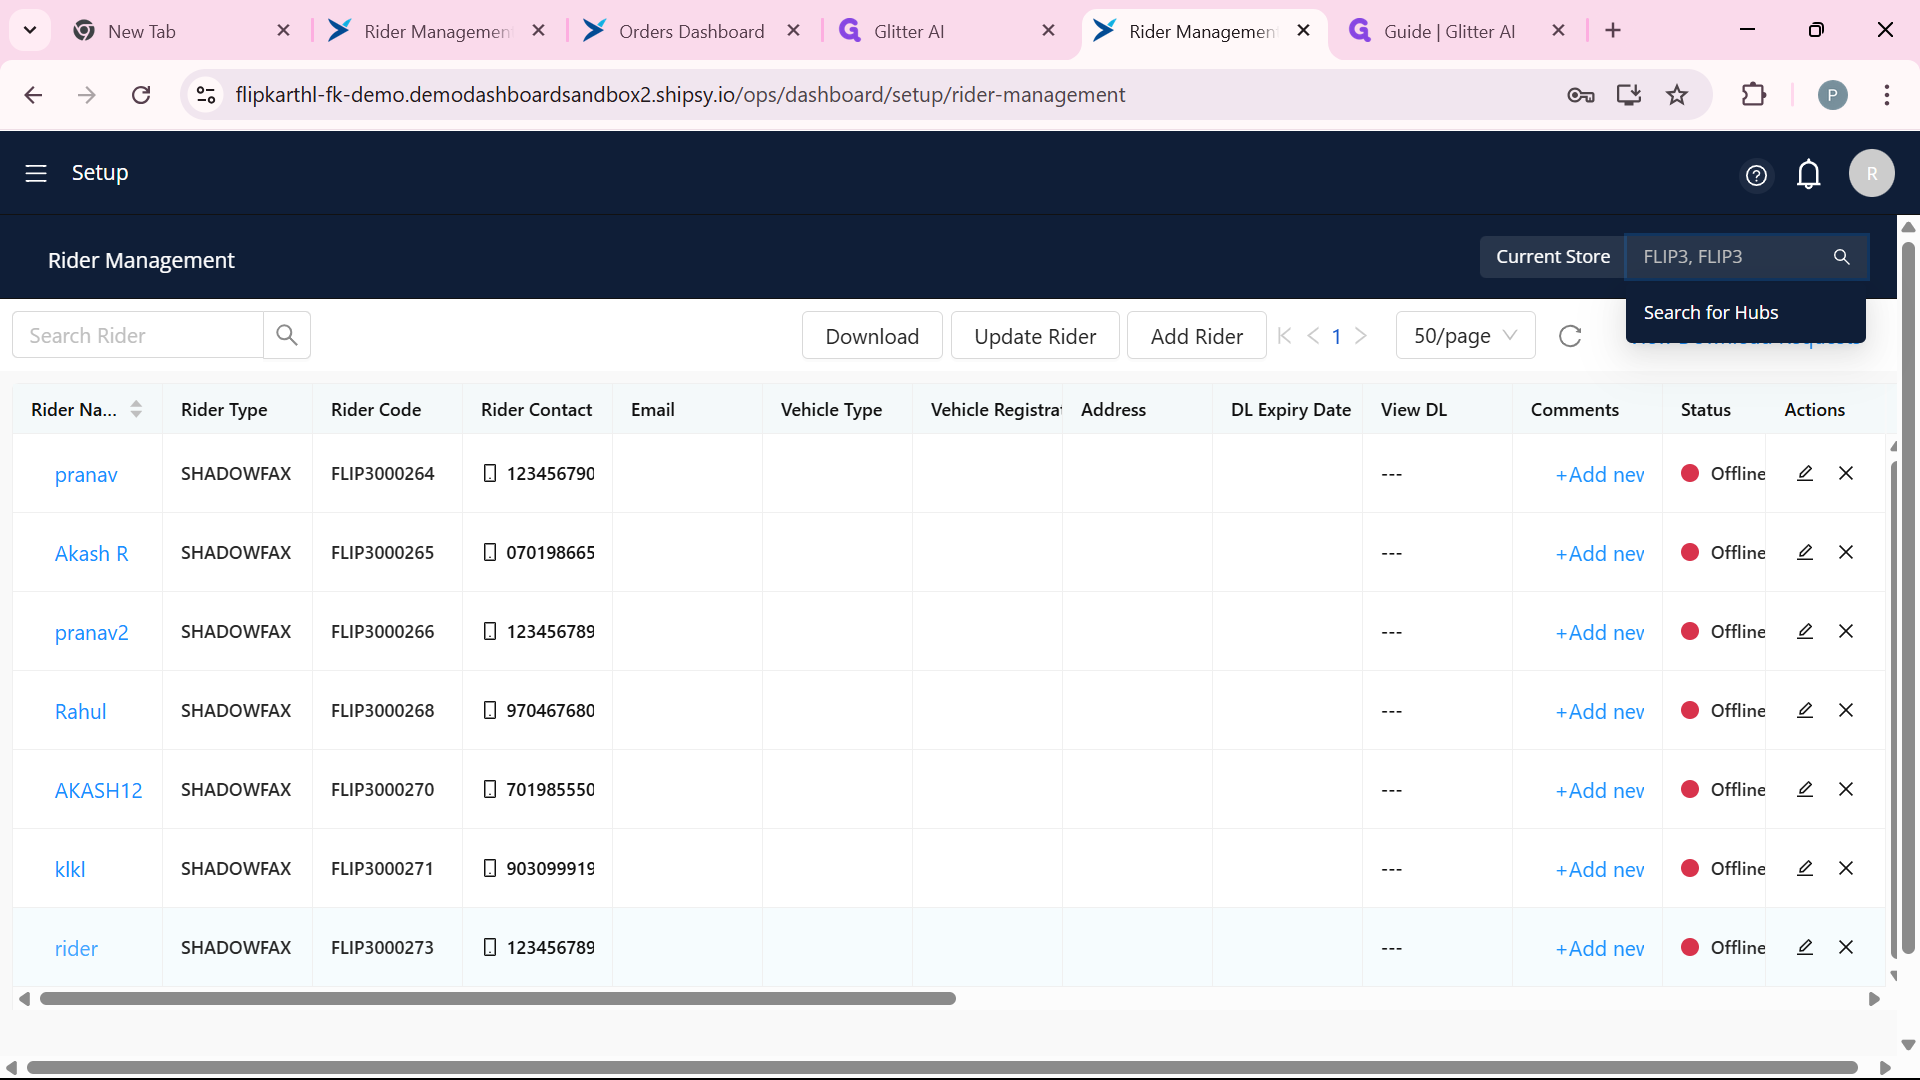
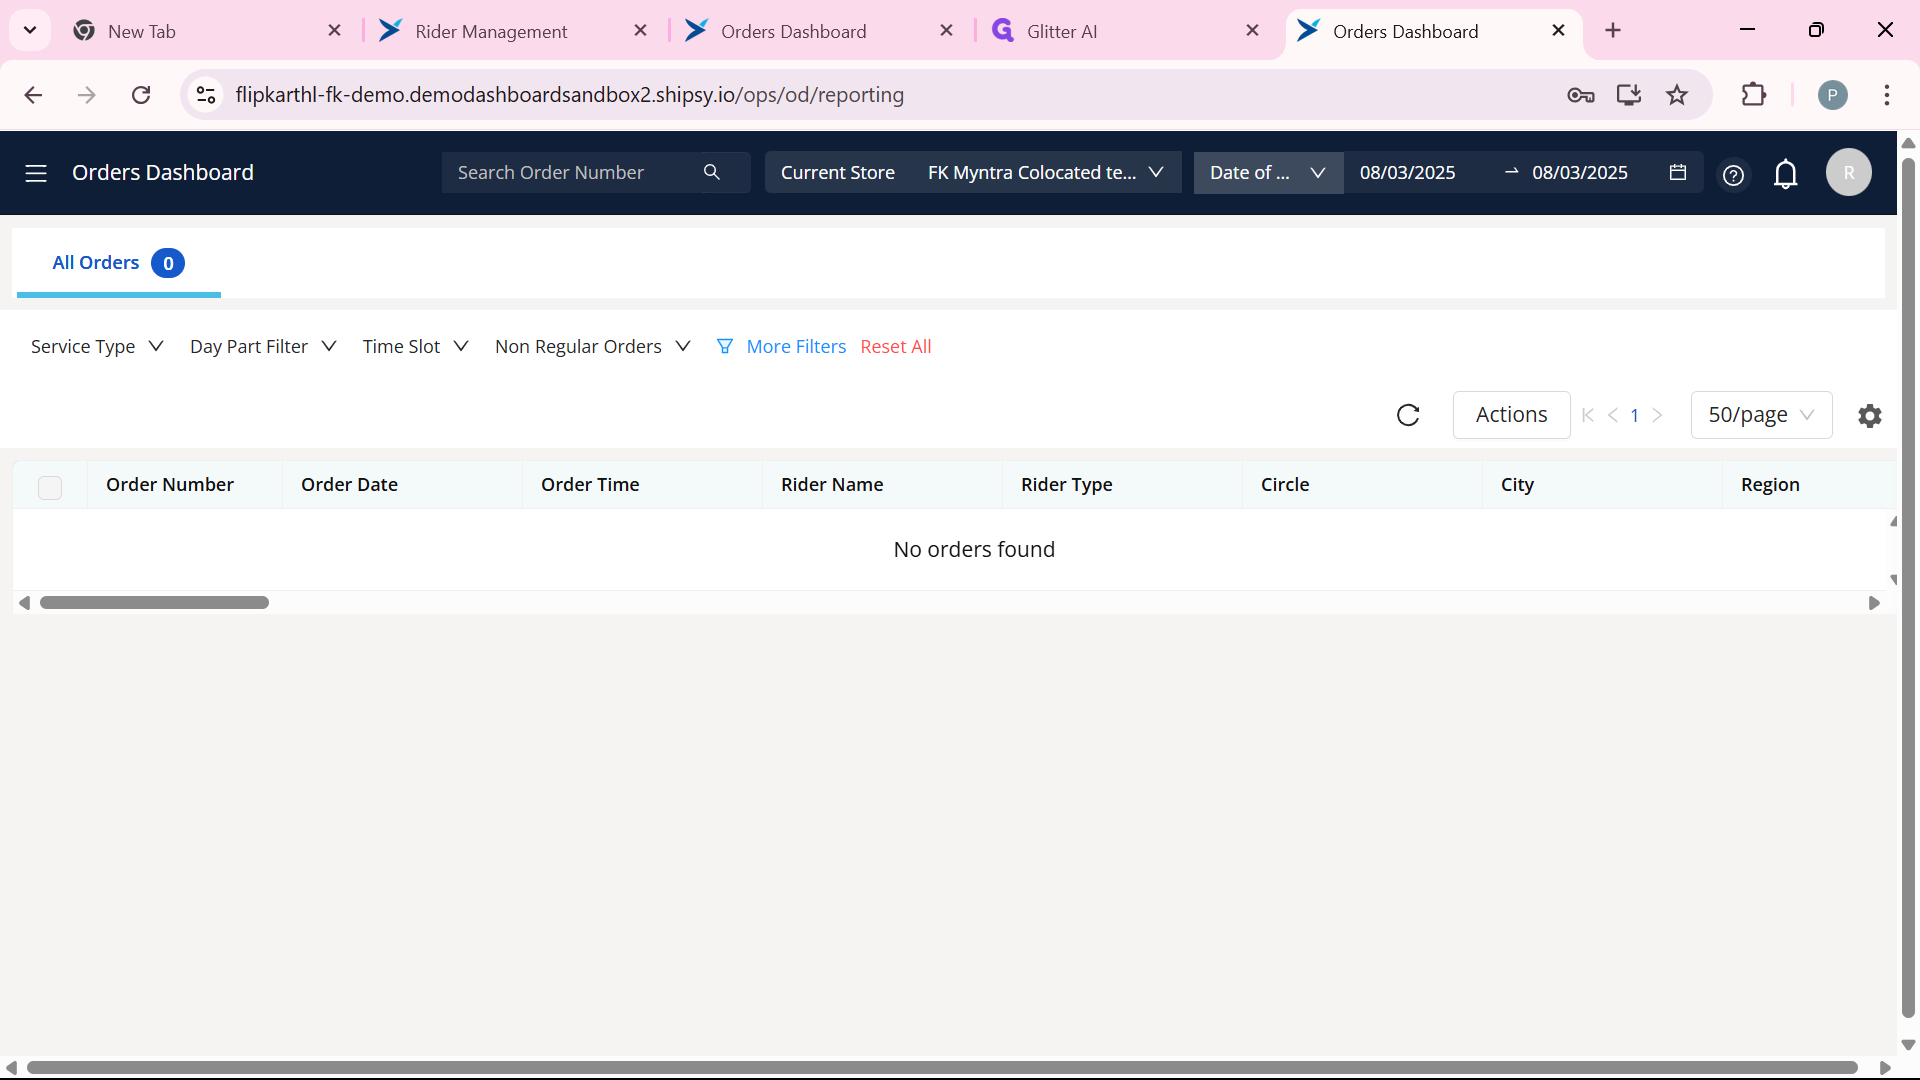
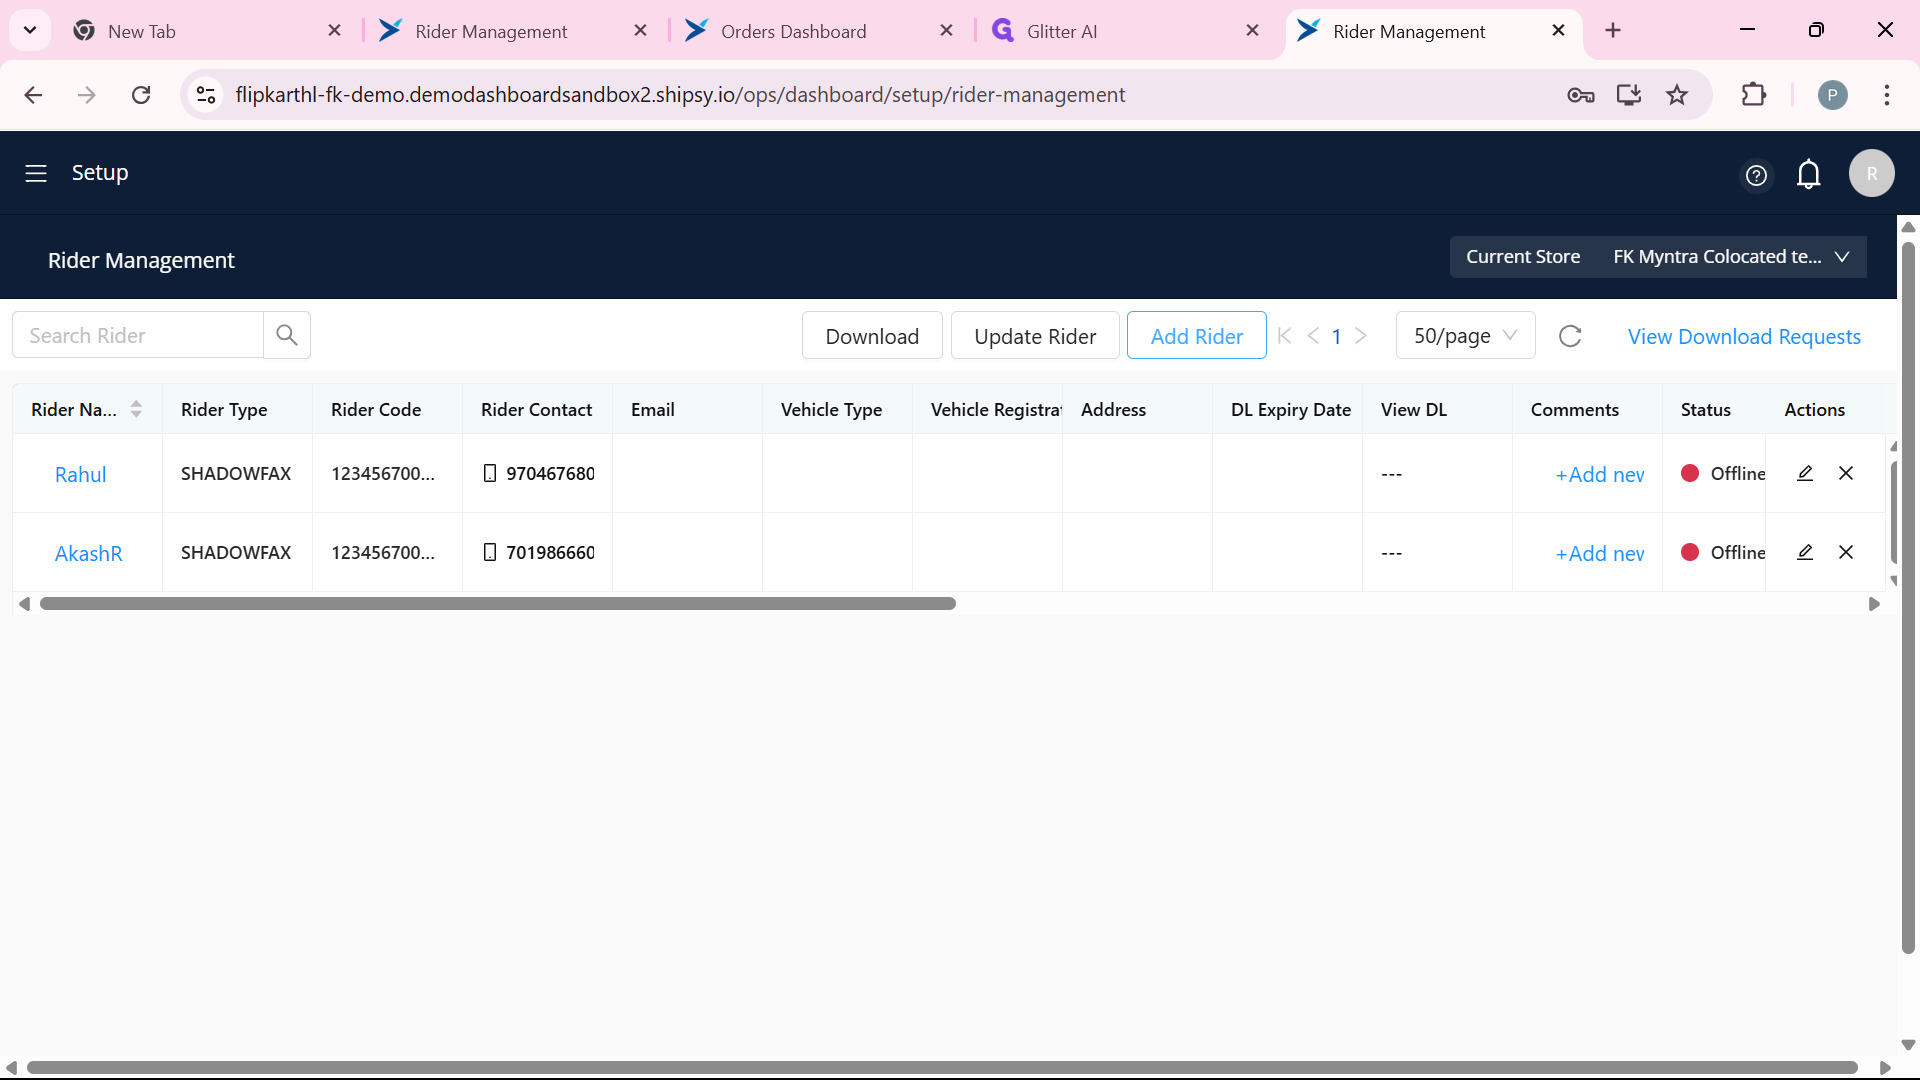
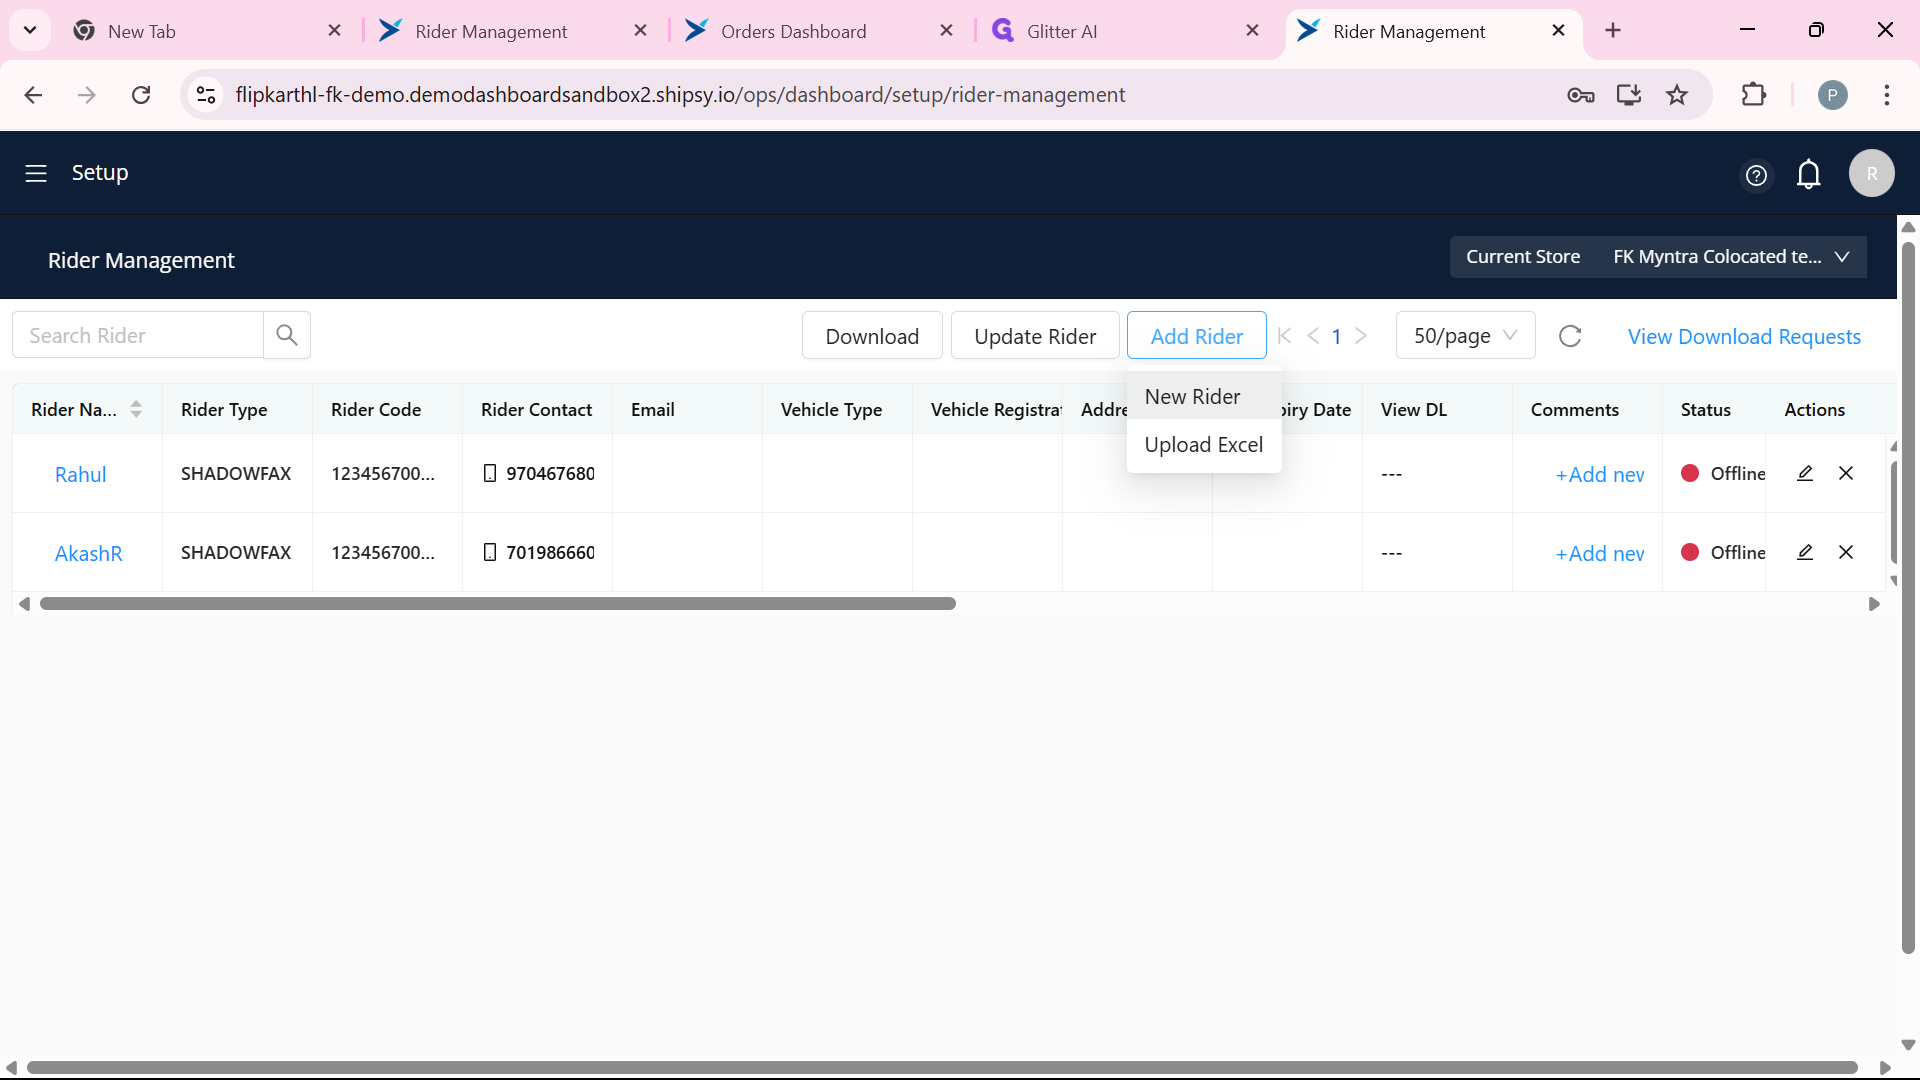
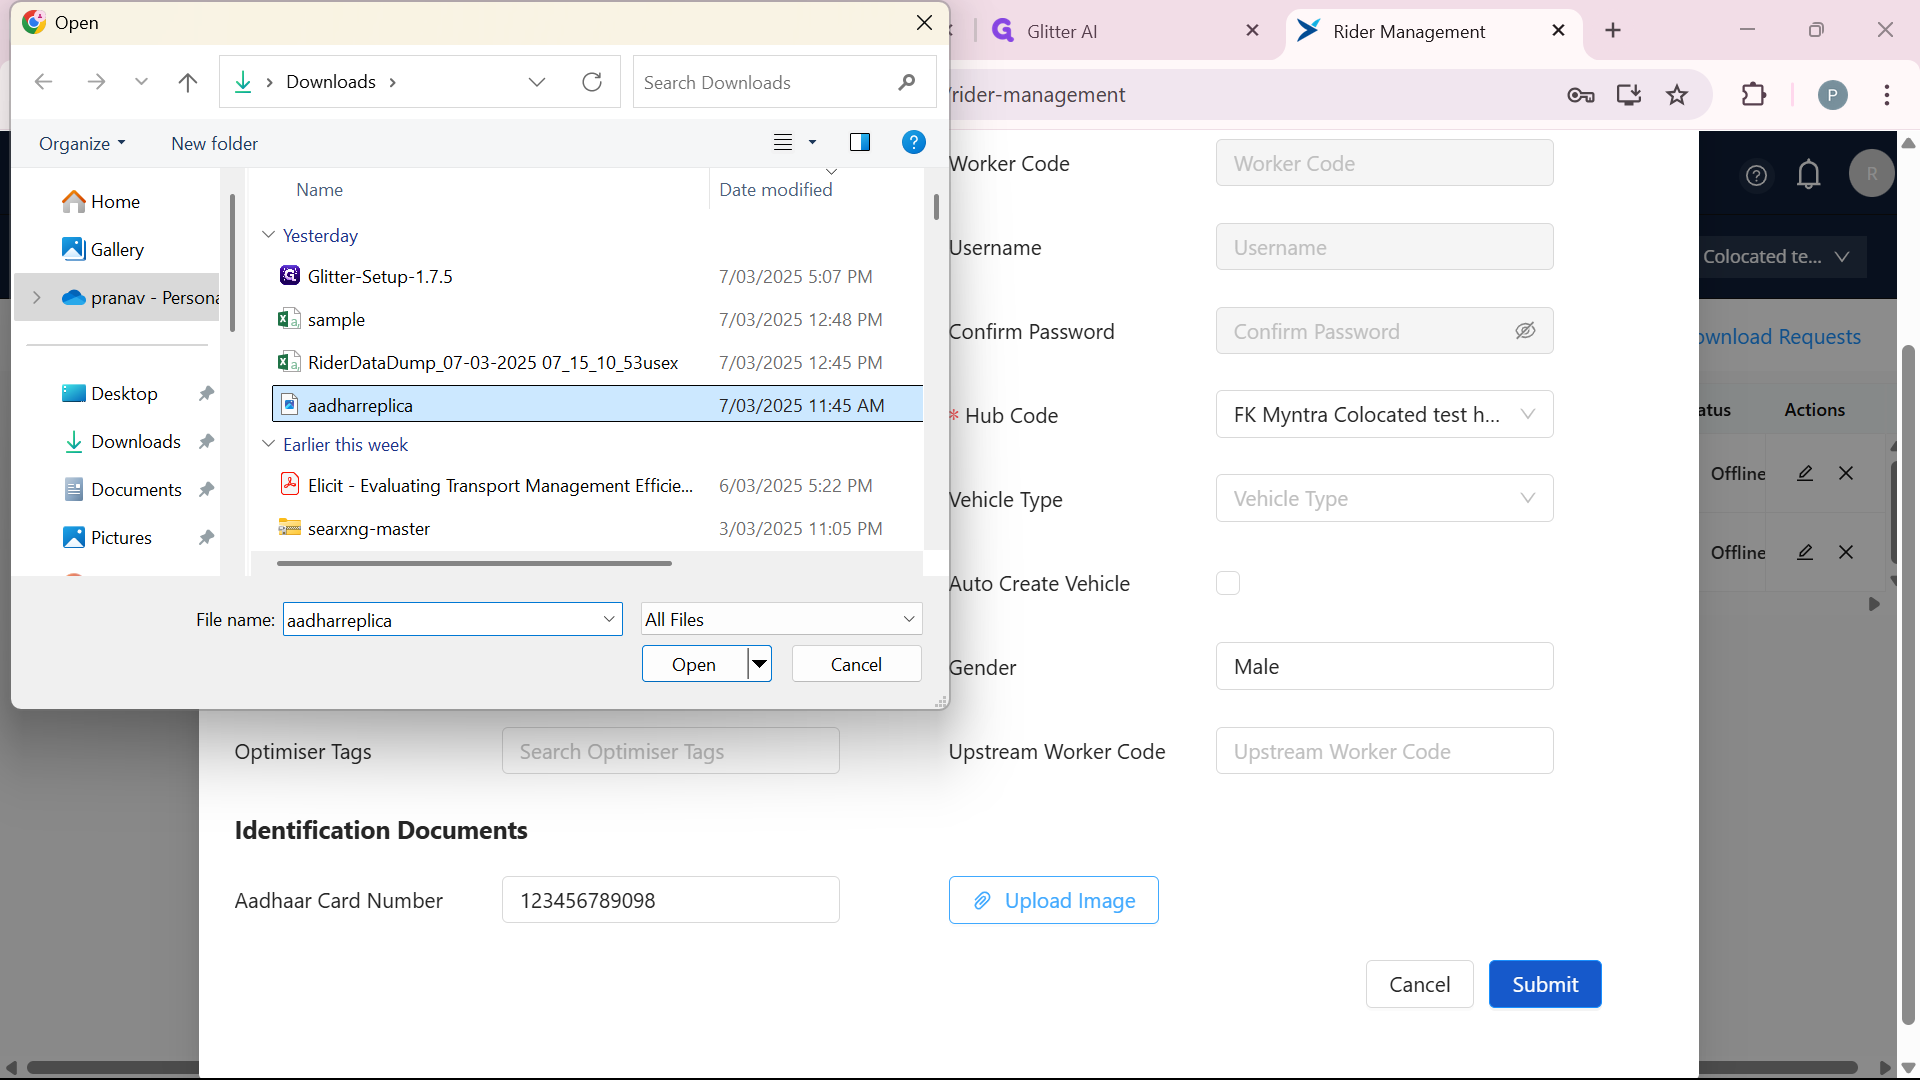
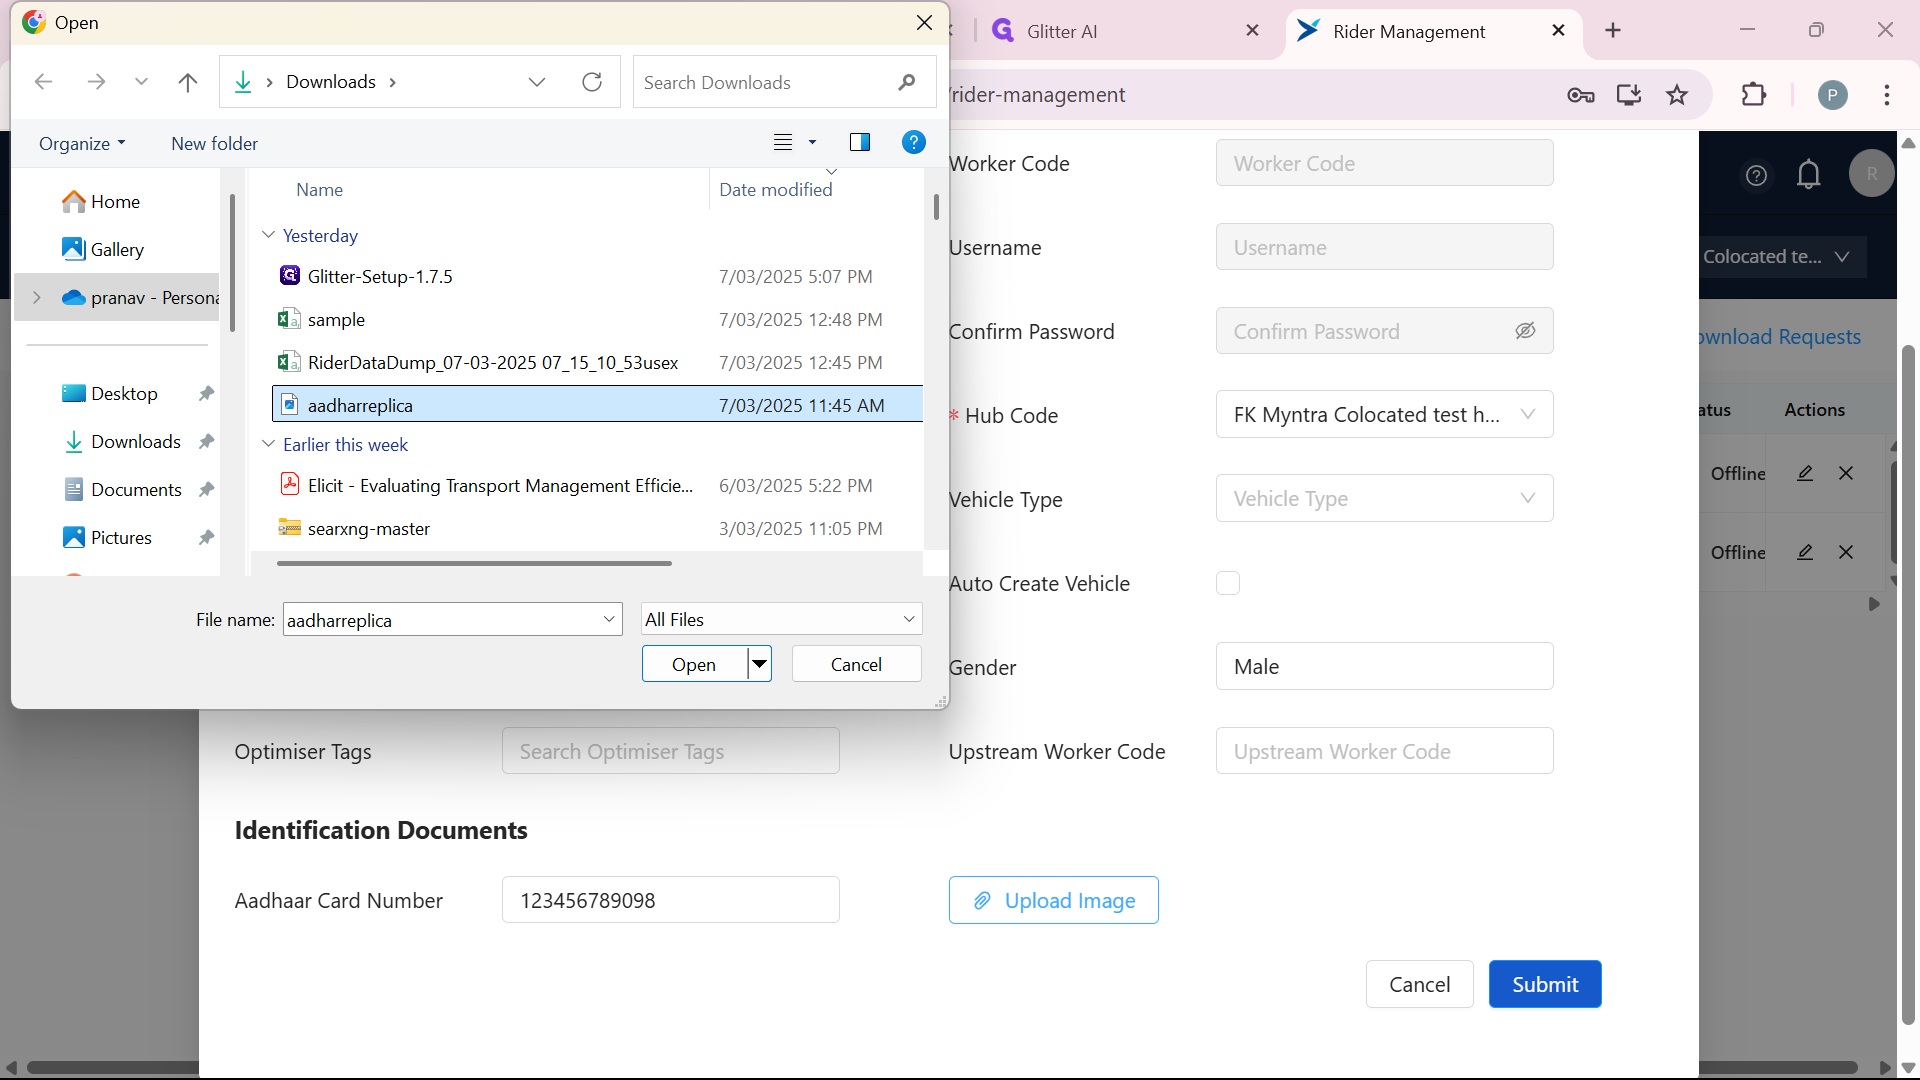
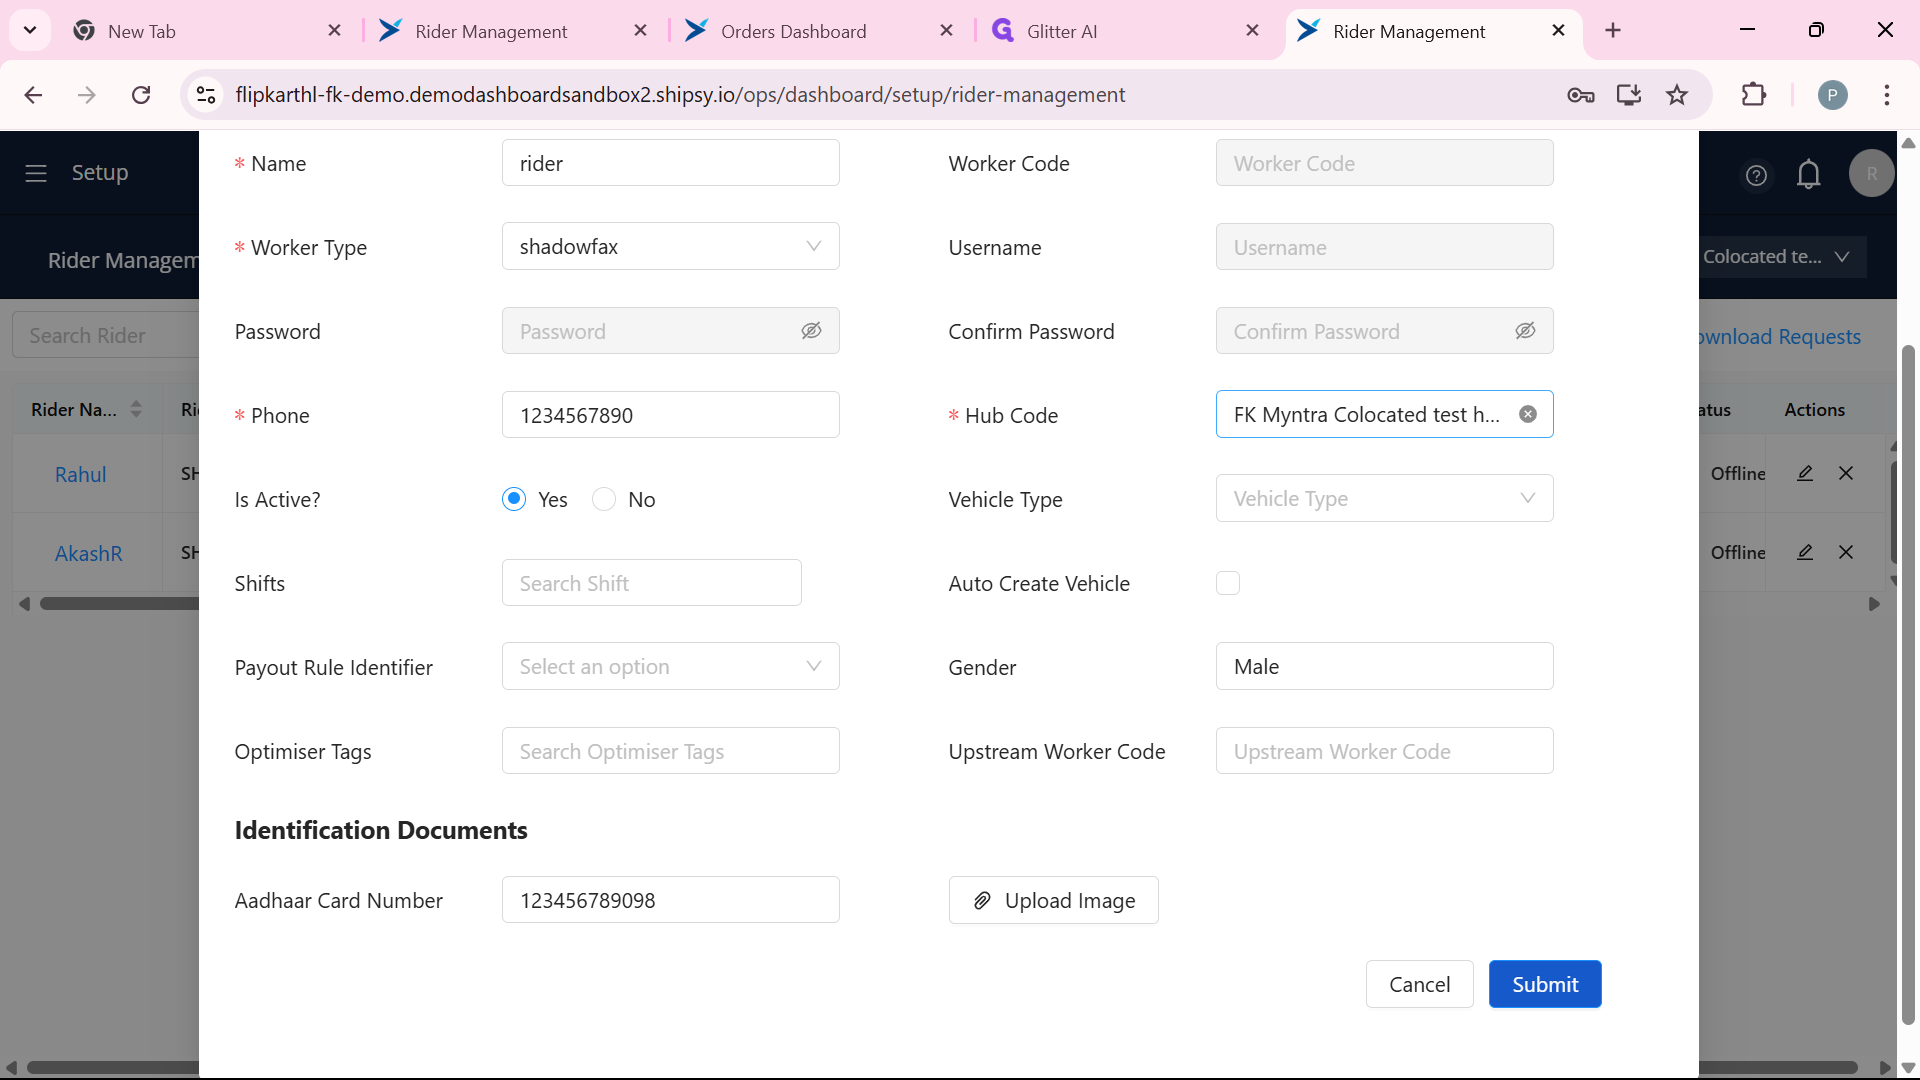
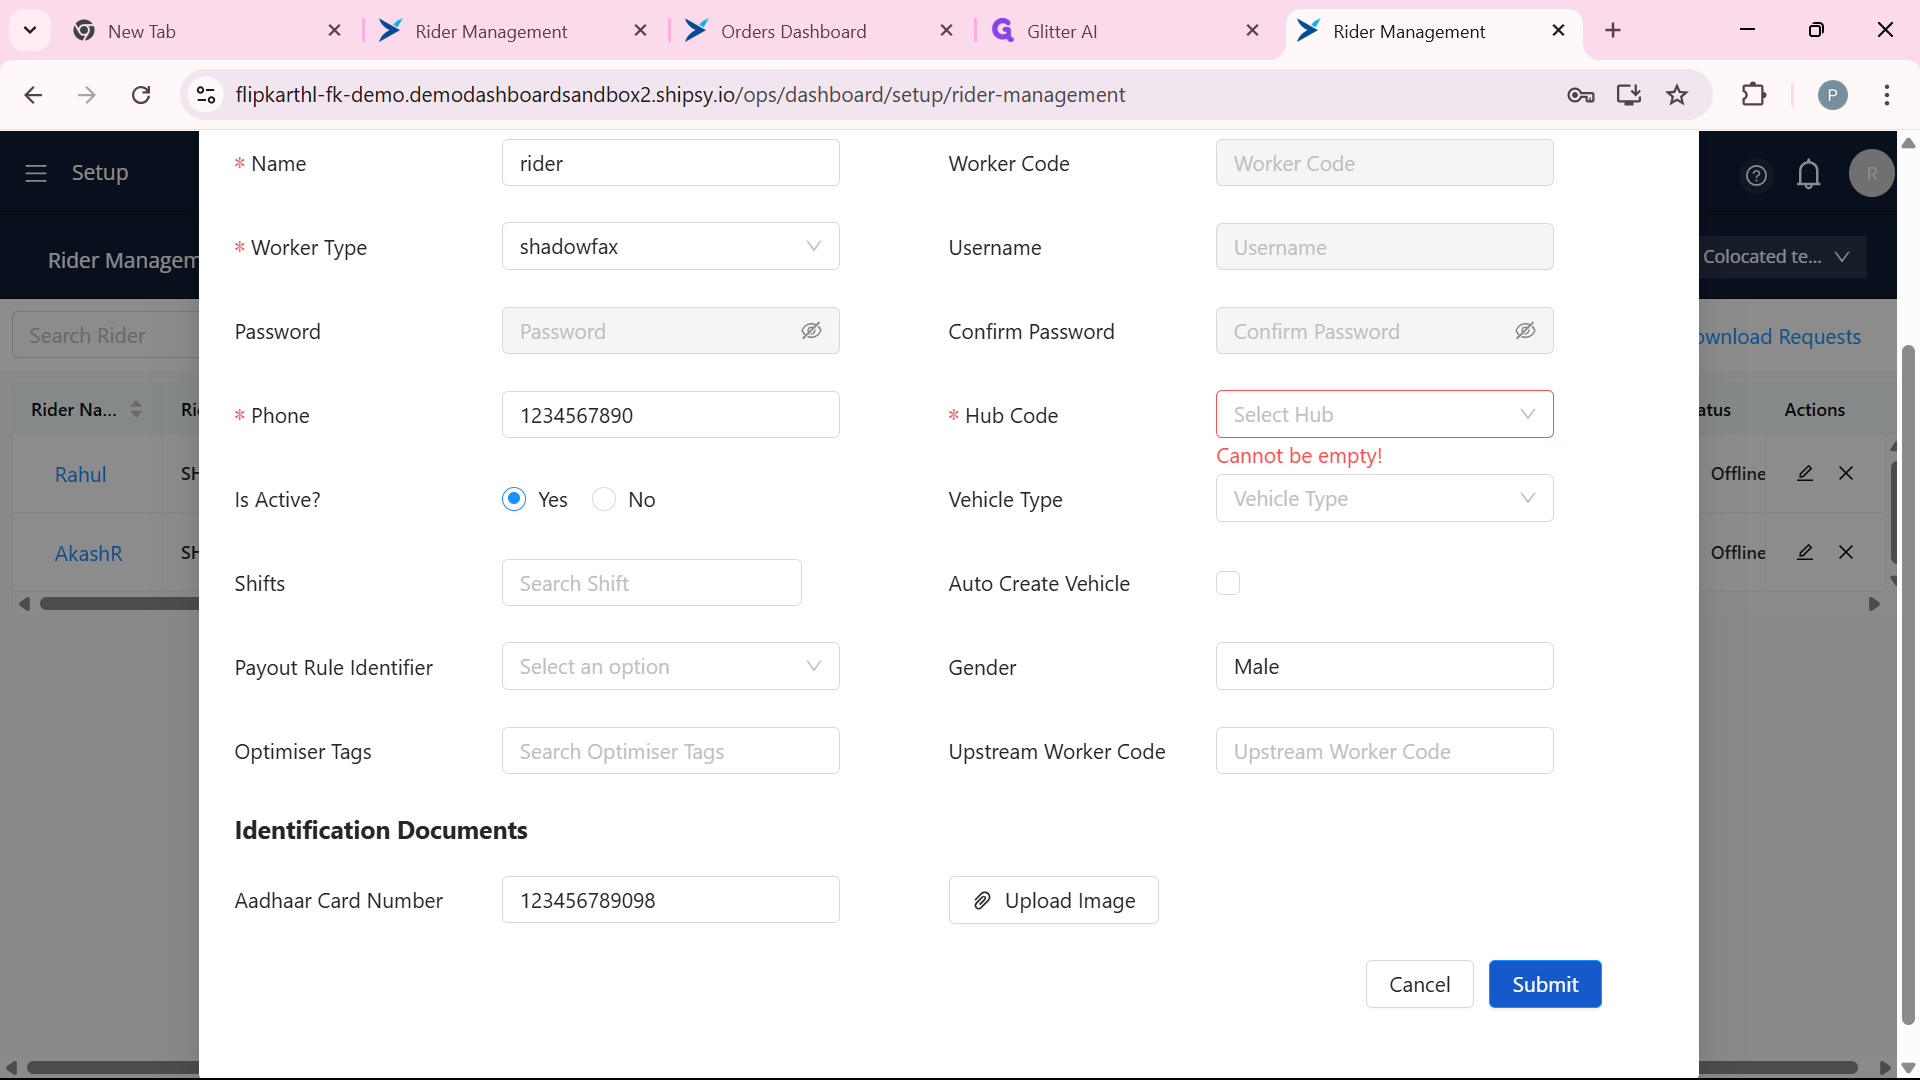
We will learn how a Hub Manager will create a rider. First, provide Hub Manager credentials After logging in, Here, you will see "Menu" on the top left side in there go to setup Under "User," select "Rider Management" and click on "Add Rider" in Rider Management. For the new rider, enter the rider name, phone number, gender, hub code, make is active true otherwise the rider will be in inactive state and he can't get any orders and enter aadhaar card number and upload the aadhaar card and click on "Submit." The rider is added successfully. To verify, go to the rider management , and you can see there a new rider is added.
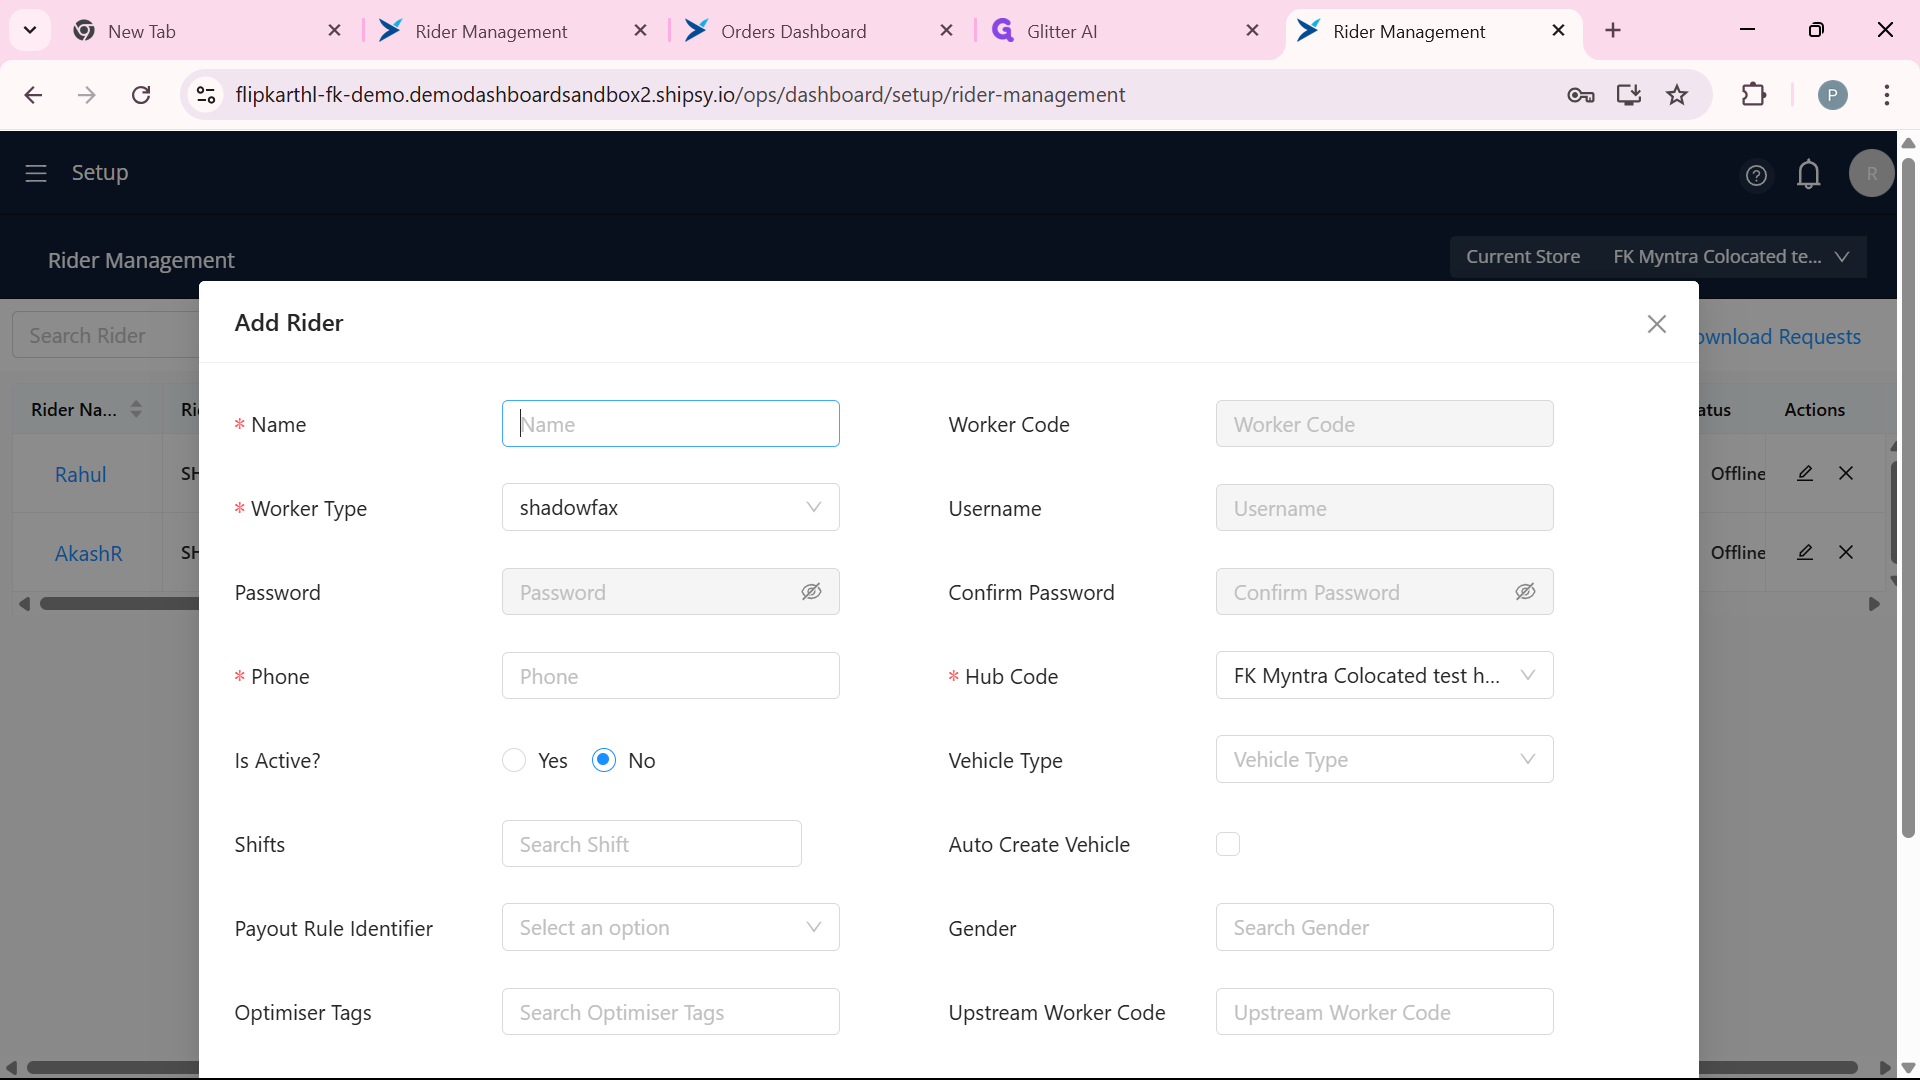
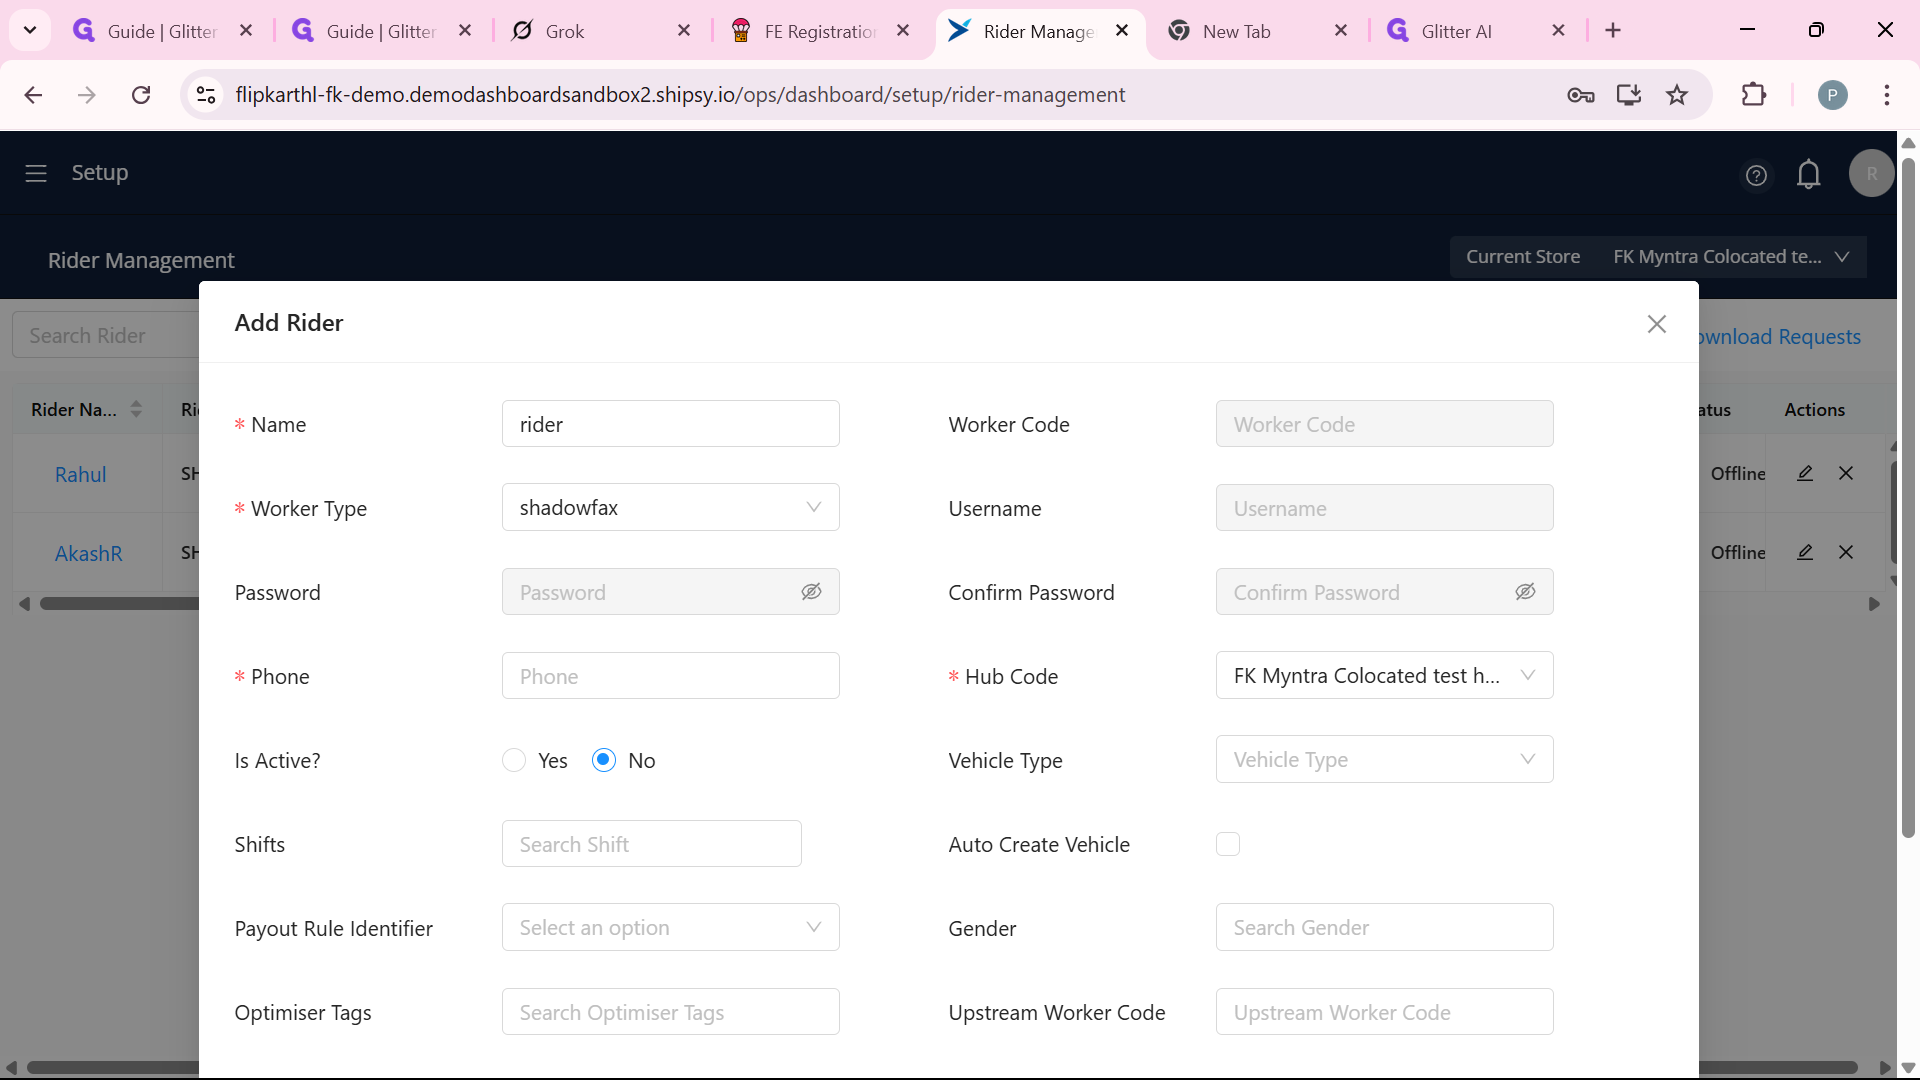
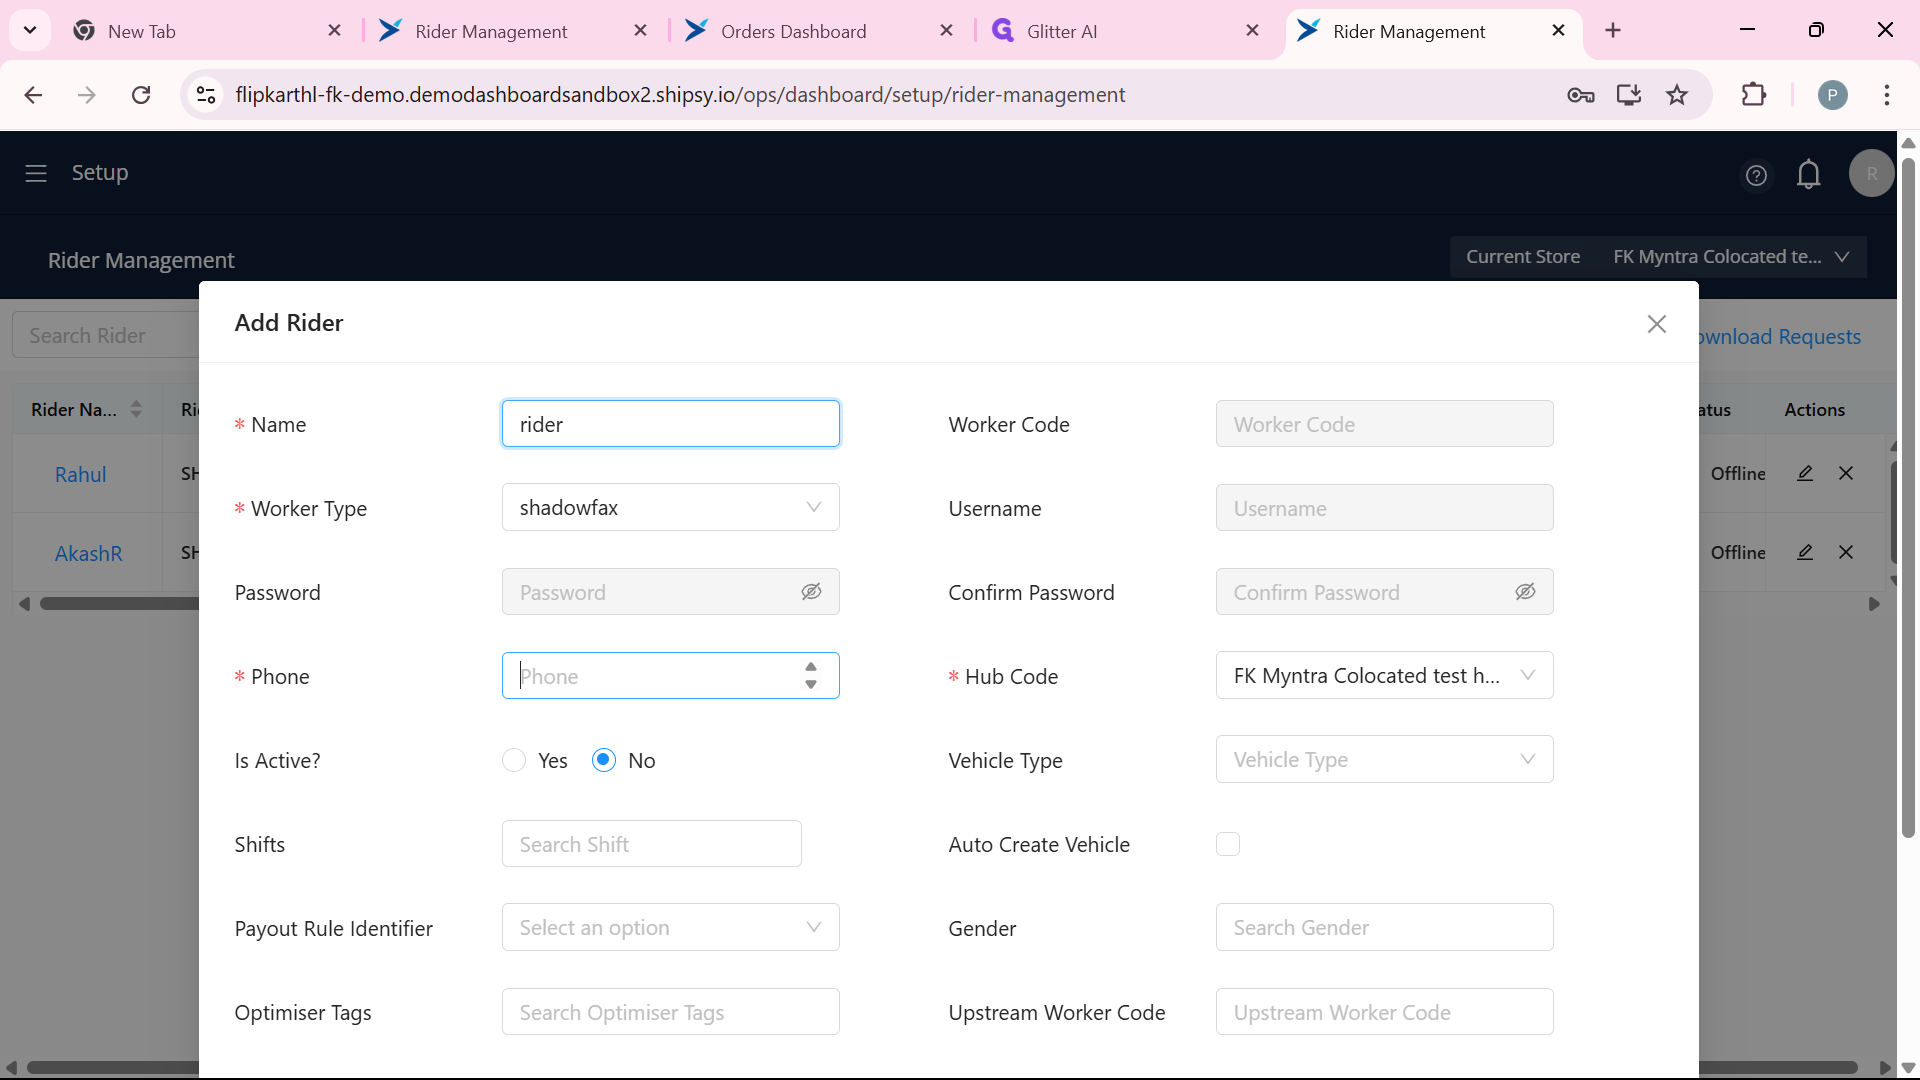
we can assign shits to the rider if roster has already created if not use this guide to create a new roster.
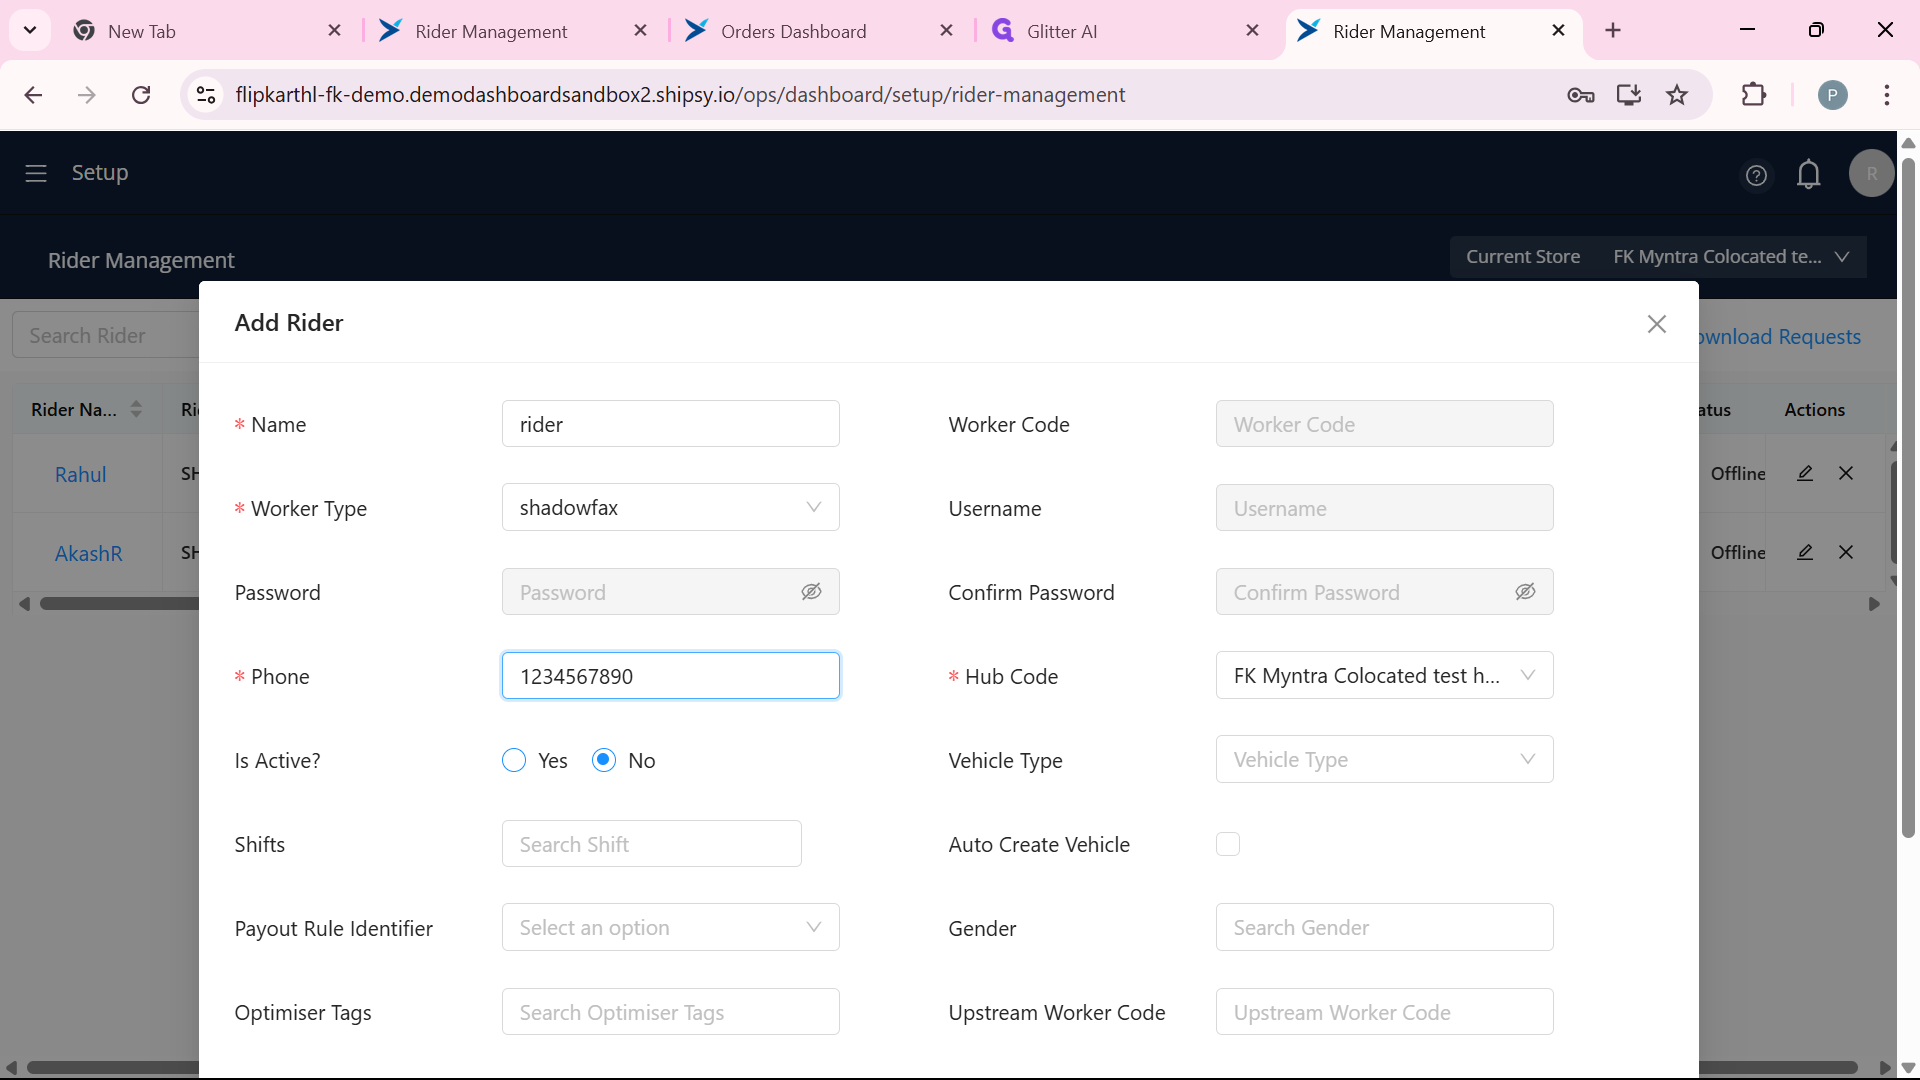
Rider has created successfully you can see in below
