Read summarized version with
I once watched a plant scrap an entire production run because of a torque wrench. Not a broken one. A wrench that read perfectly fine, clicked when it should, looked brand new. The problem was nobody had calibrated it in two years, and it was reading about 12% high. Every fastener on that line was under-torqued. They caught it during a customer audit, not before.
That’s the thing about calibration. When it’s working, it’s invisible. When it’s not, you don’t find out until something expensive or embarrassing happens. According to Deloitte, poor maintenance and measurement practices reduce plant capacity by 5-20% at the average manufacturing facility - calibration failures sit squarely in that gap, and they’re among the hardest to detect because the instrument looks fine right up until someone checks it against a reference.
I’m Yuval, founder and CEO of Glitter AI. I’ve spent years helping manufacturing, quality, and maintenance teams turn the procedures living in one person’s head into documentation the whole team can actually follow. A calibration procedure is one of those things everyone assumes is “handled” right up until an auditor asks to see the records, or a measurement everyone trusted turns out to be wrong.
So let me walk you through how a calibration procedure actually works. What calibration is, the step-by-step process, how to set intervals, and the records and traceability that hold up when someone challenges them.
Teach your co-workers or customers how to get stuff done – in seconds.


What a calibration procedure actually is
Calibration is the process of comparing a measuring instrument against a known reference standard, recording the difference, and adjusting the instrument (or documenting its error) so you know how much to trust its readings.
A calibration procedure is the documented, repeatable method for doing that. It covers which instrument, which reference standard, the environmental conditions, the steps, the acceptance criteria (tolerance), and what happens when something fails - the same backbone as any well-built quality control SOP.
People conflate three things here, so it’s worth being precise:
- Calibration tells you how far off an instrument is from true.
- Adjustment brings the instrument back into tolerance after you find it’s off.
- Verification is a quick check that the instrument is still within tolerance, without a full calibration.
Your procedure should be explicit about which of these is happening and when. “Calibrate the gauge” is not a procedure. “Compare the gauge against gauge block set X at three points, record deviation, adjust if outside ±0.02 mm, re-verify” is.
This is also where calibration connects to your broader quality control procedures. An inspection process is only as trustworthy as the instruments doing the inspecting. Calibration is what makes “this part passed QC” mean something.
The step-by-step calibration procedure
Here’s the core sequence. Every well-run calibration procedure follows some version of this, whether you do it in-house or send instruments to an accredited lab.
1. Identify the instrument and its requirements
Start with the unit under test. Record its unique ID, manufacturer, model, range, and resolution. Pull its specification so you know the tolerance it has to meet and the points across its range you need to check.
If an instrument isn’t uniquely identified and traceable to a record, you don’t have a calibration program. You have a drawer full of gauges and good intentions.
2. Select the reference standard
Choose a reference standard that’s appreciably more accurate than the instrument you’re checking. The common rule of thumb is a test accuracy ratio of at least 4:1, meaning the reference is at least four times more accurate than the tolerance you’re verifying.
The reference standard itself has to be calibrated and traceable. It’s the link in the chain that matters most, and we’ll come back to traceability below.
3. Stabilize the environment
Temperature, humidity, and vibration all move measurements. Precision dimensional work is typically done at 20°C, and many instruments need to soak in the calibration environment for hours before they read true. Document the conditions and the soak time in the procedure, and record the actual conditions at the time of calibration.
4. Perform the “as-found” measurement
Before you touch any adjustment, measure the instrument as it is and record the results. This is the as-found data, and skipping it is one of the most common and most damaging mistakes I see.
As-found data is what tells you whether the instrument was producing bad measurements while it was in service. Without it, when an instrument fails calibration you have no idea whether last quarter’s production was good. With it, you can scope the problem and decide what to quarantine or recall.
Teach your co-workers or customers how to get stuff done – in seconds.
5. Adjust if needed, then record “as-left”
If the as-found reading is outside tolerance, adjust the instrument and bring it back into spec. Then take the as-left measurement and record that too. As-found and as-left together tell the full story: where the instrument was, and where it is now.
If the instrument can’t be brought into tolerance, it’s removed from service, tagged, and routed to repair or replacement. It does not go back in the drawer.
6. Evaluate against acceptance criteria
Compare results to the tolerance defined in step 1. Pass, fail, or limited use. This decision has to be objective and written into the procedure, not a judgment call the technician makes on the day.
7. Label, document, and return to service
Apply a calibration label showing the calibration date, due date, and who performed it. Generate the calibration certificate or record. Update your calibration register so the instrument’s next due date is tracked. Only then does it go back into use.
8. Handle nonconformances
When an instrument fails as-found, you trigger an impact assessment: what was measured with this instrument since its last good calibration, and is any of that product or data suspect? This is where calibration ties directly into corrective and preventive action (CAPA). A failed calibration isn’t just a maintenance task. It’s potentially a quality event.
Setting calibration intervals
The question I get most: how often do we calibrate? The honest answer is “it depends.” But it depends on things you can actually know.
Set intervals based on:
- Manufacturer recommendation as your starting baseline.
- Criticality. An instrument that releases product or affects safety gets a shorter interval than one used for rough reference.
- Stability history. This is the big one. Review the as-found data over time. If an instrument comes back in tolerance every single time for two years, you may be able to extend the interval. If it drifts, shorten it.
- Usage and environment. A caliper used hourly on a hot, dirty floor drifts faster than one used weekly in a lab.
- Regulatory or customer requirements, which sometimes mandate a fixed interval regardless of history.
The mistake is treating intervals as fixed forever. A mature calibration program adjusts intervals based on real as-found data. That’s only possible if you’ve been recording as-found data consistently, which is why step 4 matters so much.
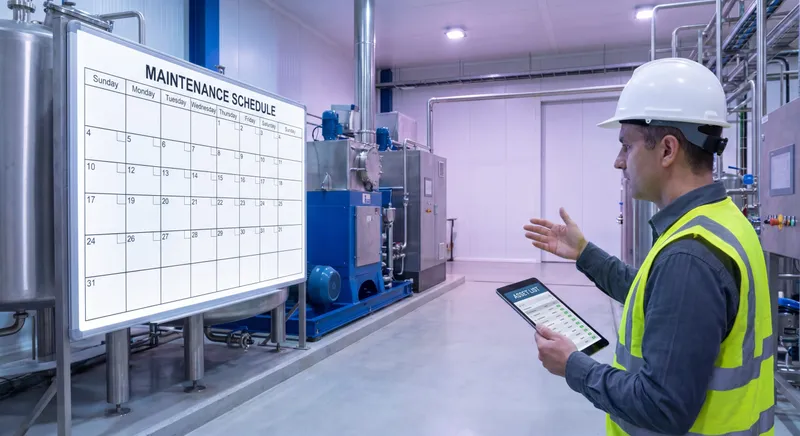
Calibration intervals also sit naturally inside a broader preventive maintenance rhythm. If you already run total productive maintenance or a CMMS, calibration due dates belong in the same scheduling system, not on a separate spreadsheet someone forgets to open.
Calibration records and traceability
This is the part auditors care about most, and it’s the part teams most often treat as an afterthought.
What a calibration record must contain
Every calibration record should capture, at minimum:
- Unique instrument ID and description
- Reference standard used, with its own calibration certificate ID
- Calibration date and next due date
- Environmental conditions at the time
- As-found and as-left readings at each test point
- Acceptance criteria and the pass/fail decision
- Technician or lab that performed it, with signature
- The procedure ID and revision used
That last item matters more than people think. If you can’t show which version of the procedure was followed, you can’t prove the calibration was done correctly. This is the same discipline behind any good audit trail: the record has to show not just the result, but exactly how it was produced.
Metrological traceability
Traceability is the unbroken chain that connects your shop-floor gauge back to a national or international measurement standard, through reference instruments that are each calibrated by an accredited body.
In plain terms: your caliper is checked against gauge blocks, those gauge blocks are calibrated by a lab accredited to ISO/IEC 17025, and that lab’s standards trace back to national metrology institutes. Every link in that chain is documented. Break one link and the whole chain is worthless, no matter how careful you were at the bottom.
If you operate under ISO 9001 or a similar standard, documented traceability isn’t optional. The standard explicitly requires monitoring and measuring resources to be calibrated against traceable standards and to be identifiable so calibration status is known at a glance.
Teach your co-workers or customers how to get stuff done – in seconds.
Where calibration procedures actually break down
In my experience the procedure on paper is rarely the problem. The breakdown is almost always in execution, and it’s almost always one of these:
The procedure lives in one person’s head. There’s a technician who “knows how the CMM calibration works.” When they’re on vacation or they leave, the knowledge leaves with them. The written procedure, if it exists, is a two-line entry in a binder that doesn’t actually tell you how to do it.
As-found data gets skipped. Someone adjusts the instrument first, then records only the as-left. Now you’ve destroyed the one piece of evidence that tells you whether your past measurements were any good.
The schedule is a spreadsheet nobody owns. Calibration due dates drift because the reminder system depends on a person remembering to look. Out-of-cal instruments stay in service because nothing flags them.
The procedure is text-only and ambiguous. “Verify the gauge using appropriate standards” means five different things to five different technicians, which is exactly the inconsistency calibration is supposed to eliminate.
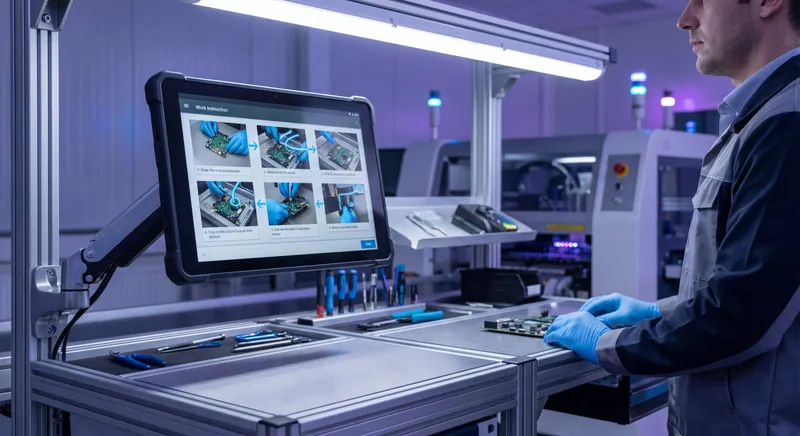
The fix for the first and last problems is the same: the calibration procedure has to be documented in a way people can actually follow, with the specific instrument, the specific reference, the specific points, and ideally the actual screens and steps shown visually. This is the same principle behind good manufacturing SOP best practices and clear standard work instructions and visual manufacturing work instructions: a procedure only works if it removes ambiguity at the moment of execution.
This is where Glitter AI fits. You walk through the calibration once, narrating what you do, and it captures every step with screenshots and instructions automatically. The expert’s exact process becomes a guide the next person can follow without guessing. Keep it current as instruments and software change, and the knowledge stops living in one head.
A simple way to start
If your calibration program is informal today, don’t try to boil the ocean - treat it like any other preventive maintenance procedure and start here:
- Build the inventory. Every measuring instrument that affects product quality or safety, with a unique ID. You can’t manage what you haven’t listed.
- Set baseline intervals. Manufacturer recommendation, adjusted for criticality. You’ll refine these later with real data.
- Document one full procedure properly. Pick your most critical instrument. Write or record the calibration procedure end to end, including as-found, as-left, and acceptance criteria.
- Get the records into one place. A register that tracks due dates and flags overdue instruments before they’re used, not after.
- Review as-found data quarterly. This is what turns a checkbox program into one that actually catches drift and adjusts intervals intelligently.
Calibration isn’t glamorous. Nobody gets promoted for a clean calibration register. But it sits quietly under every measurement your business makes, and the cost of getting it wrong shows up as scrapped runs, failed audits, and recalls. A Deloitte case study found that one asset class cut unplanned downtime by 80% after implementing systematic predictive and condition-monitoring practices - calibration discipline was part of that foundation. Get the procedure documented, get it followed consistently, and most of that risk just goes away.
Frequently Asked Questions
What is a calibration procedure?
A calibration procedure is the documented, repeatable method for comparing a measuring instrument against a known reference standard, recording the difference, and adjusting or documenting its error. It defines the instrument, reference standard, environmental conditions, steps, tolerance, and what to do when the instrument fails.
What are the main steps in an equipment calibration procedure?
Identify the instrument and its tolerance, select a traceable reference standard, stabilize the environment, take an as-found measurement, adjust if needed and record the as-left reading, evaluate against acceptance criteria, then label, document, and return the instrument to service. A failed calibration also triggers an impact assessment.
What is the difference between calibration, adjustment, and verification?
Calibration tells you how far an instrument is from true by comparing it to a reference standard. Adjustment is bringing an out-of-tolerance instrument back into spec. Verification is a quick check that an instrument is still within tolerance without performing a full calibration.
Why is as-found data important in calibration?
As-found data is the instrument's reading before any adjustment. It tells you whether the instrument was producing bad measurements while in service. Without it, a failed calibration leaves you unable to assess whether past production or data is suspect, so you can't scope a recall or quarantine.
How do you determine calibration intervals?
Start with the manufacturer's recommendation, then adjust based on the instrument's criticality, its stability history from past as-found data, usage and environment, and any regulatory or customer requirements. Mature programs lengthen or shorten intervals based on real drift data rather than treating them as fixed.
What is metrological traceability?
Traceability is the unbroken, documented chain that links a shop-floor instrument back to national or international measurement standards through reference instruments, each calibrated by an accredited body. If any link in the chain is undocumented or broken, the measurements lose their validity.
What should a calibration record contain?
A calibration record should include the unique instrument ID, the reference standard and its certificate, the calibration and due dates, environmental conditions, as-found and as-left readings at each test point, the acceptance criteria and pass/fail decision, the technician or lab, and the procedure ID and revision used.
What happens when an instrument fails calibration?
The instrument is removed from service and tagged so it can't be used. If it can't be brought back into tolerance it goes to repair or replacement. You then run an impact assessment on everything measured with it since its last good calibration, which often becomes a corrective action or quality event.
Does ISO 9001 require calibration?
Yes. ISO 9001 requires monitoring and measuring resources used to verify product conformity to be calibrated or verified against traceable standards at defined intervals, to be identifiable so calibration status is known, and to be safeguarded against unauthorized adjustment.
Should calibration be done in-house or by an external lab?
It depends on the criticality, the accuracy required, and whether you have traceable reference standards and trained staff. High-accuracy or regulated instruments are often sent to a lab accredited to ISO/IEC 17025, while routine instruments can be calibrated in-house against properly traceable references.